
Make your own rustic sled photo ornament craft using Dollar Tree finds! Follow this easy step-by-step tutorial for a charming handmade Christmas decoration.

How to make a Dollar Tree sled ornament craft.
This post contains some affiliate links for your convenience. Click here to read my full disclosure policy.
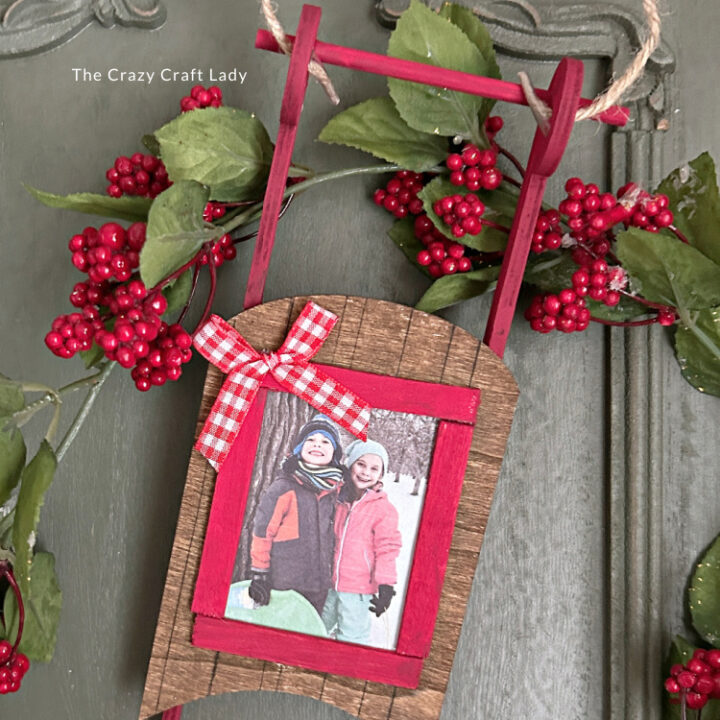
DIY Dollar Tree Sled Ornament with Photo Frame
There’s something so nostalgic about old-fashioned sleds and this DIY ornament captures that charm perfectly! Using a simple Dollar Tree wood sled ornament, you can create a cute, rustic keepsake with a framed photo of your kids (or grandkids!) sledding. This project is budget-friendly, beginner-friendly, and a perfect way to preserve those snowy memories for years to come.
Crafting with Dollar Tree’s Christmas Wood Supplies
Dollar Tree’s Christmas-themed unfinished wood pieces are a holiday crafter’s dream! Each season, they stock the shelves with sleds, trees, snowflakes, ornaments, and more—all ready to paint, glitter, or personalize however you’d like.
These wood shapes make it so easy to create custom holiday décor and ornaments on a budget. Whether you’re going for farmhouse, vintage, or classic Christmas, they’re the perfect blank canvas for your creativity.
For this project, we’re taking one of those unfinished sled ornaments and turning it into a charming, personalized piece that adds handmade warmth to your holiday tree—all with Dollar Tree supplies!
Video Tutorial: Dollar Tree Sled Ornament Craft
Watch this quick video to see how this craft came together:

Dollar Tree Sled Ornament Craft
Turn a Dollar Tree wood sled ornament into a festive keepsake with this DIY photo frame craft—simple, kid-friendly, and perfect for your Christmas tree!
Materials
- Unfinished wood sled ornament (from Dollar Tree)
- Waverly Chalk Paint in Lacquer (or any red paint)
- Waverly Antique Wax (or wood stain of your choice)
- Fine point permanent marker (black)
- Small printed photo (about 2" x 3")
- 4 plain popsicle sticks
- Scrap parchment paper (for drying)
- Twine hanger (reuse the one from the ornament)
- Ribbon (for bow)
Tools
- Paintbrush or sponge brush
- Ruler
- Hot glue gun and glue sticks (or Elmer’s glue for a kid-safe version)
- Miter shears or scissors (to cut popsicle sticks)
- Sharp scissors (for ribbon)
- Lighter (for heat-sealing ribbon ends)
Instructions
- Watch video. Follow along with the video tutorial for a walkthrough on how to make your own sled ornament craft.
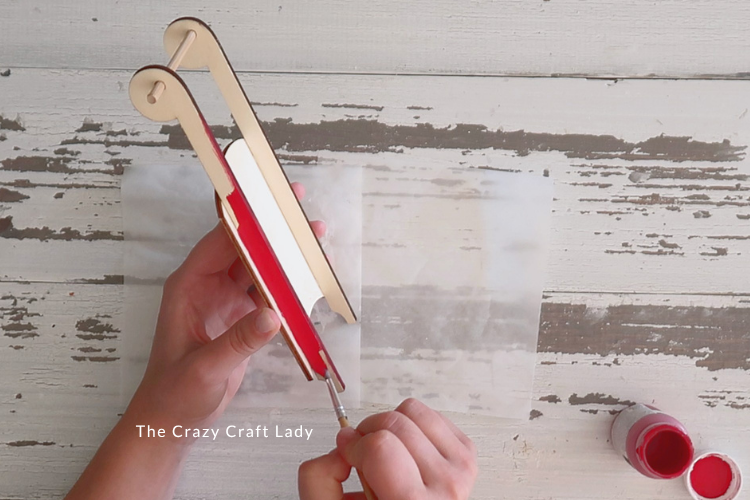
- Prep and Paint the Sled. Remove the twine hanger from your Dollar Tree wood sled ornament and set it aside—you’ll use it again later. Paint the sled’s base (the “runners” and handle) using Waverly Chalk Paint in Lacquer for a classic red look. Leave the flat top surface unpainted for now.

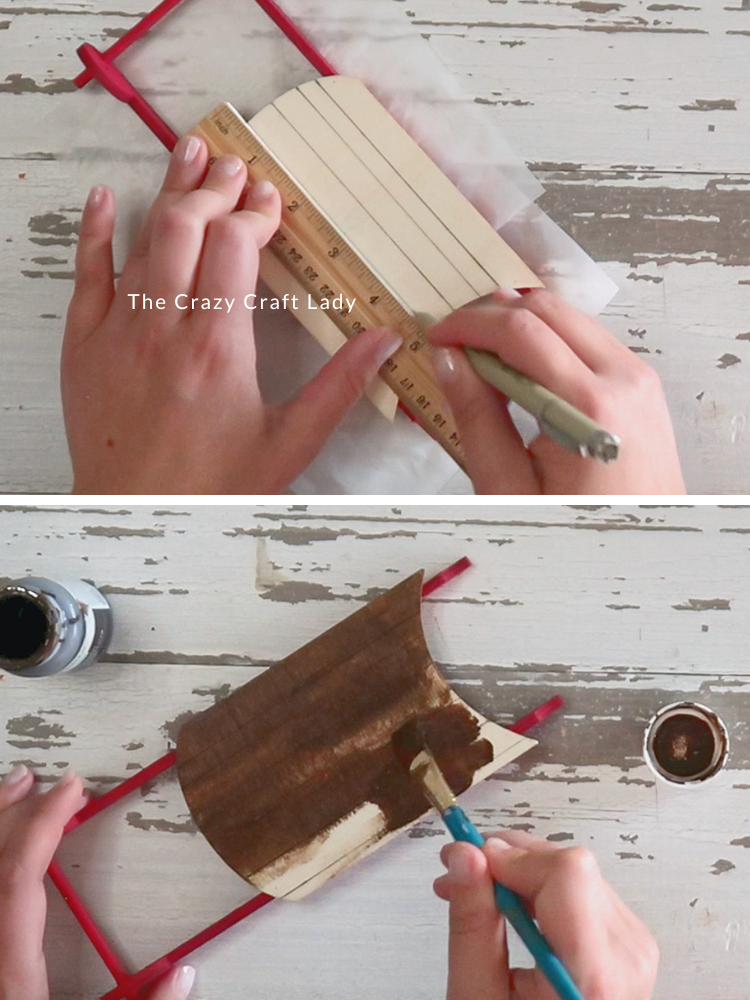
- Add “Wood Plank” Details. To give your sled a vintage wood-plank look, use a fine point permanent marker and a ruler to draw staggered lines across the top flat section. Don’t worry about perfect spacing—imperfection adds charm! Go over each line a couple of times for solid coverage.

- Stain the Wood. Apply Waverly Antique Wax or your preferred stain over the sled’s top section. Wipe away the excess with a paper towel so the black marker lines still show through. Repeat on the back for a finished look all around.
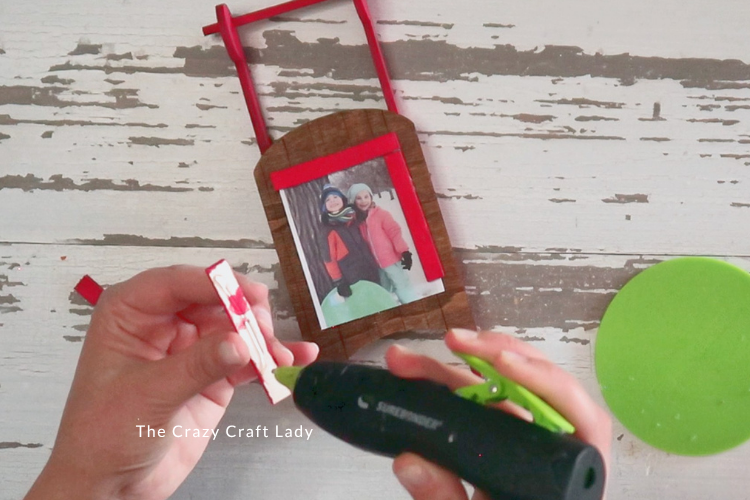
- Make the Mini Frame. Cut four popsicle sticks to size using miter shears—two for the top and bottom and two for the sides. Keep the cuts straight (no need for angled corners). Paint all four sticks red using the same Lacquer paint and let them dry on parchment paper.
- Attach the Photo. Glue your small printed photo onto the sled using a glue stick or craft glue. Center it nicely so it looks balanced. Once the photo is secure, use hot glue (or school glue for kids) to attach the popsicle sticks around the edges to create a simple rectangular frame.
- Add a Bow. Make a small bow using the bunny-ear method: make two loops, tie them together, and adjust until you like the size. Trim the ribbon ends at a 45° angle and carefully heat-seal them with a lighter to prevent fraying. Hot glue the bow to the top corner of your mini frame.
- Reattach the Hanger. Finally, loop your saved twine hanger back through the top of the ornament—and your charming sled photo frame ornament is ready for the tree!

The Finished Craft

Don’t forget to PIN this craft for later:
Crafting with Dollar Tree Christmas Wood Cutouts
This craft was part of a compilation video over on my YouTube Channel, along with: Mini Snowman Decorative Tray, Red Pickup Truck Floral Display, North Pole Arrow, Gold Frame Christmas Ornaments, Christmas Tree Farm Hanging Sign, Gingerbread House Display, Frosted Snowflake Ornaments, and Tin Tile Christmas Tree.
More Ornament Christmas Crafts:
- Pine Snow Globe Ornaments
- Berry and Holly Globe Ornaments
- How to Make: Decoupage Ornaments with Wood Rounds and Napkins
- Acrylic Christmas Ornaments