
Turn simple Dollar Tree picture frames into elegant gold photo ornaments with this easy DIY tutorial—perfect for family photos or holiday printables!

How to make gold frame Christmas ornaments.
This post contains some affiliate links for your convenience. Click here to read my full disclosure policy.
Why I love this craft
If you spot these little unfinished wood picture frames in the Dollar Tree craft aisle—grab them! They’re super versatile and can be turned into all kinds of adorable décor. Today, we’re making mini Christmas ornaments with them, and trust me, they turn out so classy.
Gold frames are having a serious moment right now, so I’m giving mine a metallic makeover using Rub ’n Buff in Antique Gold. Add a printable holiday image (I’ve got free ones for you on my blog!) or even a family photo, and you’ll have a set of mini frame ornaments that look boutique-worthy. Let’s get crafting!
Crafting with Dollar Tree’s Mini Wood Frames
Dollar Tree’s small unfinished wood picture frames are one of those hidden gems you can use for so many projects. They’re lightweight, inexpensive, and easy to transform with a little paint or embellishment.
Because they come unfinished, you can make them match any style—rustic, glam, farmhouse, or classic Christmas. Use them for ornaments, gift tags, photo keepsakes, or even mini signs for tiered trays and wreaths.
The inspiration for this craft:
Last year, I made some vacation photo ornaments so I knew that making these would be just as fun and yield beautiful results.

Video Tutorial: Dollar Tree Frame Ornaments
Watch this quick video to see how this craft came together:

Gold Frame Christmas Ornaments
Learn how to make beautiful mini picture frame ornaments using Dollar Tree supplies, gold Rub ’n Buff, and your favorite holiday photos or printables.
Materials
- Small unfinished wood picture frames (Dollar Tree)
- Antique Gold Rub ’n Buff (or gold acrylic paint)
- Printed images or photos (printed on regular printer paper)
- Gray cardstock or heavy paper (for backing)
- Red and white gingham ribbon (¼-inch width)
- Elmer’s Glue-All
- Hot glue sticks
Tools
- Paintbrush or small sponge
- Fine-tip paintbrush (for glue application)
- Craft knife (like a fingertip precision cutter)
- Cutting mat
Instructions
- Watch video. Follow along with the tutorial for a walkthrough on how to make your own gold frame Christmas ornaments.
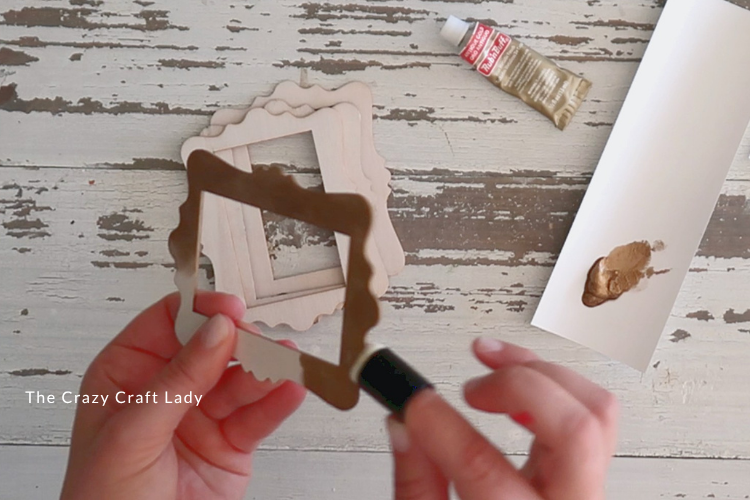
- Paint the Frames. Start by applying your Antique Gold Rub ’n Buff to all four of your small wood frames. Use a small brush or your finger and work in circular, buffing motions for an even metallic finish. Be sure to cover the edges, too. If you don’t have Rub ’n Buff, any metallic gold paint will work just fine.

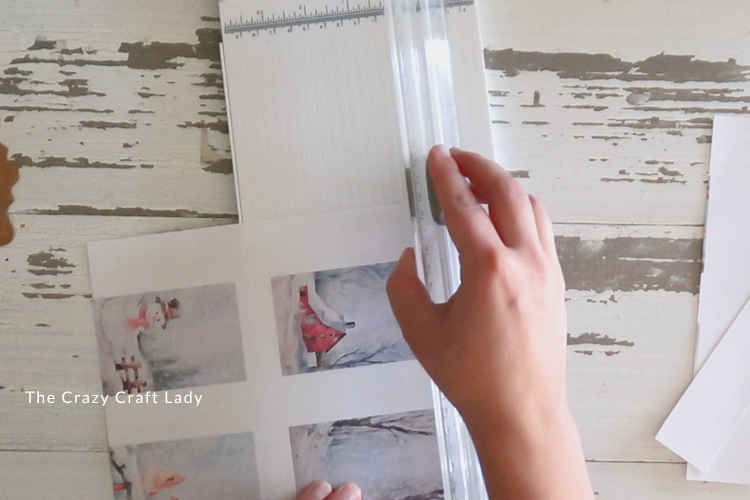
- Choose and Print Your Images. You can use my free printable mini images (linked on my blog) or choose your own photos. Print them on regular printer paper and trim each image down to fit perfectly inside your small frames.
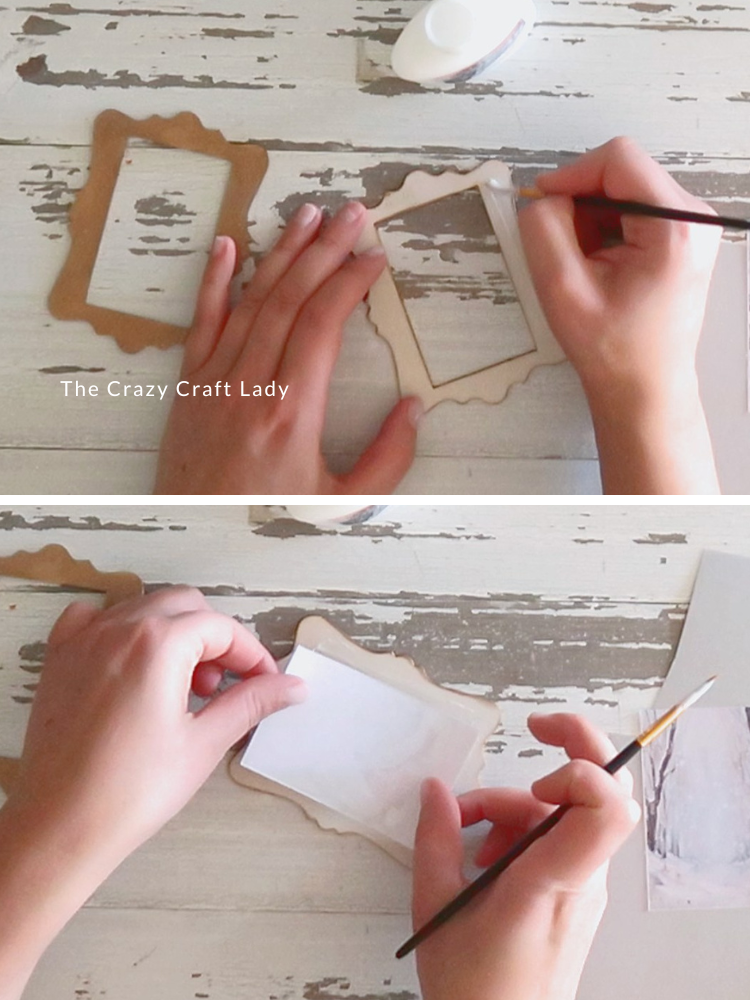
- Glue the Images in Place. Use Elmer’s Glue-All and a fine-tip brush to paint a thin layer of glue onto the back of the wood frame where your image will sit. Carefully place your trimmed image down and smooth it out gently to avoid bubbles. If the paper does wrinkle a bit, smooth it with your fingers before the glue fully dries.

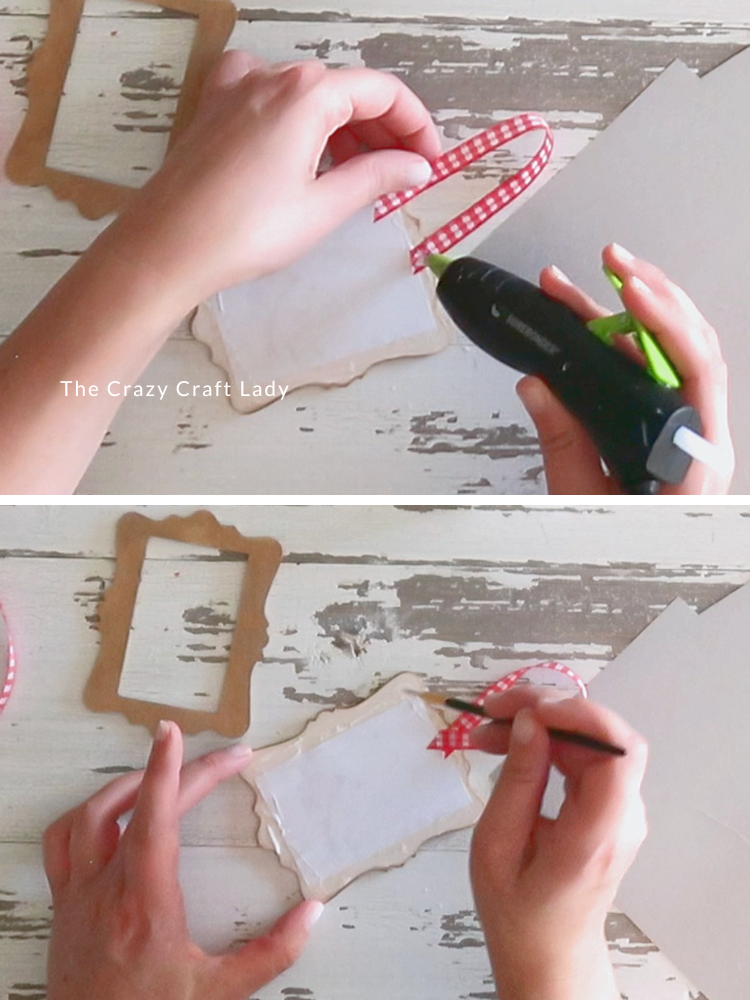
- Add the Ribbon Hanger. Before you seal the back, cut a small loop of ribbon and hot glue it to the top of your frame to create a hanger. Press it down firmly and let it set for a few seconds.
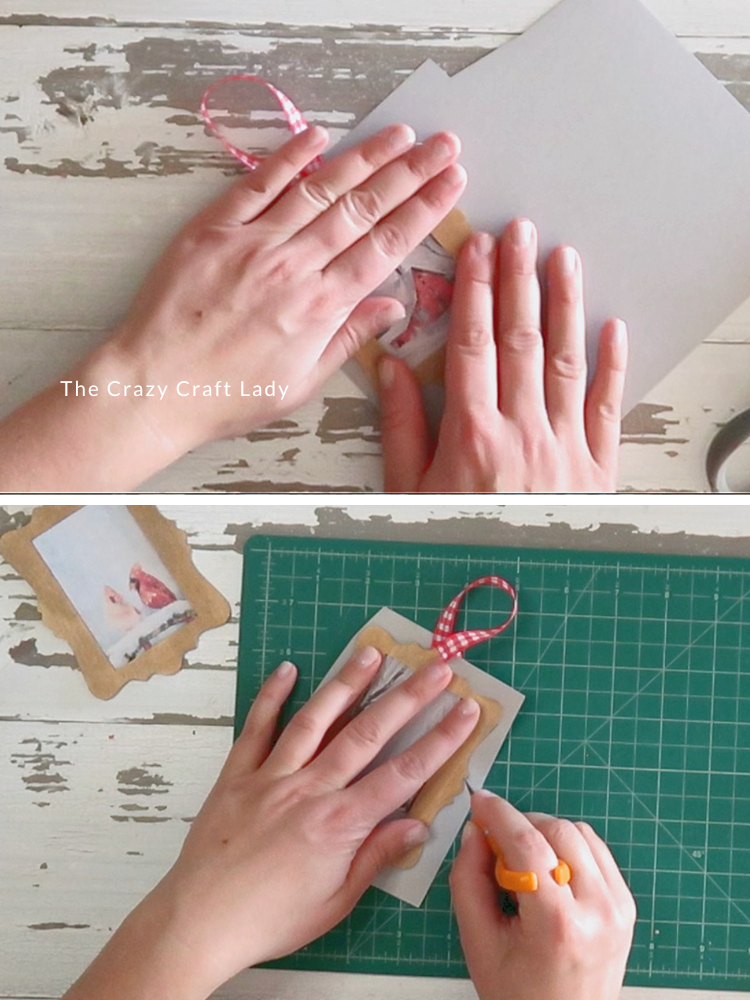
- Create the Backing. Once your hanger is secure, brush more glue along the back edges of the frame. Press the frame onto a sheet of gray cardstock (or any sturdy paper) to make a clean, finished back. Let it dry for a few minutes.
- Trim the Excess Paper. Use your craft knife and cutting mat to carefully trim away the excess cardstock, following the curved edges of the frame.
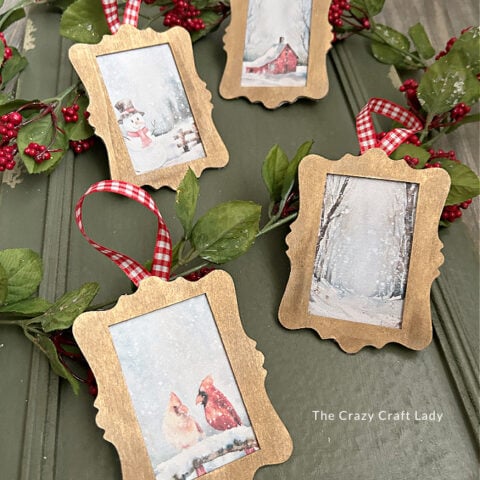
- Finishing Touches. Flip your ornament over and admire your work! The back is clean and polished, the front has a gorgeous metallic glow, and your image is perfectly framed. Repeat with as many mini frames as you’d like.
The Finished Craft

Don’t forget to PIN this craft for later:

Crafting with Dollar Tree Christmas Wood Cutouts
This craft was part of a compilation video over on my YouTube Channel, along with: Mini Snowman Decorative Tray, Red Pickup Truck Floral Display, North Pole Arrow, Christmas Tree Farm Hanging Sign, DIY Sled Ornament, Gingerbread House Display, Frosted Snowflake Ornaments, and Tin Tile Christmas Tree.
More Christmas Ornament Crafts to Try:
- How to Make: Decoupage Ornaments with Wood Rounds and Napkins
- Acrylic Christmas Ornaments
- Pine Snow Globe Ornaments
- DIY Vacation Photo Ornaments
- Decoupage Calendar Page Ornaments