
Turn a Dollar Tree cutting board into a cozy Christmas tree farm sign! This easy DIY uses wood ornaments, paint, and beads for rustic farmhouse charm.

How to make a Christmas tree farm cutting board sign.
This post contains some affiliate links for your convenience. Click here to read my full disclosure policy.
Why I love this craft
If you know me, you know I cannot resist a cutting board craft—and Dollar Tree just made things even better with their new larger wood cutting boards. Naturally, that means another fun Christmas DIY!
Today, I’m turning one of those cutting boards into a Christmas tree farm sign with a cute wood bead hanger and little wooden Christmas trees. It’s the perfect mix of rustic farmhouse style and holiday charm. Best of all, it’s made almost entirely from Dollar Tree supplies, and you can easily personalize the look with your favorite paint colors or stencil designs.
Crafting with Dollar Tree Wood Cutting Boards
Dollar Tree’s wood cutting boards are one of those must-grab items for DIY lovers. They’re sturdy, versatile, and the perfect blank surface for seasonal signs and kitchen-themed crafts.
Because they’re unfinished, they take paint, vinyl, or stain beautifully—and you can easily dress them up for any holiday or everyday décor. Turn them into mini signs, decorative trays, or farmhouse-style displays in just a few simple steps.
For this project, we’re transforming one into a Christmas Tree Farm cutting board sign—a cozy, budget-friendly piece that looks straight out of a boutique, made entirely with Dollar Tree supplies!

Video Tutorial: Christmas Tree Farm Cutting Board Sign
Watch this quick video to see how this craft came together:


Christmas Tree Farm Cutting Board Sign
Learn how to make a DIY Christmas cutting board sign with Dollar Tree supplies—wood trees, beads, and twine—perfect for festive wall décor.
Materials
- 1 unfinished wood cutting board (Dollar Tree)
- 5 wooden Christmas tree ornaments (Dollar Tree)
- FolkArt Home Décor Antique Wax (for stain effect)
- FolkArt Matte Paints in shades of green — Mossy Meadow, Clover, and Thicket or Sap Green
- FolkArt Chalk Paint in Antique White or Vintage White (for distressing)
- Wood beads – about 18 total (15mm size or mix sizes for variation)
- Twine or jute cord (for hanging)
- Black vinyl (for Cricut design) or stencil/transfer method of your choice
- Popsicle sticks (for raising the front trees)
- Painters tape (for stringing beads)
Tools
- Small paintbrushes or Dover brush
- Miter shears (optional, to trim stars off ornaments)
- Pin vice tool (for drilling pilot holes)
- Screw eyes (2 small ones, available at Home Depot or craft stores)
- Cricut machine (optional)
- Hot glue gun and glue sticks
- Bamboo skewer (for painting wood beads)
Instructions
- Watch video. Follow along with the video tutorial for a walkthrough on how to make your own Christmas tree farm cutting board sign.
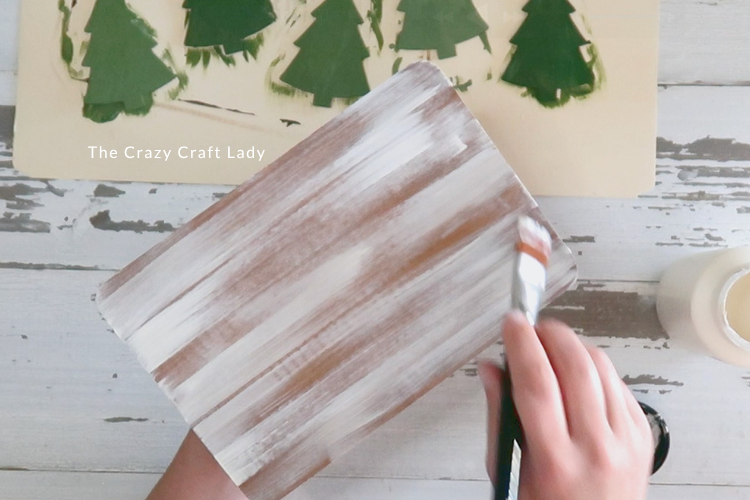
- Prep and Stain the Cutting Board. Start by applying FolkArt Home Décor Antique Wax to your Dollar Tree cutting board. You can brush or wipe it on—but don’t pour straight from the bottle unless you want a wax overflow like I did! Spread evenly, wipe off the excess, and let it dry completely.

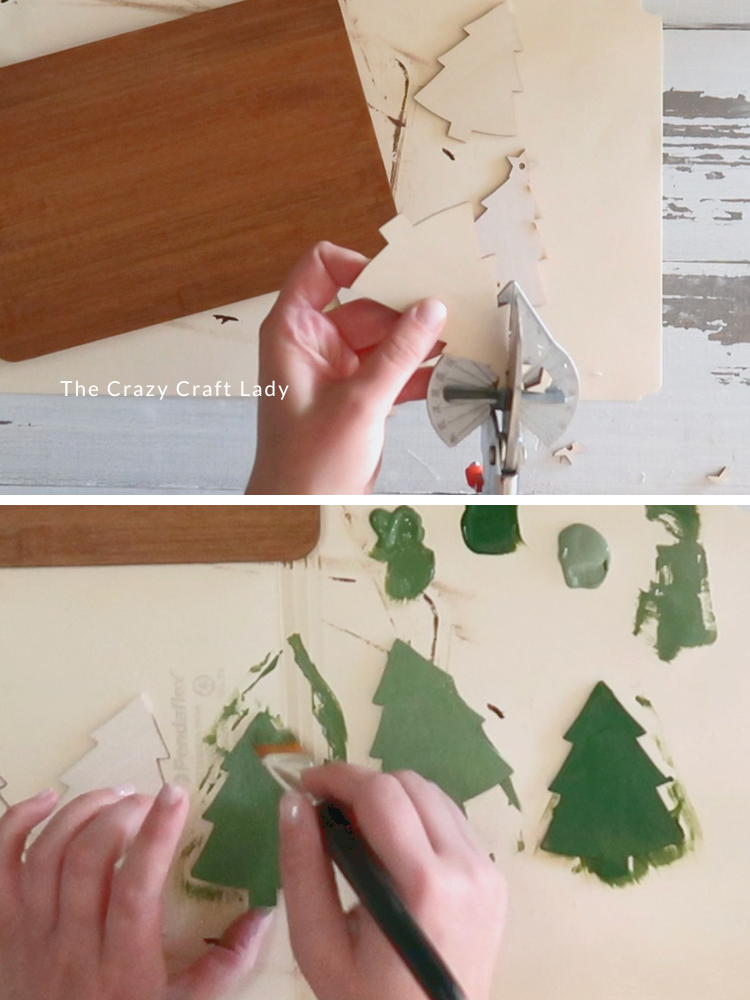
- Paint and Customize the Trees. Lay out your five little wooden Christmas trees to make sure they fit nicely across your board. If you want, use miter shears to trim off the stars at the top for a cleaner look.

Next, paint each tree in a different shade of green—try Mossy Meadow, Clover, and Thicket or Sap Green for subtle variation. Mix and match for a natural, layered forest look. - Distress the Board. To give your stained cutting board that cozy farmhouse vibe, lightly dry-brush it with antique white chalk paint. Focus on the edges and corners for a gently distressed finish.
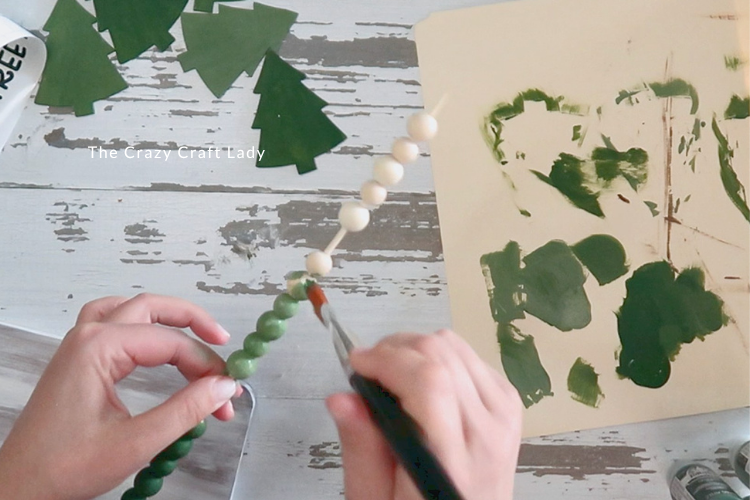
- Paint the Wood Beads. Slide your wood beads onto a bamboo skewer, secure with a dab of hot glue on each end, and paint them in coordinating green tones. I alternated between dark, medium, and light shades, but you can also keep them all one color for simplicity. Let them dry fully before stringing.
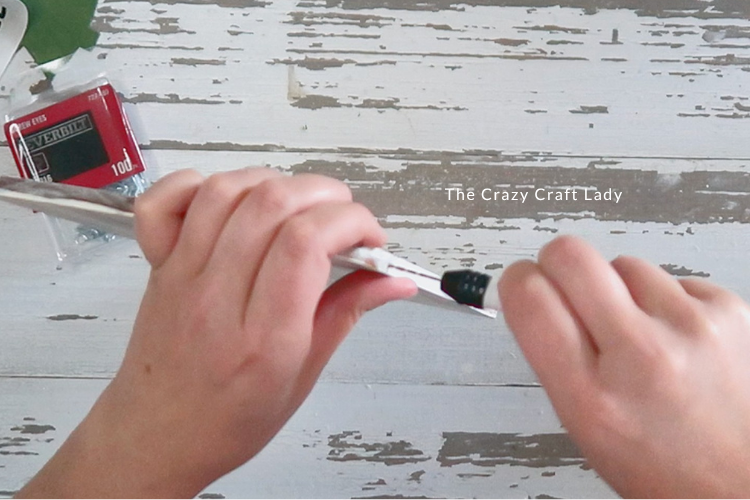
- Drill Holes and Add Screw Eyes. Use a pin vice tool to drill two small holes at the top corners of your cutting board. Twist a screw eye into each hole—these will hold your twine and wood bead hanger.
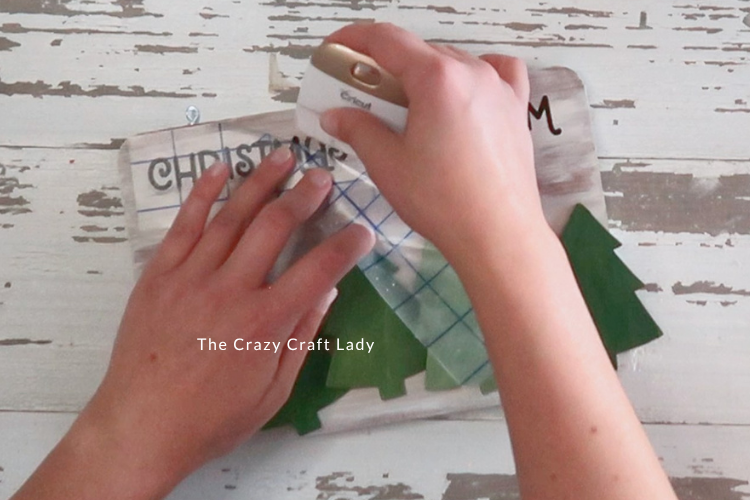
- Add Your Lettering. For the “Christmas Tree Farm” lettering, you can use your Cricut and cut vinyl with the BFC Christmas Cards font, stencil it on, or use carbon paper for an image transfer. Apply your lettering centered across the top or middle of the board.
- Attach the Trees. Glue your painted trees onto the board. To create depth, glue a small piece of popsicle stick behind the two front trees to raise them slightly from the background. This gives the sign a nice 3D layered effect.
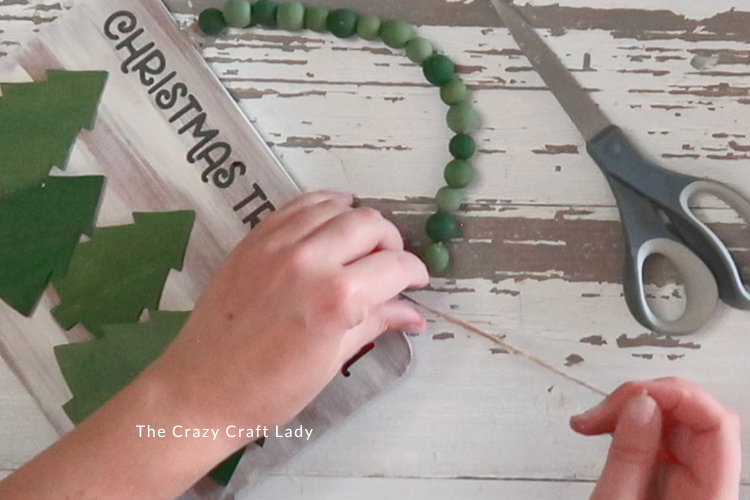
- String the Bead Hanger. Wrap a bit of painters tape around the end of your twine and cut it at a 45° angle—this makes threading beads so much easier. Alternate bead sizes and colors as you string them for a playful look. When you’re done, thread each end of the twine through your screw eyes and tie a double knot. Trim any excess twine.


The Finished Craft

Don’t forget to PIN this craft for later:

More Crafts Using Dollar Tree Cutting Boards:
- Dollar Store Cutting Board Clipboard
- Bamboo Cutting Board Book Ends
- Dollar Store Craft: Cutting Board American Flag
- Dollar Store Bamboo Cutting Board Hanging Sign
Crafting with Dollar Tree Christmas Wood Cutouts
This craft was part of a compilation video over on my YouTube Channel, along with: Mini Snowman Decorative Tray, Red Pickup Truck Floral Display, North Pole Arrow, Gold Frame Christmas Ornaments, DIY Sled Ornament, Gingerbread House Display, Frosted Snowflake Ornaments, and Tin Tile Christmas Tree.