
Transform a Dollar Tree wood cutout into a charming DIY gingerbread house! Follow this step-by-step tutorial for a festive Christmas craft that looks store-bought.

Turn basic Dollar Tree supplies into an adorable gingerbread house wood cutout display!
This post contains some affiliate links for your convenience. Click here to read my full disclosure policy.
If you love intricate Christmas crafts that come together piece by piece, this Dollar Tree gingerbread house DIY is right up your alley. It’s one of those projects that takes a little patience but looks like something straight out of a boutique holiday shop when it’s done. I’m turning a simple Dollar Tree wood cutout and a few mini crates into a freestanding gingerbread house scene, complete with frosted snow, mini trees, and candy-colored details.
Grab your paints, a cup of cocoa, and maybe a podcast in the background… this one’s a labor of love, but so worth it!
Video Tutorial: Gingerbread House Wood Cutout Display
Watch this quick video to see how this craft came together:


Gingerbread House Wood Cutout Display
Turn basic Dollar Tree supplies into an adorable gingerbread house display! Get the full tutorial with paint colors, supply list, and detailed tips.
Materials
- Dollar Tree wood gingerbread house cutout
- Two Dollar Tree mini wood crates
- Scrap wood piece (for backer support)
- Bottle brush trees and mini wreath (Dollar Tree or Hobby Lobby)
- Small wood Christmas trees and candy cane cutouts
- Tumbling Tower game pieces (Dollar Tree Jenga blocks)
- FolkArt Gel Stain in Oak
- White Rust-Oleum Chalk Paint in Linen White (or similar plain white paint)
- FolkArt Matte Paints in Imperial Red, Castle, Bahama Blue (or any classic red and teal)
- FolkArt Matte Paint in Thicket (or any classic Christmas green)
- Wood glue and hot glue
- Paper towel or rag (for wiping excess stain)
Tools
- 1" flat paintbrush
- Fine point detail paintbrushes
- Miter shears or small saw
- Ruler and pencil
Instructions
- Watch video. Follow the tutorial for a step by step walkthrough on how to make your own gingerbread house display.
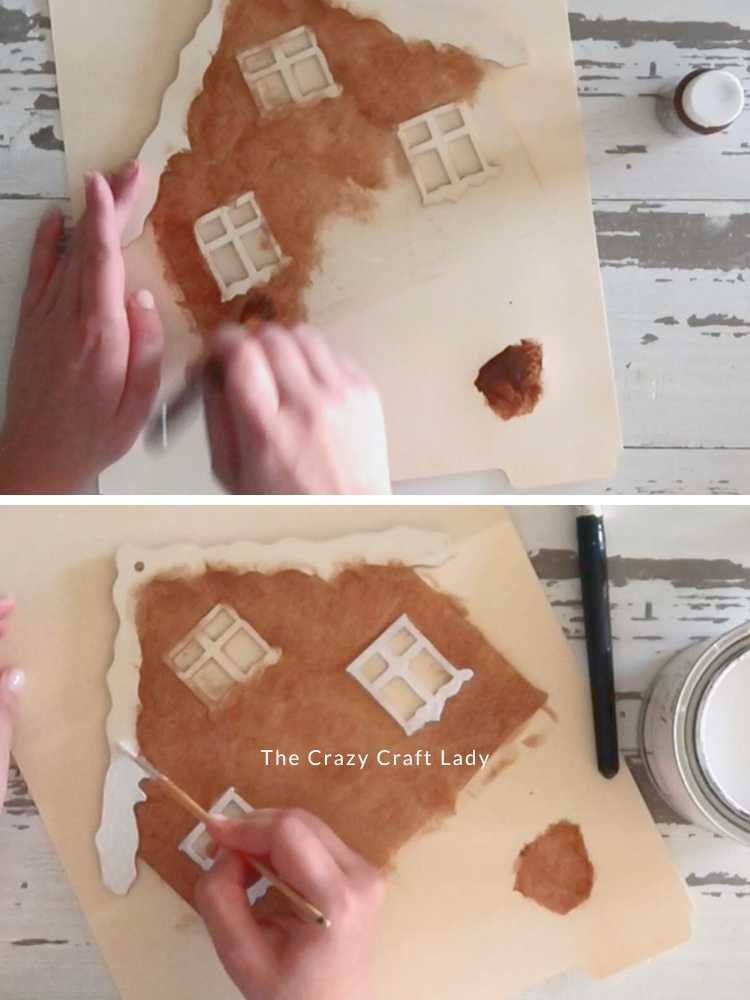
- Stain the Gingerbread House. Start by brushing a thin coat of gel stain onto the front of your gingerbread house cutout. Use a light stippling motion instead of brush strokes to mimic a real gingerbread texture and avoid brush strokes. Skip the snowy roof and window areas — those will get painted later.

- Paint the Snowy Details. Using white chalk paint, dab the roof and window areas to create a soft, snowy look. A pouncing motion with your brush works best here to add a little texture.
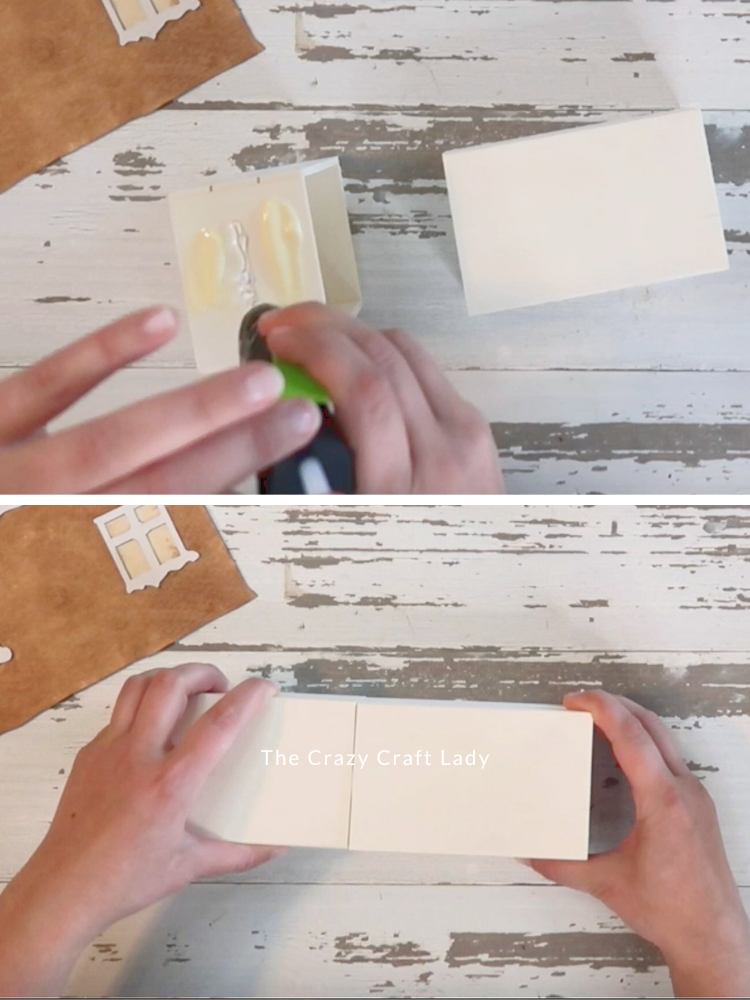
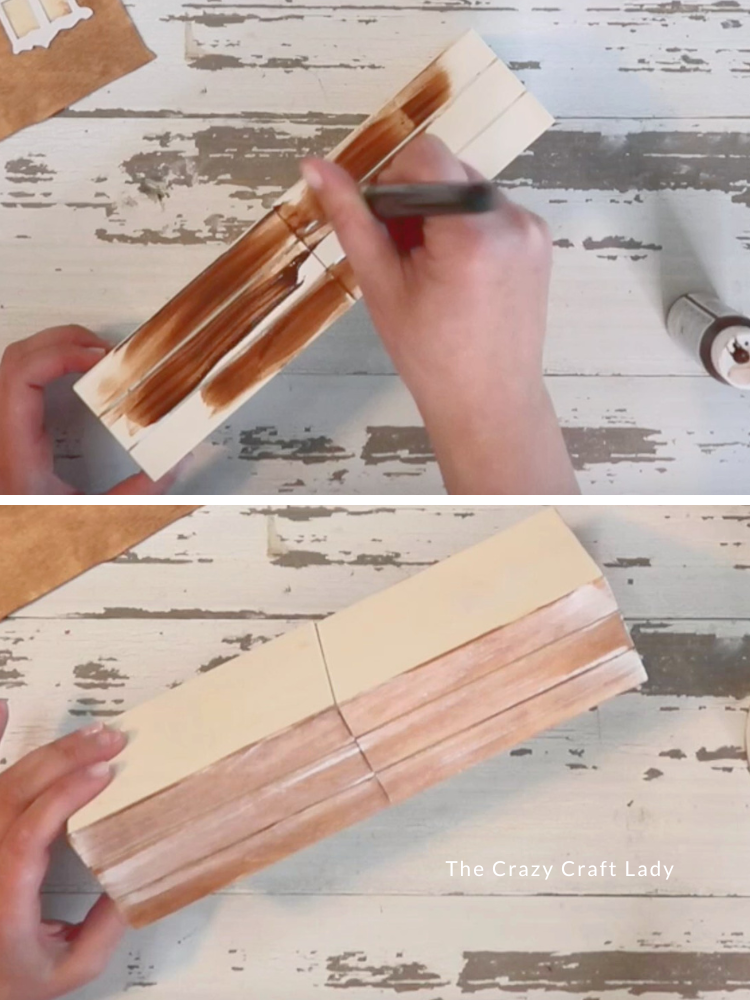
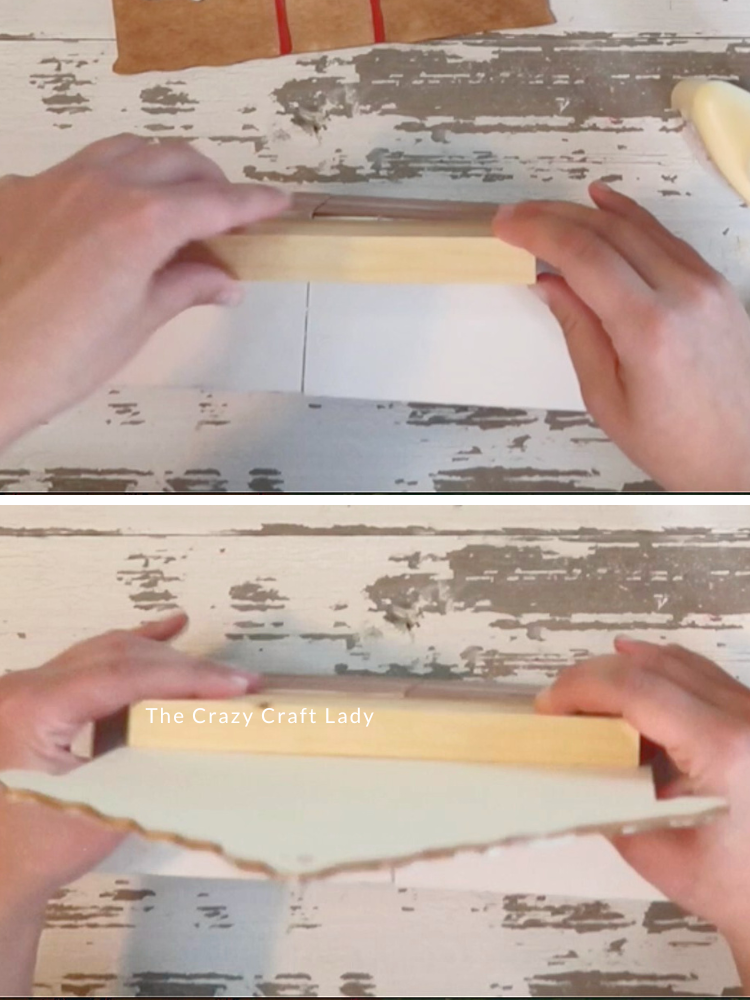
- Build the Base. Flip two mini wood crates upside-down and glue them together with wood glue + hot glue (wood glue for hold, hot glue for speed). Once dry, stain the sides with the same gel stain. Wipe off any excess with a rag. After that dries, lightly dry-brush white chalk paint over the stained wood for a frosted look. Then paint the top (which will act as the snowy ground) in a solid coat of white.
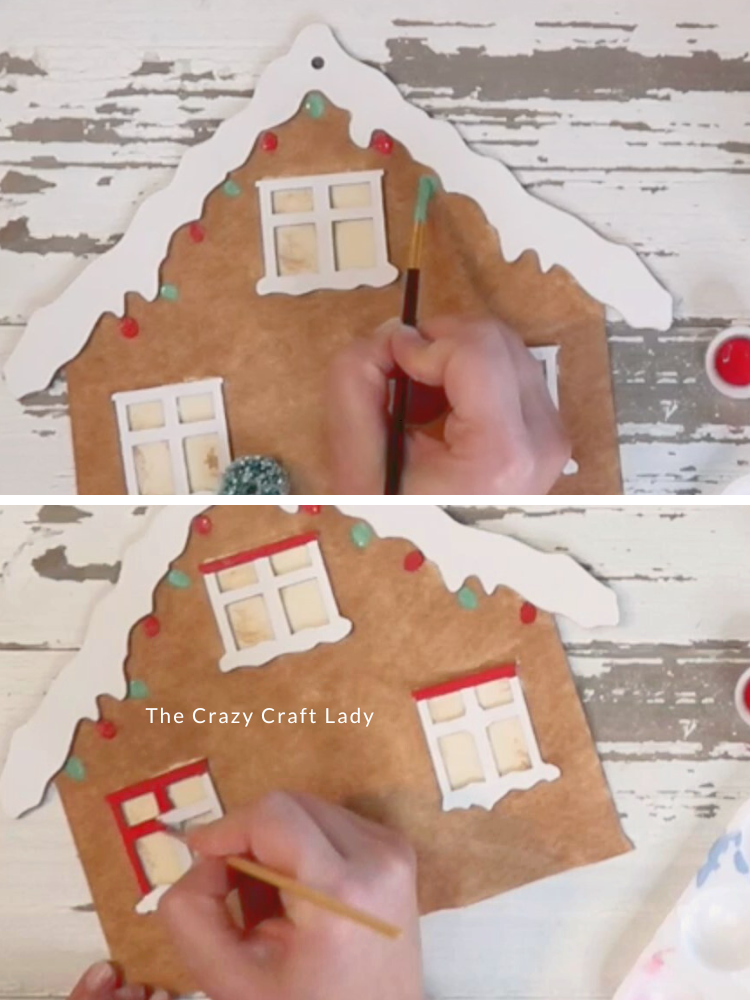
- Paint the Gingerbread Details. Now comes the fun part — color! Mix some teal and gray paints to make a custom teal green that matches your bottle brush trees. Paint alternating red and green Christmas lights along the roofline using red and your custom teal color. Paint the window frames red and fill the inside panes with gray for contrast. Redo any messy lines with a fine brush — no worries if it’s not perfect!
- Add the Door and Wreath. Use a ruler to pencil in a door rectangle on the stained wood. Paint it red with your fine brush. Once dry, hot glue a mini wreath in the center for a festive touch.
- Assemble the House. Attach a piece of scrap wood behind the gingerbread house. Glue one end to the back of the house and the other to the top of your double-crate base. This stabilizes the structure and makes your house freestanding. Once secured, paint a small wavy snow drift where the house meets the base using white chalk paint.
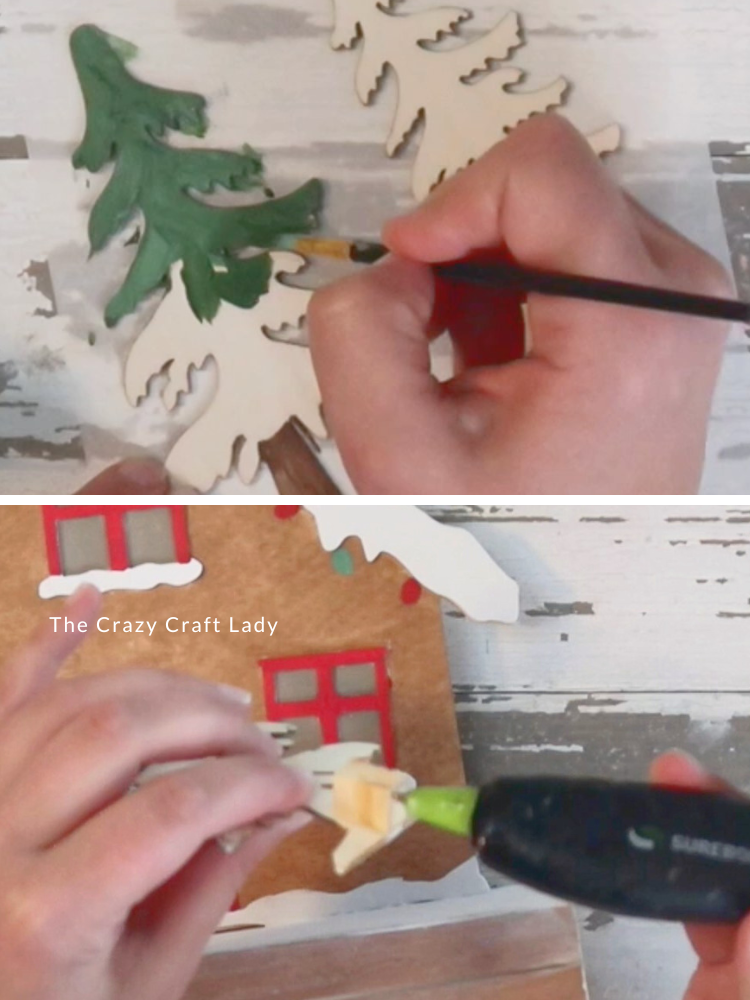
- Create and Paint the 3D Trees. Separate the two wood Christmas trees with miter shears, trimming off the connecting tabs and smoothing the edges.Paint the snowy bottoms white. Mix brown with a touch of leftover white for a streaky “bark” effect. Blend green and teal paints on the branches for a dimensional pine look. Once dry, glue small Tumbling Tower block slices to the back of each tree to help them stand upright.
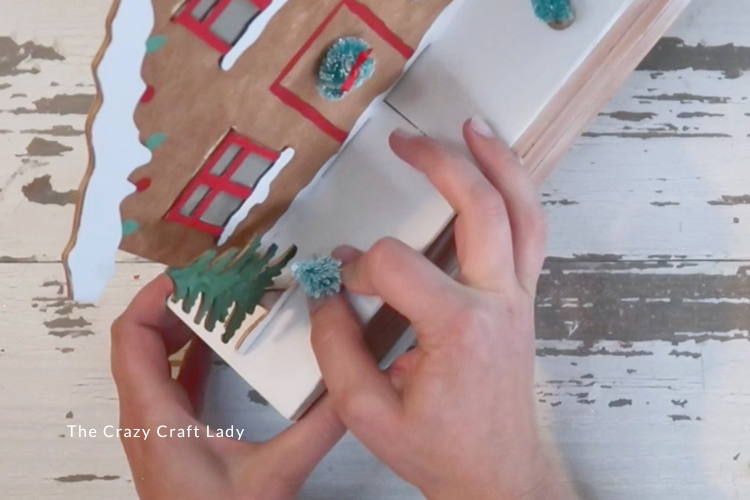
- Final Embellishments. Hot glue the trees to the snowy base — one on each side of the house — and tuck a bottle brush tree beside each one for balance. Glue your tiny candy cane embellishment to the top of the gingerbread house for a finishing touch.


The finished craft

Pin this Gingerbread House craft for later

Crafting with Dollar Tree Christmas Wood Cutouts
This craft was part of a compilation video over on my YouTube Channel, along with: Mini Snowman Decorative Tray, Red Pickup Truck Floral Display, North Pole Arrow, Gold Frame Christmas Ornaments, Christmas Tree Farm Hanging Sign, DIY Sled Ornament, Frosted Snowflake Ornaments, and Tin Tile Christmas Tree.