
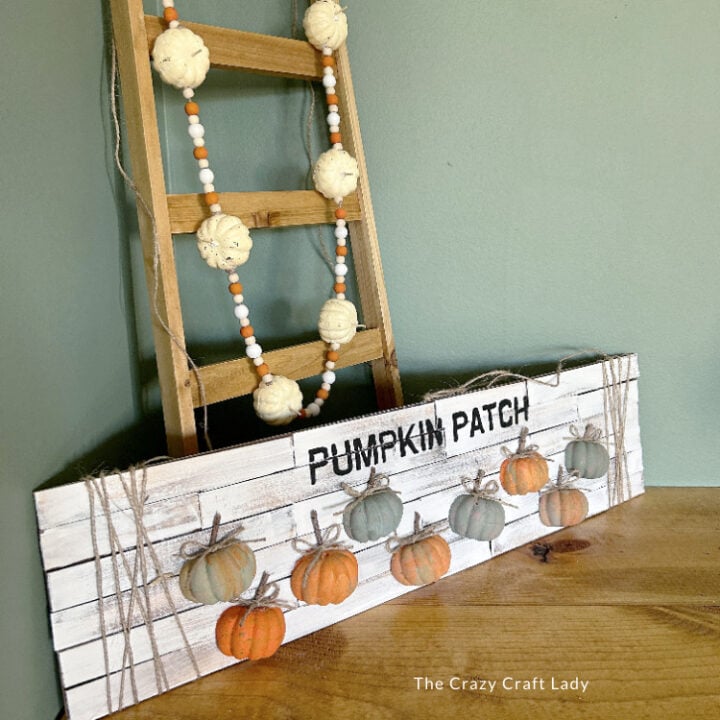
Create a DIY pumpkin patch sign using Dollar Tree supplies! Follow this step-by-step tutorial for rustic faux shiplap, painted pumpkins, and adorable fall décor on a budget.

How to make a DIY Pumpkin Patch Sign using mini foam pumpkins
This post contains some affiliate links for your convenience. Click here to read my full disclosure policy.
Looking for a seasonal fall craft that feels special, dimensional, and completely custom? This DIY Pumpkin Patch Sign is the most time-consuming of all my recent pumpkin crafts — but trust me, the extra effort is so worth it. With a faux shiplap background, hand-painted pumpkins, and rustic twine embellishments, this finished project looks boutique-worthy (for just a few dollars).
Plus, you can customize the size, paint colors, and design to fit any aesthetic. Let’s get crafting!

Video Tutorial: DIY Pumpkin Patch Sign
Watch this quick video to see how this craft came together:
DIY Pumpkin Patch Sign
Turn inexpensive Dollar Tree craft supplies into a charming DIY pumpkin patch sign. Get detailed instructions for shiplap texture, painted pumpkin halves, and rustic fall styling.
Materials
- Dollar Tree sign (any shape will work)
- Jumbo wooden popsicle sticks
- Brown acrylic paint
- White chalk paint (I used Rust-Oleum Linen White)
- Black chalk paint (for lettering)
- Assorted chalk paints: pumpkin orange, moss green, light pink, light blue, light green
- Pumpkin clip set (Dollar Tree, 3-pack)
- Twine
- Small twigs (for stems)
- Bamboo skewers (optional, for drying)
- Printed wording (“Pumpkin Patch”)
Tools
- Hot glue gun & glue sticks
- Heat gun (for removing stickers)
- Pencil
- Painters tape
- Silicone fingertip protector (highly recommend!)
- Crafting saw or serrated kitchen knife
- Fine-point paintbrush
- 1-inch flat paintbrush
- Miter shears (for trimming popsicle sticks)
- Mason jar (or similar) for drying pumpkins
Instructions
- Watch the video. Follow along with the video tutorial for a walkthrough on how to make your own DIY pumpkin patch sign.
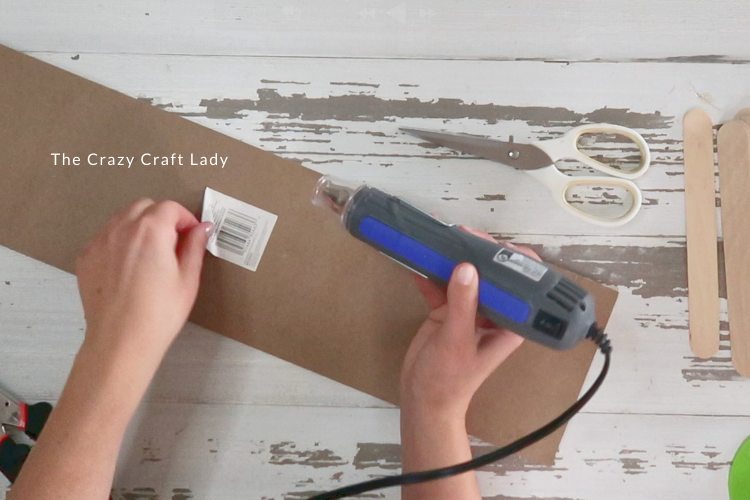
- Prep the Sign. Choose a Dollar Tree sign (mine originally said “Porch”). Remove any embellishments and peel the backing sticker. A heat gun helps loosen stubborn adhesive. Flip the sign over — we’re using the back for this project.

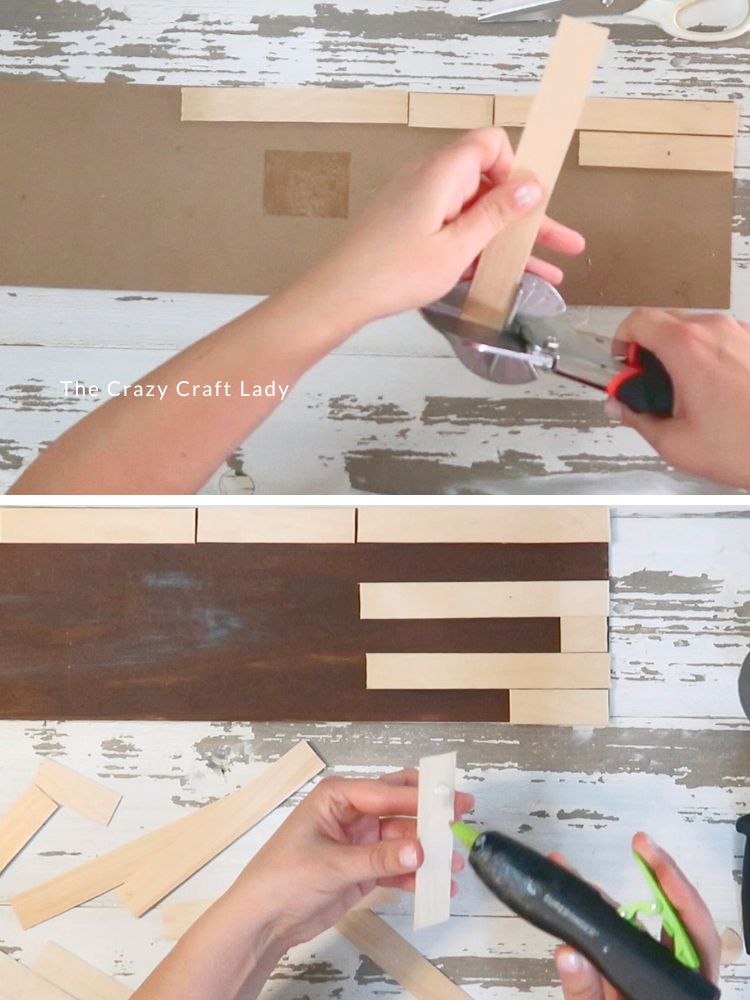
- Cut Your Popsicle Sticks. Using miter shears, trim the rounded ends off several jumbo popsicle sticks. If cutting through is tough: Score the stick lightly and then snap it off cleanly. This prevents hand fatigue while crafting.

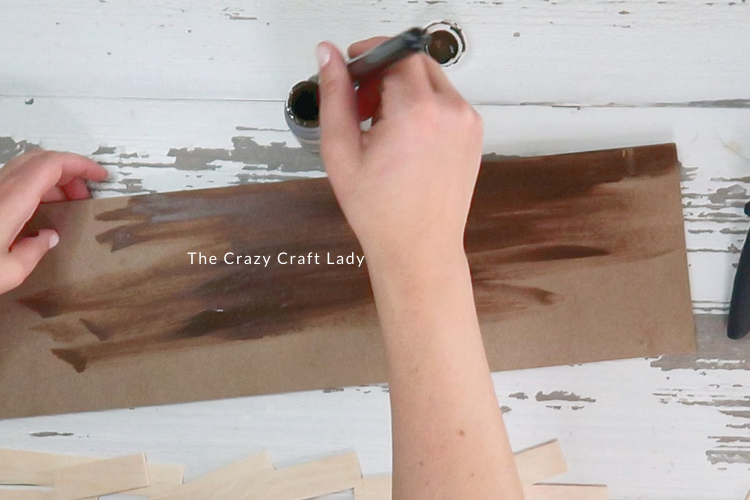
- Paint the Background. Before gluing anything down, paint the cardboard backing brown (or black). It doesn’t need perfect coverage — just enough so bare cardboard won’t peek between the sticks later.
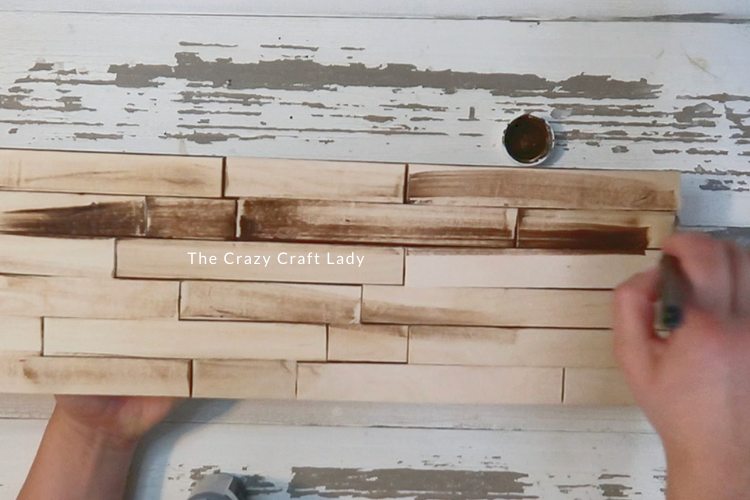
- Create a Faux Shiplap Pattern. Start hot gluing your trimmed popsicle sticks horizontally across the sign. Cut each row in different lengths to achieve a staggered, rustic layout. To keep spacing consistent: Glue one stick from each row down the right side, then fill in the rest and continue until the entire surface is covered.
- Add Distressed Brown Paint. Once assembled, dry-brush additional brown paint over the popsicle sticks. This gives them dimension, texture, and warm undertones. Let dry.
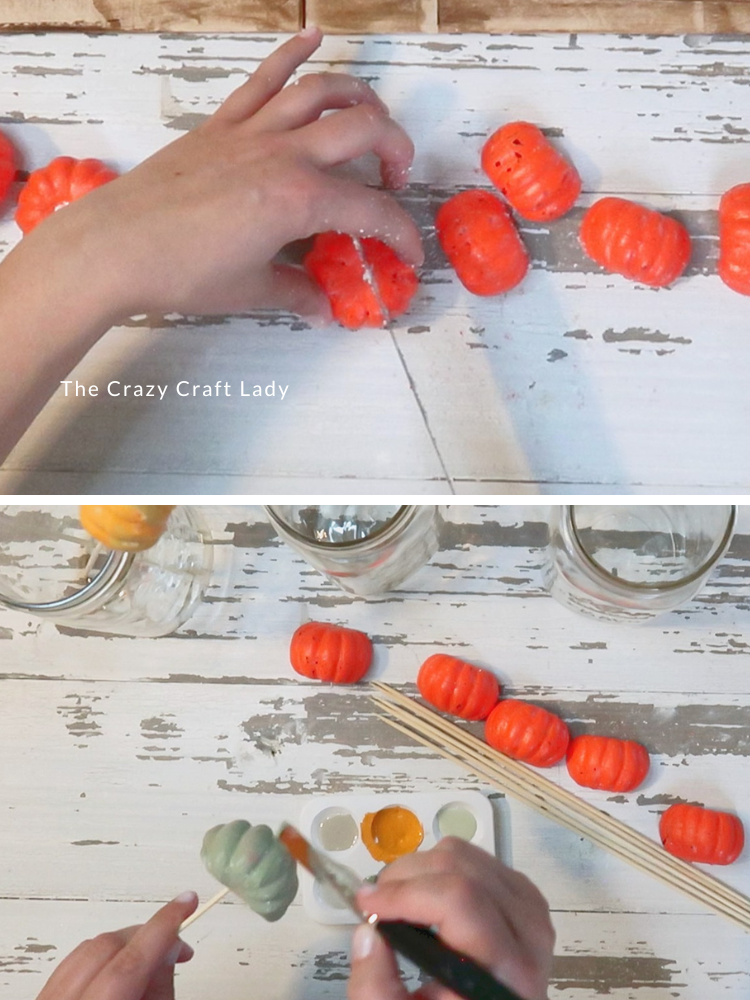
- Prepare Your Pumpkins. Remove all pumpkin clip hardware — stems and metal clips are not needed. Using a crafting saw (or serrated kitchen knife), cut each pumpkin in half. You’ll need nine halves total (4½ pumpkins). Place each half on a bamboo skewer stuck into a mason jar to make painting easier.
- Paint the Pumpkin Halves. Use streaky, curved brushstrokes for natural pumpkin texture. Feel free to get creative and mix colors to achieve the prefect tones. Paint each pumpkin slightly differently for variation. Let dry upright on skewers.
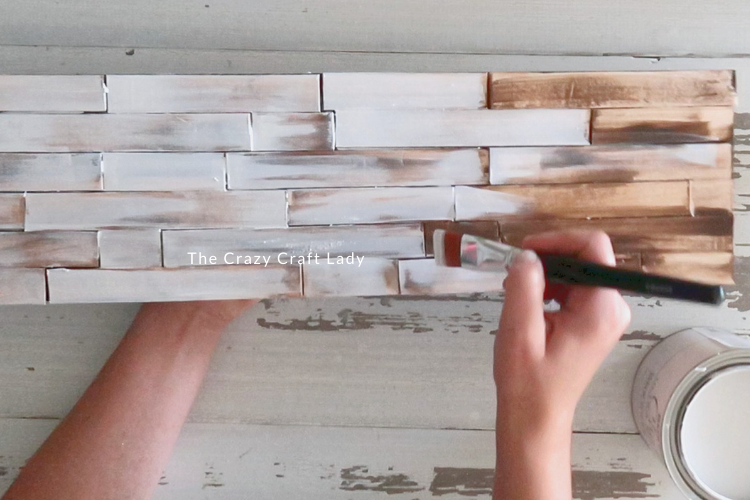
- Paint the Faux Shiplap White. Brush white chalk paint across all popsicle sticks using full strokes: Start each stroke from the edge of the stick. This avoids obvious paint lines and creates a natural wood-grain appearance.
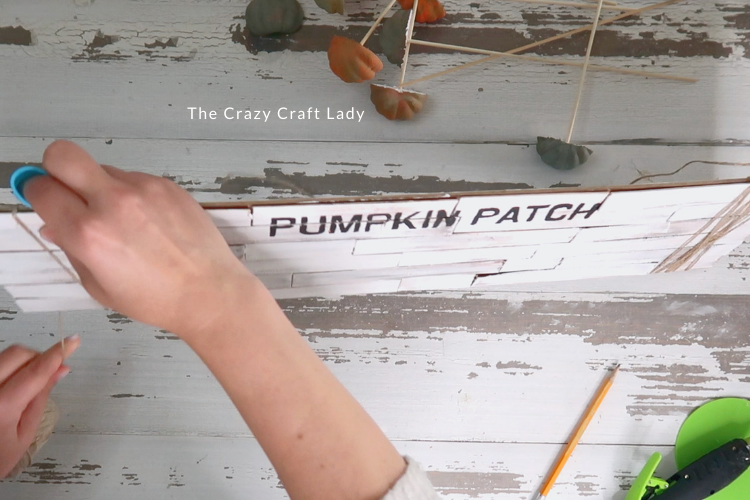
- Transfer Your Wording. Print the words “Pumpkin Patch” in any font that you like. Flip the paper over and heavily scribble pencil anywhere ink appears on the front. Flip it back ink-side-up, tape to your sign, and trace the letters. This transfers a faint pencil outline — think carbon paper, but DIY!
- Paint the Letters. Using black chalk paint and a fine-point brush, carefully fill in the transferred lettering.
- Wrap Twine Ends. On each end of the sign: Hot glue the twine on the back, wrap five to six times, and secure with hot glue again. Bring the twine across the top to form a long adjustable hanger and repeat on the opposite side.
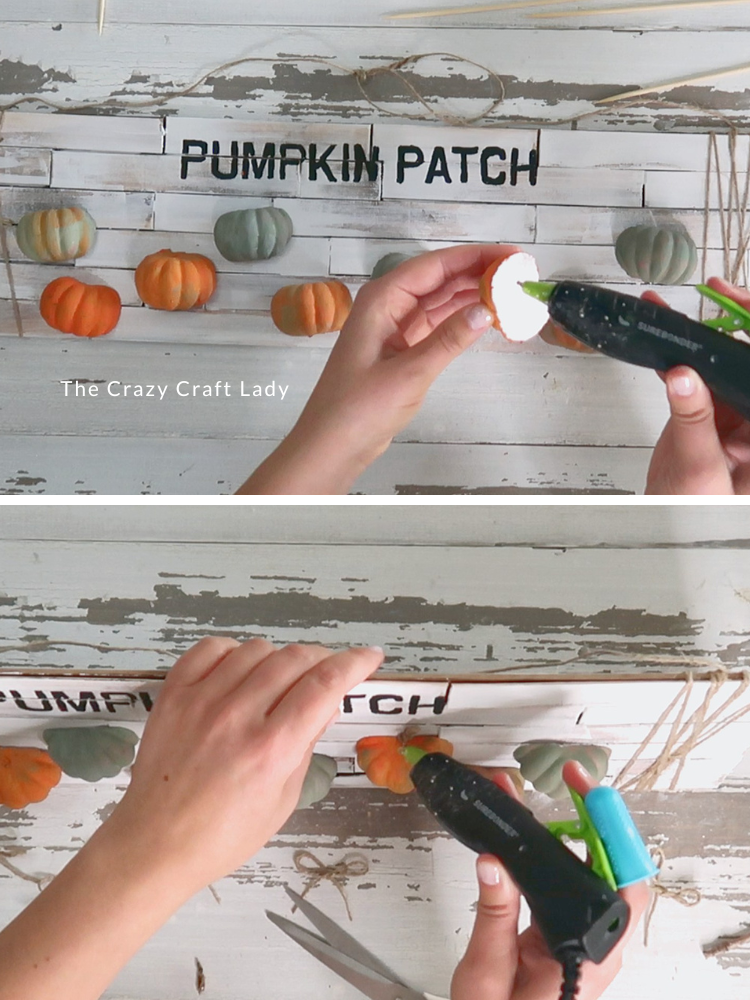
- Attach the Pumpkins Pop your pumpkin halves off the skewers and dry-fit them onto the sign. Tilt or angle some for a whimsical, wonky style. Hot glue in place.
- Add Stems and Bows. Cut tiny twig pieces about ½–¾ inch long. For each pumpkin: Hot glue a twig “stem”, and then add a small twine bow (use the bunny-ear tying method).
The finished craft

PIN this craft for later:
