
Try these 6 Dollar Tree calendar page Christmas crafts! Turn pretty calendar artwork into ornaments, a winter vase, snowman art, and cozy holiday decor.
This post contains some affiliate links for your convenience. Click here to read my full disclosure policy.
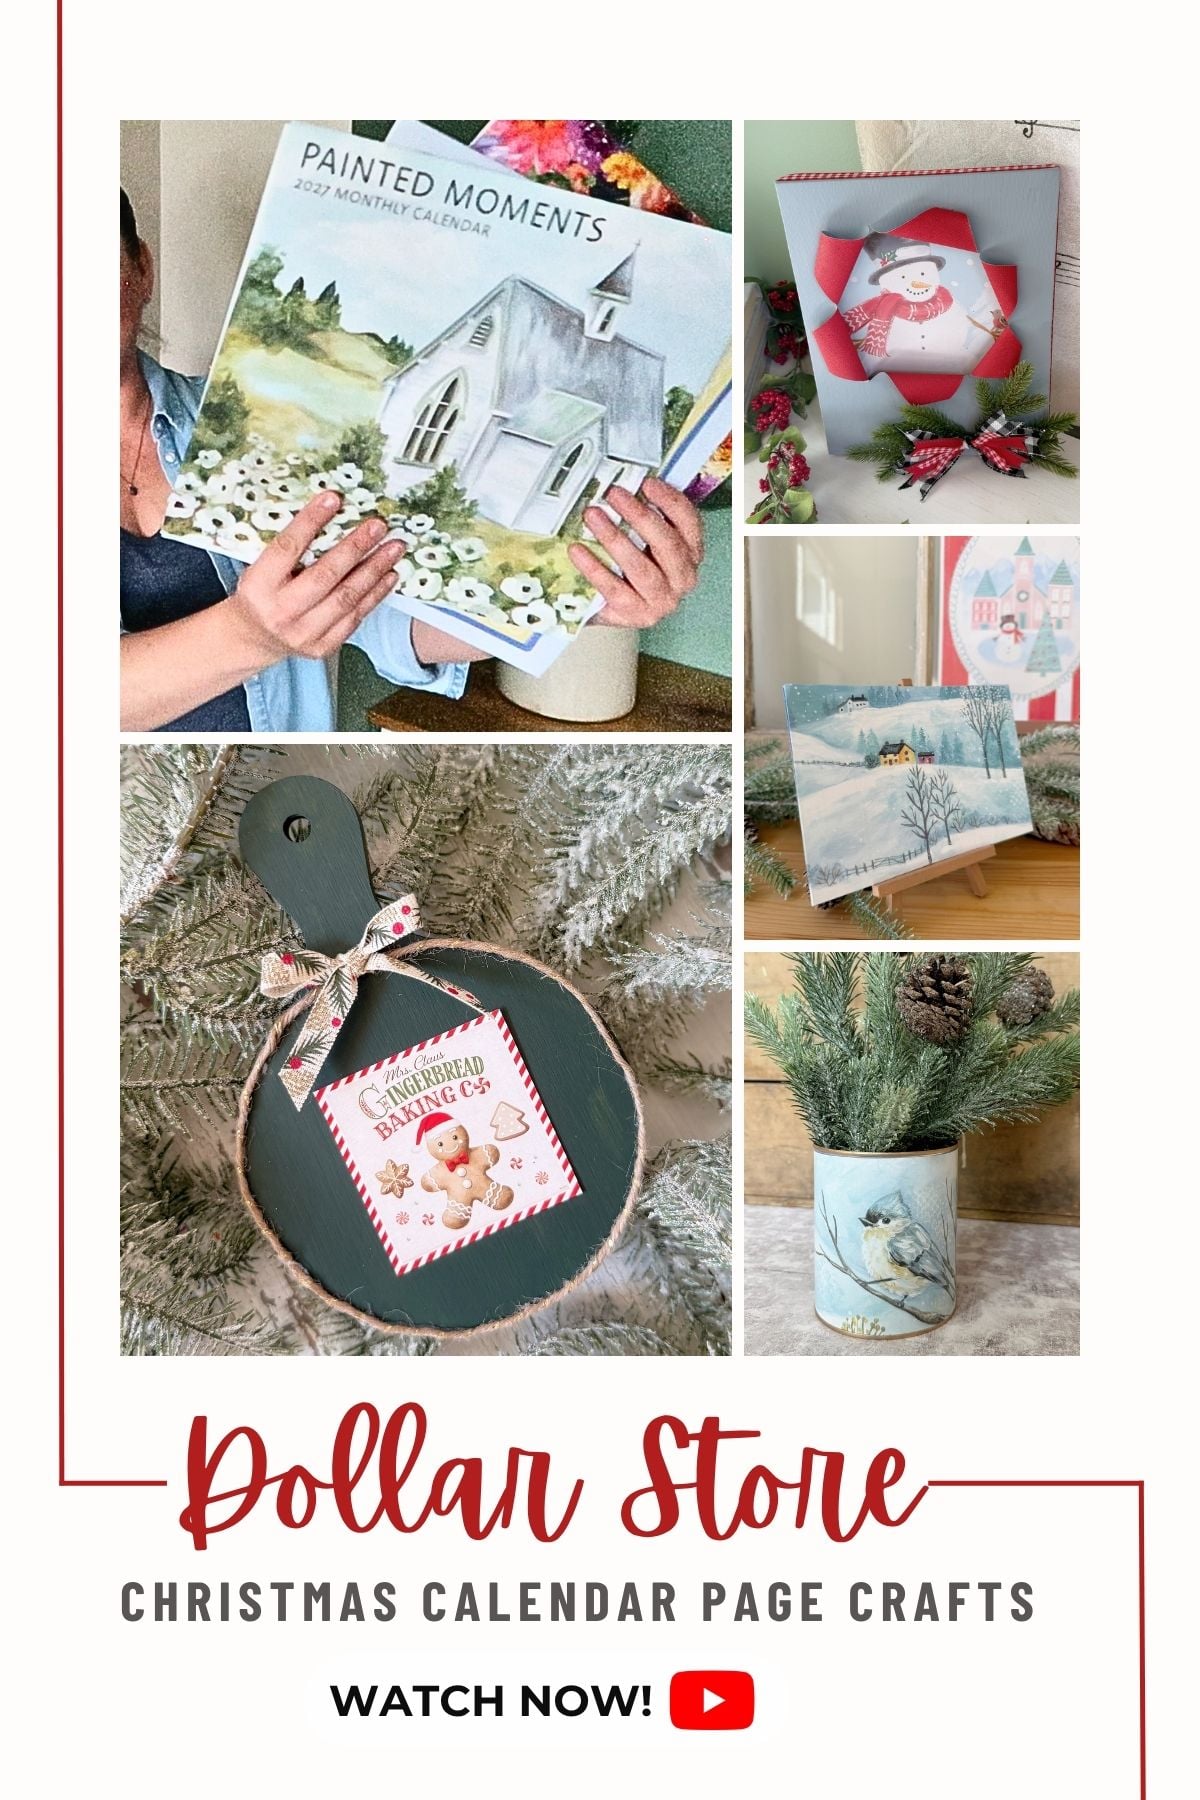
Those pretty Dollar Tree calendars aren’t just for keeping track of the days! With a few basic supplies, the artwork can become Christmas ornaments, winter shelf decor, and the cutest little kitchen accents.
These Dollar Tree calendar page Christmas crafts use everything from larger winter scenes to leftover paper scraps and those tiny preview pictures on the back cover. Because if there’s a cute gingerbread picture involved, you know I’m finding a way to craft with it!
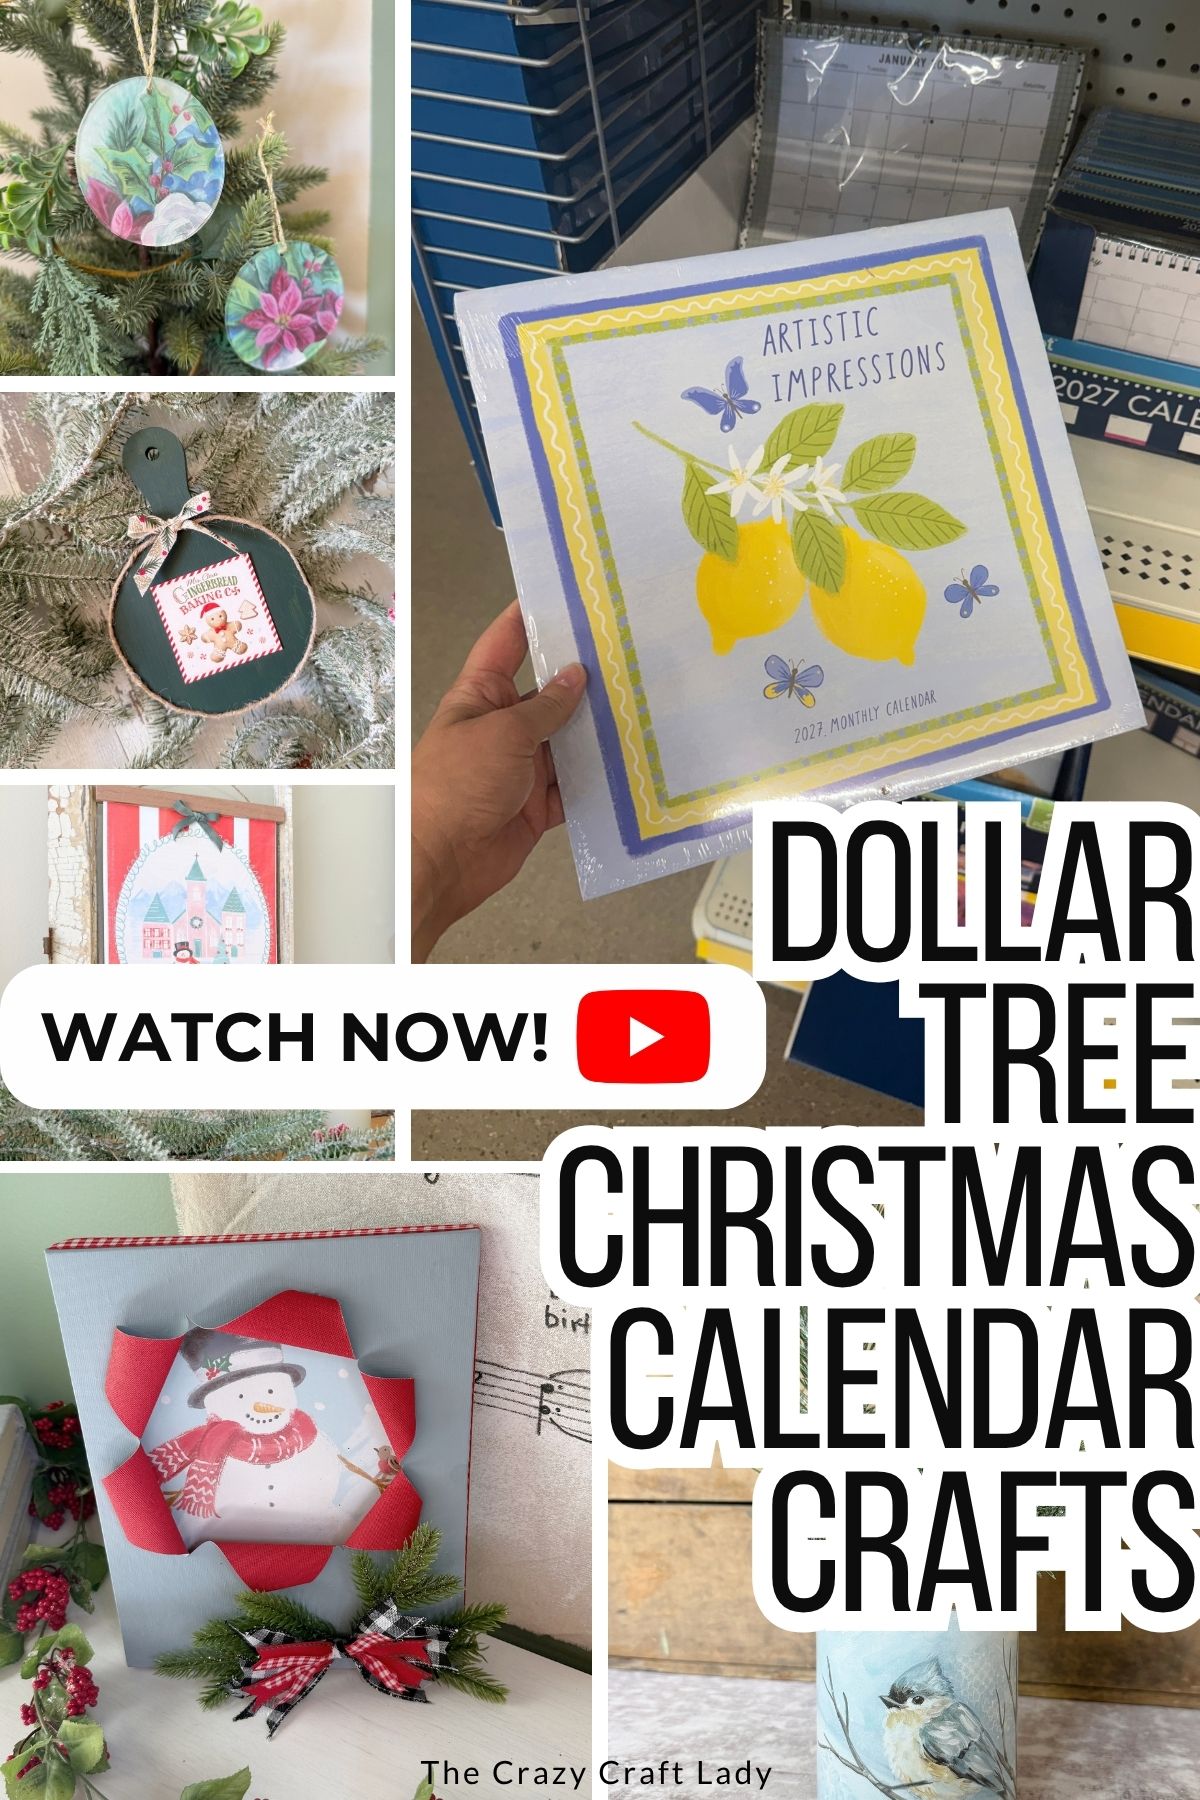
Some projects are ready for Christmas, while others can stay out through winter. Grab a calendar, dig into your ribbon stash, and let’s give those pictures a new purpose.
Watch the Video Tutorial
Start by watching the video tutorial above, right here in this blog post. You’ll see all six projects come together, including the little tricks I used to cover gaps, finish the backs, and make the most of each calendar image.
Dollar Tree Calendar Page Christmas Crafts
Discover 6 Dollar Tree calendar page Christmas crafts, from a snowman busted canvas to a mini gingerbread cutting board. Easy ideas for festive DIY decor!
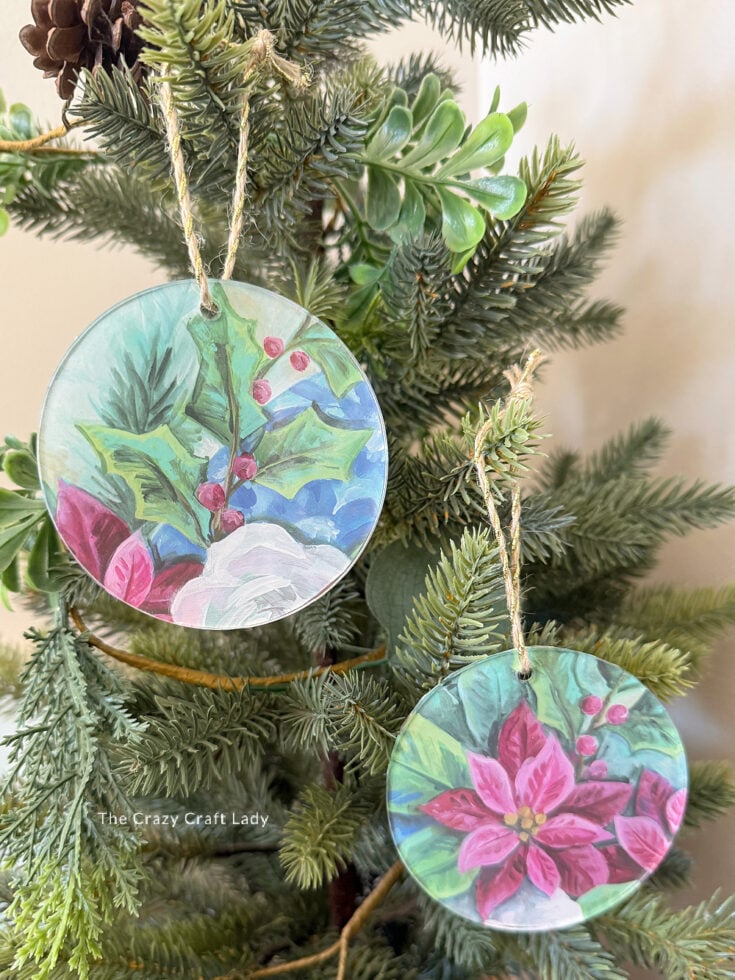
Floral Acrylic Calendar Page Ornaments
Clear acrylic ornament blanks make sweet little frames for smaller calendar details. I positioned mine over red and white flowers, traced the circles, and attached the images so the artwork shows through the acrylic.
Burgundy cardstock covers the calendar grids on the backs, and gold-threaded jute twine adds simple hangers. That way, the ornaments look pretty even when they turn around on the tree!
My favorite tip: Choose a page with several small details rather than one large focal point. You can make a coordinating set by featuring a different flower in each ornament.

Winter Calendar Tin Can Vase
An empty crushed tomato can gets a cozy makeover with a snowy calendar scene, antique gold rims, and a few faux evergreen sprigs.
I wrapped the can with cardstock first to help keep its ridges from showing through the thin calendar paper. Then I added the artwork with double-sided tape. When the paper didn’t quite meet at the back, a strip of natural jute ribbon covered the gap. Easy peasy!
My favorite tip: Save the original can label in one piece. It makes a handy template for cutting the paper to the right height.
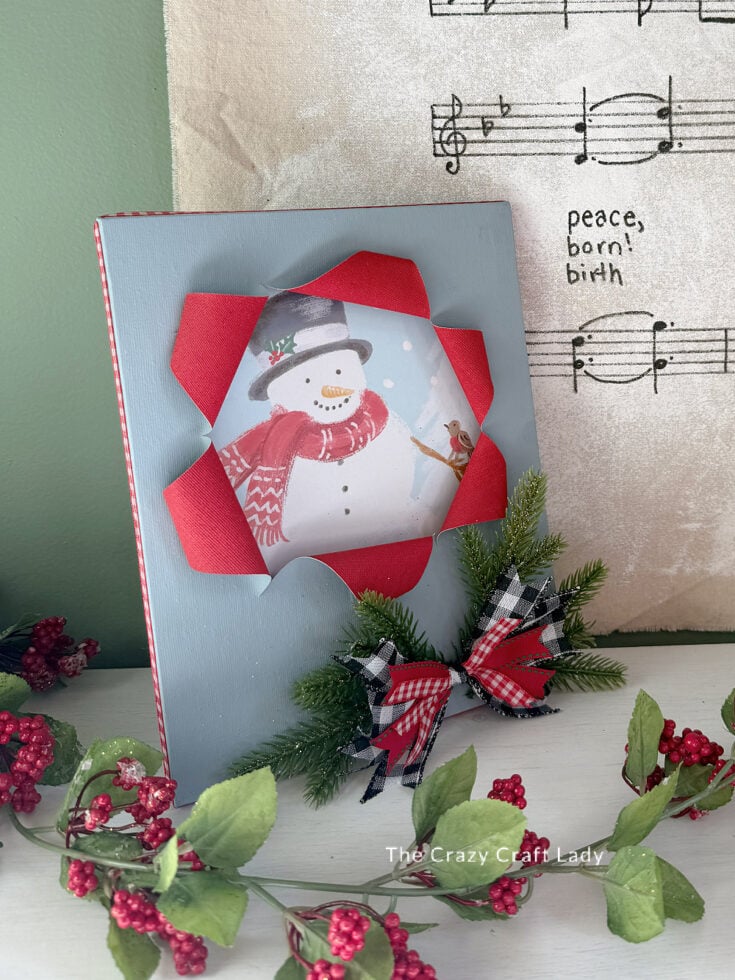
Snowman Busted Canvas
Busted canvas crafts are one of my favorite seasonal projects, and this snowman scene was perfect for a winter version.
I painted the front of an 8-by-10 stretched canvas soft blue and the inside red to match the snowman’s scarf. The calendar artwork sits on a cardboard backer behind the canvas. Cutting and rolling back triangular sections reveals the picture and those bright red curls.
Faux pine sprigs, checked ribbon trim, and a scrappy bow finish the bottom.
My favorite tip: Plan the opening around the artwork before cutting. Start with shorter cuts and adjust them as you roll the canvas back.
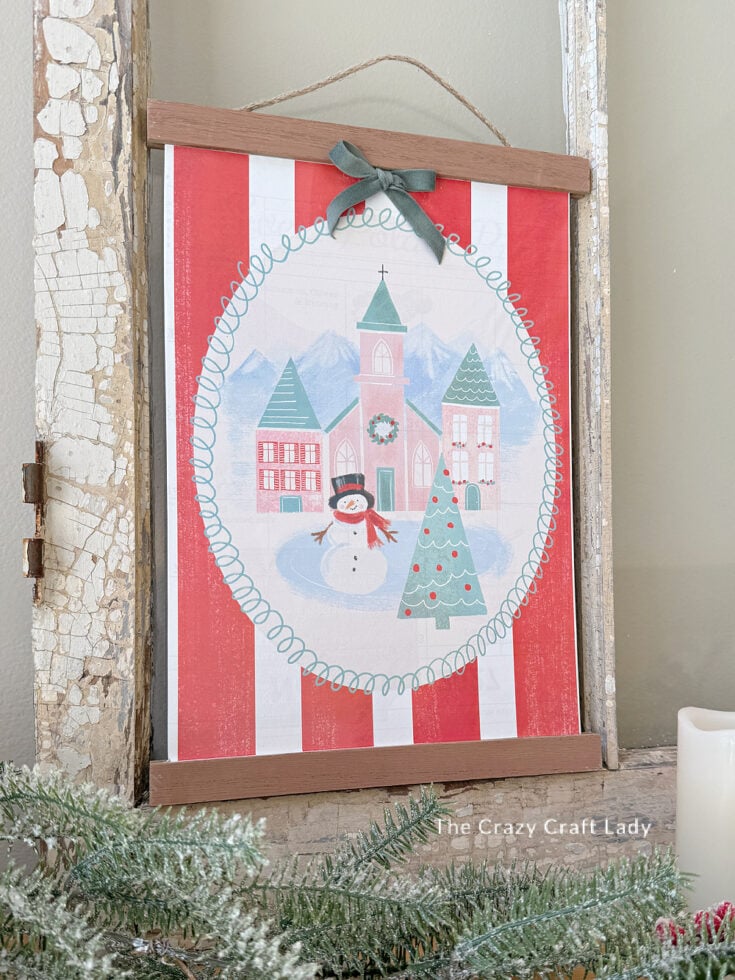
Christmas Village Hanging Sign
A Thanksgiving recipe-style sign becomes Christmas decor with a snowy village calendar page and a teal velvet bow.
I removed the raised embellishment and sanded away glitter and leftover glue, keeping the sign’s faux wood bars at the top and bottom. The calendar artwork covers the center panel, and extra paper folds around the sides onto the back.
A simple bow covers the calendar’s hanging hole and picks up the colors in the scene.
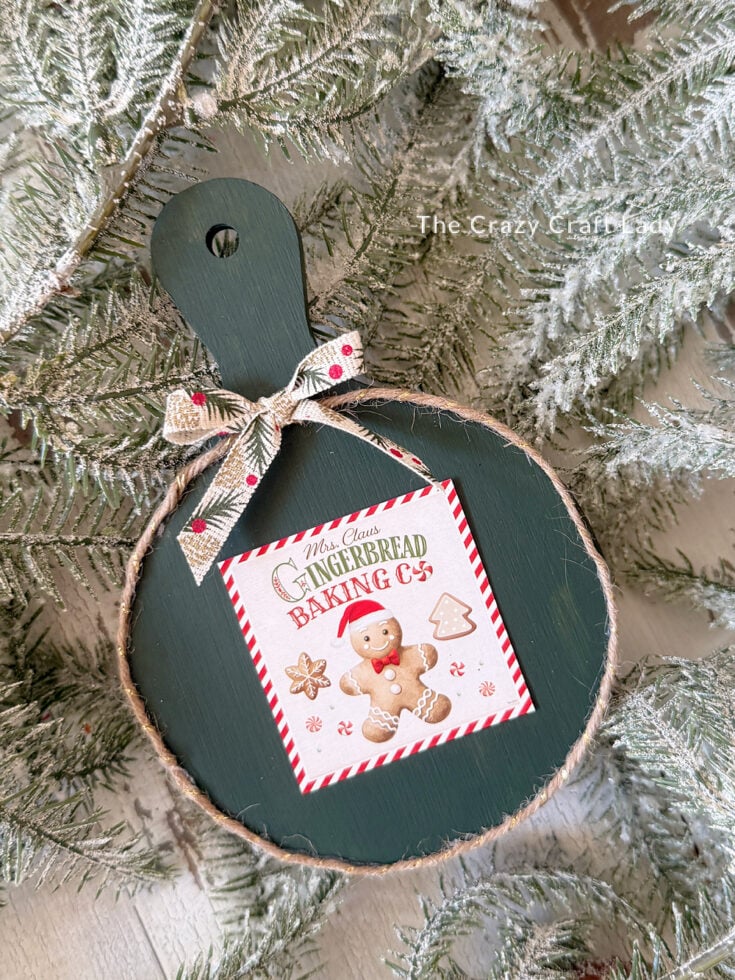
Mini Gingerbread Cutting Board Craft
This tiny Christmas kitchen craft uses the gingerbread preview image from the back of a Dollar Tree calendar. The full December artwork was too large, but the little thumbnail fit my mini bamboo cutting board beautifully.
I painted the board green, attached the picture with a school glue stick, and added thin holiday twine around the round perimeter. A tiny ribbon bow hides the twine join at the top.
My favorite tip: Don’t overlook the calendar’s back cover! Those small preview images are handy for miniature decor projects.
Display this decorative board on a shelf, in a kitchen vignette, or on a tiered tray with your other gingerbread goodies.
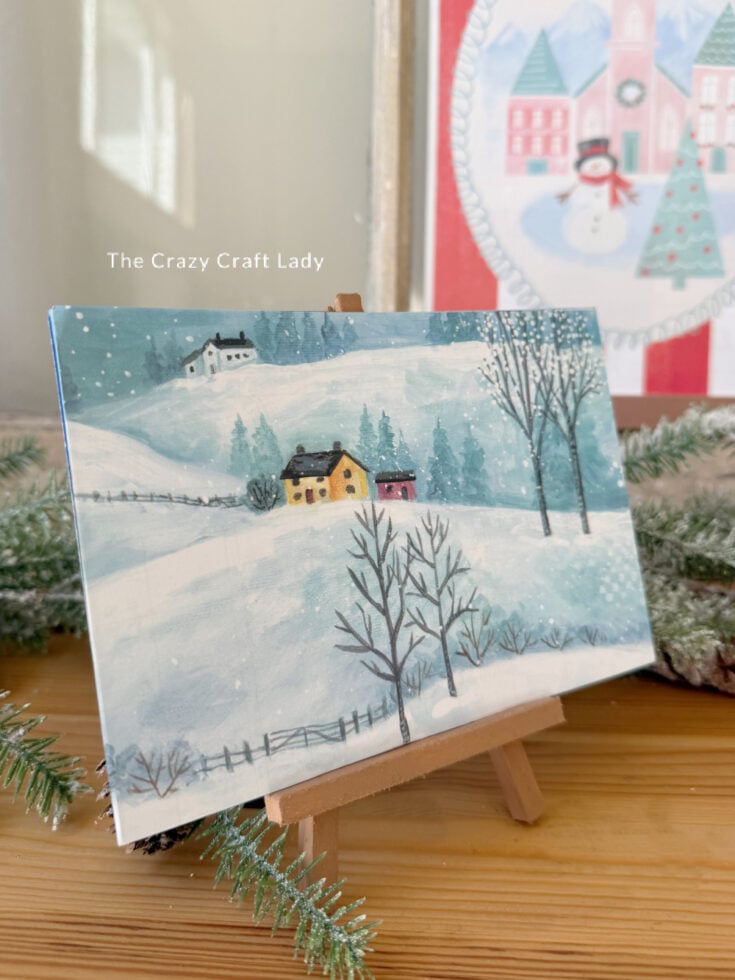
Mini Winter Canvas and Faux Wood Easel
Those seasonal painting kits for kiddos can become tiny pieces of winter artwork! I covered the preprinted canvas panel with a leftover snowy scene from my tin can vase project.
Blue paint finishes the panel edges, and coordinating cardstock covers the back. For the plastic easel, I sanded away the shine, added subtle lines to suggest wood grain, then primed and painted it a warm brown.
The finished piece is a cute little shelf sitter that doesn’t need a frame or wall space.

Decoupage Calendar Page Ornaments
These Decoupage Calendar Page Ornaments are perfect if you're looking for a unique decoration for your Christmas tree.

Pizza Pan Christmas Door Hanger
Grab a pizza pan from the Dollar Store and get ready to make a super cute Pizza Pan Christmas Door Hanger.
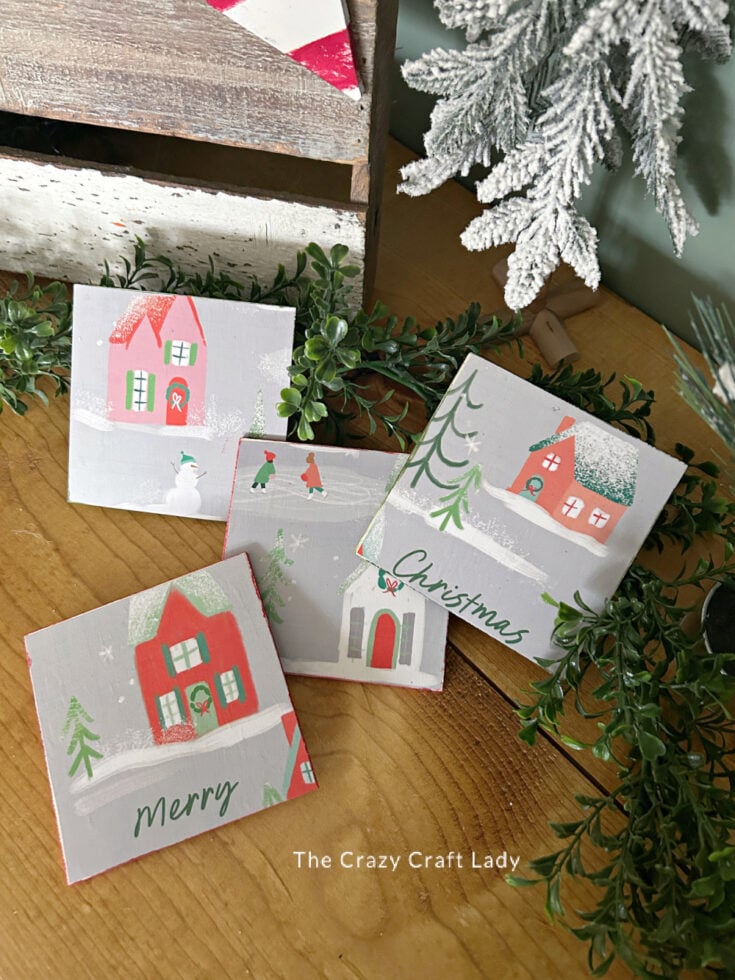
Calendar Page Decoupage Christmas Coasters
Make stunning calendar page decoupage Christmas coasters with inexpensive Dollar Tree supplies. A simple holiday craft that's perfect for decorating or giving as handmade gifts.
Tips for Making Dollar Tree Calendar Page Christmas Crafts
- Plan before cutting. Position your surface over the artwork so you keep the details you love.
- Save the scraps. Leftover sections can become mini art or ornaments.
- Keep the cardboard insert. I reused mine as the backer for the busted canvas.
- Choose adhesive for the project. These crafts use Mod Podge, double-sided tape, and glue sticks for different surfaces and finishes.
- Finish the visible edges and backs. Coordinating paint or cardstock makes a big difference.
- Use what you have. Ribbon scraps, an empty can, and a sign ready for a makeover are all fair game!