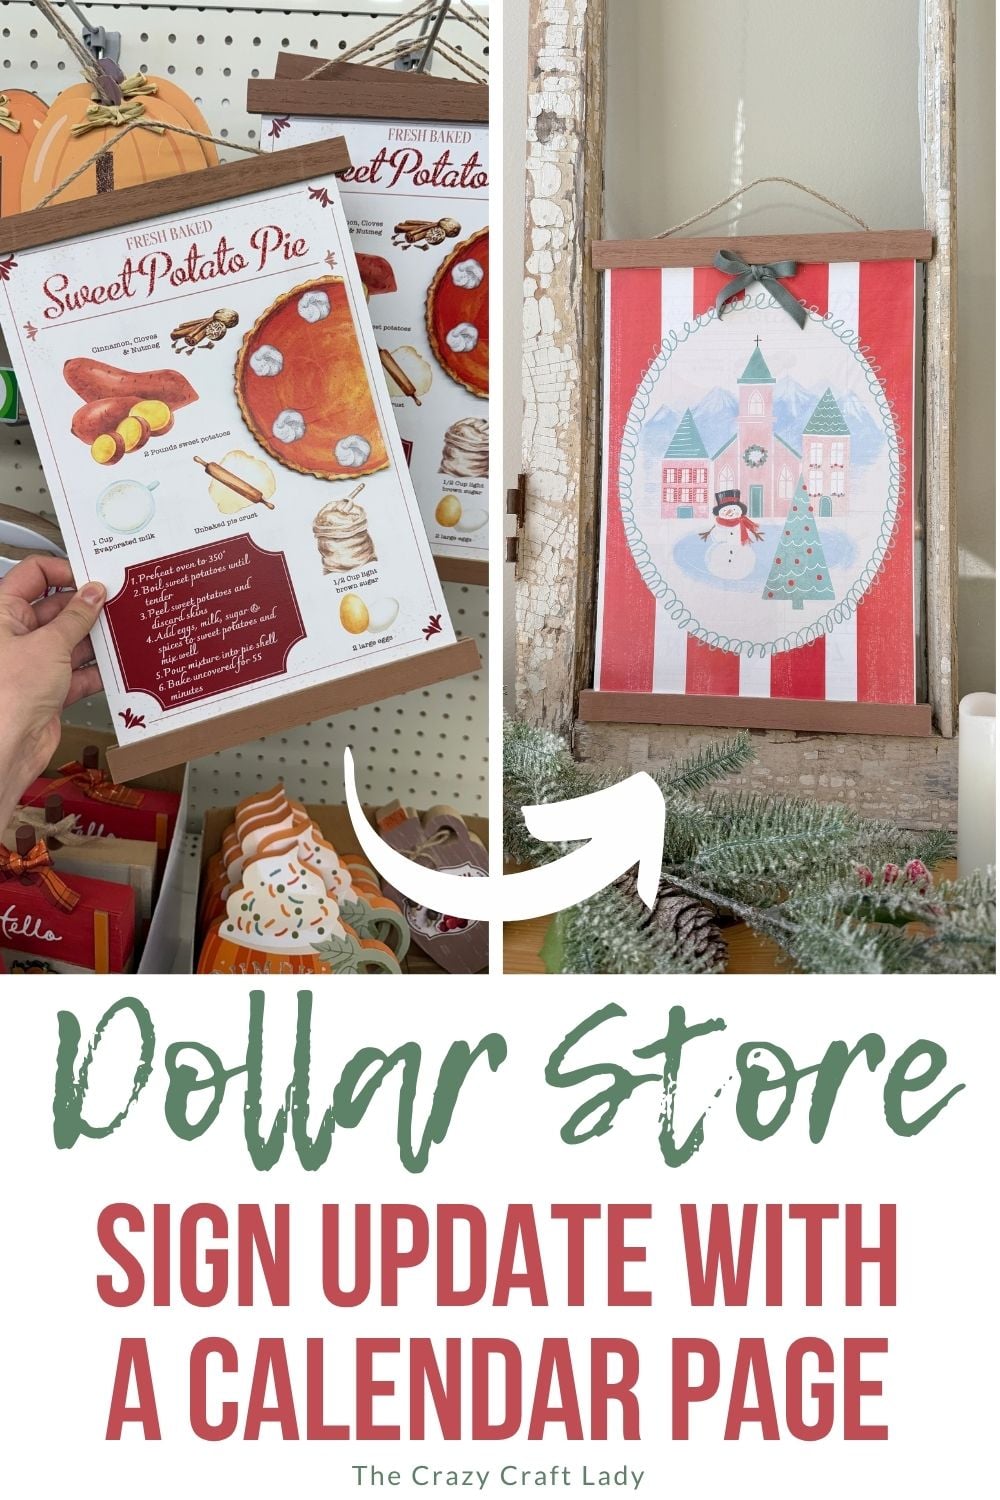
Make a Dollar Tree calendar Christmas sign with winter village artwork, Mod Podge, and a velvet bow. An easy makeover for a seasonal hanging sign!
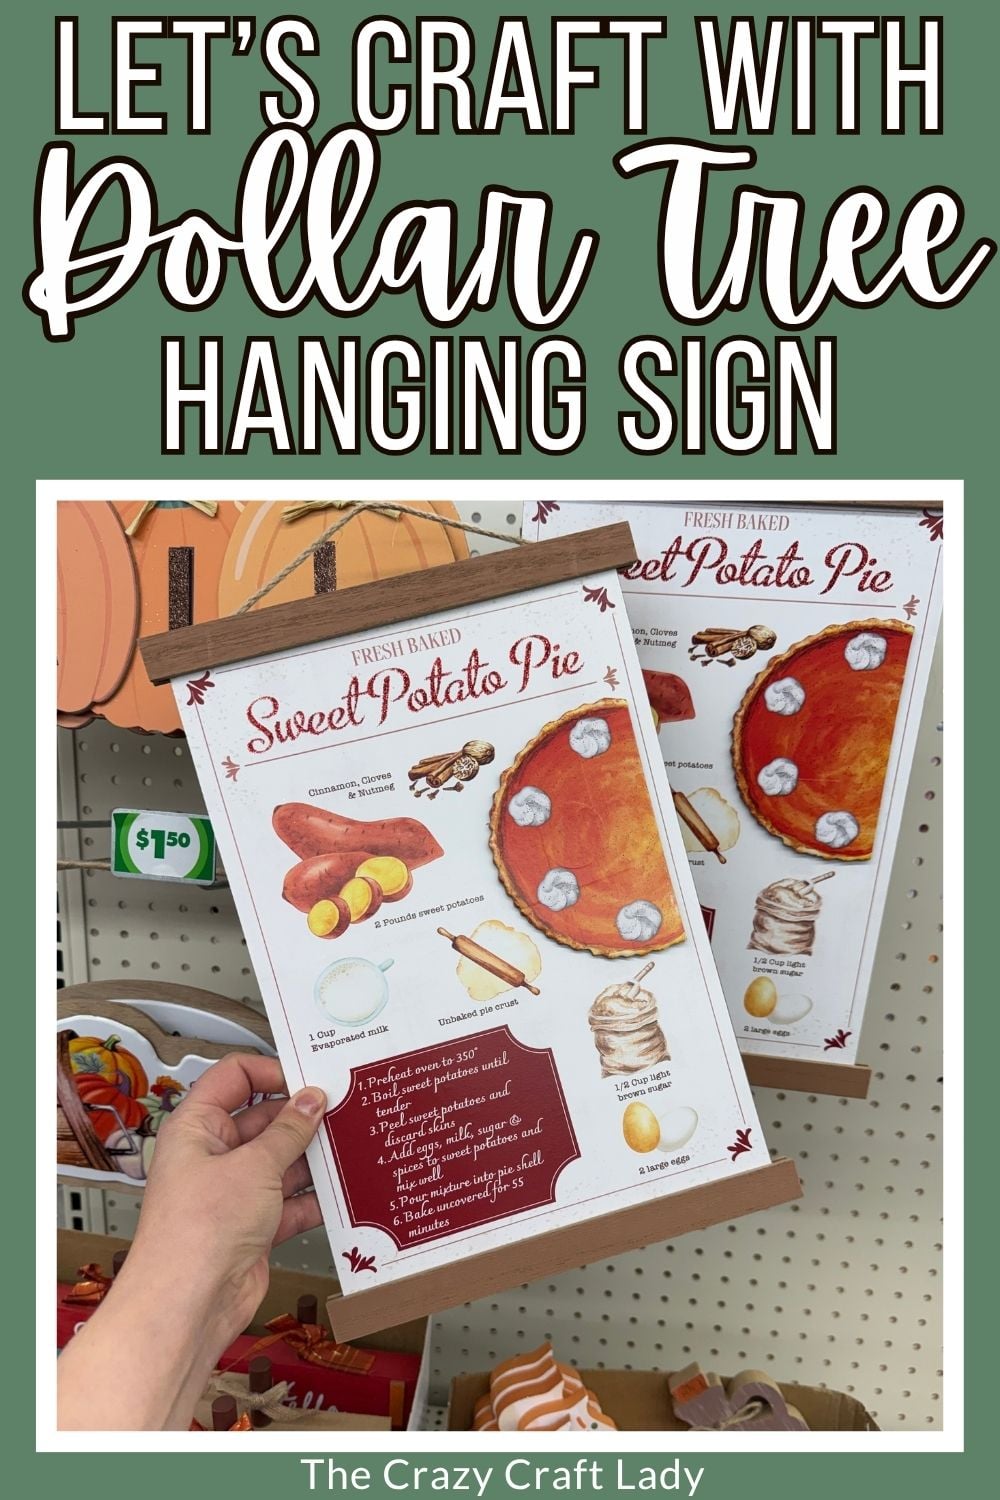
Dollar Tree Calendar Christmas Sign with a Winter Village Scene
This post contains some affiliate links for your convenience. Click here to read my full disclosure policy.
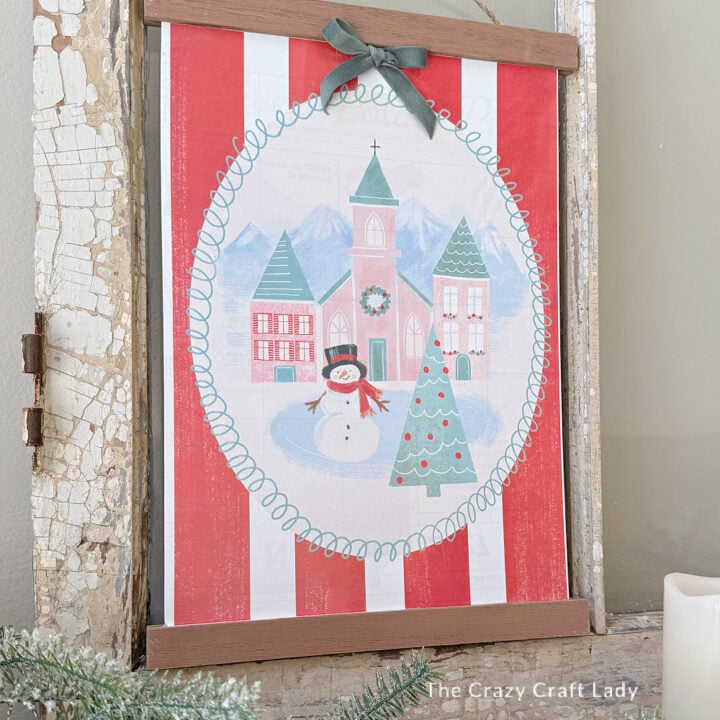
A Thanksgiving sign doesn’t have to stay a Thanksgiving sign! For this Dollar Tree calendar Christmas sign, I covered a seasonal hanging sign with a pretty winter village calendar page and finished it with a simple velvet bow.
The sign already had faux wood bars across the top and bottom, which gave it that hanging poster look. All it needed was a new picture and a little crafty attention. And yes, a reminder to double-check that the artwork is centered. Learn from my mistakes, friends!
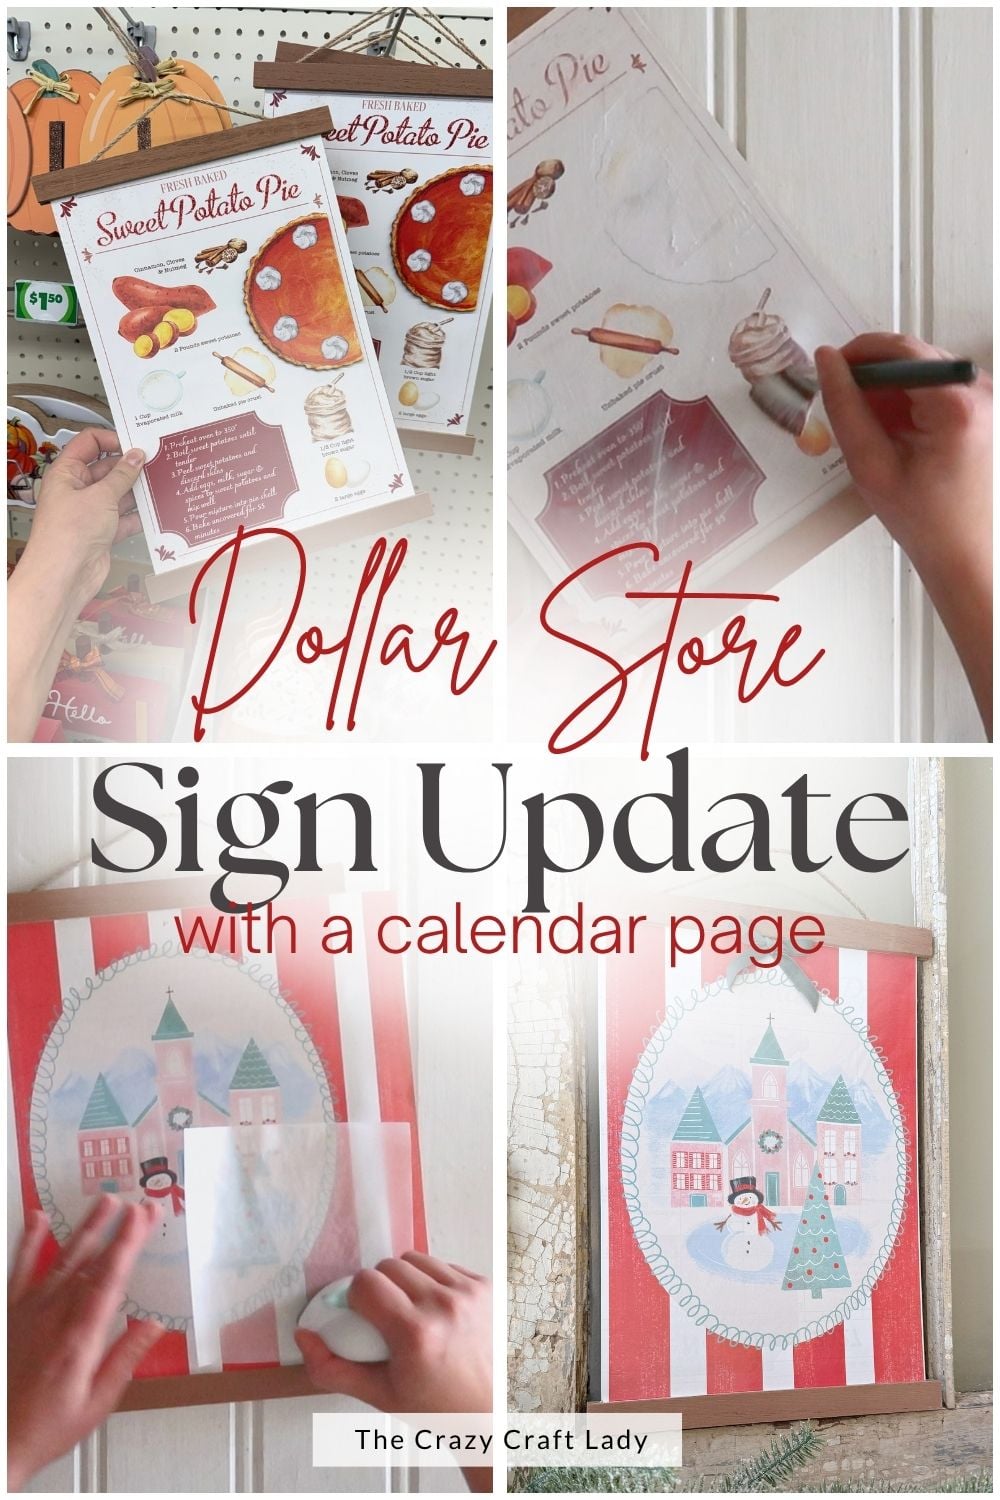
Supplies and Equipment
Supplies
- Dollar Tree hanging sign with top and bottom faux wood bars
- Calendar page with Christmas or winter artwork
- Mod Podge
- Double-sided tape
- Coordinating ribbon—I used teal velvet ribbon
- Hot glue sticks
- Optional: paint or scrapbook paper to finish the back
Equipment
- Sanding block or small sanding tool
- Paintbrush or foam brush
- Scissors
- Parchment paper
- Small craft heat press suitable for your materials
- Hot glue gun
- Cloth or small vacuum for cleaning up sanding dust
Picking a Sign and Calendar Page
Look for a Dollar Tree hanging sign with a flat center panel and decorative bars across the top and bottom. Mine was a Thanksgiving recipe-style sign with a raised embellishment and glitter lettering.
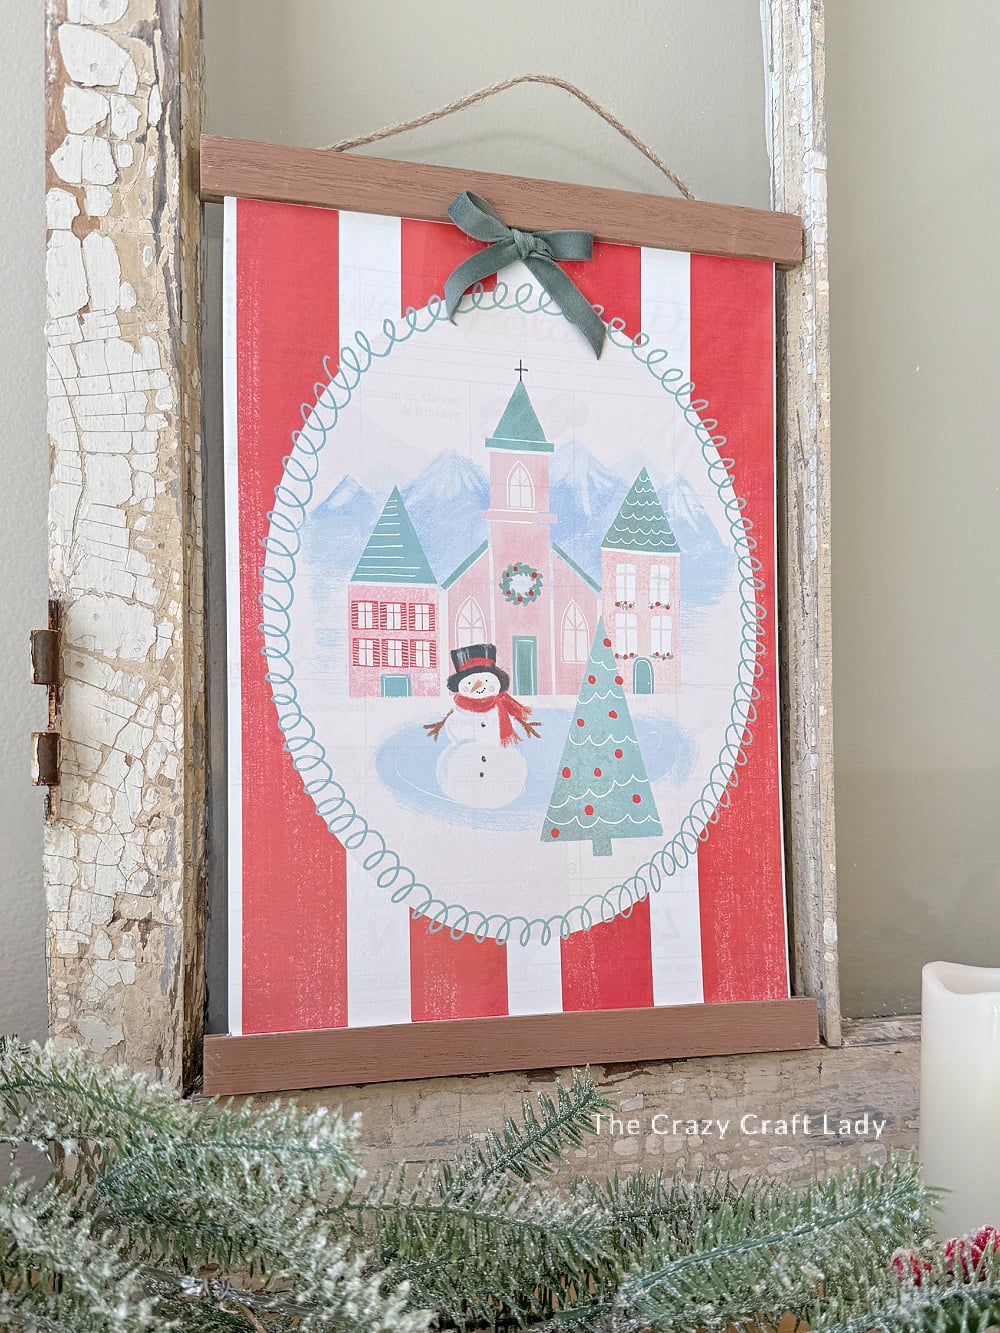
For the artwork, I chose a Christmas calendar page with a snowy village and snowman scene. Pick an image that fits the center panel and coordinates with the trim you want to keep.
I worked on the front to preserve the faux wood finish on the bars. You can also use the back of the sign to avoid removing the front decorations, but you may need to paint the backs of the bars for a finished look.
How to Make a Dollar Tree Calendar Christmas Sign
Step 1: Watch the Video Tutorial
Watch the video tutorial located above, right here in this blog post, to see how I prep the sign, attach the calendar artwork, and finish it with a velvet bow. Then follow the steps below to make your own.
Step 2: Remove the Decorations and Smooth the Sign
Carefully remove any raised embellishments from the front of the sign. Sand away leftover hot glue and glitter until the center panel feels smooth.
Take a little extra time here. Any glue bumps or glitter left behind can show through the thin calendar paper.
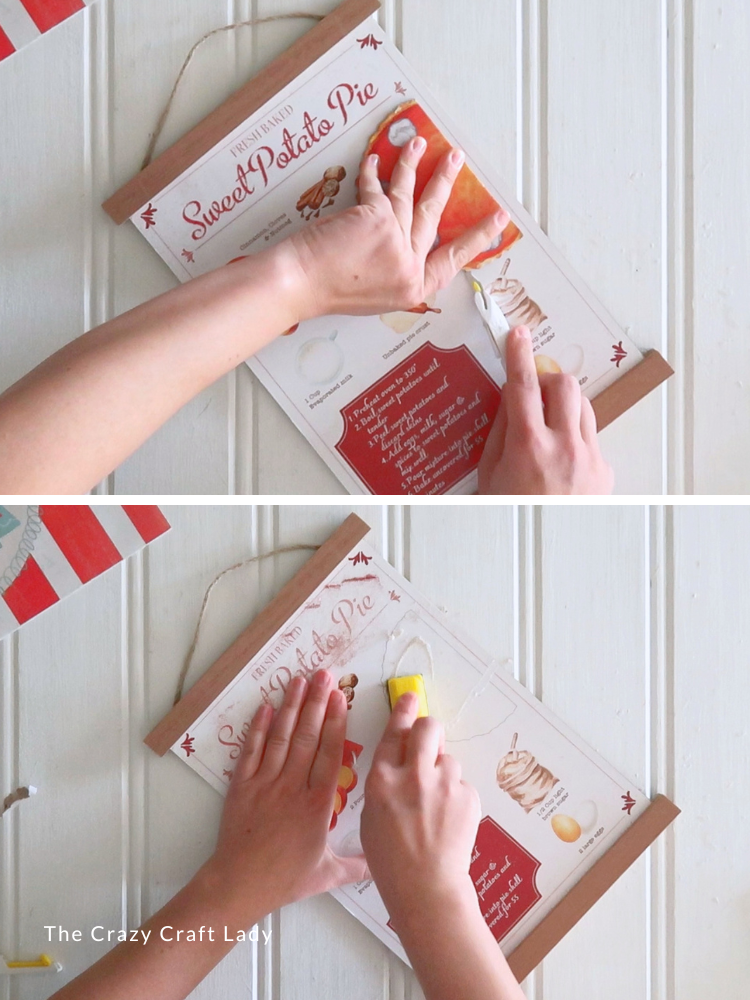
Brush or wipe away the sanding dust before moving on. My little desktop vacuum came in handy for this messy part!
Step 3: Check the Fit and Center Your Artwork
Place the calendar page over the sign to see how the picture fits between the top and bottom bars. Trim any extra height as needed. Mine needed a small trim along the bottom.
You can leave extra paper along the sides to fold around the back later. Before adding adhesive, check the image placement carefully. Look at the scene itself as well as the paper edges, and make sure your favorite details are where you want them.
I thought mine was centered, but the finished sign told a different story. Do as I say, not as I do on this step!
Step 4: Attach the Calendar Page
Brush an even, generous coat of Mod Podge over the sign’s flat center panel, avoiding the faux wood bars.
For the heat-setting method, allow the adhesive coat to dry before positioning the calendar page over it. Place the artwork where you planned it, then cover it with parchment paper. Using a craft heat press, begin in the center and work outward in sections toward the edges. This helps you smooth the paper without trapping bubbles in the middle.
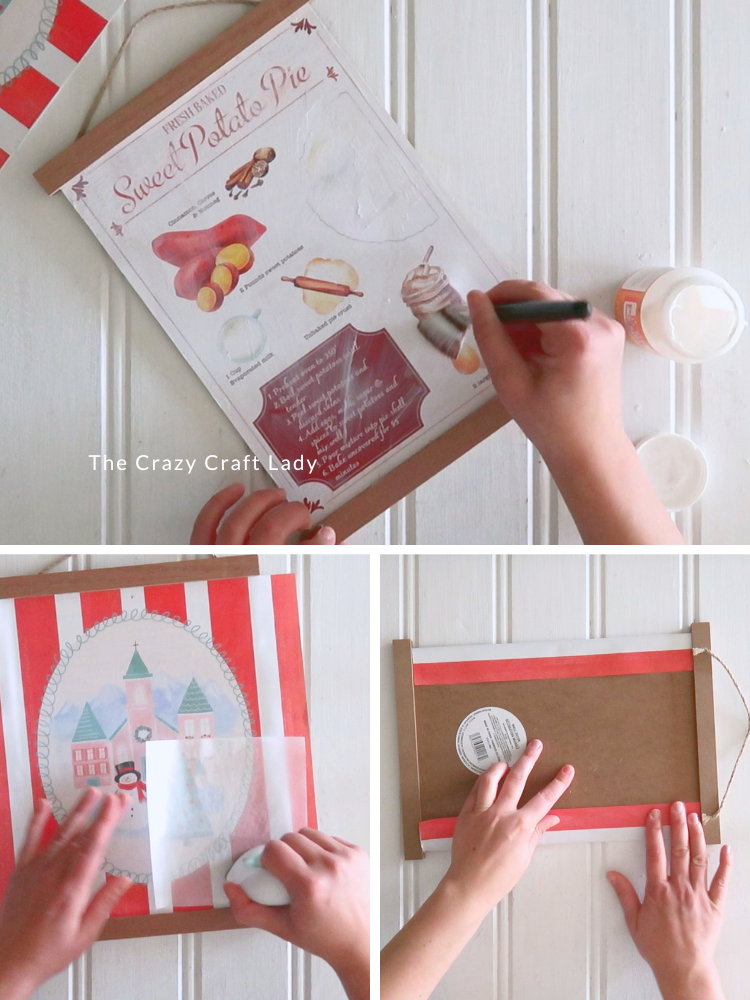
Keep the parchment paper between the heat press and your artwork, and avoid pressing over the raised trim. Let the sign cool, then check that the paper is attached.
Step 5: Fold and Secure the Side Edges
Turn the sign over and fold the extra calendar paper around the sides onto the back. Add a few pieces of double-sided tape to secure those folded edges. This was an easy way to finish the sides without trying to trim the paper perfectly flush.
You can leave the back as it is, paint it, or cover it with coordinating scrapbook paper. Just keep the original hanger clear so the sign is ready to display.
Step 6: Add a Velvet Ribbon Bow
If your calendar page has a hanging hole near the top, cover it with a little ribbon bow. I used teal velvet ribbon that picked up the colors in the winter scene. Tie a simple bunny-ear bow, adjust the loops and tails, and trim the ends.
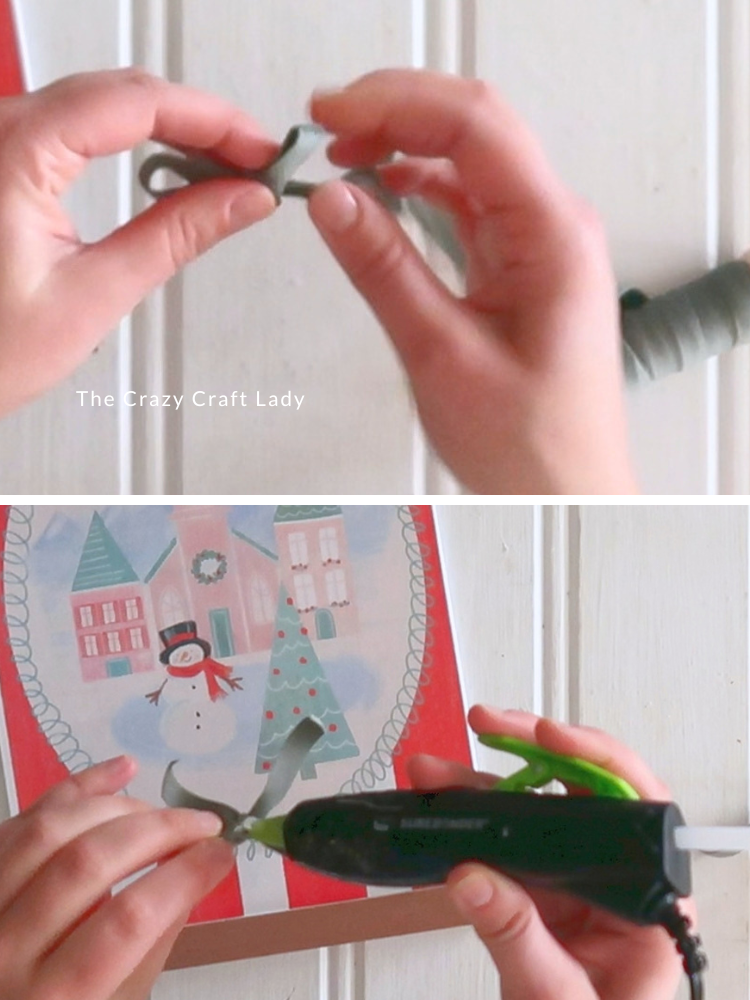
Add a small dab of hot glue and attach the bow over the calendar hole. Easy peasy, and a pretty finishing touch!
Simple Ways to Customize Your Sign
- Change the artwork. Try a Christmas tree, winter landscape, or floral calendar page.
- Match the ribbon to the picture. Velvet adds a cozy touch, but checks or a simple solid ribbon work, too.
- Use the back of the sign. Paint the top and bottom bars if you prefer to skip sanding the front.
- Finish the reverse side. Add scrapbook paper for a tidy back.
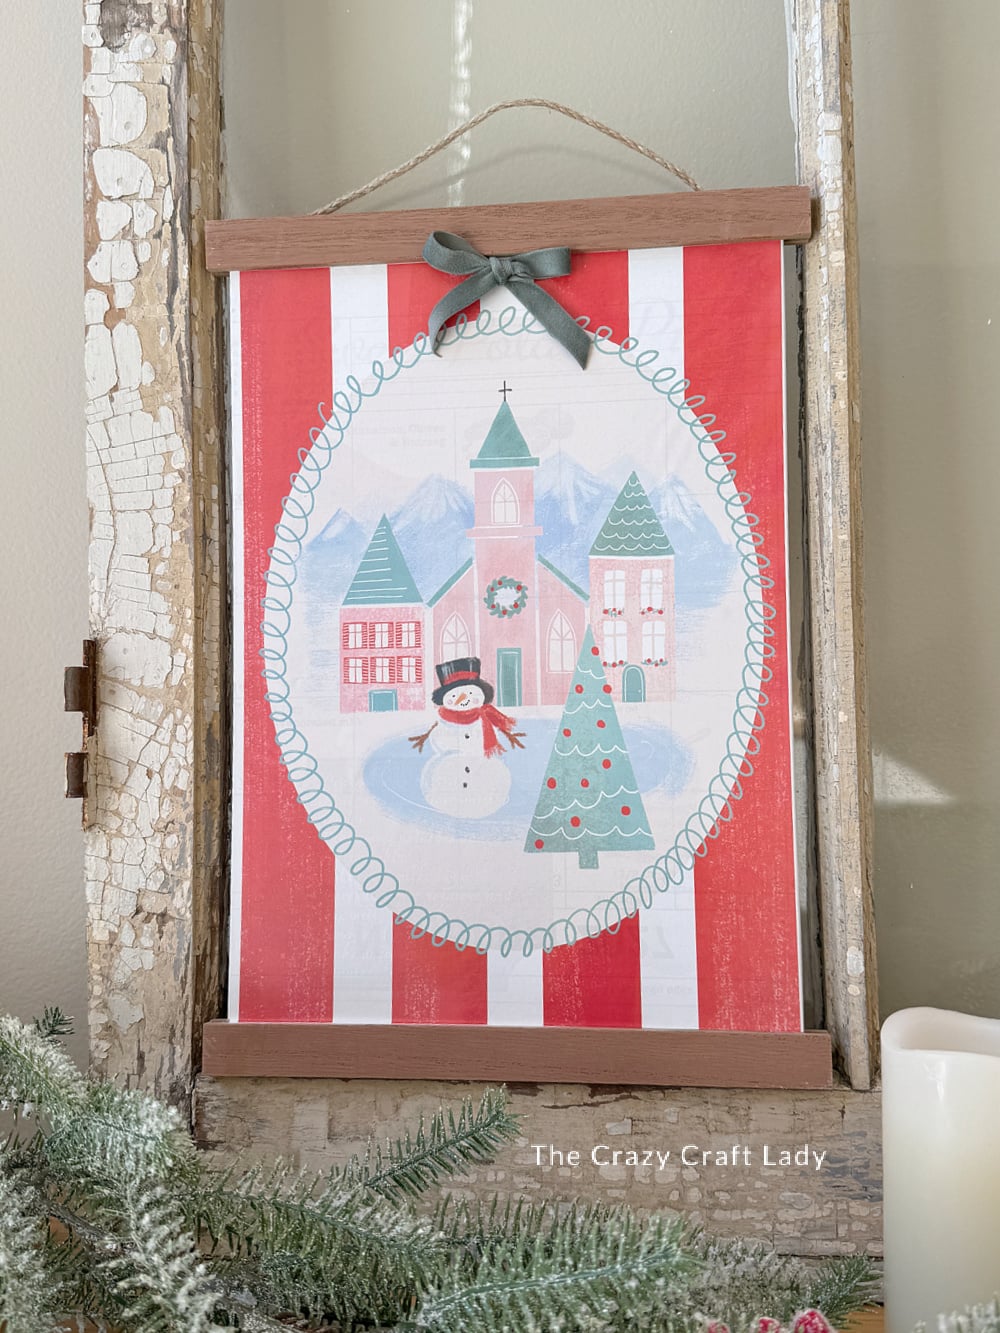
Dollar Tree Calendar Christmas Sign
Give a Dollar Tree seasonal hanging sign a Christmas makeover with winter calendar artwork, preserved faux wood trim, and a simple velvet ribbon bow.
Materials
- 1 Dollar Tree hanging sign with top and bottom faux wood bars
- 1 Christmas or winter calendar page
- Mod Podge
- Double-sided tape
- Coordinating ribbon
- Hot glue sticks
- Optional paint or scrapbook paper for the back
Tools
- Sanding block or small sanding tool
- Paintbrush or foam brush
- Scissors
- Parchment paper
- Craft heat press
- Hot glue gun
- Dust-cleanup cloth or small vacuum
Instructions
1. Watch the video tutorial located above, right here in this blog post, before getting started.
2. Remove any raised embellishments. Sand away glitter and leftover glue, then clean off the dust.
3. Test-fit the calendar page between the sign’s bars and trim the height as needed. Leave extra paper at the sides for wrapping, and carefully check that the artwork is centered.
4. Apply an even coat of Mod Podge to the flat center panel. For heat setting, let the adhesive dry, position the artwork, and cover with parchment paper. Heat in sections from the center outward, following your adhesive and press guidance. Let cool.
5. Fold the extra side edges onto the back and secure with double-sided tape. Finish the back with paint or scrapbook paper if desired.
6. Tie a simple bow from coordinating ribbon and hot glue it over the calendar page’s hanging hole.
Notes
* Working on the front preserves the faux wood finish on the top and bottom bars.
* If using the back instead, paint the bars as needed.
* Check the artwork placement before attaching it; the printed scene may not be centered on the page.
A Seasonal Sign Gets a Christmas Makeover
This Dollar Tree calendar Christmas sign is such an easy way to put pretty calendar artwork on display. The faux wood trim frames the snowy scene, and that little velvet bow covers the calendar hole while adding a pop of color. Just remember to check your centering before you commit—your future crafty self will thank you!