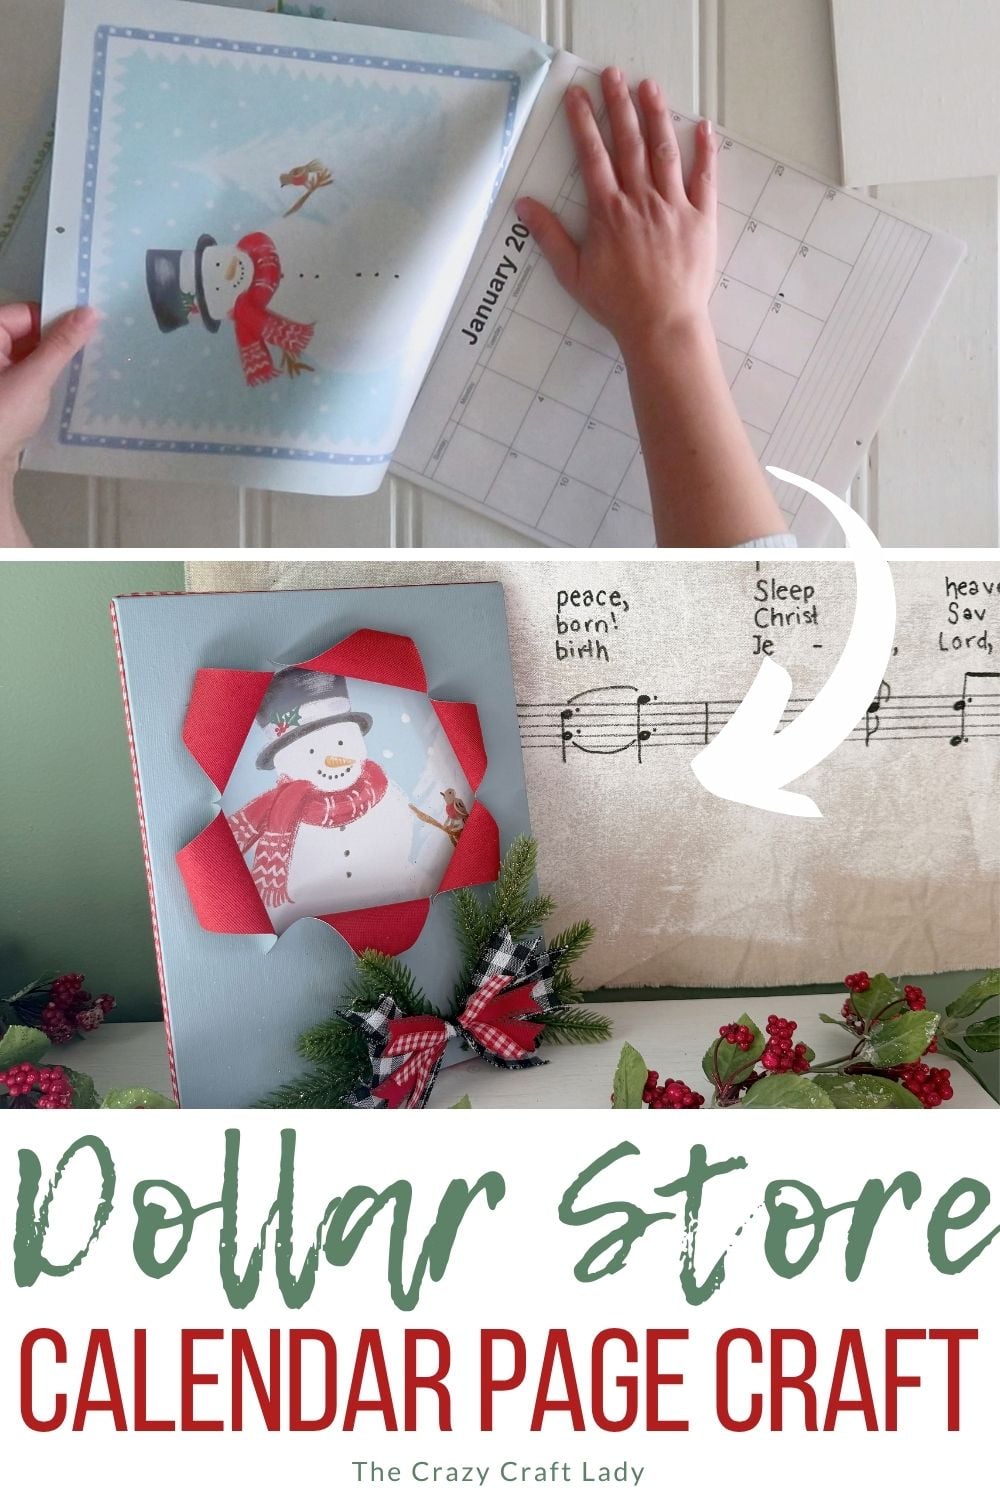
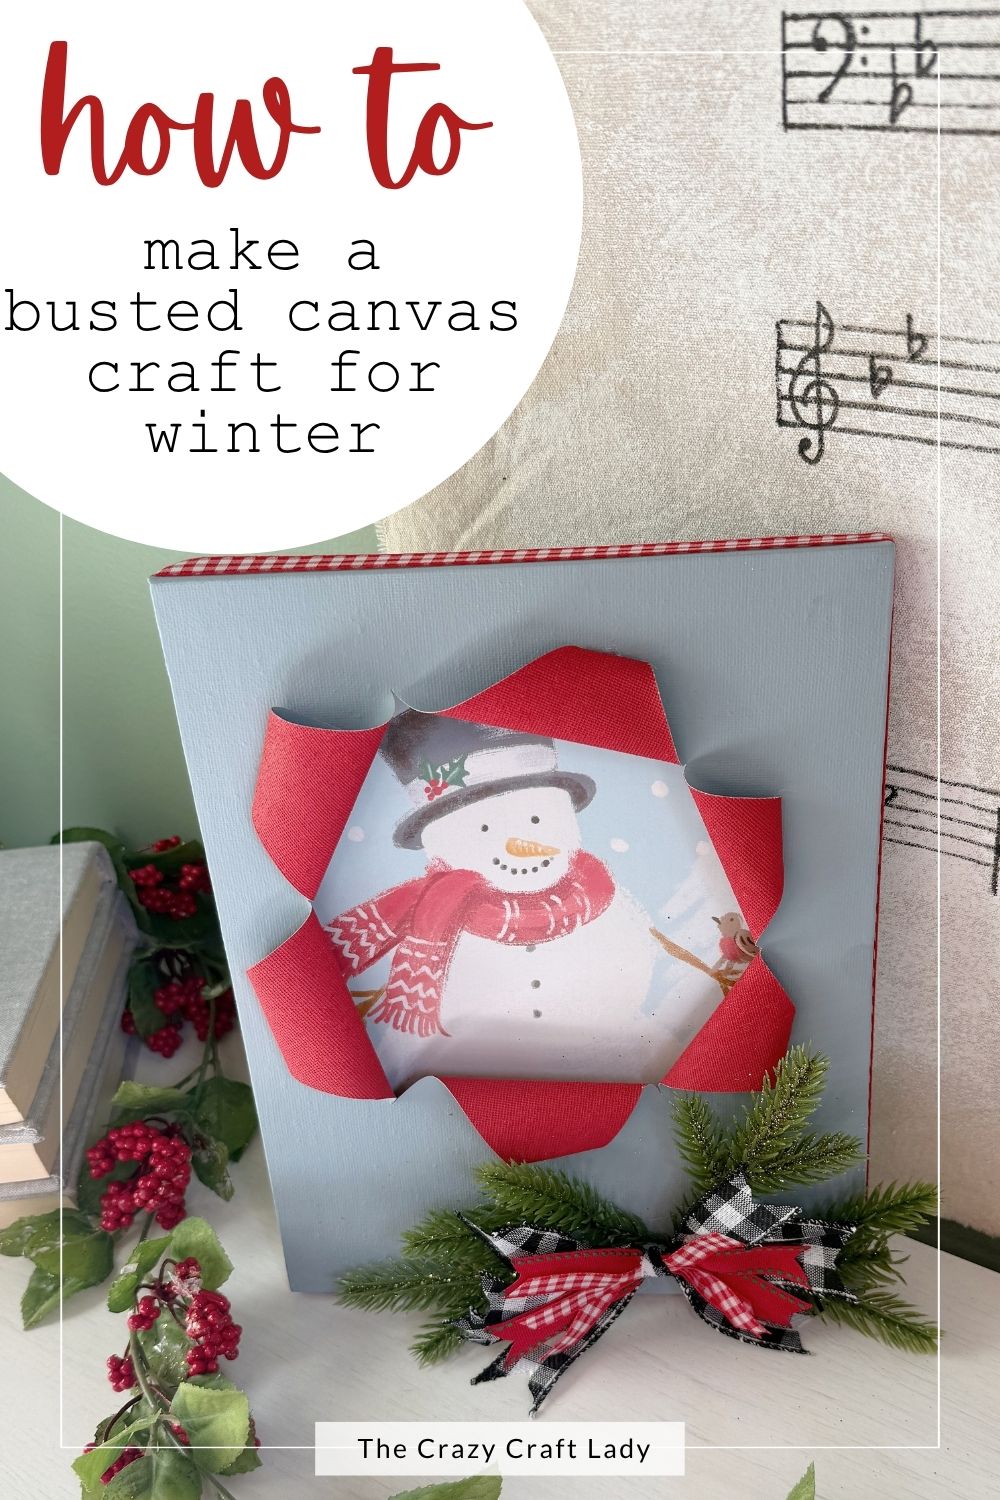
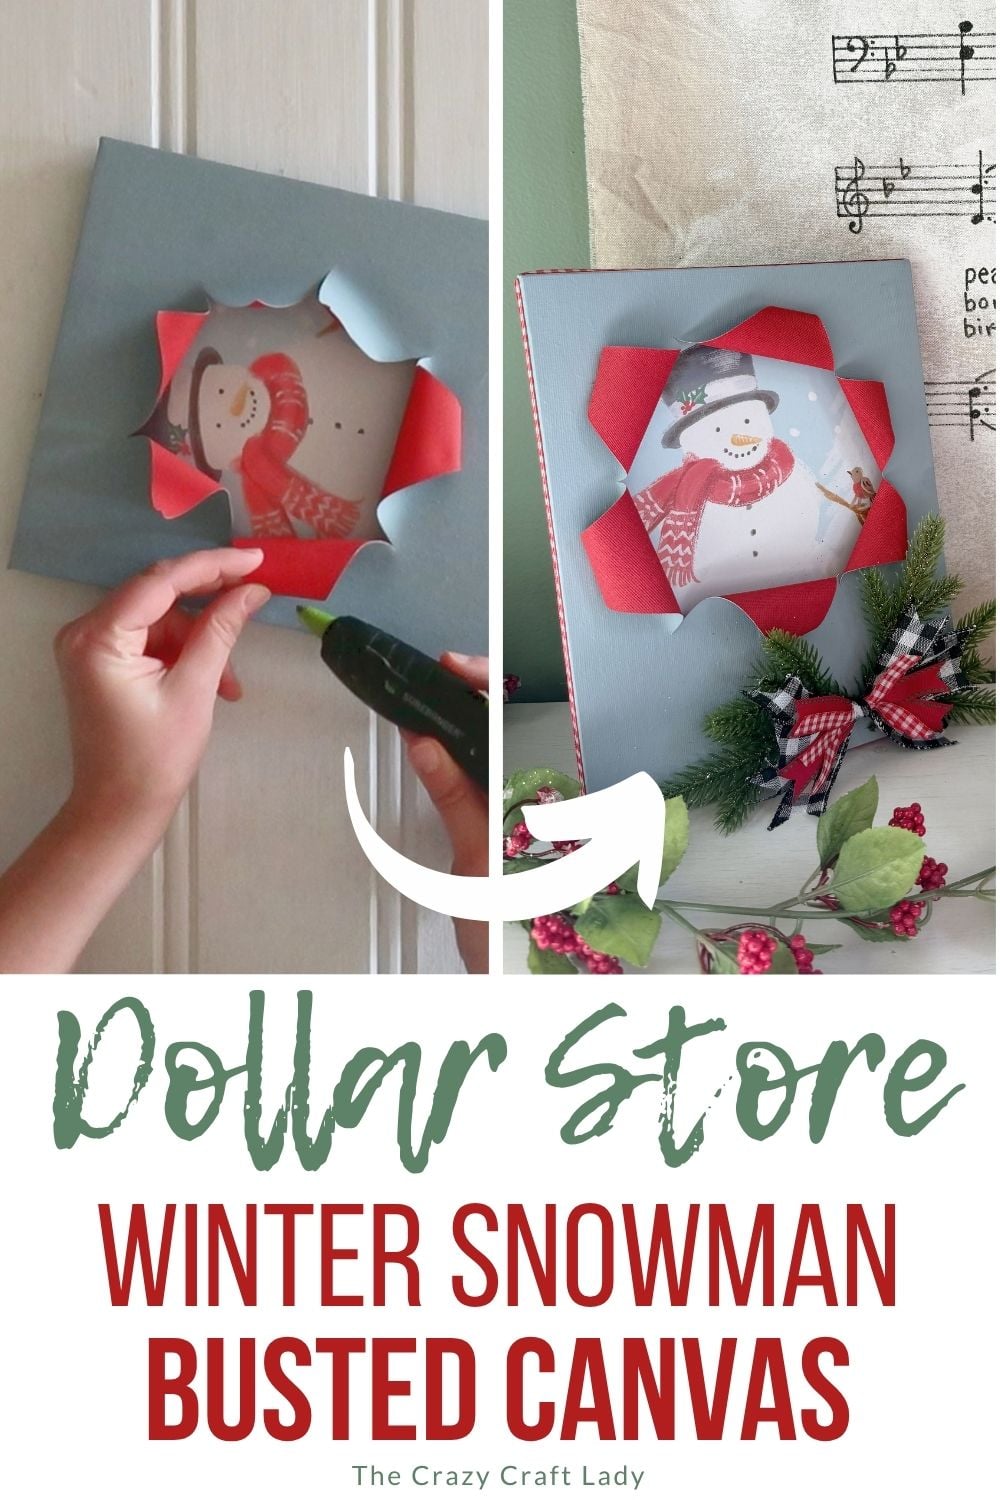
Turn a Dollar Tree calendar page into a snowman busted canvas! Follow this easy tutorial with red and blue paint, rolled canvas edges, and festive ribbon.
This post contains some affiliate links for your convenience. Click here to read my full disclosure policy.
Dollar Tree Snowman Busted Canvas with Calendar Artwork
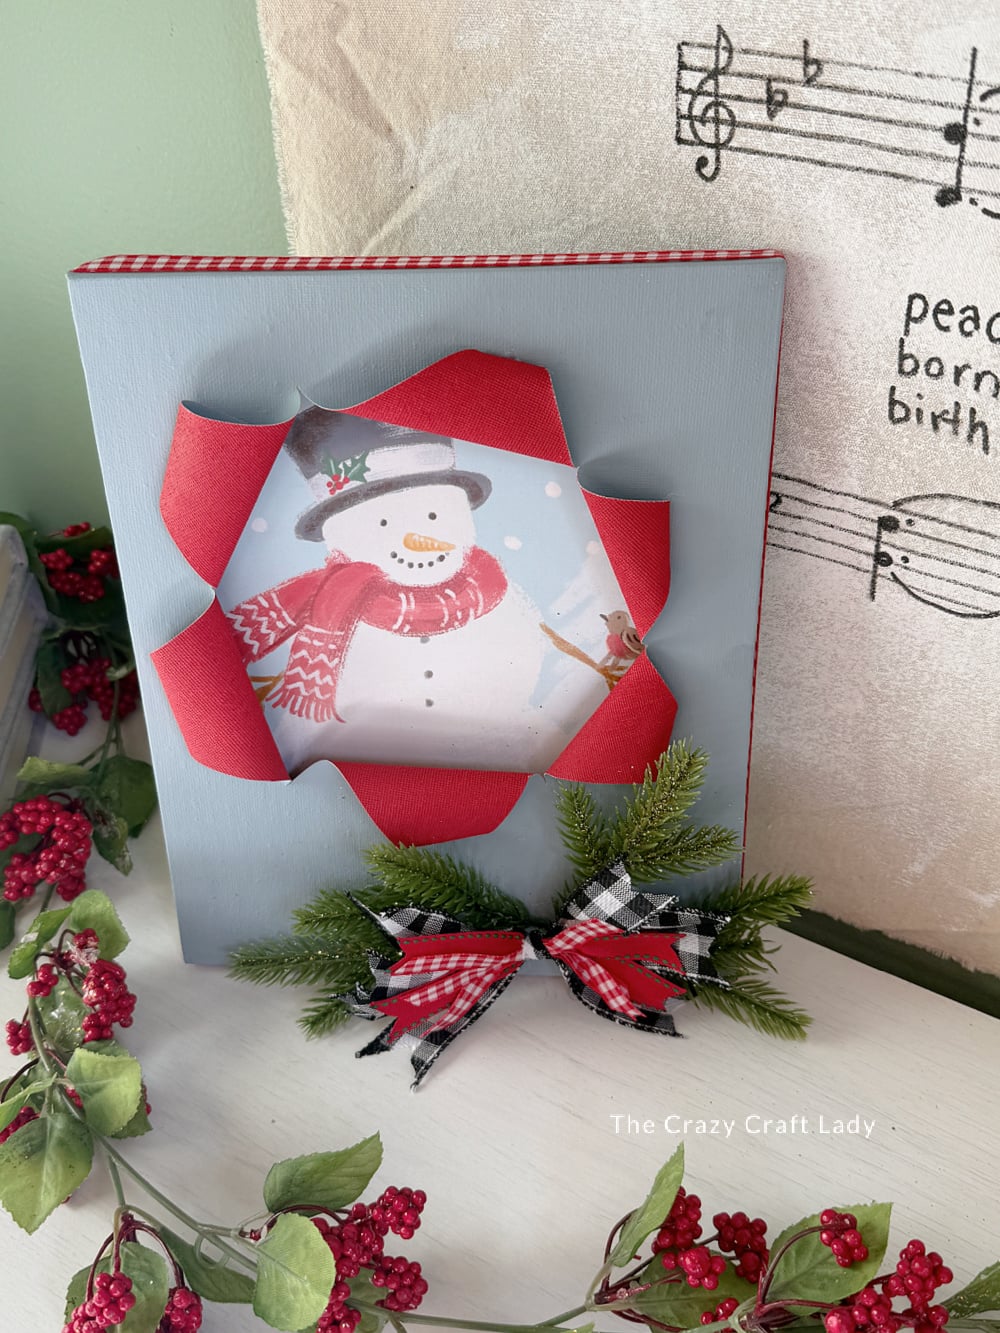
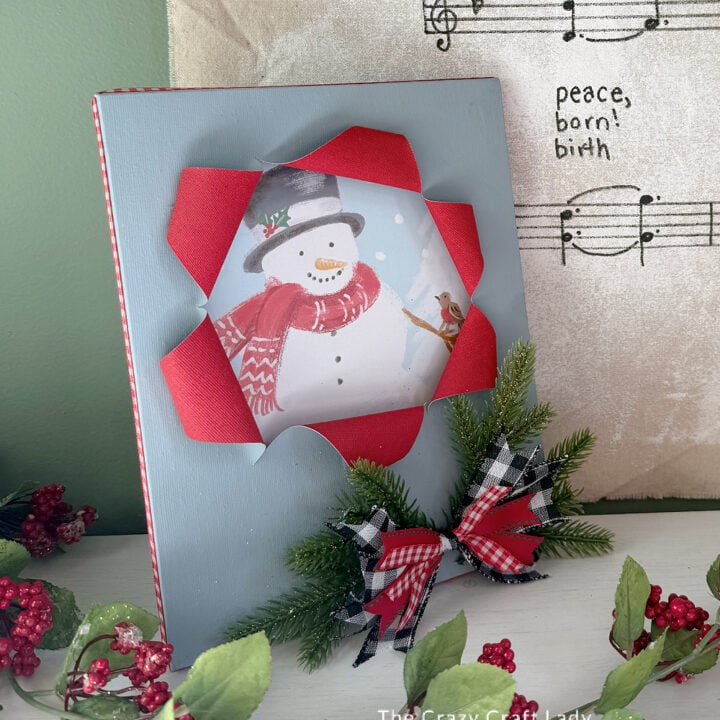
Busted canvas crafts are one of my favorite seasonal projects, and this little snowman version might be one of the cutest yet! A Dollar Tree calendar page becomes the artwork behind a painted canvas, with rolled-back pieces creating that fun “busted” effect.
For this Dollar Tree snowman busted canvas, I paired soft blue paint with bright red to match the snowman’s scarf. A few faux pine sprigs and a scrappy ribbon bow finish it off. It’s a little Christmas, a little winter, and a very good excuse to use those ribbon scraps!
Choosing Your Calendar Artwork
I used the snowman scene from the January 2027 page of a Dollar Tree calendar, but you can use any image you love.
Choose artwork that fits behind your canvas and has a focal point you can reveal through the opening. Before cutting, think about where the snowman—or your chosen subject—will sit. That placement helps determine where to cut the canvas and where to add your embellishments.
Supplies and Equipment
Supplies
- 8-by-10-inch stretched canvas—I used one from Dollar Tree
- Dollar Tree calendar page with a snowman scene
- Cardboard for the backer—I reused the cardboard insert from the calendar
- FolkArt Matte acrylic paint in Christmas Red
- FolkArt Matte acrylic paint in Silver Marlin
- Double-sided tape or a school glue stick
- Assorted coordinating ribbon
- Narrow ribbon for trimming the canvas edges
- Faux pine sprigs
- Hot glue sticks
Equipment
- Paintbrushes
- Pen or pencil
- Scissors
- Craft knife or pen blade
- Cutting mat
- Hot glue gun
- Wire cutters
- Pencil or similar tool for holding the canvas curls while the glue sets
- Protective work surface covering
How to Make a Dollar Tree Snowman Busted Canvas
Step 1: Watch the Video Tutorial
Watch the video tutorial located above, right here in this blog post, to see how I cut and roll the canvas, build the scrappy bow, and arrange the greenery. Then follow the steps below to make your own.
Step 2: Paint the Front and Inside of the Canvas
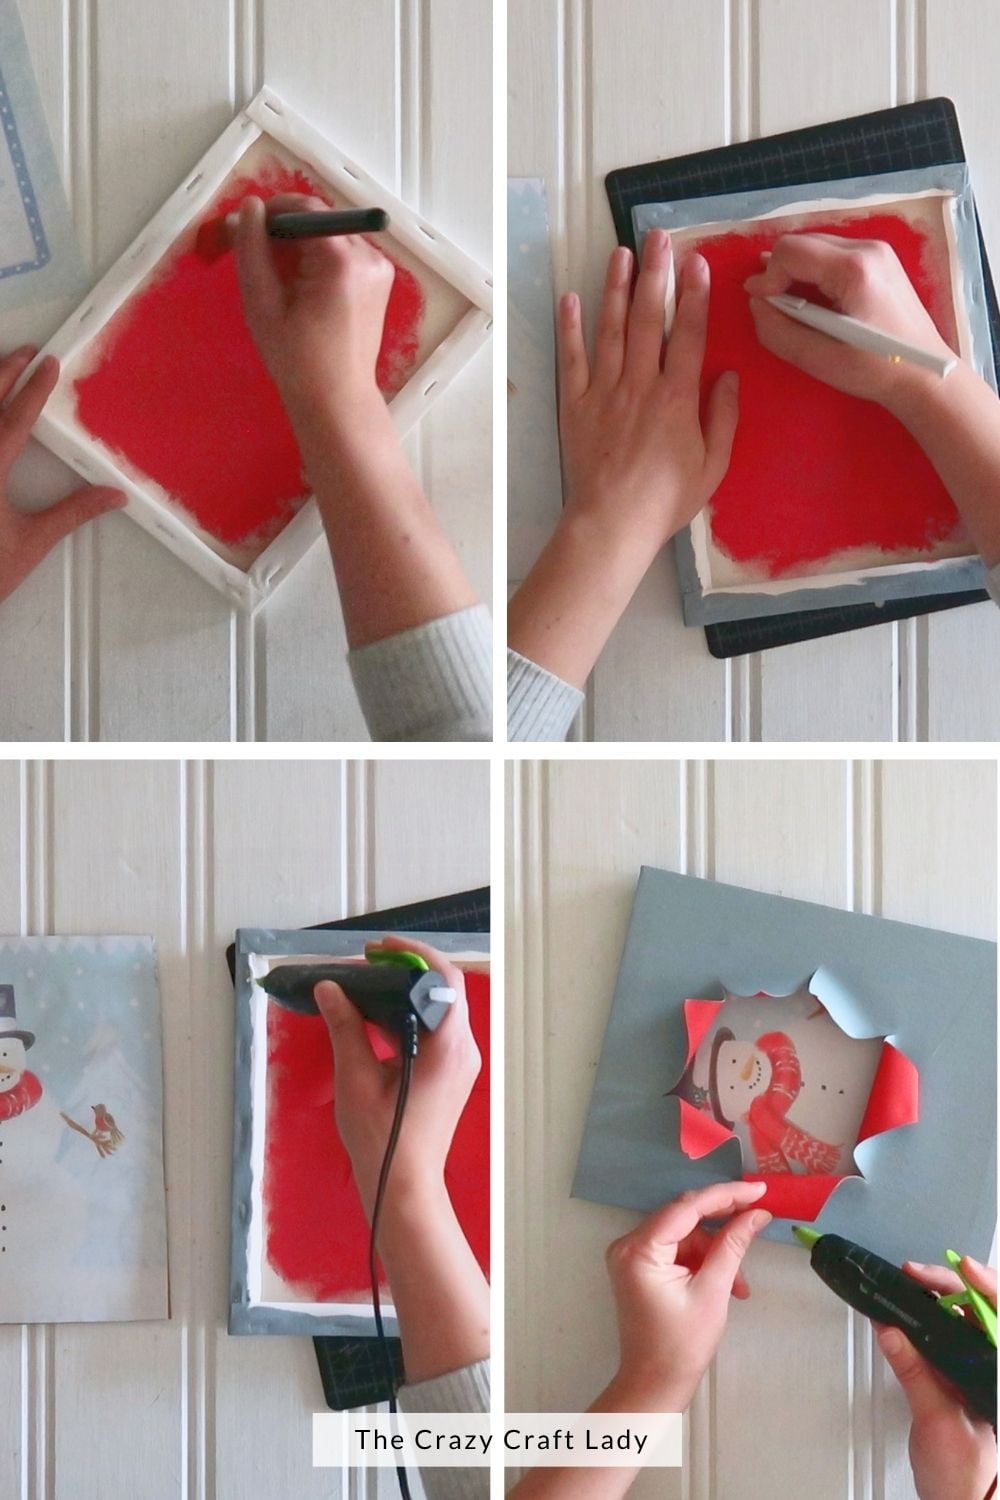
Turn the stretched canvas over and paint the recessed inside surface Christmas Red. This is the back of the canvas fabric, and it will show when the cut sections roll outward. You don’t need to paint all the way up to the wooden frame. Just cover most of that inside area.
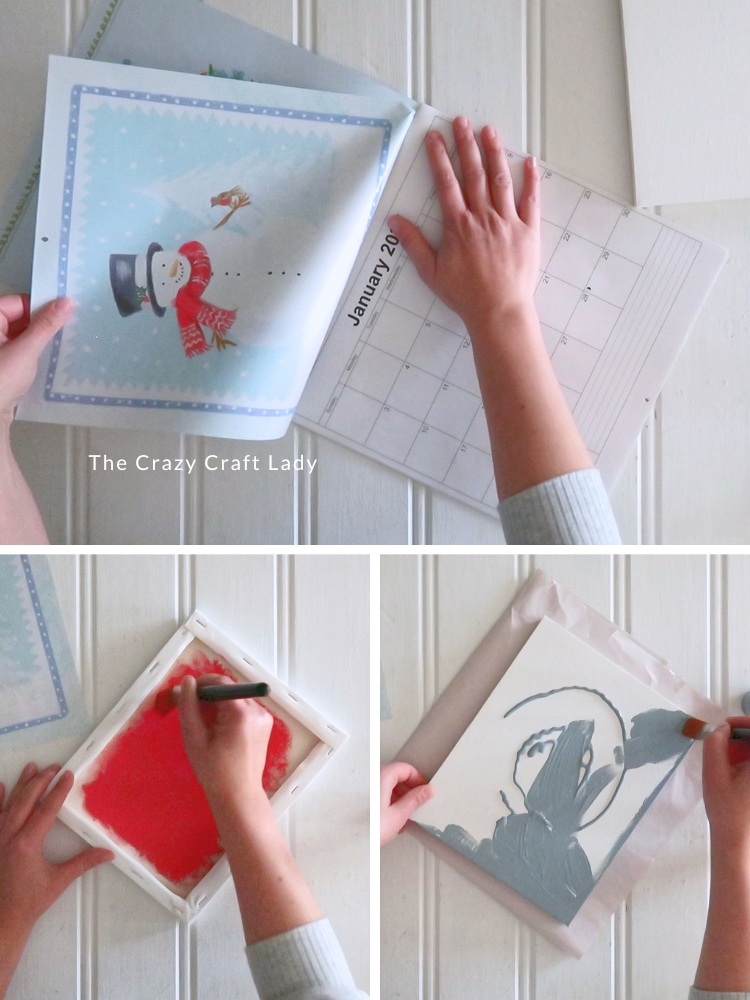
Next, paint the front and all four outer edges Silver Marlin, a soft blue that complements the snowman artwork. Protect your work surface while painting the edges, and let the paint dry before continuing.
You can use this same idea with other calendar pages: choose one color for the front and a coordinating accent color for the inside.
Step 3: Cut the Cardboard Backer and Calendar Image
Trace the outside of your canvas onto a piece of cardboard. Cut about ⅛ inch inside the traced line so the backer is slightly smaller than the canvas. Check the fit against the back and trim as needed. You don’t want cardboard peeking out from the front.
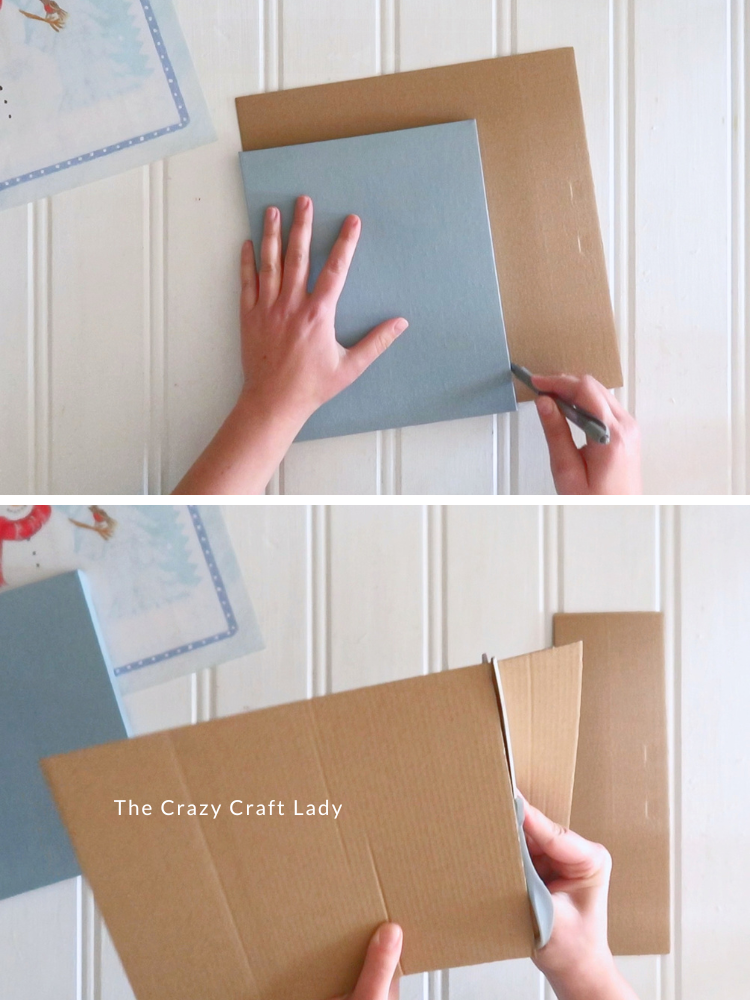
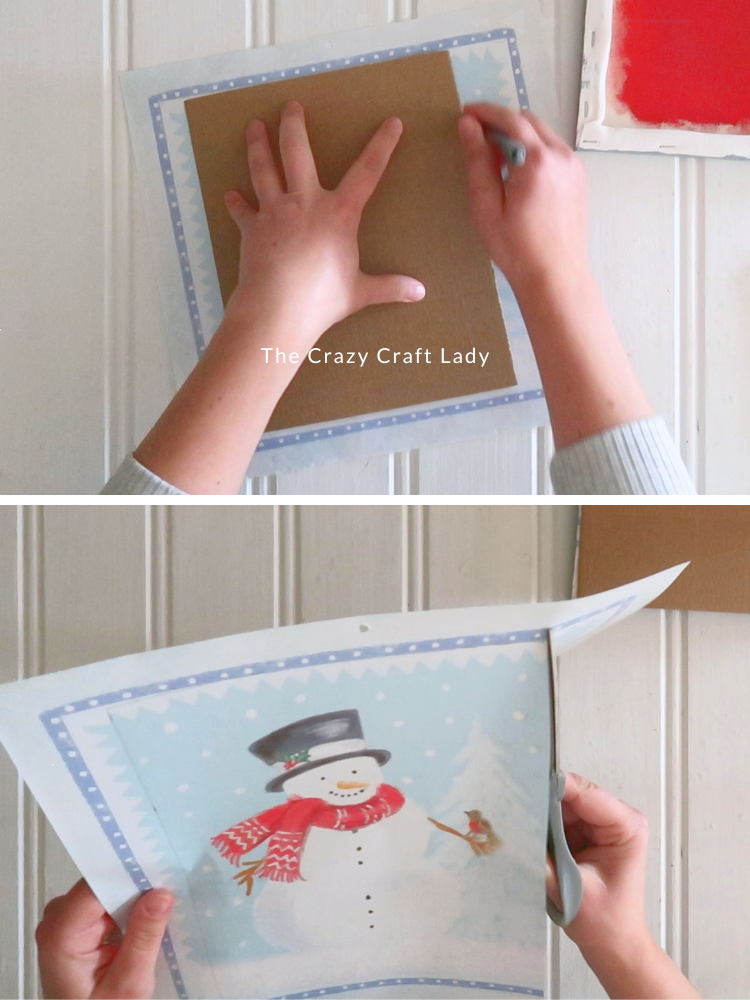
Place the cardboard backer over your calendar page and position it to frame the snowman scene. Trace around it, then cut just inside the pen line.
You’ll now have a calendar image sized to fit your cardboard backer.
Step 4: Attach the Artwork and Paint the Back
Apply double-sided tape around the four edges of the cardboard backer. Remove the tape liners and carefully smooth the calendar image into place, keeping the paper flat. A school glue stick is another option.
I skipped Mod Podge for this step because I didn’t want to risk bubbling or wrinkling the thin calendar paper.
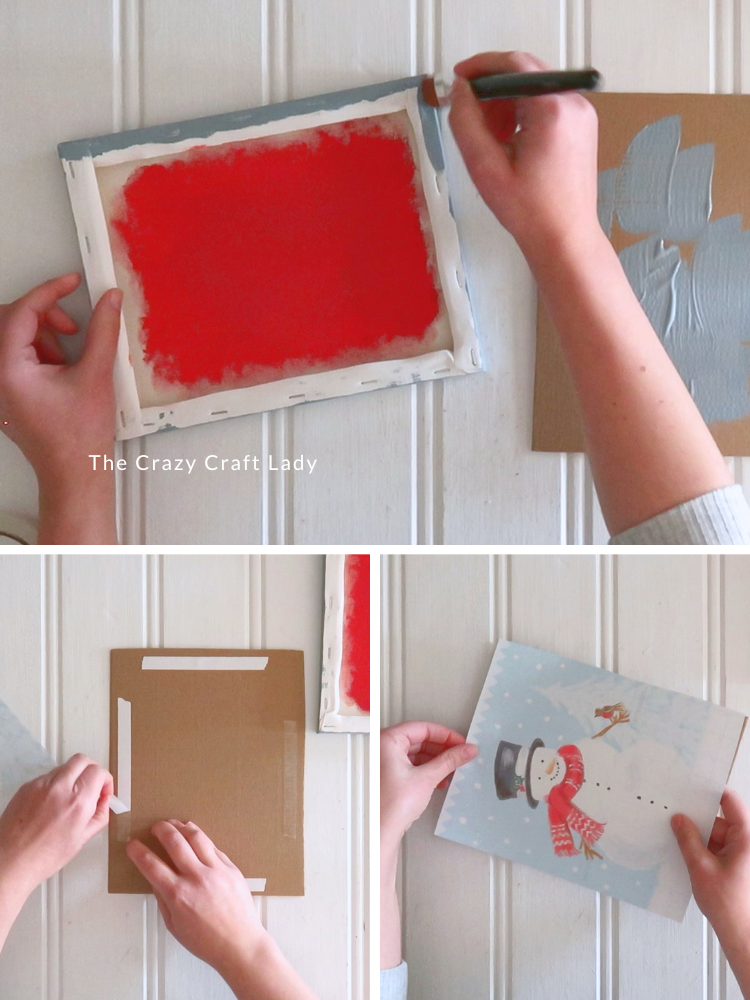
Paint the plain cardboard side of the backer Silver Marlin, keeping paint off the artwork. Also paint the narrow outer border on the back of the stretched canvas. Since the backer is slightly smaller, a little of that border may remain visible. Let everything dry.
Step 5: Cut the Busted Canvas Opening
Set the canvas on a cutting mat. Plan your opening around the part of the snowman scene you want to reveal.
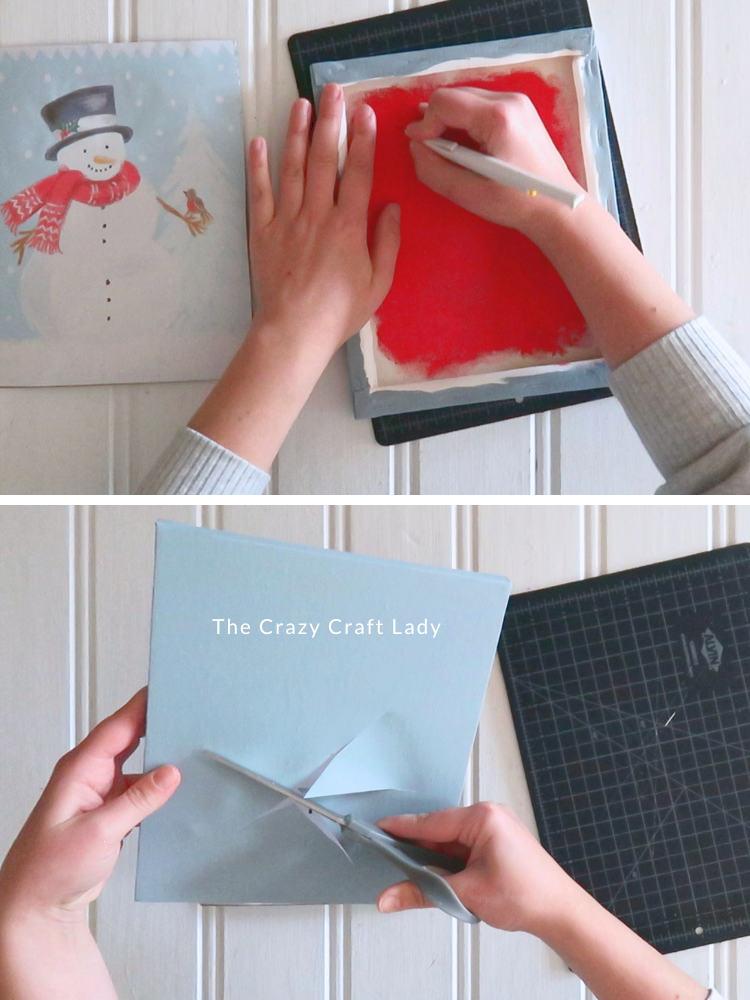
Use a craft knife to make a small starter slit in the canvas fabric, then use scissors to extend the cuts. Think of cutting a pizza into six slices: make cuts radiating from a central point to create six triangular flaps.
Keep the outside ends of the triangles attached to the surrounding canvas. Start with a smaller opening, you can extend the cuts later as you adjust the curls.
Step 6: Attach the Backer and Roll the Canvas Flaps
Lay the canvas face down and apply hot glue around the back perimeter of the wooden frame. Position the backer with the artwork facing into the canvas opening and the painted cardboard side facing outward. Press it into place before the glue sets.
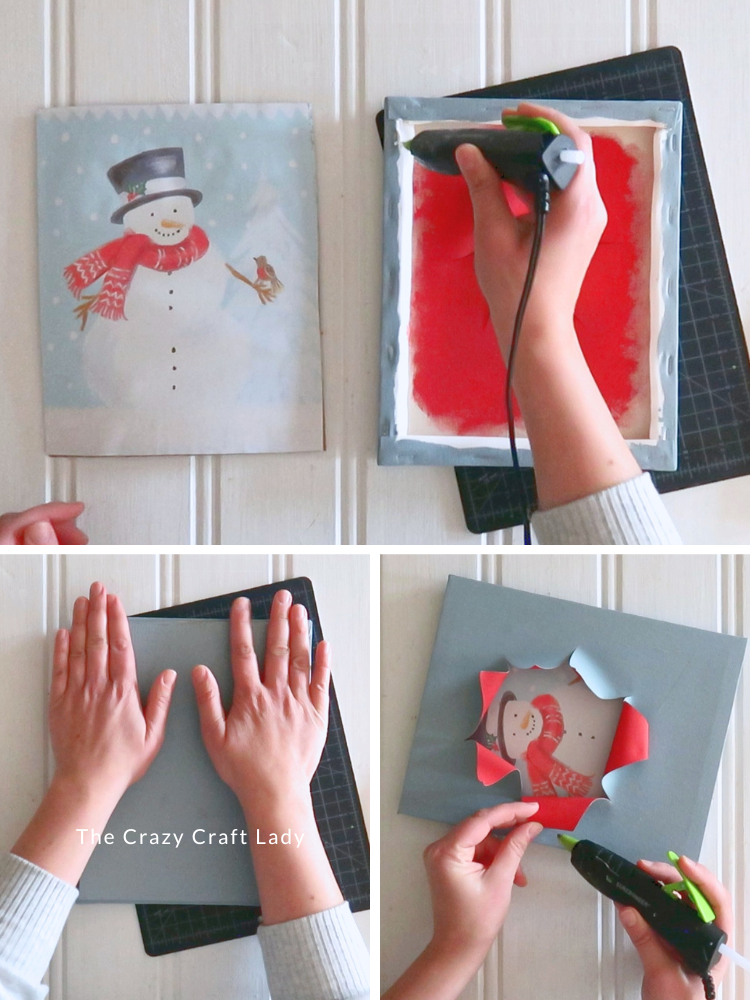
Turn the project face up. Roll each triangular flap outward toward the surrounding canvas to reveal the snowman image and the red-painted underside.
Adjust the cuts if needed, then secure each curl with a small dab of hot glue underneath. Use a pencil or similar tool to hold the curl while the glue sets.
There’s no perfect formula here. Play with the rolls until you like the opening and can see the details you want to highlight.
Step 7: Make a Scrappy Ribbon Bow
Gather several pieces of coordinating ribbon. I used a mix of black-and-white checks, solid red with green stitching, and red-and-white checks in different widths.
Cut the pieces a little longer than you think you’ll need. Layer roughly six to eight strips in a loose stack, pinch the center, and tie another piece of ribbon around the middle with a simple knot at the back.
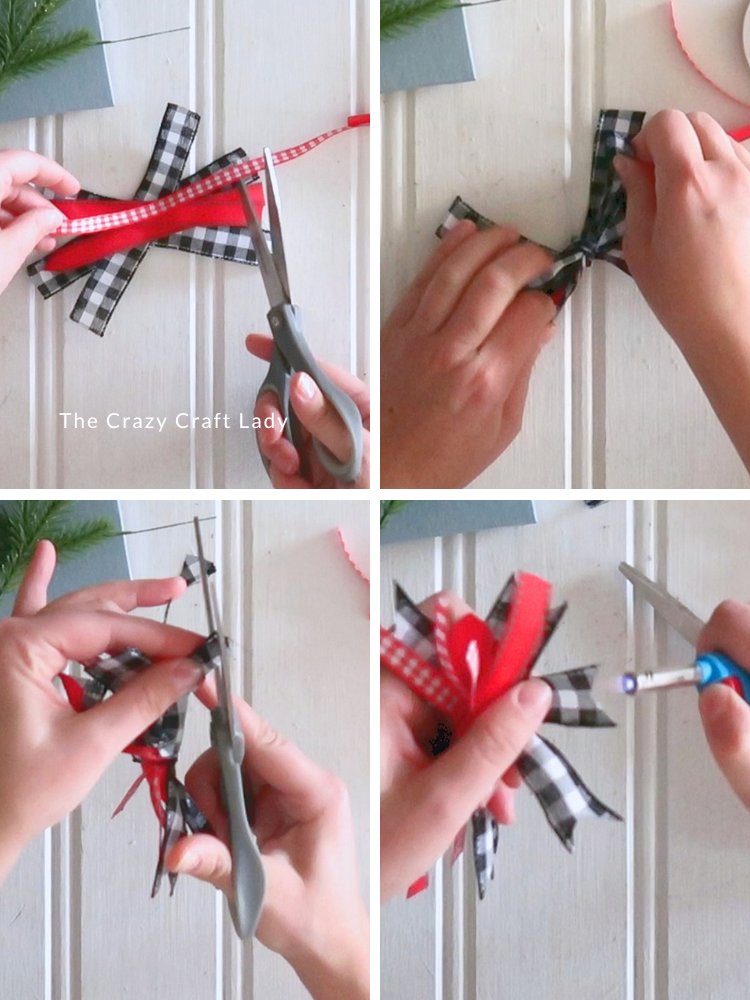
Fluff and spread the ribbon pieces, then trim the ends to your preferred lengths. To make dovetail ends, fold each ribbon end lengthwise and cut diagonally from the folded edge toward the outer corner.
Step 8: Add Ribbon Trim, Greenery, and the Bow
For an extra finishing touch, wrap narrow red-and-white checked ribbon around the outer edges of the canvas. Start at the bottom and secure it with tiny dabs of hot glue as you work around all four sides.
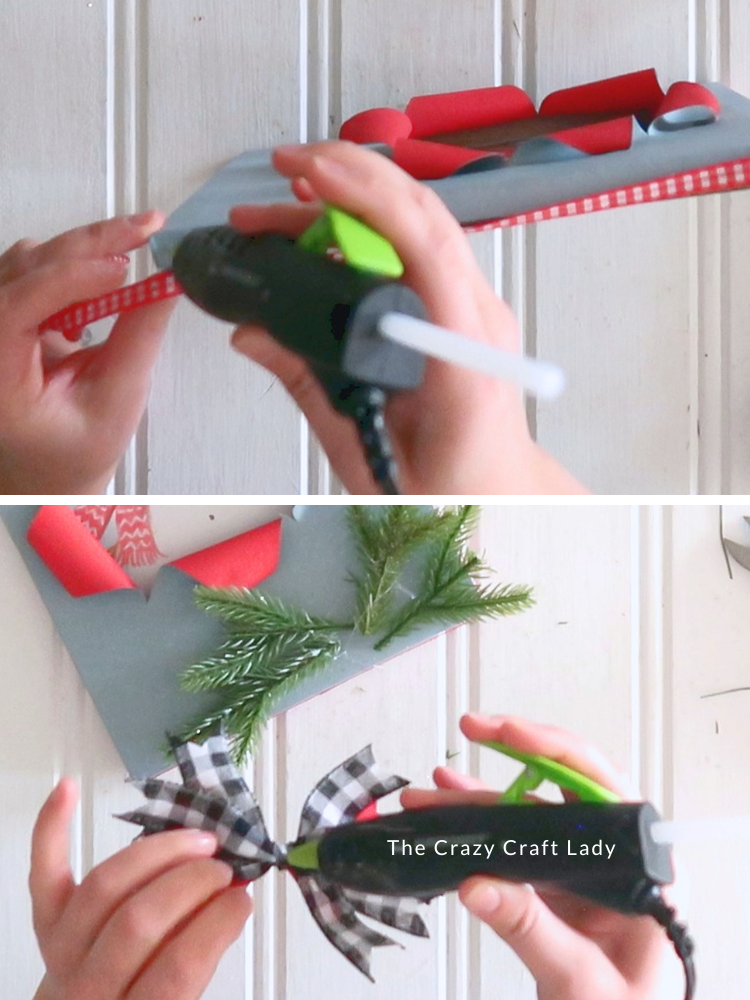
Use wire cutters to shorten the faux pine sprigs. Arrange two pointing left and two pointing right along the bottom of the canvas, leaving a small gap in the center.
Hot glue the greenery into place, then attach the scrappy bow over the center gap. My embellishments fit best at the bottom, but yours could go at the top or in a corner. Let the artwork guide you, and keep your favorite details visible.

Easy Ways to Make It Your Own
- Change the artwork. Try a snowy landscape, Christmas scene, or another seasonal calendar image.
- Match the paint to the picture. Pull one color for the canvas front and another for the rolled sections.
- Use your ribbon scraps. Mix checks, solids, and different widths for a full, casual bow.
- Move the embellishments. Place the greenery and bow wherever they frame the image best.
Dollar Tree Snowman Busted Canvas
Make a winter snowman busted canvas with Dollar Tree calendar artwork, a painted stretched canvas, faux pine sprigs, and a scrappy ribbon bow.
Materials
- 1 stretched canvas, 8 by 10 inches
- 1 Dollar Tree calendar page with snowman artwork
- Cardboard for the backer
- FolkArt Matte acrylic paint in Christmas Red and Silver Marlin
- Double-sided tape or a school glue stick
- Assorted coordinating ribbon
- Narrow ribbon for the canvas edges
- Faux pine sprigs
- Hot glue sticks
Tools
- Paintbrushes
- Pen or pencil
- Scissors
- Craft knife or pen blade
- Cutting mat
- Hot glue gun
- Wire cutters
- Pencil or similar tool for holding glued curls
- Work surface covering
Instructions
1. Watch the video tutorial located above, right here in this blog post, before getting started.
2. Paint the recessed back of the canvas fabric Christmas Red. Paint the front and all four outer edges Silver Marlin. Let dry.
3. Trace the canvas onto cardboard and cut about ⅛ inch inside the outline. Use the backer to trace and cut the calendar image. Attach the image with double-sided tape or a glue stick.
4. Paint the plain cardboard back and the exposed outer back border of the canvas Silver Marlin. Let dry. On a cutting mat, make a starter slit in the canvas fabric, then cut six triangular flaps radiating from the center, leaving their outer ends attached.
5. Hot glue the backer to the rear perimeter of the frame with the artwork facing the opening. Roll the canvas flaps outward and secure each with a small dab of hot glue, using a tool to hold it while the glue sets.
6. Layer six to eight coordinating ribbon strips, pinch the center, and tie with another ribbon piece. Fluff and trim the ends. Hot glue narrow ribbon around the canvas’s outer edges.
7. Trim and hot glue the faux pine sprigs along the bottom, pointing outward in both directions. Glue the scrappy bow over the center gap.
Notes
* Position the calendar image before cutting so the opening reveals your favorite details.
* Keep the backer slightly smaller than the canvas so it doesn’t show from the front.
* Place the greenery and bow at the bottom, top, or corner to suit your artwork.
A Cozy Little Snowman Craft for Winter
This Dollar Tree snowman busted canvas brings together so many of my favorite things: calendar artwork, a painted canvas, and a bow made from whatever ribbon is hanging out in my craft stash. The red curls frame the snowy scene, and the pine sprigs add just the right finishing touch. Such a fun way to give that pretty calendar page a place in your winter decor!