
Make Dollar Tree mini easel winter decor with a kids’ painting kit and calendar artwork. Give the plastic easel a faux wood finish for a cozy shelf sitter.
This post contains some affiliate links for your convenience. Click here to read my full disclosure policy.
Dollar Tree Mini Easel Winter Decor with Calendar Artwork
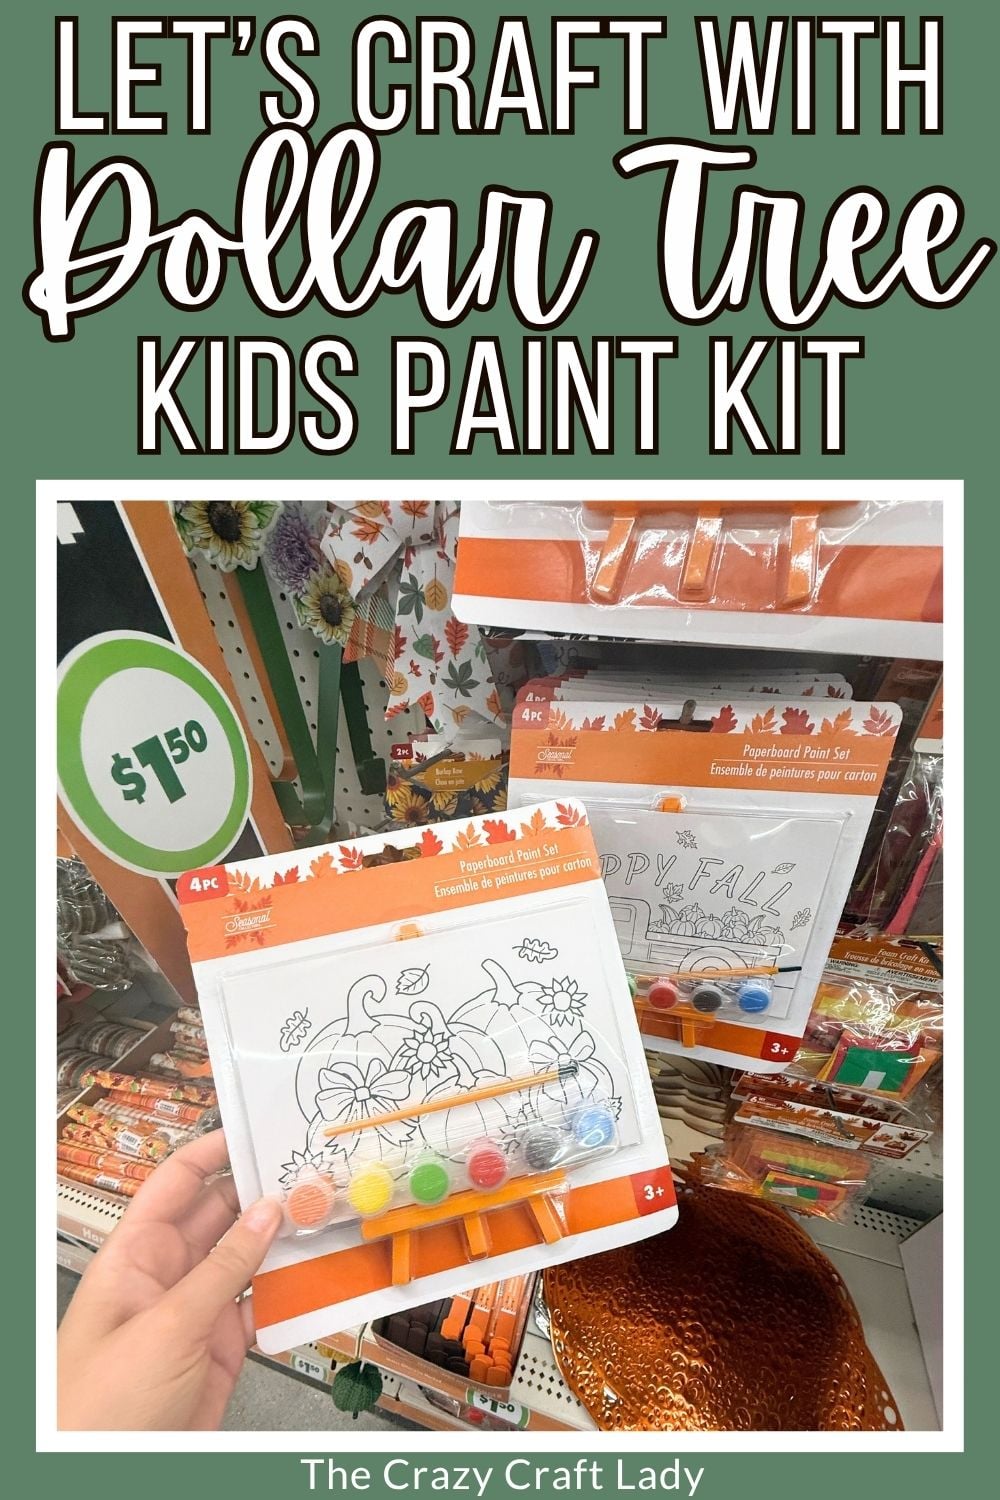
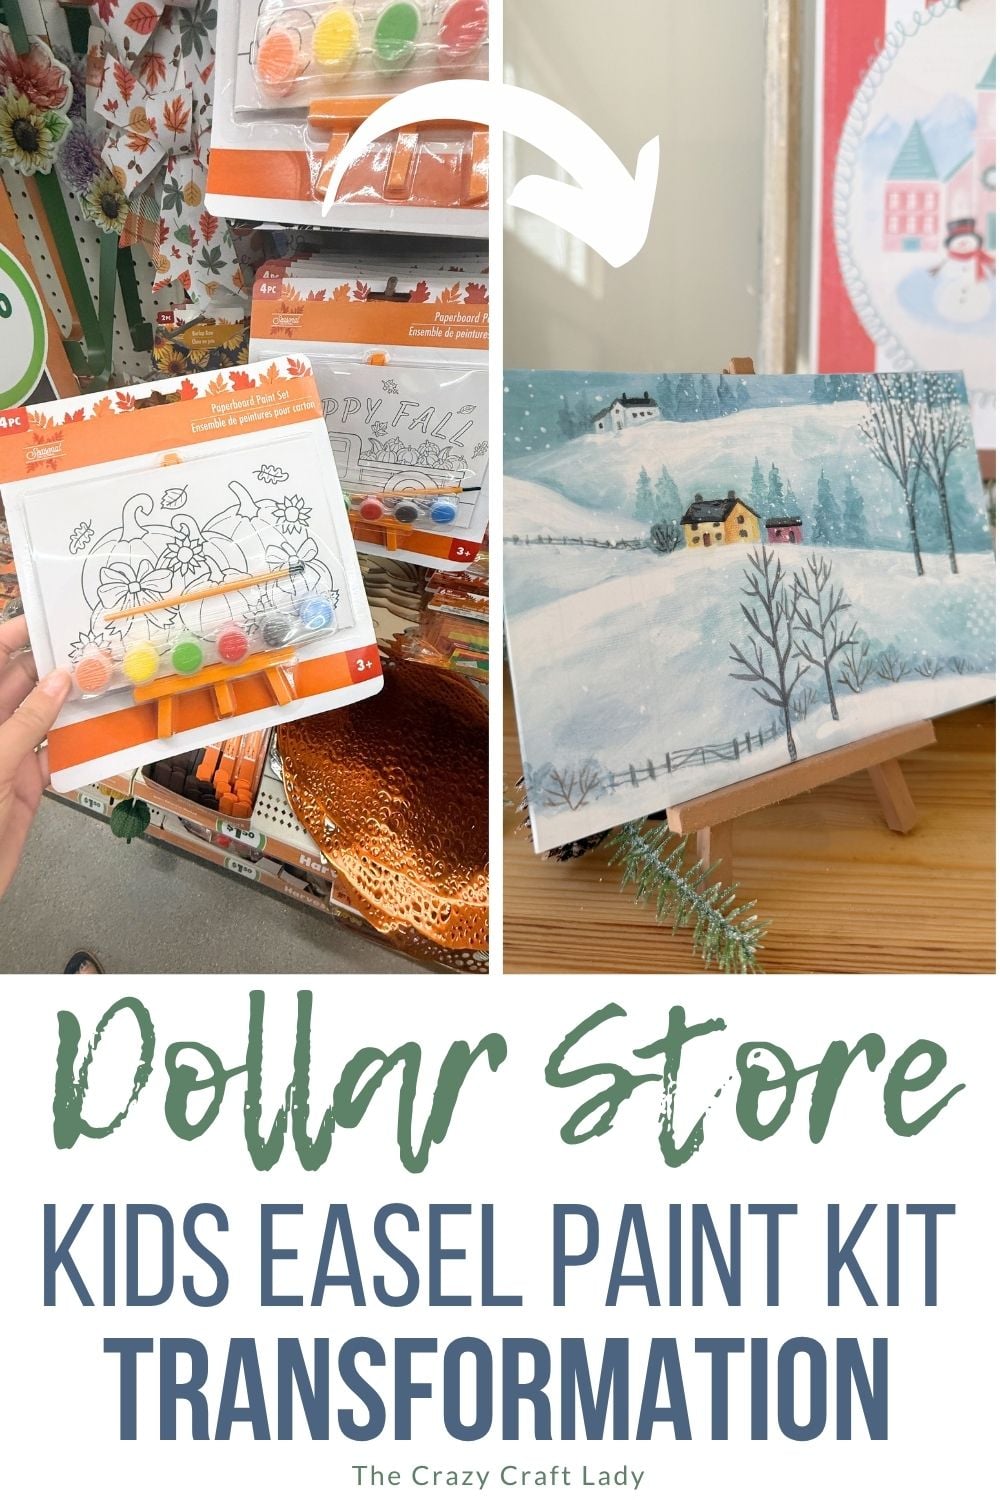
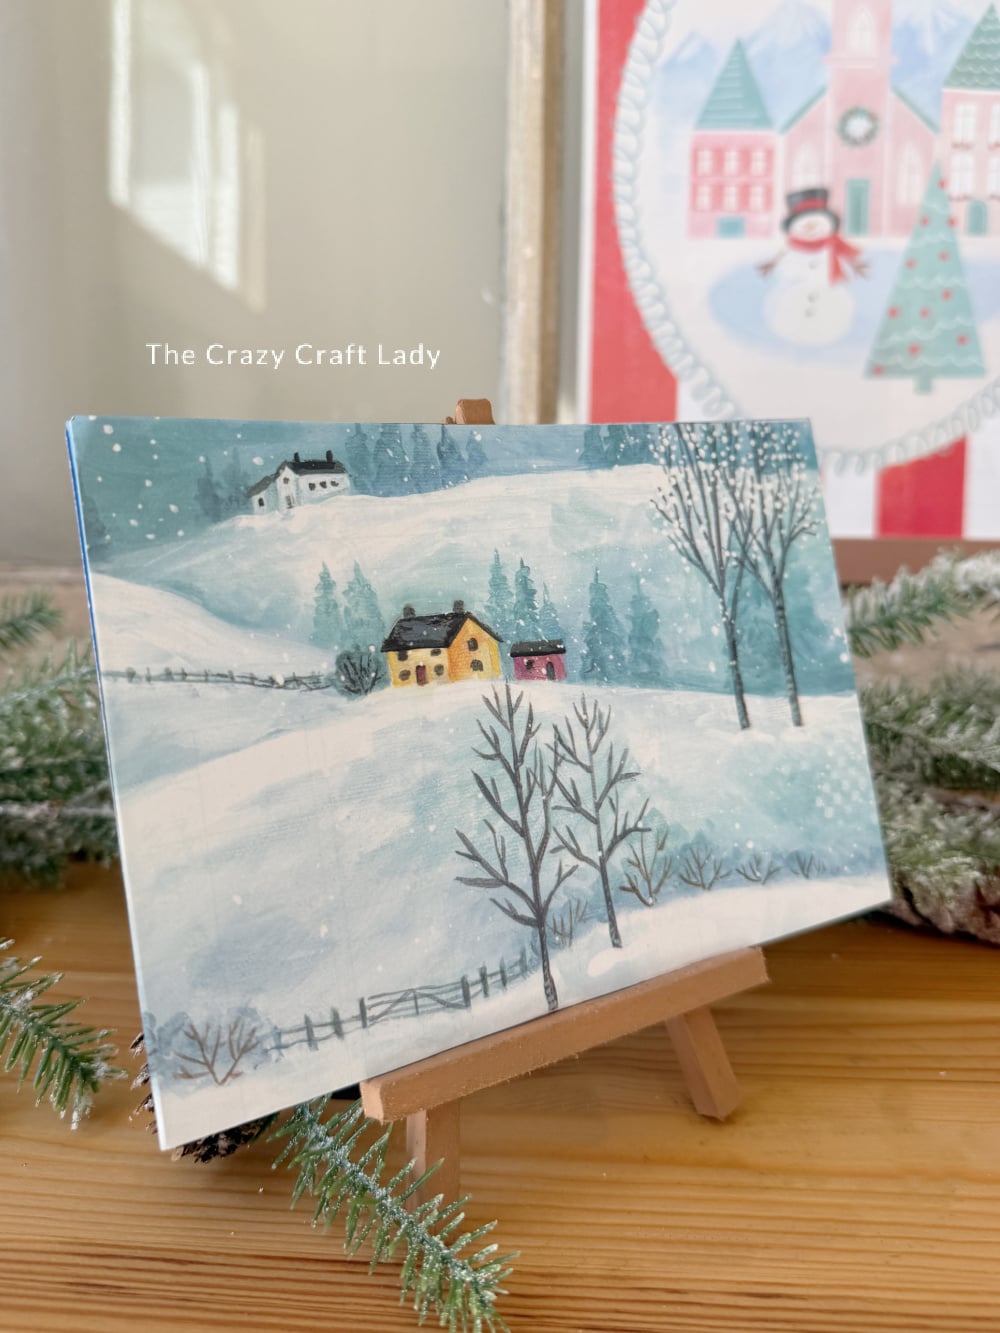
Those little painting kits in the seasonal craft aisle aren’t just for kiddos! For this Dollar Tree mini easel winter decor, I gave a pumpkin-themed canvas kit a completely different look with a snowy calendar scene and a painted easel.
The best part? I used a leftover piece of calendar artwork from my tin can vase project. A little house, a tree, and a snowy hill were all this tiny canvas needed. And that plastic easel? We’re giving it a faux wood grain makeover, too!
A New Use for a Mini Canvas Painting Kit
Look for a seasonal craft kit with a small canvas panel and a separate easel. Mine came with a preprinted pumpkin design, little paint tubs, and a paintbrush.
Instead of painting the printed picture, we’re covering it with calendar artwork. I even used the blue paint and brush from the kit to finish the panel’s edges. Gotta love using what’s already in the package!
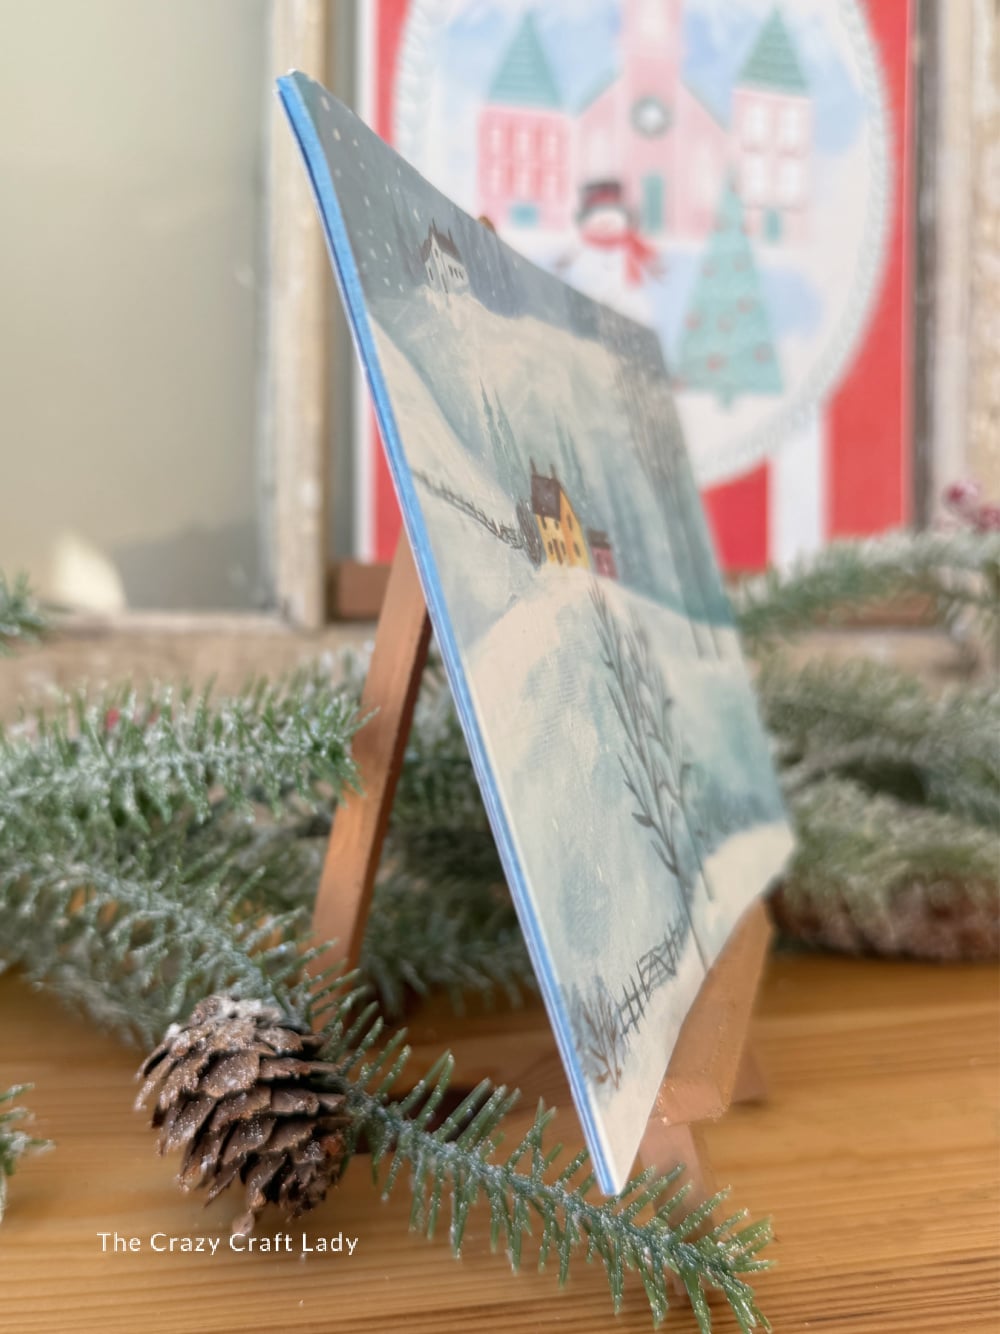
Because the panel sits on an open easel, I finished the back with coordinating cardstock so the project looks tidy from different angles.
How to Make Dollar Tree Mini Easel Winter Decor
Supplies
- Mini canvas painting kit with a canvas panel and plastic easel
- Calendar page or leftover calendar artwork with a winter scene
- Coordinating blue paint—I used the paint from the kit
- Mod Podge
- Coordinating scrapbook paper or cardstock—I used blue
- Spray primer suitable for plastic
- FolkArt Matte acrylic paint in Coffee Latte
Equipment
- Small paintbrush for the canvas edges
- Flat ½-inch or 1-inch paintbrush for the easel
- Sandpaper, a small sanding block, or a nail file
- Pencil
- Scissors
- Parchment paper
- Small craft heat press
- Work surface protector
Step 1: Watch the Video Tutorial
Watch the video tutorial located above, right here in this blog post, to see how I finish the mini canvas panel and give the plastic easel a faux wood look. Then follow the steps below to make your own.
Step 2: Paint the Canvas Panel Edges
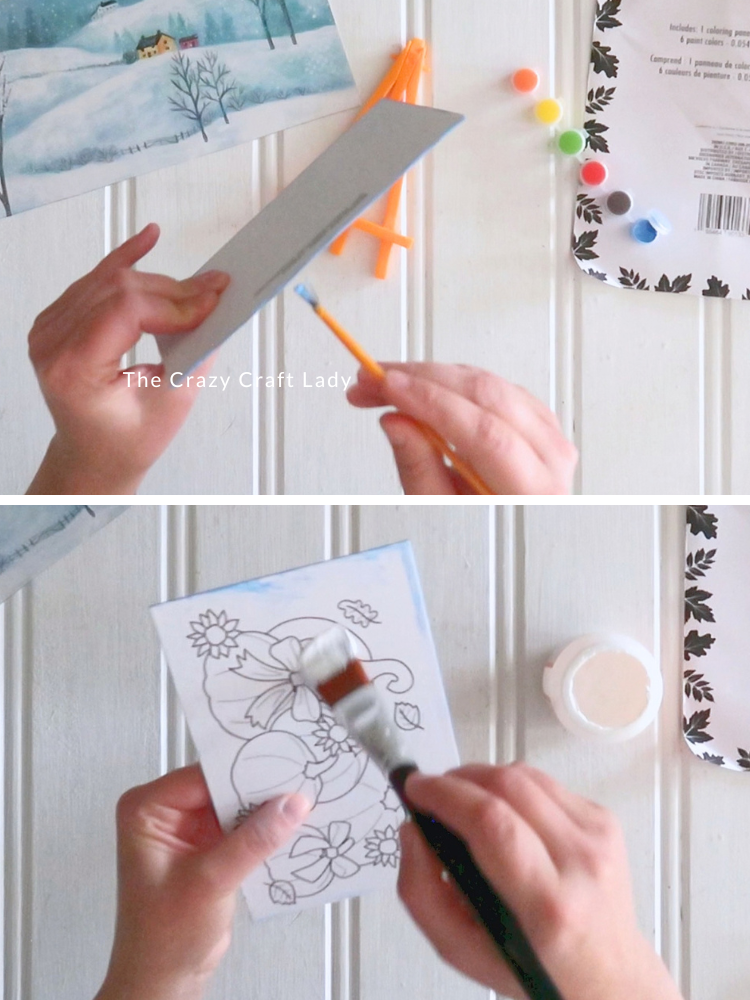
Remove the canvas panel from the easel and paint all four edges in a color that coordinates with your calendar artwork.
My image was a blue snowy scene, so I used the blue paint and little brush included in the craft kit. This small detail helps the edges blend in once the front and back are covered.
Set the panel aside to dry.
Step 3: Apply Mod Podge to Both Sides
Brush an even coat of Mod Podge over the entire front of the canvas panel. Let it dry, then flip the panel over and coat the back as well. Allow that side to dry completely.
These dried adhesive layers will hold the calendar image on the front and the coordinating cardstock on the back when heat-set.
There’s a little downtime with this project, so work on the easel while the panel dries. Or sneak in another craft. You know how this goes!
Step 4: Sand and Prime the Plastic Easel
Sand the plastic easel to remove the shine. Use somewhat coarser sandpaper to create subtle lines along the easel pieces that suggest wood grain. You’re roughing up the surface, not trying to carve it.
A small sanding block is handy for this, but a piece of sandpaper or a nail file works, too.
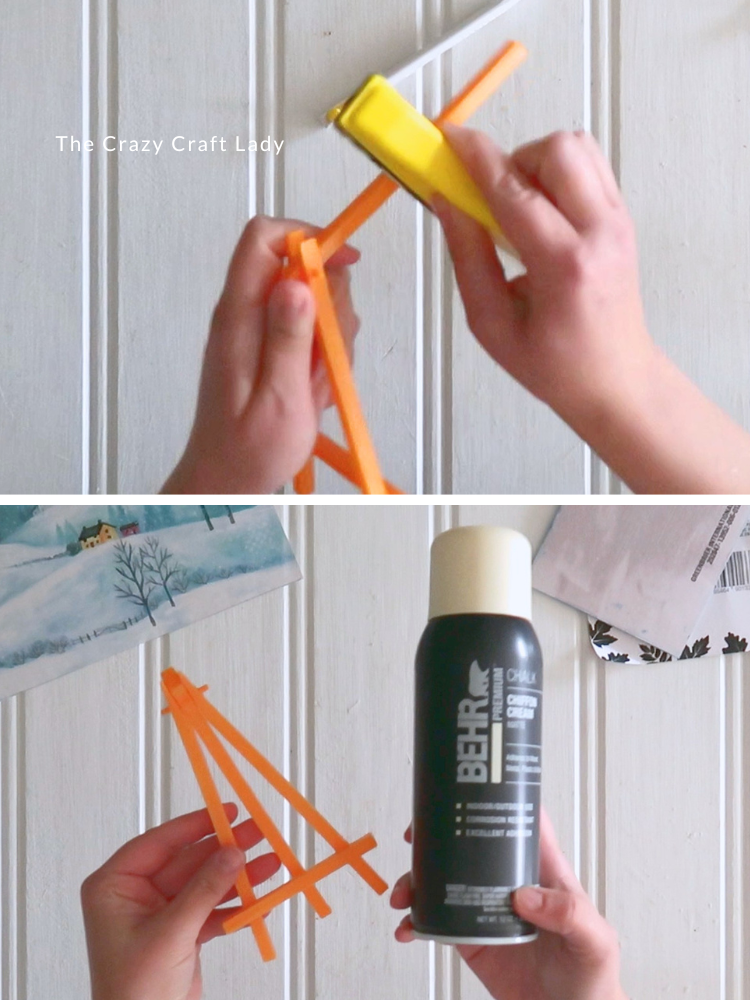
Clean away the sanding dust, then apply a spray primer suitable for plastic according to its directions. Let it dry before painting.
Step 5: Cut the Calendar Image and Paper Backing
Position the canvas panel over the section of calendar artwork you want to feature. I chose a little house, a tree, and part of a snowy hill from the leftover top portion of my calendar page.
Trace around the panel, then cut just inside your pencil line.
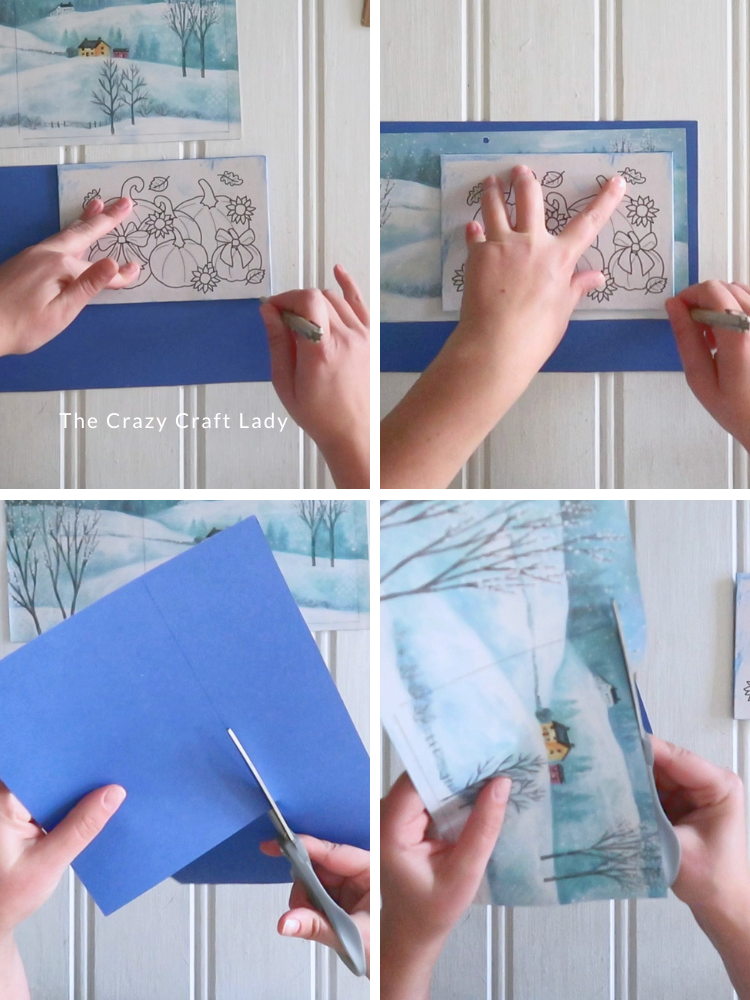
Repeat with a piece of coordinating scrapbook paper or cardstock for the back. You should now have two paper pieces sized to fit the panel.
Step 6: Attach the Front Image and Backing
With the Mod Podge completely dry, center the calendar image on the front of the panel. Cover it with parchment paper and use your craft heat press to attach it, following suitable temperature and timing guidance for your adhesive, equipment, and materials.
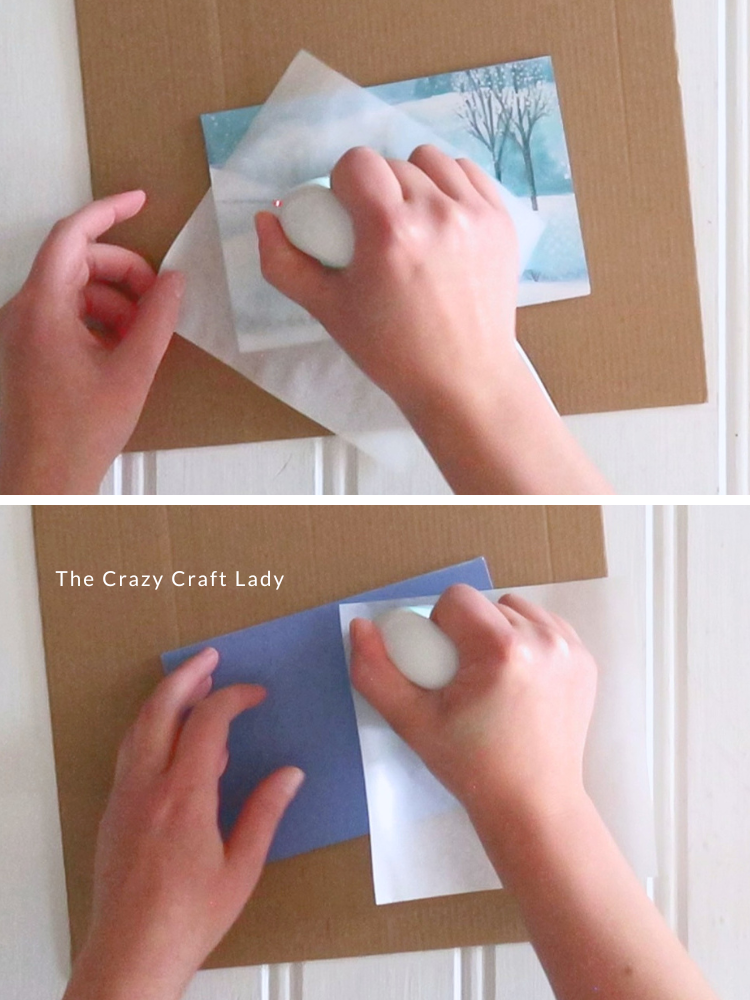
Let the panel cool, then turn it over and repeat with the coordinating cardstock on the back. Keep parchment paper between the press and the paper on each side.
Now you’ve got snowy artwork on the front, a tidy blue backing, and painted edges connecting the two.
Step 7: Paint the Easel to Look Like Wood
Once the primer is dry, paint the easel with FolkArt Matte acrylic paint in Coffee Latte. Use a flat brush to work around all the little corners, supports, and recessed areas.
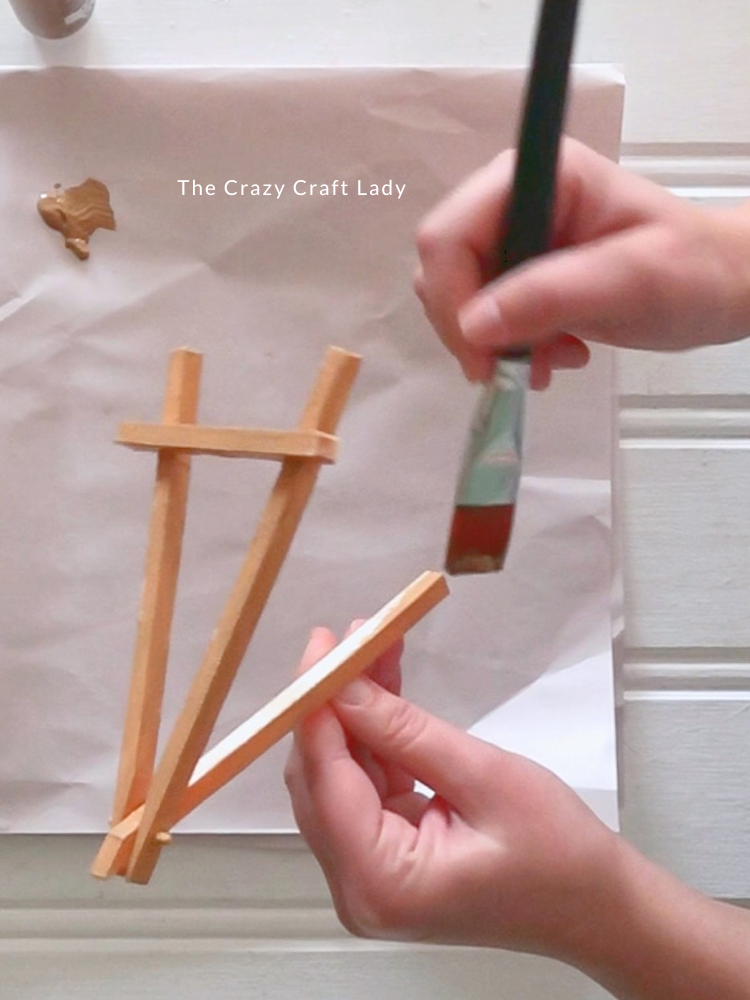
The brown paint, combined with the subtle lines from sanding, helps give the plastic a simple faux wood appearance.
Check the easel from every angle before calling it done. I can almost guarantee there will be one little nook or cranny trying to hide from your paintbrush!
Let the paint dry completely.
Step 8: Assemble and Display
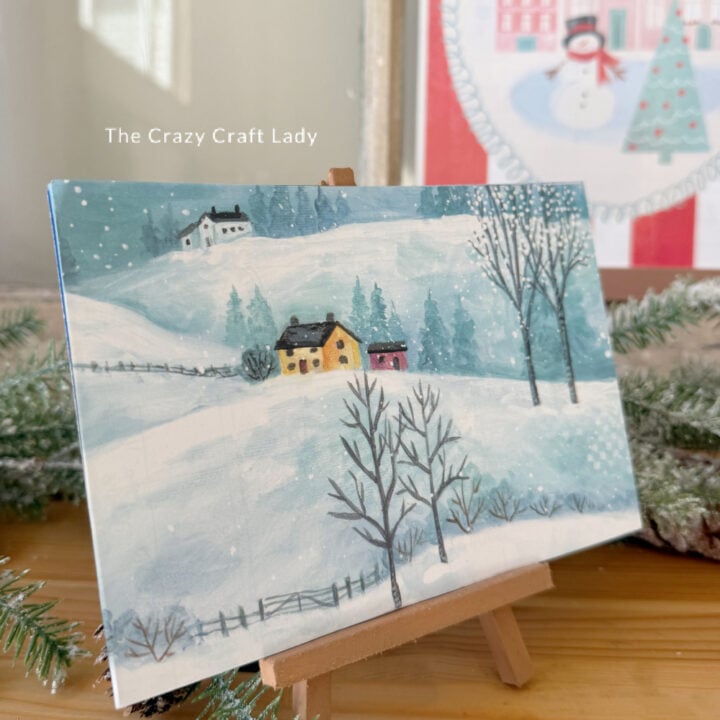
Set your finished canvas panel back on the easel, and you’ve got a cute little winter shelf sitter!
Tuck it onto a bookshelf, a tiered tray with enough room, or a small tabletop display. It’s an easy way to add a bit of winter artwork without needing a big frame or a spot on the wall.
Easy Ways to Change Up This Craft
- Use leftover artwork. Small calendar scraps can hold just enough detail for a mini canvas.
- Swap the season. Try flowers for spring, pumpkins for fall, or a Christmas scene.
- Change the easel color. Try cream or another shade that works with your decor.
Dollar Tree Mini Easel Winter Decor
Turn a seasonal mini canvas painting kit into winter shelf decor with snowy calendar artwork, a coordinating paper backing, and a faux wood easel.
Materials
- 1 mini canvas painting kit with canvas panel and plastic easel
- Winter calendar artwork
- Coordinating blue paint
- Mod Podge
- Coordinating scrapbook paper or cardstock
- Spray primer suitable for plastic
- FolkArt Matte acrylic paint in Coffee Latte
Tools
- Small paintbrush
- Flat ½-inch or 1-inch paintbrush
- Sandpaper, sanding block, or nail file
- Pencil
- Scissors
- Parchment paper
- Suitable craft heat press
- Work surface protector
Instructions
1. Watch the video tutorial located above, right here in this blog post, before getting started.
2. Paint all four edges of the canvas panel in a coordinating color. Let dry. Apply Mod Podge to the front, let dry, then coat the back and let dry completely.
3. Sand the plastic easel to remove the shine and add subtle lines that suggest wood grain. Clean off the dust, apply plastic-compatible primer, and let dry.
4. Trace the canvas panel onto your chosen calendar artwork and coordinating cardstock. Cut both pieces just inside the traced lines.
5. Center the calendar image on the panel’s front, cover with parchment paper, and heat-set using suitable adhesive and equipment guidance. Let cool, then repeat with the cardstock on the back.
6. Paint the primed easel Coffee Latte, covering all sides and recessed areas. Check for missed spots and let dry completely.
7. Place the finished panel on the easel and display.
Notes
* Choose a small section of artwork that fits the mini canvas.
* Finish the panel’s edges and back because they may be visible on the open easel.
* Allow each coating to dry before the next step.
Little Calendar Scraps, Cute Winter Decor
This Dollar Tree mini easel winter decor gives a little painting kit—and a leftover calendar image—a whole new purpose. The snowy scene is sweet, the back looks finished, and the painted easel adds a cozy touch. Such a fun little makeover for a shelf that needs just one more thing!