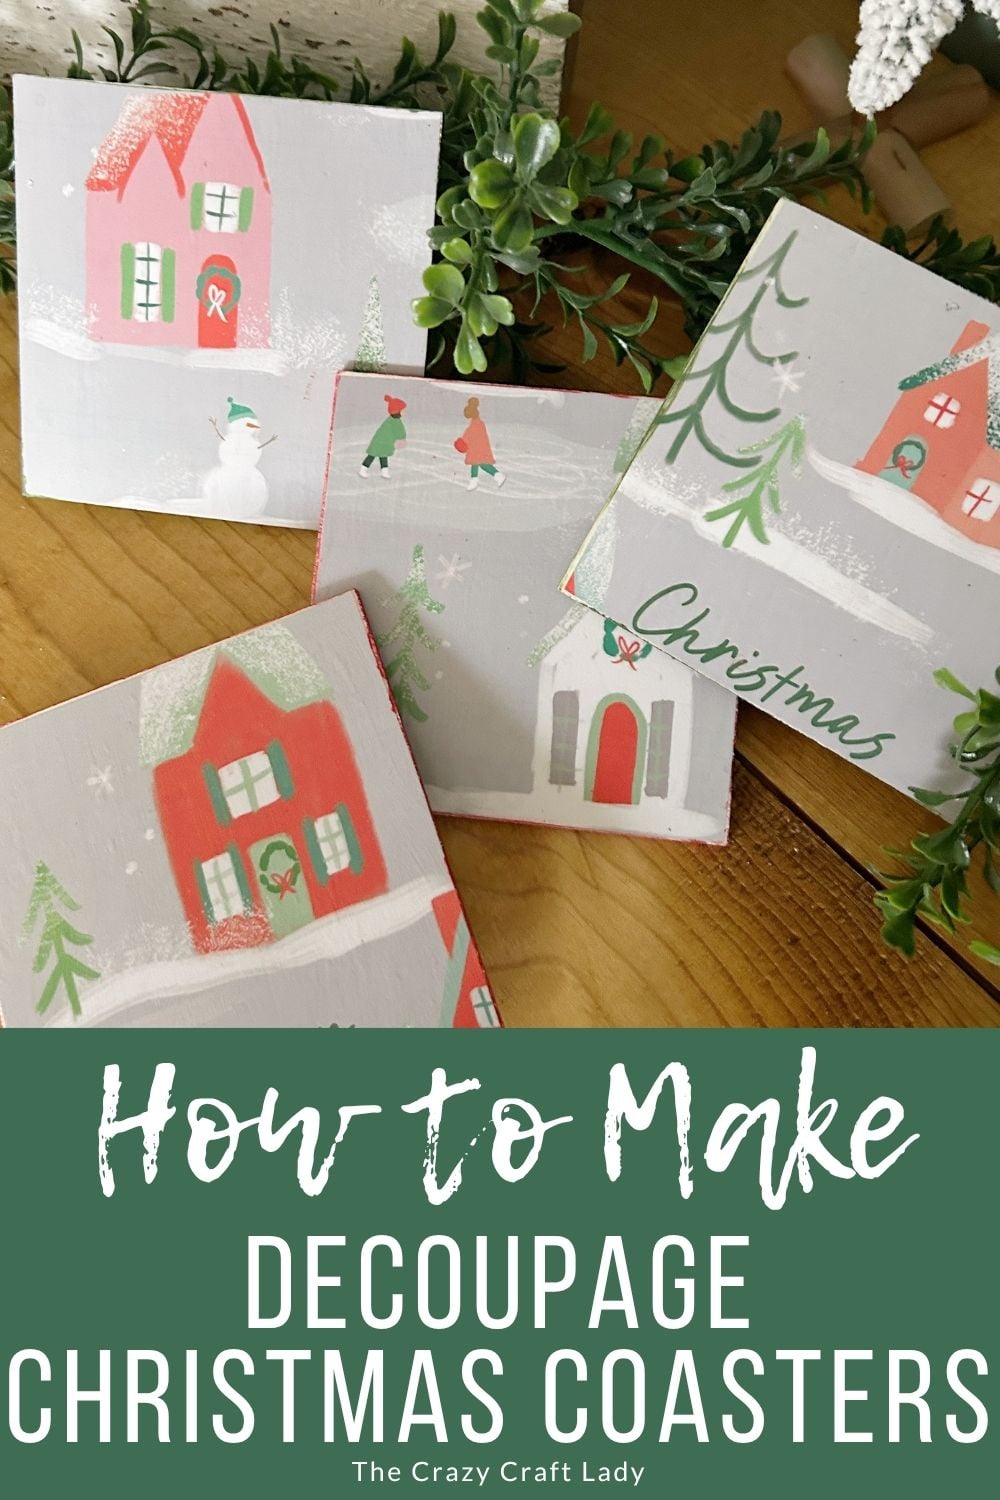
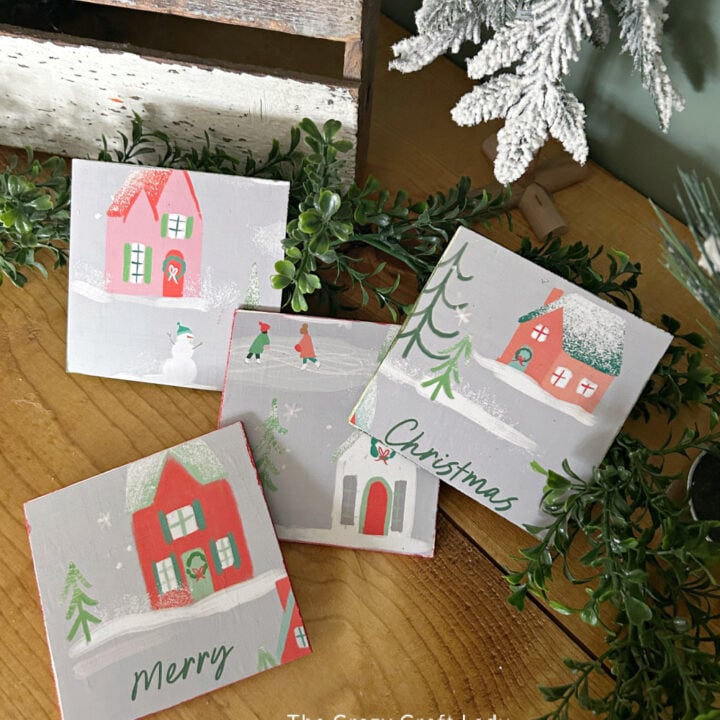
Learn how to make beautiful calendar page decoupage Christmas coasters using Dollar Tree wood squares and a holiday calendar. This easy DIY makes waterproof holiday coasters perfect for gifting.
This post contains some affiliate links for your convenience. Click here to read my full disclosure policy.
How to decoupage calendar pages onto wood blanks to make adorable Christmas coasters
If you’ve ever fallen in love with the artwork in a Dollar Tree holiday calendar, here’s the perfect way to save it! These calendar page decoupage Christmas coasters transform those beautiful winter scenes into a functional set of holiday coasters you’ll use year after year.
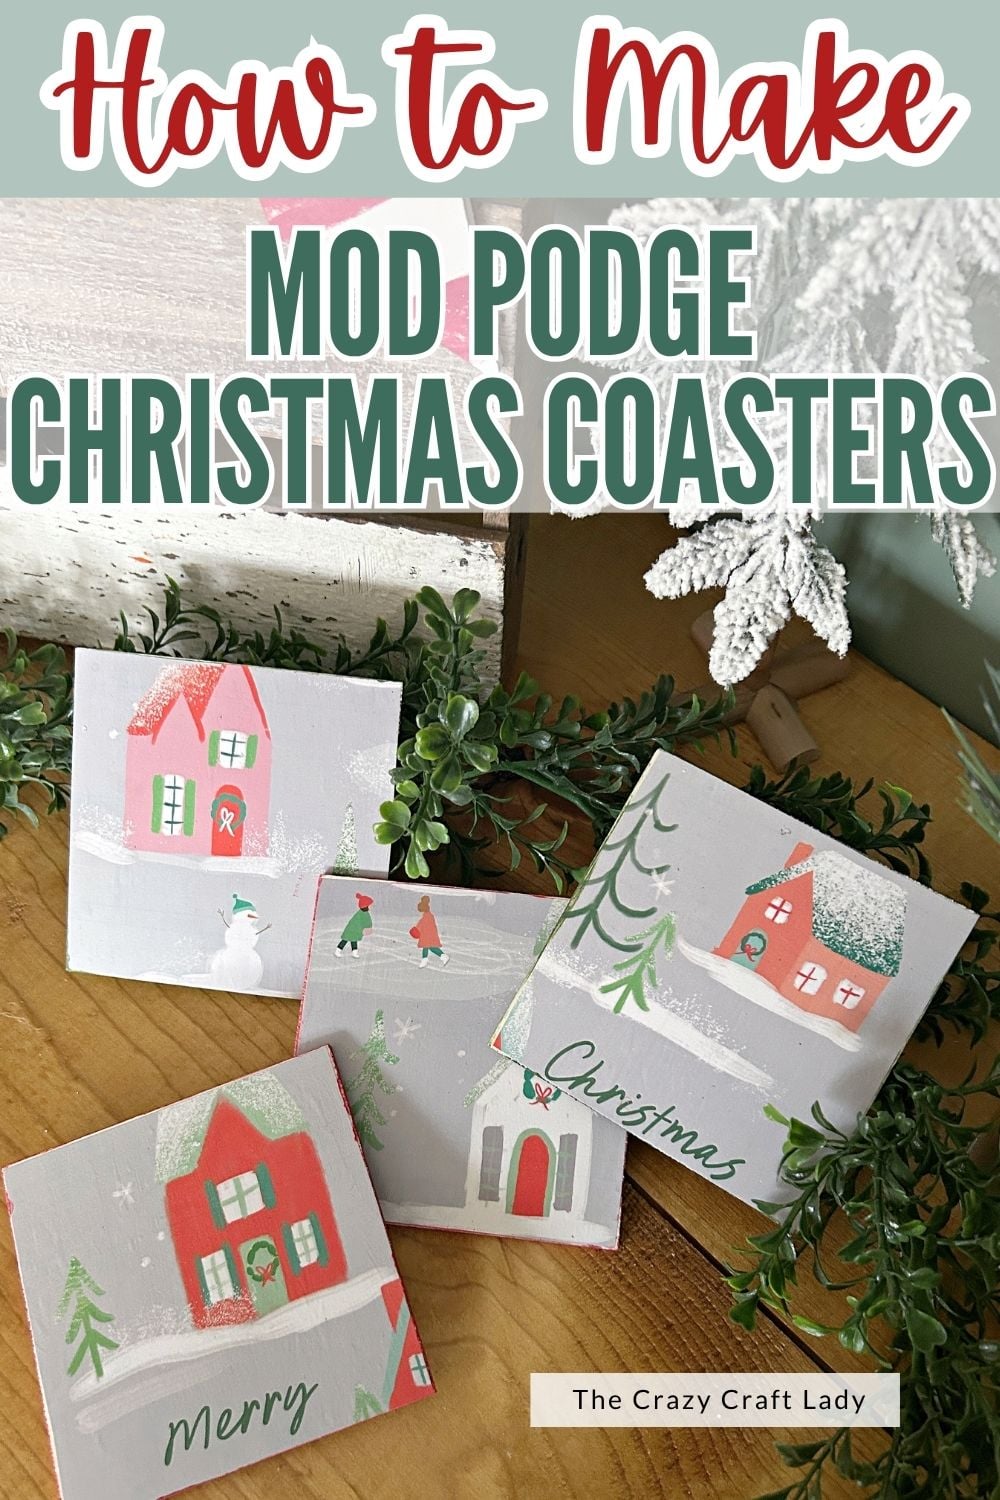
Using inexpensive Dollar Tree wood squares, Dishwasher Safe Mod Podge, and a simple heat transfer method, you’ll create smooth, waterproof Christmas coasters that look professionally made. Whether you’re decorating your own home or making handmade Christmas gifts, this easy decoupage project is one you’ll want to recreate every holiday season.
Video Tutorial: Calendar Page Decoupage Christmas Coasters
Watch this quick video to see how this craft came together:
Calendar Page Decoupage Christmas Coasters
Make stunning calendar page decoupage Christmas coasters with inexpensive Dollar Tree supplies. A simple holiday craft that's perfect for decorating or giving as handmade gifts.
Materials
- Dollar Tree unfinished wood square planks (4)
- Dollar Tree Christmas calendar
- Dishwasher Safe Mod Podge
- Parchment paper
- Craft paint
Instructions
- Watch the video tutorial. Watch the video above to see the heat transfer technique in action before getting started.
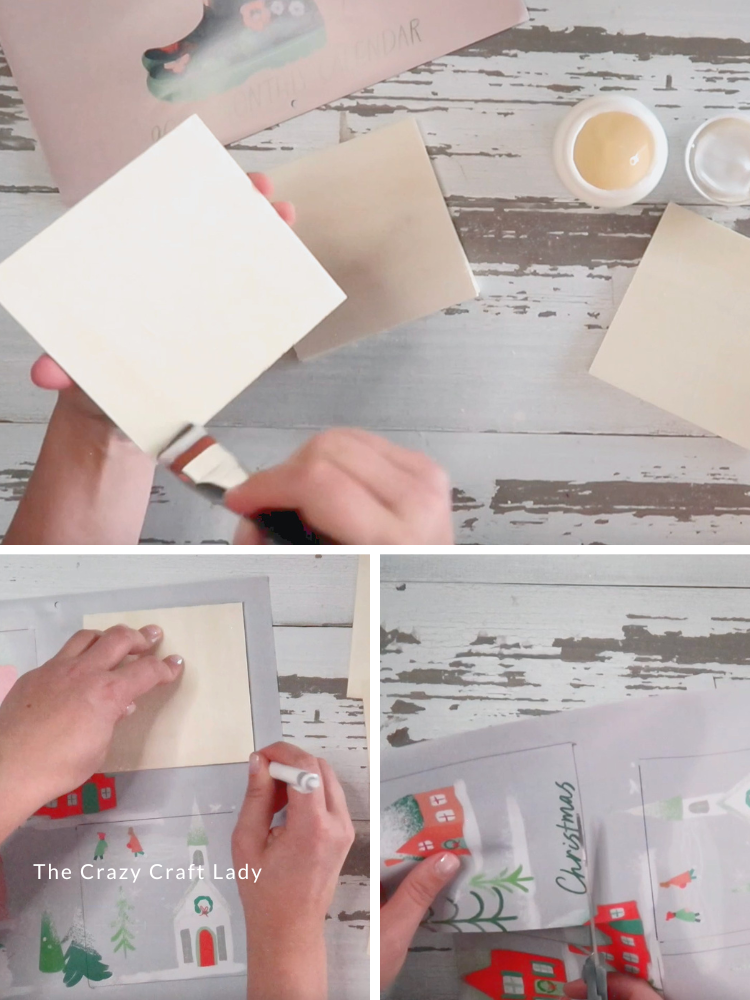
- Seal the wood squares. Brush a thin coat of Dishwasher Safe Mod Podge onto one side of each wood square. Set them aside until the Mod Podge is completely dry.

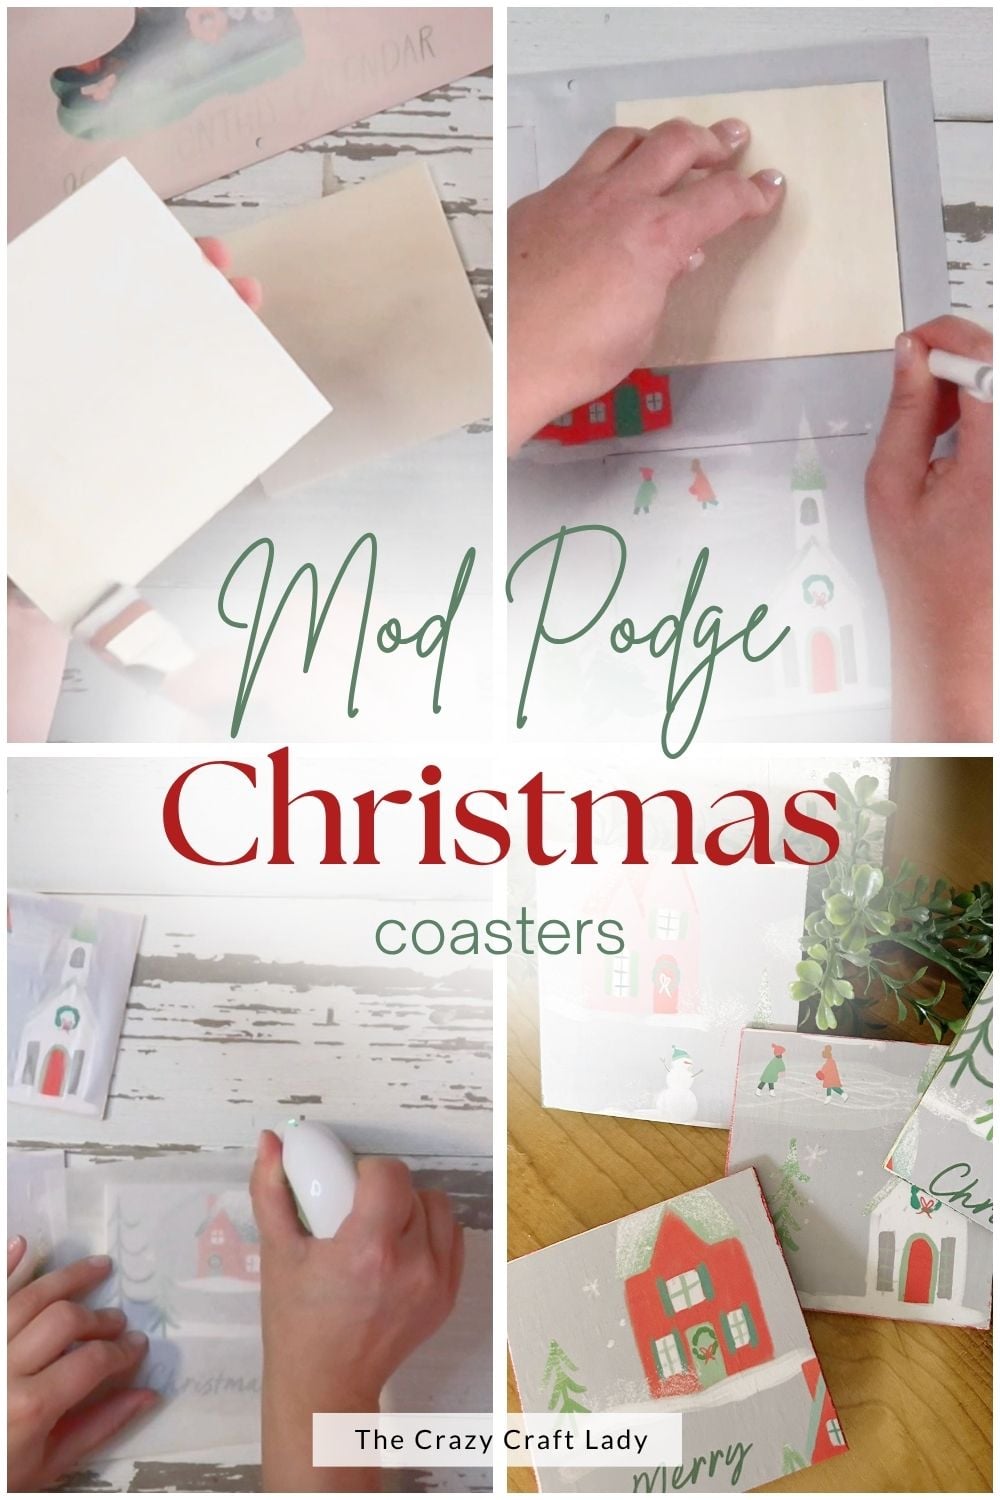
- Cut out the calendar artwork. Choose four coordinating scenes from your Christmas calendar. Arrange the wood squares over the artwork until you're happy with the placement, then trace around each square and cut out the images.
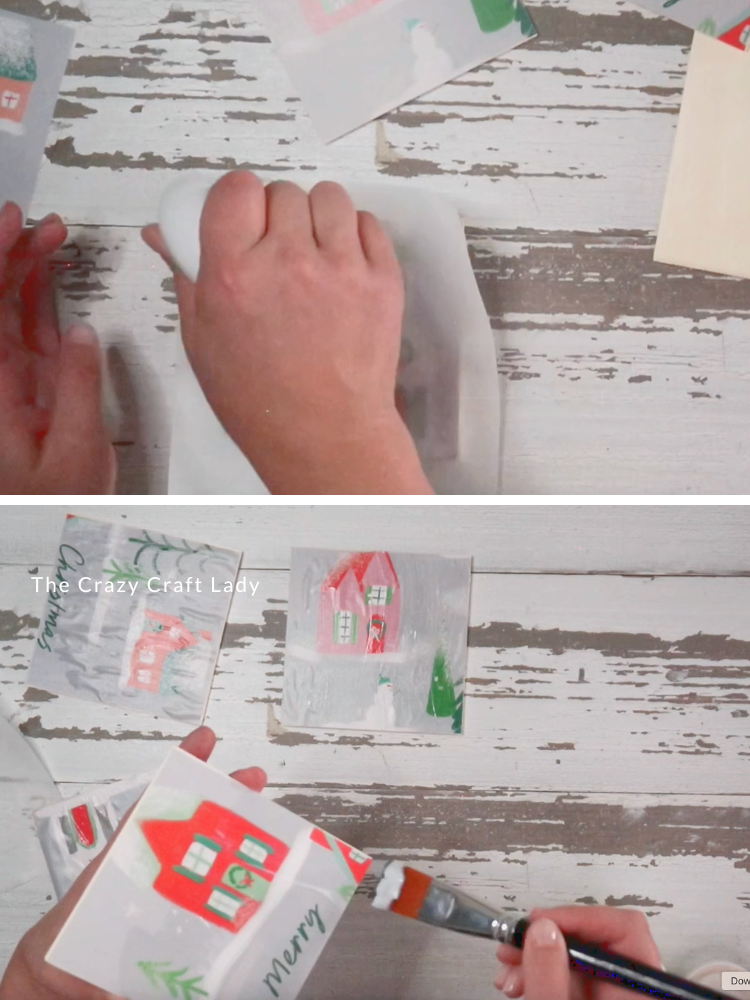
- Decoupage the calendar pages. Place each calendar image on top of the dried Mod Podge. Cover with parchment paper and use a mini heat press to permanently bond the paper to the wood. This heat transfer method creates a smooth, wrinkle-free decoupage finish without bubbles.
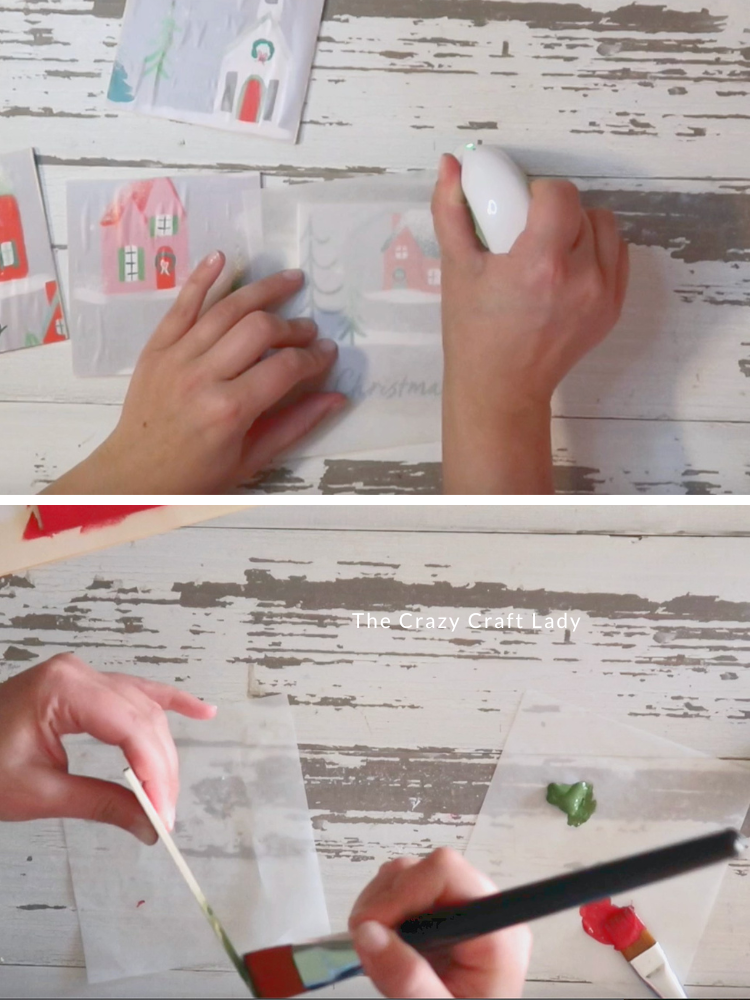
- Make the coasters waterproof. Brush another thin coat of Dishwasher Safe Mod Podge over each coaster. The paper will wrinkle and bubble while it dries—don't panic! Once dry, cover the coaster with parchment paper again and heat press it until the surface becomes smooth. Repeat this process two more times: apply Mod Podge, allow it to dry completely. And heat press until smooth. After three coats total, the calendar page decoupage Christmas coasters are sealed well enough to stand up to condensation from cold drinks.
- Finish the edges. Paint the sides and backs of the coasters to coordinate with your artwork. I used FolkArt Matte paint in Christmas Red and Clover, but choose colors that complement your calendar images.
- Allow the finish to cure. Let the Mod Podge fully cure according to the manufacturer's directions before using your coasters.
Tips for the Best Calendar Page Decoupage Christmas Coasters
- Look for calendar pages with artwork that naturally divides into four equal scenes.
- Thin calendar paper works especially well with the heat transfer method.
- Protect your images with parchment paper every time you heat press.
- Paint the sides and backs for a finished, store-bought appearance.
- Add felt pads underneath to protect your furniture.
The Finished Christmas Coasters
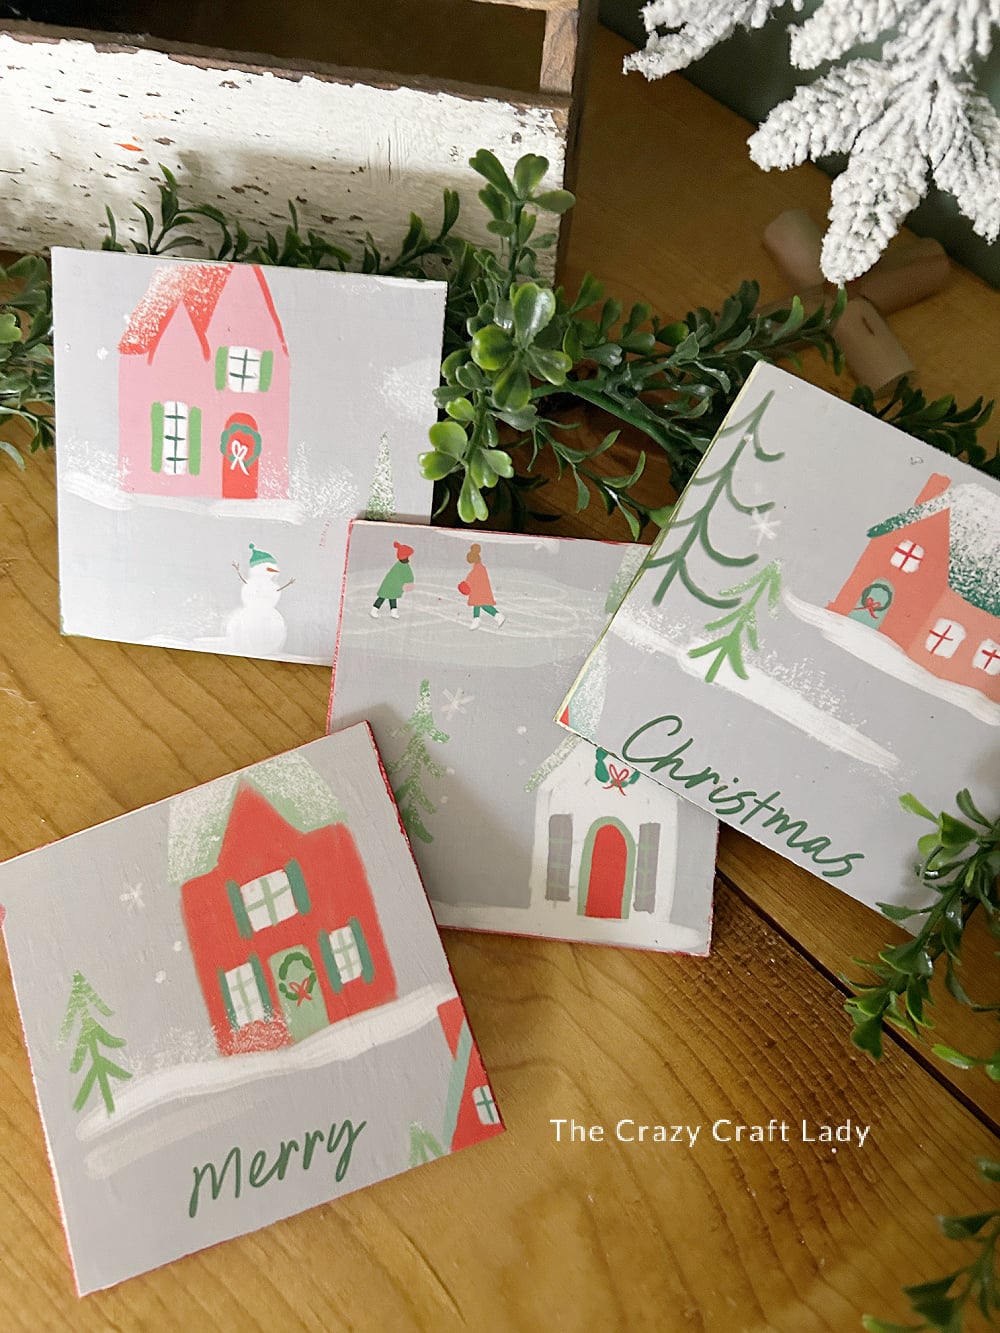
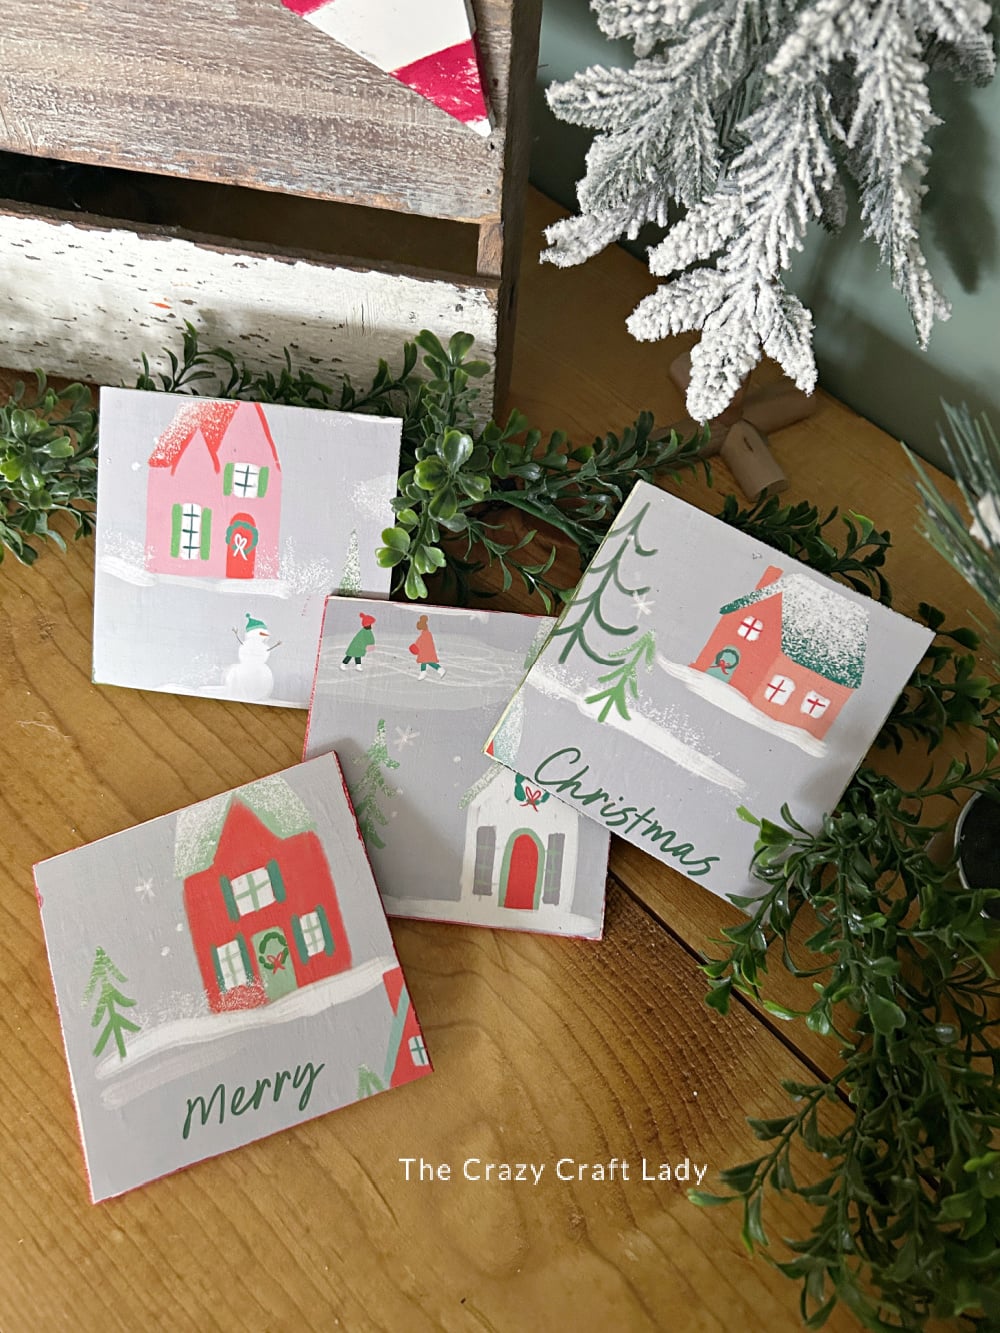
These calendar page decoupage Christmas coasters prove that some of the prettiest Christmas decor starts with the simplest supplies. A $1.25 calendar, a few wood squares, and a little patience with the Mod Podge process are all it takes to create a beautiful set of handmade coasters that are both decorative and practical. They’re an inexpensive project you’ll be excited to display every Christmas—or wrap up as a thoughtful handmade gift.
Frequently Asked Questions
Can I use regular Mod Podge?
Yes, but Dishwasher Safe Mod Podge creates a much more durable finish that’s better suited for coasters.
Do I need a Dollar Tree calendar?
Not at all! Any decorative calendar, vintage Christmas card, printable, or holiday artwork can be used for this project.
Why does the paper wrinkle after adding Mod Podge?
This is completely normal. Once the Mod Podge dries, reheating the coaster with a mini heat press smooths the paper back out.
PIN this craft for later: