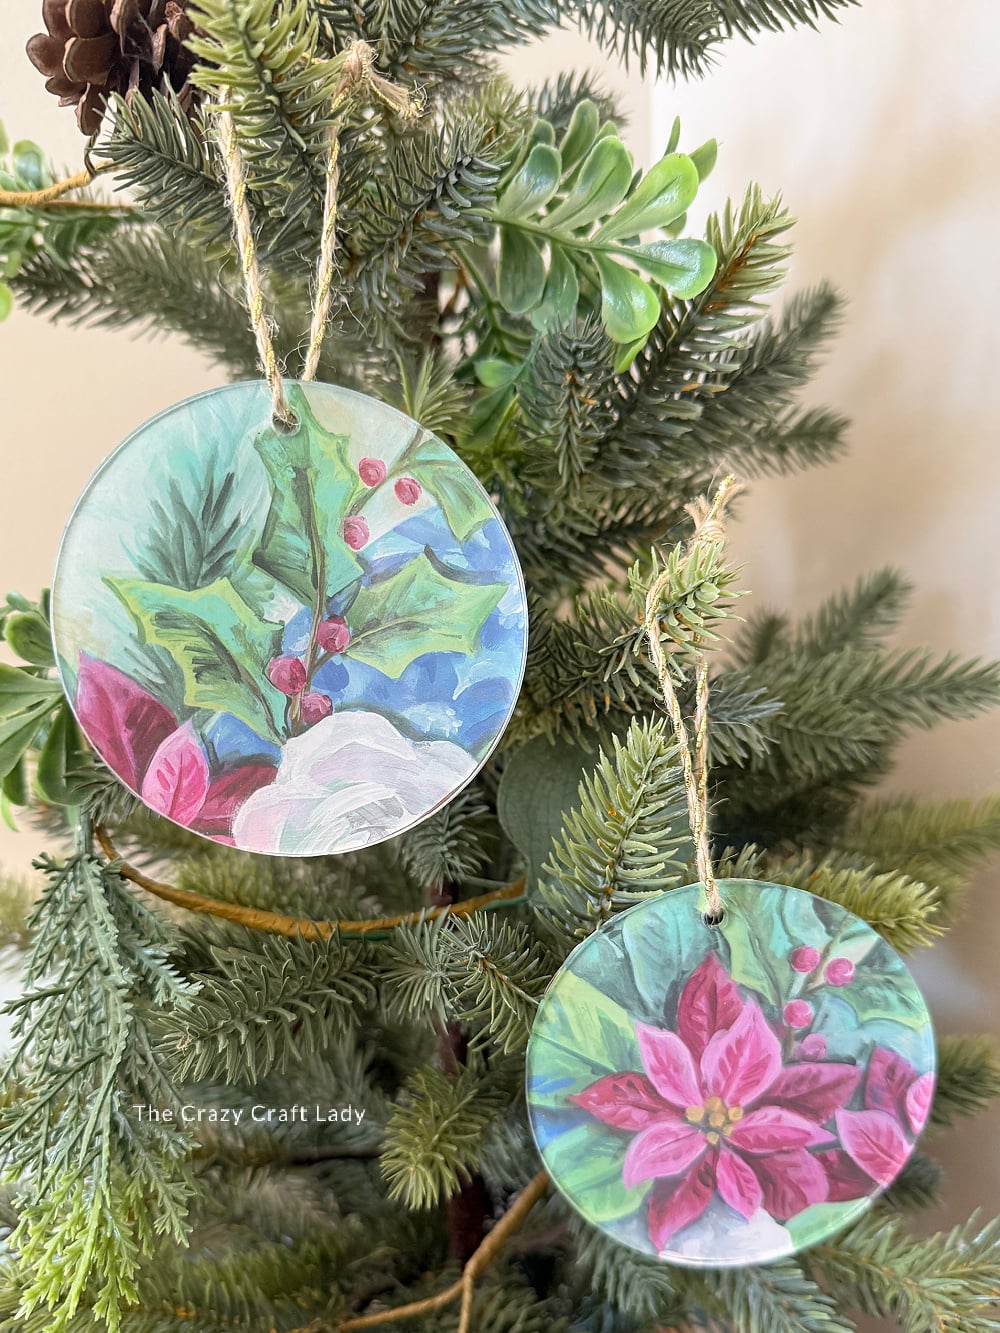
Make DIY calendar page acrylic ornaments with clear acrylic blanks, floral images, and a little Mod Podge. An easy way to turn pretty paper into Christmas decor!
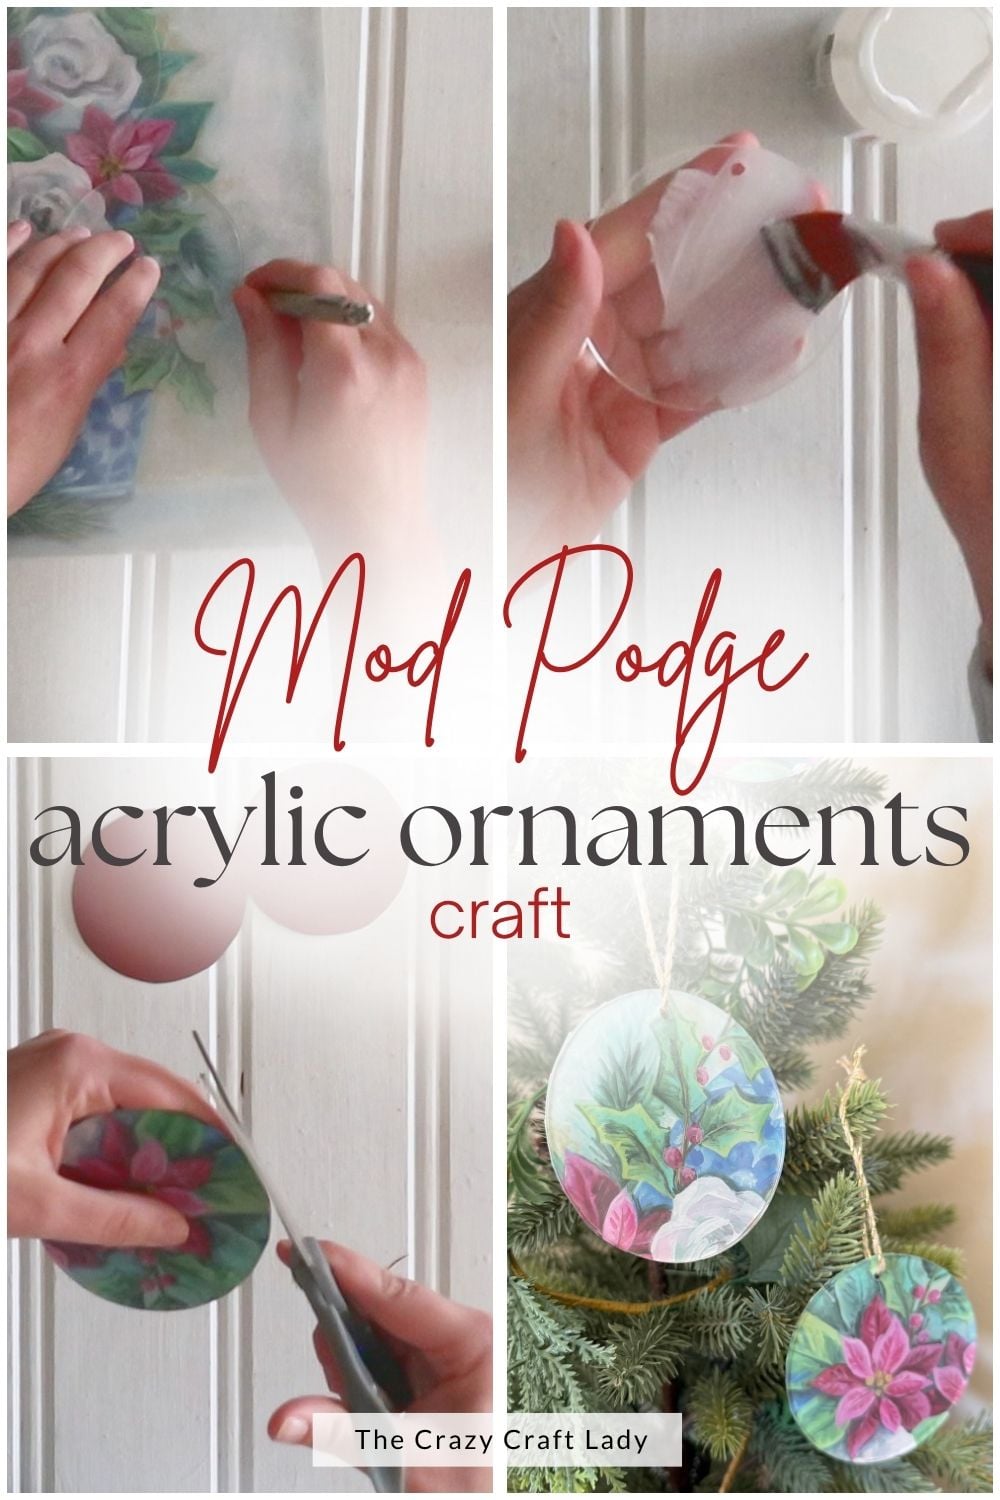
DIY Calendar Page Ornaments with Clear Acrylic Blanks
This post contains some affiliate links for your convenience. Click here to read my full disclosure policy.
Have a pretty calendar page you just can’t bring yourself to toss? Let’s turn those little bits of artwork into something you can hang on your Christmas tree! These DIY calendar page ornaments pair clear acrylic blanks with floral images, a coordinating cardstock backing, and a simple twine hanger.
I used red and white flowers for mine, along with burgundy cardstock and natural jute twine with a little gold running through it. Nothing complicated here, just a pretty paper makeover and another excuse to dig through the craft stash!
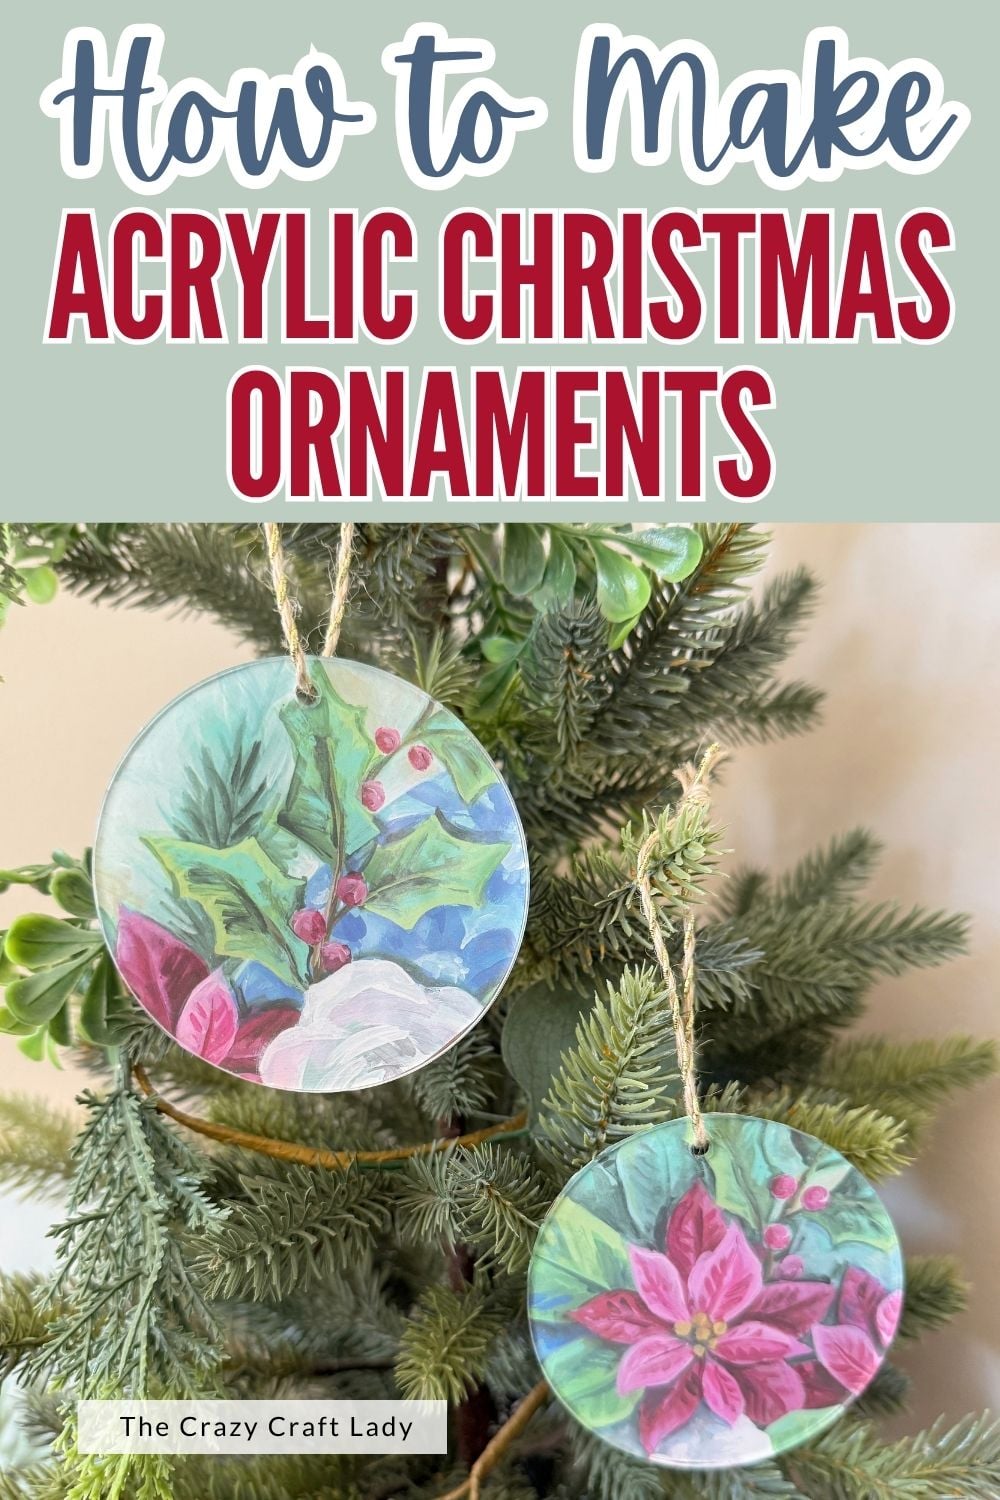
Choosing a Calendar Page for Your Ornaments
Look for a calendar page with smaller details instead of one big focal point. Florals work especially well because you can frame a different flower inside each ornament.
My page featured a vase of flowers, but I only used the flowers at the top. One ornament got a white flower, another got a red flower, and the whole little set coordinated without looking exactly alike.
Before cutting anything, move your clear blanks around the page to see which sections you like best. Keep the hanging hole at the top so your design hangs in the right direction.
Supplies and Equipment
Supplies:
- Calendar page with small floral details
- 3 clear acrylic ornament blanks with hanging holes
- Mod Podge
- Coordinating scrapbook cardstock—I used burgundy
- Double-sided tape
- Thin twine, ribbon, or yarn—about 10 inches per ornament
Equipment:
- Fine-tip pen or marker
- Scissors
- Small paintbrush or foam brush
- Hole punch or Crop-A-Dile for punching the paper layers
- Ruler
- Optional: weeding tool or safety pin to help lift the protective film
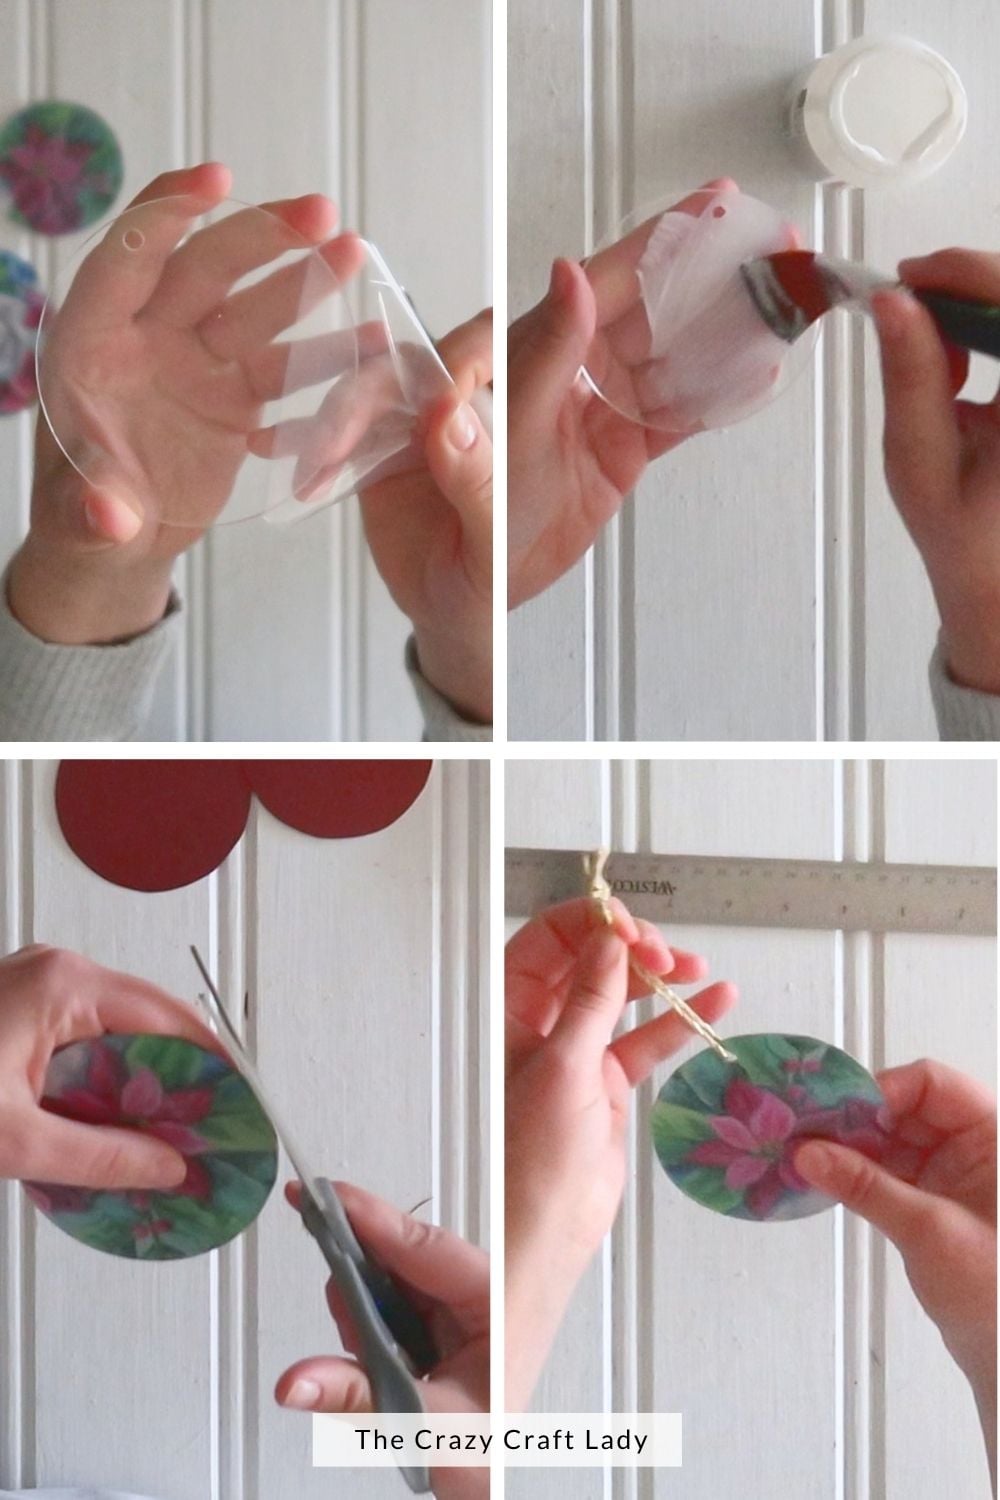
How to Make DIY Calendar Acrylic Page Ornaments
Step 1: Watch the Video Tutorial
Watch the video tutorial located above, right here in this blog post, to see how I position the floral images and assemble these little acrylic ornaments. Then follow the steps below to make your own.
Step 2: Trace and Cut Your Calendar Images
Lay the acrylic ornament blanks over your calendar page, moving them around until you like the image inside each circle. Try featuring a different flower or combination of details in each one.
Trace around the blanks with a fine-tip pen or marker. Cut out each circle just inside the line so the ink won’t show on your finished ornament.
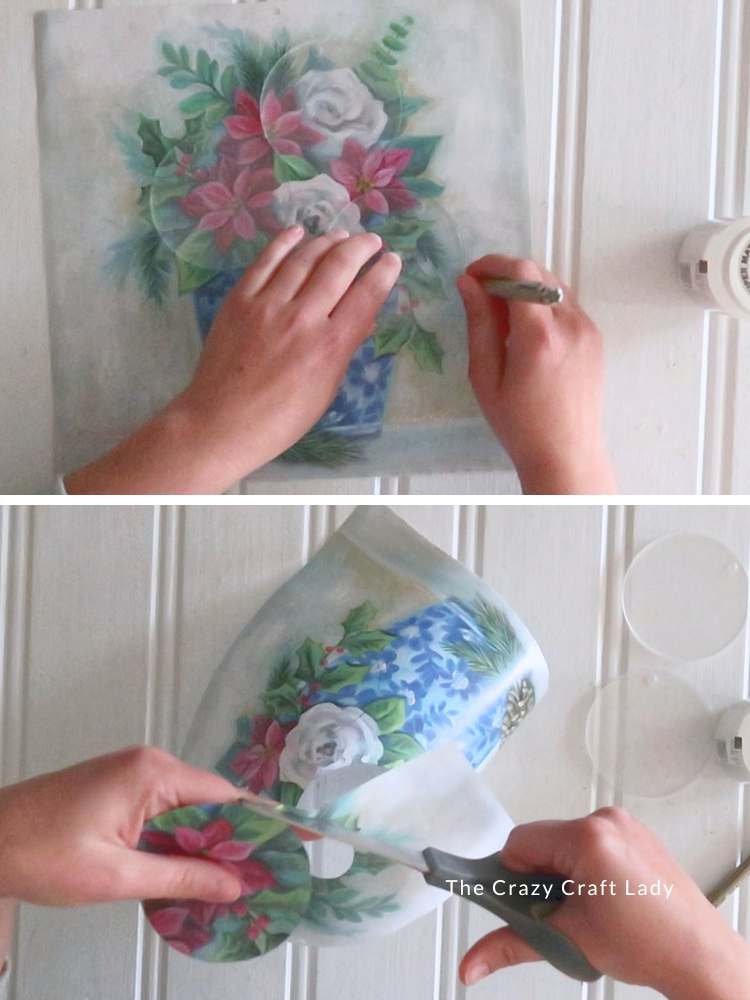
Take your time around the curves, but don’t worry about making them perfect. You can trim little overhanging edges later.
Step 3: Attach the Images to the Acrylic
Remove the protective film from both sides of each acrylic blank. If an edge is stubborn, carefully lift the film with a weeding tool or safety pin, taking care not to scratch the acrylic.
Brush a very thin, even layer of Mod Podge onto one side of the blank. Remove any dried glue bits or excess adhesive before adding the paper. These thin calendar pages can bubble and warp, so a little Mod Podge goes a long way!
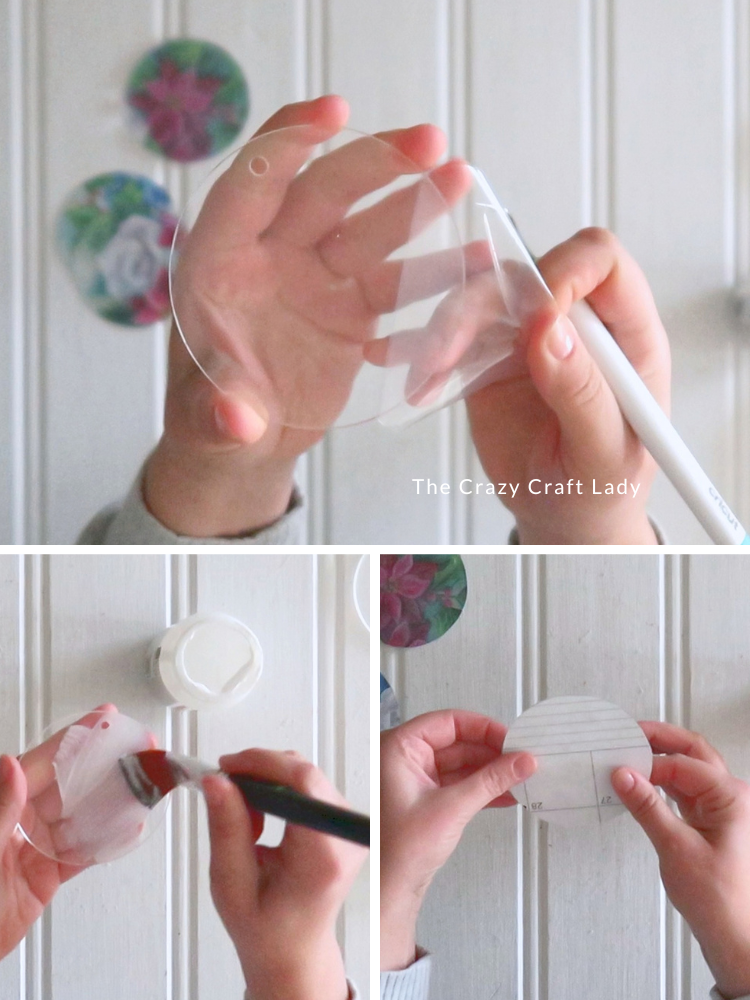
Place the calendar circle picture-side down against the glued acrylic, so the floral image shows through the clear front. Gently smooth the paper into place and allow the Mod Podge to dry before adding the backing.
Step 4: Add a Coordinating Cardstock Backing
We don’t need a calendar grid showing if these ornaments spin around on the tree! Trace the ornament shapes onto coordinating cardstock, then cut just inside your lines. I chose burgundy to pull out the red tones in the flowers.
Add about four small, 1-inch pieces of double-sided tape to the side of each cardstock circle that will face inward. Remove the tape liners, if needed, then center and press the cardstock over the exposed calendar grid.
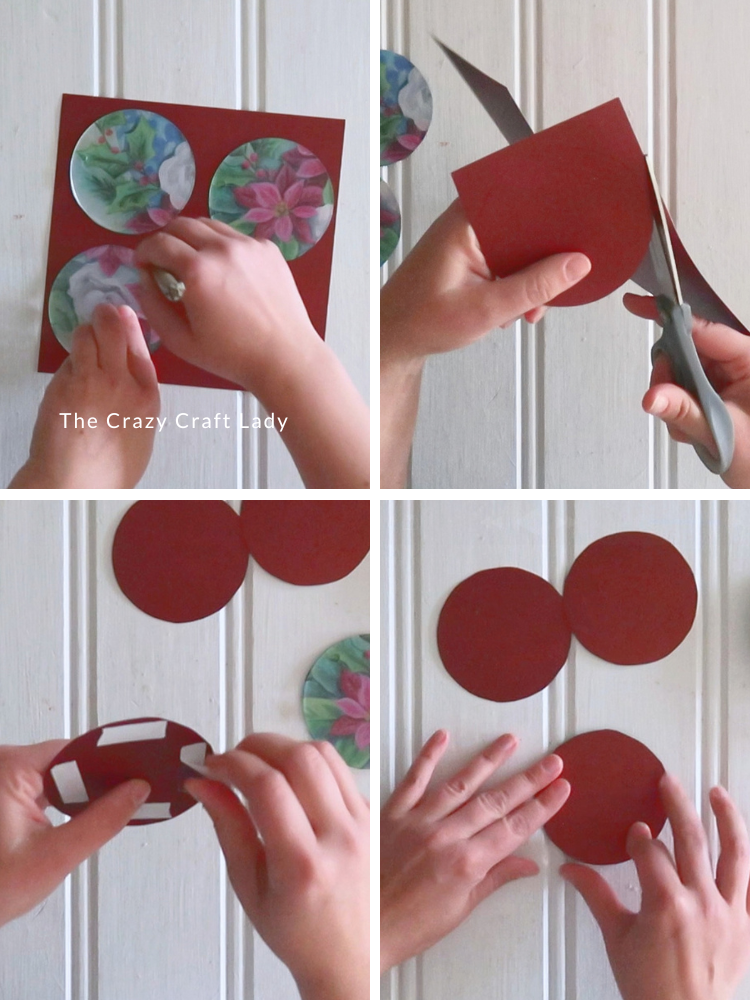
I used tape here because I didn’t want to risk bubbling the thin calendar paper with another coat of Mod Podge.
Step 5: Trim the Edges and Reopen the Hanging Holes
Use scissors to carefully trim any calendar paper or cardstock extending past the acrylic edges.
Line up your hole punch with the existing hole in each acrylic blank and punch through the paper layers covering it. You’re reopening the hole through the paper, not making a new hole in the acrylic.
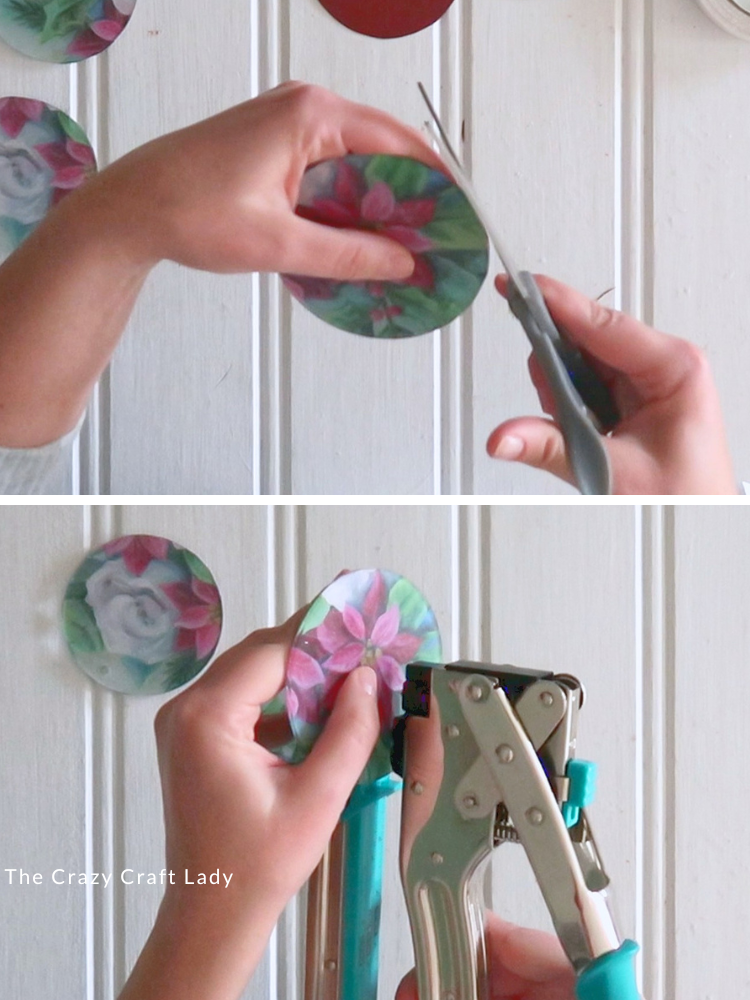
I used my Crop-A-Dile because it’s a fun tool to pull out, but a hole punch that fits the opening works too.
Step 6: Add the Twine Hangers
Cut a 10-inch length of thin twine for each ornament. Thread it through the hole and knot the ends together to create a hanging loop.
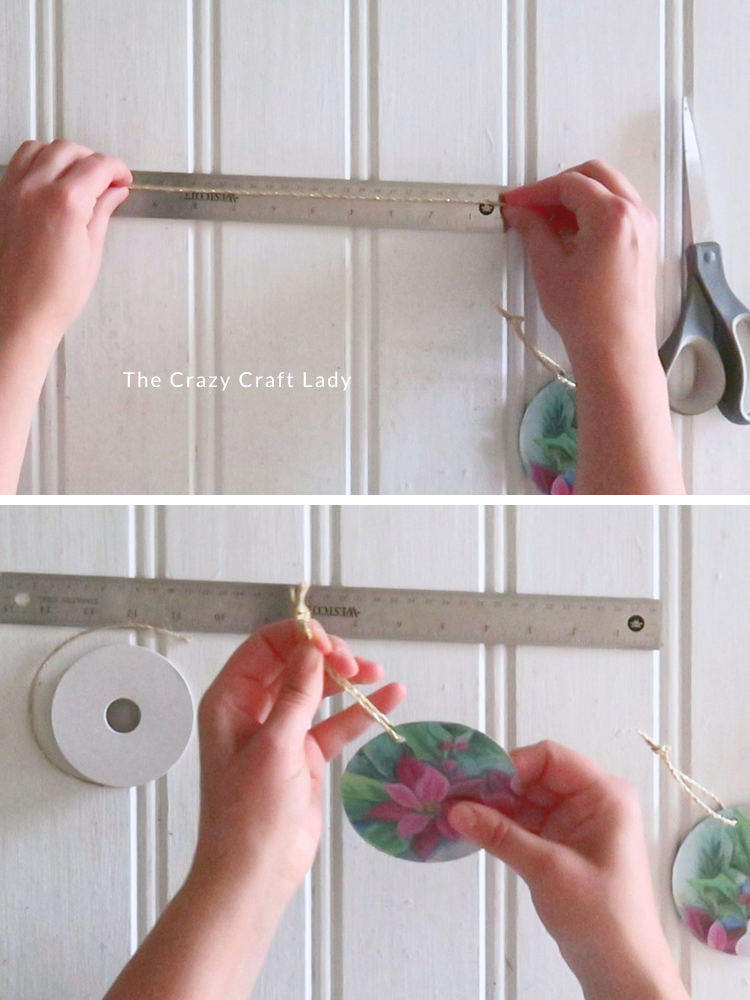
Mine is natural jute twine with a thin gold thread running through it—just enough sparkle! Thin ribbon or yarn would work, too. Use whatever coordinates with your paper and is already sitting in your craft stash.
Easy Ways to Change Up This Craft
- Try different artwork. Look for small birds, greenery, or other details that fit inside your blanks.
- Switch the backing color. Pull a color from the image for a coordinated finish.
- Change the hanger. Use narrow velvet ribbon for a cozy look or simple twine for a rustic finish.
- Make a coordinating set. Cut several different sections from the same calendar page.
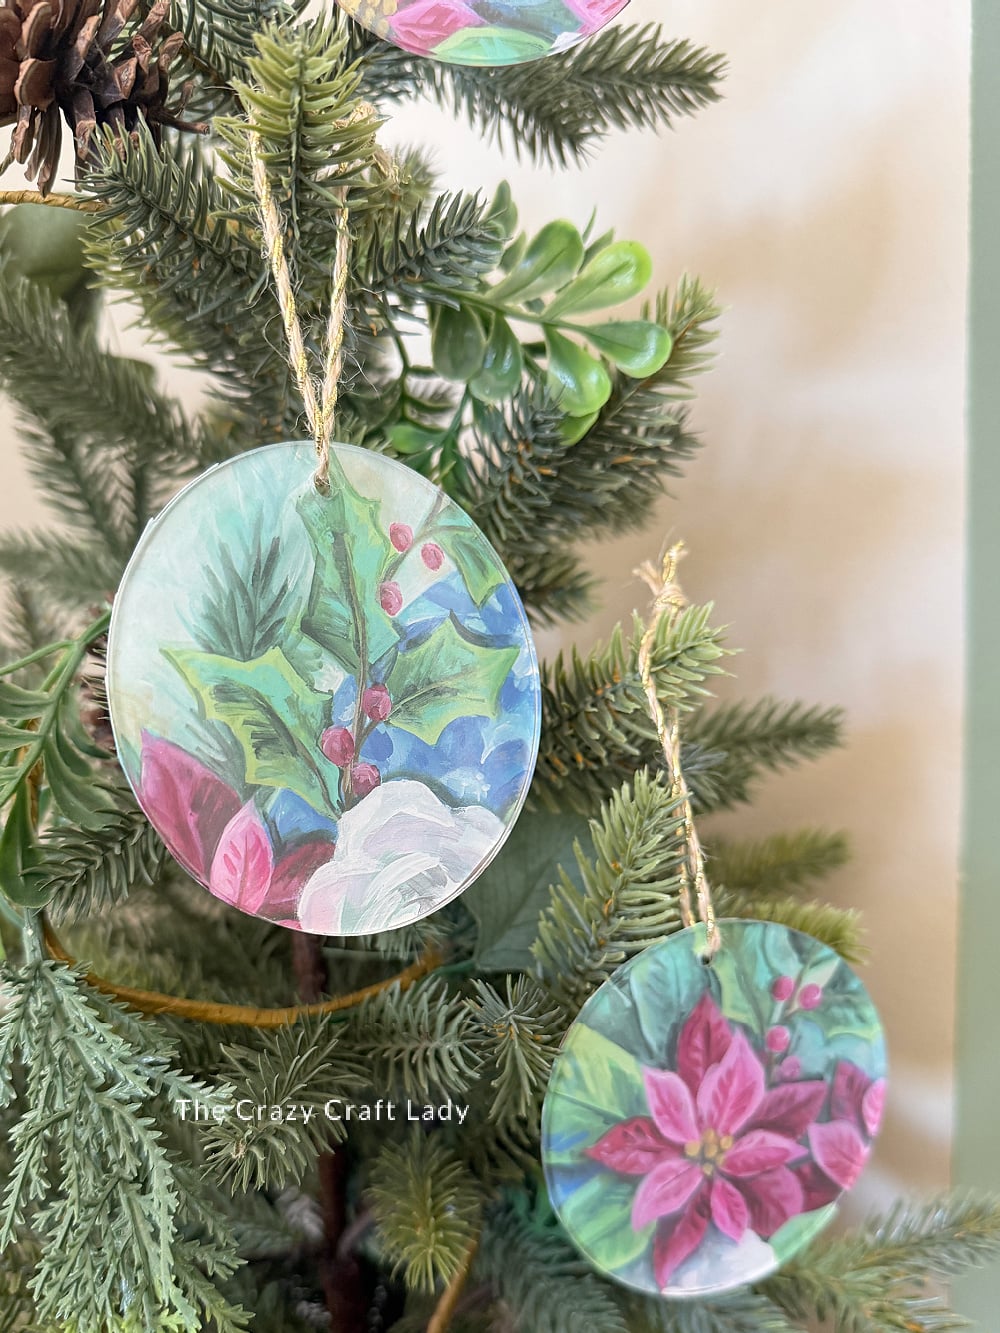
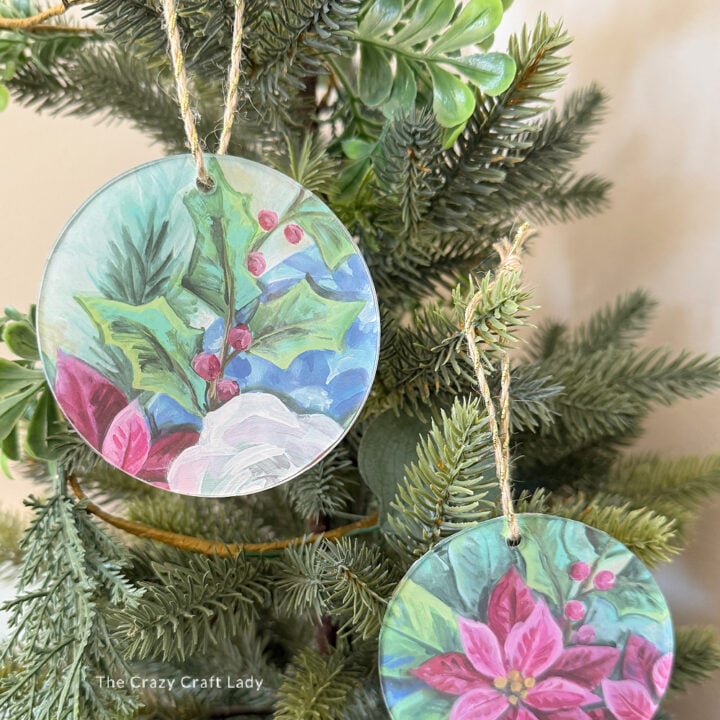
DIY Calendar Page Acrylic Ornaments
Turn a floral calendar page into three pretty Christmas ornaments using clear acrylic blanks, coordinating cardstock, and simple twine hangers.
Materials
- 3 clear acrylic ornament blanks with hanging holes
- 1 calendar page with small floral images
- Mod Podge
- Coordinating cardstock
- Double-sided tape
- Thin twine, ribbon, or yarn, approximately 30 inches total
Tools
- Fine-tip pen or marker
- Scissors
- Small paintbrush or foam brush
- Hole punch or Crop-A-Dile
- Ruler
- Optional weeding tool or safety pin
Instructions
1. Watch the video tutorial located above, right here in this blog post, before getting started.
2. Position the acrylic blanks over your chosen calendar images. Trace around each blank and cut just inside the lines.
3. Remove the protective film from both sides of the blanks. Apply a very thin layer of Mod Podge to one side, then gently smooth the calendar paper onto it, picture-side against the acrylic. Let dry.
4. Trace and cut matching cardstock circles. Attach them over the exposed calendar backs with small pieces of double-sided tape.
5. Trim any paper extending beyond the acrylic edges. Punch through the paper layers at each blank's existing hanging hole.
6. Cut a 10-inch length of twine for each ornament. Thread through the hole and knot the ends together to form a hanger.
Notes
* Smaller calendar details work best for framing inside the ornament blanks.
* Keep the Mod Podge layer thin to help minimize bubbling and warping.
* Use double-sided tape for the cardstock backing to avoid adding another wet layer of adhesive.
* When reopening the hanging hole, punch only through the paper covering the existing acrylic hole.
One Calendar Page, Three Pretty Ornaments
I love a project that gives pretty paper another purpose, and these DIY calendar page ornaments do exactly that. The clear acrylic frames the flowers, the cardstock keeps the backs looking tidy, and a little twine finishes everything off. Grab a calendar page and see how many little designs are hiding in that one picture!