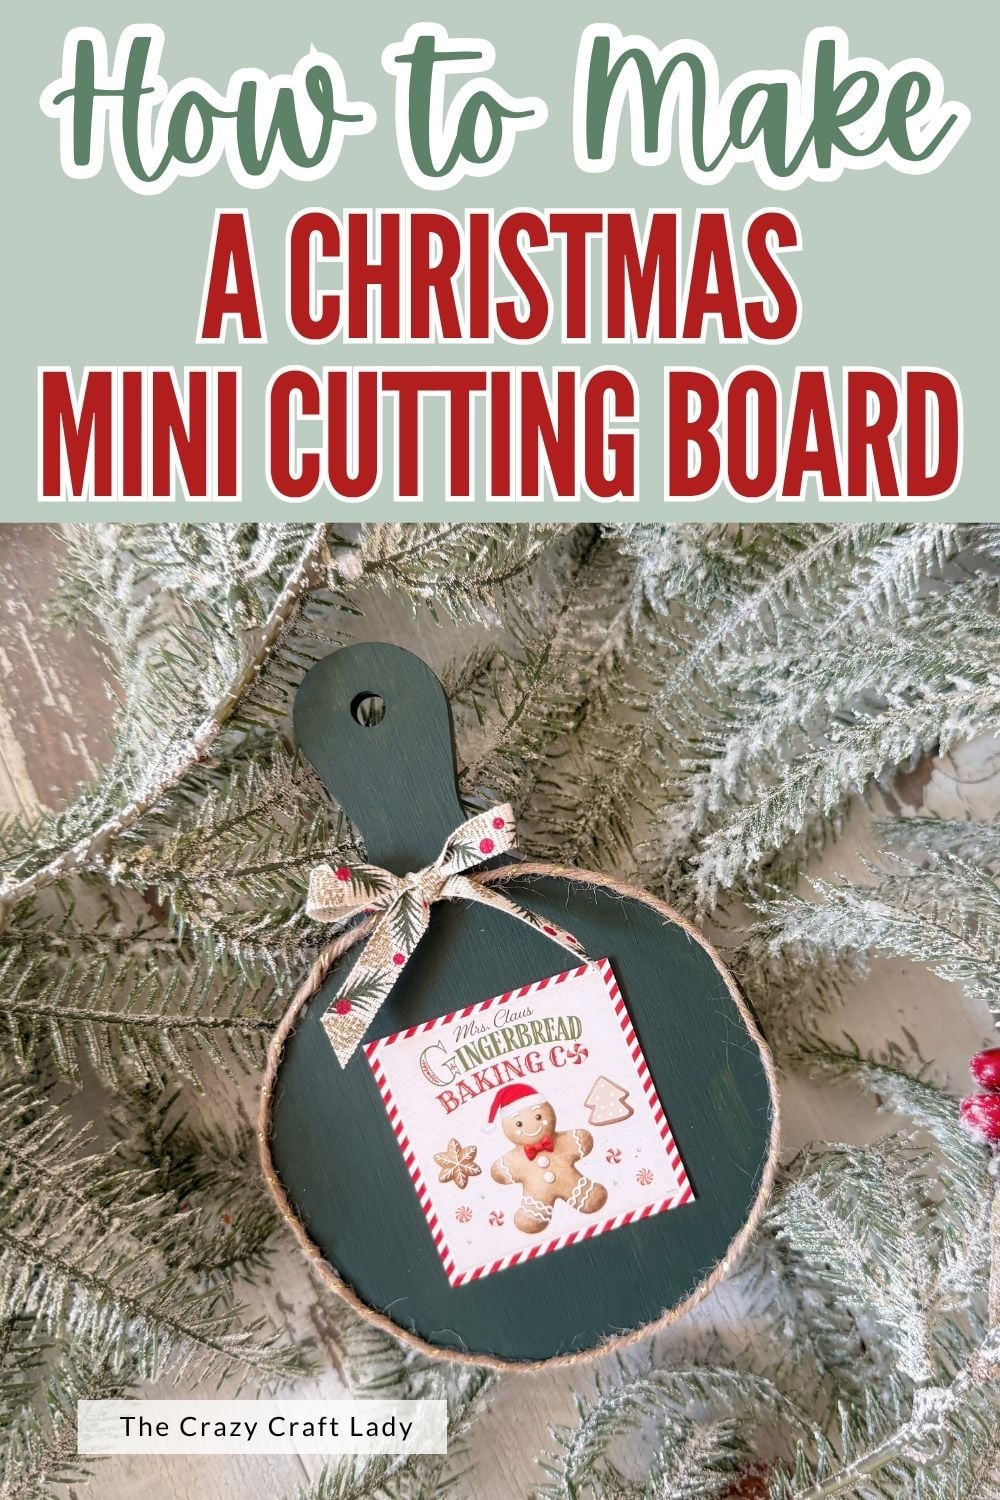
Make a mini gingerbread cutting board craft with a Dollar Tree calendar image, green paint, festive twine, and a tiny bow. Cute Christmas kitchen decor!
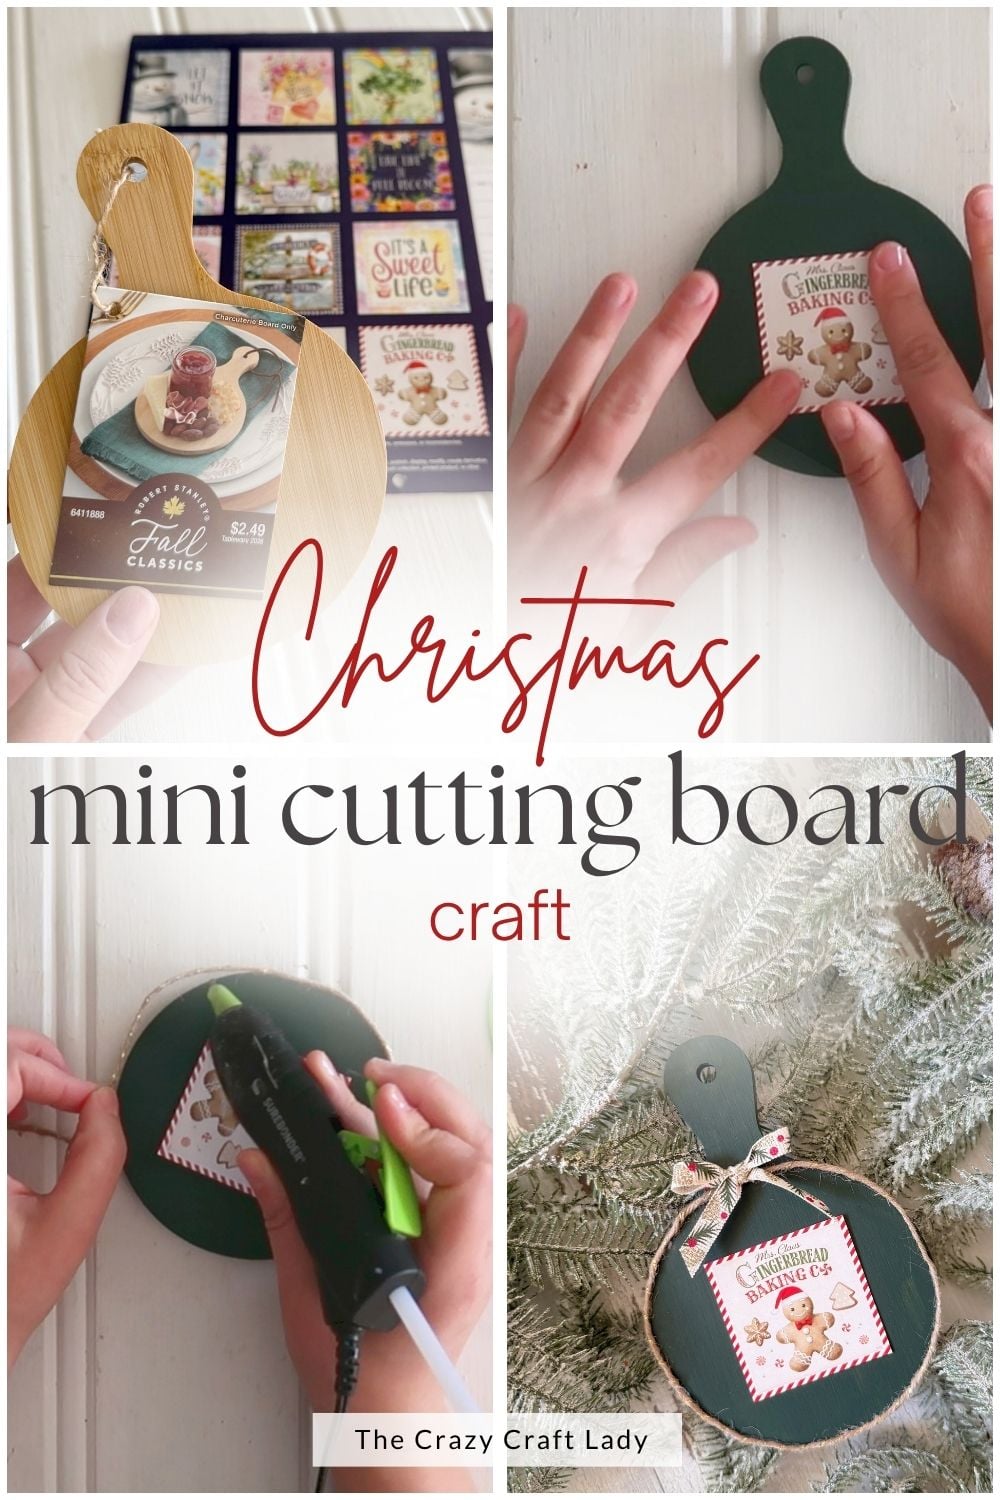
Mini Gingerbread Cutting Board Craft with a Dollar Tree Calendar Image
This post contains some affiliate links for your convenience. Click here to read my full disclosure policy.
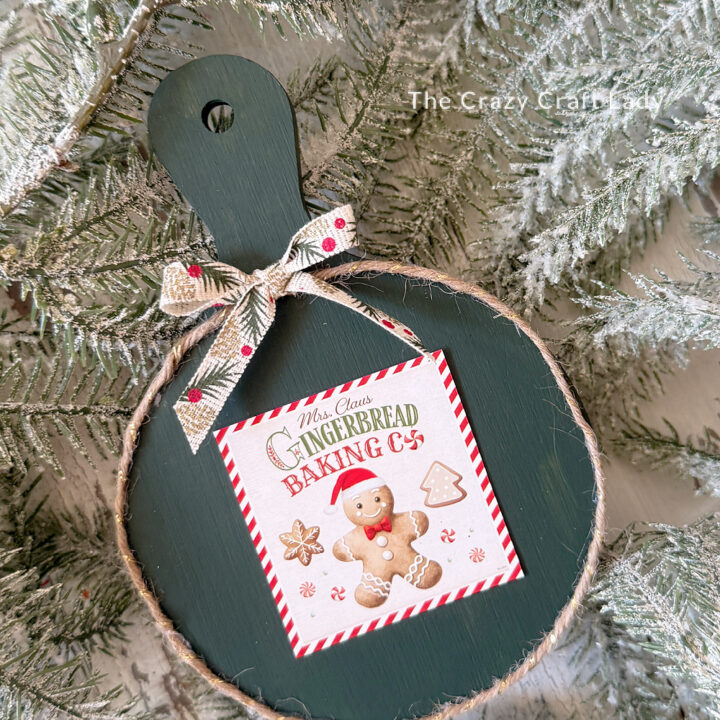
Tiny cutting boards, gingerbread artwork, and a little Christmas ribbon? Yes, please! This mini gingerbread cutting board craft turns a small bamboo board into the sweetest little piece of Christmas kitchen decor.
I found my mini cutting board at Hobby Lobby for about $1.25 during a half-off sale. Then I paired it with a gingerbread image from a Dollar Tree calendar, but here’s the trick: I used the little preview image on the back of the calendar instead of the full-size December page. Just the right scale for this tiny project!
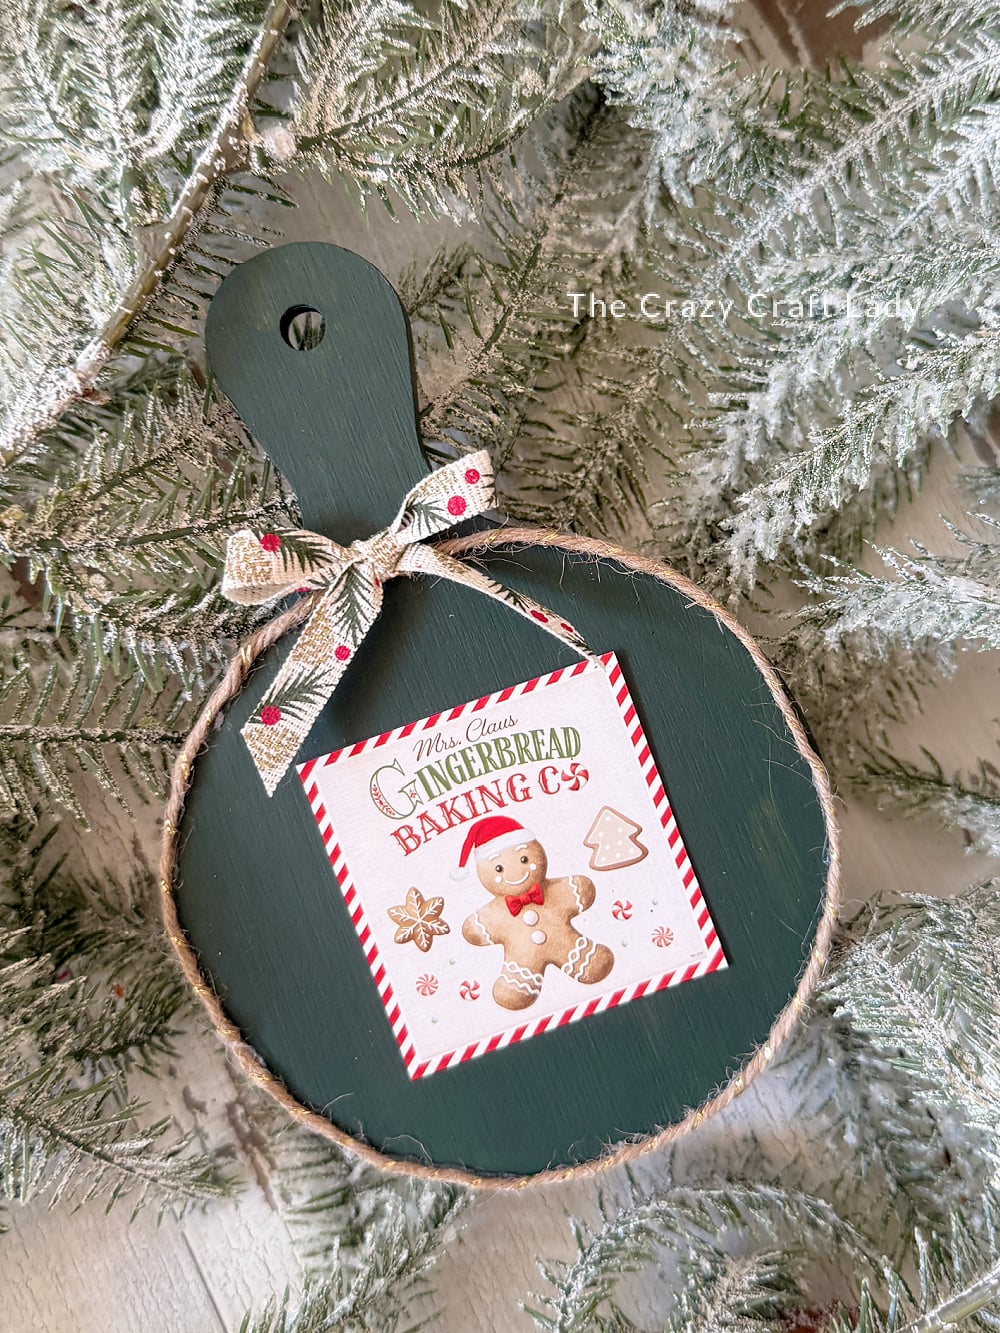
Use the Small Images on the Back of Your Calendar
Don’t overlook those little calendar preview pictures! When a full page is too large for your project, the thumbnail on the back can be perfect.
My gingerbread image already had a peppermint-striped border, so I carefully cut around that edge and kept the whole little design. It gave the cutting board a cute focal point without needing to crop away the details.
Supplies and Equipment
Supplies
- Mini round bamboo cutting board with a handle
- Small gingerbread image from the back of a Dollar Tree calendar
- FolkArt Matte acrylic paint in Thicket
- Elmer’s school glue stick
- Thin holiday twine with a decorative thread running through it
- Coordinating holiday ribbon
- Hot glue sticks
Equipment
- Scissors
- Paintbrush
- Fine-tip hot glue gun—I used my Surebonder detail glue gun
- Optional: fine-grit sandpaper or a sanding block
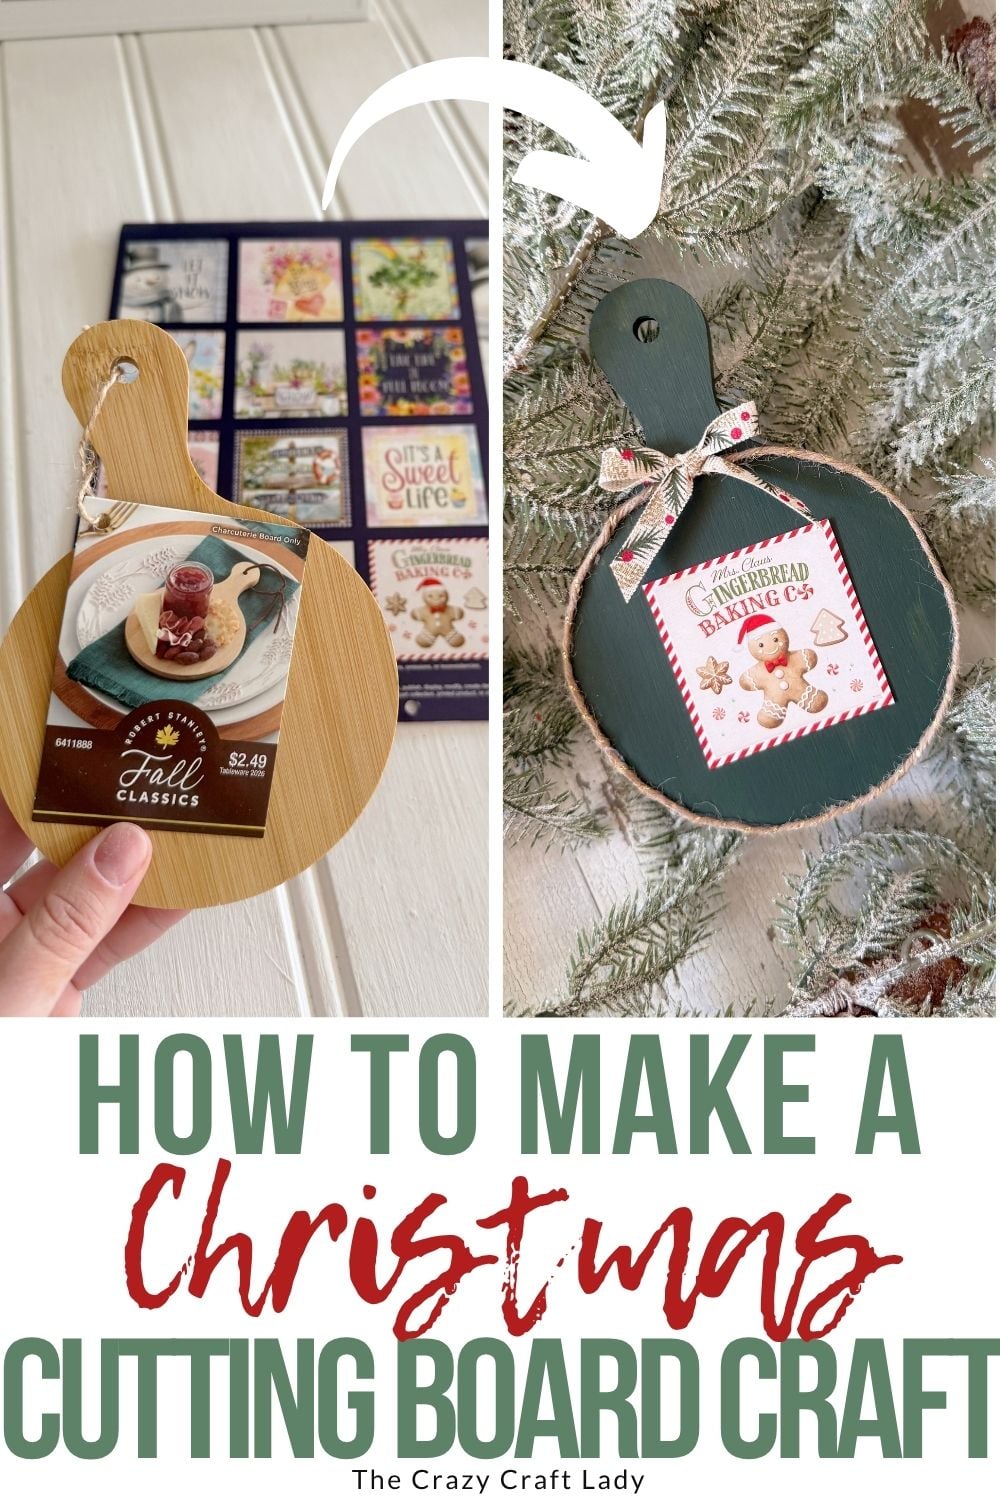
How to Make a Mini Gingerbread Cutting Board Craft
Step 1: Watch the Video Tutorial
Watch the video tutorial located above, right here in this blog post, to see how I position the tiny calendar image, add the twine trim, and tie the little ribbon bow. Then follow the steps below to make your own.
Step 2: Cut Out the Gingerbread Image
Find the gingerbread preview image on the back of your calendar. Carefully cut around its printed border, keeping the design intact. Mine had a peppermint-striped edge, which made a handy cutting guide and added another festive detail.
Set the image on your mini cutting board to check the fit before attaching it. Leave a little painted space around the picture so the board frames the artwork.
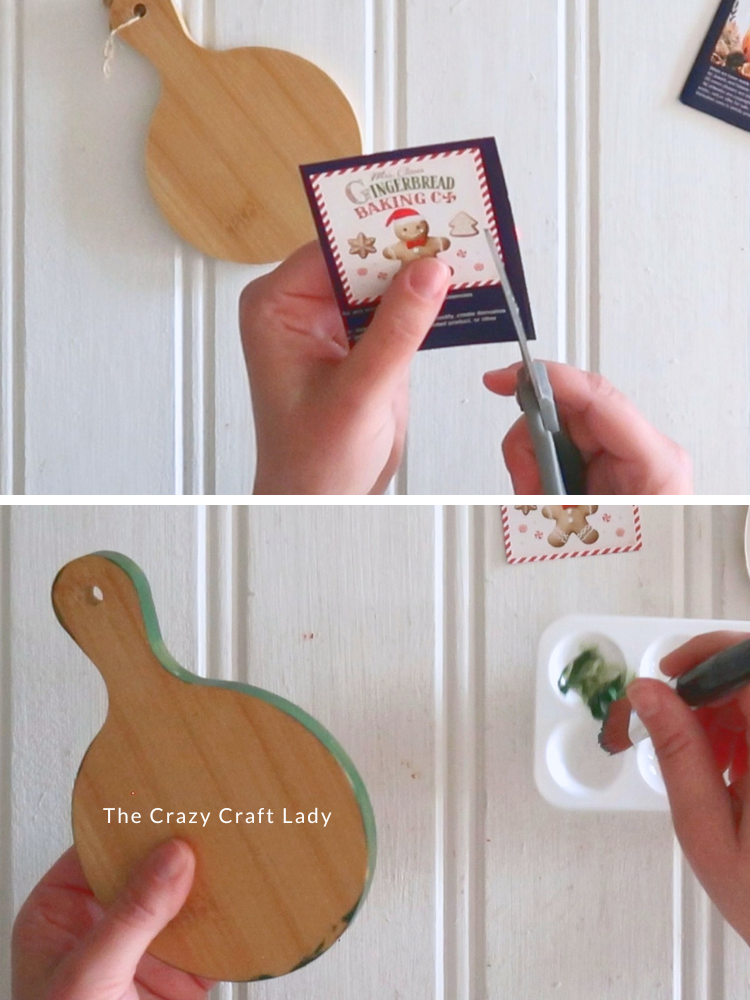
Step 3: Paint the Mini Cutting Board
If your bamboo board feels slick, lightly sand it and wipe away the dust before painting. Brush FolkArt Matte paint in Thicket over the front and edges. You can paint the back as well for a finished look from every angle. Let the first coat dry, then add a second coat as needed.
I skipped sanding mine and needed two coats. Bamboo can be a little tricky, and somehow I still manage to forget that! You can also leave the board unfinished if you prefer a natural wood look.
Step 4: Glue the Calendar Image in Place
Once the paint is dry, apply an even layer of school glue stick to the back of the gingerbread image, including the corners and edges.
Center the image on the round portion of the cutting board and gently smooth it into place.
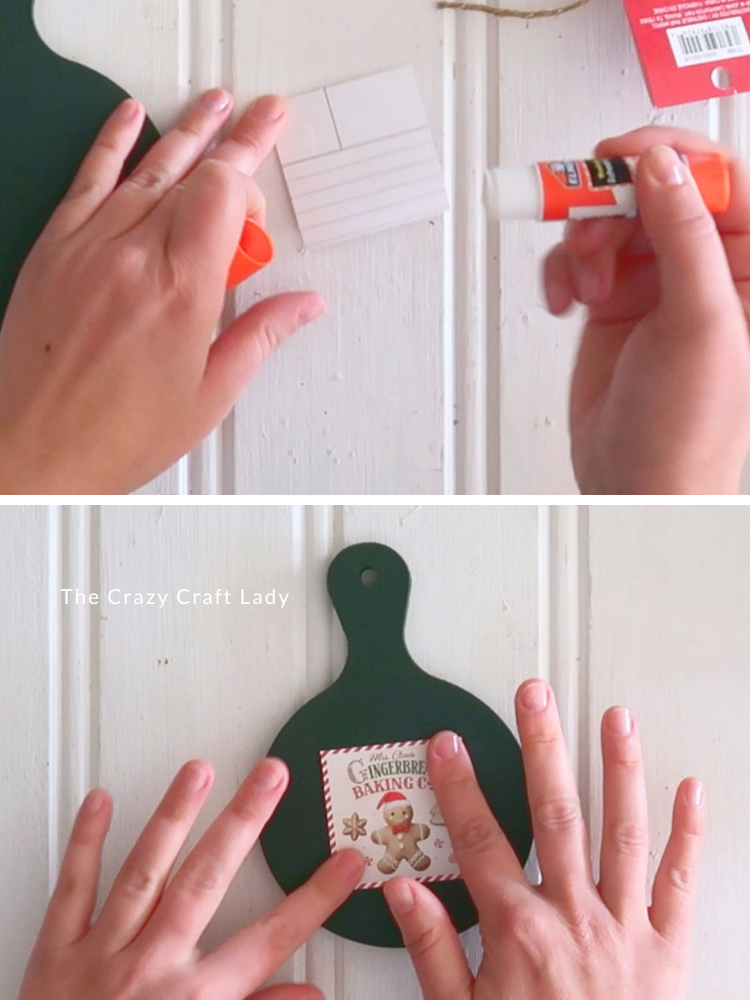
I used a glue stick instead of Mod Podge because I wanted to avoid adding wet adhesive that might wrinkle the little calendar picture. Let the glue dry before decorating around it.
Step 5: Add the Holiday Twine Trim
Starting at the top of the round portion, near the handle, attach thin holiday twine around the front perimeter of the board.
Work in tiny sections with the smallest line of hot glue you can manage. A detail glue gun is especially helpful here because this project—and the twine—is so small. Continue around the circle until the ends meet at the top. Trim the excess twine and tidy any loose fibers or glue strings.
Starting and finishing at the top lets you hide that join beneath the bow.
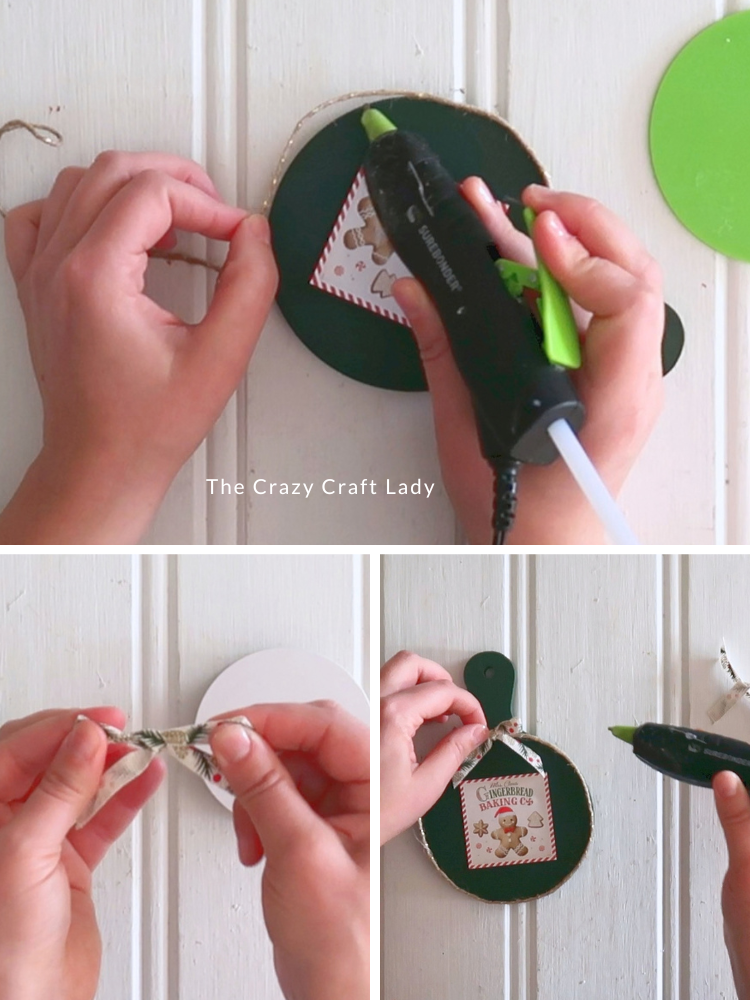
Step 6: Tie a Tiny Ribbon Bow
Use coordinating holiday ribbon to tie a simple bunny-ear bow: make two loops, cross them, and tie them together.
If your ribbon is printed on only one side, adjust it before tightening so the printed side faces forward on both loops and tails. This takes a little fiddling when you’re working on such a tiny bow!
Adjust the loops to fit the board, then trim the tails at a 45-degree angle.
Step 7: Attach the Bow and Display
Add a small dab of hot glue at the top of the round board, right where the twine ends meet. Press the bow into place to cover the join.
And you’re done! Tuck your little gingerbread cutting board into a Christmas kitchen display, lean it on a shelf, or add it to a tiered tray. It’s a tiny craft with plenty of holiday charm.
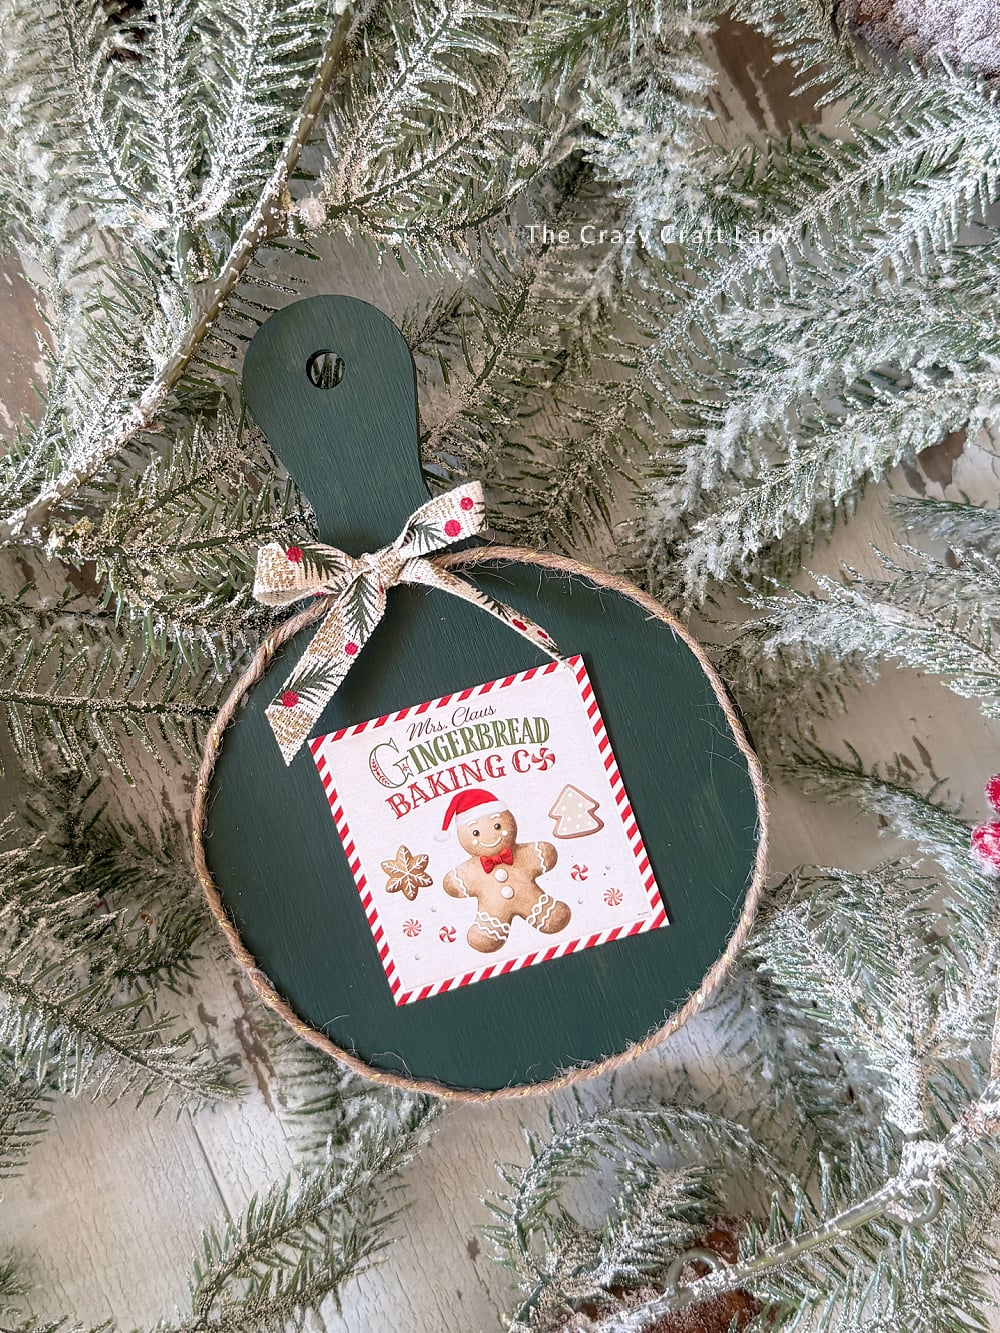
Easy Ways to Make It Your Own
- Try another calendar thumbnail. Look for small Christmas scenes that fit your board.
- Change the paint color. Use red, cream, or another shade pulled from the artwork.
- Keep the natural bamboo. Skip the paint for a warmer wood finish.
- Switch the ribbon. Try gingham, candy cane stripes, or a simple solid color.
Mini Gingerbread Cutting Board Craft
Decorate a mini bamboo cutting board with a gingerbread image from the back of a Dollar Tree calendar, green paint, festive twine, and a tiny ribbon bow.
Materials
- 1 mini round bamboo cutting board with a handle
- Small gingerbread calendar preview image
- FolkArt Matte acrylic paint in Thicket
- Elmer’s school glue stick
- Thin holiday twine
- Coordinating holiday ribbon
- Hot glue sticks
Tools
- Scissors
- Paintbrush
- Fine-tip hot glue gun
- Optional fine-grit sandpaper or sanding block
Instructions
1. Watch the video tutorial located above, right here in this blog post, before getting started.
2. Carefully cut out the small gingerbread image from the back of the calendar, keeping its printed border intact. Check the fit on your board.
3. Lightly sand the bamboo if needed and remove the dust. Paint the front and edges Thicket, adding a second coat as needed. Let dry.
4. Apply glue stick to the back of the image, center it on the round portion of the board, and smooth into place. Let dry.
5. Hot glue thin holiday twine around the front perimeter in small sections, starting and ending near the handle. Trim excess twine and loose fibers.
6. Tie a small bunny-ear bow, keeping the printed ribbon side facing forward. Adjust the loops and cut the tails at a 45-degree angle.
7. Hot glue the bow over the twine join at the top of the board and display.
Notes
* The small preview images on a calendar’s back cover work well for miniature crafts.
* Use very small amounts of hot glue to keep the thin twine trim tidy.
* Paint the back if it will be visible in your display.
* This finished cutting board is for decorative use.
A Sweet Little Christmas Kitchen Craft
This mini gingerbread cutting board craft is proof that the smallest calendar images deserve a second look. A little green paint, festive twine, and a tiny bow turn that back-cover picture into adorable Christmas kitchen decor. Now I want to see what other little calendar images I can put to work!