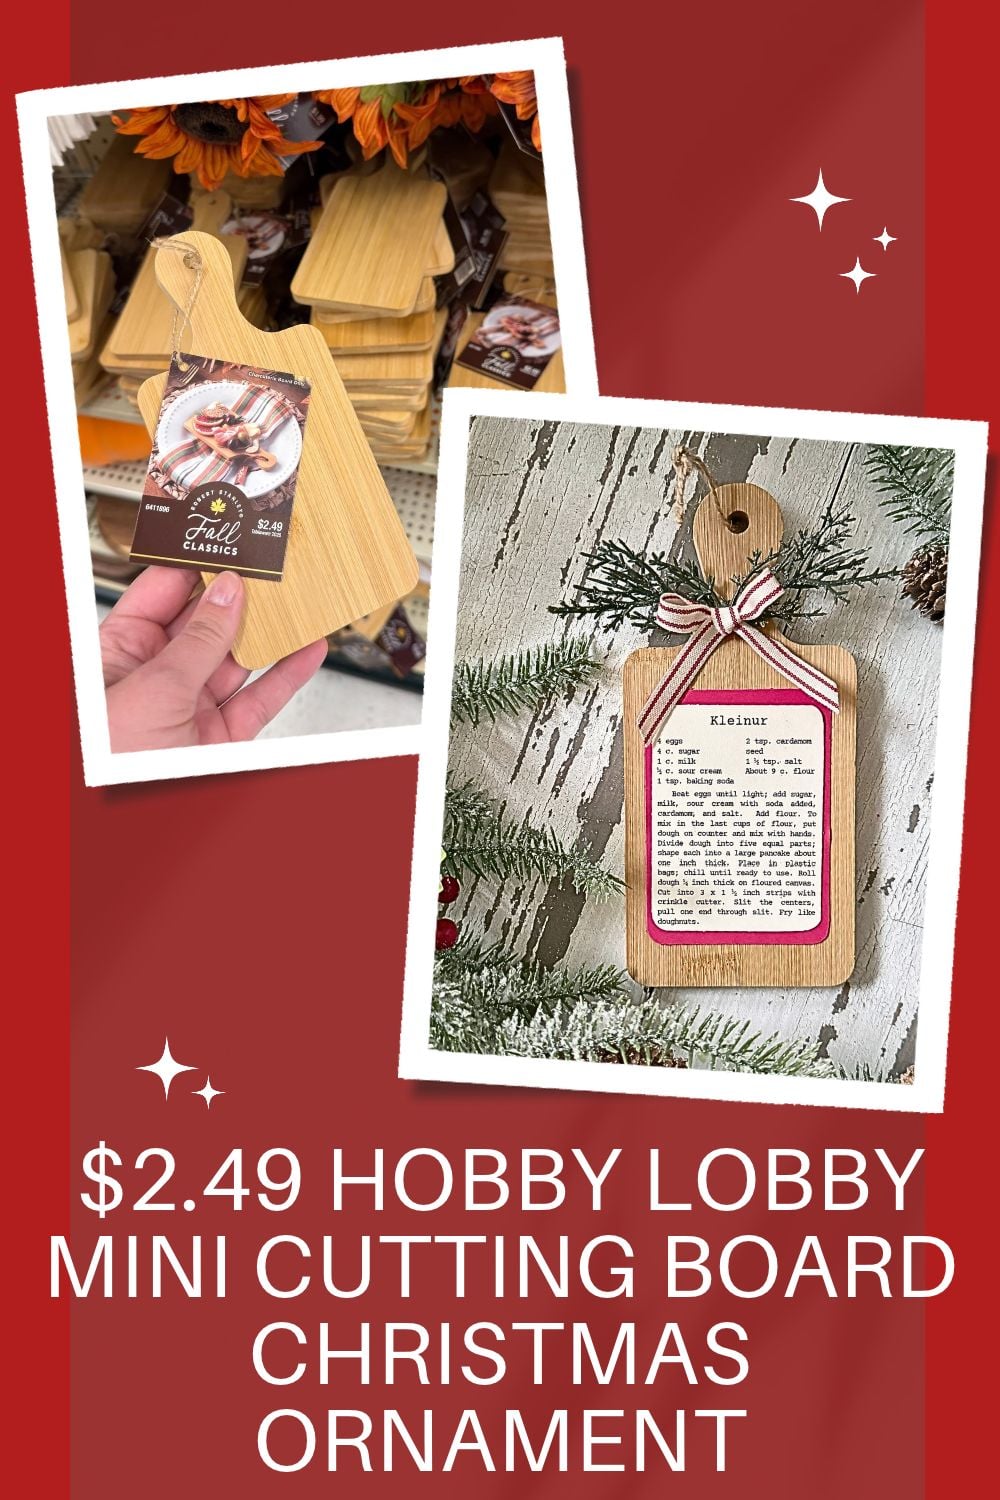
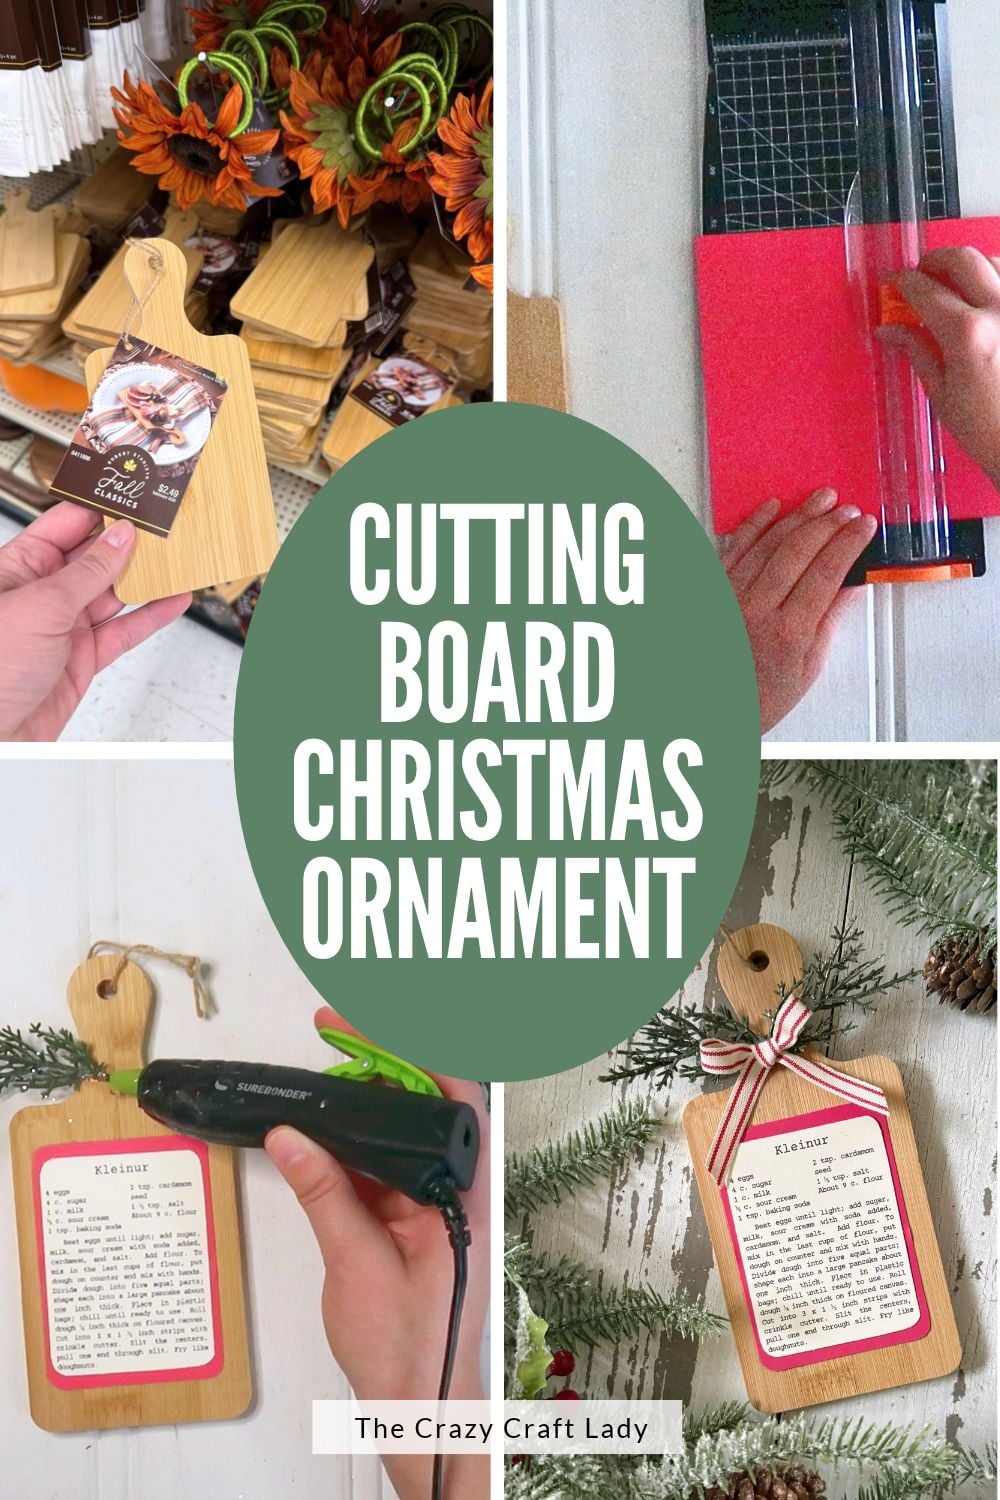
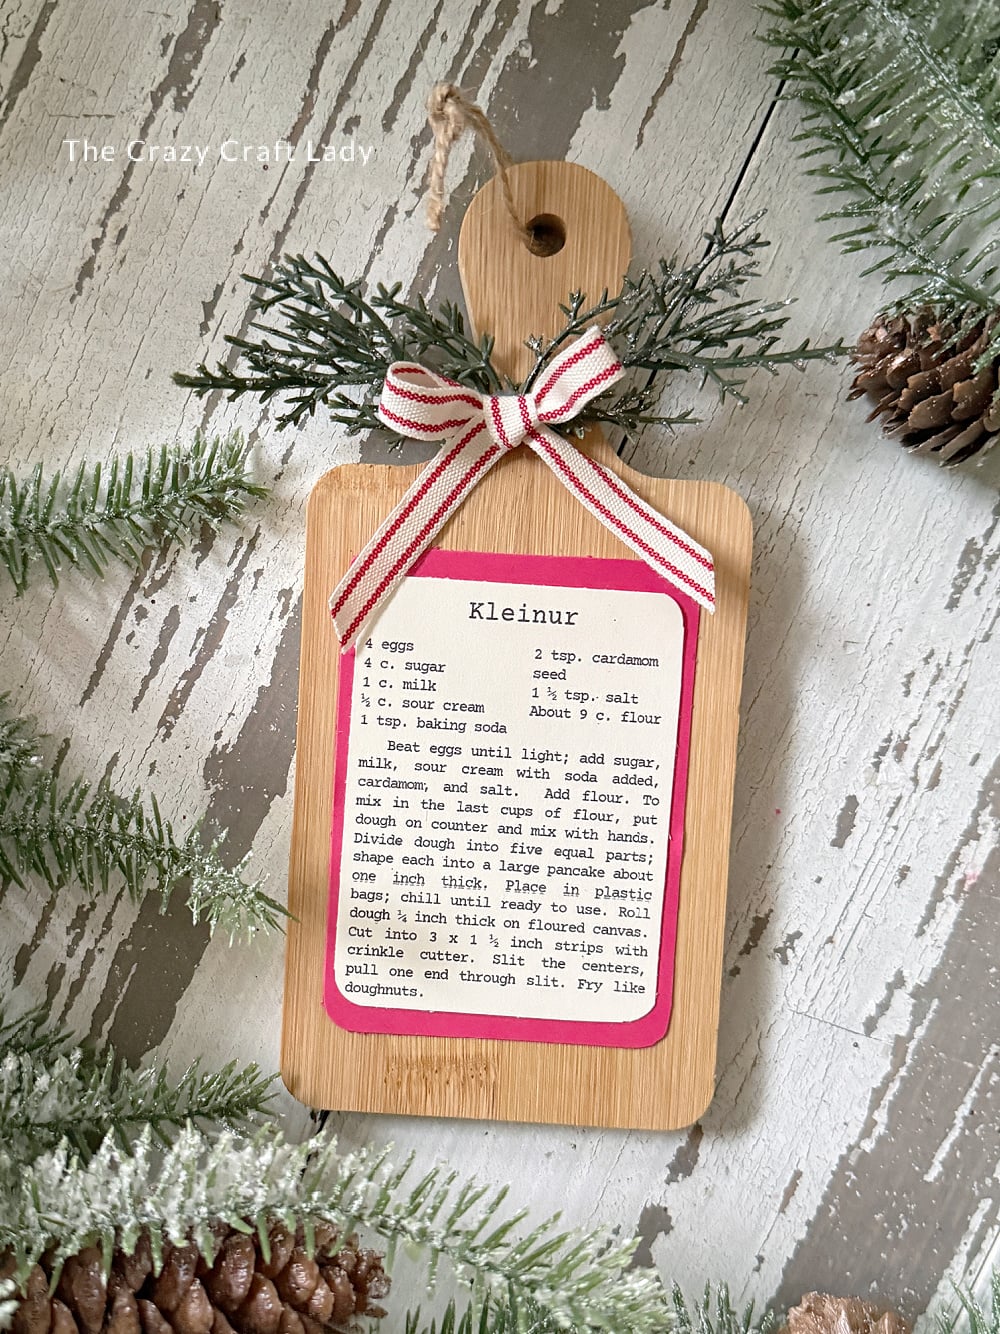
A mini bamboo cutting board, a favorite family recipe and a little cardstock turn into the sweetest keepsake Christmas ornament (and an easy gift to make in bulk).
This post contains some affiliate links for your convenience. Click here to read my full disclosure policy.
Hey there crafty friends! Some of my all-time favorite crafts are the simplest, quickest, and easiest to make, and this one is a prime example.
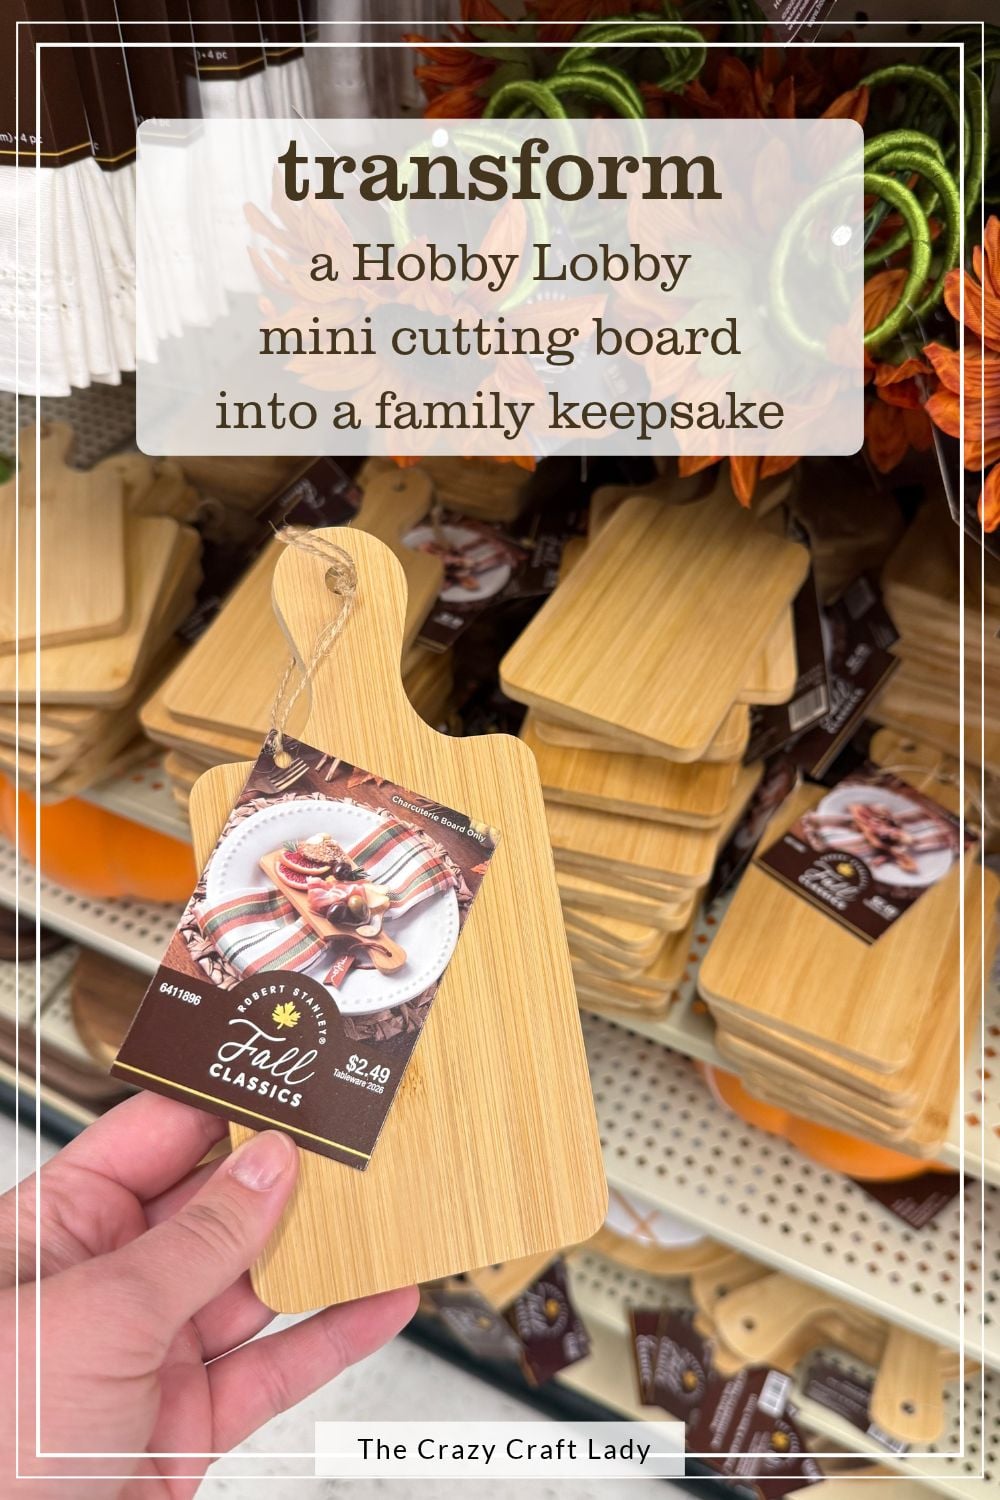
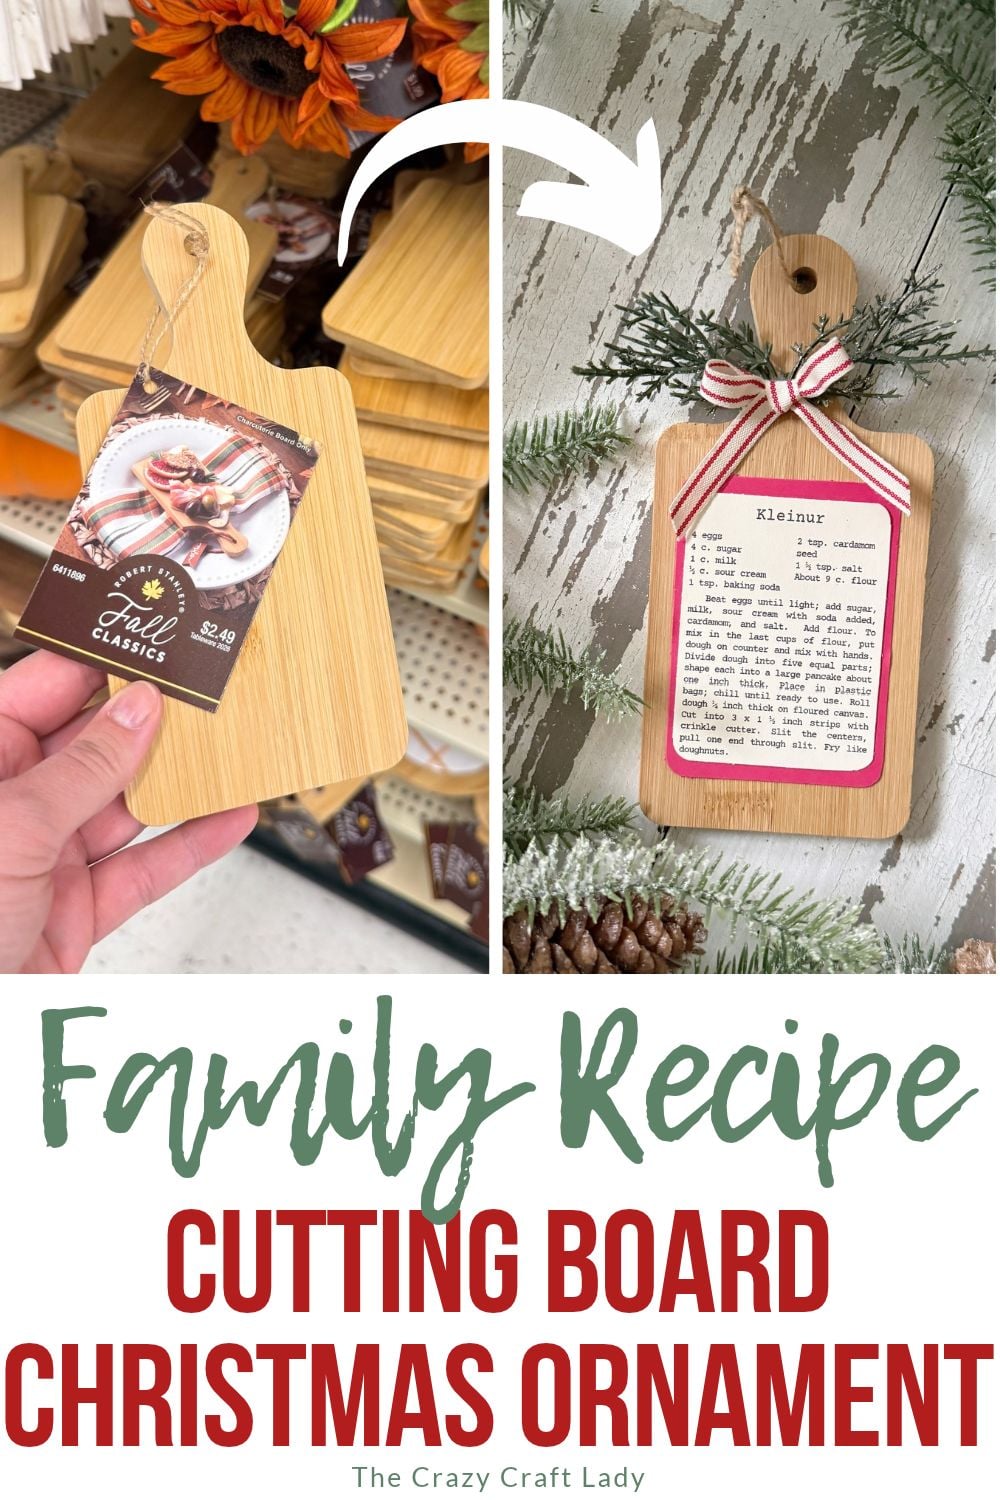
I started with Hobby Lobby bamboo mini cutting boards and turned them into a family recipe cutting board ornament. All it takes is a typed-up family recipe on cardstock, a little faux pine, and a cute striped bow.
Mine has my grandmother’s recipe for kleinur on it, and I’m already planning to make a whole batch of these for gifts this year. If you can print a page and use double-sided tape, you can make this!
Video Tutorial: Family Recipe Cutting Board Ornament
Watch me make this ornament start to finish in the video below, then keep scrolling for the full step-by-step tutorial.
Why I Love This Keepsake Christmas Ornament
The recipe on mine is my grandmother’s recipe for Icelandic kleinur. They’re a little Icelandic donut with cardamom in them, and we make them every Christmas. It’s a big deal in our family.
Turning that recipe into an ornament means a little piece of Grandma gets to hang on the tree every year. You guys pick whatever family recipe is special to you, like a favorite Christmas cookie or mom’s famous sugar cookies.
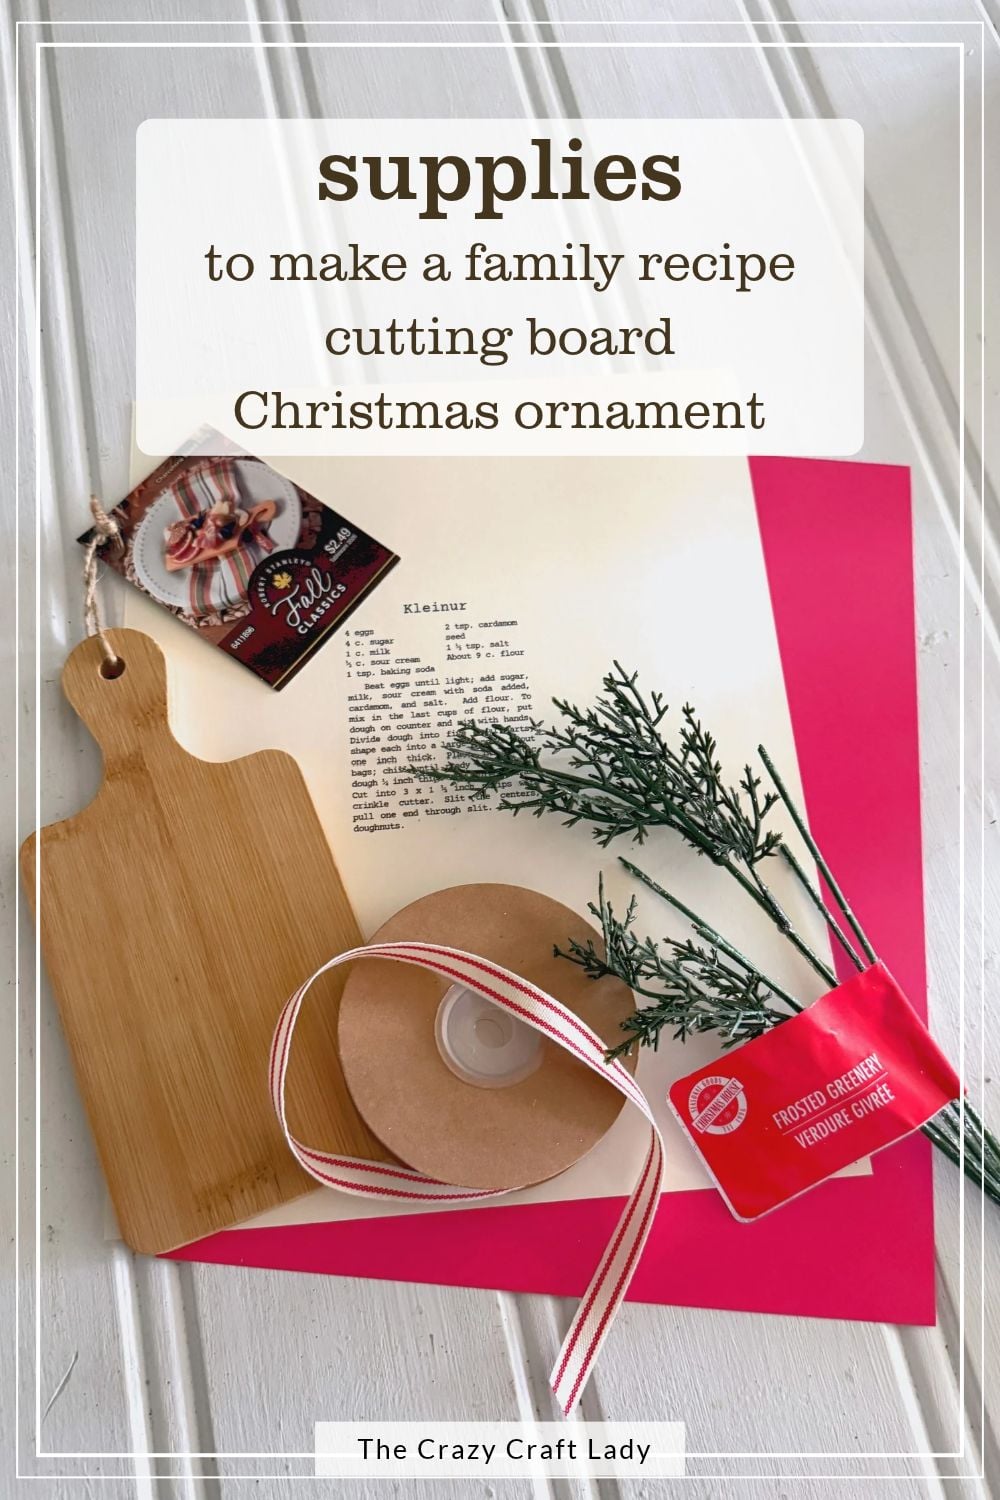
Supplies You’ll Need for This Cutting Board Ornament
- Bamboo mini cutting board with a handle (mine are from Hobby Lobby and measure about 7.5 x 3.5 inches). Similar options: Amazon, Walmart, Etsy (cheaper, not bamboo) and Etsy (bamboo)
- A favorite family recipe, typed up
- Cream cardstock
- Red cardstock
- Canva (or any word processing program you like)
- Printer
- Paper trimmer
- Corner rounder punch
- Double-sided tape
- Faux pine greenery sprig (leftovers from another project work great)
- Cream and red stripe ribbon
- Craft scissors
- Fine detail hot glue gun
- Mini hot glue sticks
- Silicone fingertip protectors
Pro tip: Use double-sided tape, not liquid glue, to attach the cardstock. Liquid glue can make the paper warp, so tape is your best bet for a nice flat recipe card.
I’m obsessed with that cream and red stripe ribbon. You can find it (and the rest of my go-to craft supplies) in my Amazon storefront.
How to Make a Family Recipe Cutting Board Ornament (Step by Step)
Step 1: Type up and print your family recipe
Type up your favorite family Christmas recipe in Canva or whatever word processing program you like, then print it on cream cardstock.
You may have to play with the width and the height to get it to fit on your cutting board, so tinker around with that before you print.
Step 2: Trim the cream and red cardstock layers
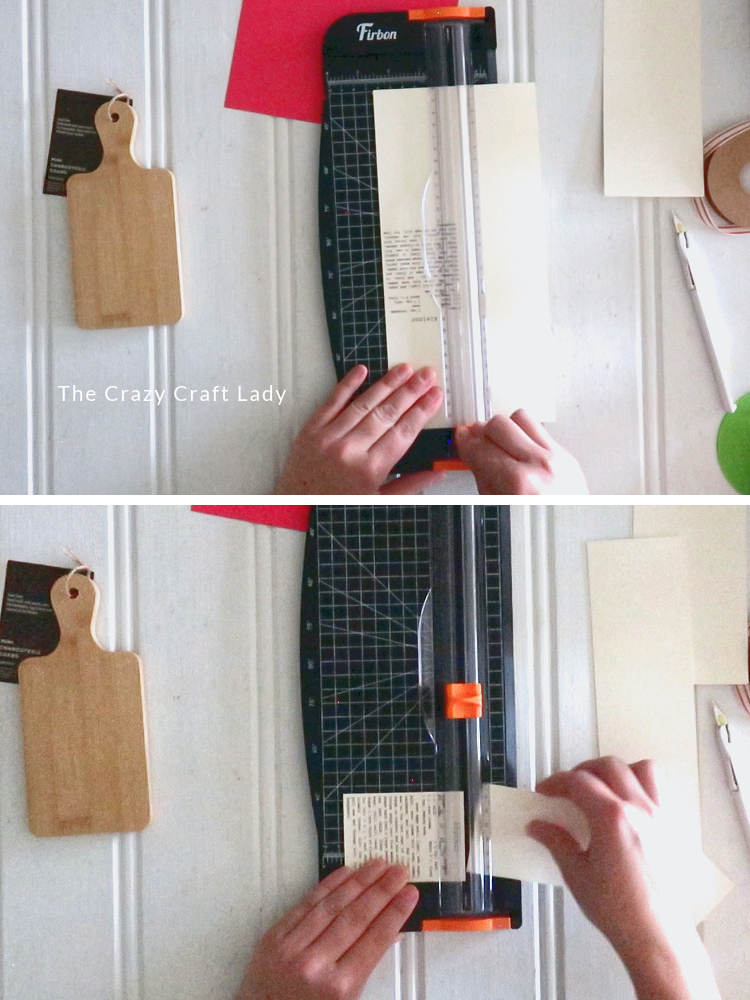
Trim the printed recipe with a paper trimmer.
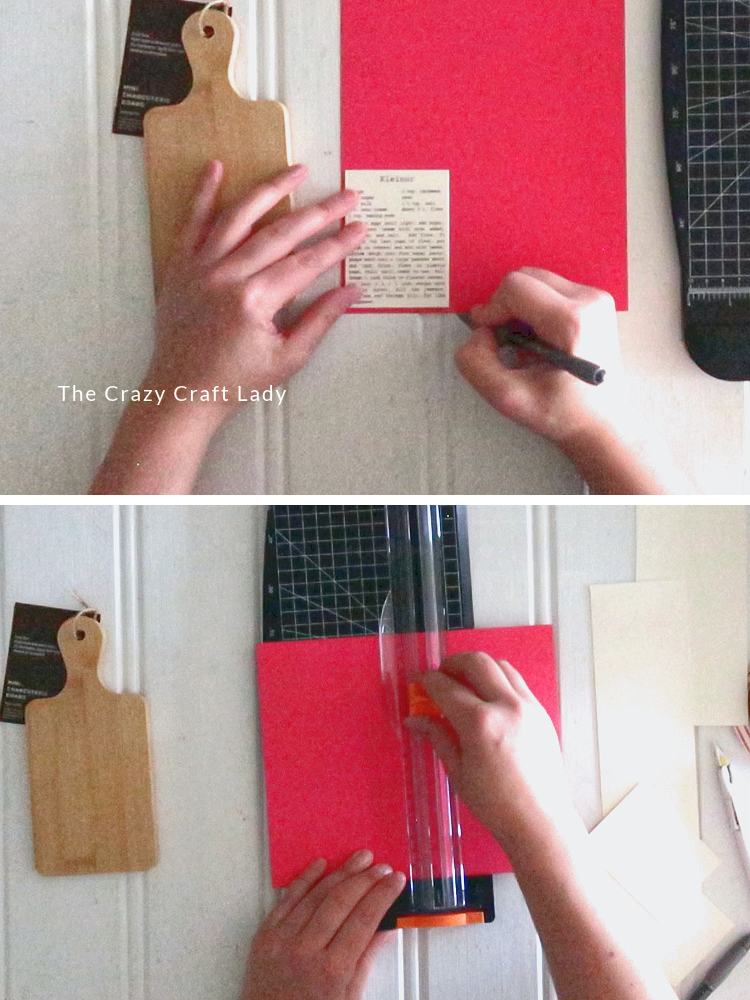
Then cut a red cardstock layer that’s just a little bit wider than the cream one. This gives you a thin red border around the recipe.
Step 3: Round the corners
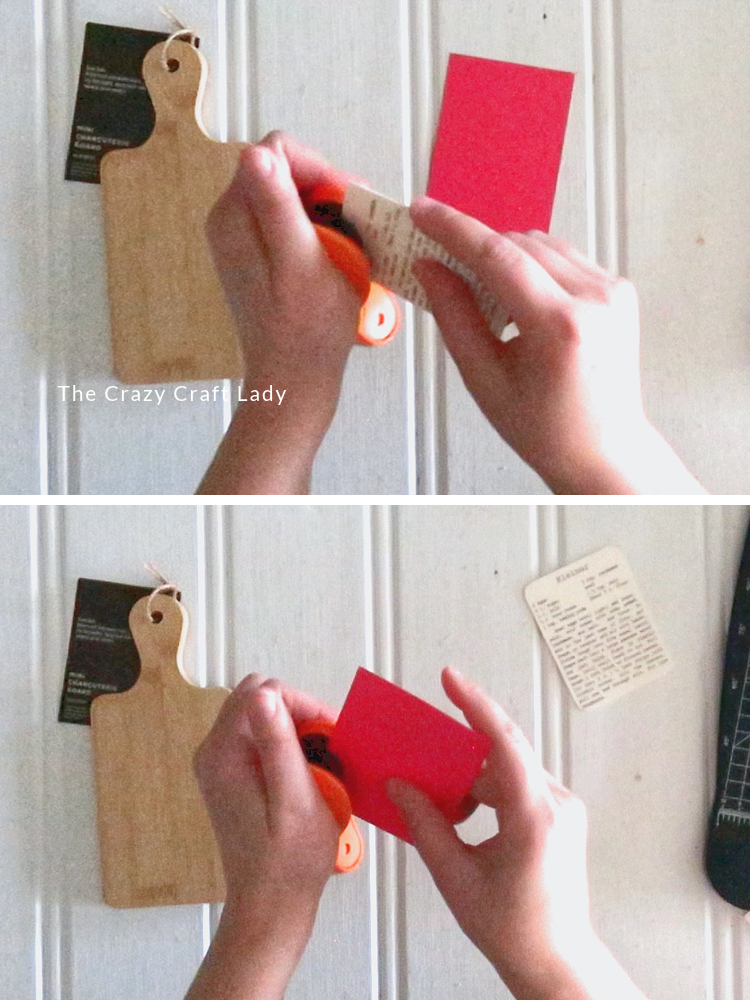
Grab a corner rounder punch. Mine has a larger and a smaller setting, and I used the smaller one.
Round all four corners of the cream cardstock and the red cardstock.
Step 4: Layer the recipe card with double-sided tape
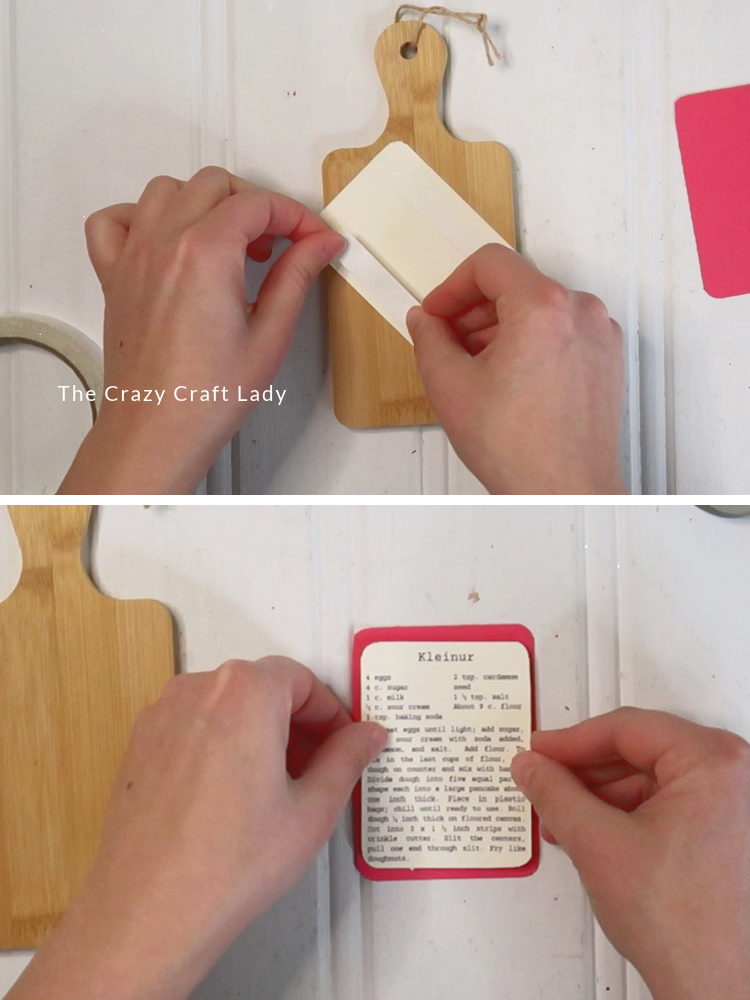
Add double-sided tape to the back of the cream cardstock and peel off the paper backing. I buy a big roll of it on Amazon. It’s nothing special, and a regular roll of double-sided tape works too.
Center the cream cardstock on the red cardstock and press them together.
Step 5: Tape the recipe card to the cutting board
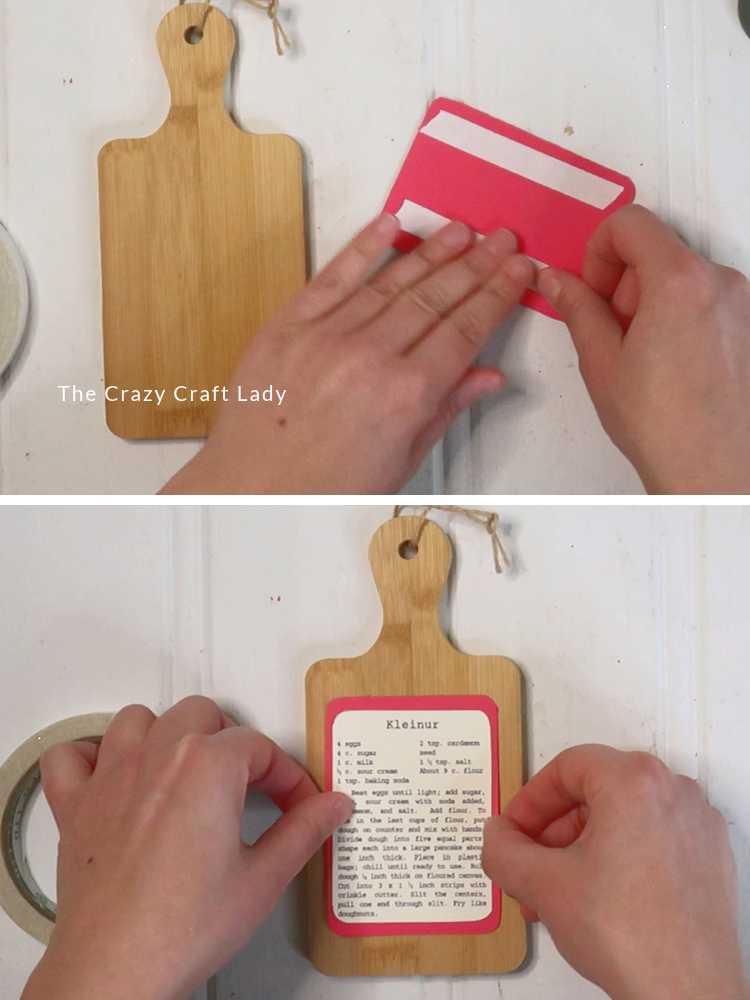
Repeat the process on the back of the red cardstock. Two little pieces of double-sided tape should be plenty. You don’t have to go crazy.
Center the recipe card on the cutting board and press it down.
Step 6: Trim and glue on the faux pine sprigs
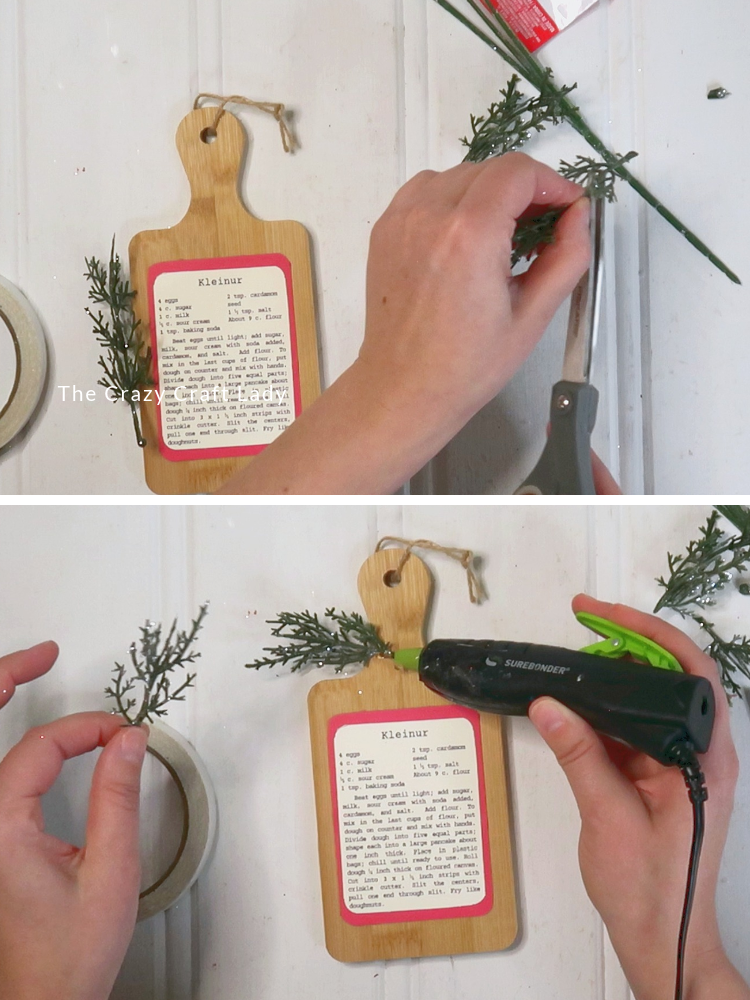
For a super simple embellishment, I used a partial sprig of faux pine left over from a different project. The sprigs were too long, so I trimmed off the bottom level right where it splits off. That leaves you with two little sprigs.
Hot glue them right at the handle of the cutting board, one pointing left and one pointing right. Plan B moment: I couldn’t find the silicone fingertip protector that fit my pointer finger, so I used a smaller one on my ring finger. That’s why I’m pressing the sprigs down with that finger in the video!
Step 7: Tie the bow and glue it in place
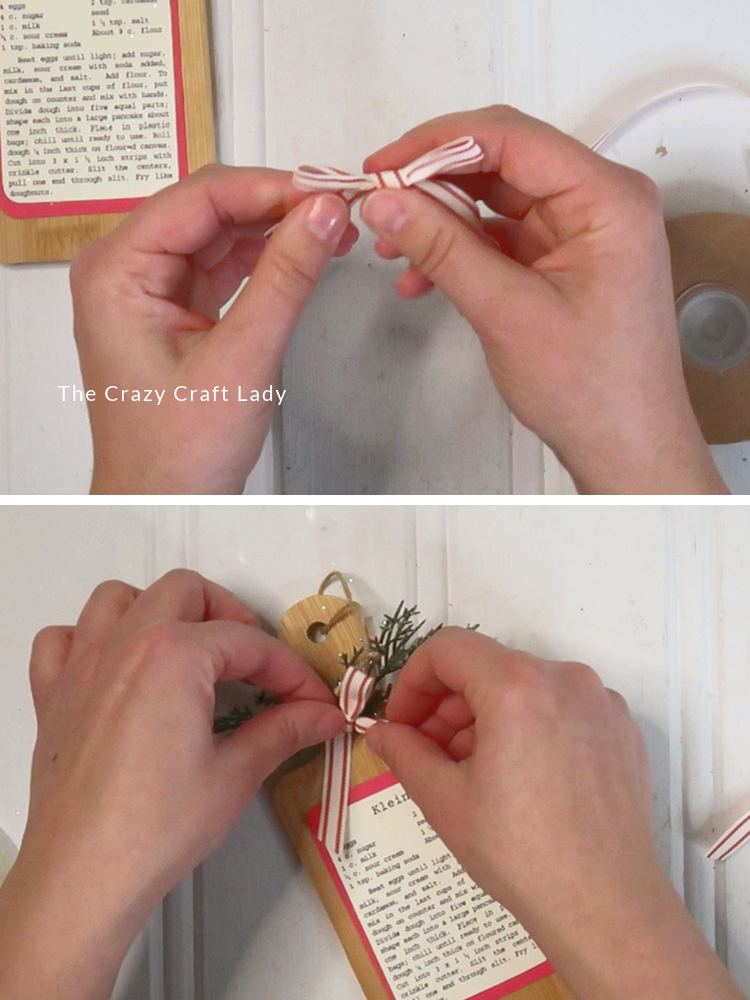
Tie a simple one loop, two loop bunny ears bow with the striped ribbon. Finagle it until the loops are the size you want, then trim the tail ends at a 45 degree angle.
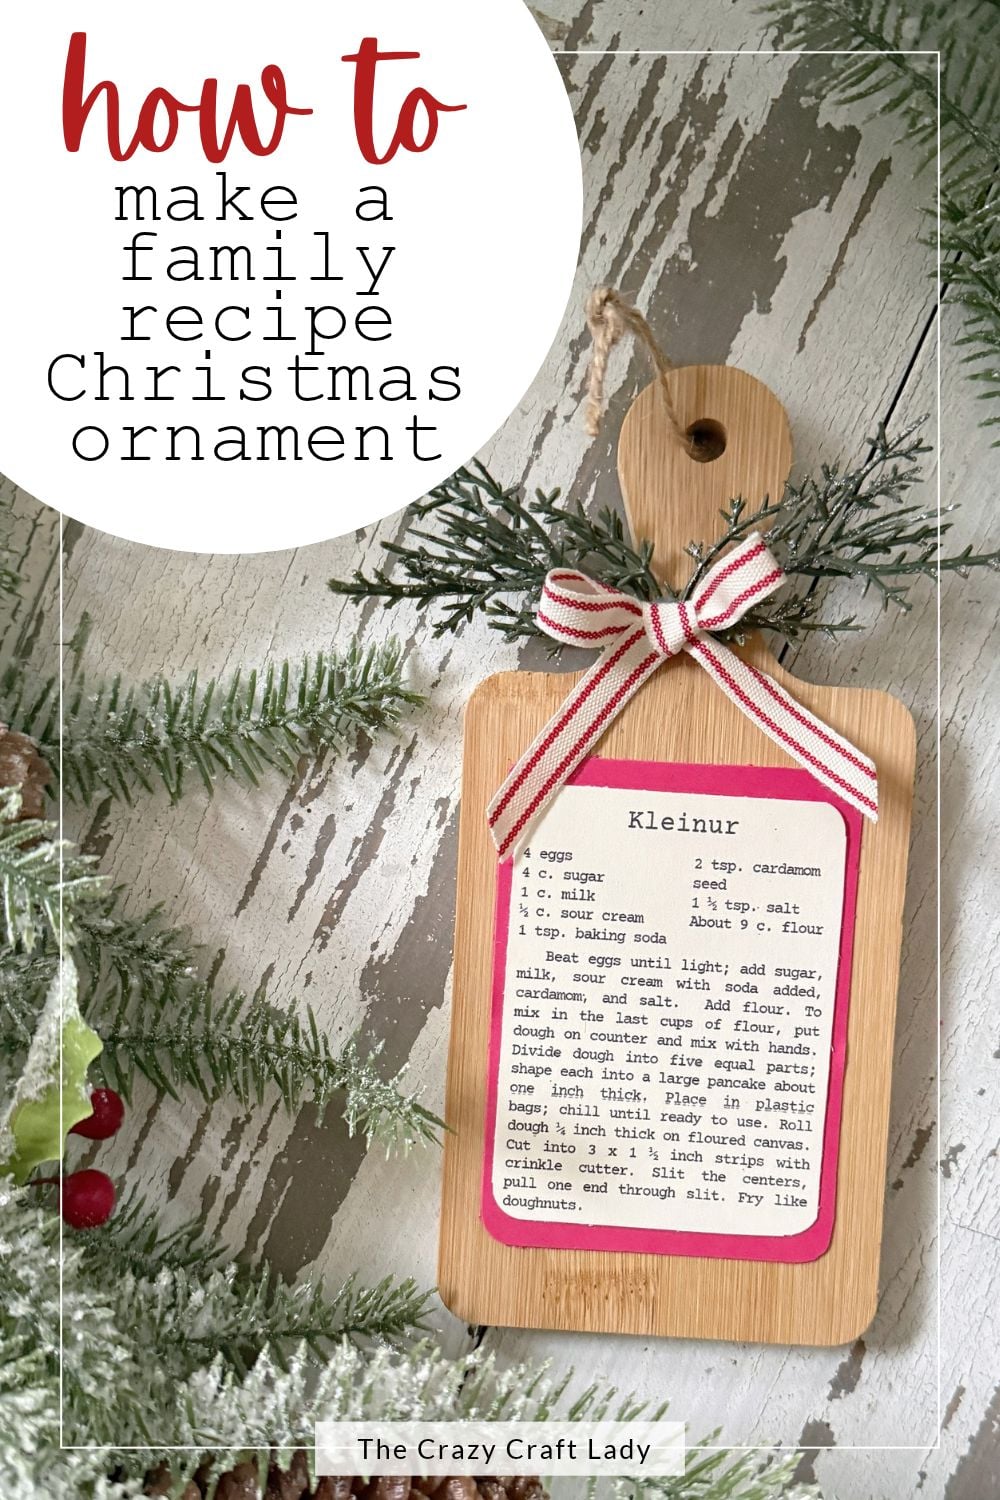
Hot glue the bow right where the bases of the two pine sprigs come together and press it in place. And you guys, that is it!
Ways to Make It Your Own
- Change the recipe. Christmas cookies, a holiday candy, Grandma’s pie: whatever recipe your family makes every year.
- Swap the colors. You could also use green or kraft cardstock behind the recipe and a plaid or gingham ribbon for a different look.
- Make it for another holiday. A Thanksgiving pie recipe with a little faux fall leaf instead of the pine would be so cute.
- Make a set. Do one board for each family member’s favorite recipe and hang them all together on the tree.
Tips + FAQs for This Cutting Board Ornament
Can I use liquid glue instead of double-sided tape?
I don’t recommend it. Liquid glue can make the paper warp, so double-sided tape is your best bet for keeping the recipe card flat.
What if I can’t find the Hobby Lobby bamboo mini cutting boards?
No worries! Exact matches are tricky to find, but I linked a few similar options from Amazon, Walmart and Etsy in the supplies list above. Mine measures about 7.5 x 3.5 inches, and any small cutting board with a handle will work as long as your recipe card fits on it.
How do I get the recipe to fit on the cutting board?
Play with the width and the height of your text box in Canva (or your word processor) before you print. Measure the flat part of your board and tinker until it fits with a little room for the red border.
Is this a good homemade Christmas gift?
Yes! It’s so quick and easy that it’s a great one to make in bulk. Give one to everyone in the family with a recipe that means something to all of you.
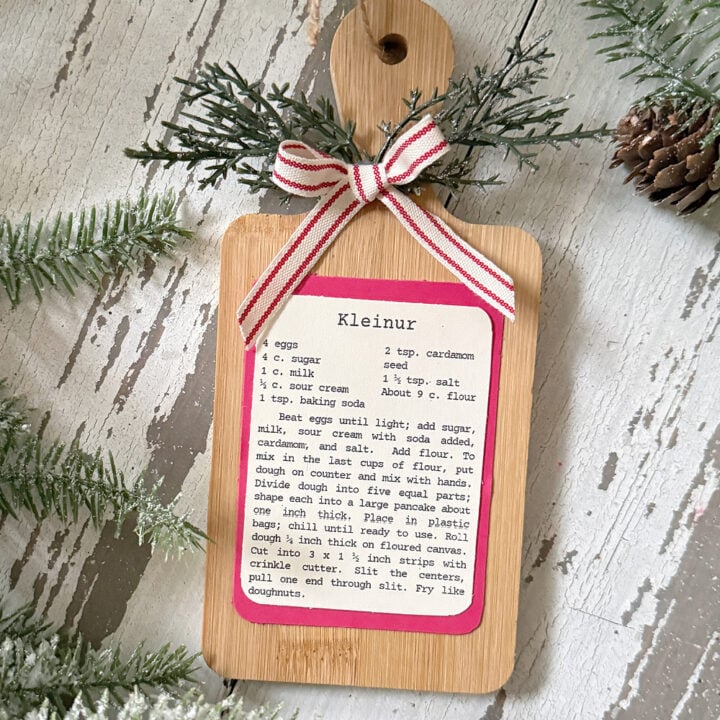
Keepsake Family Recipe Cutting Board Christmas Ornament
Turn a mini bamboo cutting board and a favorite family recipe into a sweet keepsake Christmas ornament with layered cardstock, faux pine and a striped bow.
Materials
- Bamboo mini cutting board with handle (Hobby Lobby, about 7.5 x 3.5 inches)
- Printed family recipe on cream cardstock
- Cream cardstock
- Red cardstock
- Double-sided tape
- Faux pine greenery sprig
- Cream and red stripe ribbon
- Mini hot glue sticks
Tools
- Printer
- Paper trimmer
- Corner rounder punch
- Craft scissors
- Fine detail hot glue gun
- Silicone fingertip protectors
Instructions
1. Watch the video tutorial. Watch the video tutorial above, right here in this blog post, before getting started.
2. Print the recipe. Type up a family recipe in Canva or a word processor, adjust the width and height to fit the cutting board, and print it on cream cardstock.
3. Trim the layers. Trim the recipe with a paper trimmer, then cut a red cardstock layer slightly wider than the cream one.
4. Round the corners. Use a corner rounder punch (smaller setting) on all four corners of both cardstock layers.
5. Layer the card. Add double-sided tape to the back of the cream cardstock and center it on the red cardstock.
6. Attach it to the board. Add two small pieces of double-sided tape to the back of the red cardstock and center the card on the cutting board.
7. Add the greenery. Trim a faux pine sprig into two small sprigs and hot glue them at the handle, one pointing left and one pointing right.
8. Add the bow. Tie a bunny ears bow with the striped ribbon, trim the tails at a 45 degree angle, and hot glue it where the sprigs meet.
Notes
* Crazy Craft Lady Tip: Use double-sided tape instead of liquid glue on the cardstock. Liquid glue can make the paper warp.
* Use a silicone fingertip protector when pressing the pine sprigs and bow into the hot glue.
The Finished Family Recipe Cutting Board Ornament
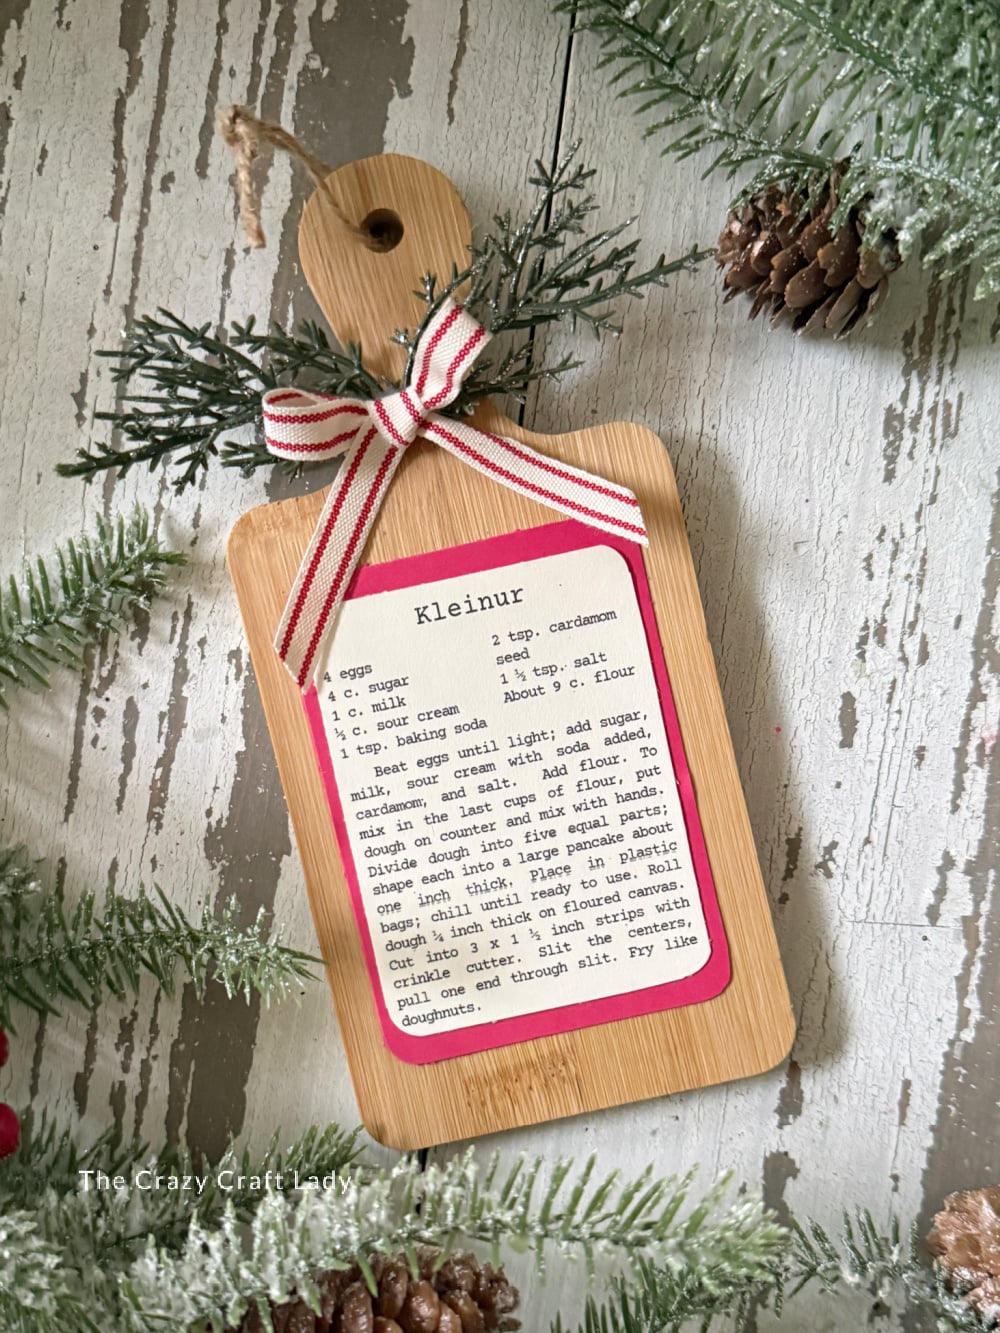
I am obsessed with how this turned out. It’s simple, it’s quick, and it’s a sweet way to keep a family recipe on display every Christmas. I think it would be a fabulous gift for everyone in your family.
What family recipe would you put on yours? Tell me in the comments!
Pin This Family Recipe Ornament for Later
Save this one to your Christmas crafts board so it’s ready when gift-making season hits!