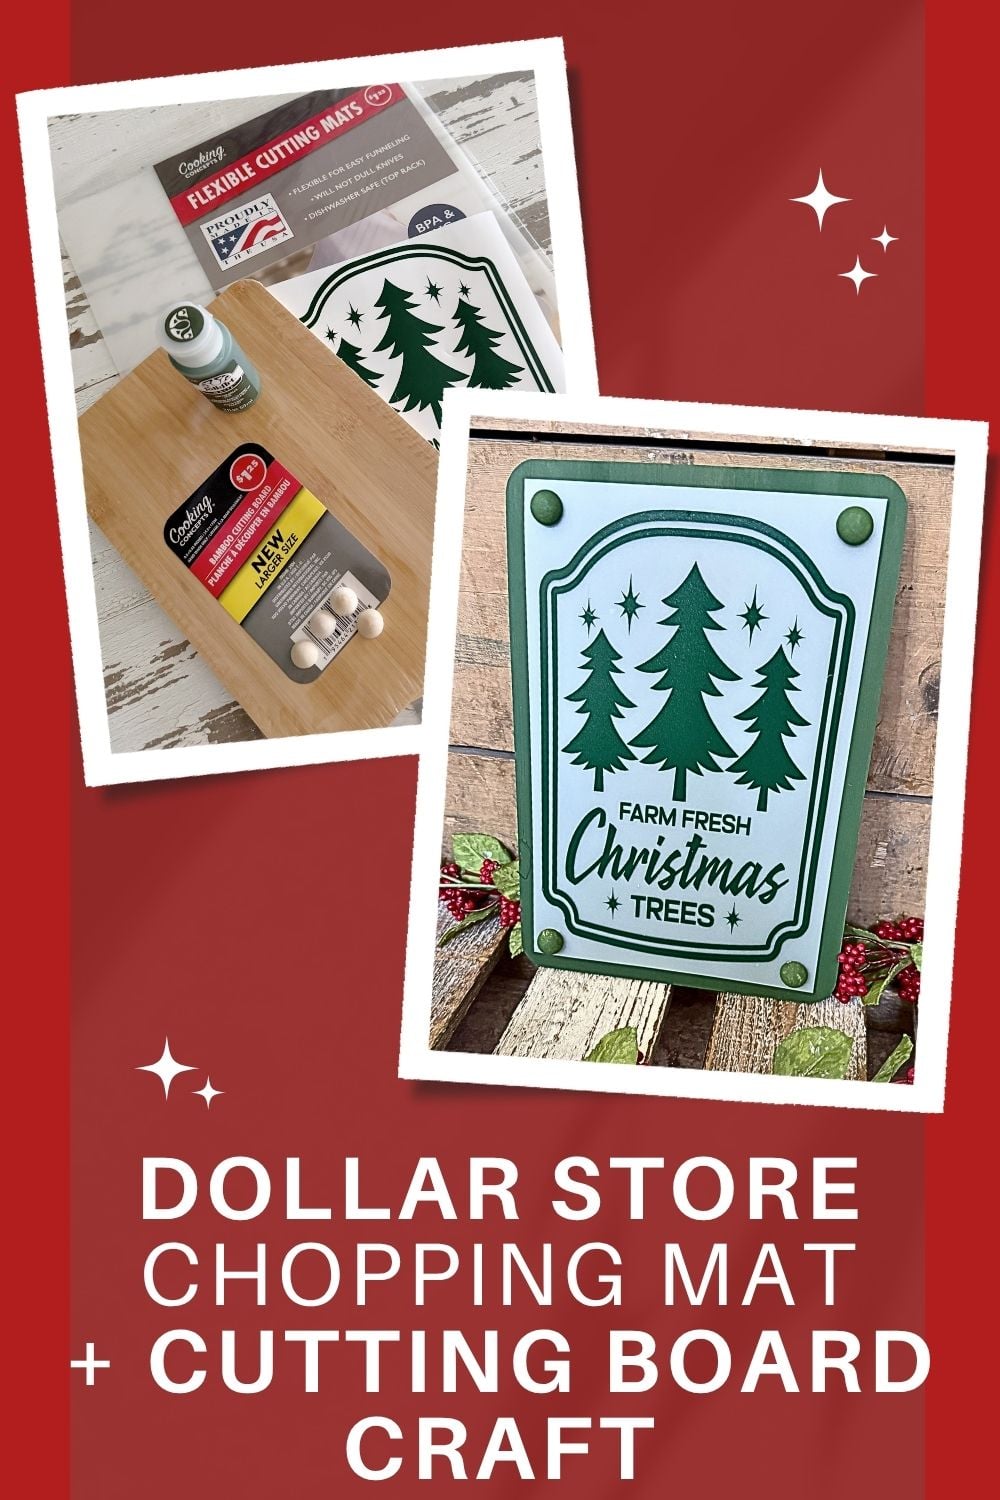
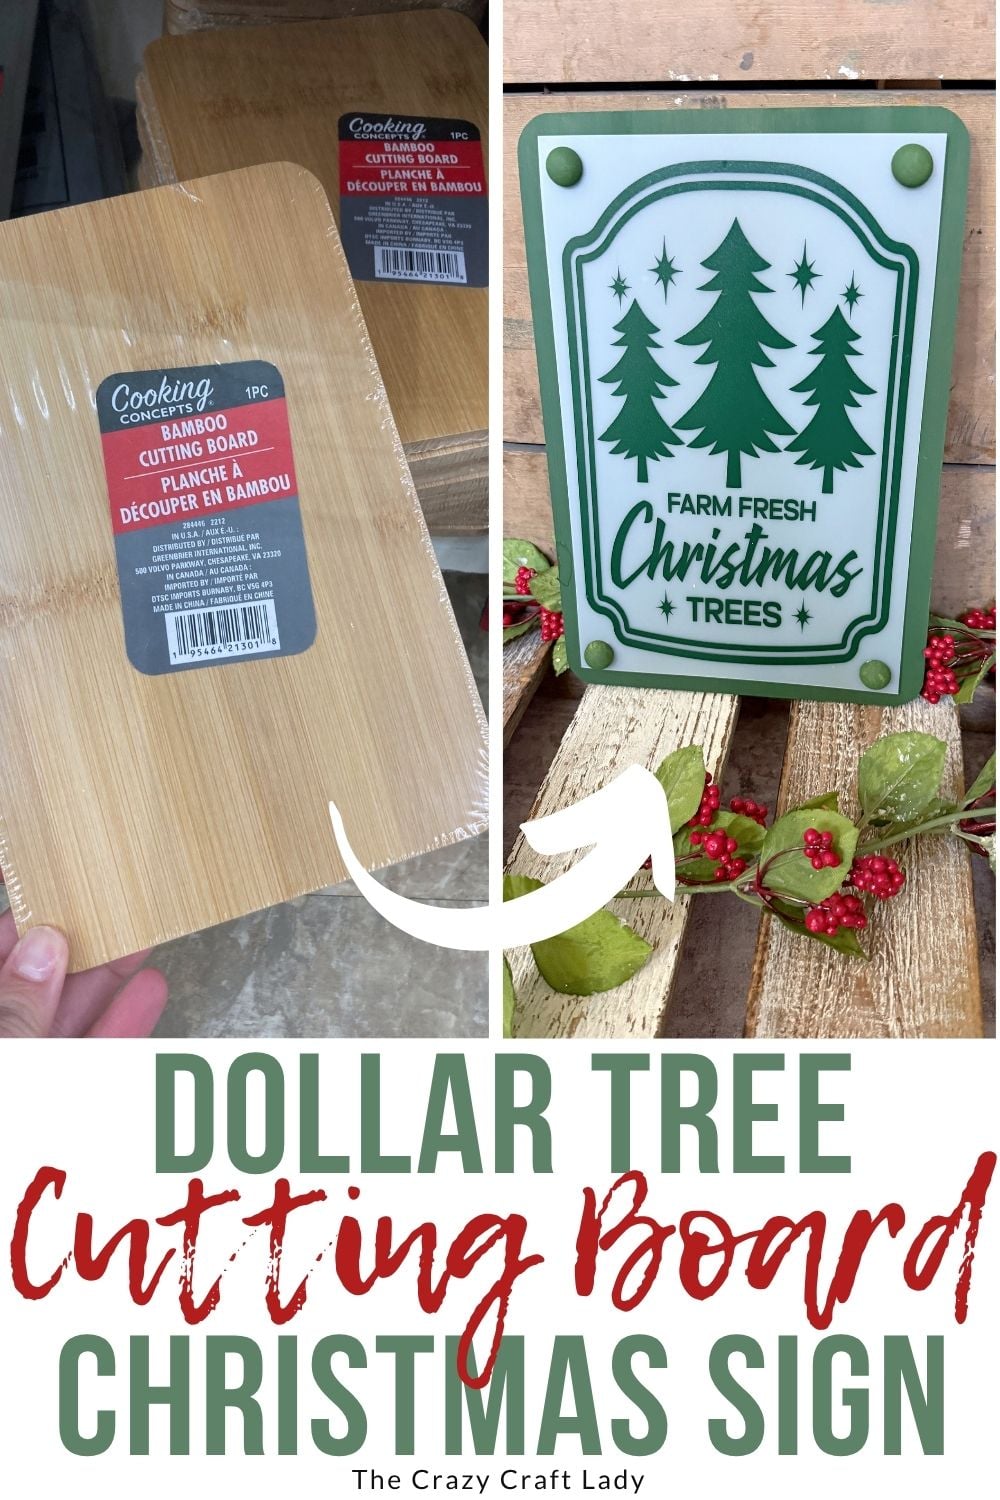
Learn how to make an easy DIY Christmas Tree Farm sign using a Dollar Tree cutting board and chopping mat. A simple farmhouse Christmas craft!
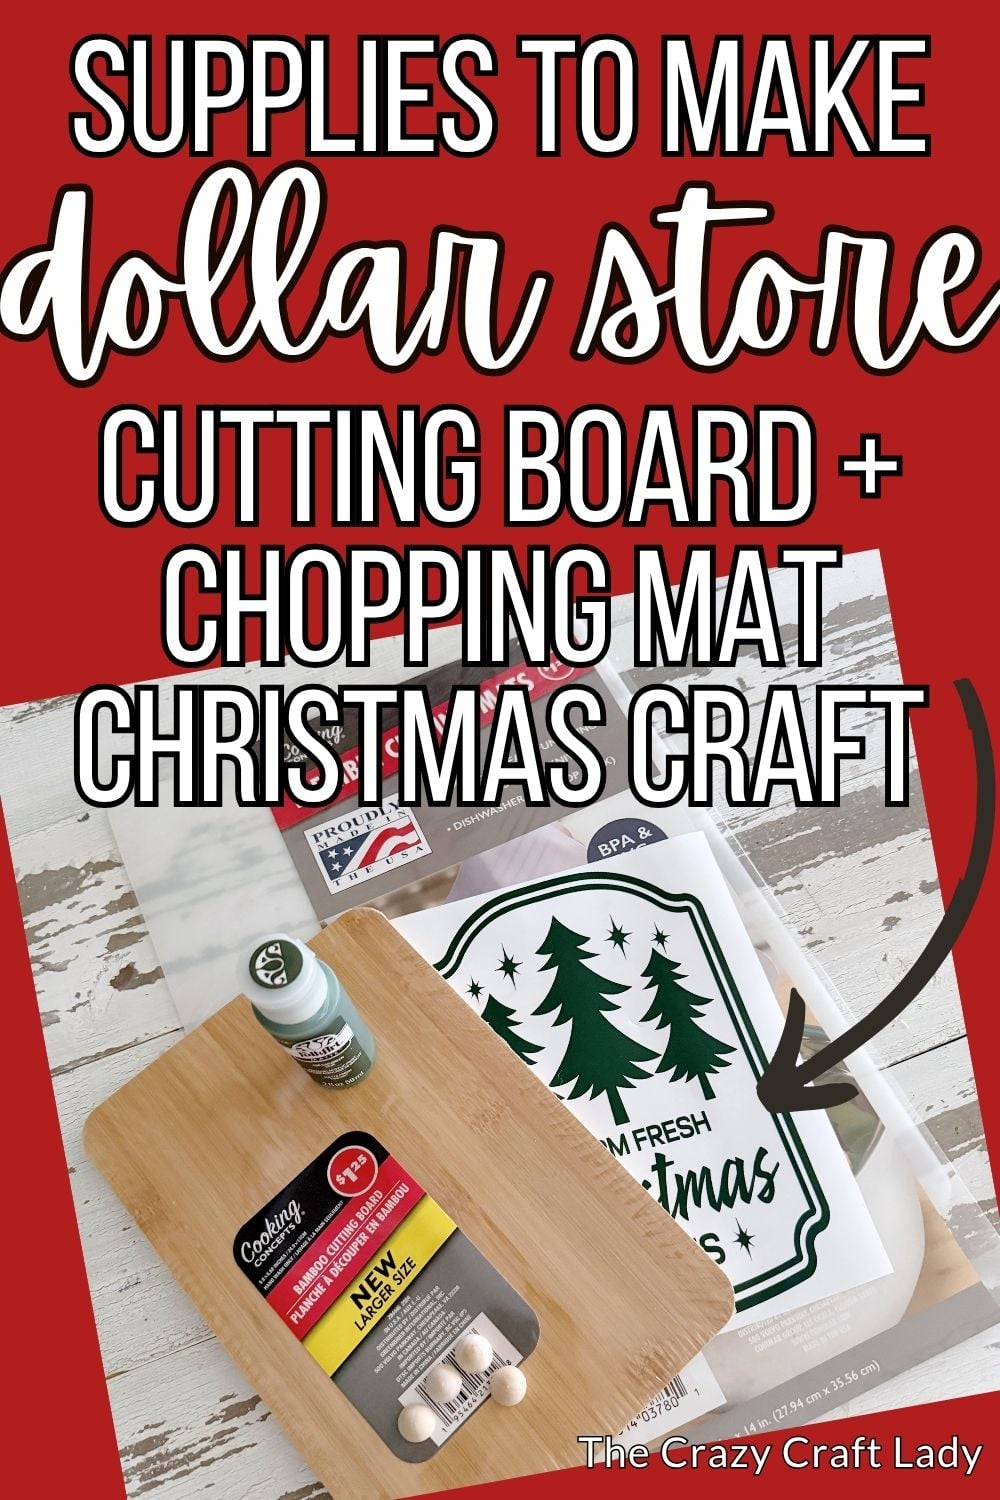
How to make a “Christmas tree farm sign” from a dollar store cutting board
This post contains some affiliate links for your convenience. Click here to read my full disclosure policy.
Looking for an easy Christmas craft that looks high-end without the high-end price tag? This adorable Christmas Tree Farm sign starts with a $1 bamboo cutting board and a Dollar Tree plastic chopping mat! Add a simple Cricut decal (or use one of the no-Cricut alternatives below), and you’ve got a charming farmhouse Christmas decoration that’s perfect for shelves, tiered trays, or gift giving.
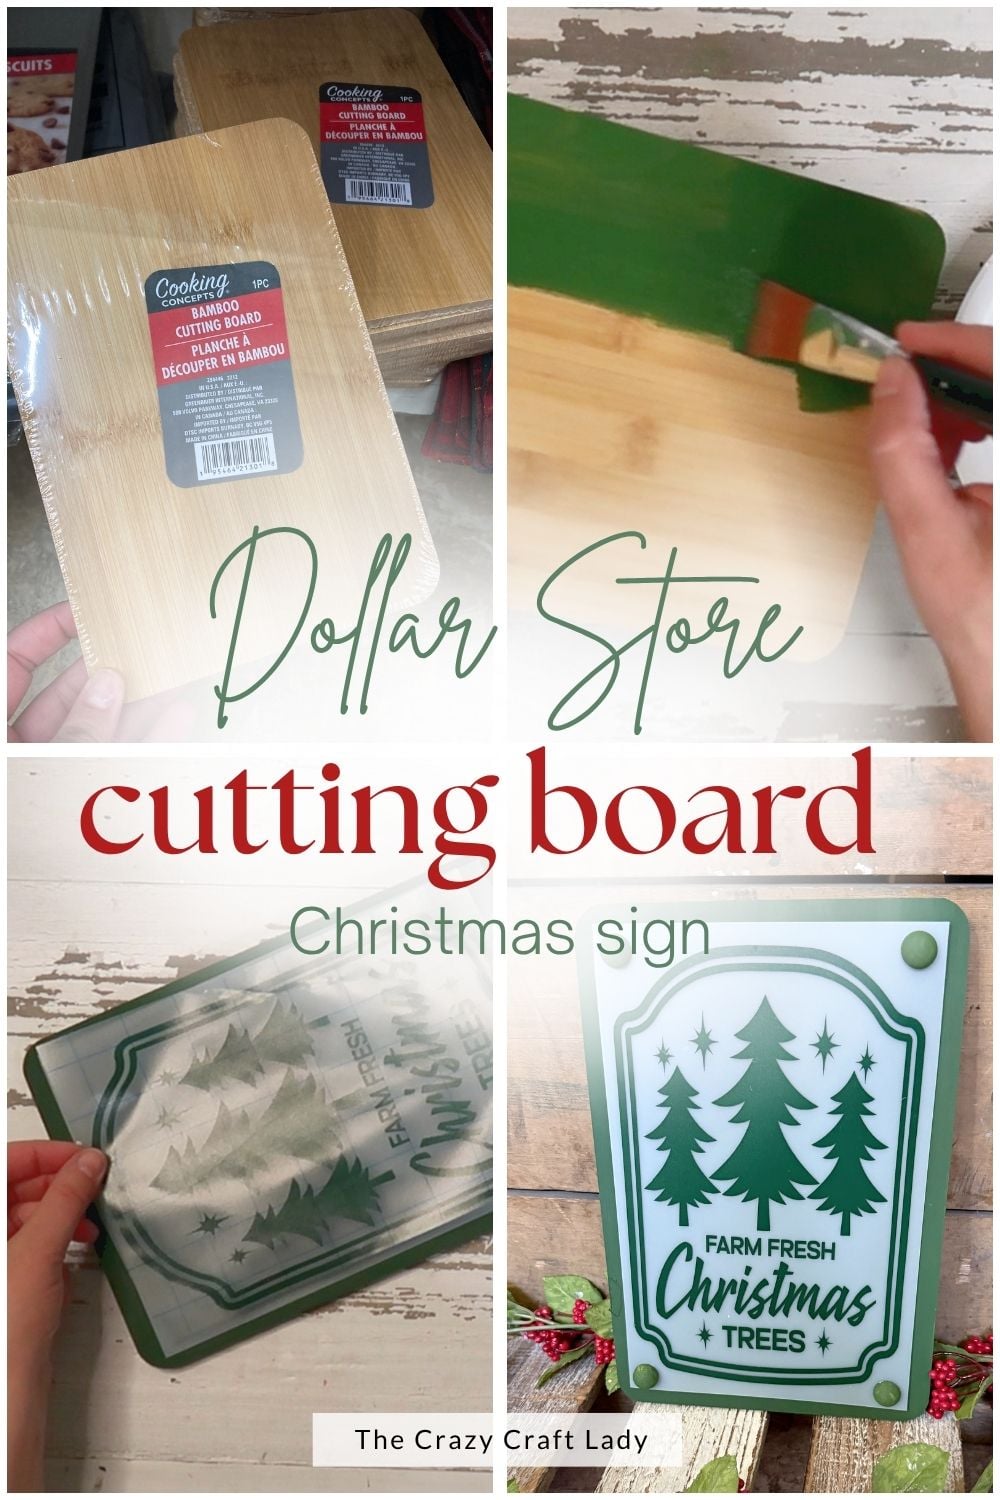
One of my favorite things about this project is how customizable it is. Change the colors, swap out the design, or create one for every season!
Video Tutorial: Christmas Tree Cutting Board Sign
Watch this quick video to see how this craft came together:
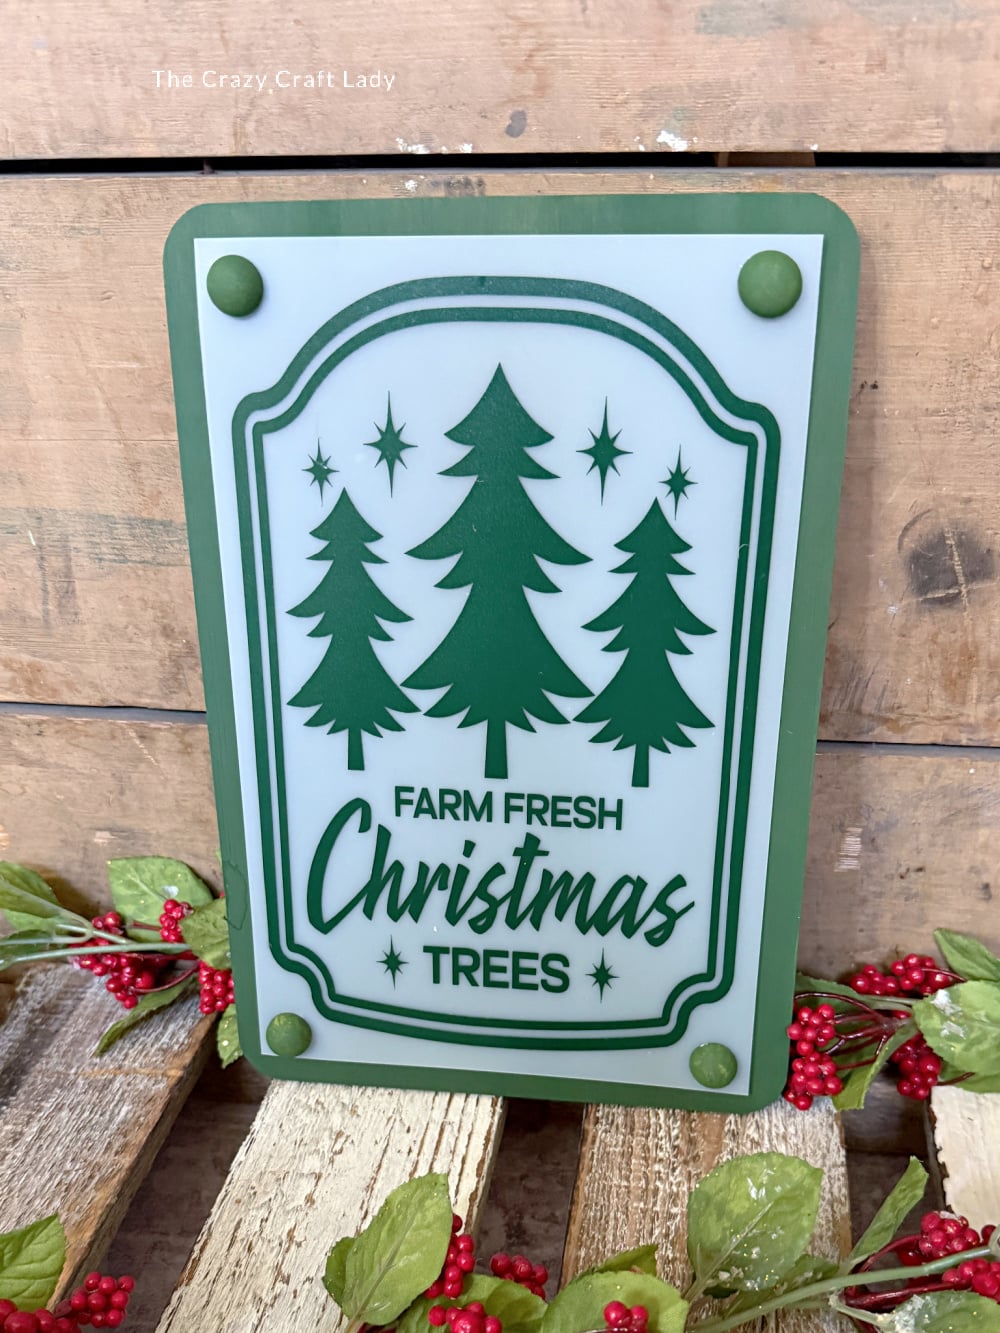
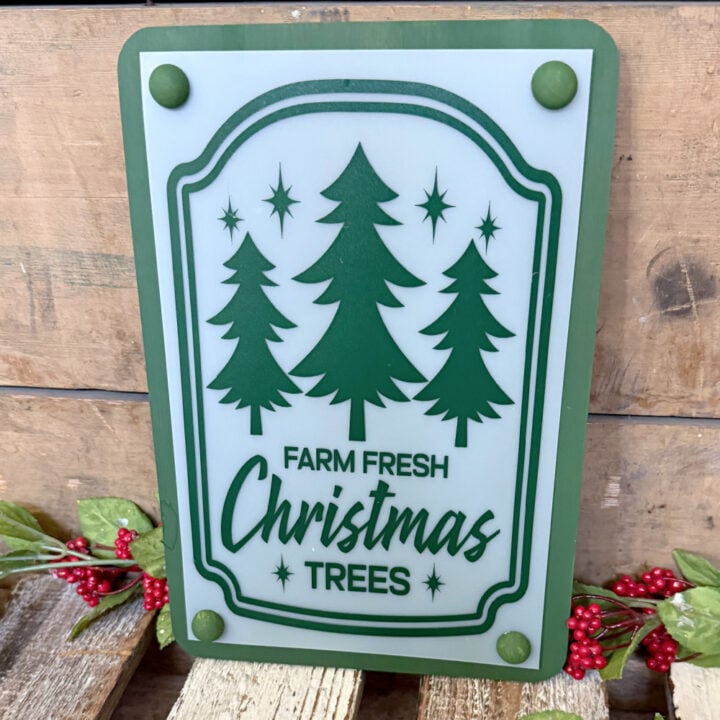
Christmas Tree Cutting Board Sign
Make a charming Christmas Tree Farm sign using a bamboo cutting board, chopping mat, and vinyl. This beginner-friendly Dollar Tree Christmas craft is easy and affordable.
Materials
- Dollar Tree bamboo cutting board
- Dollar Tree translucent chopping mat
- Green craft paint
- 15mm wooden half beads (4)
- Green permanent vinyl
- White puff paint, paint pen, or printable image (optional Cricut alternatives)
- Thin foam mounting tape
- E6000 adhesive
Tools
- Paintbrush
- Cricut machine (optional)
- Scissors or paper trimmer
Instructions
- Watch the Video Tutorial. Before you begin, watch the full video tutorial to see exactly how the project comes together. Then follow the written instructions below at your own pace.
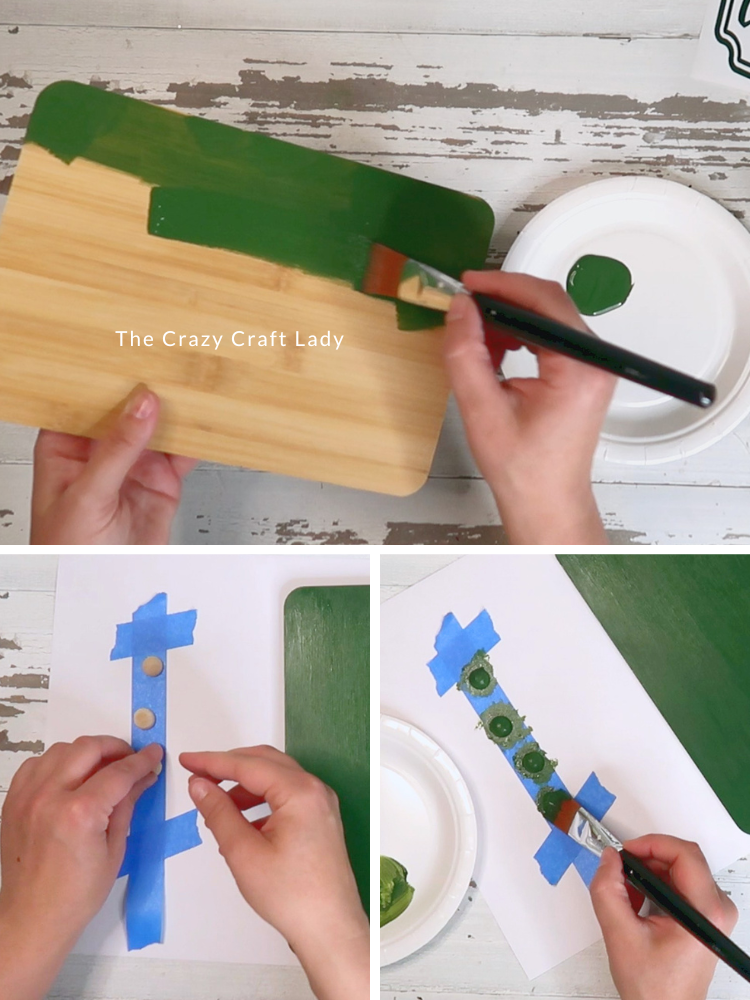
- Paint the Cutting Board. Paint the front of the bamboo cutting board green (or any color you like). Depending on your paint, you may need two coats for full coverage. Allow the first coat to dry before applying the second.

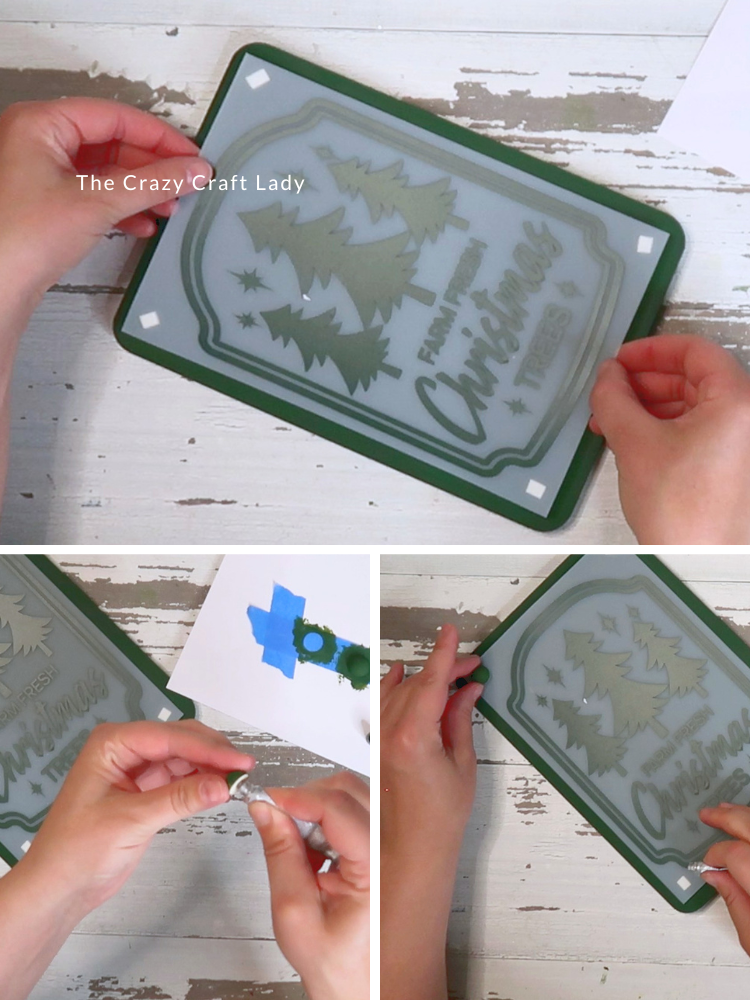
- Paint the Wooden Half Beads. Stick four wooden half beads onto a strip of painter's tape (sticky side up) to hold them in place while painting. Paint them the same color as the cutting board, making sure to cover all visible surfaces. Set aside to dry.
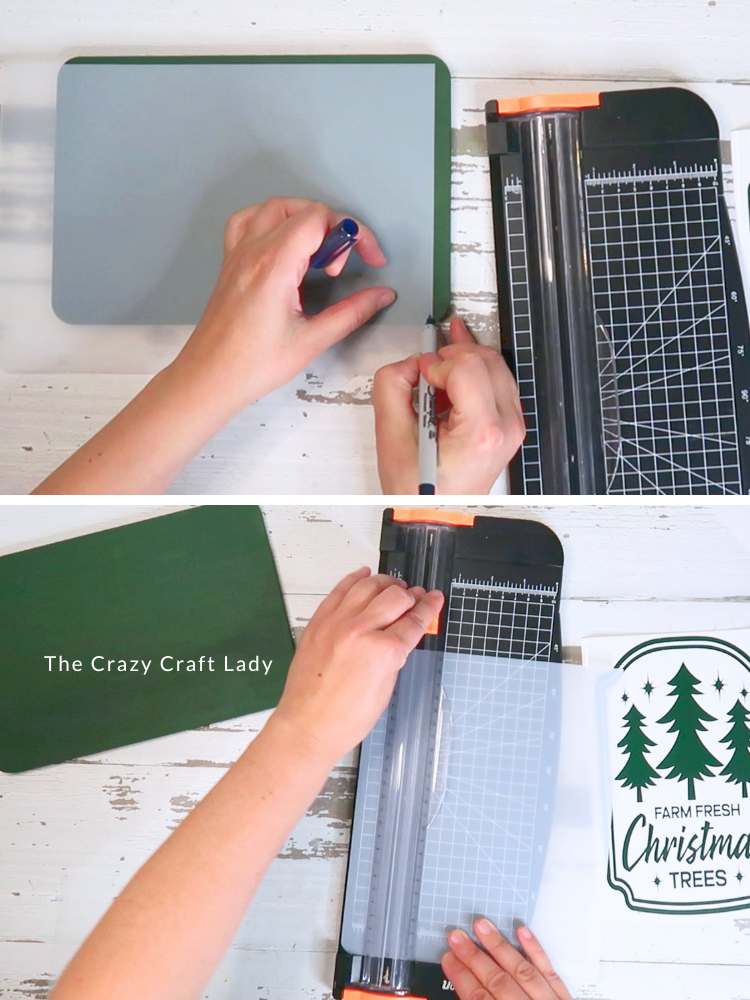
- Cut the Chopping Mat to Size. Trim the plastic chopping mat so it's approximately ¼ inch smaller than the cutting board on all sides. This leaves a painted border showing around the edge for a finished look.
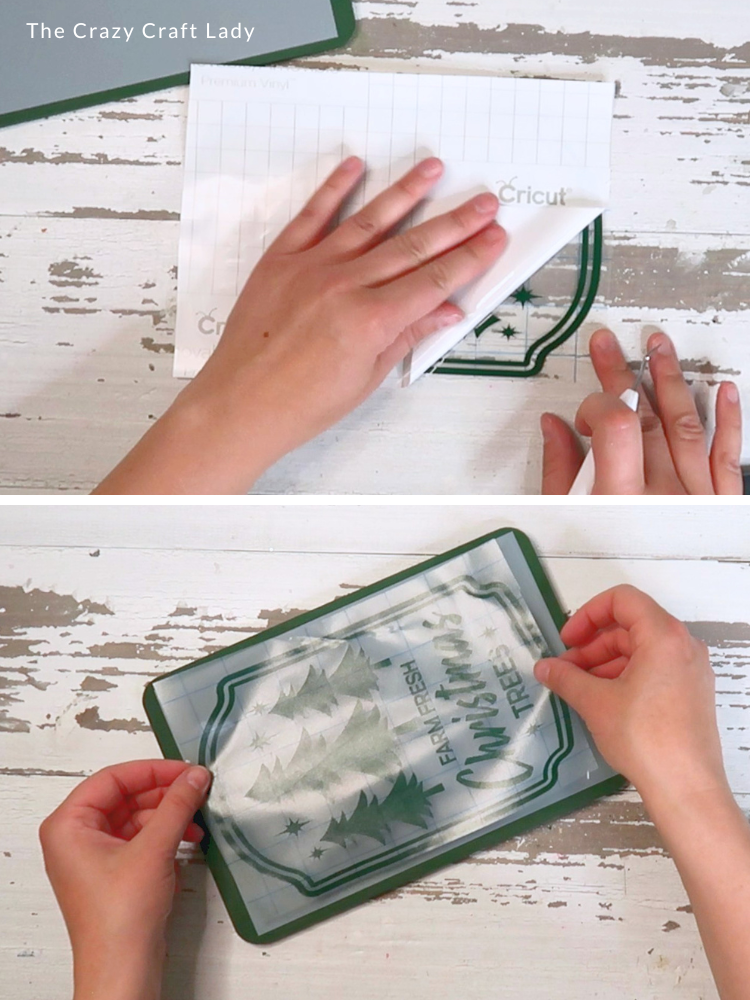
- Add Your Design. Apply a Christmas Tree Farm vinyl decal to the chopping mat using transfer tape.
- Attach the Chopping Mat. Place small pieces of thin foam mounting tape on the back corners of the chopping mat. Remove the backing and carefully center the chopping mat on the painted cutting board.
- Cover the Foam Tape. Glue one painted wooden half bead onto each corner of the chopping mat using E6000. The beads hide the mounting tape while adding a cute decorative detail that gives the sign a finished, dimensional look.
- Display Your Finished Sign. Once the adhesive has fully cured, display your new Christmas sign on a shelf, entry table, tiered tray, or tuck it into a holiday vignette.
Notes
Tips for Success
* Two light coats of paint usually give better coverage than one heavy coat.
* Trim the chopping mat after applying the vinyl if you're worried about getting everything perfectly centered.
* Foam mounting tape creates just enough dimension to make the project look more polished.
* E6000 provides a strong bond for attaching the wooden beads
No Cricut? No problem! You can also:
* Trace a printable design underneath the chopping mat using white puff paint.
* Use an oil-based paint marker.
* Paint a simple holiday design by hand.
* Apply a purchased vinyl decal.
Frequently Asked Questions
Can I make this without a Cricut?
Absolutely! Trace a printable underneath the chopping mat with puff paint, use a paint pen, hand paint a design, or apply a store-bought decal.
What size wooden half beads did you use?
I used 15mm wooden half beads, which create the perfect decorative corner accents while hiding the foam tape.
Can I use different colors?
Definitely! Try red, black, white, navy, or natural wood tones. This project works with almost any Christmas decorating style, from farmhouse to vintage to modern.
Can I use this idea for other seasons?
Yes! Swap the Christmas Tree Farm design for pumpkins, snowmen, spring florals, patriotic graphics, Halloween sayings, or everyday farmhouse quotes.
The Finished Craft
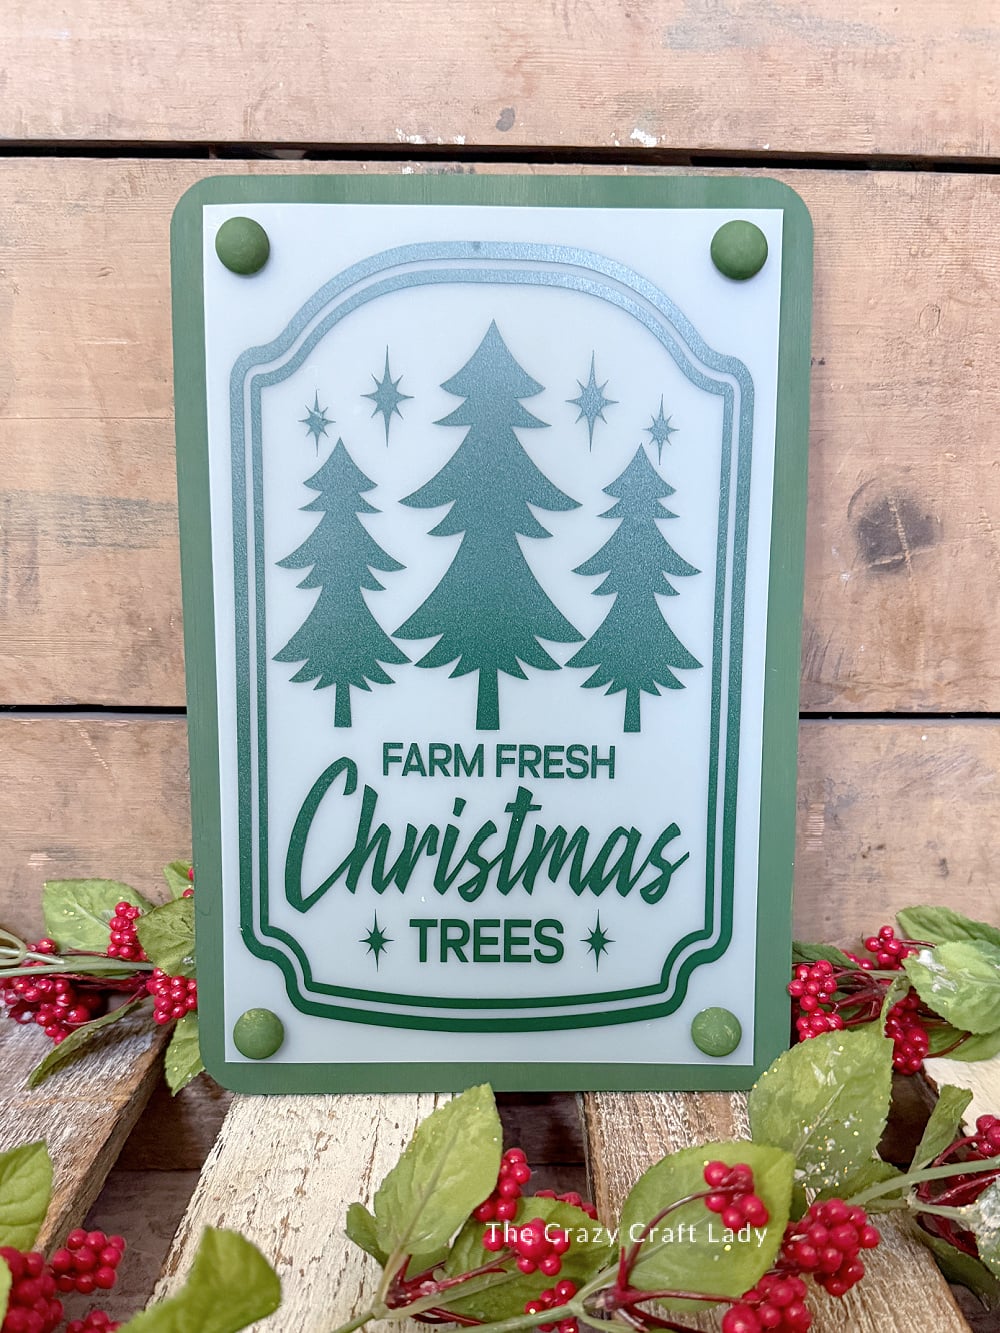
I love projects that take ordinary dollar store supplies and turn them into something that looks like it came from a boutique, and this one definitely fits the bill! Between the painted cutting board, the frosted chopping mat, and those little wooden bead accents, it has so much dimension while still being incredibly inexpensive to make.
Whether you use a Cricut, hand-paint your design, or trace it with puff paint, this is one of those crafts that’s easy to personalize. Once you make one, I have a feeling you’ll be coming up with ideas for every holiday and season!
PIN this Christmas cutting board sign for later: