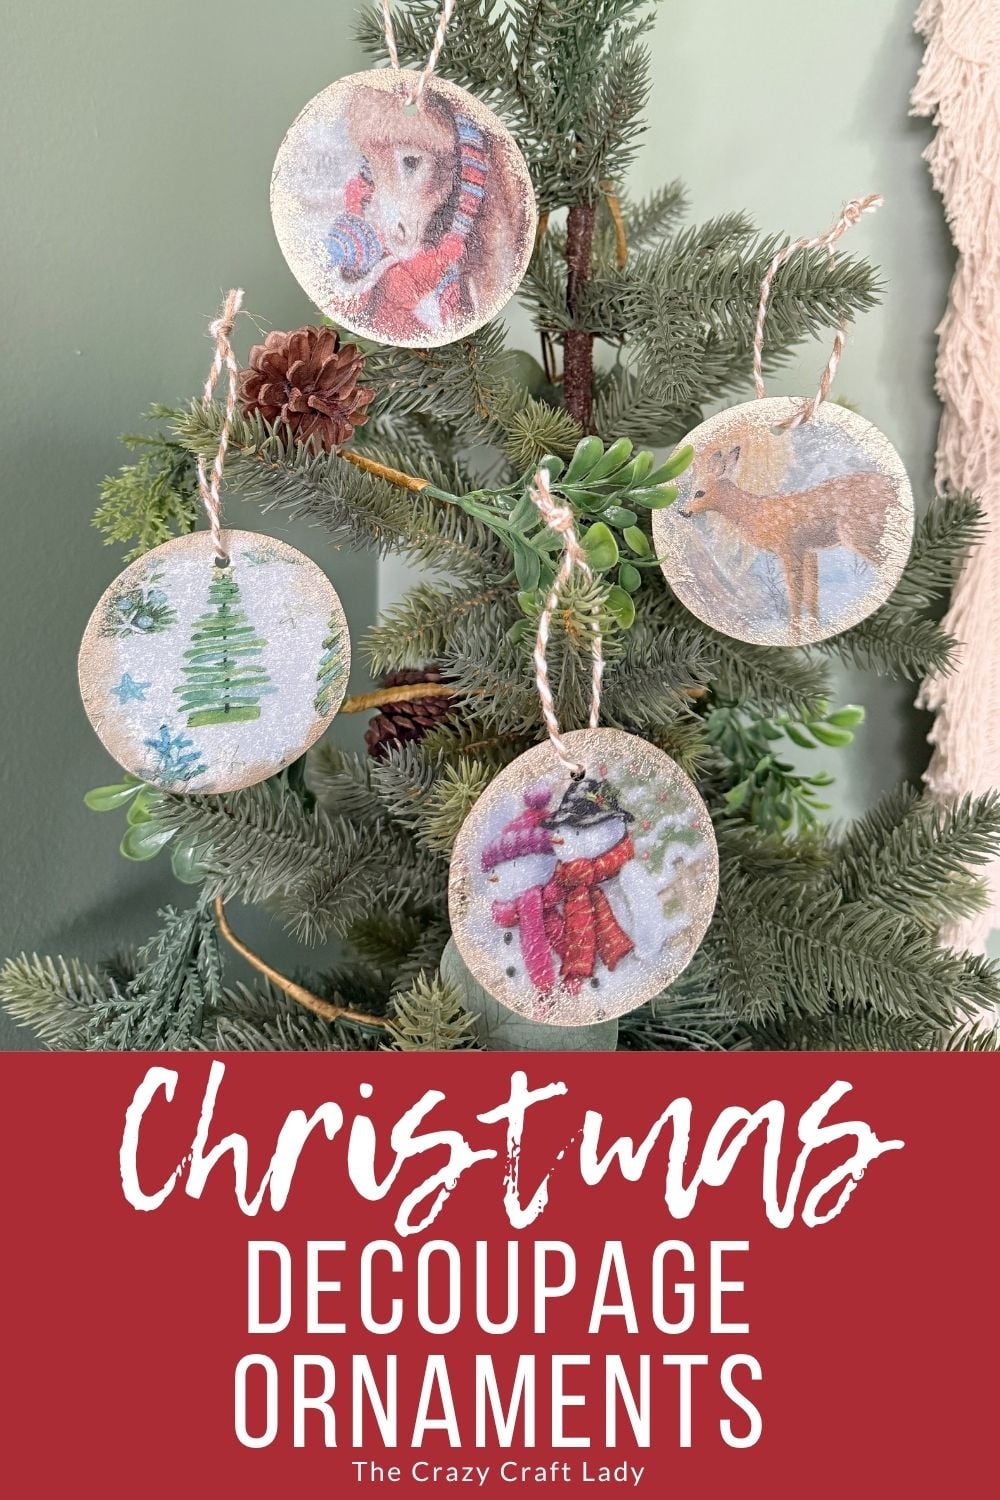
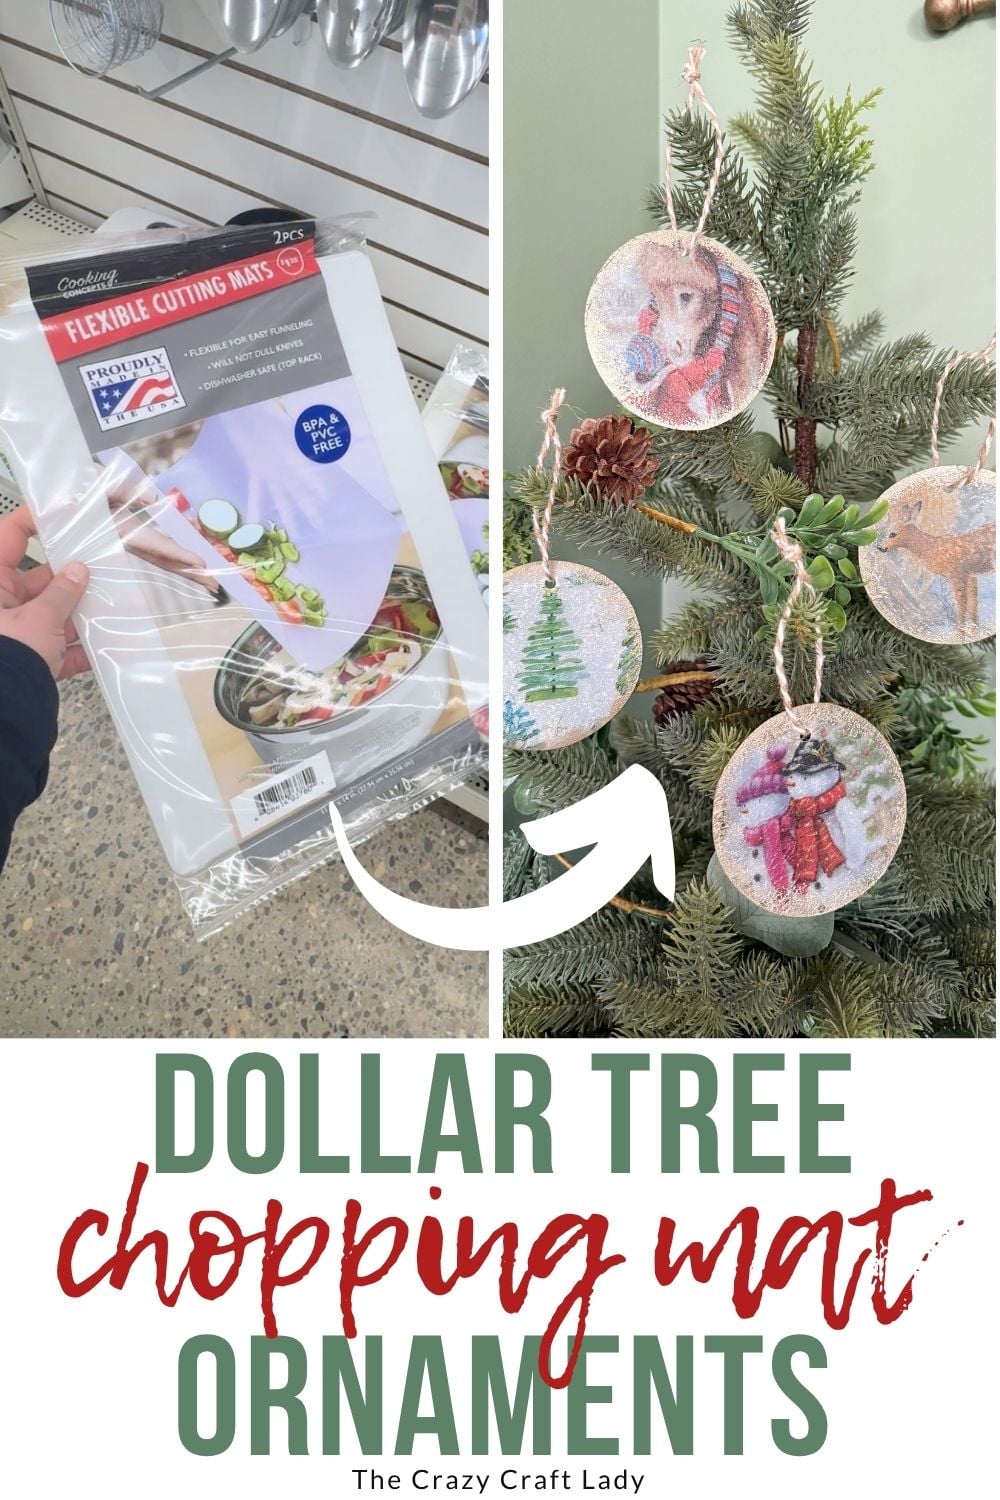
Learn how to make beautiful DIY Christmas ornaments using Dollar Tree chopping mats and holiday napkins. An easy decoupage Christmas craft!
This post contains some affiliate links for your convenience. Click here to read my full disclosure policy.
How to make DIY Christmas ornaments using dollar store plastic chopping mats and paper napkins
Who knew those translucent Dollar Tree chopping mats could make such beautiful Christmas ornaments? If you’ve got leftover scraps from another project, don’t toss them! They’re the perfect base for these lightweight, frosted-looking ornaments decorated with festive paper napkins.
This is one of those crafts that’s inexpensive, beginner-friendly, and incredibly easy to customize. Make a whole set using coordinating napkins for your Christmas tree, package toppers, or handmade gifts!
Video Tutorial: Dollar Store Chopping Mat Christmas Ornaments
Watch this quick video to see how this craft came together:
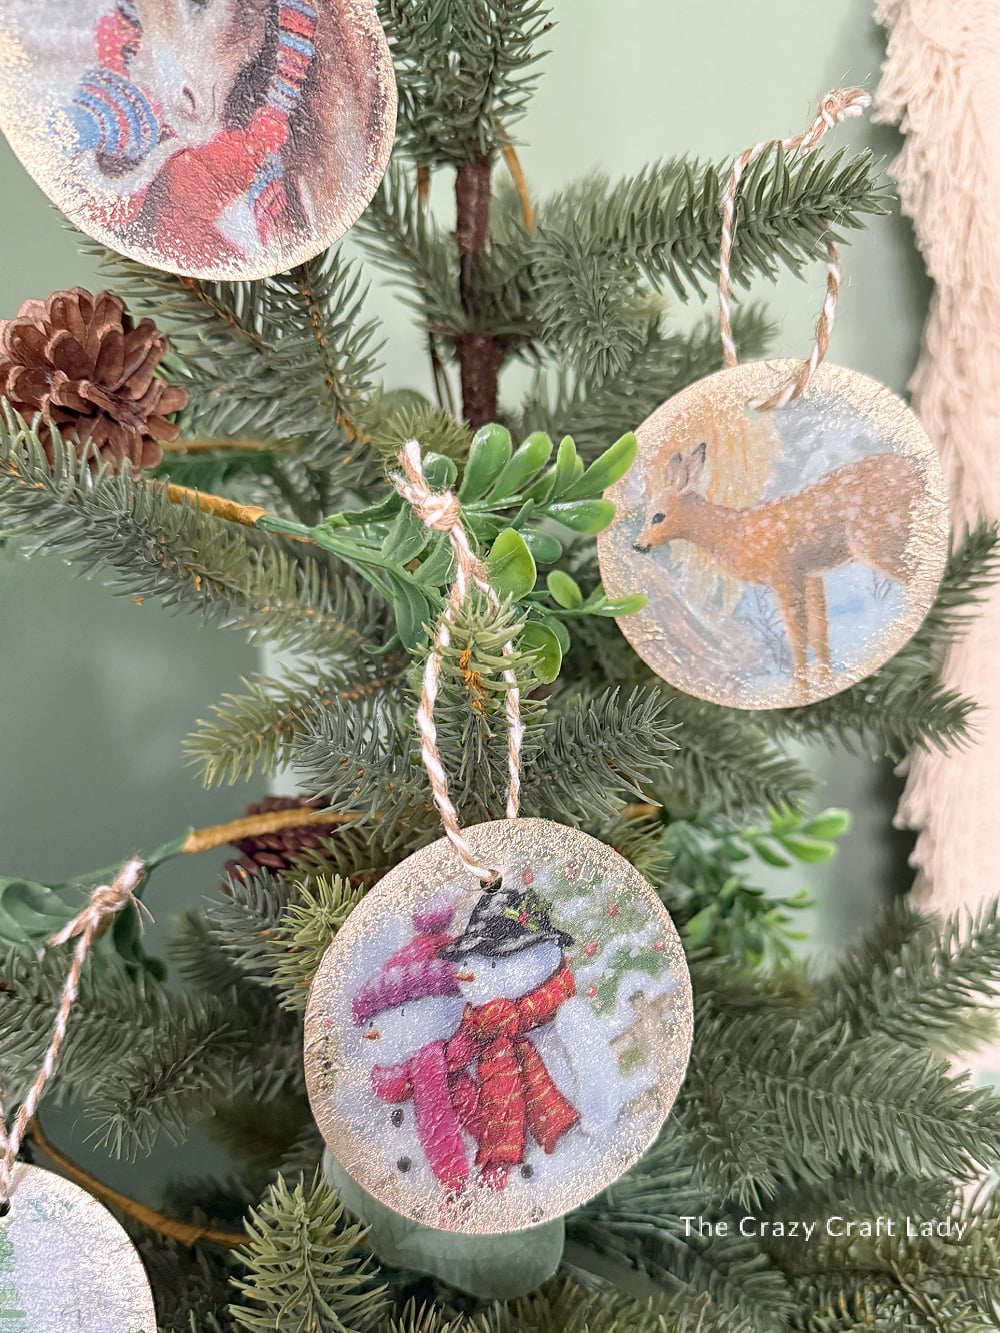
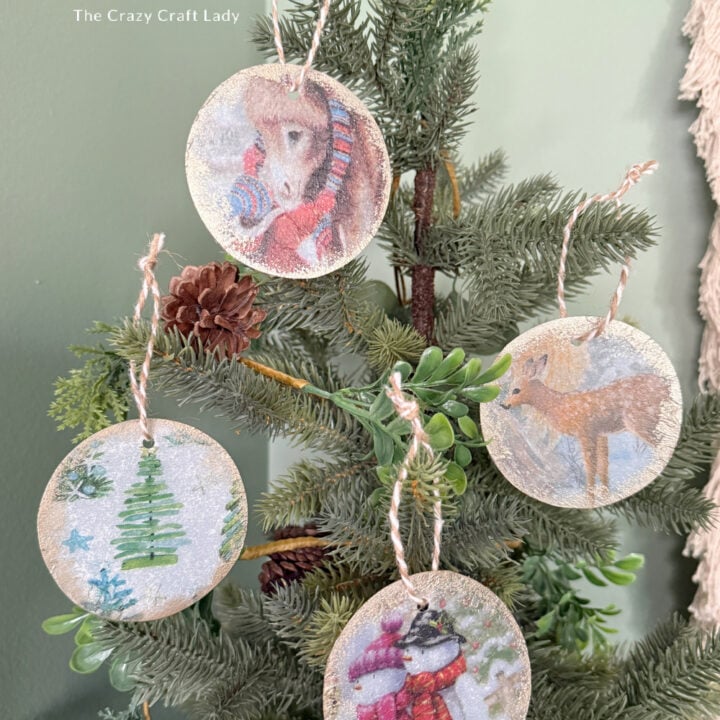
Dollar Store Chopping Mat Christmas Ornaments
Make easy DIY Christmas ornaments using holiday napkins, Mod Podge, and Dollar Tree chopping mats. Perfect for decorating your tree or giving as handmade gifts.
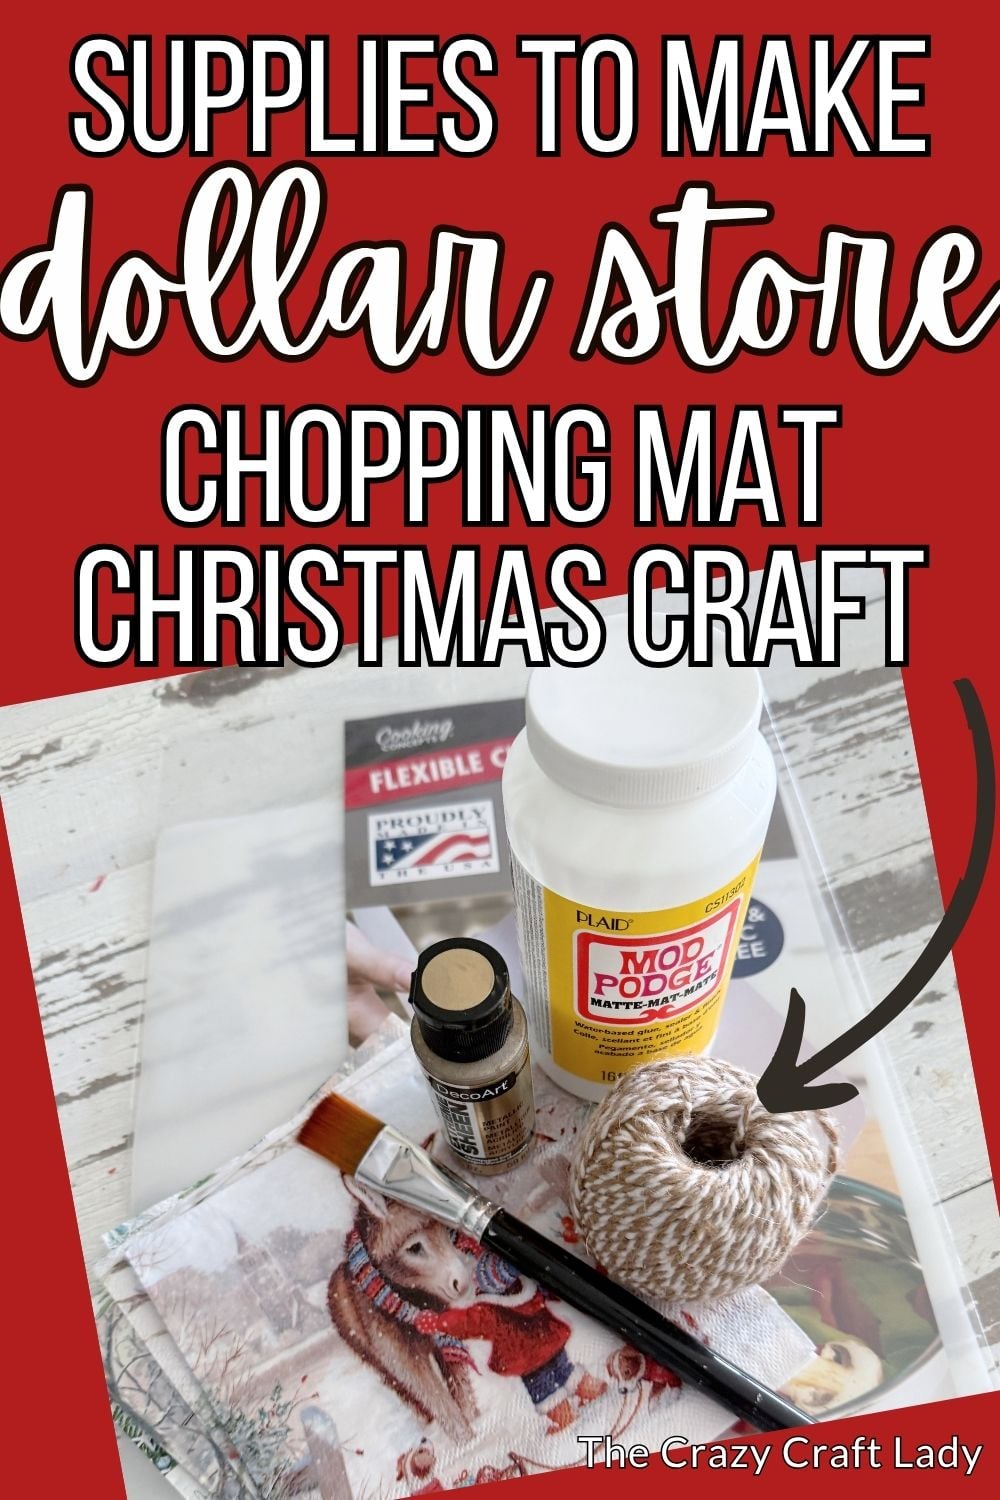
Materials
- Dollar Tree translucent chopping mat
- Holiday paper napkins
- Matte Mod Podge
- Plastic wrap (Saran Wrap)
- Gold acrylic craft paint
- Small dish sponge
- Baker's twine, ribbon, or yarn
Tools
- 1-inch flat paintbrush
- Circle cutter, circle punch, or scissors
- Nail file or emery board
- Hole punch (or Crop-A-Dile)
- Scissors
Instructions
- Watch the Video Tutorial. Watch the full video tutorial first to see each step in action. Then follow the written instructions below to make your own ornaments.
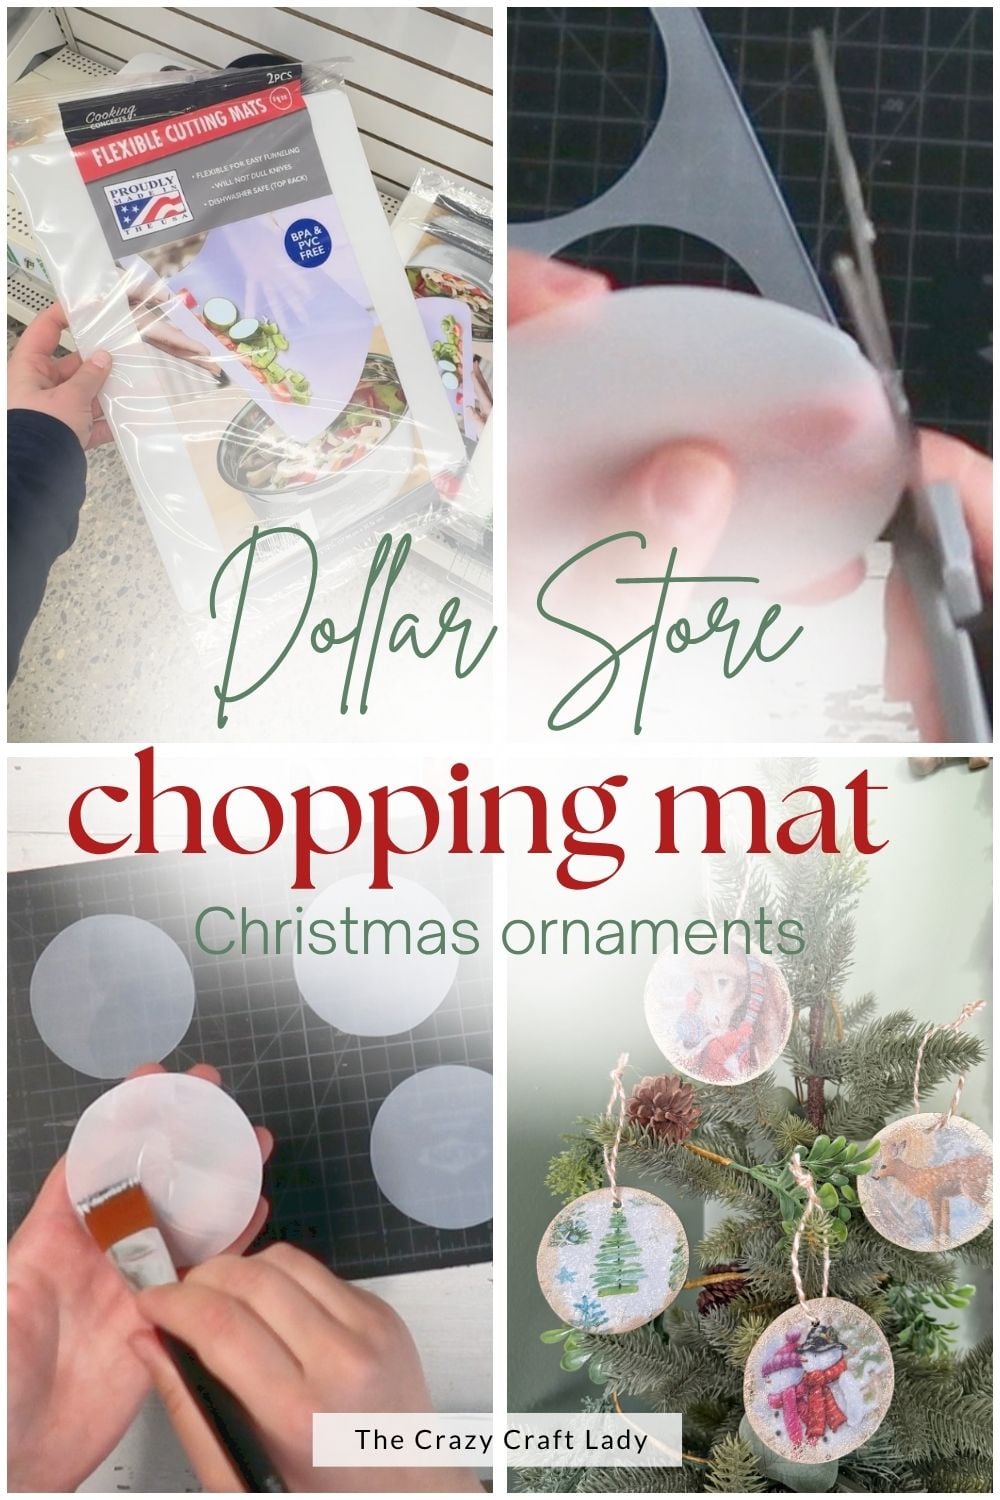
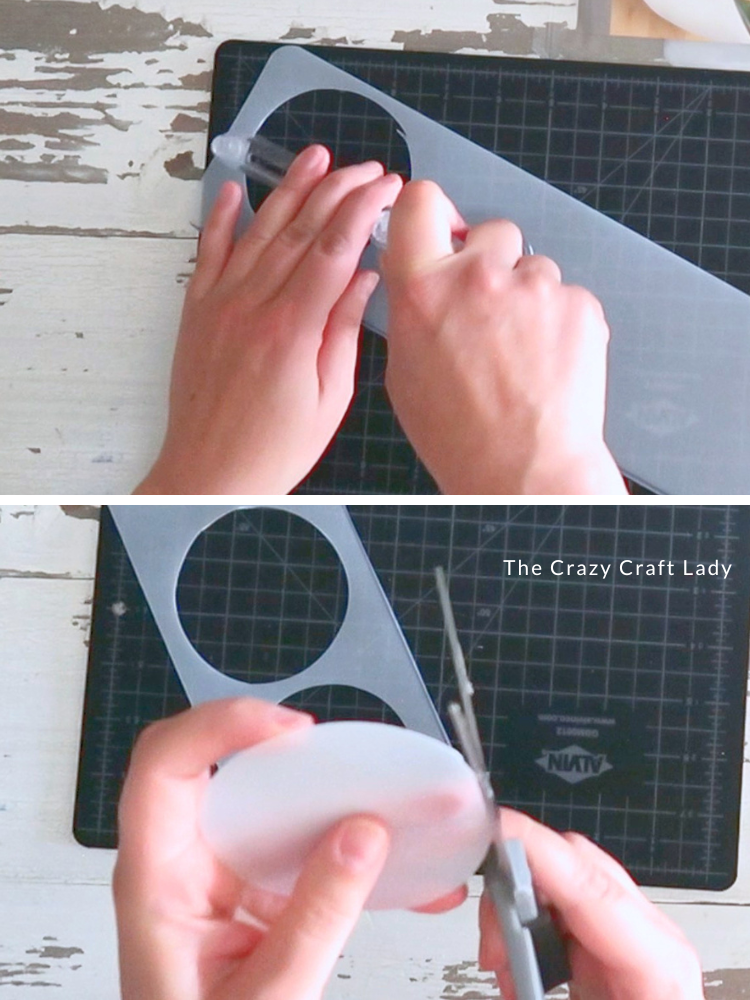
- Cut the Ornament Bases. Cut 3-inch circles from a Dollar Tree chopping mat. A circle cutter makes quick work of this, but there are plenty of other options: Use a large circle punch. Trace a printed circle template onto the chopping mat and cut it out with scissors. Trace around any round household object that's about 3 inches across. Cut as many circles as you'd like—I made four ornaments using different napkin designs.

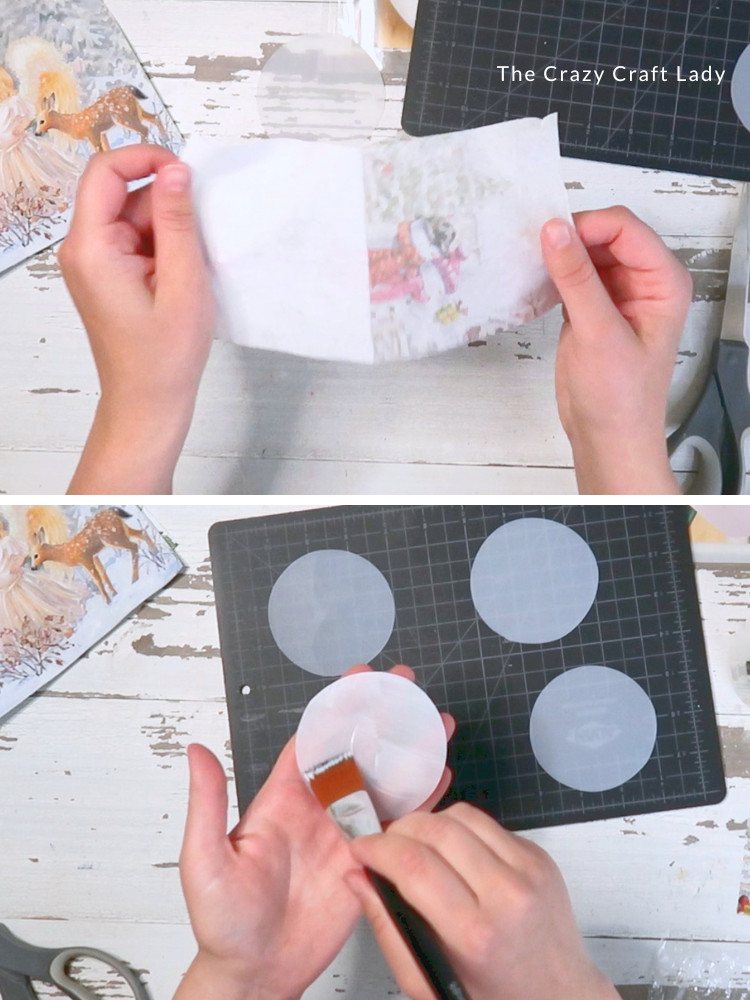
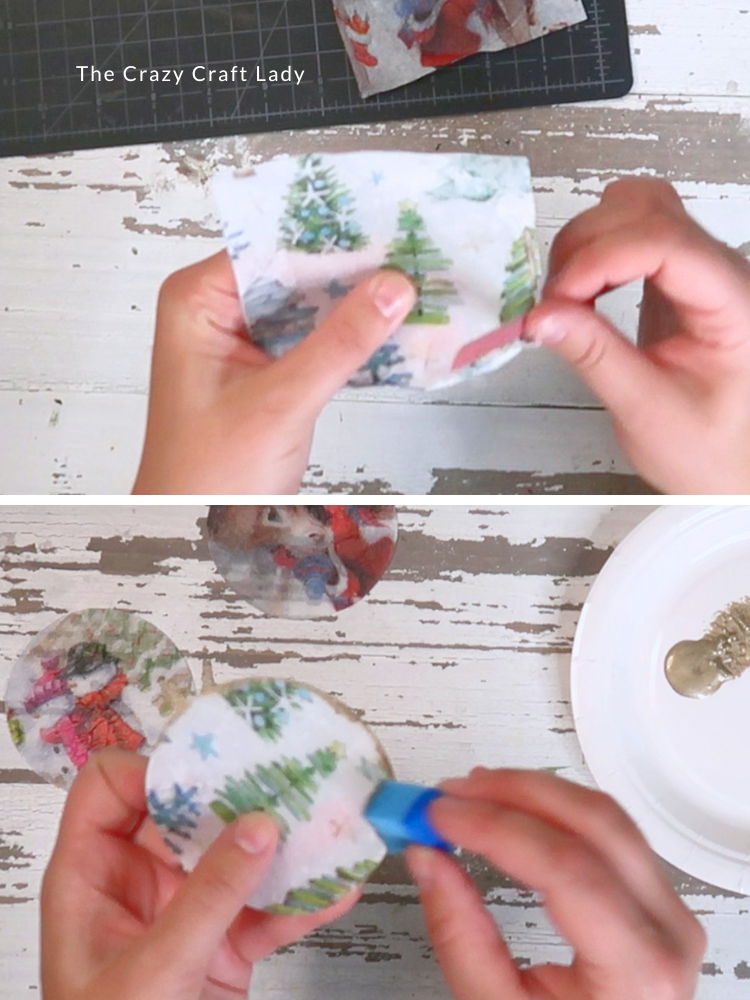
- Prepare the Napkins. Separate the decorative top layer from the napkin, removing the plain backing layers. Trim the printed design so it's slightly larger than each plastic circle.
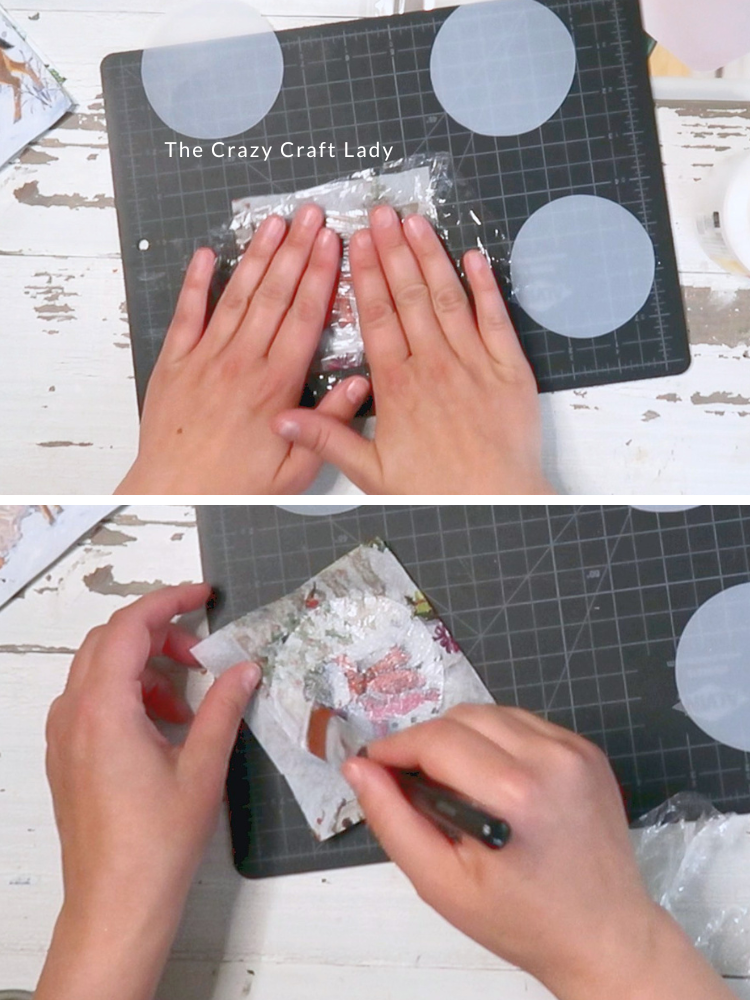
- Decoupage the Napkin. Brush a thin, even coat of Mod Podge onto one side of the chopping mat circle. Carefully lay the napkin over the top, then use a piece of plastic wrap to gently smooth out wrinkles without tearing the delicate paper. Brush another thin coat of Mod Podge over the top to seal everything in place. Set aside to dry completely.
- Trim the Edges. Once dry, trim away the excess napkin. For the cleanest finish, use a nail file or emery board and file in a downward motion only. Filing in one direction helps prevent the edges of the napkin from lifting.
- Add a Decorative Edge. Use a small piece of dish sponge to lightly pounce gold craft paint around the edge of each ornament. You can also customize the edge with white paint or glitter.
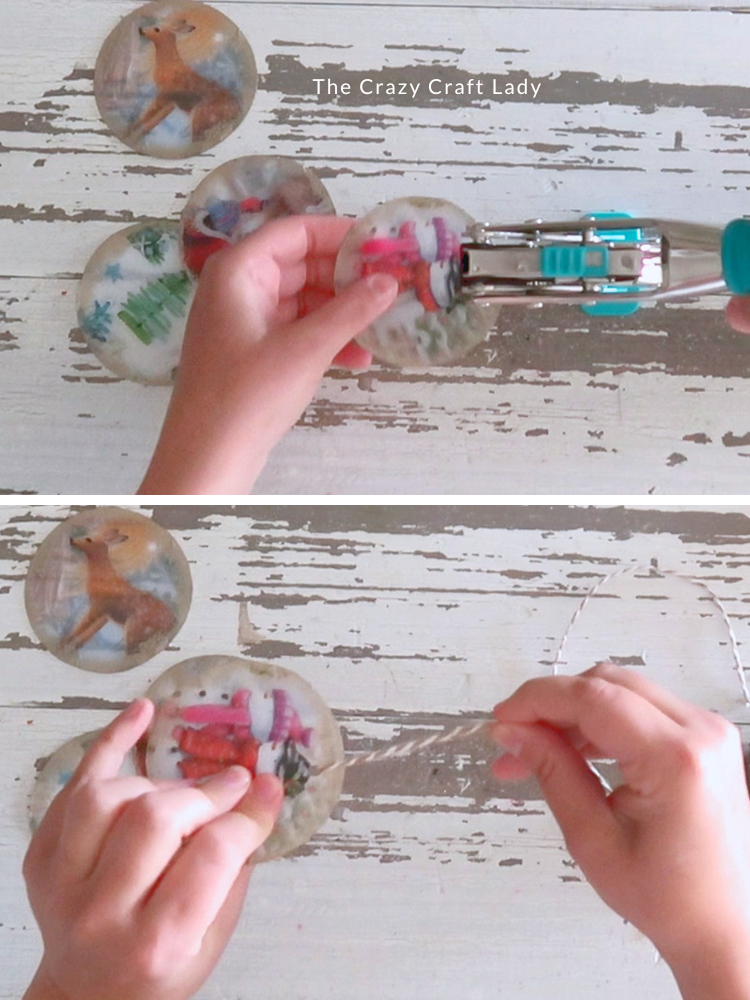
- Punch a Hanging Hole. Punch a small hole near the top of each ornament using a standard hole punch or a Crop-A-Dile.
- Add the Hanger. Thread an 8-inch piece of baker's twine, ribbon, or yarn through the hole and tie the ends together to create a hanging loop. Your ornaments are ready for the Christmas tree!
Notes
Tips for Success
* Leftover chopping mat scraps are perfect for this project.
* Use plastic wrap instead of your fingers to smooth delicate napkins without tearing them.
* Apply thin coats of Mod Podge to minimize wrinkles.
* File downward only when removing excess napkin for crisp, clean edges.
* Mix several coordinating napkin patterns for a beautiful themed ornament set.
Frequently Asked Questions
Can I use full-size chopping mats?
Absolutely! If you don’t have scraps, simply cut your circles from a new Dollar Tree chopping mat.
What if I don’t have a circle cutter?
No problem! Trace a circle using a lid, drinking glass, or printable template, then cut it out with scissors.
Do I have to use gold paint around the edges?
Not at all! White paint creates a snowy effect, glitter adds sparkle, and metallic silver looks beautiful too. Choose whatever best matches your holiday decor.
Are these ornaments heavy?
No! The plastic chopping mat is lightweight, making these ornaments perfect for both full-size Christmas trees and tabletop trees.
DIY Napkin Decoupage Christmas Ornaments (Made from Dollar Tree Chopping Mats!)
I love finding new ways to use up leftover craft supplies, and these ornaments are a perfect example of turning scraps into something beautiful. The translucent chopping mat gives the ornaments a soft, frosted look, while the holiday napkins add tons of color and personality.
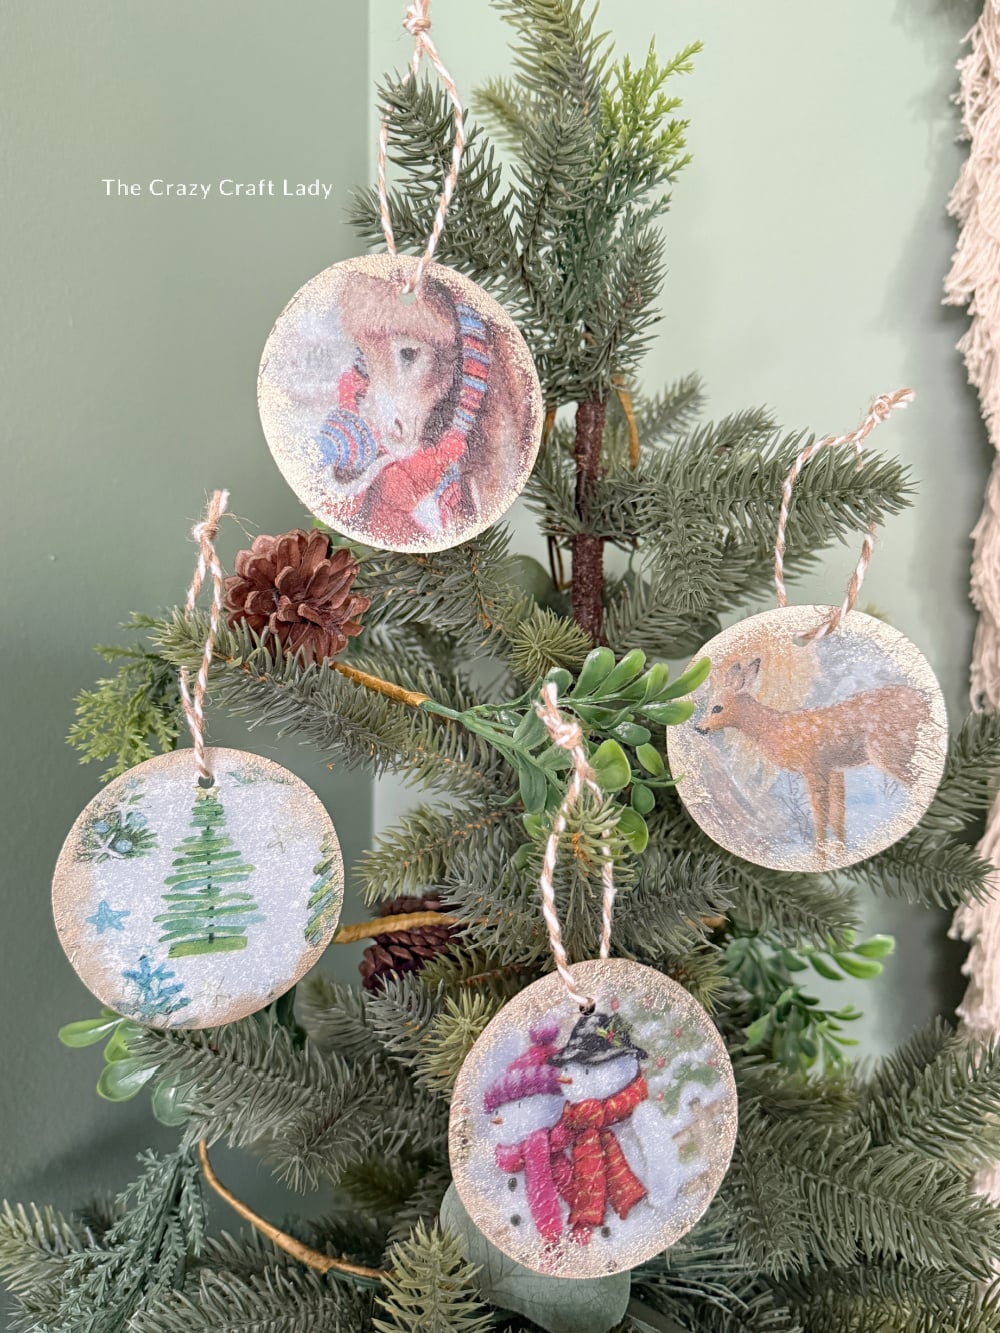
They’re inexpensive to make, easy enough for beginners, and a fun way to create a collection of one-of-a-kind ornaments you’ll enjoy pulling out year after year. Whether you keep them for your own tree or gift them to friends and family, they’re a simple Christmas craft that looks anything but dollar store!
PIN this Christmas craft for later: