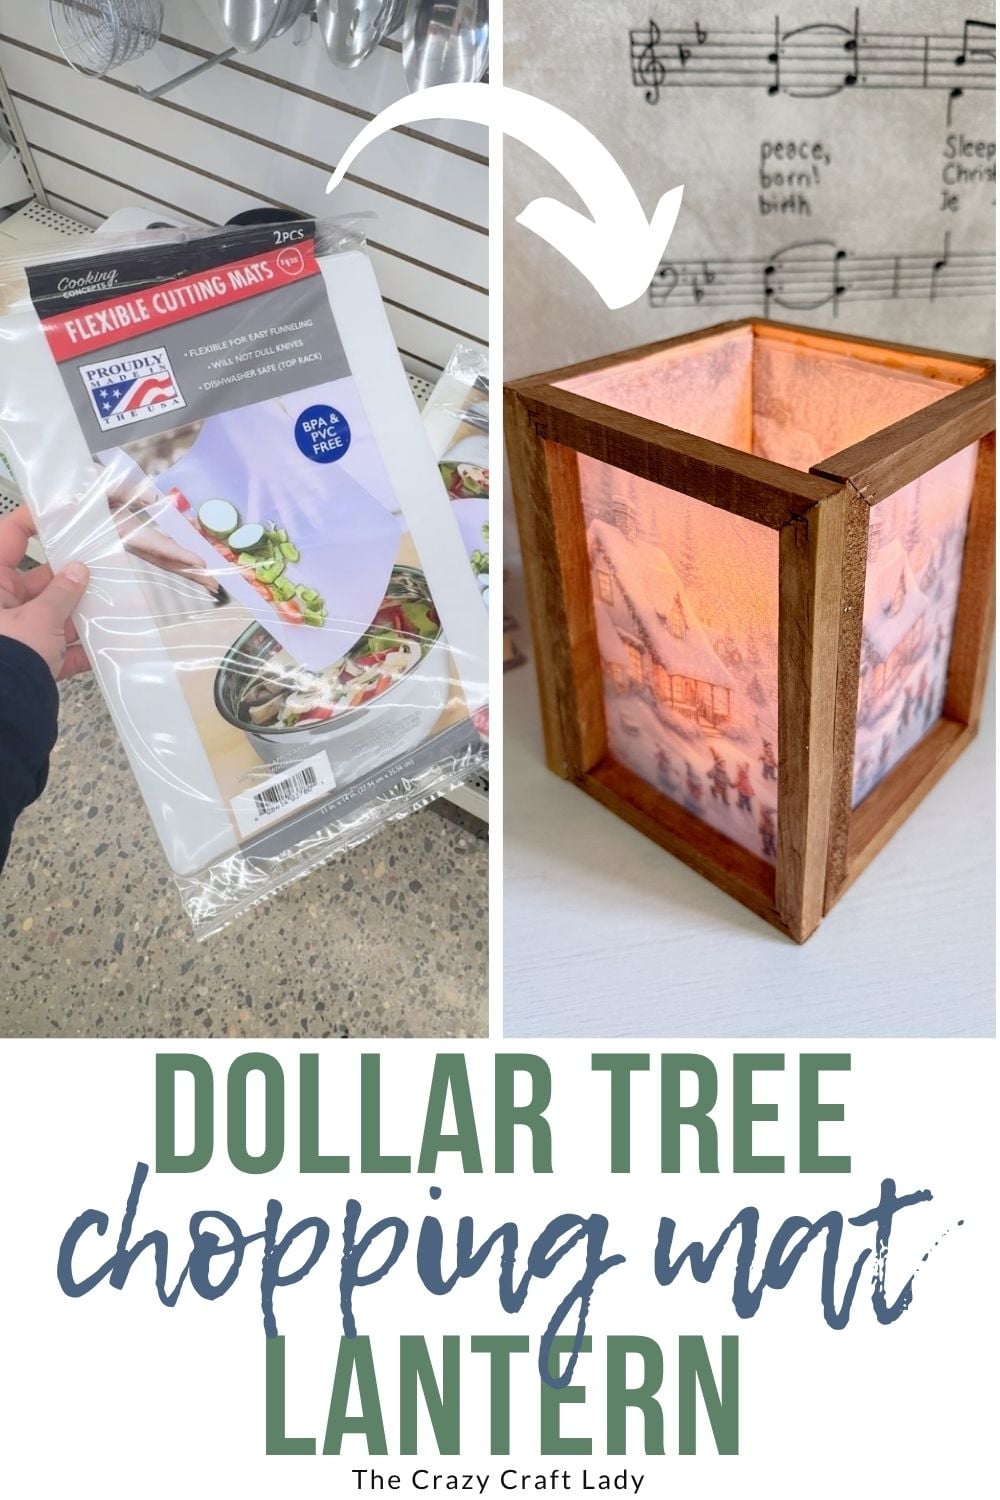
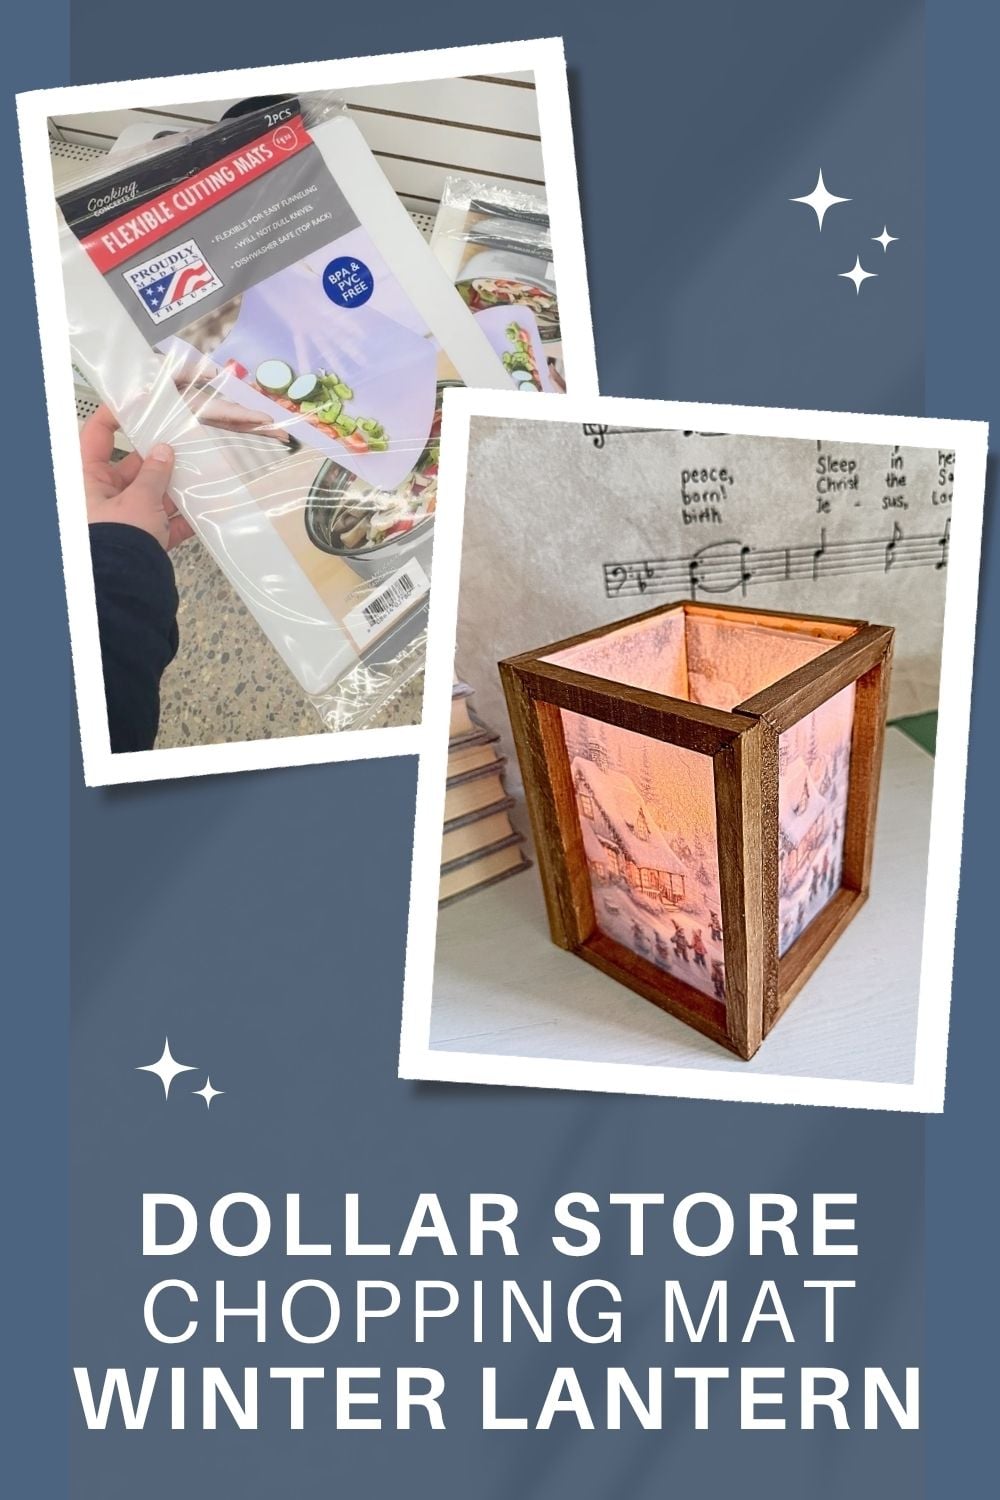
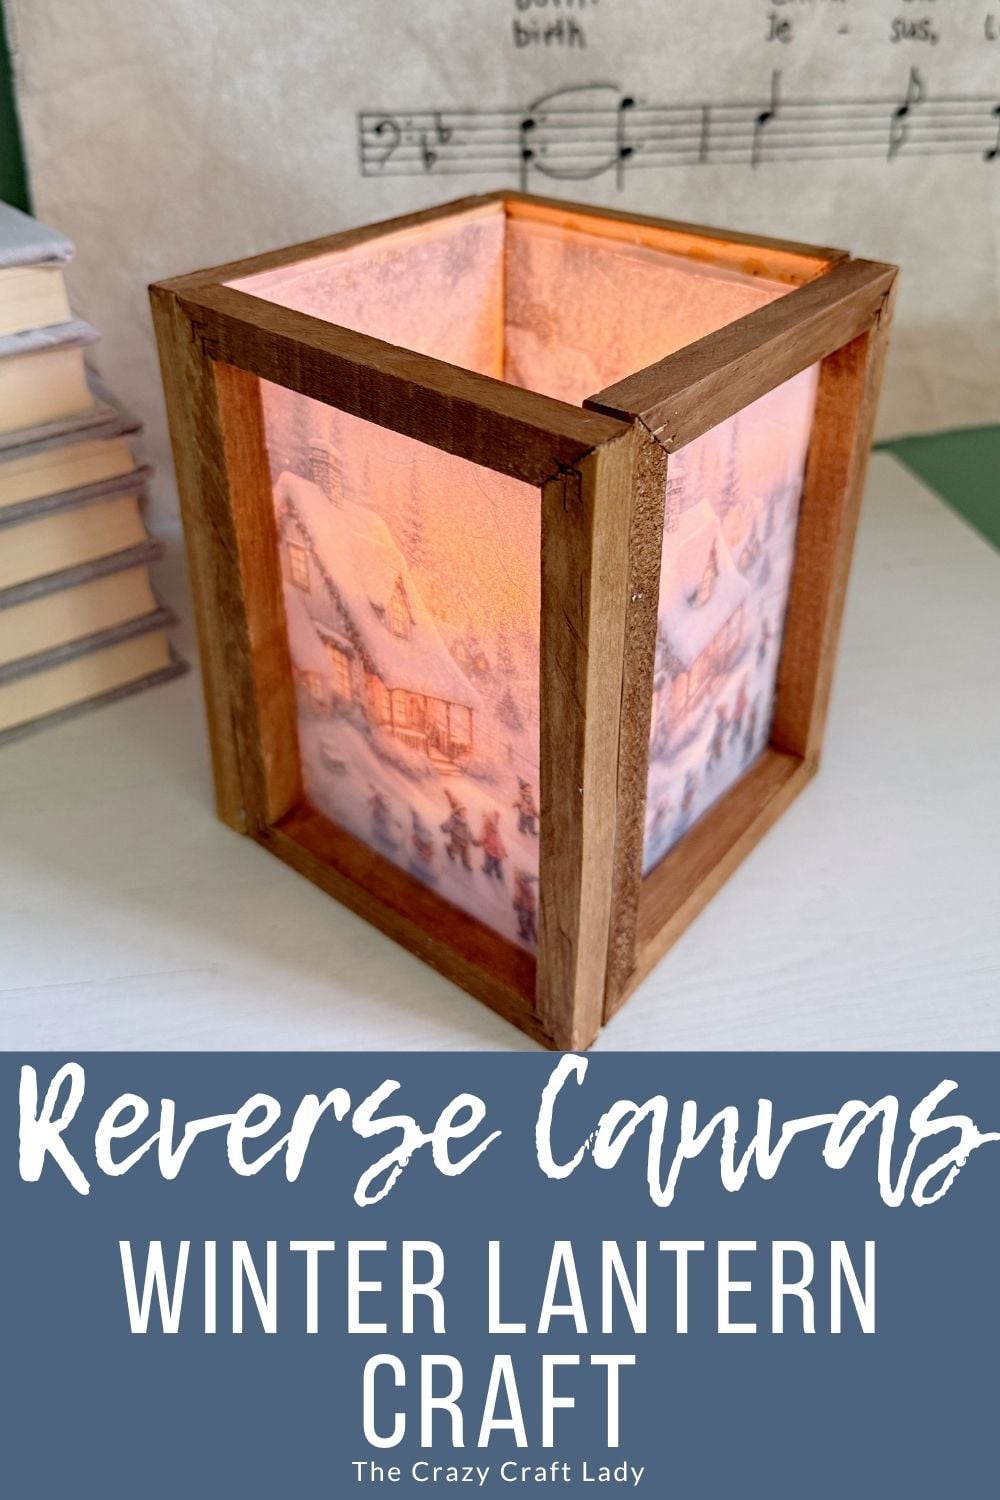
Learn how to make a beautiful frosted winter lantern using Dollar Tree stretched canvases, chopping mats, and holiday napkins. An easy DIY Christmas craft!
This post contains some affiliate links for your convenience. Click here to read my full disclosure policy.
How to make a reverse canvas frosted winter lantern using Dollar Tree supplies
If you’ve been around here for a while, you already know I have a bit of an obsession with lantern crafts. They’re inexpensive, surprisingly easy to make, and you can customize them for literally any holiday or season.
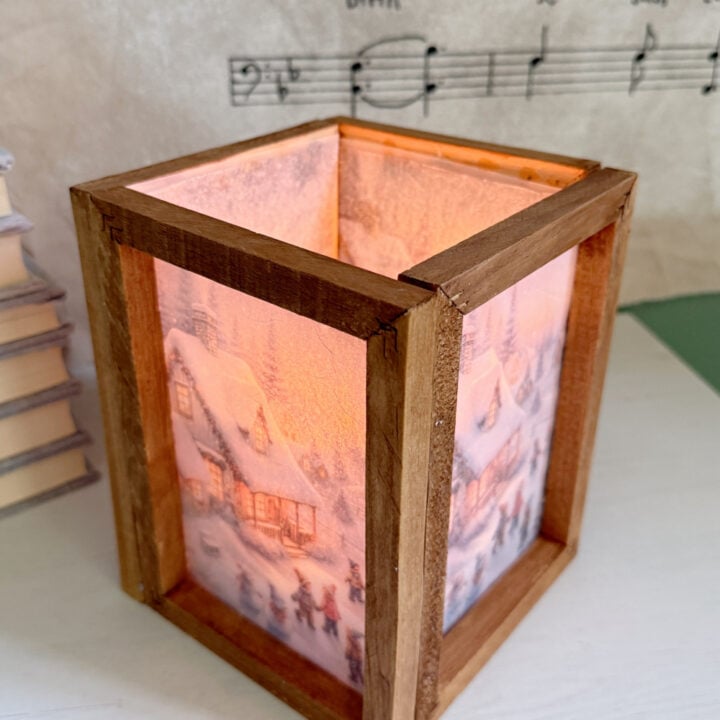
This frosted winter lantern might be one of my favorites yet! It starts with four Dollar Tree stretched canvases and a plastic chopping mat, then gets a magical frosted-glass look thanks to a beautiful holiday napkin. Pop in a battery-operated candle, and you’ve got the coziest little piece of winter décor.
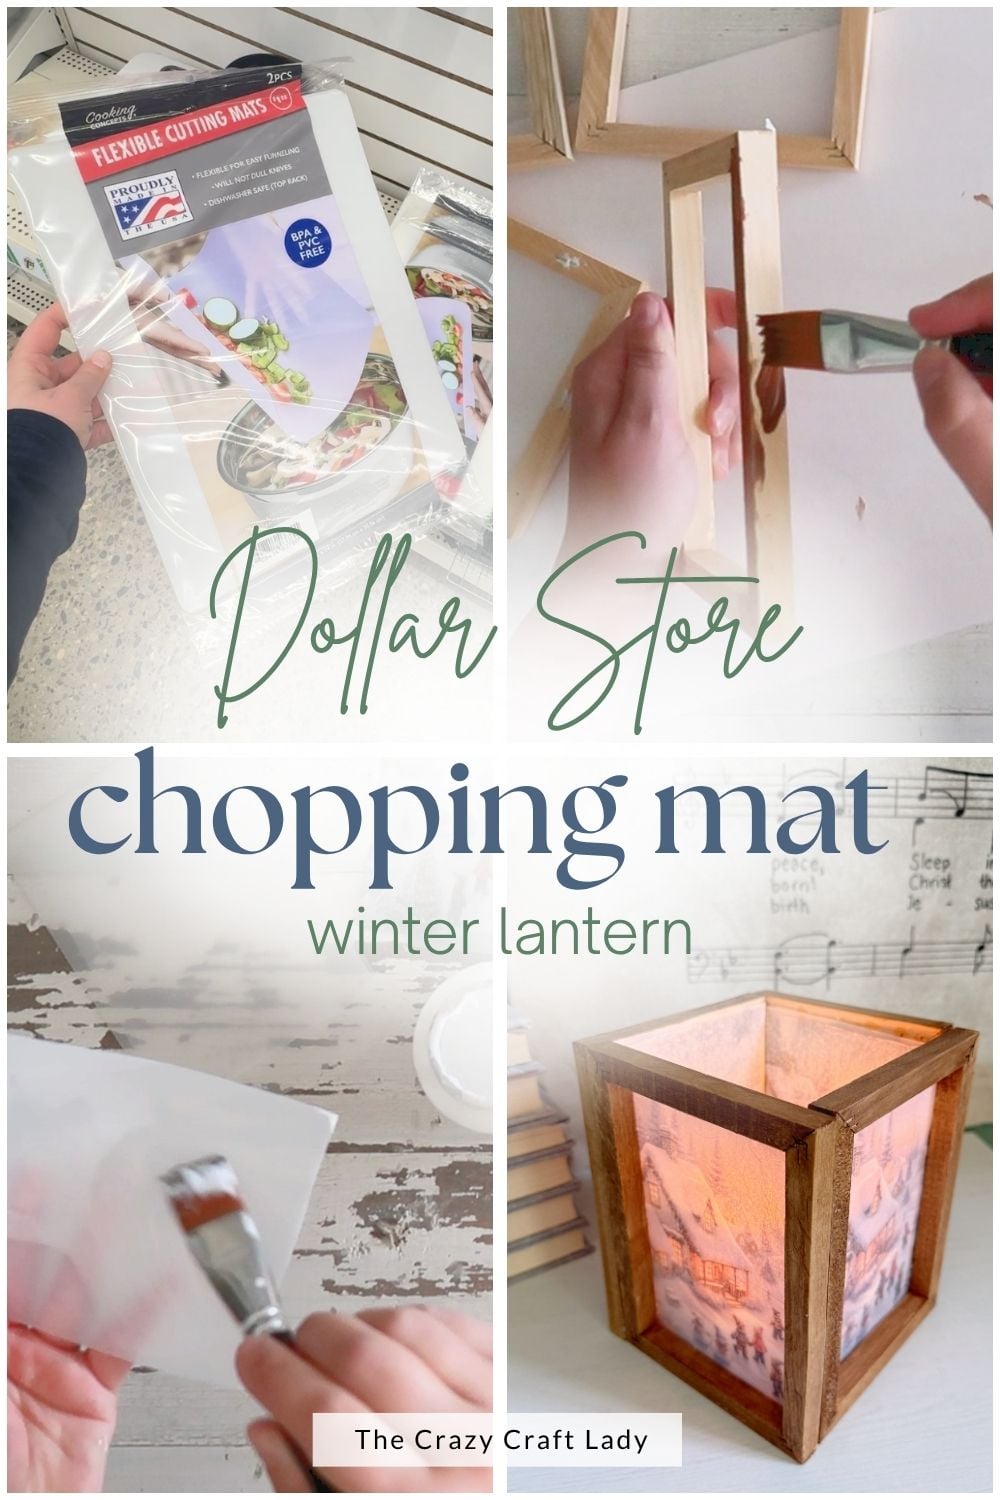
The best part? Once you learn this technique, you can swap out the napkins for Christmas, Halloween, spring florals, patriotic prints, or everyday farmhouse designs.
Video Tutorial: Reverse Canvas Frosted Winter Lantern
Watch this quick video to see how this craft came together:
Reverse Canvas Frosted Winter Lantern
Make a frosted holiday lantern using Dollar Tree supplies! This reverse canvas lantern features decoupaged napkins for a cozy winter glow.
Materials
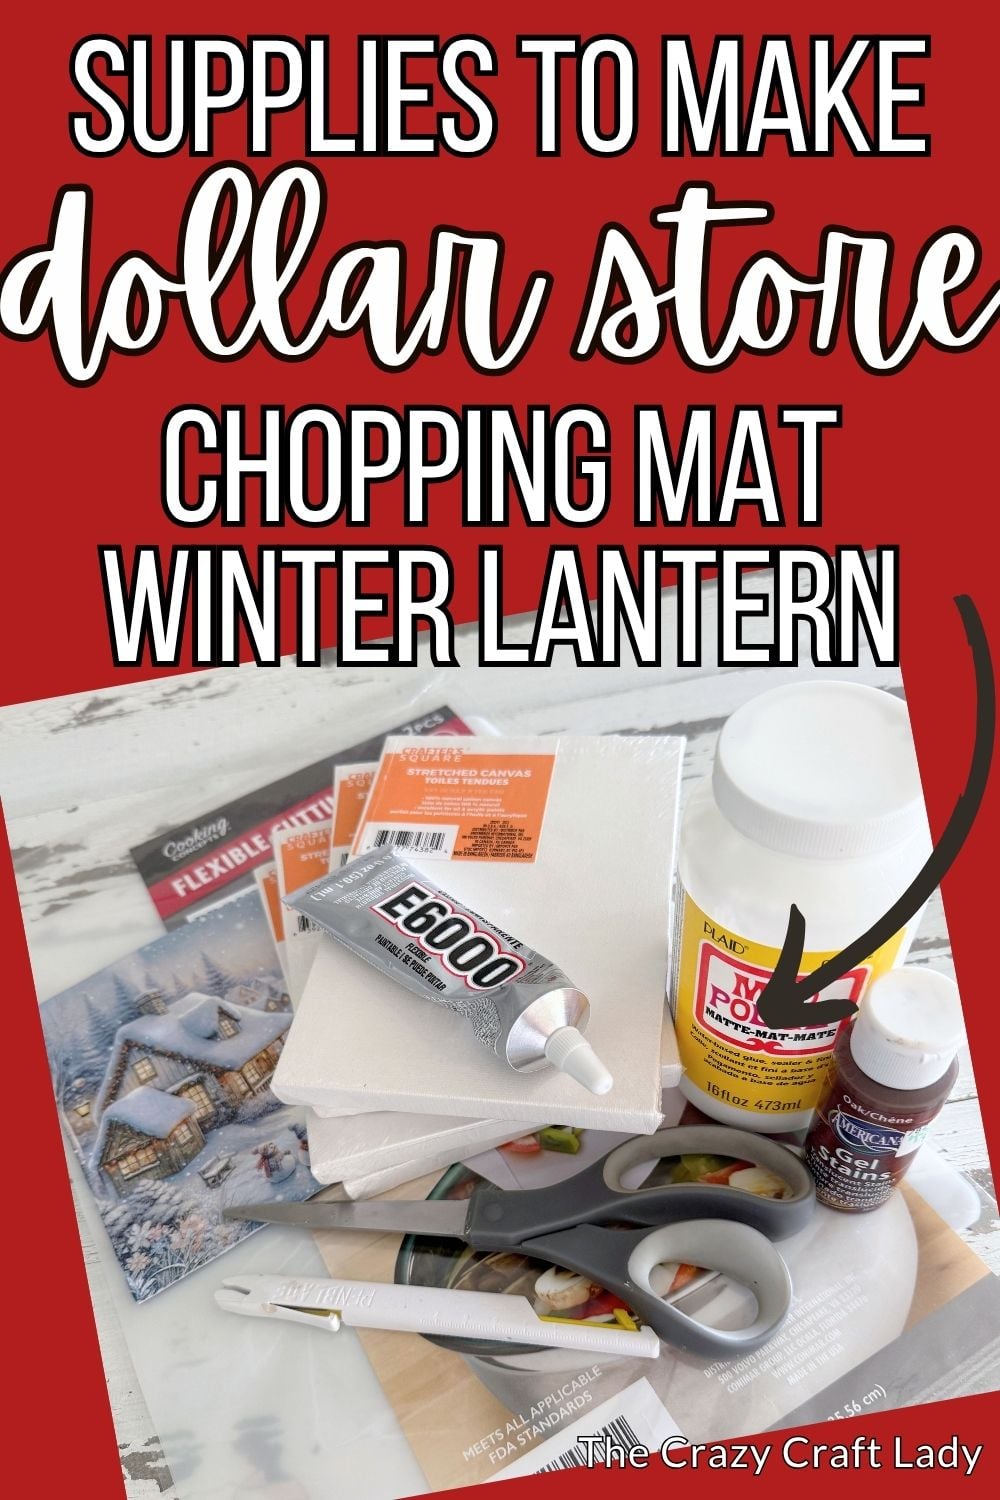
- 4 Dollar Tree 4x6 stretched canvases
- Dollar Tree translucent chopping mat
- Holiday paper napkin (with four matching panels)
- Matte Mod Podge
- Gel stain or craft paint (optional)
- Paper towel
- Plastic wrap (Saran Wrap)
- E6000 adhesive
- Masking tape
- Battery-operated LED candle
Tools
Instructions
- Watch the Video Tutorial. Watch the full video tutorial to see exactly how the lantern comes together. Then follow the written instructions below at your own pace.
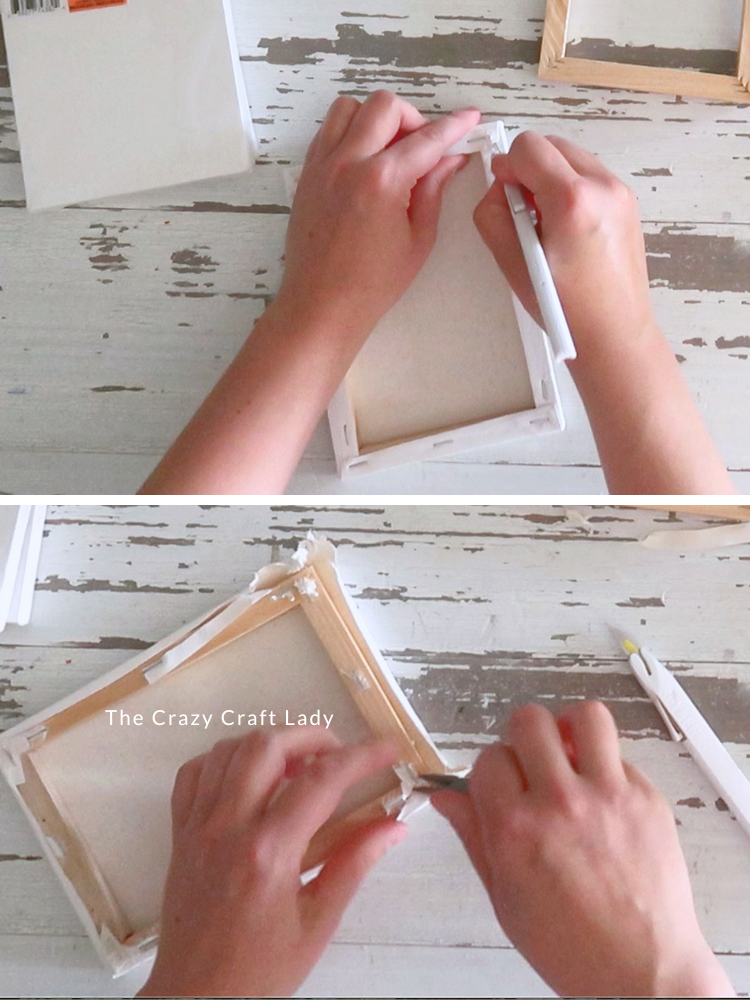
- Turn the Canvases into Frames. Use a craft knife to cut the canvas fabric away from each stretched canvas. Pull off the remaining fabric with pliers, removing as much as possible.
Don't worry about removing every staple. If one is sticking out, pull it out, but otherwise just leave them in place—you'll save yourself a lot of frustration!
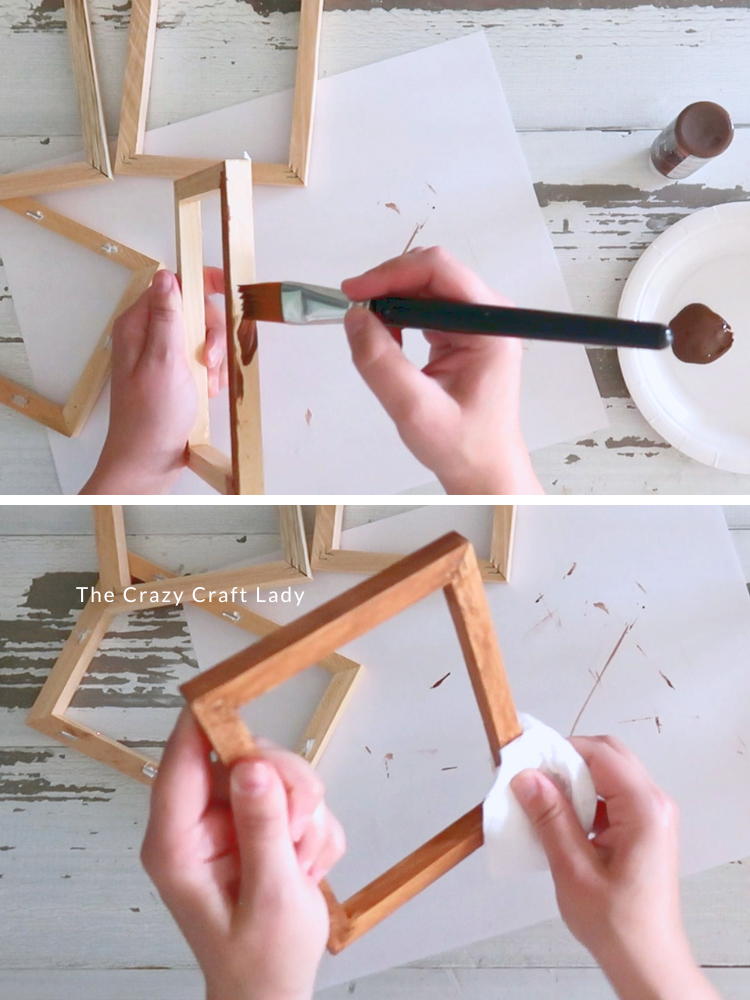
- Paint or Stain the Frames. Paint or stain all four wooden frames. I used an oak-colored gel stain, brushed it on, then wiped away the excess with a paper towel for a natural wood finish. Let the frames dry completely before moving on.
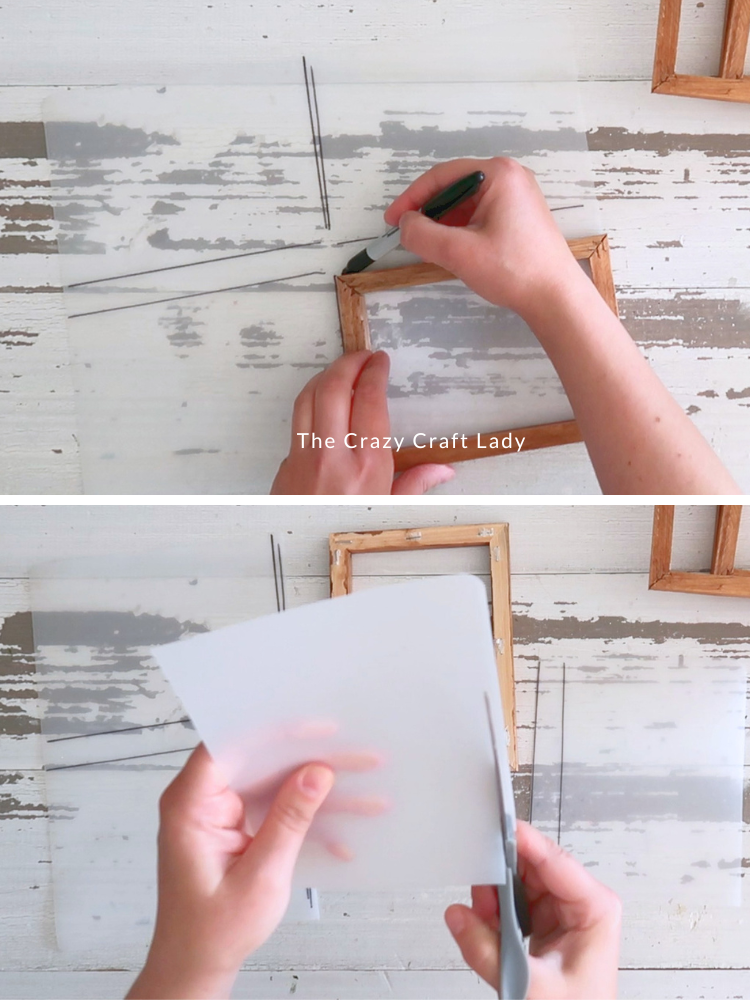
- Cut the Frosted Panels. Trace one of the wooden frames onto the Dollar Tree chopping mat four times. Cut each rectangle slightly smaller than your traced lines so the plastic fits neatly inside the frame without overlapping the edges. Test fit and trim as needed.
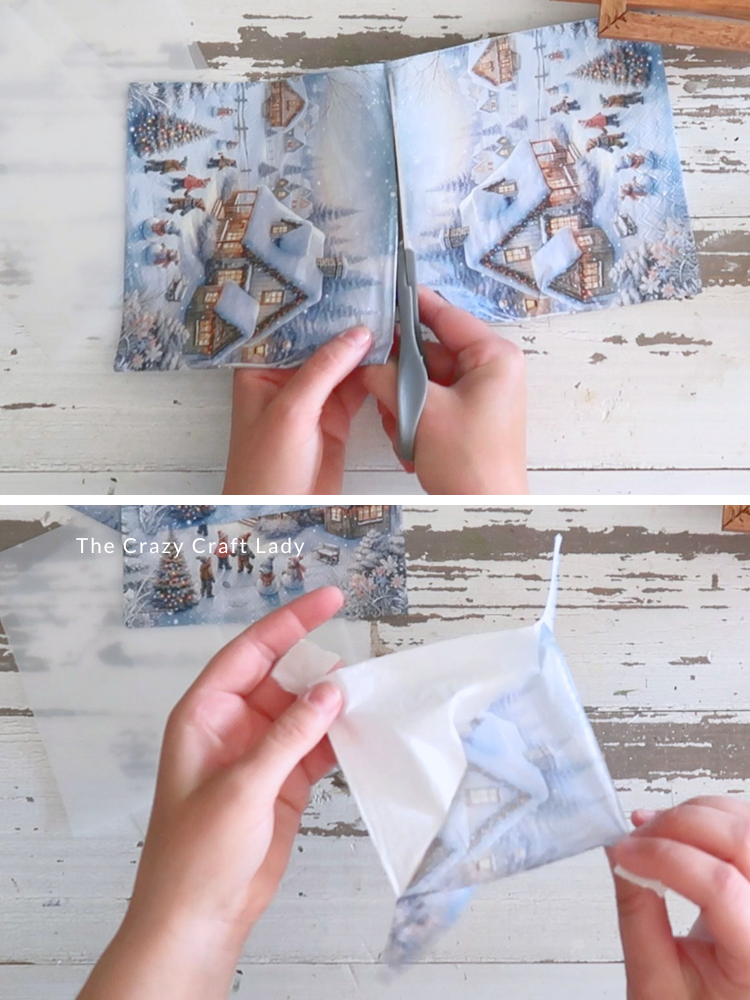
- Prepare the Napkins. Cut apart the four matching panels of your holiday napkin. Separate the decorative top layer from the backing layers, leaving only the thin printed layer. A piece of masking tape pressed onto the front and back of the napkin makes separating the layers much easier.
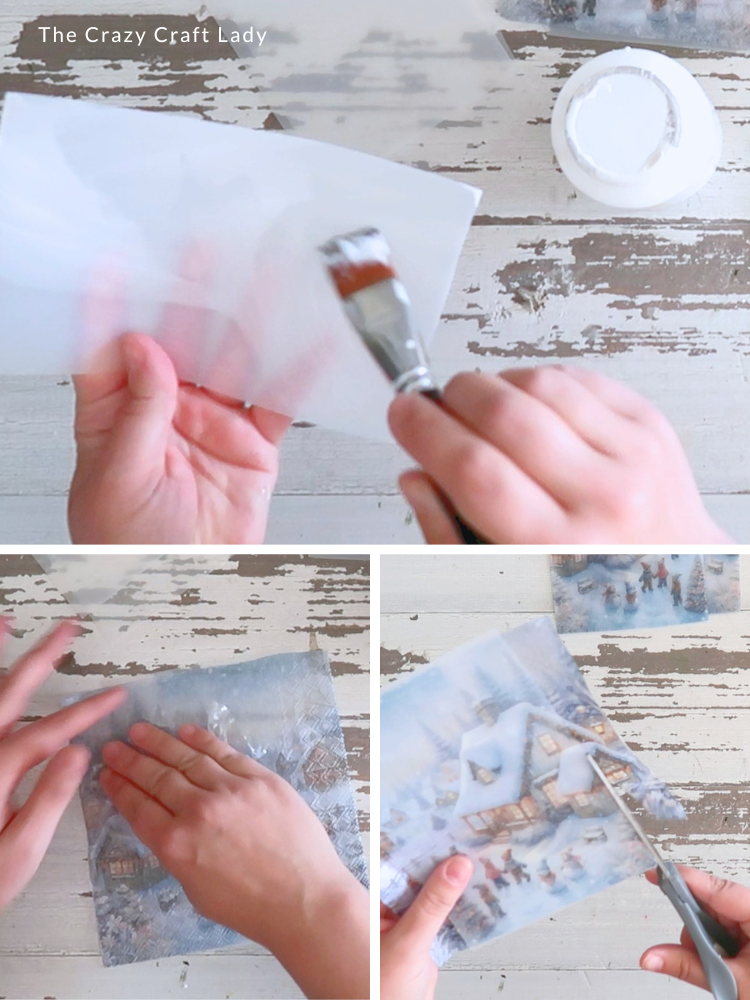
- Decoupage the Panels. Brush an even coat of Mod Podge onto one chopping mat panel.
Place the napkin printed side down onto the wet Mod Podge. Using a piece of plastic wrap over the top, gently smooth out wrinkles without tearing the delicate napkin. Repeat with the remaining three panels and allow everything to dry completely. - Trim the Excess. Once dry, trim away any overhanging napkin with scissors. Using 4x6 frames is ideal because a standard cocktail napkin fits the panel almost perfectly.
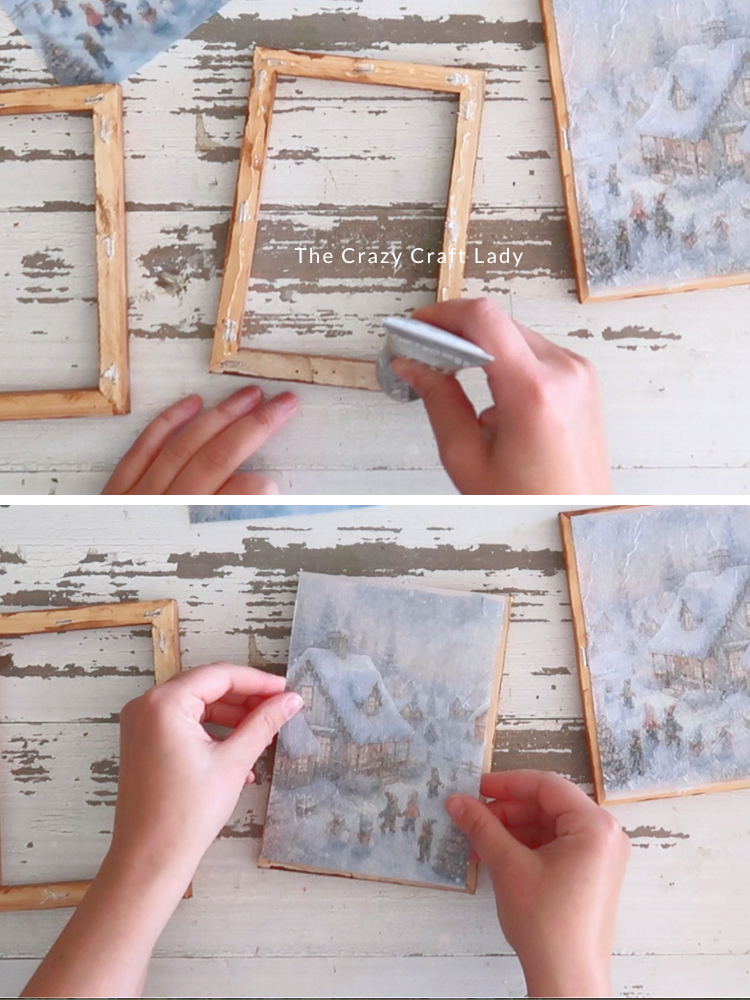
- Attach the Panels to the Frames. Run a line of E6000 around the back of one wooden frame. Press a frosted panel into place with the plastic side against the frame so the printed napkin faces outward through the frosted chopping mat. Repeat for all four frames.
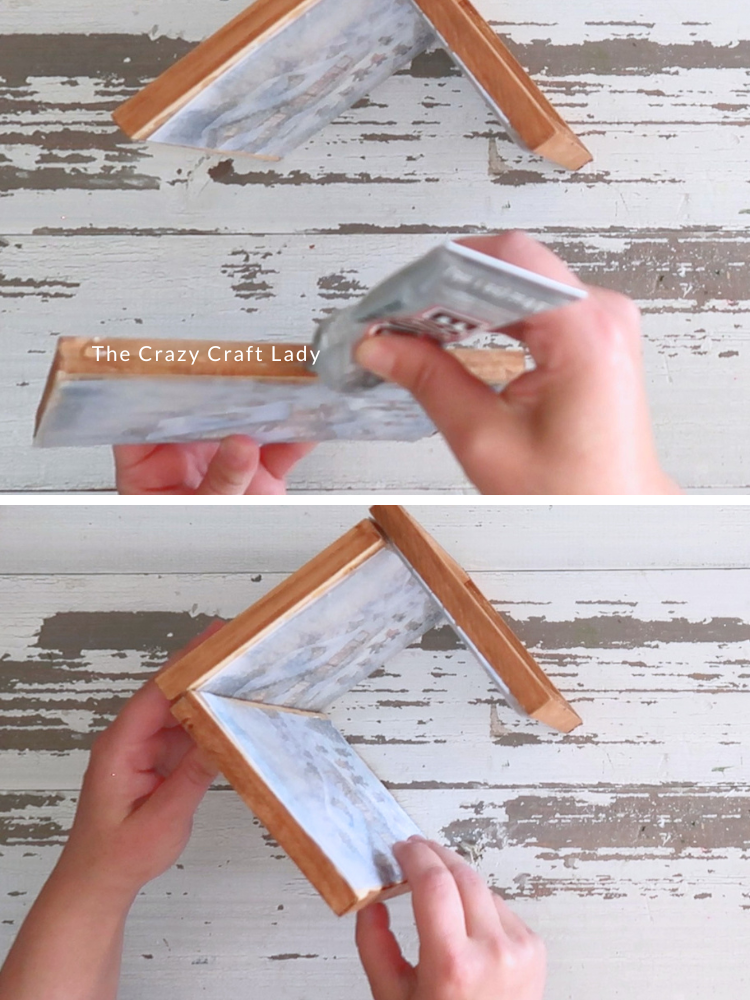
- Assemble the Lantern. Arrange the four finished frames into a cube shape, staggering the corners so each frame overlaps the next. Apply E6000 along each edge and secure the lantern together with small pieces of masking tape while the glue cures. Once dry, remove the tape.
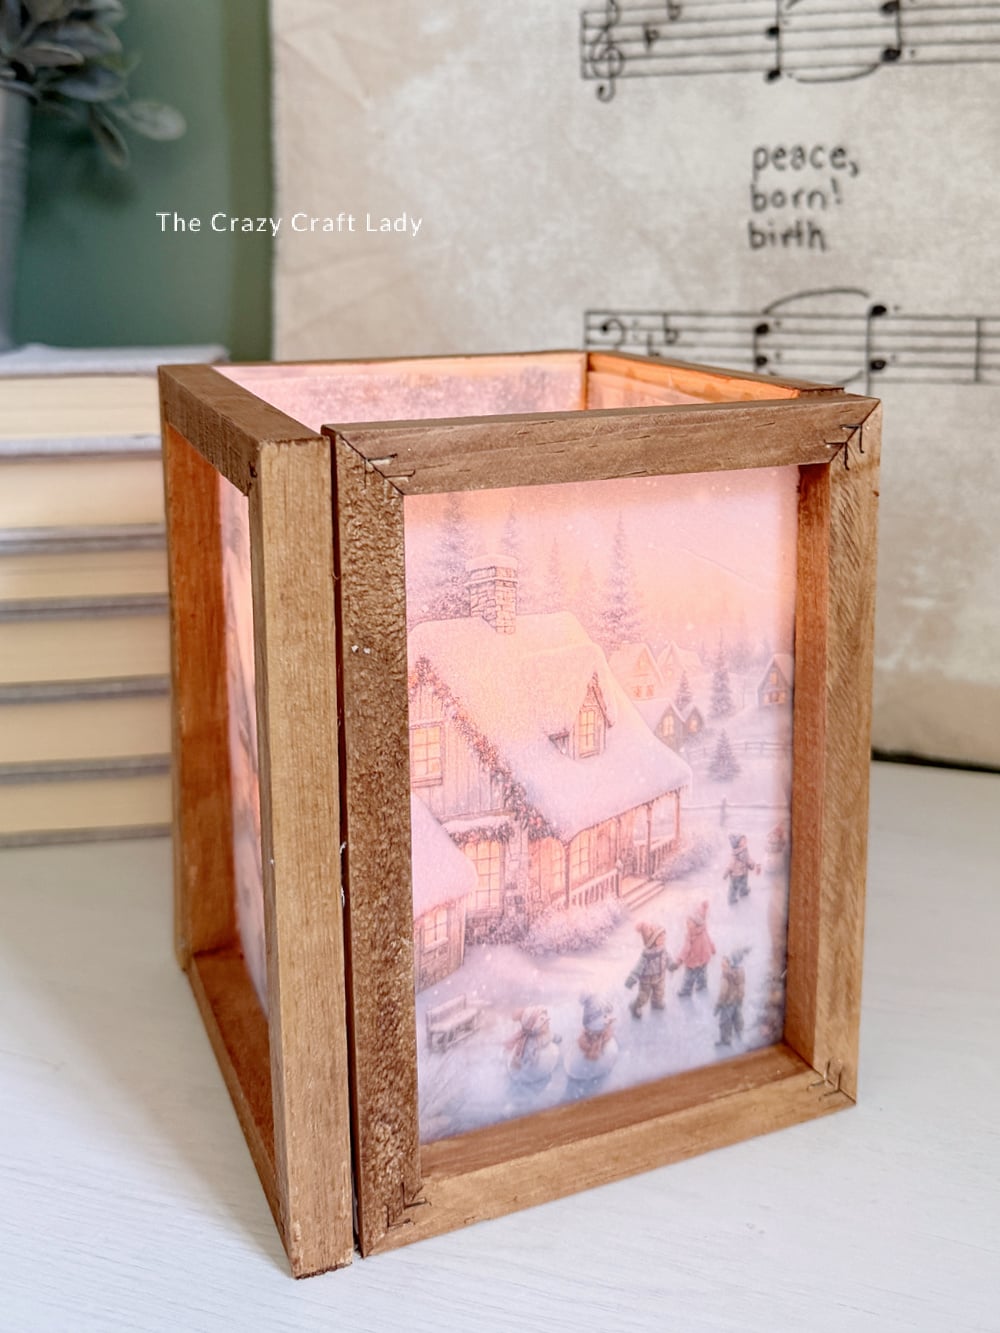
- Add the Candle. Place a battery-operated LED candle inside your lantern and enjoy the beautiful frosted glow. Never use a real candle in this project, as the chopping mat, Mod Podge, and napkin are all flammable.
Notes
Tips for Success
* Don't waste time removing every staple from the frames, it will drive you crazy!
* Cut the chopping mat slightly smaller than you think—you can always trim a little more.
* Plastic wrap makes smoothing napkins much easier than using your fingers.
* E6000 gives you much more working time than hot glue for assembling the lantern.
* Allow the glue to cure completely before moving the lantern.
Frequently Asked Questions
Can I use Dollar Tree picture frames instead?
Absolutely! Picture frames work just fine if you don’t want to remove the canvas from stretched canvases. I simply prefer the clean, unfinished wood look of the canvas frames.
Why use a chopping mat?
The translucent chopping mat creates a gorgeous frosted-glass appearance that softens the napkin design and allows the LED candle to glow beautifully through the panels.
Can I paint the frames instead of staining them?
Definitely! White, black, green, red, or even metallic paint would all look beautiful depending on your decorating style.
Can I use larger canvases?
I wouldn’t recommend it. A standard cocktail napkin fits a 4×6 frame almost perfectly. Larger frames would require piecing together multiple napkins.
The finished lantern craft
I love crafts that look much more expensive than they actually are, and this lantern definitely checks that box. The combination of the stained wood, frosted chopping mat, and softly glowing LED candle creates such a cozy winter vibe, and it’s hard to believe it all started with a few Dollar Tree supplies.
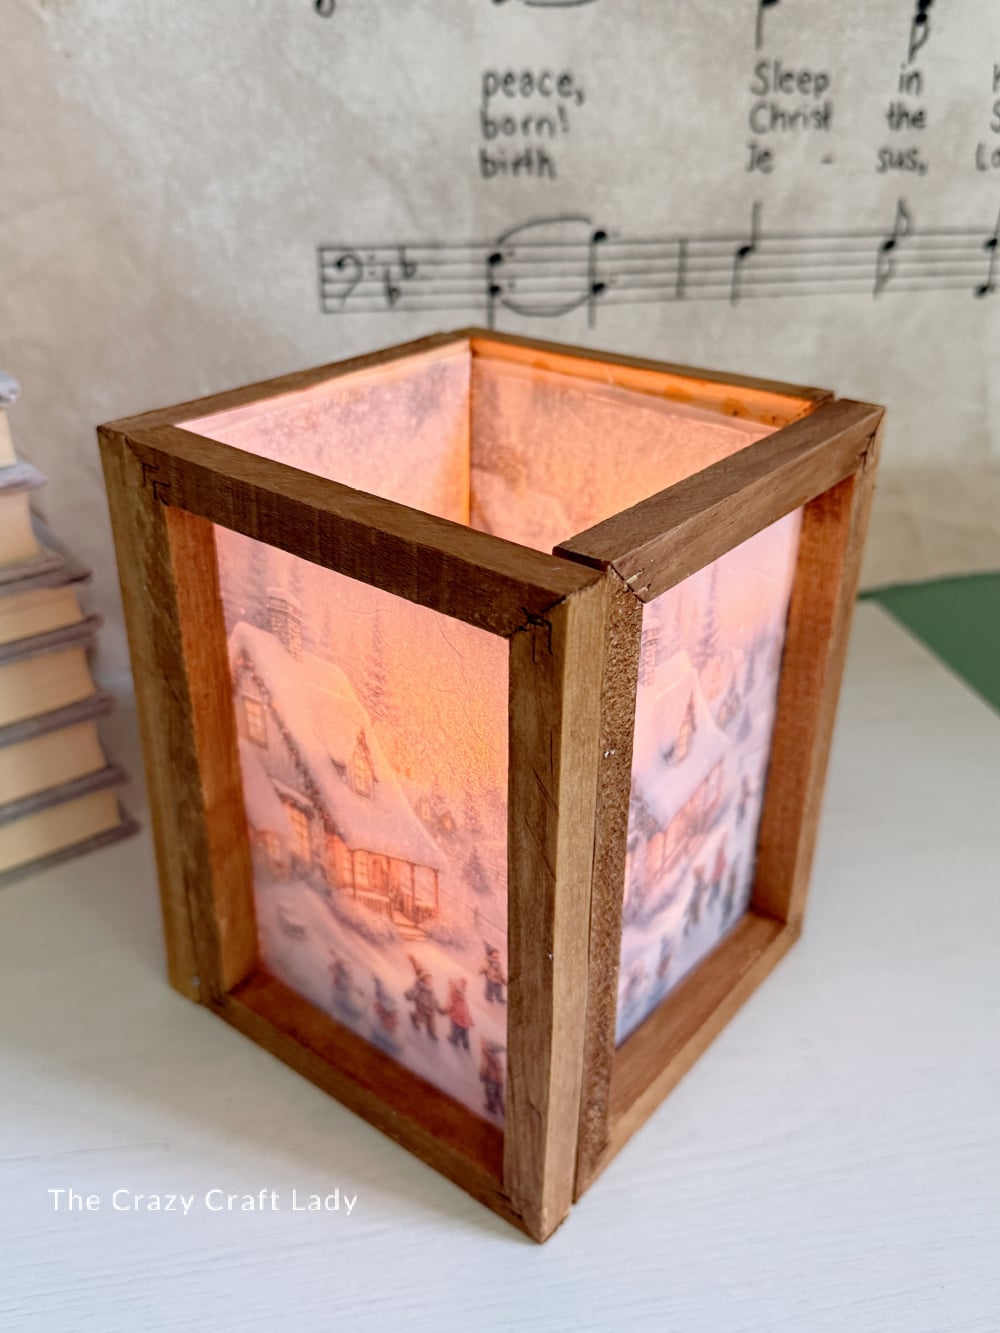
If you’re looking for a holiday craft that’s beautiful, customizable, and easy enough for beginners, this frosted winter lantern is one you’ll want to make again and again—with a different napkin for every season!
PIN this winter lantern craft for later: