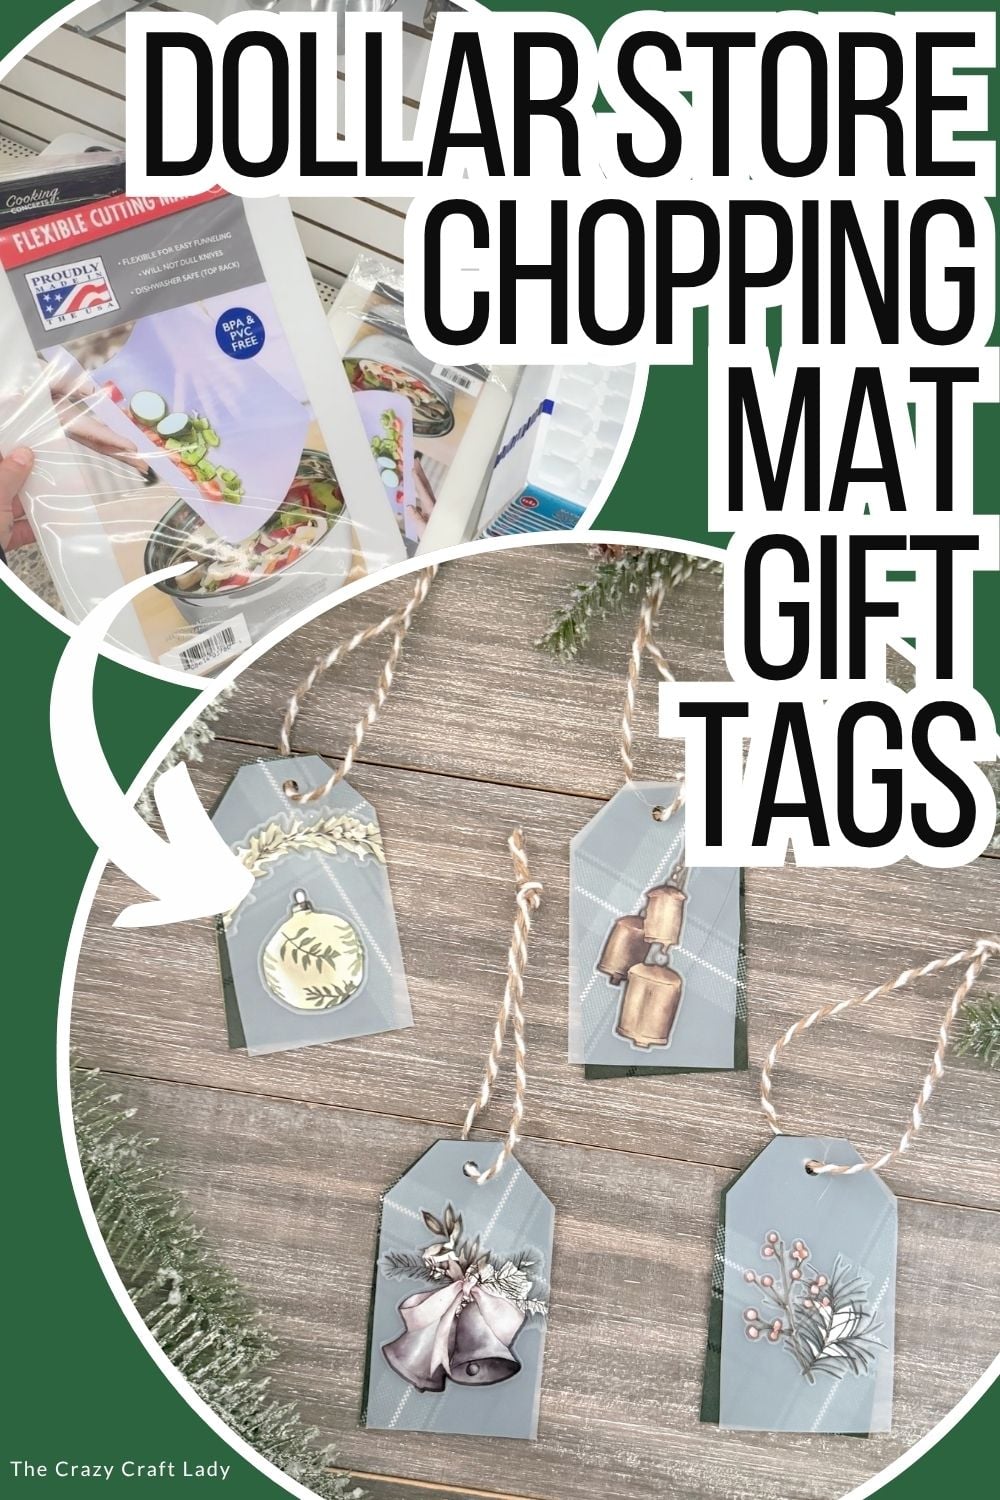
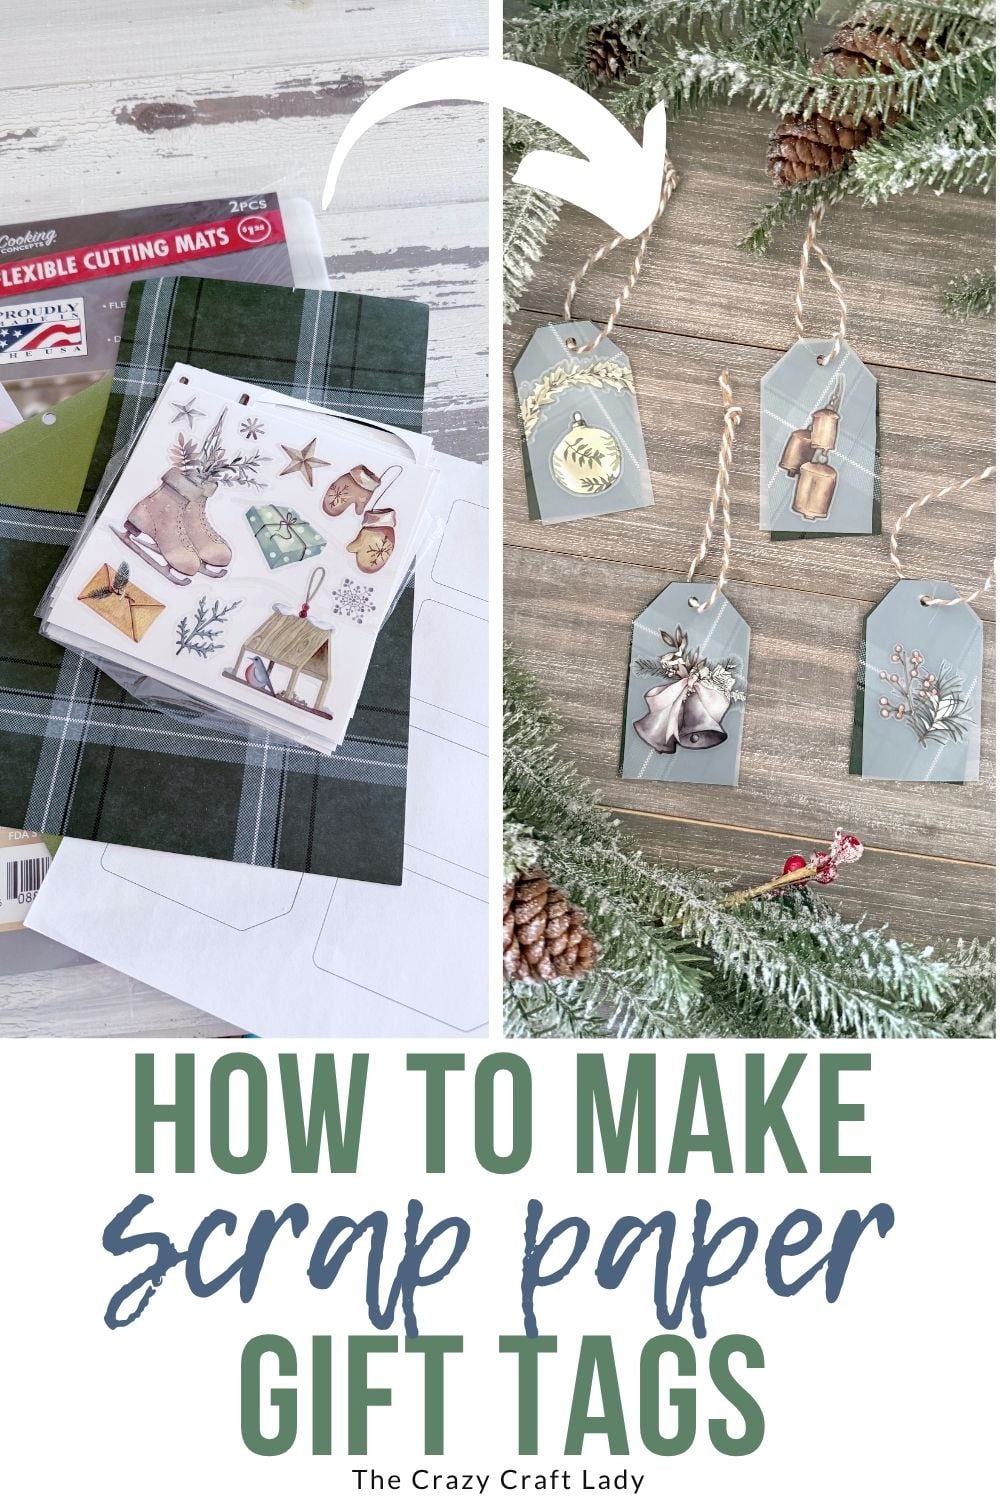
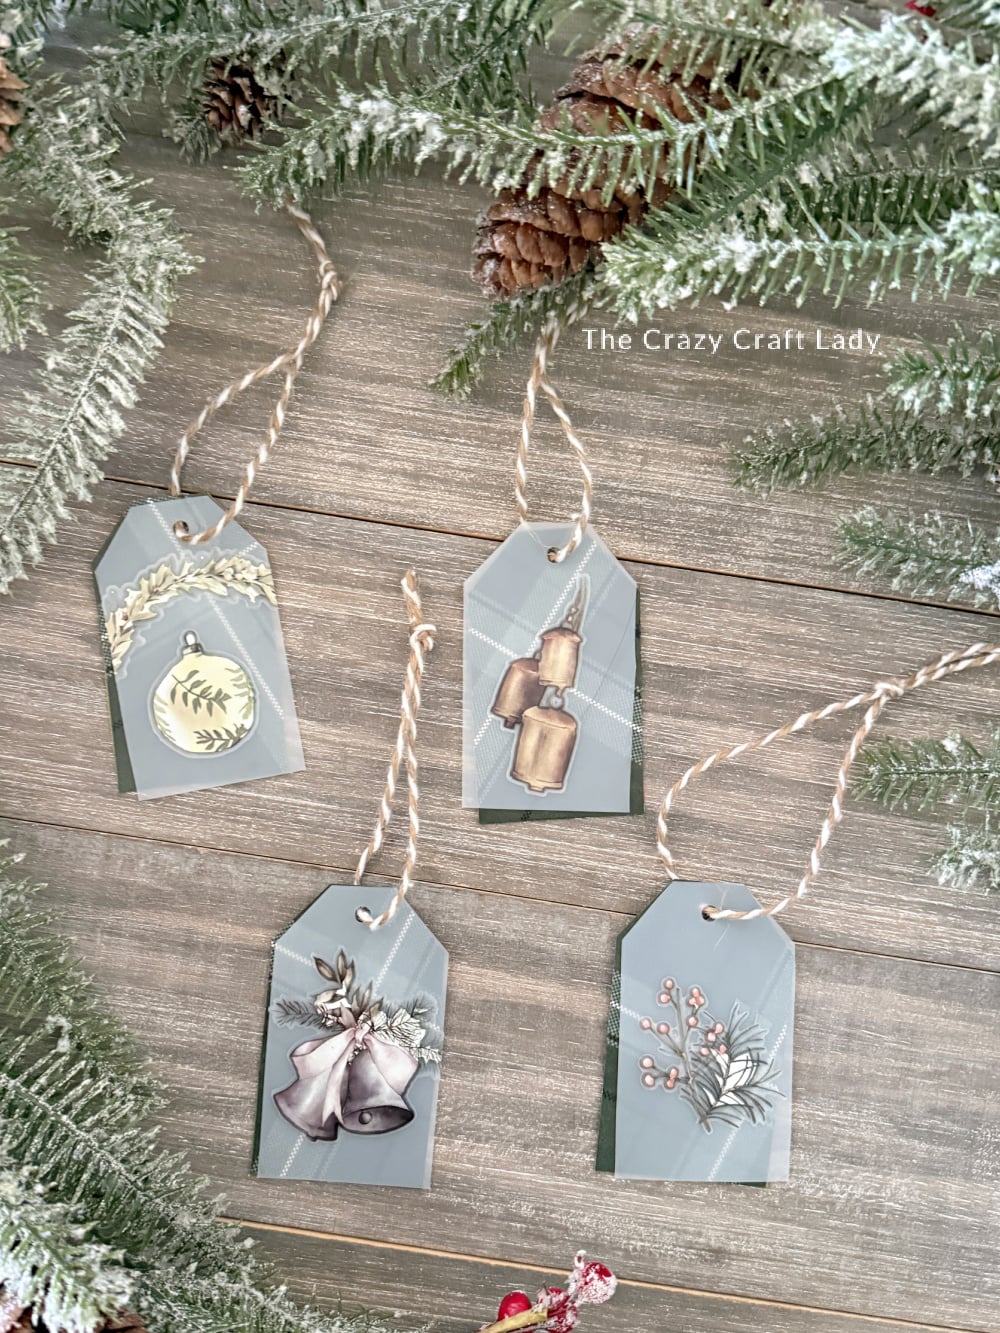
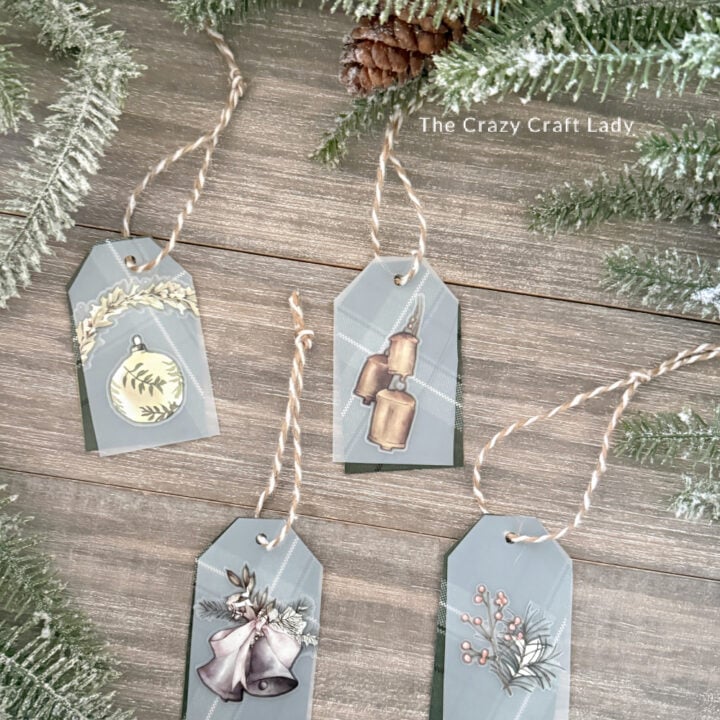
Learn how to make DIY frosted Christmas gift tags using Dollar Tree chopping mats, scrapbook paper, and rub-on transfers. An easy holiday craft!
This post contains some affiliate links for your convenience. Click here to read my full disclosure policy.
How to make DIY Frosted Christmas Gift Tags from a dollar store chopping mat and scrapbook paper
There is just something about a handmade gift tag that makes a Christmas present feel extra special. These frosted gift tags combine Dollar Tree chopping mats, scrapbook paper, and simple rub-on transfers to create tags that look like they came straight from a boutique gift shop.
The translucent chopping mat gives each tag a beautiful frosted-glass effect, while the layered cardstock back leaves plenty of room to write who the gift is for. They’re inexpensive to make, easy to customize, and a great way to use up leftover scrapbook paper and chopping mat scraps.
Best of all? You can make an entire set in about an hour!
Video Tutorial: Frosted Christmas Gift Tags
Watch this quick video to see how this craft came together:
Frosted Christmas Gift Tags
Turn Dollar Tree chopping mats into gorgeous frosted Christmas gift tags with this simple DIY tutorial using scrapbook paper and rub-on transfers.
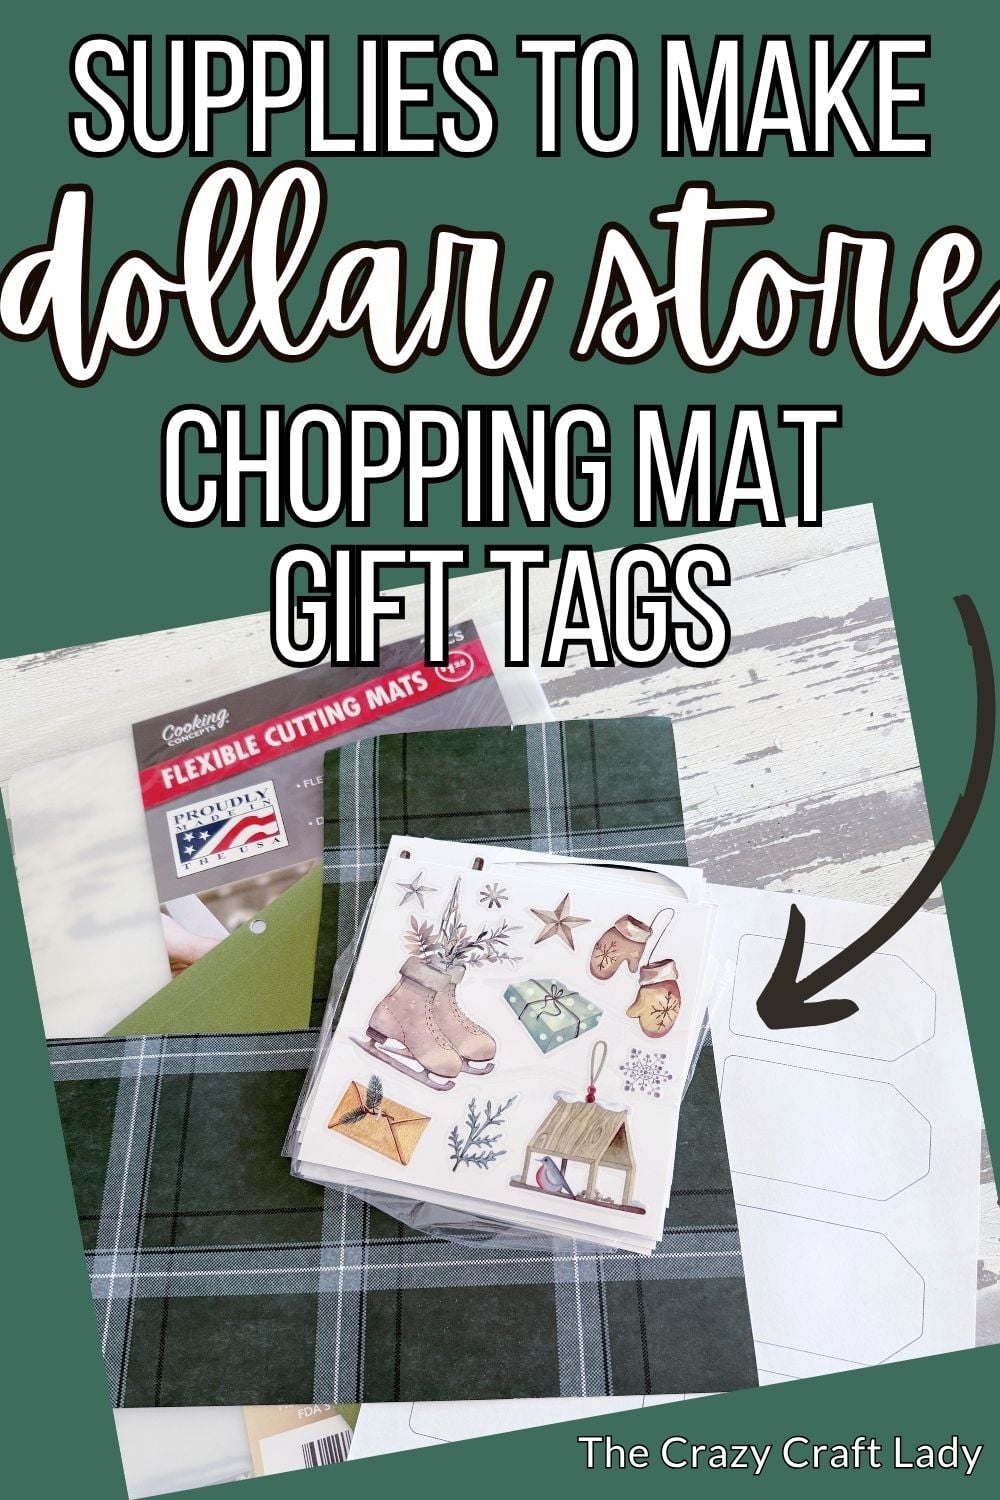
Materials
- Dollar Tree translucent chopping mat
- Free printable gift tag template
- Fine-tip Sharpie
- Rubbing alcohol
- Cotton round or paper towel
- Cardstock
- Patterned scrapbook paper
- Double-sided tape
- Rub-on transfer decals
- Popsicle stick or craft stick
- Baker's twine, ribbon, or yarn
Instructions
- Watch the Video Tutorial. Watch the full video tutorial to see how these layered gift tags come together. Then follow the written instructions below as you make your own set.
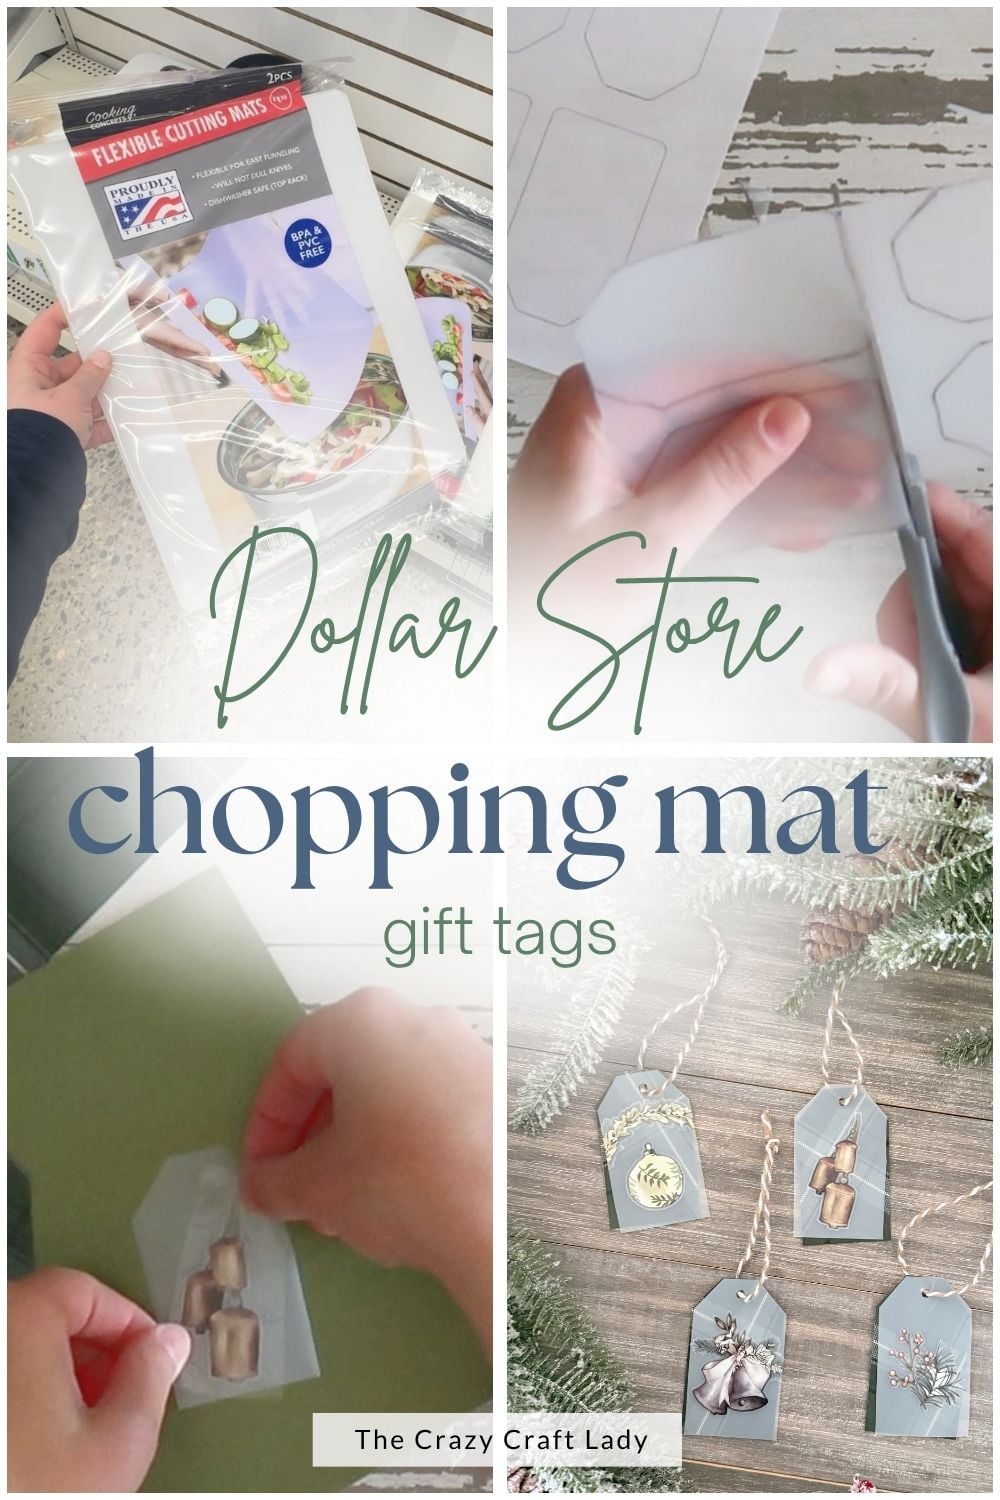
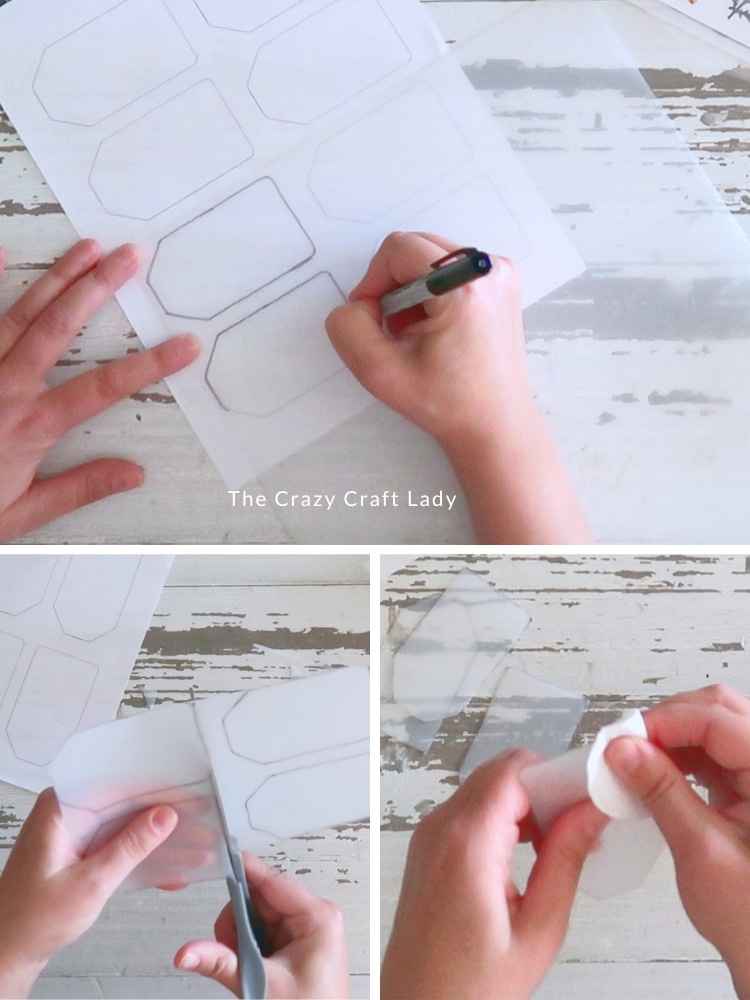
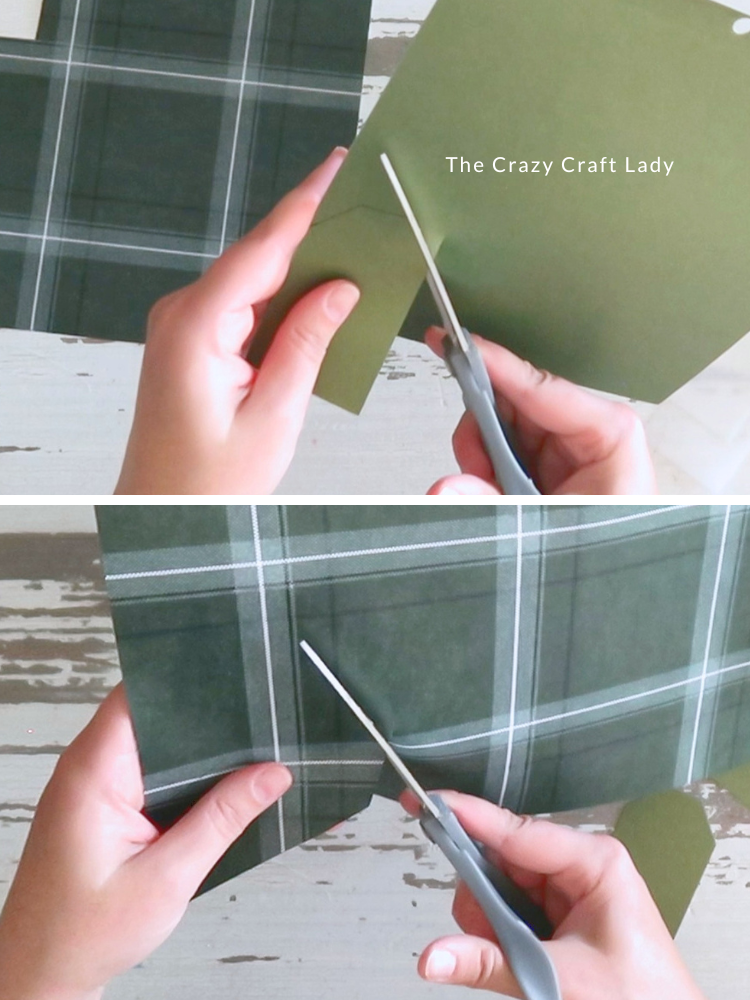
- Cut Out the Plastic Gift Tags. Print the free gift tag template and place a Dollar Tree chopping mat over the top. Trace the gift tag outlines with a fine-tip Sharpie, then carefully cut out the plastic tags with scissors. If you don't love cutting rounded corners by hand (you're not alone!), simply trim the corners into angled points instead.

- Remove the Marker Lines. Once the tags are cut out, wipe away any remaining Sharpie lines with a little rubbing alcohol on a cotton round or paper towel. The marker comes off easily, leaving clear, frosted plastic tags.
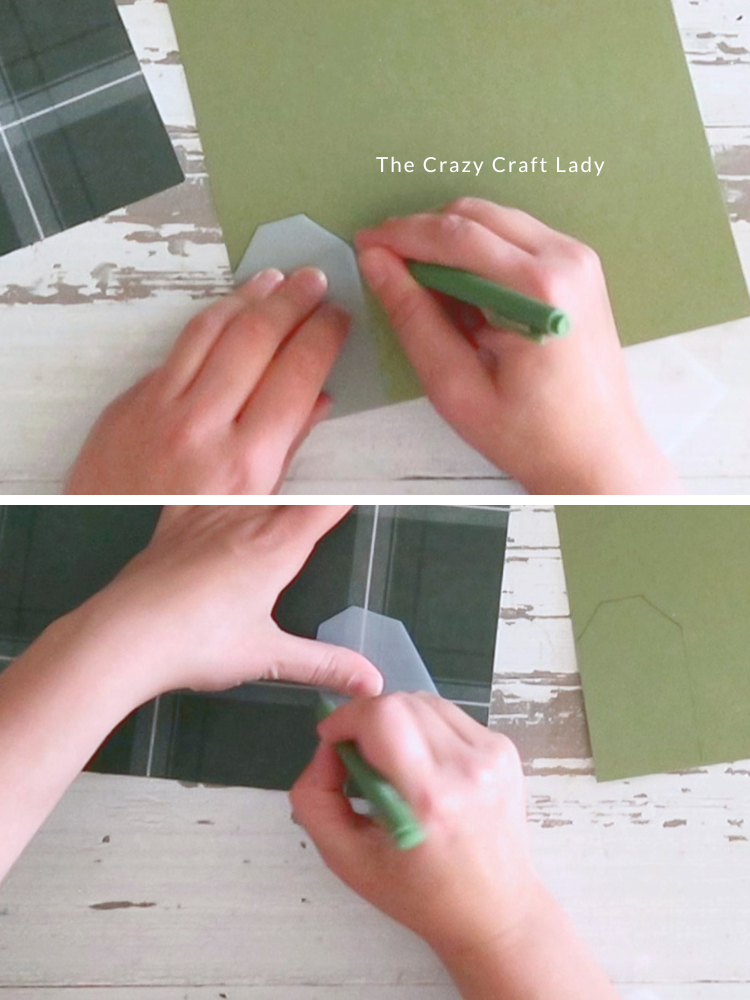
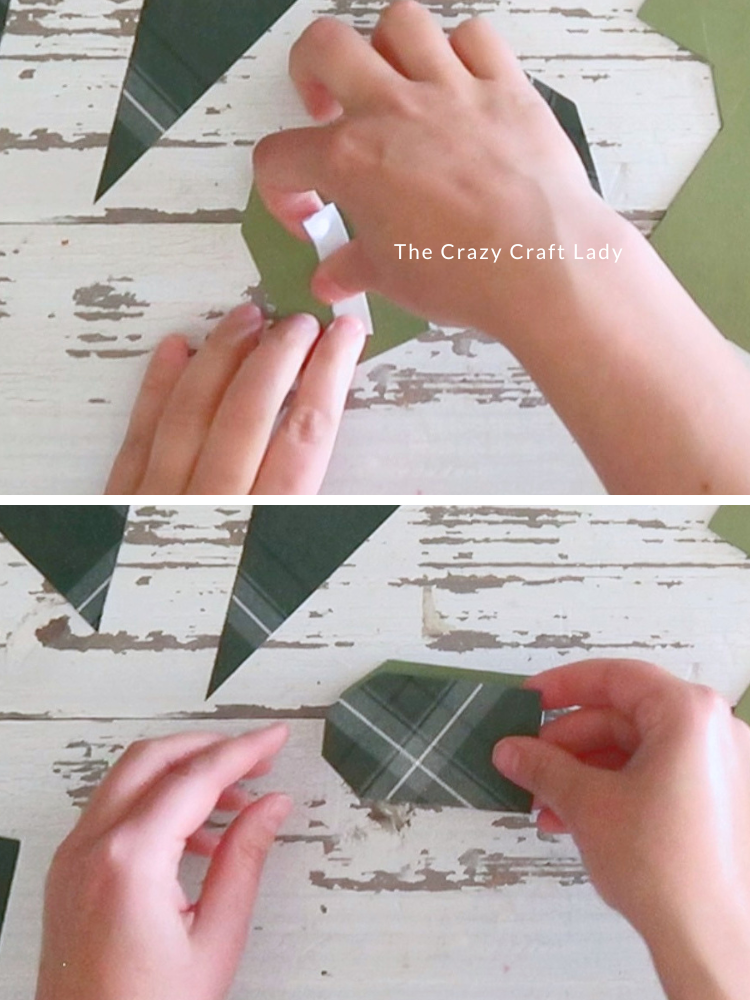
- Create the Paper Layers. Trace one plastic tag onto a piece of cardstock and again onto a piece of patterned scrapbook paper. Cut out both pieces. Repeat for as many gift tags as you'd like to make.
- Layer the Papers. Attach the patterned scrapbook paper to the cardstock using double-sided tape. Trim the edges if needed so the layers line up neatly. The solid cardstock creates a sturdy backing and gives you a clean space to write the recipient's name later.
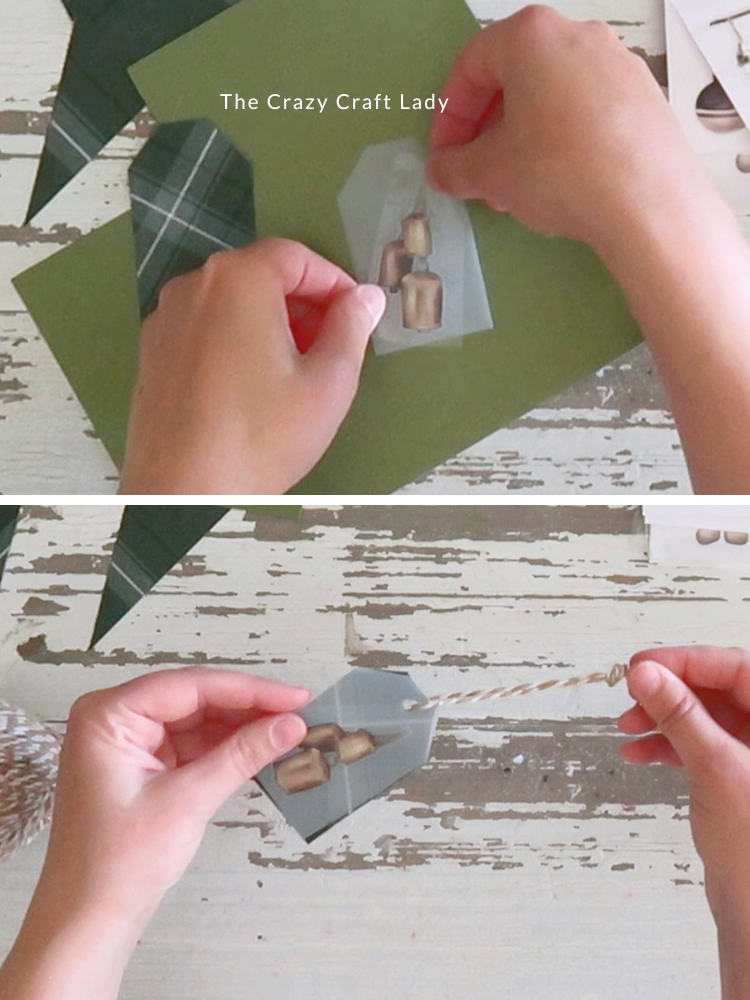
- Decorate the Frosted Front. Apply a rub-on transfer to the plastic gift tag. Place the transfer where you'd like it, then rub firmly with a popsicle stick or craft stick until the image releases onto the plastic. Carefully peel away the backing to reveal your finished design.
- Assemble the Tag. Layer the decorated plastic tag over the scrapbook paper and cardstock backing. Punch a hole near the top of the tag using a standard hole punch or a Crop-A-Dile.
- Add Twine. Thread baker's twine, ribbon, or yarn through the hole and tie a simple knot to create a hanger. Write your "To" and "From" message on the cardstock back, then tie the tag onto your Christmas gift.
Notes
Tips for Success
* Use a fine-tip Sharpie so the traced lines are easy to remove.
* Rubbing alcohol quickly removes permanent marker from the chopping mat.
* Layering cardstock behind patterned paper creates a sturdier gift tag, along with hiding the plain white backing of the scrapbook paper.
* Double-sided tape keeps everything flat without messy glue.
* Rub-on transfers create a beautiful painted look without needing a Cricut.
Frequently Asked Questions
Can I make these without rub-on transfers?
Absolutely! Try decorating the plastic layer with:
- Oil-based paint markers or pens
- Permanent vinyl
- Hand lettering
- Small holiday stamps with paint
Do I have to use a chopping mat?
The translucent chopping mat is what creates the frosted effect, so it’s my favorite choice. Thin frosted plastic sheets or vellum would also work if you already have them on hand.
What if I don’t have a printable template?
Simply trace around an existing gift tag or draw your own shape. Each handmade tag has its own charm!
Can kids help make these?
Definitely! Older kids can trace, cut, layer the paper, and decorate the tags. Adults should handle the hole punch if using a heavy-duty Crop-A-Dile.
Final Thoughts
Sometimes it’s the little details that make Christmas feel extra special, and these frosted gift tags are one of those details. They don’t take much time or money to make, but they instantly give your gift wrapping a custom, handmade touch.
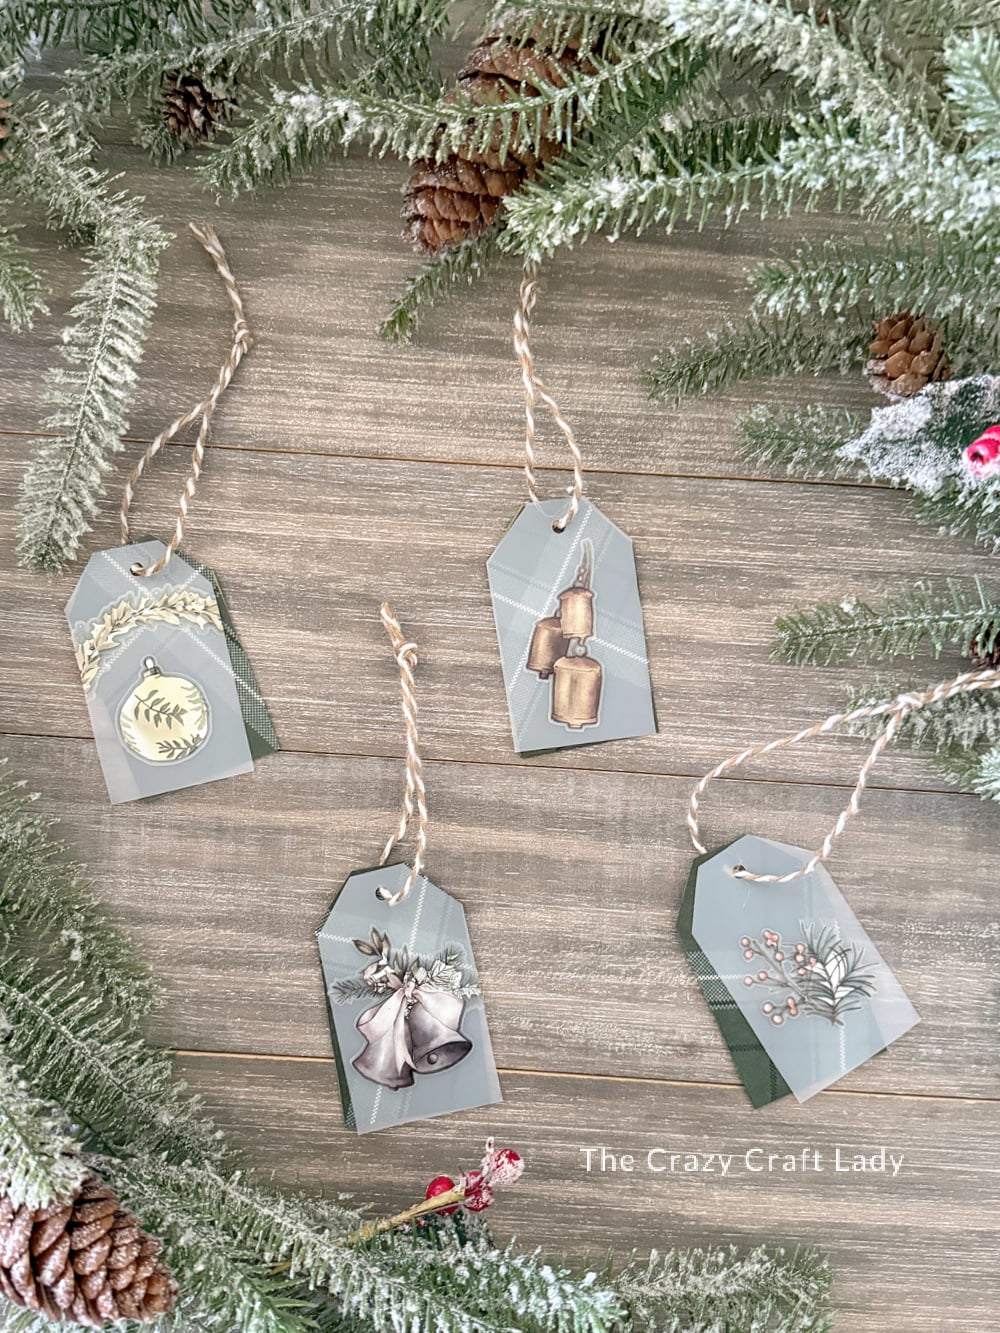
I especially love that they use scraps from other projects. Leftover chopping mats, bits of scrapbook paper, and those craft supplies you’ve been saving “just in case” all come together to create something beautiful.
Whether you’re making a few tags for family gifts or a whole stack for the season, these DIY frosted gift tags are an easy way to add a little extra holiday magic to every present.
PIN these gift tags for later: