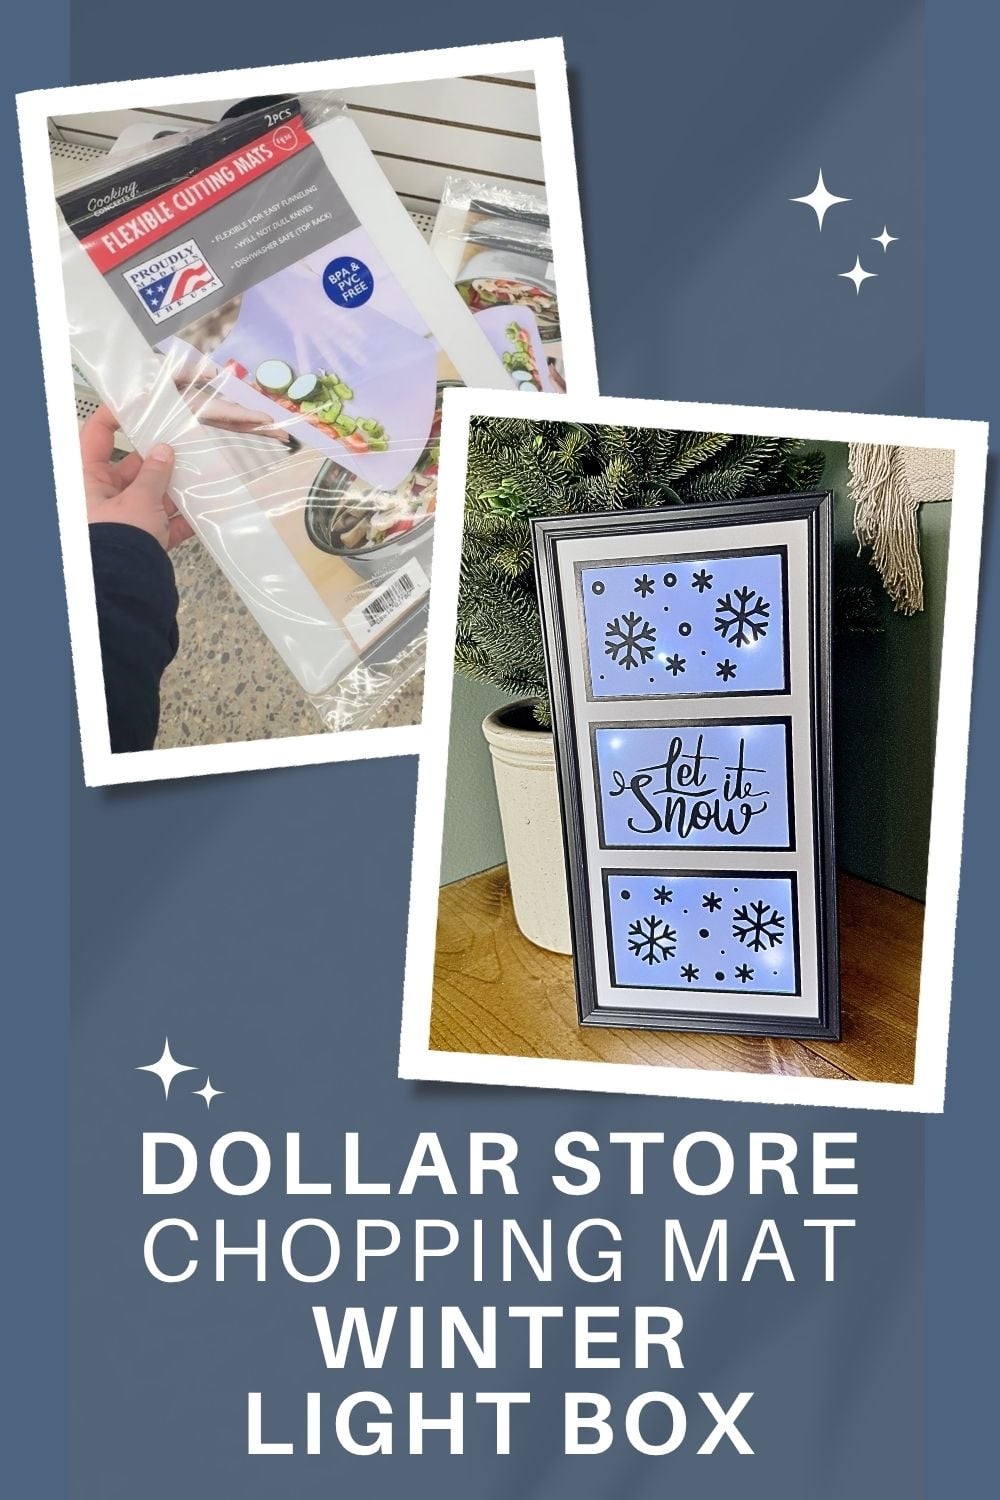
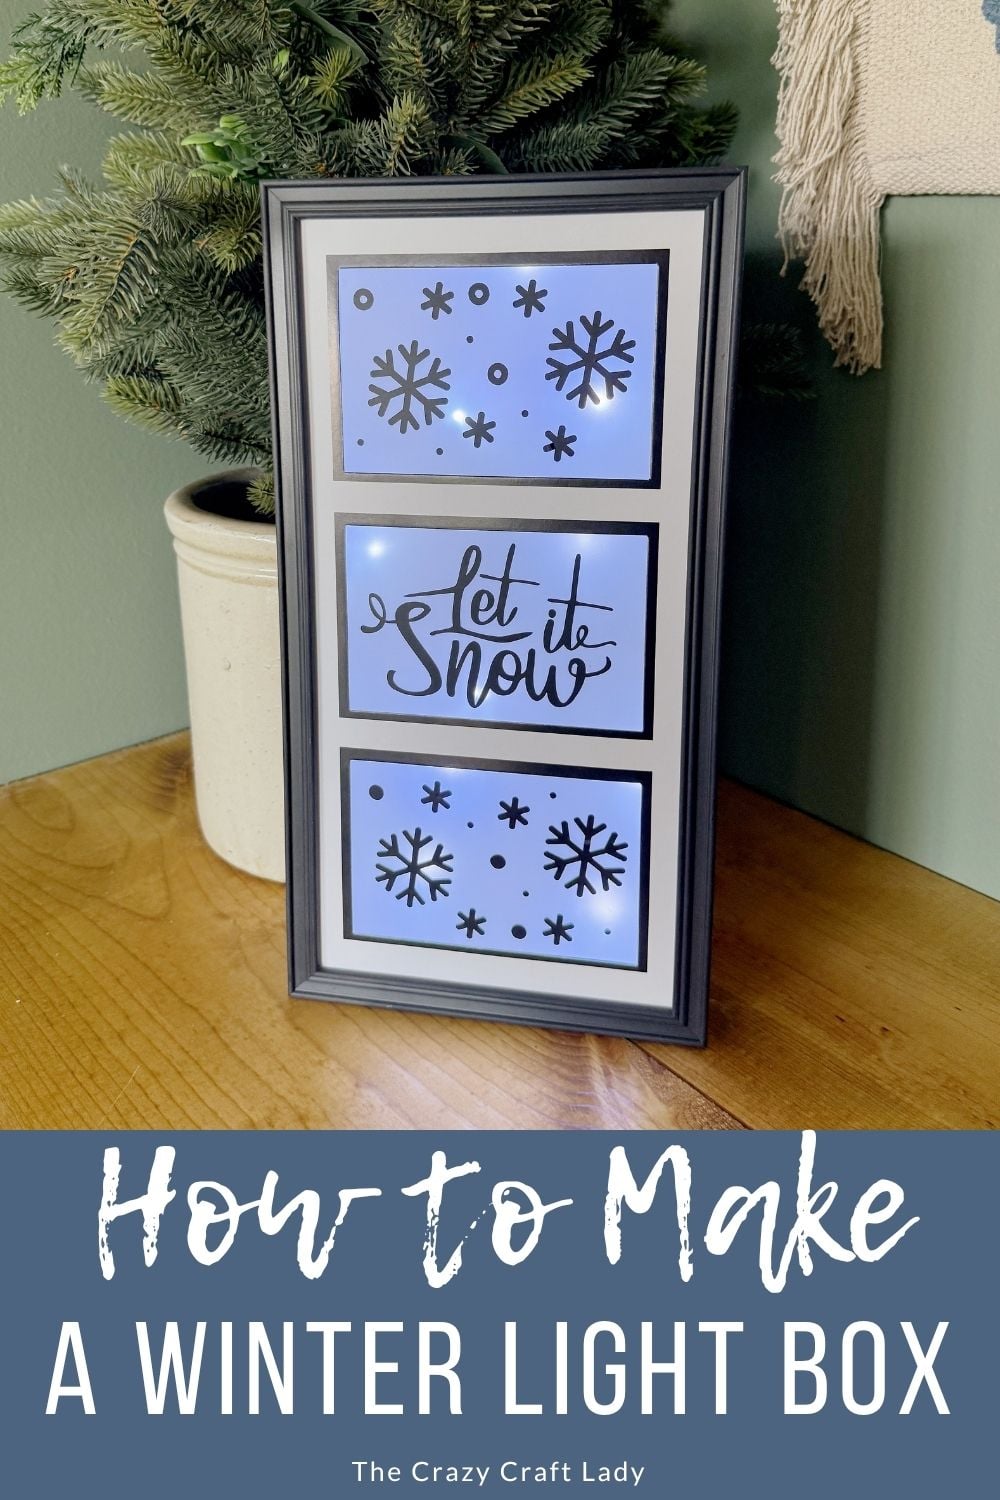
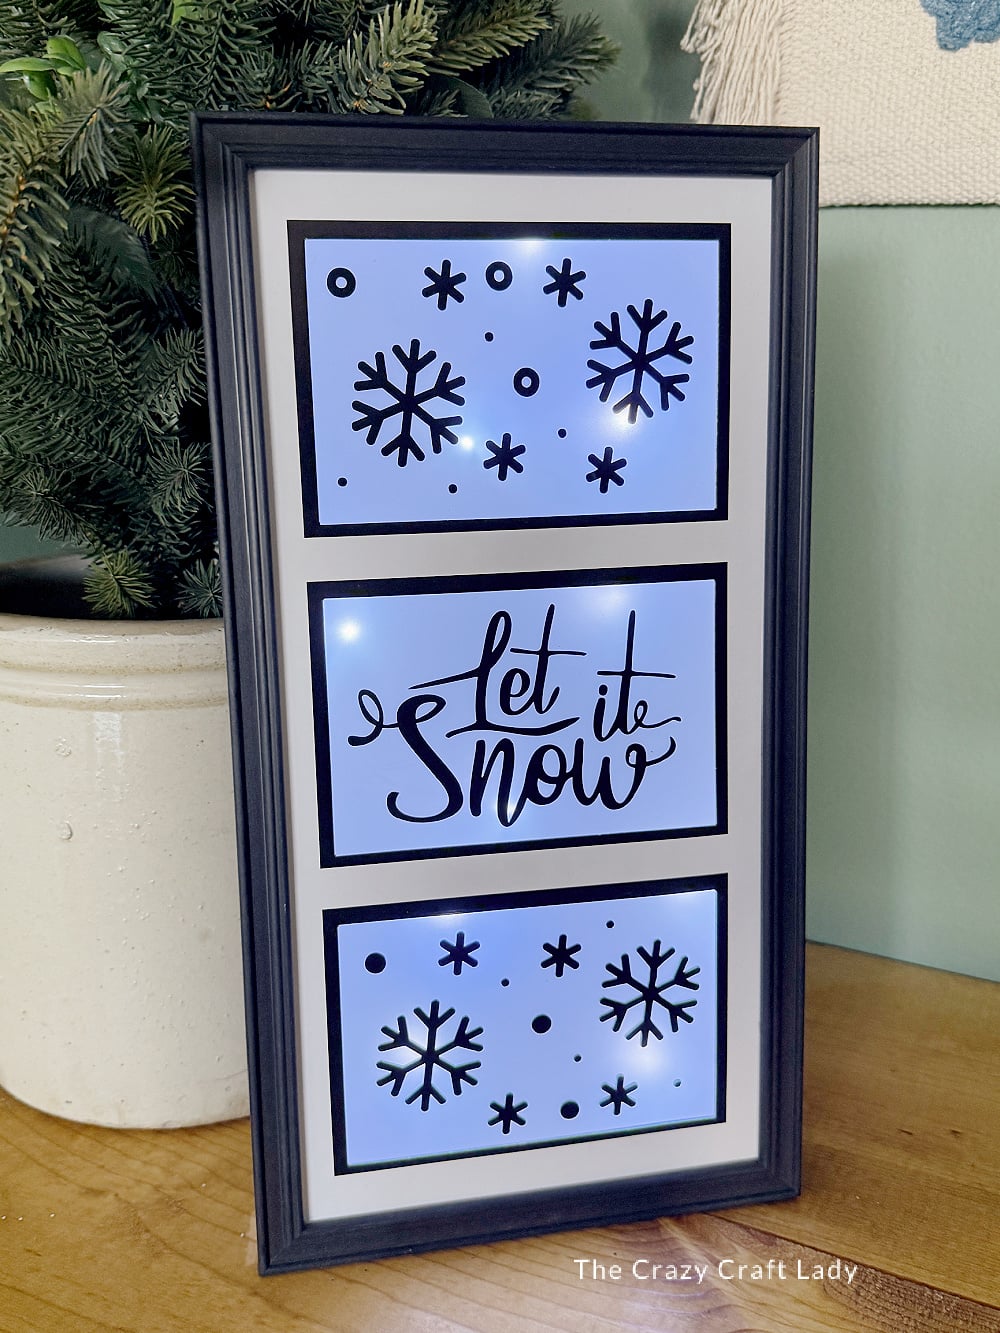
Turn Dollar Tree supplies into a beautiful illuminated “Let It Snow” light box with this easy DIY Christmas tutorial.
This post contains some affiliate links for your convenience. Click here to read my full disclosure policy.
How to make a glowing “let it snow” light box using dollar store supplies and paint stir sticks
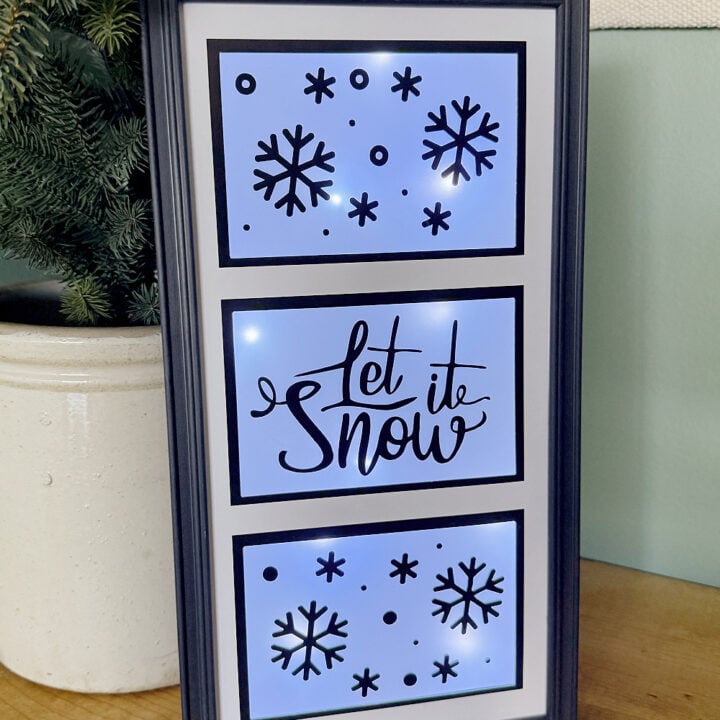
If you’re looking for a Christmas craft that looks cozy both day and night, this one is for you! This DIY winter light box combines a Dollar Tree picture frame, a translucent chopping mat, and a strand of fairy lights to create a glowing piece of holiday décor that’s perfect for a mantel, shelf, or entry table.
started this project with more of a vision than an actual plan (my favorite way to craft, apparently!), but somehow it all came together! The frosted chopping mat softens the glow from the fairy lights, creating a beautiful winter scene that looks much more expensive than its dollar store beginnings. Best of all, you can customize the design for any holiday or season.
Video Tutorial: DIY “Let It Snow” Light Box
Watch this quick video to see how this craft came together:
"Let It Snow" Light Box
Learn how to make a DIY Christmas light box using a Dollar Tree picture frame, chopping mat, and fairy lights. An easy holiday craft that glows!
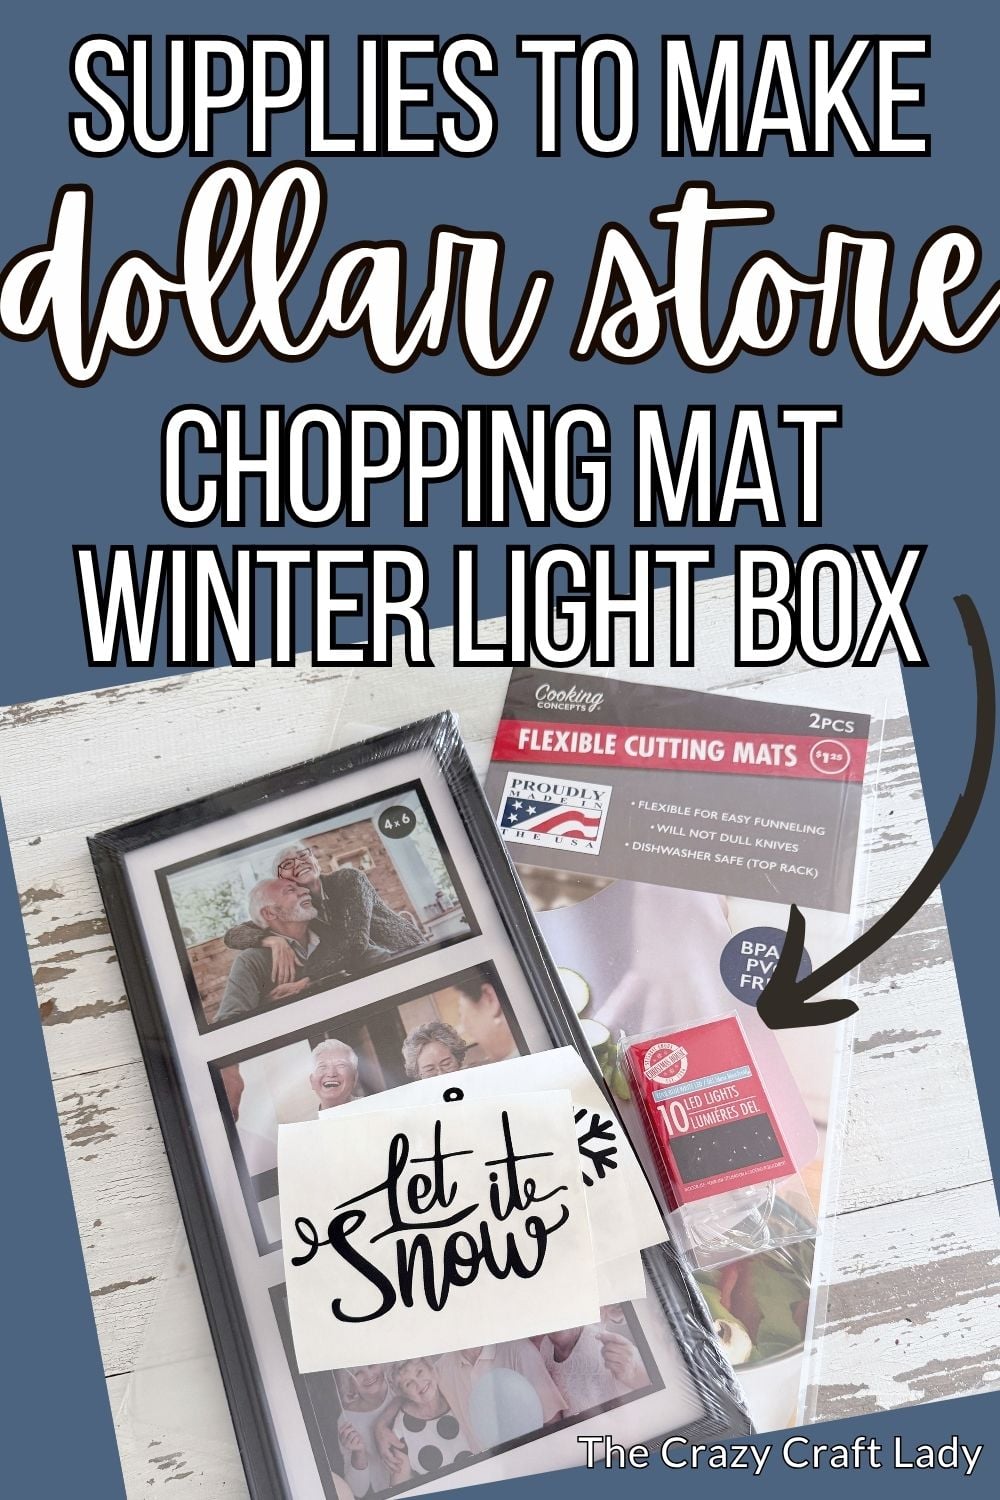
Materials
- Dollar Tree multi-opening picture frame (or any picture frame)
- Dollar Tree translucent chopping mat
- Black permanent vinyl
- Cricut machine (optional)
- Transfer tape
- Paint stir sticks
- White craft paint
- Black craft paint
- White paper, paint, or white duct tape
- Dollar Tree battery-operated fairy lights
- E6000 adhesive
- Sharpie marker
Instructions
- Watch the Video Tutorial. Watch the full video tutorial to see exactly how the light box comes together. Then follow the written instructions below as you create your own.
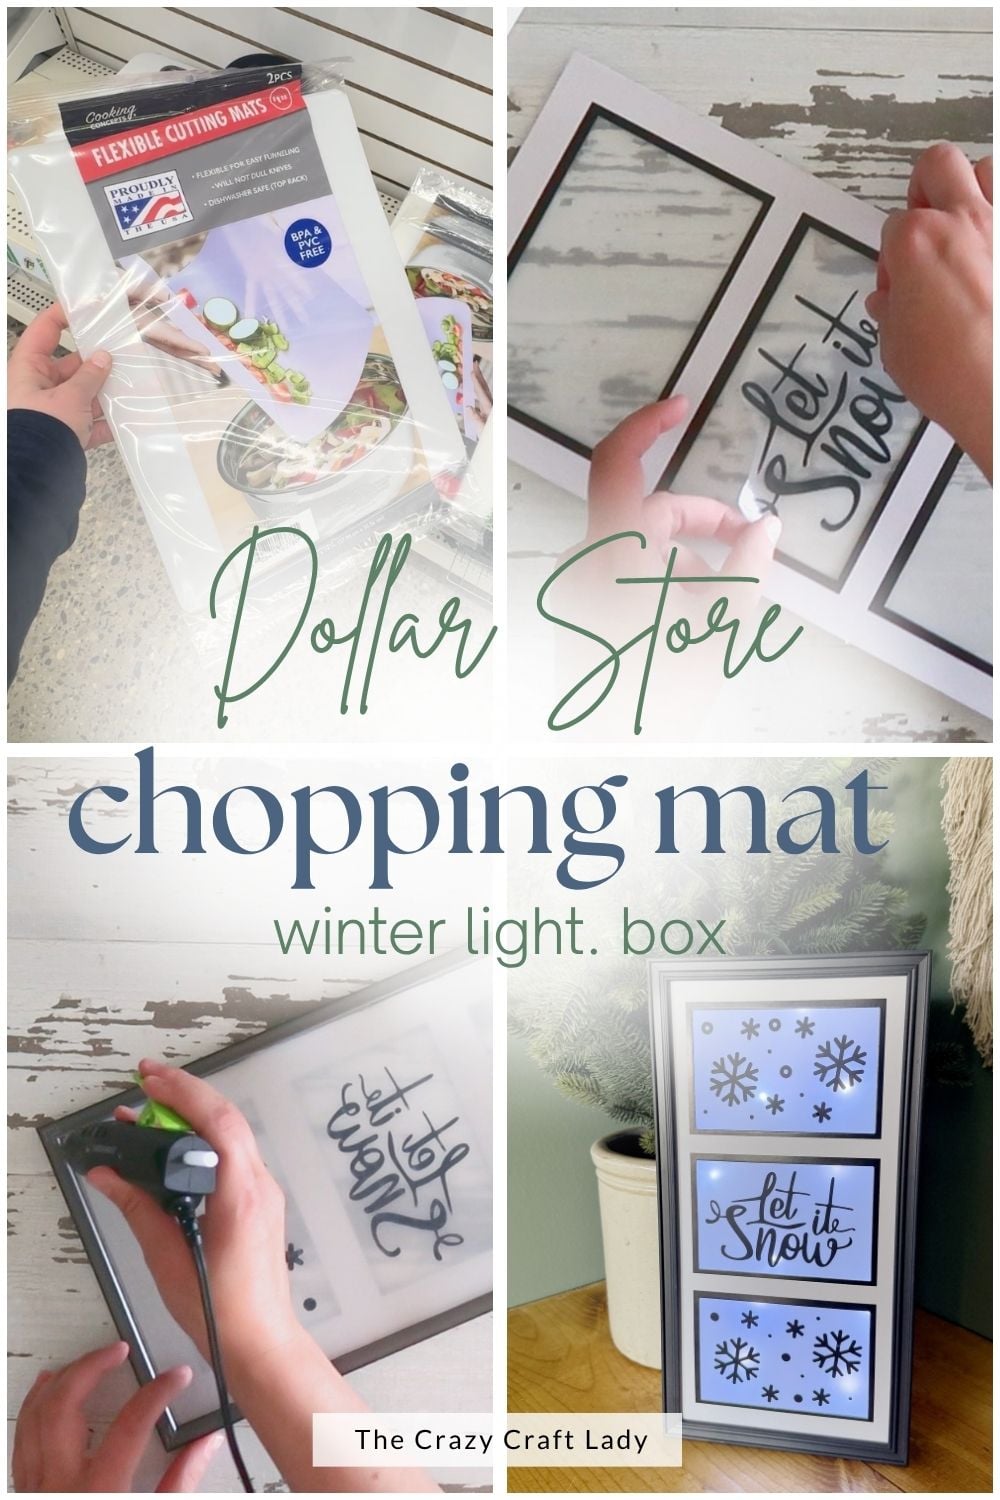
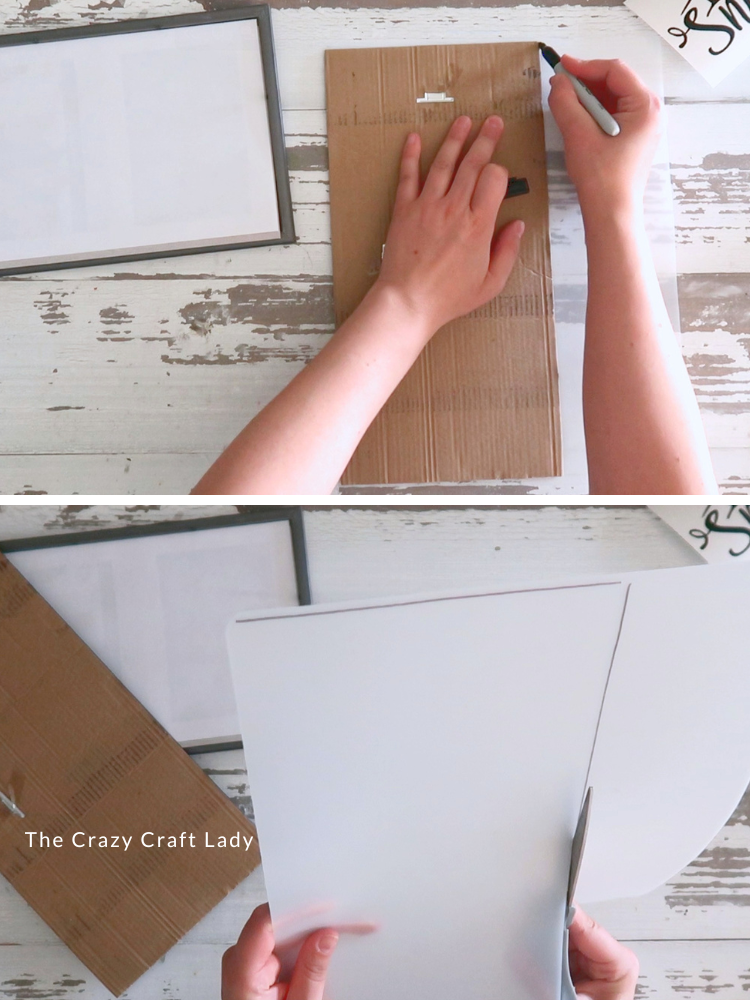
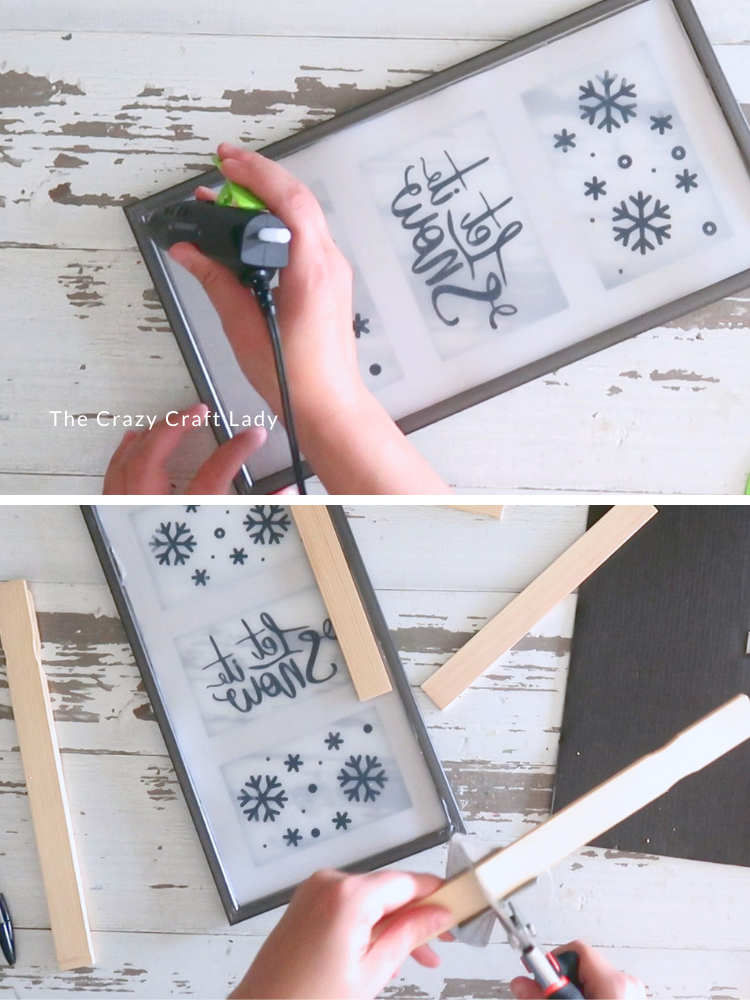
- Cut the Frosted Panel. Remove the cardboard backing from the picture frame and trace it onto a Dollar Tree chopping mat. Cut just inside the traced line so the chopping mat fits neatly into the frame opening.

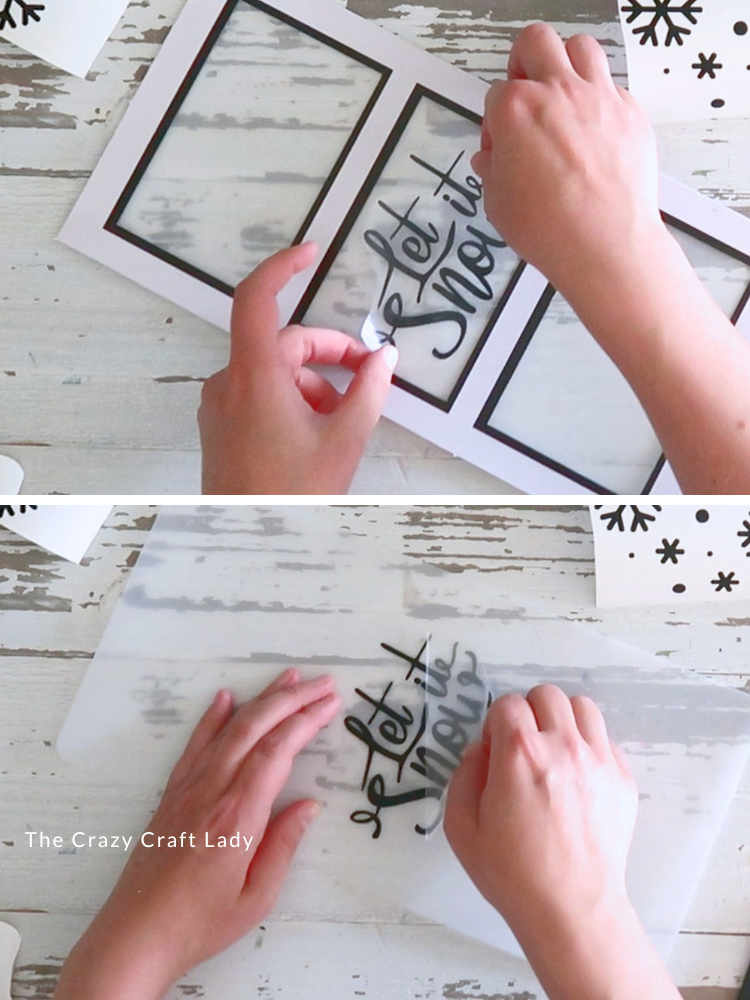
- Add Your Design. Cut your design from black permanent vinyl and apply it to the chopping mat using transfer tape. I used a "Let It Snow" design with coordinating snowflakes, but you could create almost any design you'd like. If you don't have a Cricut, try: white puff paint, an oil-based paint marker, or store-bought vinyl decals.
- Prepare the Frame. Remove the glass from the picture frame if desired. I prefer photographing projects without glass because it eliminates glare. If your frame has metal tabs that will interfere with assembly, remove them with pliers. Place the photo mat (if using one) and decorated chopping mat into the frame, then secure everything with a thin line of hot glue around the edges.
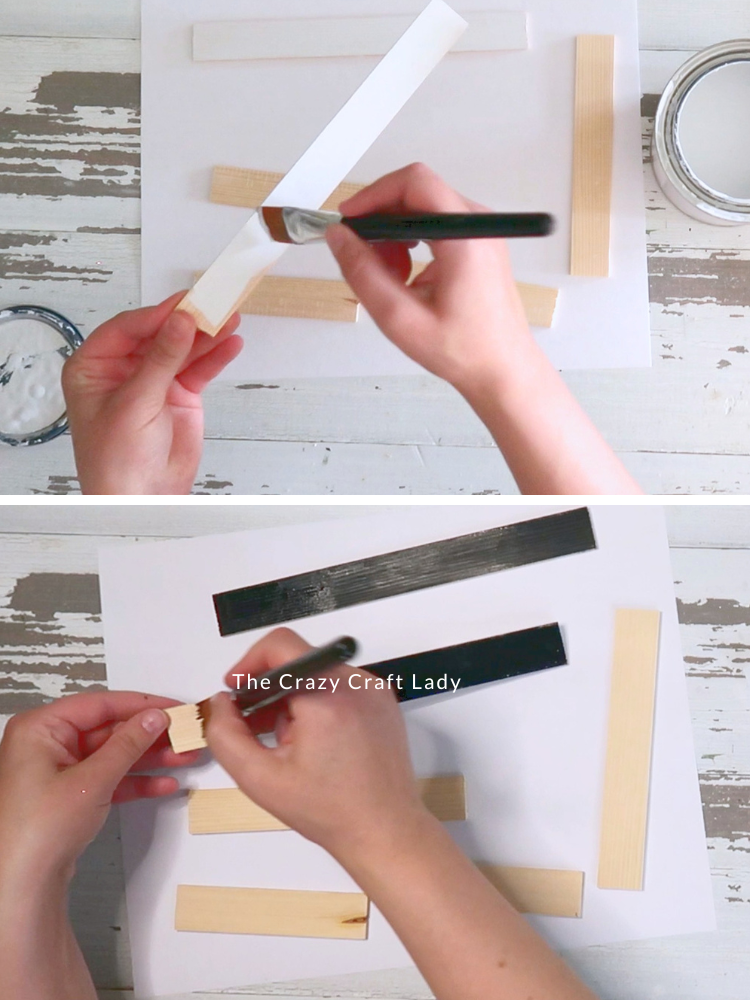
- Build a Shadow Box. To create space for the lights, cut paint stir sticks to fit around the perimeter of the frame backing. Paint one side white and the opposite side black (or paint them any color that coordinates with your project). Allow them to dry completely.
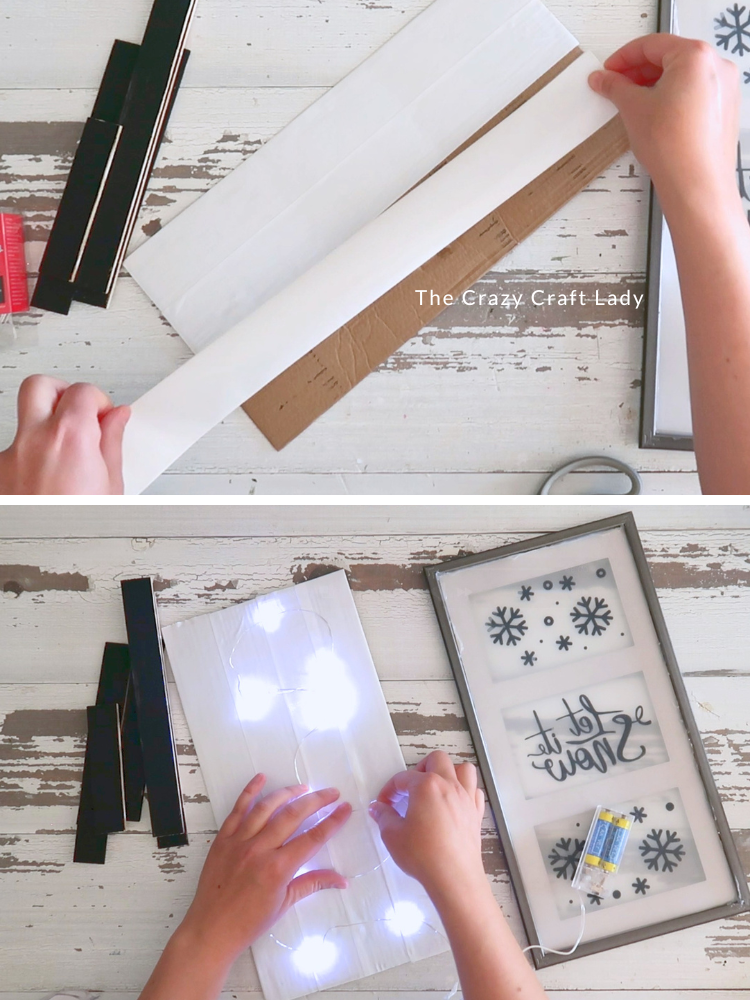
- Create a Bright Background. Cover the cardboard backing with white paper, white paint, or white duct tape. A white background helps reflect the fairy lights and gives the finished light box a brighter glow.
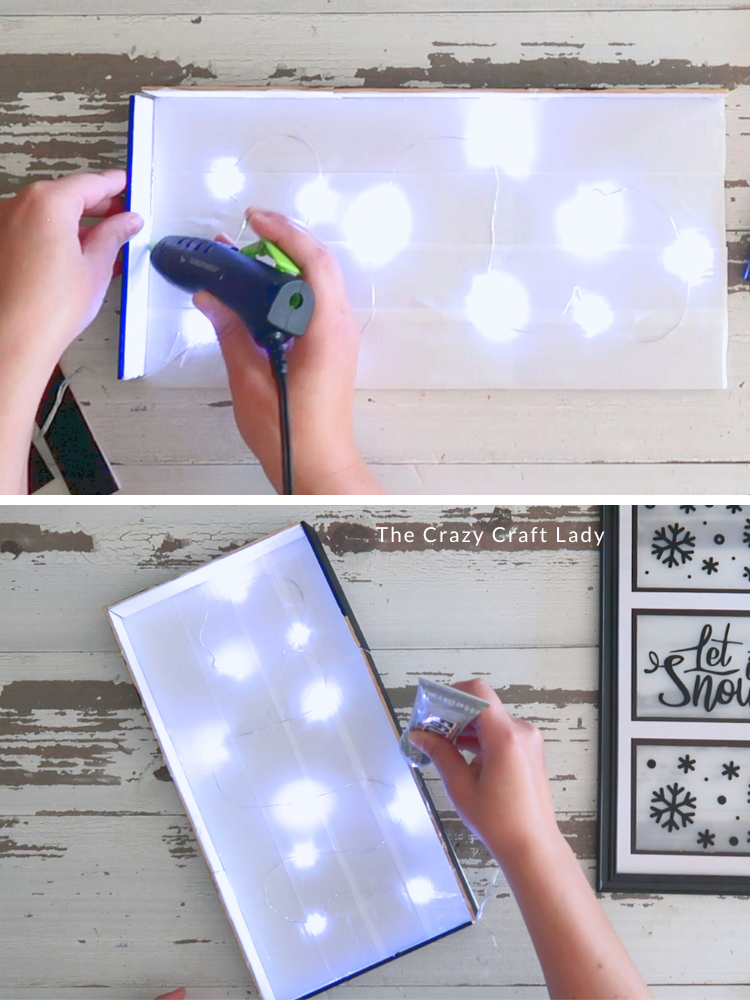
- Install the Fairy Lights. Arrange a strand of battery-operated fairy lights across the white backing. Tape the wire in place with clear tape, spacing the lights fairly evenly across the surface. Be sure to leave the battery pack wire extending out one corner so you can easily turn the lights on and off later.
- Assemble the Shadow Box. Hot glue the painted paint stir sticks around the edges of the cardboard backing to create the sides of the shadow box. Once they're secure, apply E6000 to the tops of the paint stir sticks.C enter the picture frame on top, press it into place, and allow the adhesive to cure completely.
- Light It Up! Insert the batteries, switch on the fairy lights, and enjoy your cozy winter light box!
Notes
Tips for Success
* Cut the chopping mat slightly smaller than your traced template for a perfect fit.
* Use only a thin bead of hot glue around the chopping mat to avoid warping the plastic.
* A white backing reflects much more light than plain cardboard.
* Make sure the battery pack remains accessible after assembly.
The Finished Craft
Sometimes my favorite projects are the ones that start with a loose idea and a little bit of creative problem-solving along the way. This light box definitely fell into that category, and I’m so glad I trusted the process!
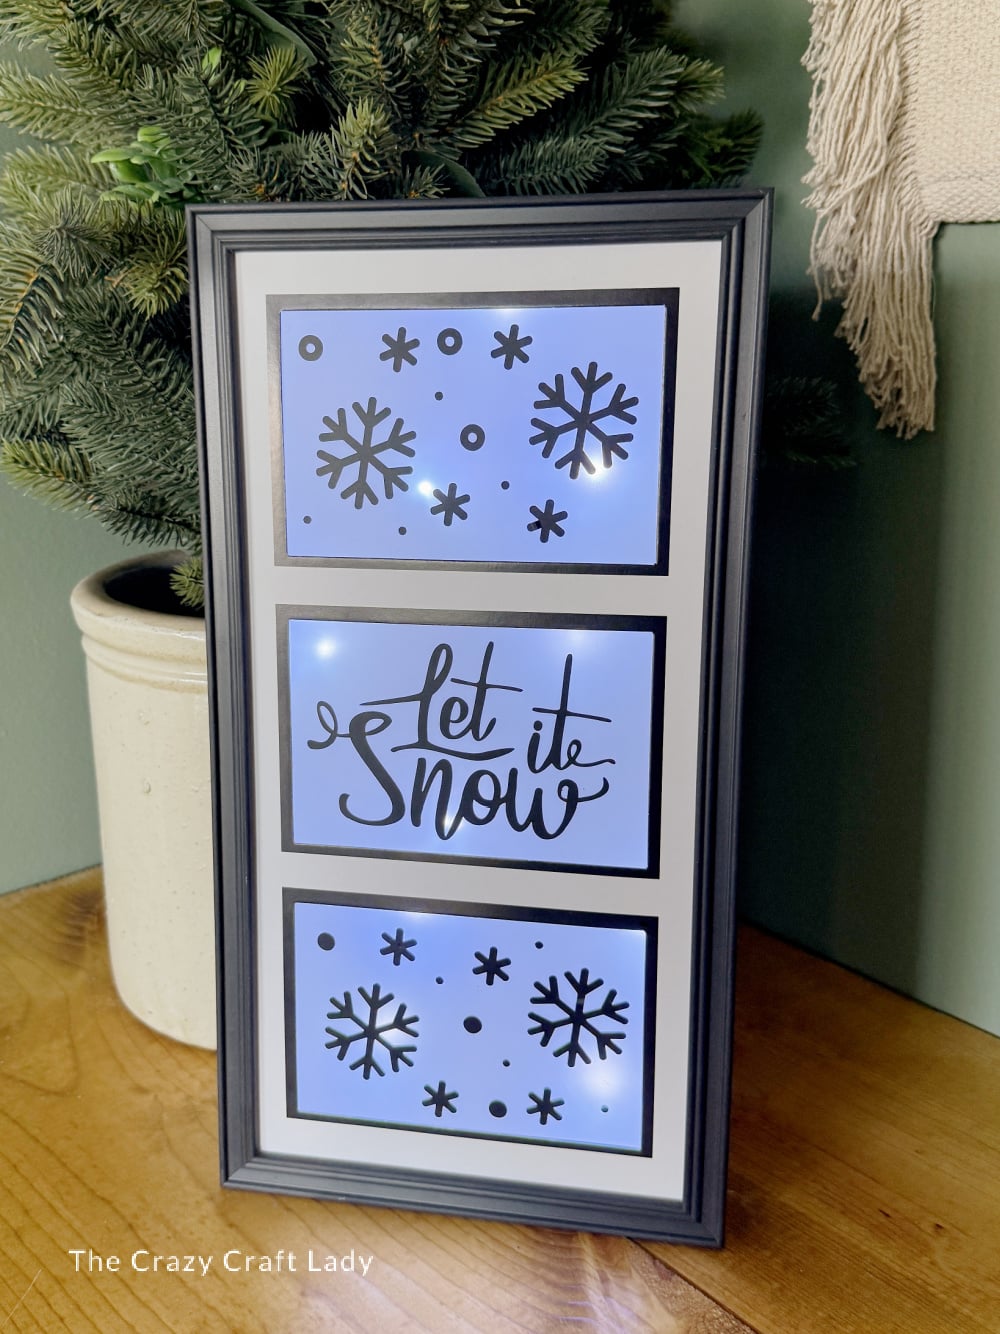
The frosted chopping mat softens the fairy lights beautifully, while the shadow box design gives everything plenty of depth. Whether you recreate my “Let It Snow” version or design something completely your own, this is one of those Dollar Tree crafts that looks far more expensive than it actually is.
It’s cozy, customizable, and guaranteed to add a warm holiday glow to your Christmas decorating!
PIN this light box craft for later: