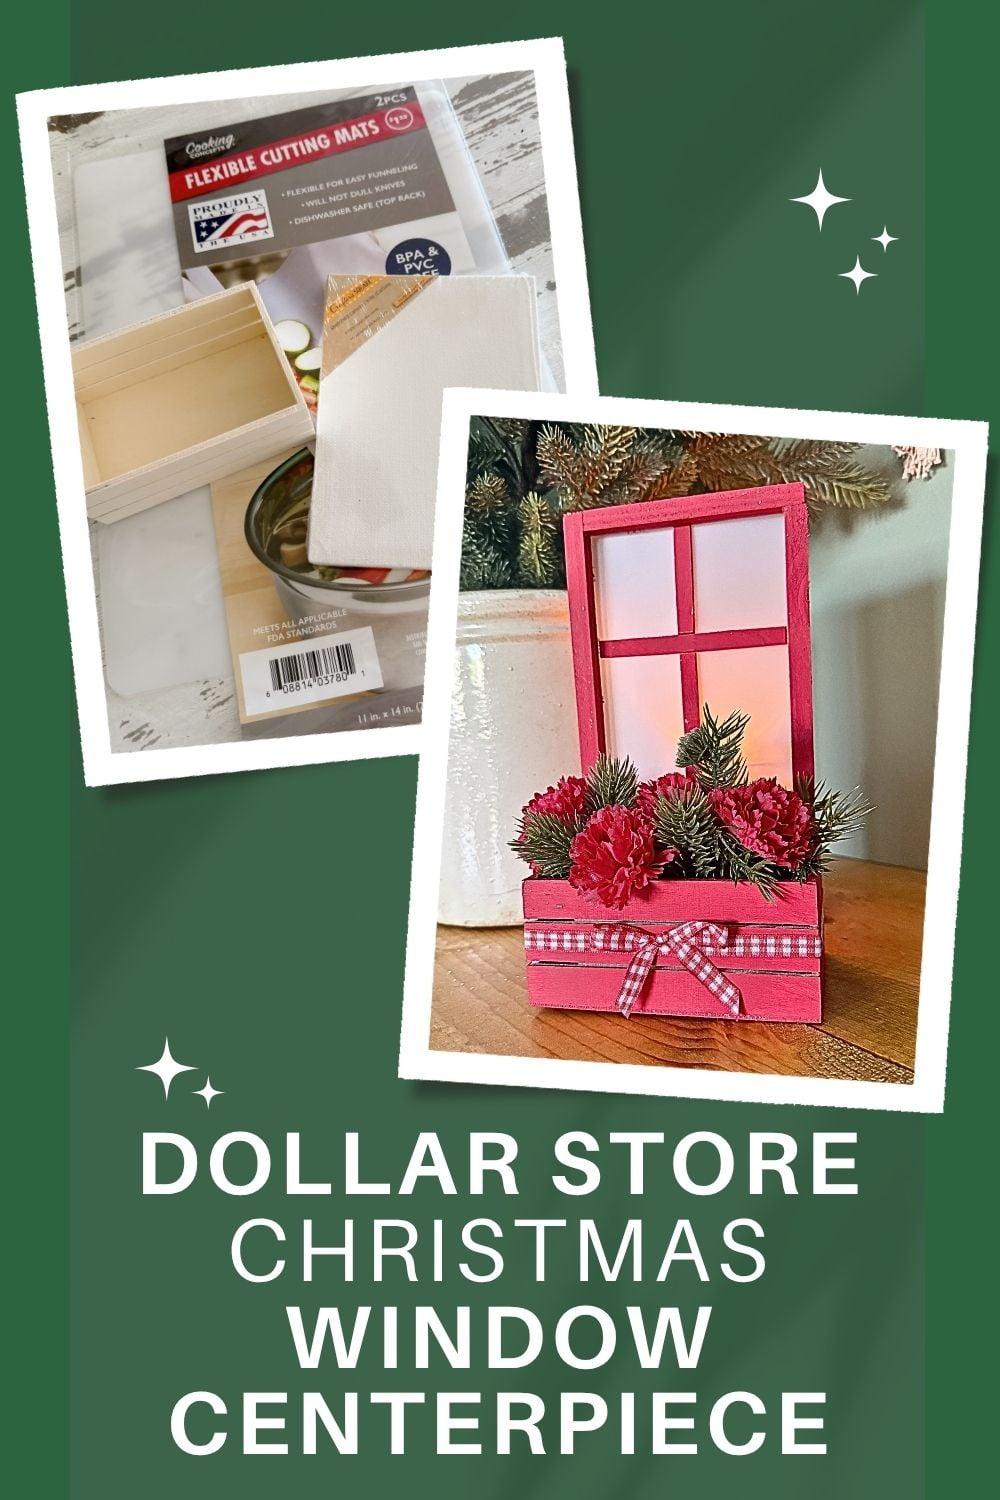
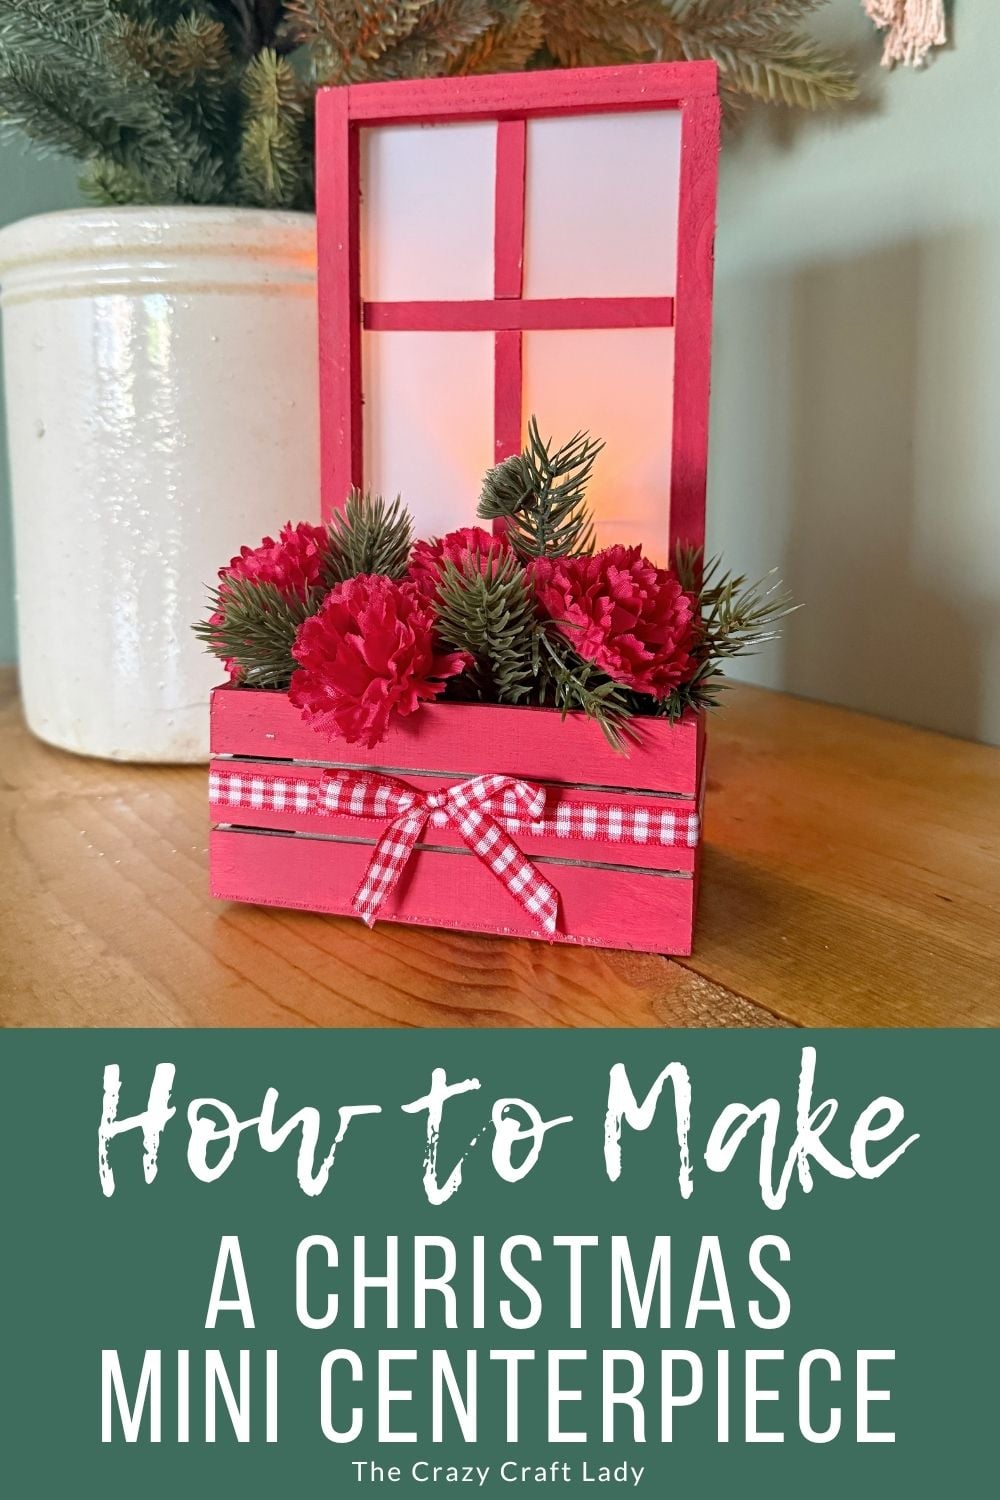
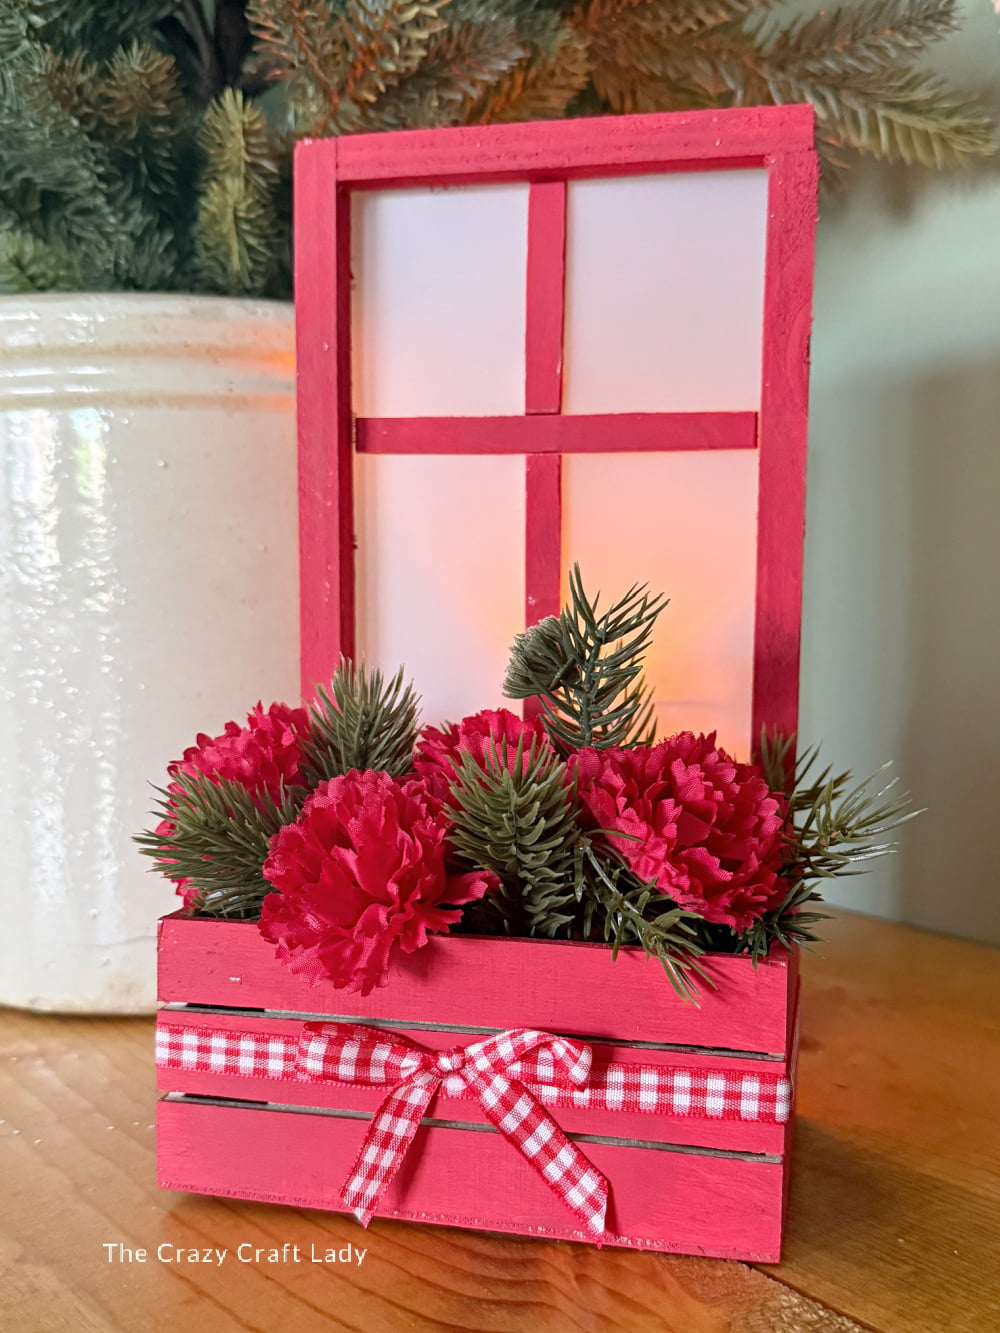
Turn Dollar Tree craft supplies into a charming frosted window Christmas decoration with this easy DIY tutorial. Perfect for farmhouse holiday décor!
This post contains some affiliate links for your convenience. Click here to read my full disclosure policy.
How to make a Frosted Window Mini Christmas Centerpiece using Dollar Tree supplies
One of my favorite things about Christmas decorating is creating those cozy little scenes that make your home feel warm and inviting. This adorable DIY frosted window centerpiece does exactly that!
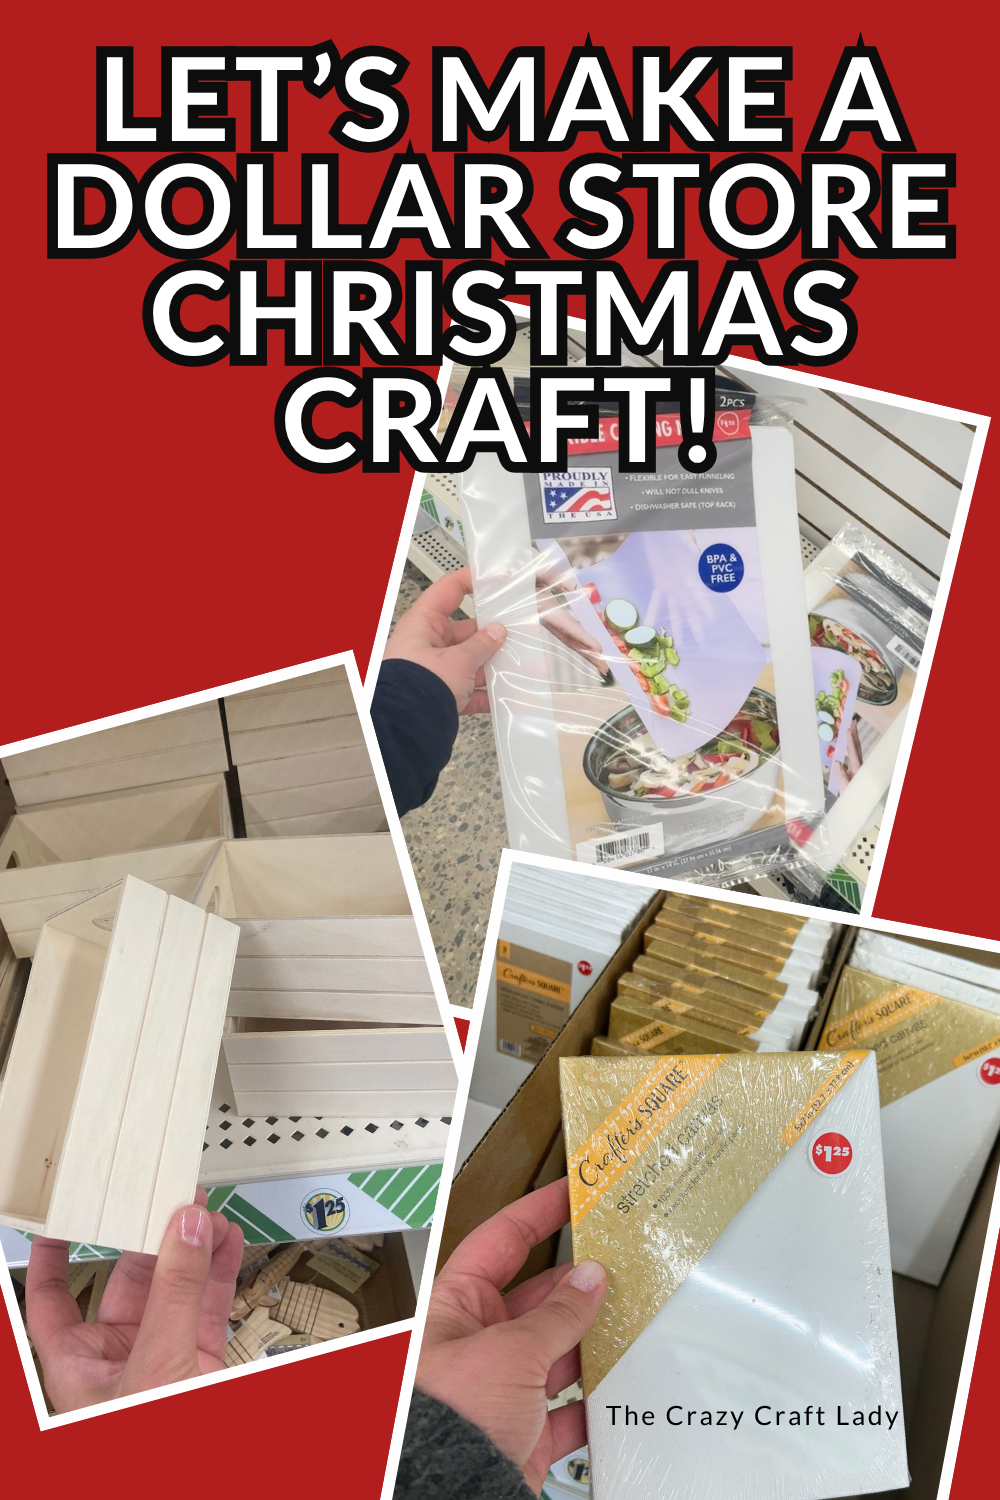
Made with a Dollar Tree stretched canvas, a mini wood crate, and a plastic chopping mat, this project looks like a tiny window overlooking a snowy winter day. Add a few faux evergreens and a battery-operated candle behind the window, and you’ve got the sweetest little glowing centerpiece for a mantel, shelf, or entry table.
The best part? You can customize the paint color, florals, and ribbon to match your own Christmas decorating style.
Video Tutorial: DIY Frosted Window Mini Christmas Centerpiece
Watch this quick video to see how this craft came together:
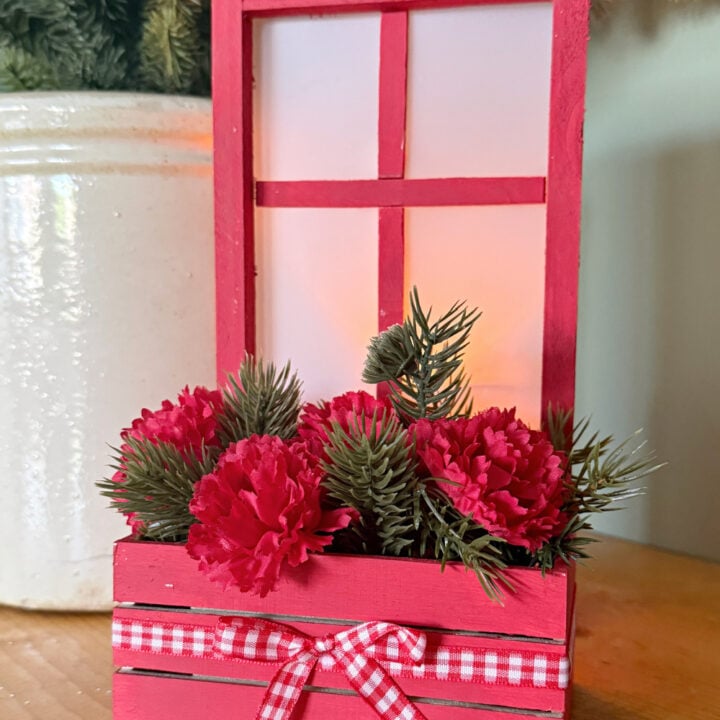
Frosted Window Mini Christmas Centerpiece
Make a beautiful DIY Christmas centerpiece using a Dollar Tree stretched canvas, wood crate, chopping mat, and faux greenery for a cozy winter display.
Materials
- Dollar Tree 4x6 stretched canvas
- Dollar Tree mini wooden crate
- Dollar Tree translucent chopping mat
- Jumbo craft stick (jumbo popsicle stick)
- Regular craft sticks
- FolkArt Matte Acrylic Paint – Christmas Red
- E6000 adhesive
- Narrow Christmas ribbon
- Floral foam
- Faux pine greenery
- Faux holiday florals
- Battery-operated LED candle
Instructions
- Watch the Video Tutorial. Watch the full video tutorial first to see how all the pieces fit together. Then follow the written instructions below to recreate the project.
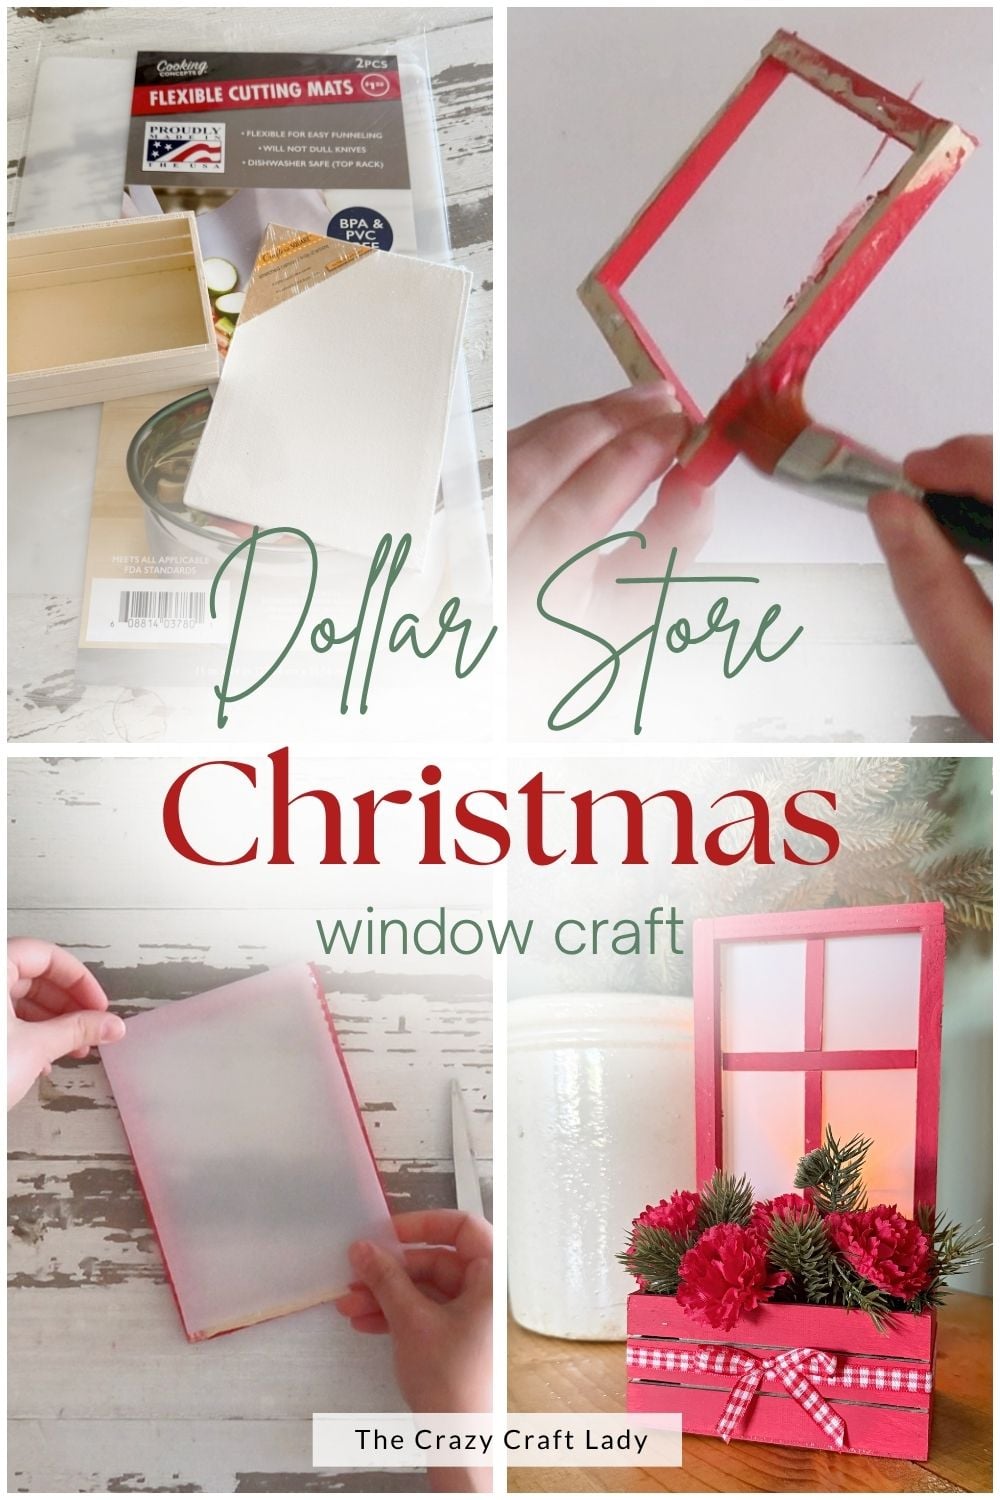
- Turn the Canvas into a Frame. Remove the canvas fabric from the stretched canvas using a craft knife and pliers. Pull away as much of the fabric as possible, but don't worry about removing every staple. Once the fabric is gone, you'll have a simple wooden frame.
- Make the Window Dividers. Cut three regular craft sticks to fit inside the frame. You'll need one horizontal divider and two vertical dividers. Test fit each piece before gluing so they sit neatly inside the frame.
- Paint Everything. Paint: the wooden frame, the three window dividers, the mini wood crate (outside, bottom, and top edge), and one jumbo craft stick. You don't need to paint the inside of the crate since it will be filled with greenery.
- Finish the Back of the Frame. If the back of your frame still has visible staples, glue a narrow ribbon around three sides of the back of the frame to hide the rough edges. There's no need to cover the bottom edge since it will attach to the crate.
- Add the Frosted Window. Trace the frame onto a Dollar Tree chopping mat and cut the plastic slightly smaller than the outside dimensions of the frame. Glue the chopping mat to the back of the frame using hot glue. The translucent chopping mat creates a beautiful frosted-glass effect.
- Attach the Window Dividers. Glue the painted craft sticks to the front of the chopping mat to create window panes. I recommend using E6000 instead of hot glue here. It gives you a little extra working time so you can line everything up perfectly before the adhesive sets.
- Connect the Frame and Crate. Use the painted jumbo craft stick as a brace to connect the bottom of the window frame to the back of the wood crate. Apply both E6000 and generous amounts of hot glue for a sturdy bond. If the frame feels a little wobbly at first, simply add another bead of hot glue until everything feels secure.
- Fill the Window Box. Place a piece of floral foam inside the crate. Add faux pine stems, evergreen sprigs, berries, or holiday florals until the crate is full and festive. Use whatever Christmas greenery you already have on hand!
- Add Ribbon. Wrap a narrow Christmas ribbon around the front of the crate, bringing both ends together on the back. Tie a small bow separately and hot glue it to the center front of the crate for a polished finishing touch.
- Add the Glow. Place a battery-operated candle behind the frosted window. When lit, it creates the prettiest warm glow that makes the little window look cozy on a winter evening.
The Finished Craft
I love projects that look complicated but are really just a handful of simple supplies put together in a creative way. This frosted window centerpiece is exactly that! The glowing window, the little flower box, and the classic red finish make it feel like a tiny Christmas window straight out of a cozy cottage.
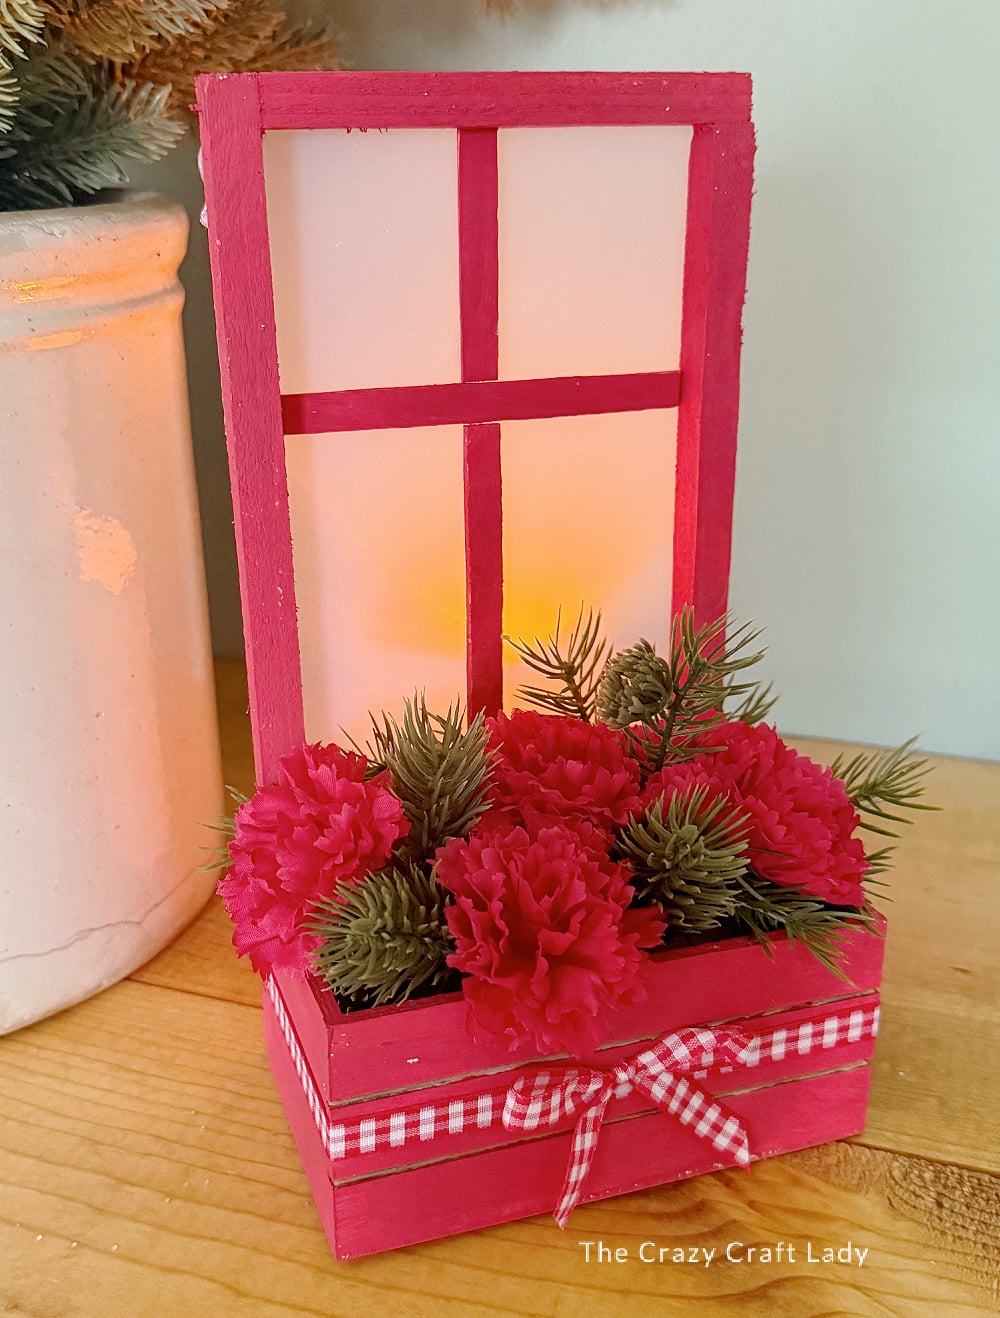
Whether you display it on a mantel, bookshelf, dining table, or entryway, adding a battery-operated candle behind the frosted window gives it such a warm, inviting glow. It’s one of those projects that’s sure to become a favorite piece of your Christmas décor year after year.
PIN this Christmas craft for later: