
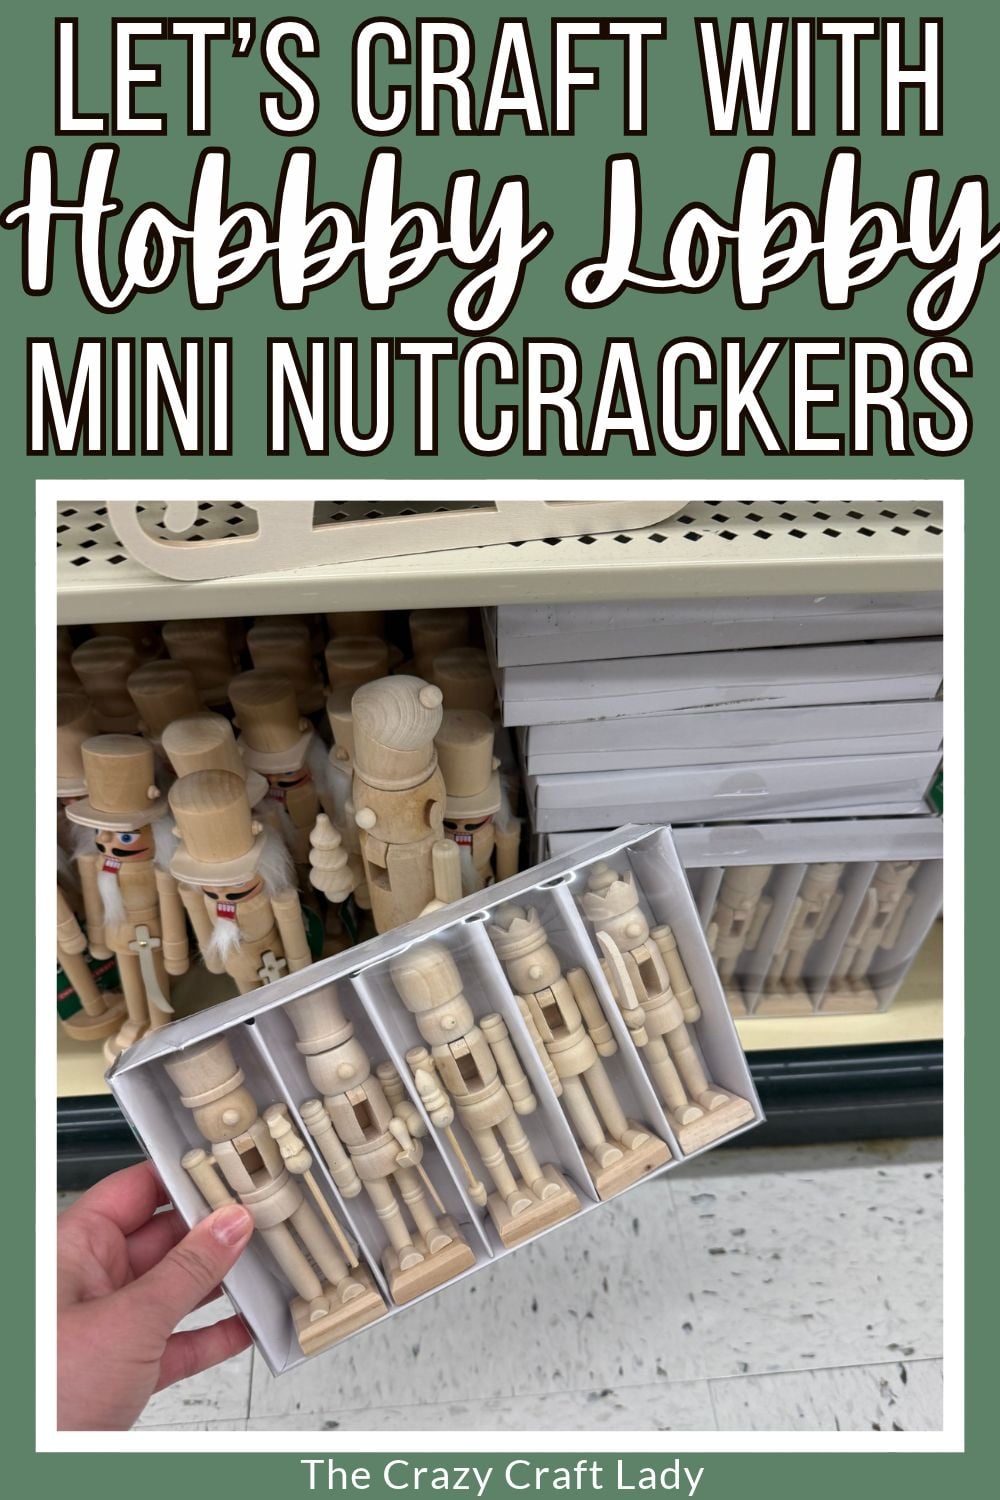
Paint plain Hobby Lobby wood nutcrackers black, then pounce on antique gold Rub ‘n Buff for a set of distressed gold Christmas tree ornaments.
This post contains some affiliate links for your convenience. Click here to read my full disclosure policy.
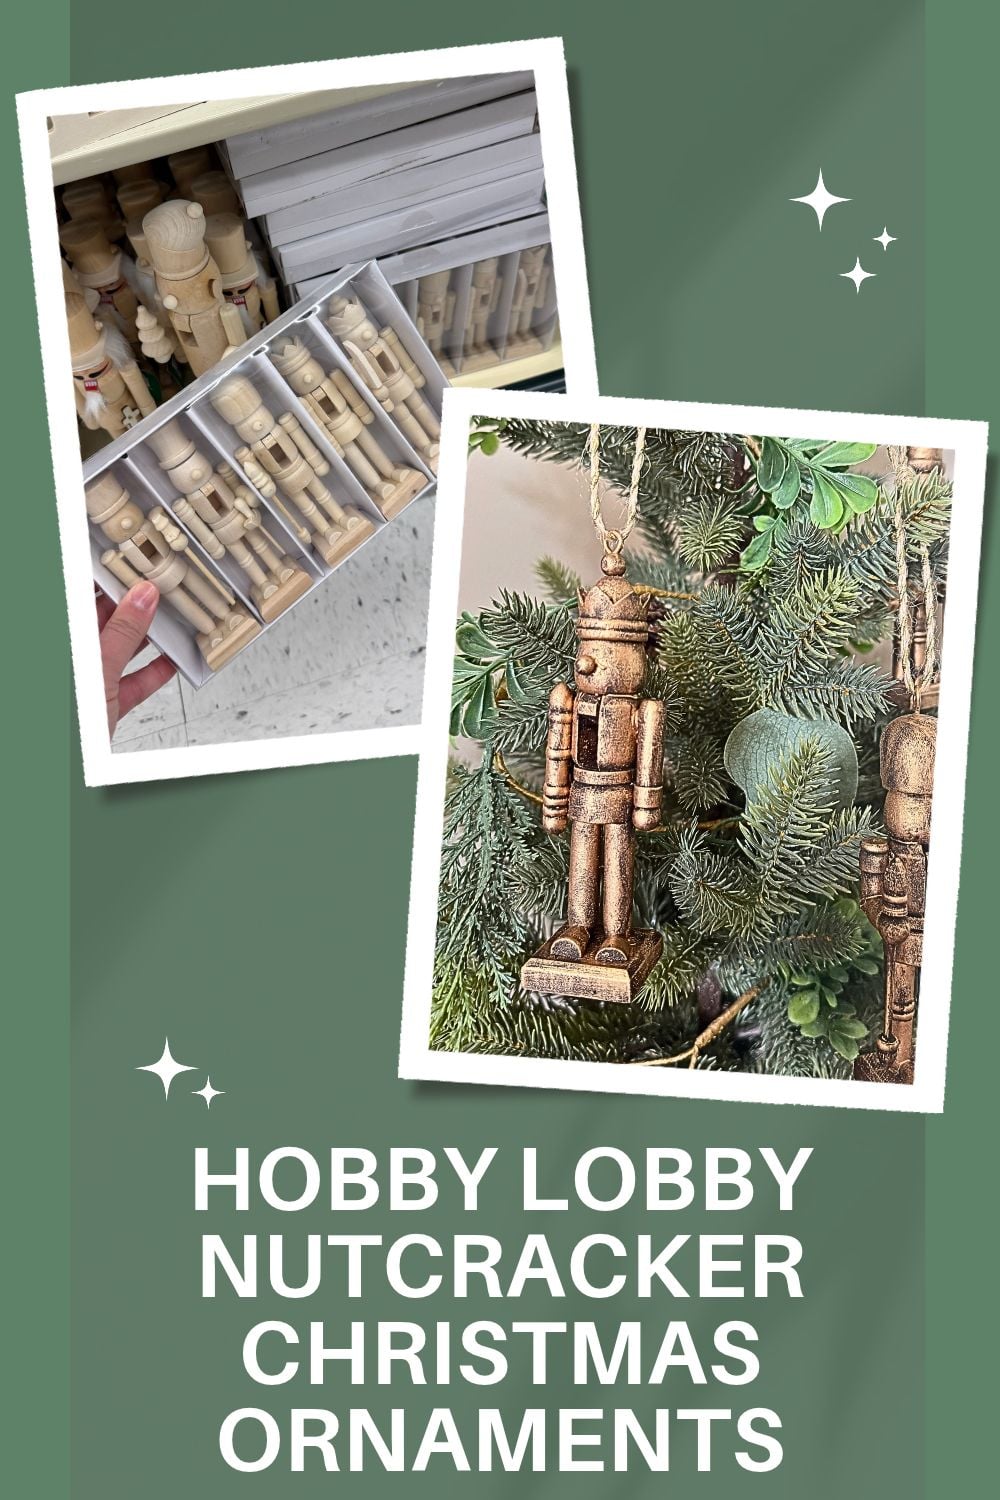
Ok, crafty friends, it’s that time of year at Hobby Lobby when all the unfinished wood Christmas items are out, and these miniature nutcrackers are so adorable. So I turned them into DIY antique gold nutcracker ornaments with a coat of black paint and a little antique gold Rub ‘n Buff.
They come in a pack of five, but I only made three. My plan was to use the other two for a different style of craft. Whether I get around to that this Christmas crafting season remains to be seen!
I’ll walk you through the whole thing, including my workaround for the trickier nutcracker style.
Video Tutorial: DIY Antique Gold Nutcracker Ornaments
Watch me make these little nutcrackers start to finish in the video below, then keep scrolling for the full photo tutorial and all my tips.
Why I Love These Little Nutcracker Ornaments
These were inspired by a craft I did a couple years ago: DIY antique gold nutcrackers made from Dollar Tree plastic nutcrackers. Very similar, but the Dollar Tree nutcrackers are bigger, so you can really only set them on a shelf.
These miniature wooden ones are small enough to hang, so we can turn them into ornaments. I think that makes this a more useful craft. (We have many trees around here, so I always need more ornaments.)
I sound like a broken record, but my happy place is with a paintbrush in my hand. So I really enjoy projects like this that take a little longer and mean more time painting.
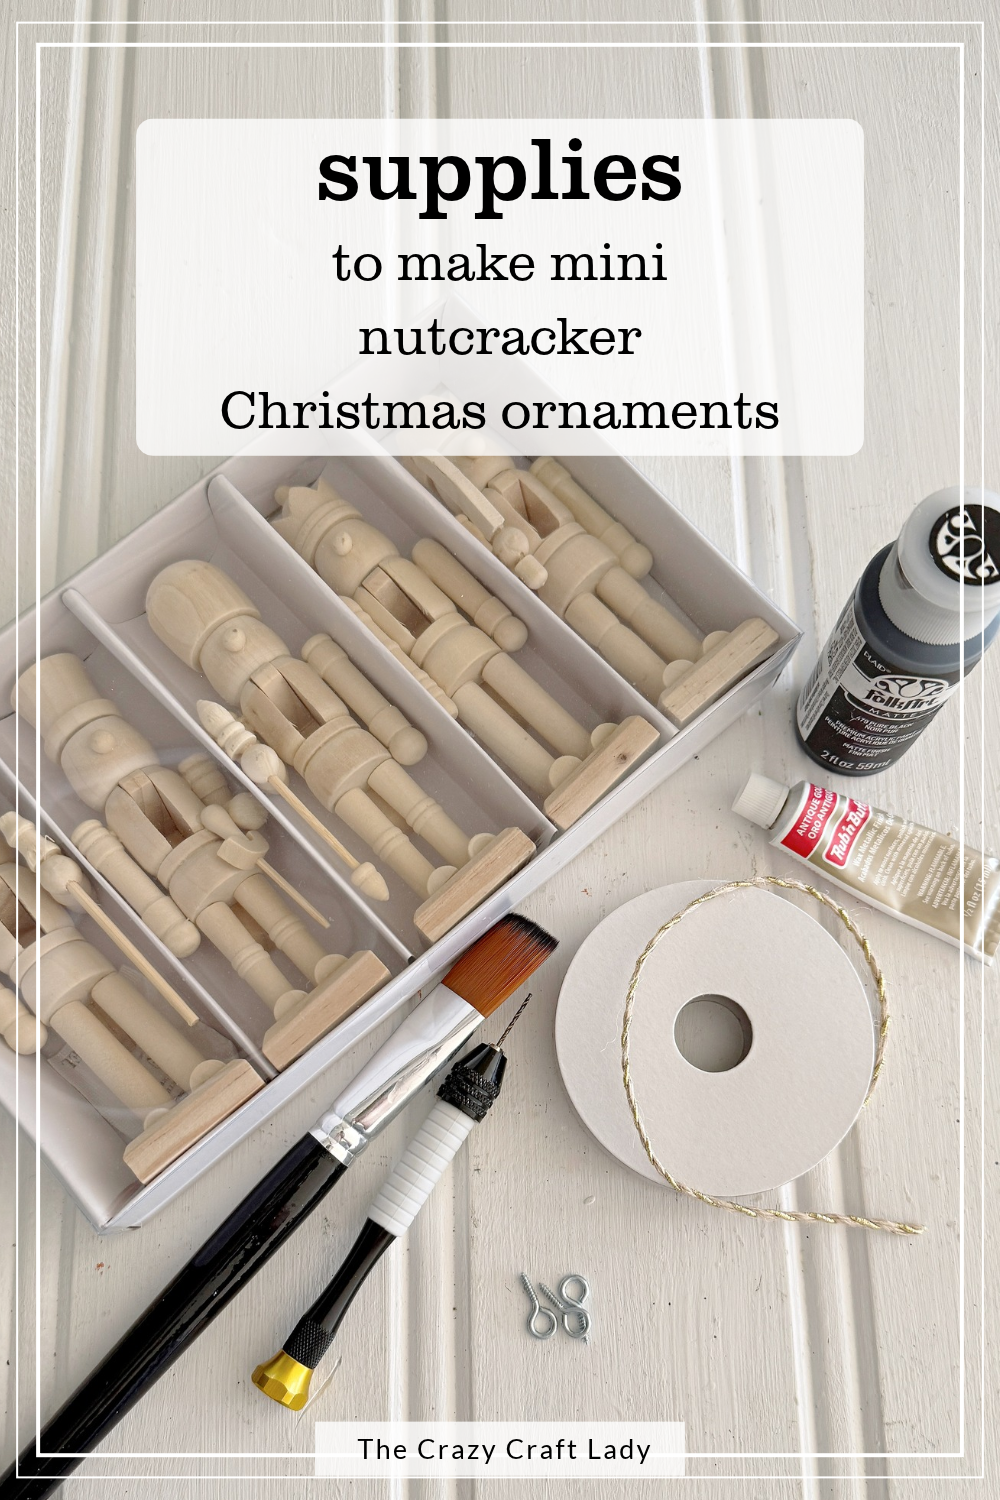
Supplies You’ll Need for Nutcracker Ornaments
- Small unfinished wood nutcrackers (Hobby Lobby)
- Screw eye hooks
- Black paint (black chalk paint, cheap Apple Barrel, or black spray paint)
- Antique gold Rub ‘n Buff
- Jute twine with gold floss running through it
- Small wood beads (only if your nutcracker has a bead on top)
- Pin vise tool
- Craft pliers (optional, for twisting in the screw eyes)
- Fiskars craft saw (only if your nutcracker has a bead on top)
- 1-inch flat paintbrush
- Fine detail paintbrush
- Small 1/4-inch paintbrush
- Scissors
Pro tip: The black paint really doesn’t matter. Cheap Apple Barrel, black chalk paint, whatever you have on hand. If your chalk paint has gotten thick, add a little water, just not too much (more on that below).
I keep my most-used craft supplies and tools, including this pin vise, in my Amazon storefront if you want to see what I reach for over and over.
How to Make DIY Antique Gold Nutcracker Ornaments (Step by Step)
Step 1: Drill a pilot hole in each nutcracker
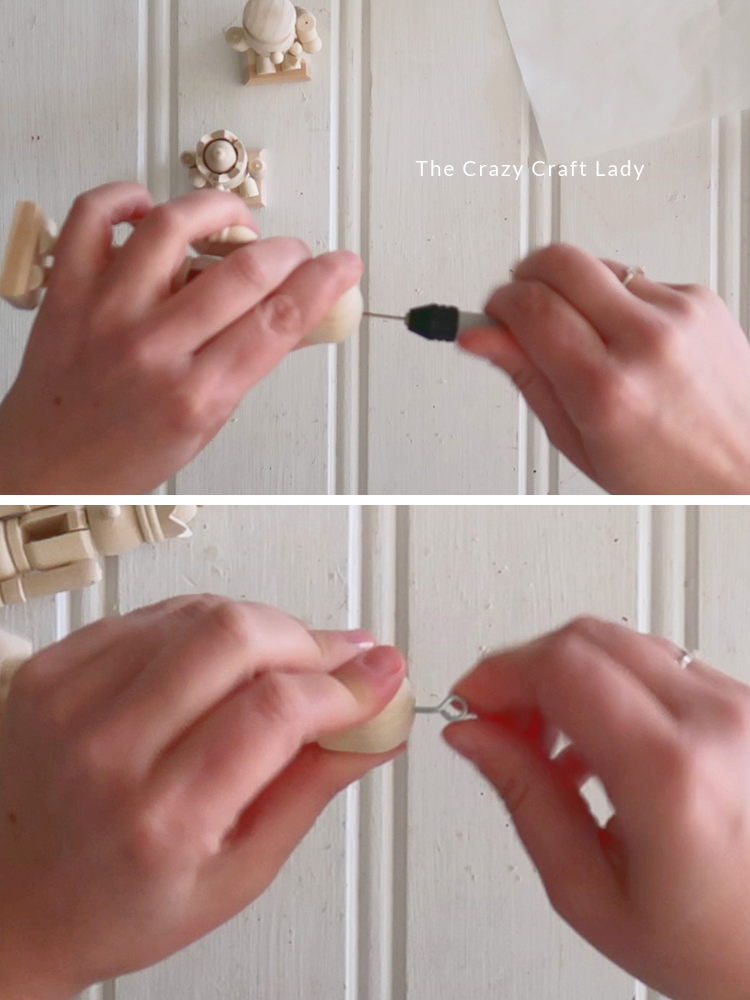
Start with your pin vise tool and twist a little pilot hole into the top of each nutcracker. The one with the smooth top is the easy one.
The other style has a little wood ball on top of its crown. I knew that one wasn’t going to work, but I drilled a pilot hole through it anyway so I could show you why.
Step 2: Screw in the screw eye hooks
On the nutcracker with the smooth, rounded helmet, the screw eye hook went right into the pilot hole. Easy peasy. This is a fairly soft wood, but if it hurts your fingers, grab a pair of craft pliers to help twist it in.
On the one with the little wood ball on top of the crown, the wood split as soon as I started screwing in the screw eye. It split right through. That detail is just too small to handle it, but we still want a screw eye so we can hang these. So here’s my workaround!
Step 3: Plan B for bead-topped nutcrackers
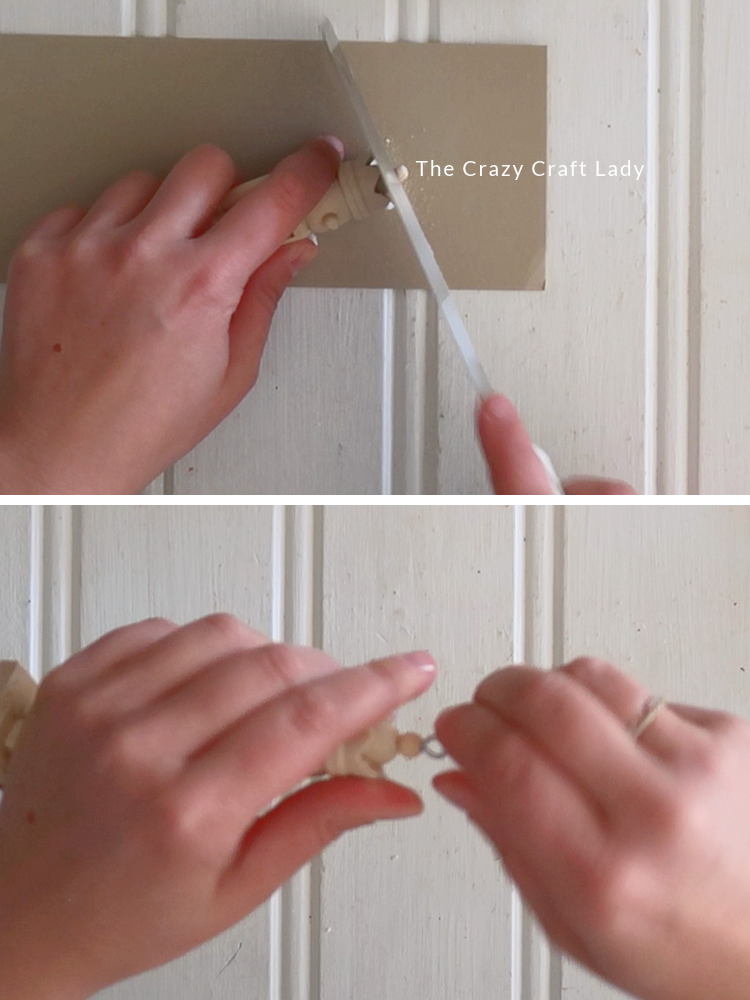
I grabbed my Fiskars craft saw. I don’t love using it, because I’m a little scared of sharp objects and I don’t always trust myself (I’m worried about having to go get stitches). But this was pretty easy since it’s such a small detail.
I sawed the wood ball right off so I had a smooth top, with a bit of the pilot hole still there. Then I found a tiny wood bead about the same size as the ball I sawed off, popped it onto the screw eye hook, and screwed the screw eye into the top of the nutcracker. Easy peasy. You can’t even tell we replaced it!
Step 4: Paint everything black
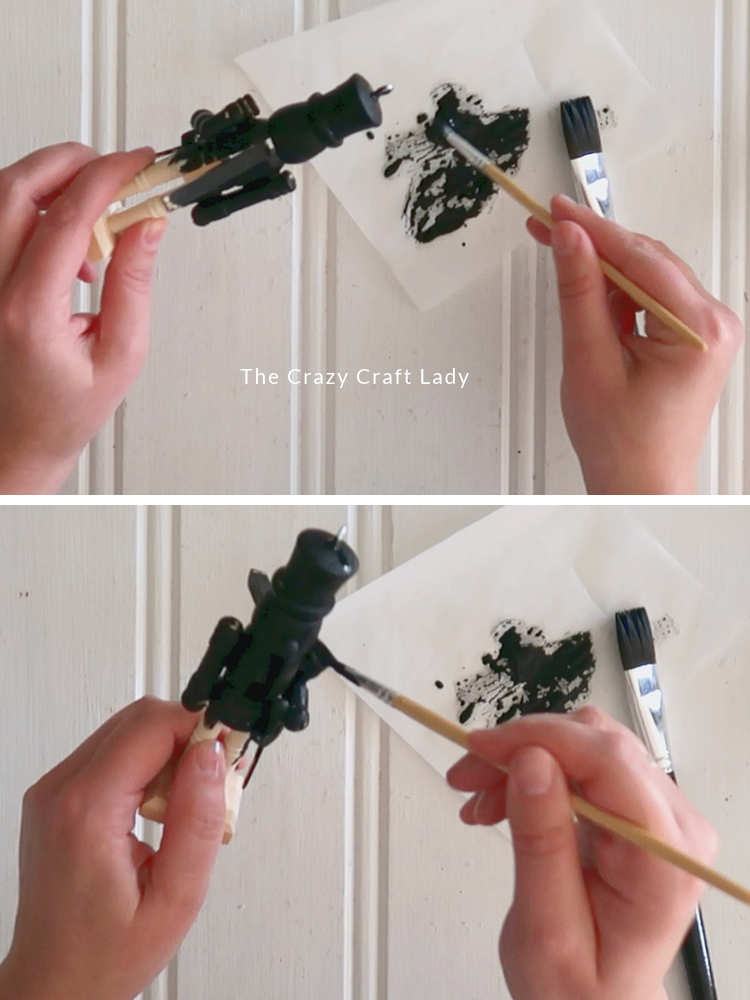
Once all the nutcrackers have their screw eye hooks, paint everything black, nooks and crannies included. You could use spray paint, but I was worried about drips in all those little details, so I used plain black chalk paint.
I started with a 1-inch flat paintbrush and quickly switched to a fine detail paintbrush for all the nooks and crannies. If mine looks drippy in the video, that’s because my tube of chalk paint had gotten thick, so I spritzed it with water… and maybe used a little too much. That’s fine! If acrylic or chalk paint is too thick for your liking, just add a little water.
Set them aside to dry.
Step 5: Pounce on the antique gold Rub ‘n Buff
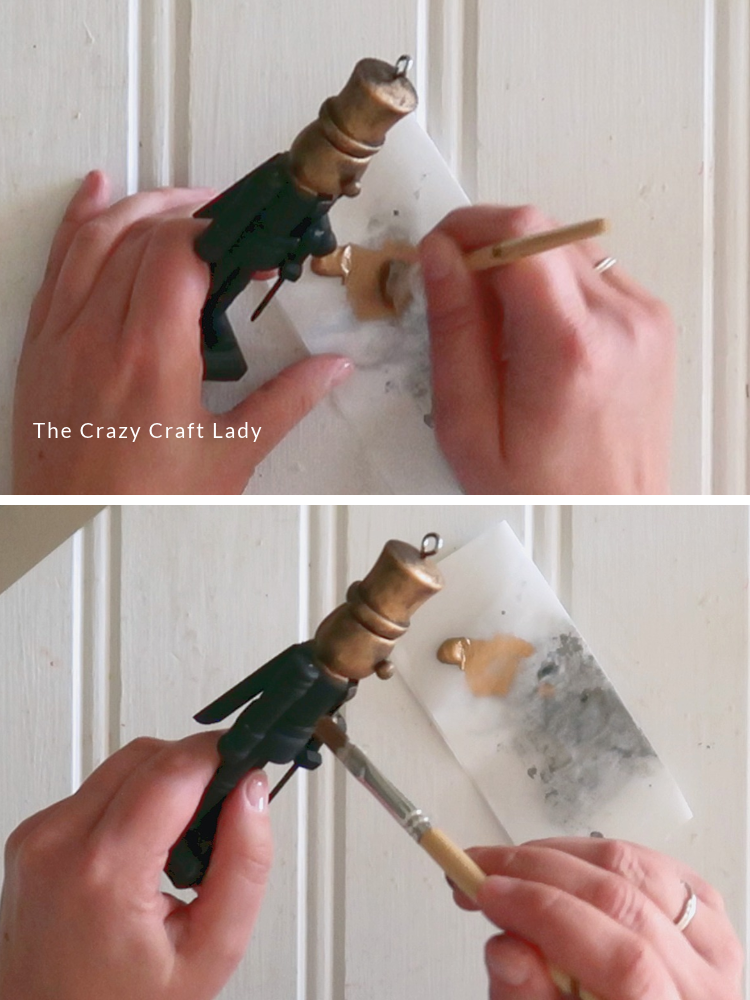
This is the fun part! Grab a small 1/4-inch flat paintbrush and your antique gold Rub ‘n Buff. Put a little on your brush and use small pouncing, circular motions to layer on the gold.
Always start with less and work your way up, because you can’t take it off. I didn’t want solid gold, which is why we painted it black first. Letting some black show through makes it look more weathered and antique. That’s just my personal style, so do whatever you like!
Yes, it takes a little while with all the details. If that’s not for you, go the black spray paint route for the base coat instead.
Step 6: Add a twine hanger
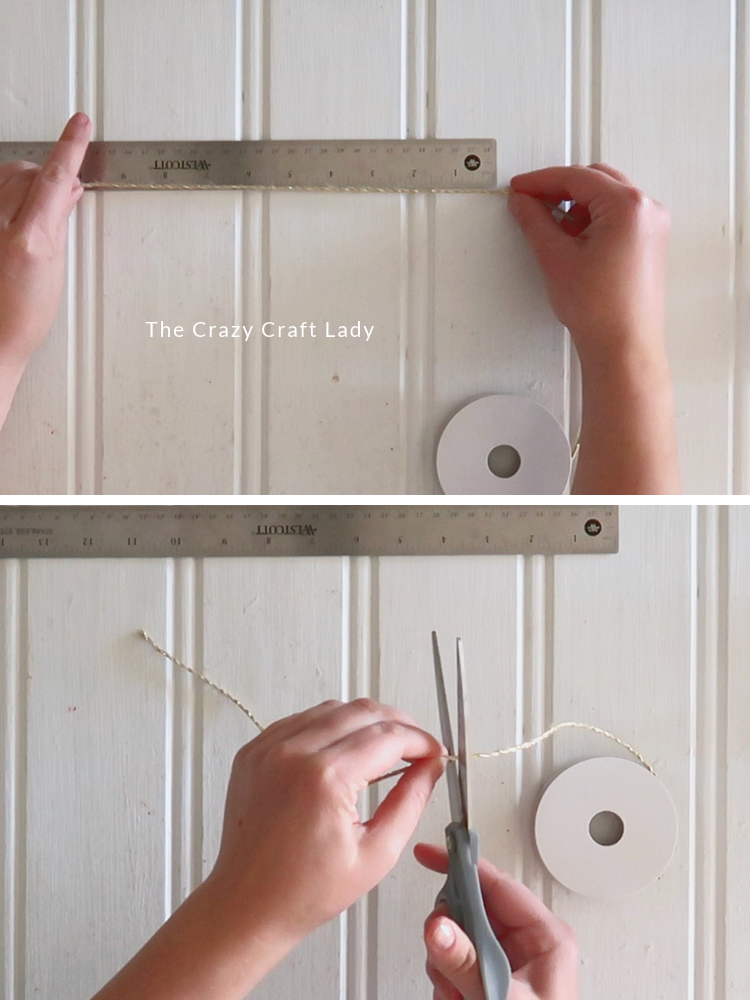
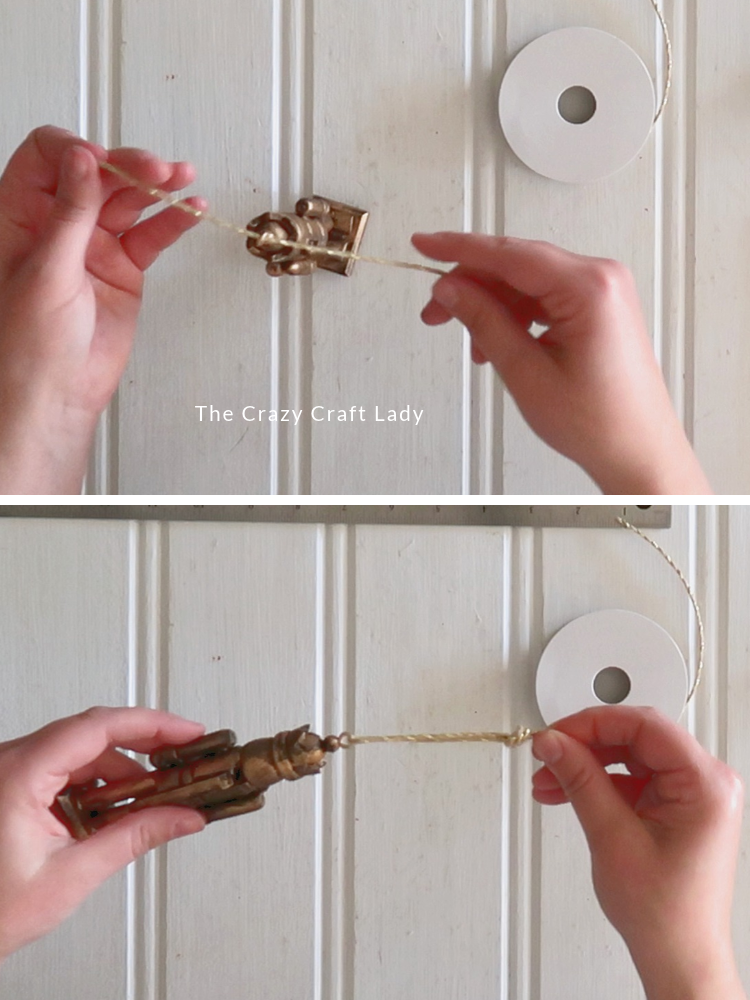
Last but not least, we need a hanger. I used regular twine with gold floss running through it, but ribbon works too, whatever you like.
Cut a 10-inch length, run it through the screw eye hook, and secure it with a very simple knot at the end. You’re in business! I did that with all three ornaments.
Ways to Make Your Nutcracker Ornaments Your Own
There’s no real wrong way with these. Here are a few ideas:
- Make all five. I only got to three, but the whole set would look so cute together on the tree.
- Mix up the styles. I’m saving my other two nutcrackers for a different style of craft, so try one set in antique gold and another in a different finish.
- Swap the base color. Black gives the most contrast, but deep red or green under the gold would be so pretty too.
- Go the spray paint route. Black spray paint for the base coat saves a lot of brush time.
- Change the hanger. Plain jute, a skinny red ribbon or a metallic cord would all work.
- Skip the hanger. Leave off the screw eye and set them in a tiered tray or on a mini shelf.
Nutcracker Ornament Tips + FAQs
Where do I find small wooden nutcrackers?
I found these unfinished wood nutcrackers at Hobby Lobby. They’re small enough to hang on a tree, unlike the bigger plastic nutcrackers from Dollar Tree.
Why did my nutcracker split when I added the screw eye?
Tiny details, like a wood bead on top of a crown, are too small to handle a screw eye. Always drill a pilot hole first. If the top is a little bead, saw it off and thread a new wood bead onto the screw eye instead.
What if screwing in the screw eye hurts my fingers?
This is a fairly soft wood, so it usually goes in easily. If it hurts your fingers, use a pair of craft pliers to help twist it in.
What kind of black paint should I use?
Any black paint works: cheap Apple Barrel, chalk paint, whatever you’ve got. Black spray paint is faster, just watch for drips in the nooks and crannies. If your paint is too thick, add a little water, just not too much.
How do I get the distressed gold look with Rub ‘n Buff?
Use a small brush and pounce it on in light circular motions. Start with a little and build it up so some of the black peeks through.
Can I use the Dollar Tree nutcrackers instead?
You can paint them the same way, but they’re bigger and plastic, so they work better as shelf decor than ornaments. Here’s my Dollar Tree antique gold nutcracker version.
Antique Gold Wooden Nutcracker Christmas Ornaments
Turn small unfinished Hobby Lobby wood nutcrackers into distressed antique gold Christmas ornaments with black paint, antique gold Rub 'n Buff and a festive twine hanger.
Materials
- Small unfinished wood nutcrackers (Hobby Lobby)
- Screw eye hooks
- Black craft paint or black chalk paint
- Rub 'n Buff, antique gold
- Jute twine with gold floss (about 10 inches per ornament)
- Small wood beads (only for bead-topped nutcrackers)
Tools
Instructions
1. Watch the video tutorial. Watch the video tutorial above, right here in this blog post, before getting started.
2. Drill pilot holes. Use a pin vise tool to twist a small pilot hole into the top of each nutcracker.
3. Add the screw eyes. Screw a screw eye hook into each pilot hole (use craft pliers if it hurts your fingers). If a nutcracker has a tiny wood bead on top, saw the bead off first, thread a new wood bead onto the screw eye, then screw it in.
4. Paint them black. Paint each nutcracker completely black with a 1-inch flat brush, then a fine detail brush for the nooks and crannies (or use black spray paint). Let dry.
5. Add the gold. Pounce antique gold Rub 'n Buff on with a small 1/4-inch brush in light circular motions, letting the black show through. Build it up in layers.
6. Add the hanger. Cut a 10-inch length of gold-floss jute twine, run it through the screw eye and tie a simple knot at the top.
Notes
* Crazy Craft Lady Tip: Start with less Rub 'n Buff than you think. You can always layer more on, but you can't take it off, and you want some of that black to peek through.
* If your chalk paint is too thick, add a little water, but not too much or it gets drippy.
* Take your time and use care with the craft saw on small pieces.
The Finished Antique Gold Nutcracker Ornaments
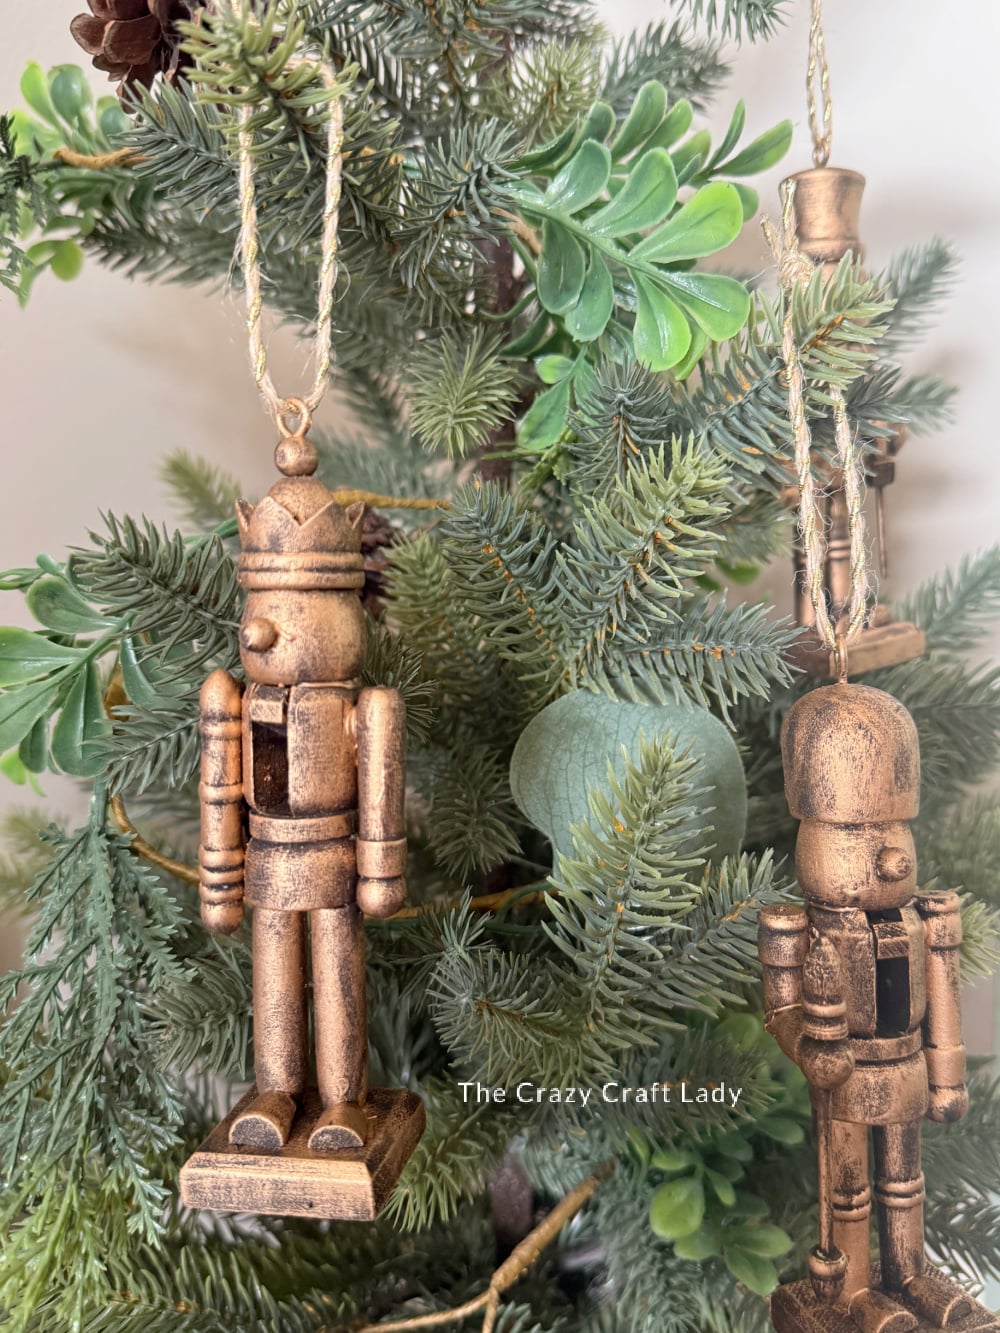
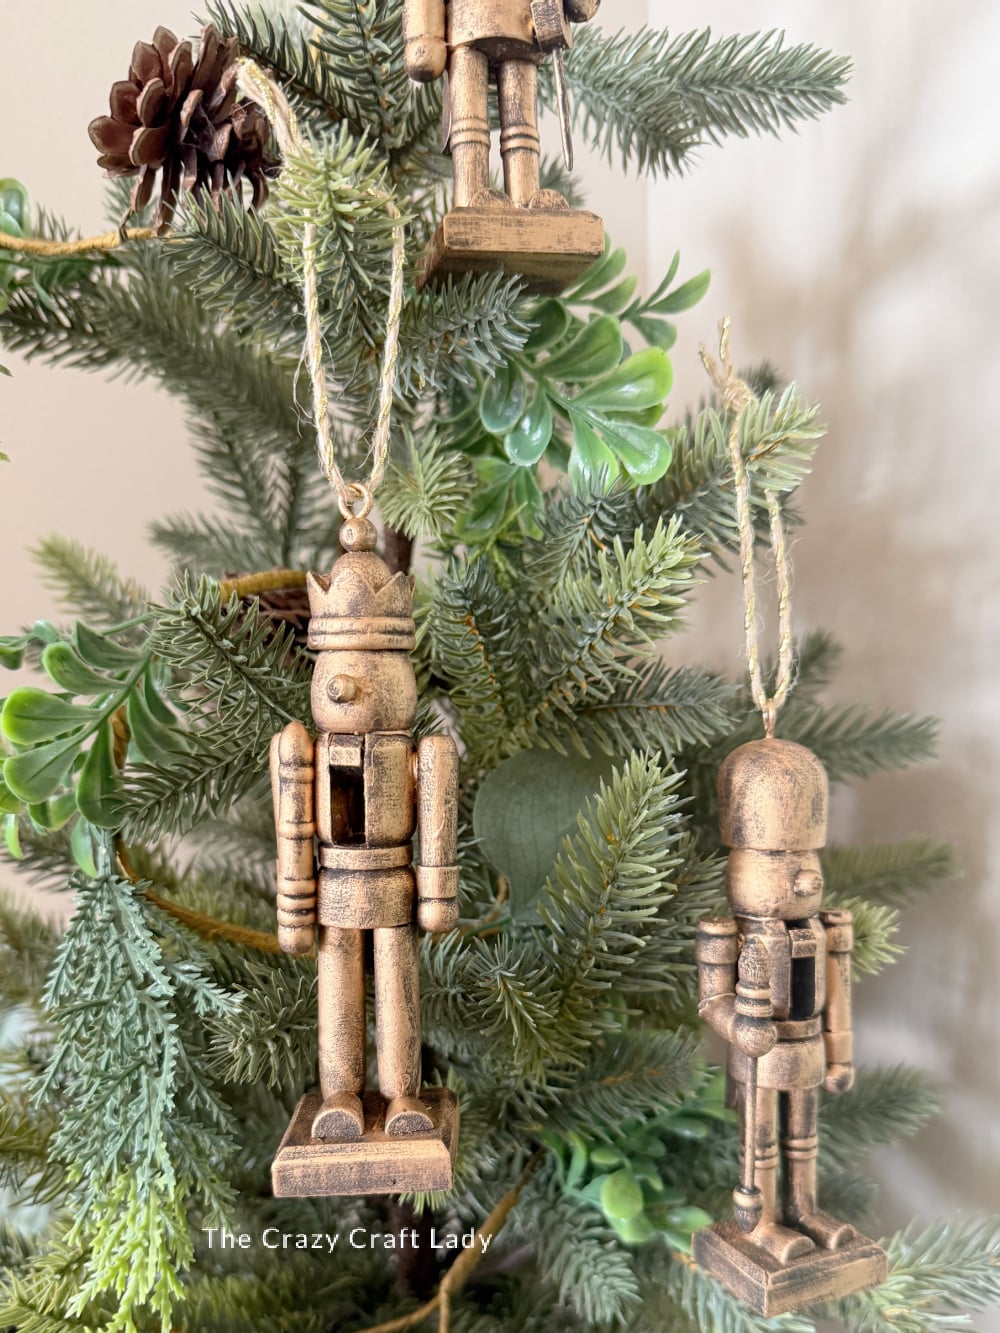
And here are my three finished little antique gold nutcracker ornaments, ready for one of our many trees this year. I really love how these turned out!
Are you team antique gold nutcrackers, or do you love the classic red and green? Tell me in the comments!
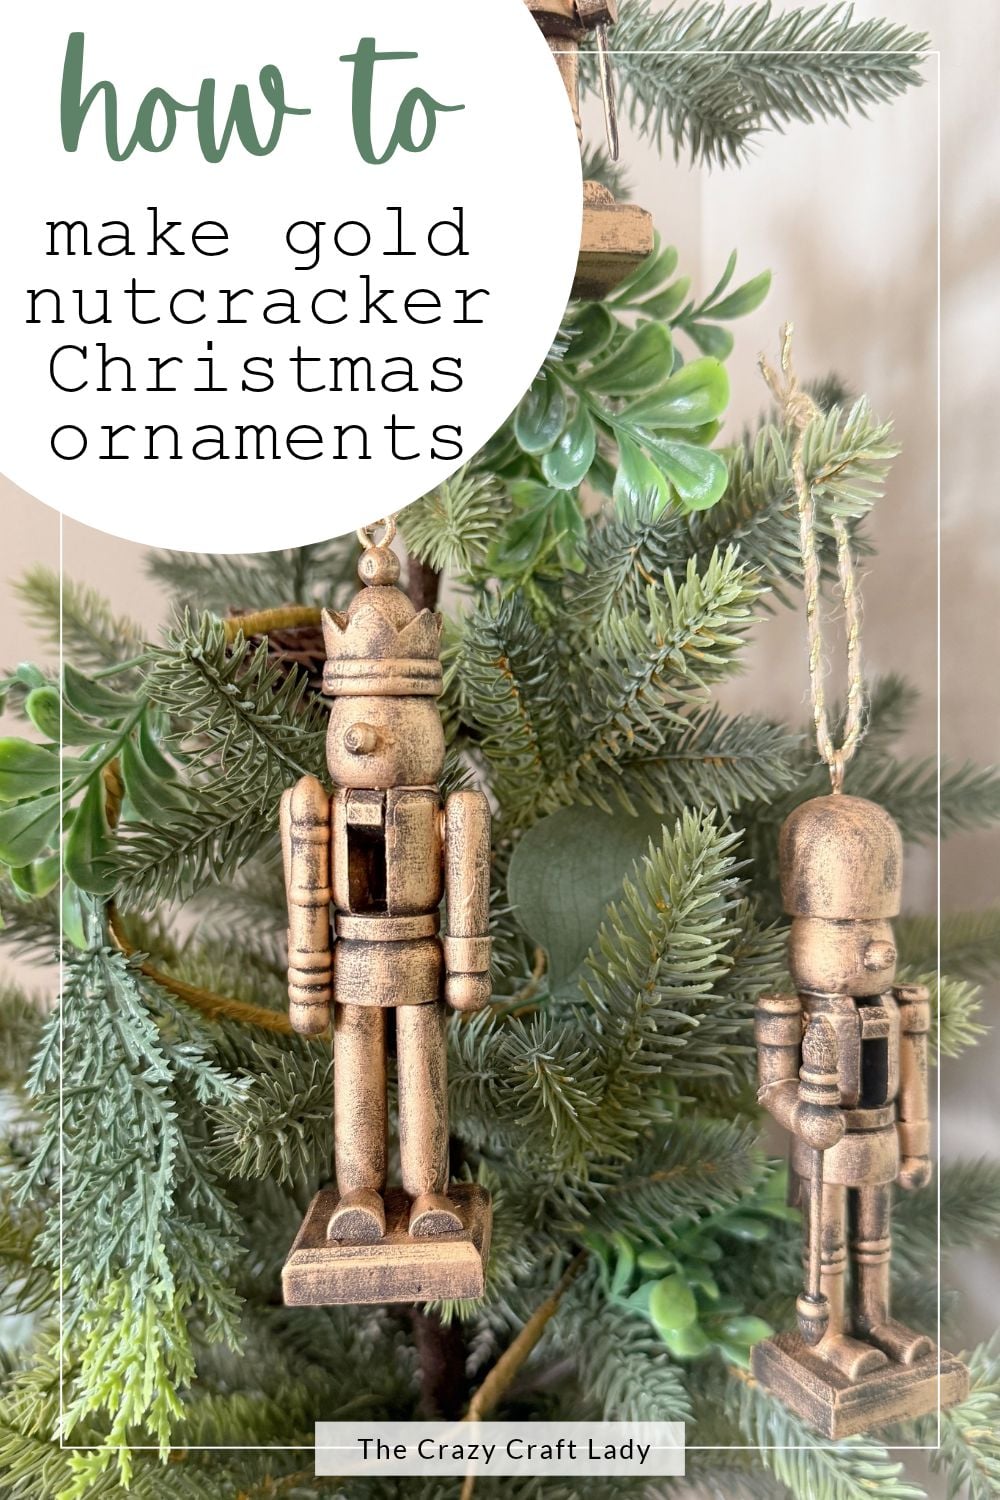
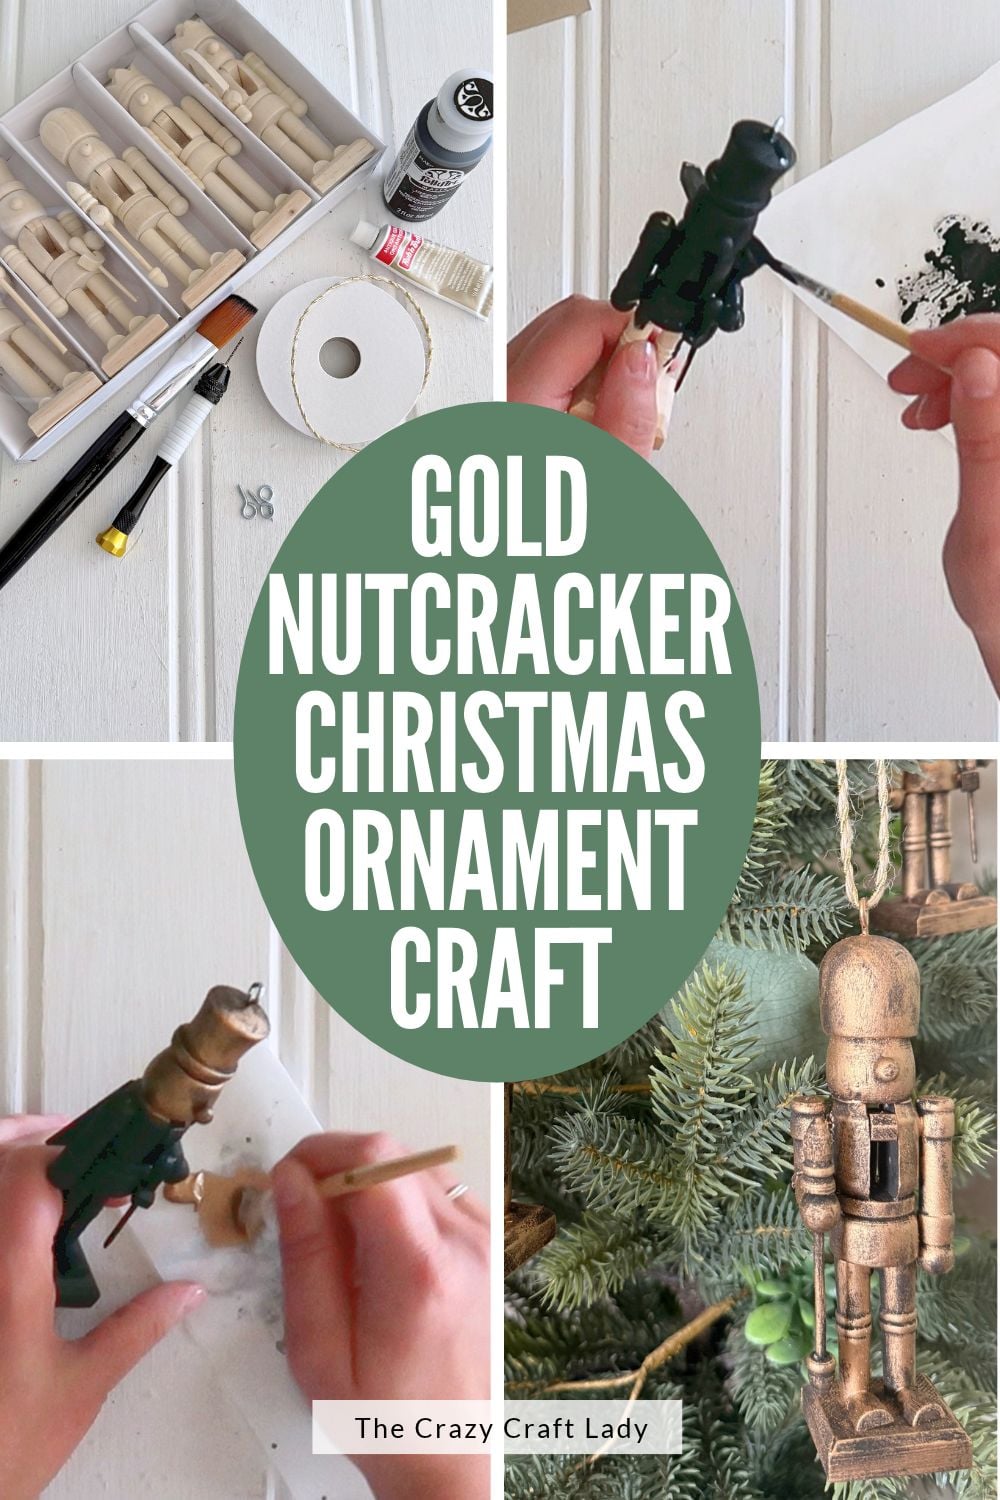
Pin These Nutcracker Ornaments for Later
Save this one to your Christmas crafts board!
Raisin (my crafty pup) and I thank you for stopping by. Happy making, friends!