
A tiny Hobby Lobby wooden sleigh, a little red paint and a free cut file turn into the cutest vintage Christmas shelf sitter.
This post contains some affiliate links for your convenience. Click here to read my full disclosure policy.
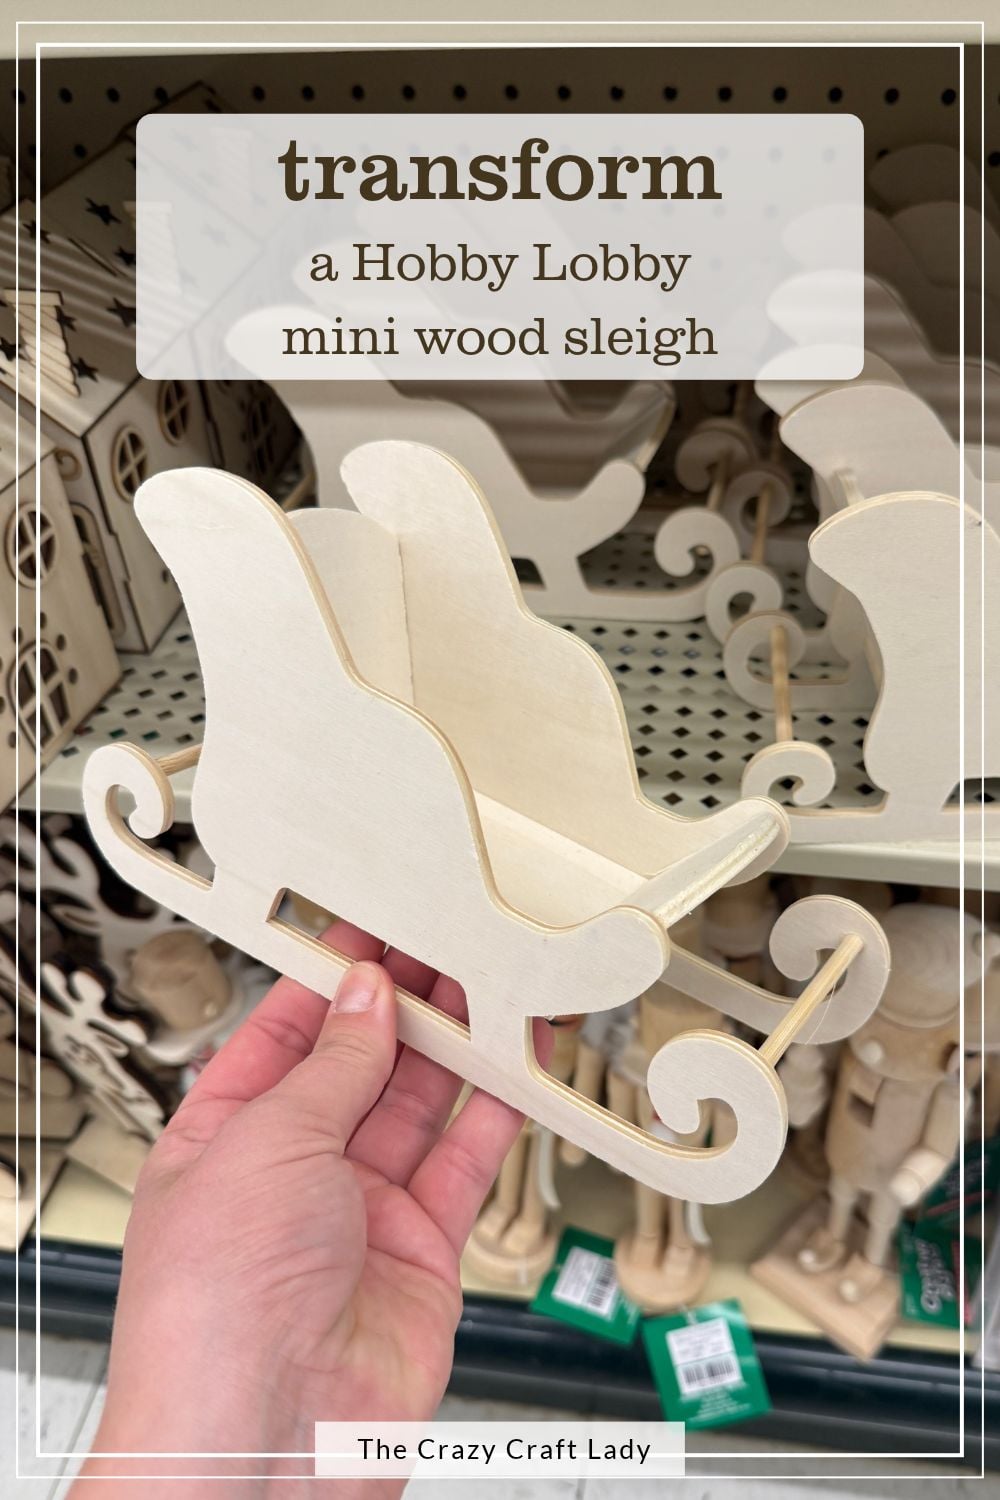
Hey there crafty friends! It’s that time of year at Hobby Lobby when all of the unfinished wood items come out, and I’m on a bit of a string of unfinished wood crafts right now. Today’s pick? A teeny tiny wooden sleigh that measures about 3 x 5 inches.
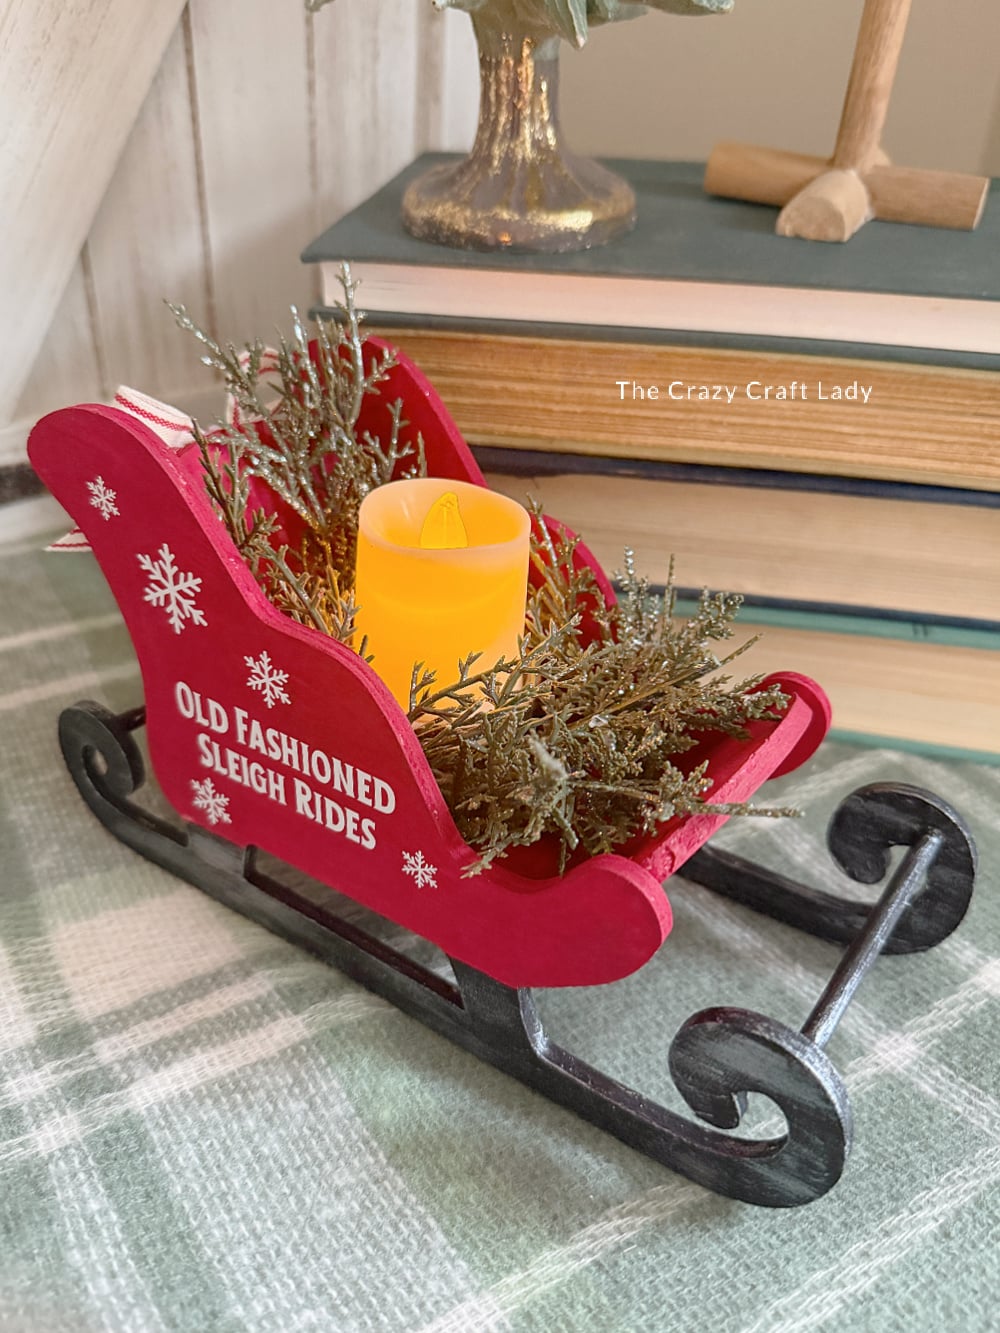
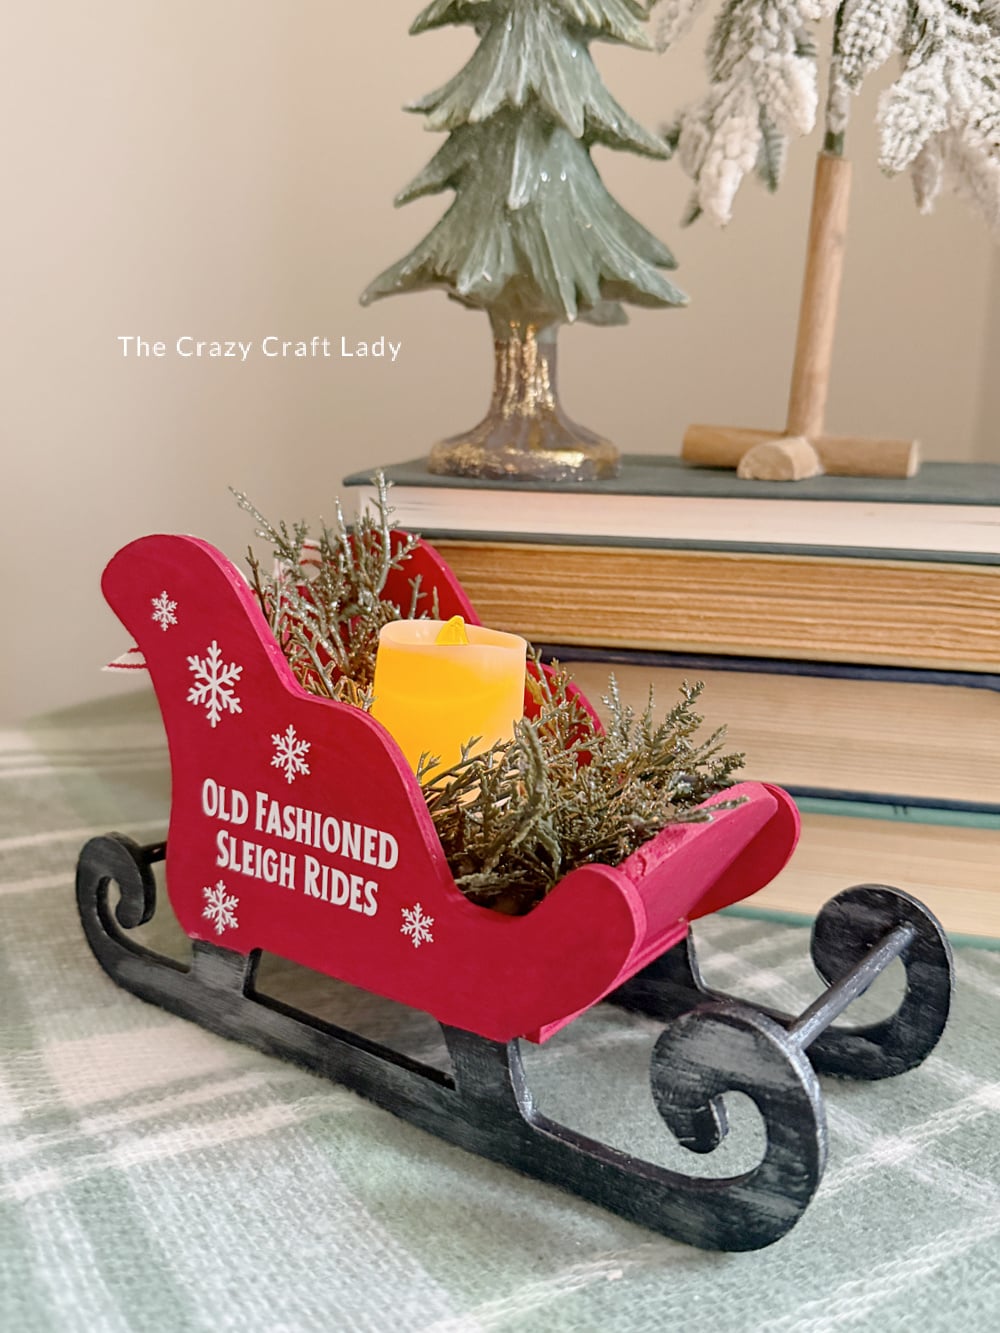
With some classic red paint, dry brushed silver runners, an “old-fashioned sleigh rides” vinyl decal and a little Dollar Tree candle, this wooden sleigh craft turns into the sweetest vintage Christmas shelf sitter.
I designed the cut file for you guys, and it’s a free direct download. No email sign-up or anything. Jump down to grab it here.
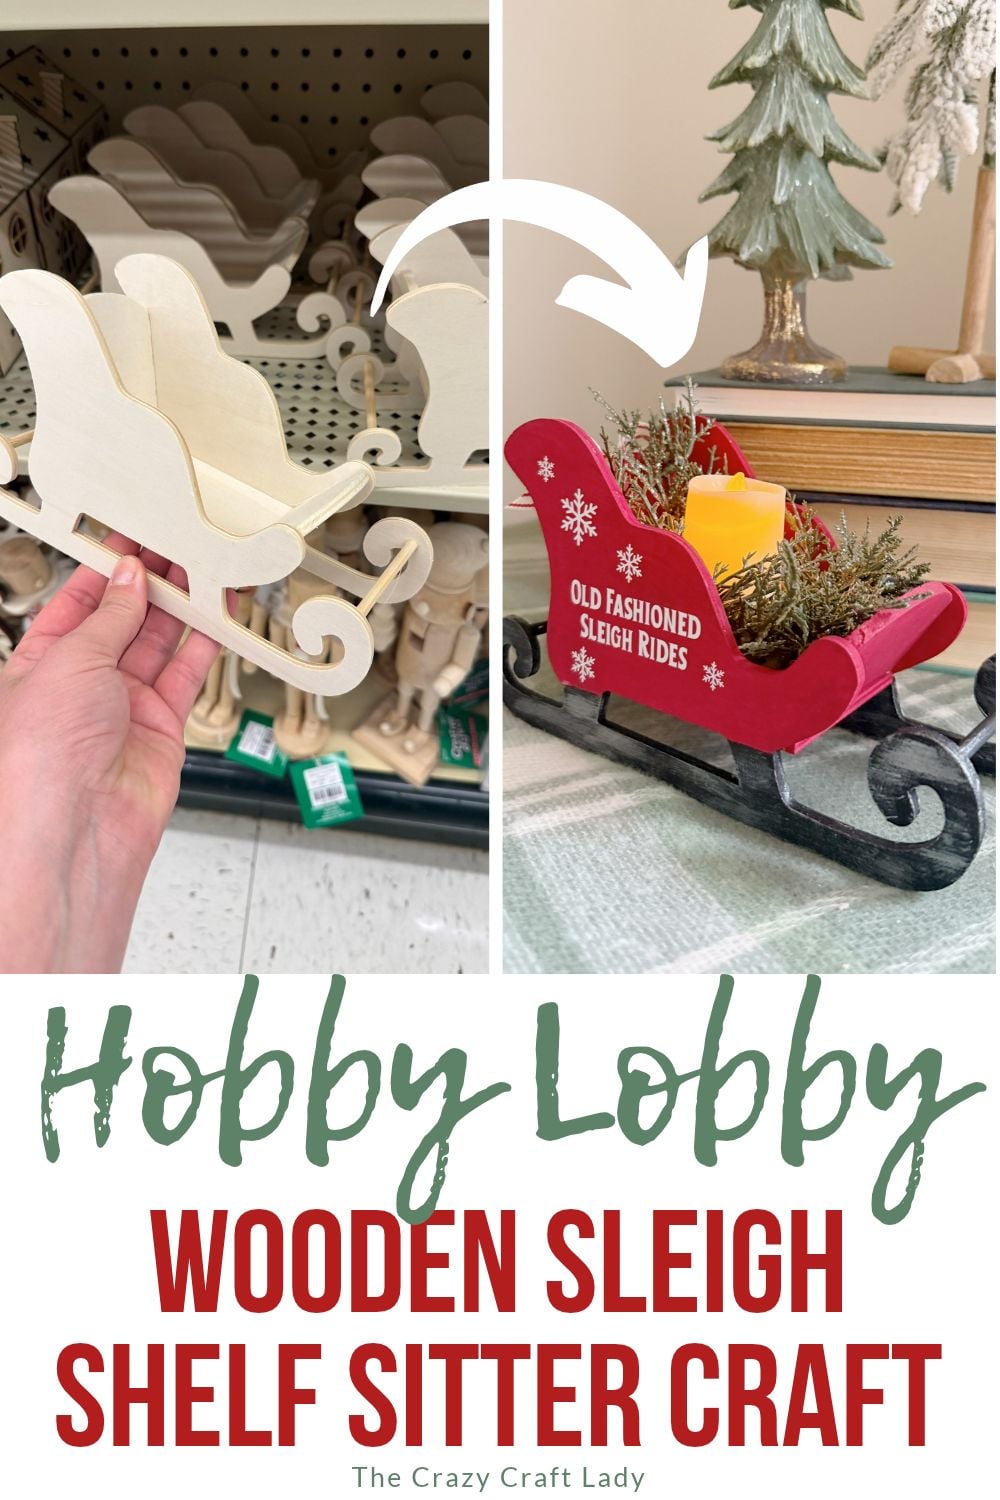
Video Tutorial: Old-Fashioned Wooden Sleigh Craft
Watch me make this little sleigh start to finish in the video below, then keep scrolling for the full photo tutorial and the free cut file.
Why I Love This Little Christmas Sleigh
I love love love a classic red sleigh at Christmas. Cardinal Red paint, cream and red stripe ribbon, a little glittery greenery… it has that old-fashioned, vintage feel without being fussy.
And it’s small, so it fits just about anywhere. Pop it on a bookshelf, tuck it into a tiered tray, or use it as a mini centerpiece. It’s a little Christmas sleigh ride situation, no snow required.
Supplies You’ll Need for This Wooden Sleigh Craft
- Small unfinished wooden sleigh (mine is from Hobby Lobby, about 3 x 5 inches)
- FolkArt Matte paint in Cardinal Red
- Black acrylic craft paint
- Silver acrylic craft paint (or silver Rub ‘n Buff)
- White adhesive vinyl
- Clear transfer tape
- Free “Old-Fashioned Sleigh Rides” cut files (below)
- Cream and red stripe ribbon
- Battery-operated votive candle (Dollar Tree)
- A few 1.5-inch wood rounds
- Glittery faux pine picks (Dollar Tree)
- Mini hot glue sticks
- Cricut or other cutting machine
- 1-inch flat paintbrush
- 1/4-inch flat paintbrush
- Hot glue gun
- Craft scissors
- Scrap piece of cardboard
Pro tip: use a battery-operated candle, not a real one. This sleigh is wood and it’s packed with faux greenery, and fire safety is real, friends.
You can find a bunch of my go-to craft tools in my Amazon storefront.
Grab the Free Old-Fashioned Sleigh Rides Cut File
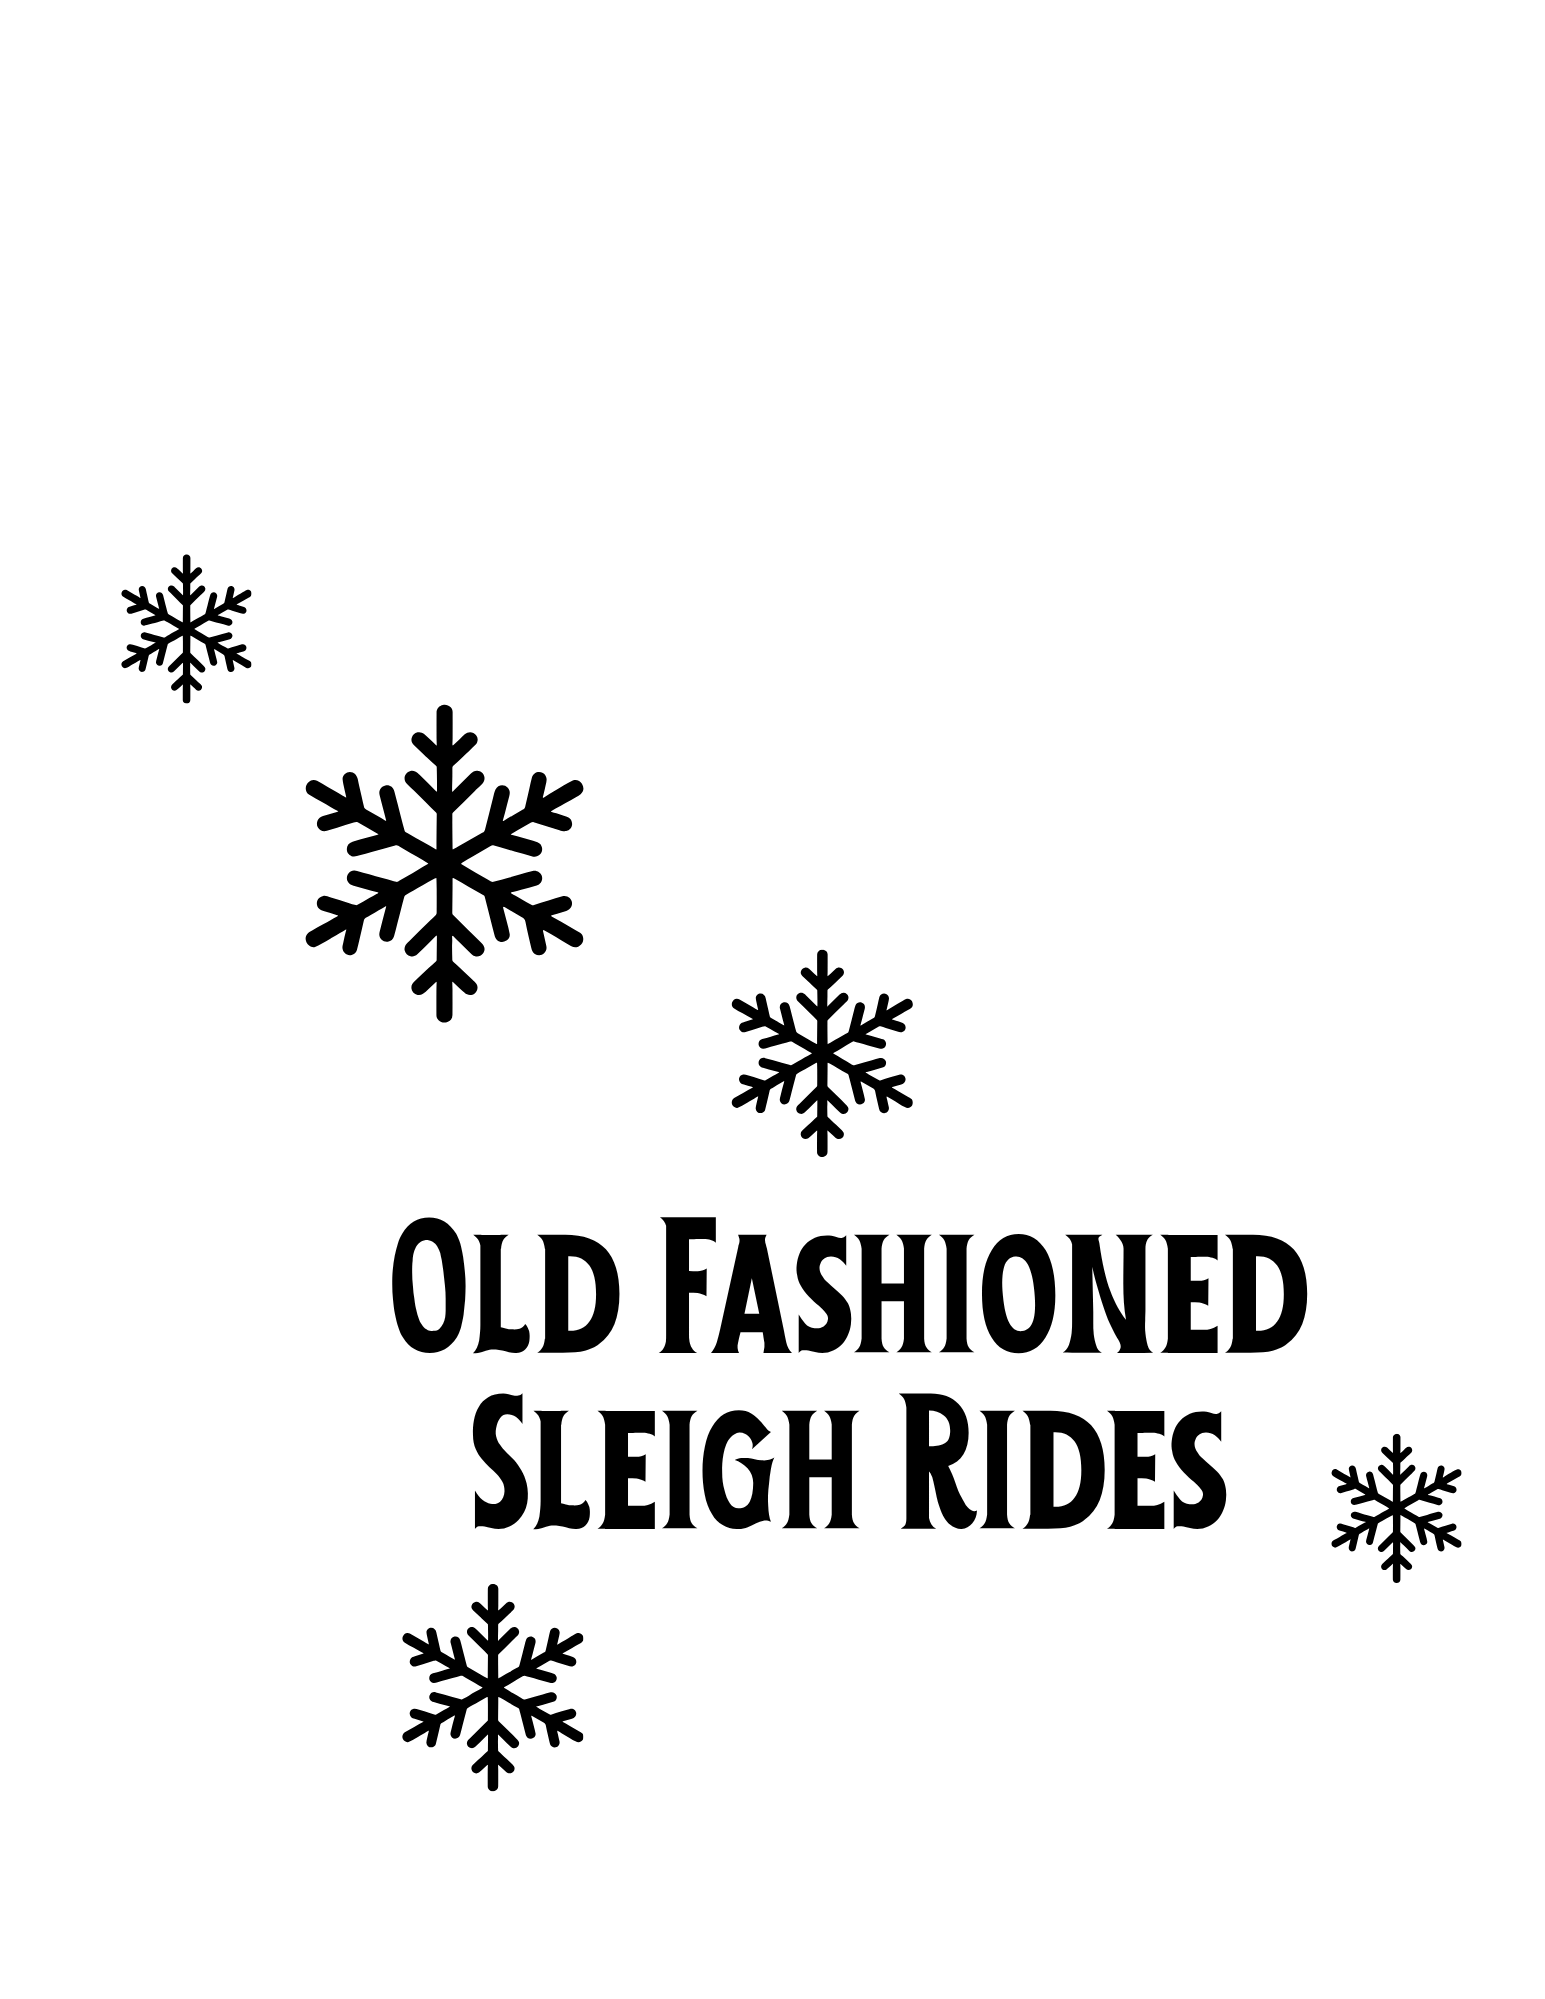
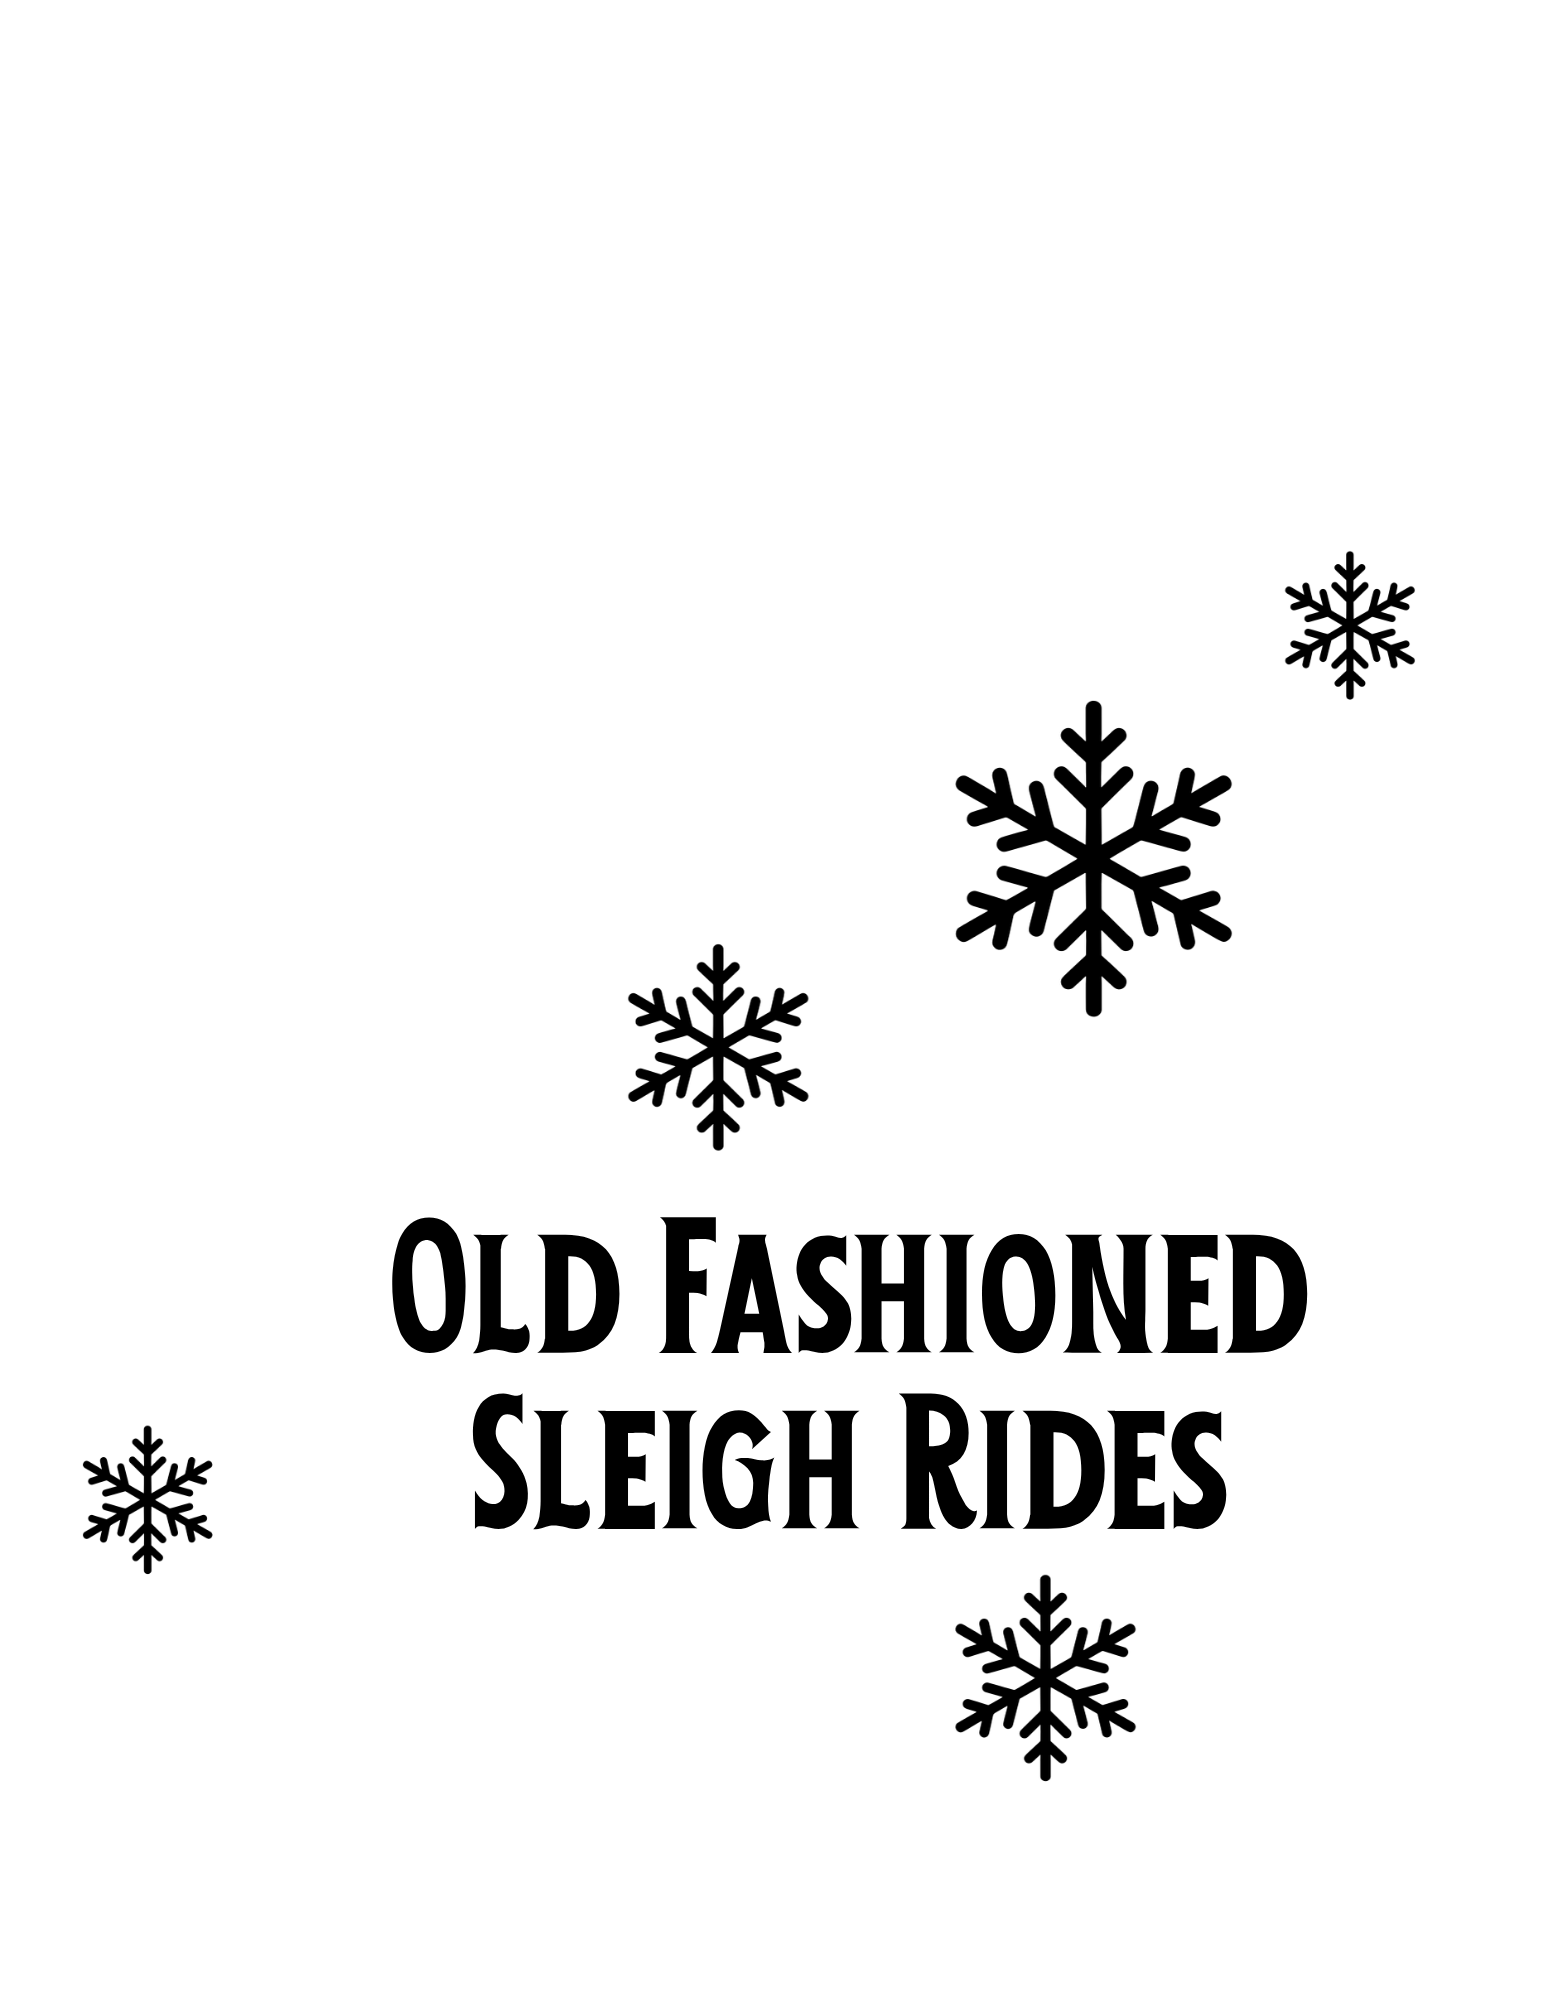
Just press the button and download. There are two files because they’re mirrored, one for each side of the sleigh.
Side note: I’m not super tech savvy with cut files, so these are PNG files with a transparent background, not SVGs. Upload them to Cricut Design Space and you’re good to go.
How to Make a Wooden Sleigh Craft (Step by Step)
Here’s everything we’re crafting with today, all in one spot.
Step 1: Paint the sleigh body red
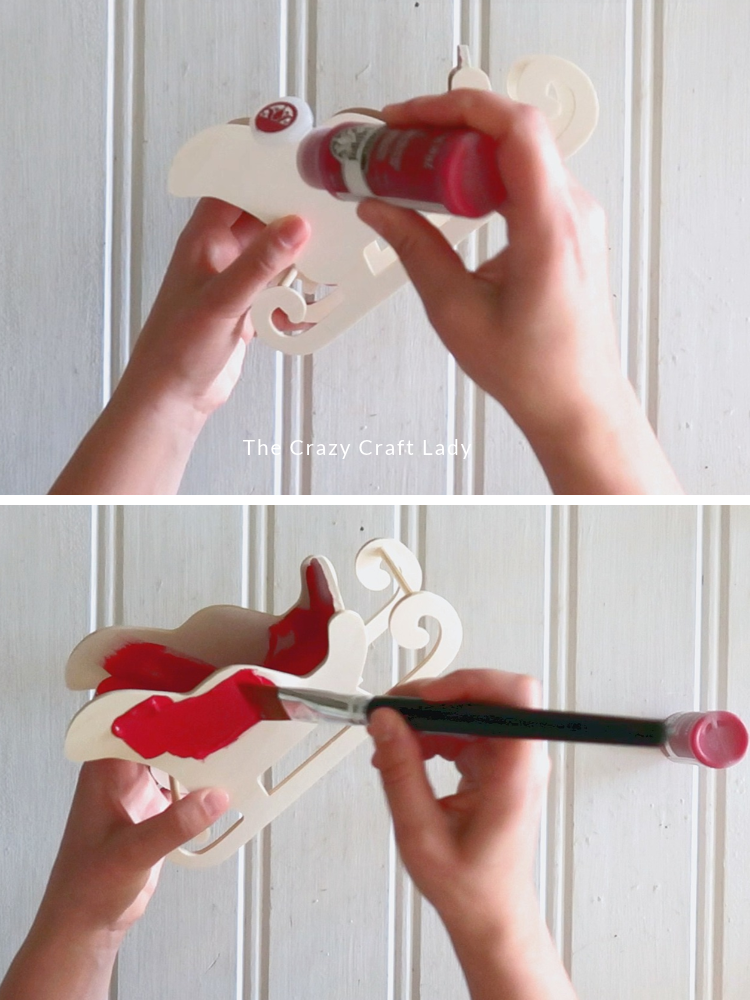
Paint the body of the sleigh with FolkArt Matte in Cardinal Red. It’s a beautiful classic Christmas red, more of a cooler red than a super bright one.
Why wash a paint tray, right? I poured the paint right onto the sleigh and spread it with my 1-inch flat paintbrush. Get all the nooks, crannies and edges, but skip the runners. This takes a minute, so put on a podcast or a Christmas movie, then let it dry.
Step 2: Paint the runners black
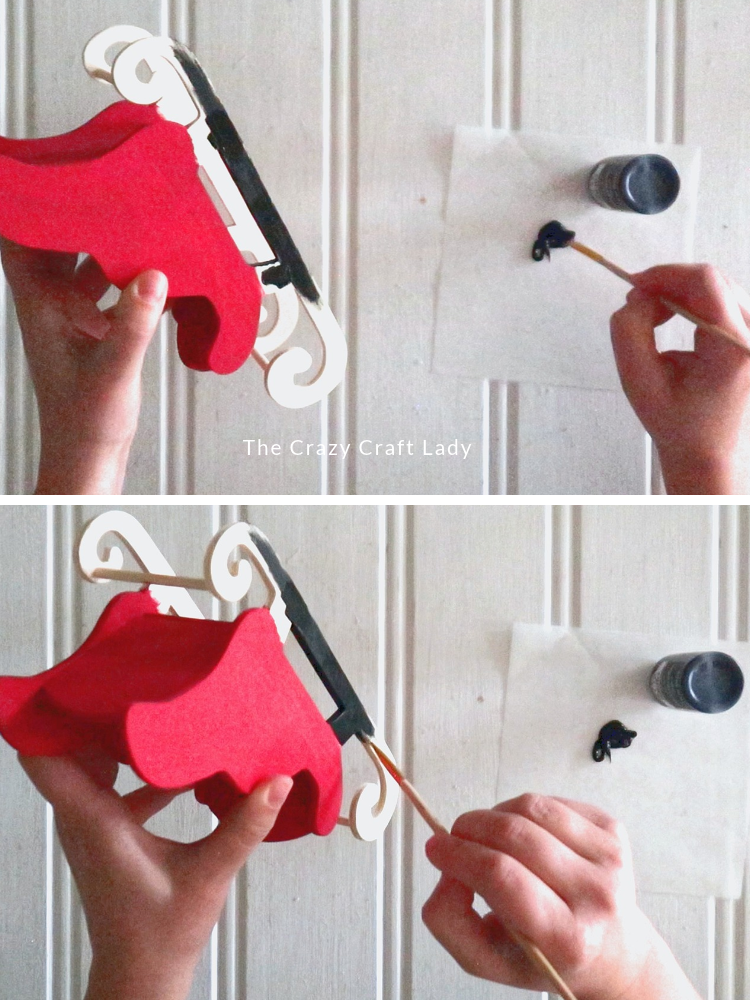
Switch to a 1/4-inch flat paintbrush, since there’s a lot of fine detail on this little sleigh, and paint the runners with plain old black craft paint.
Where the black meets the red, paint a straight line. It doesn’t have to be perfect. Set it aside to dry.
Step 3: Dry brush the runners silver
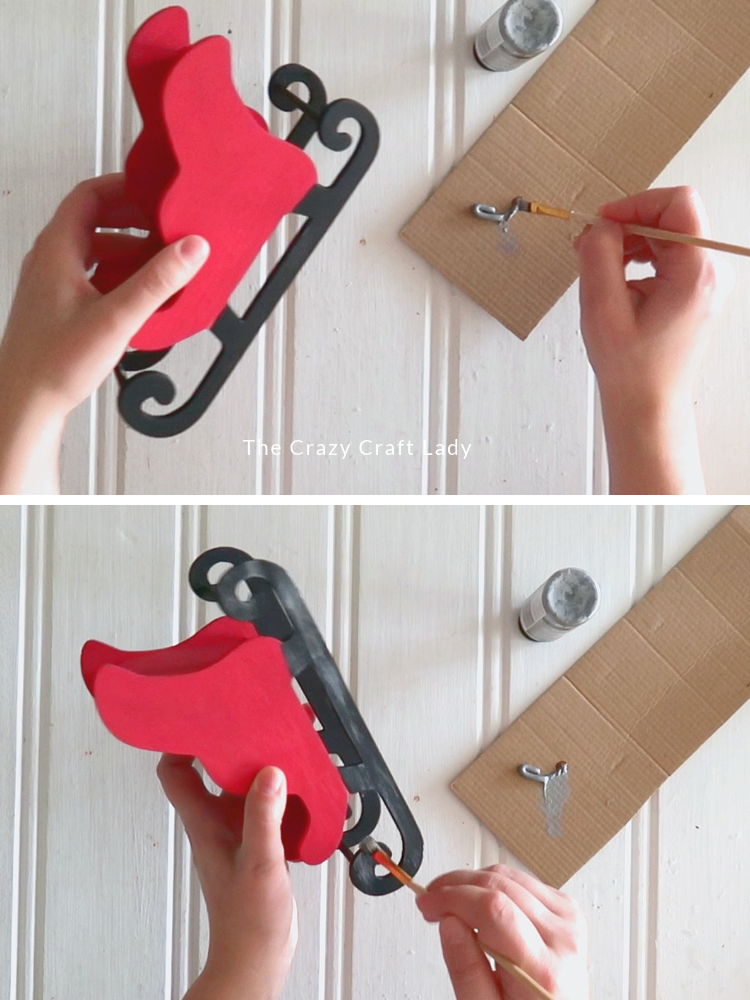
Wash that 1/4-inch brush and grab some silver acrylic craft paint (silver Rub ‘n Buff works too, whatever floats your boat). Load a little paint, tap it off on a scrap of cardboard, then brush back and forth in the same direction.
Keep going until the black is distressed to your liking. Start with less paint than you think, because you can always build up more. Taking silver away means going back in with black paint, which is more complicated.
Step 4: Cut the vinyl decals
Upload the free PNG cut files to Cricut Design Space and cut them out on white adhesive vinyl.
If you’re using this exact Hobby Lobby sleigh, cut each decal at 3.4 inches wide x 3.13 inches tall. Using a different wooden sleigh? You’ll need to resize them to fit yours.
Step 5: Apply the decals to each side
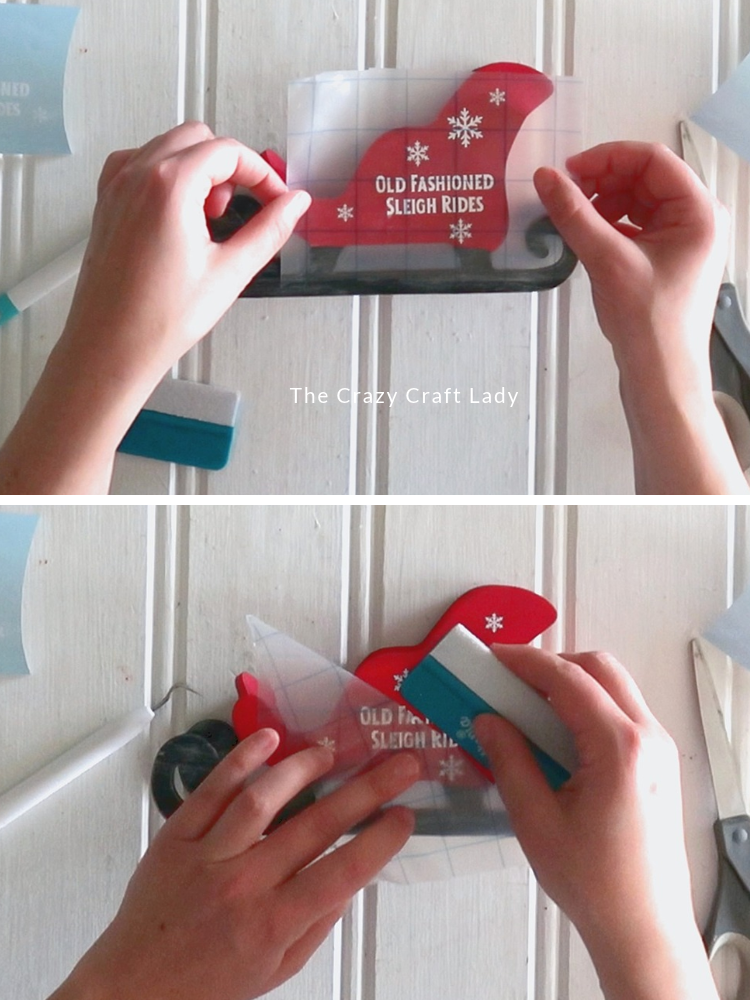
Use transfer tape to smooth the decals onto the sides of the sleigh. The two files are mirrored, so make sure you use the right one for each side.
These are really small and detailed, so be patient and work in small sections at a time until it’s totally transferred over. If you’re newer to Cricut, heat transfer vinyl is sometimes easier to get onto wood with details this tiny.
Step 6: Tie and glue on the bow
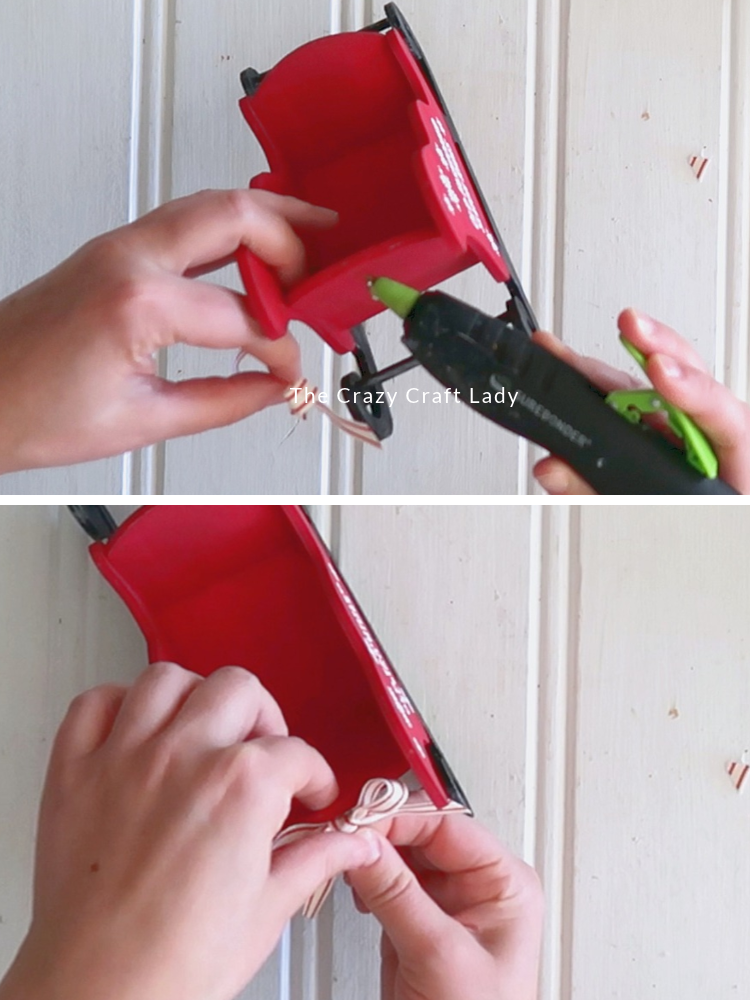
I recently ordered this cream and red stripe ribbon and I love it. It’s got a little vintage feel. Tie a simple bow with the bunny ears method: one loop, two loops, tie them in a knot.
Tiny bows are tricky (I redid my first one). Make sure both tails point down before you tighten the loops, then finagle them until they’re the size you want. Trim the tails at a 45 degree angle and hot glue the bow to the back of the sleigh.
Step 7: Stack wood rounds to raise the candle
My Dollar Tree battery-operated votive was too short to see over the edge of the sleigh. Luckily, I had just reorganized all the little wooden doodads in my craft cabinet, so my wood rounds were front and center.
I stacked a few 1.5-inch wood rounds inside the sleigh until the top of the candle sat higher than the edge. Now you can see it when you look at the sleigh straight on from the side.
Step 8: Fill in with faux greenery
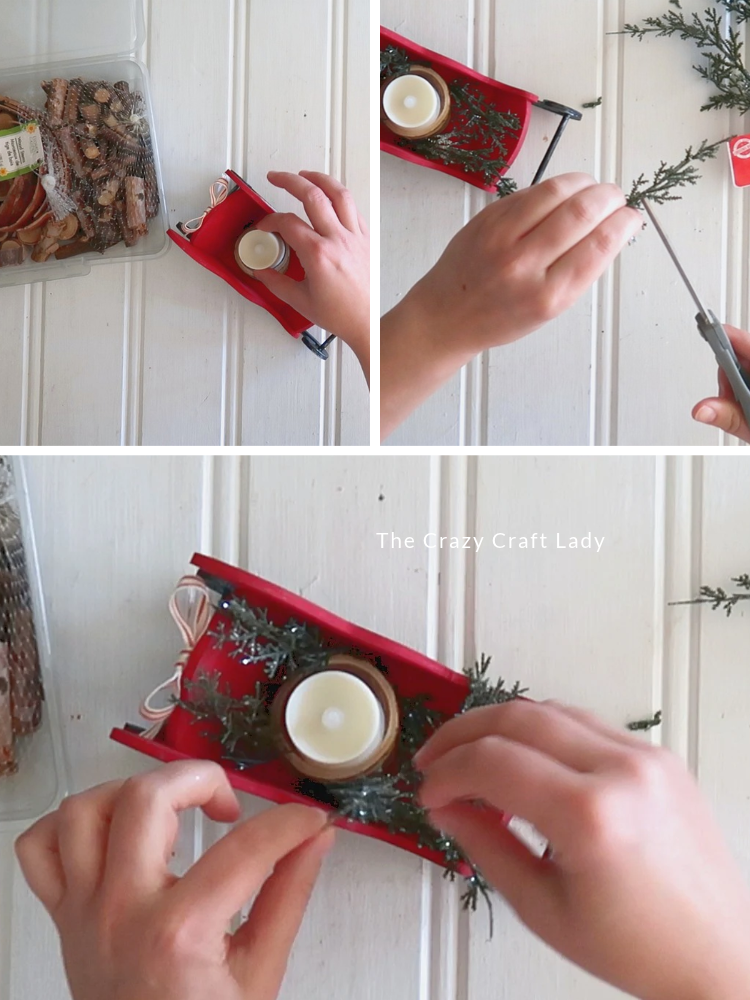
Poke glittery faux pine sprigs from Dollar Tree in around your wood round stack and candle. Some of my sprigs were too long and poked out too far, so I cut them in half.
Keep filling until the candle is surrounded by greenery, then arrange everything until you’re happy with it. Easy peasy.
Ways to Make Your Wooden Sleigh Your Own
- I really wanted a mini bottle brush wreath hanging off the back of the sleigh, but alas, I didn’t have one in my craft stash. If you’ve got one, add it!
- Swap the colors. A cream or white sleigh with silver runners would be so pretty for winter decor you can leave out through January.
- Skip the candle and fill the sleigh with mini ornaments, tiny candy canes or a little bottle brush tree.
- Make a few in different colors and line them up on a mantel or shelf.
Tips + FAQs for This Christmas Sleigh Craft
Where did you get the wooden sleigh?
Mine came from Hobby Lobby, which puts out its unfinished wood items this time of year. It measures about 3 x 5 inches. Any similar small sleigh works; just resize the cut file to fit.
Is the cut file an SVG?
No, it’s a PNG with a transparent background. Upload it to Cricut Design Space like any image. There are two mirrored files, one for each side of the sleigh.
Can I use a real candle?
Please don’t. The sleigh is wood and it’s full of faux greenery, so stick with a battery-operated candle.
Can I use heat transfer vinyl instead of adhesive vinyl?
Yes. With tiny details like these, heat transfer vinyl is sometimes easier to get onto wood. Adhesive vinyl works too if you’re patient and work in small sections.
What if I added too much silver?
Go back in with a little black paint and cover some of the silver. That’s why I always say start with less paint, because it’s easier to build up than take away.
Painted Wooden Sleigh Christmas Shelf Sitter
Turn a tiny Hobby Lobby unfinished wooden sleigh into a vintage Christmas shelf sitter with red paint, dry brushed silver runners, a free cut file and a Dollar Tree candle.
Materials
- Small unfinished wooden sleigh (Hobby Lobby, about 3 x 5 inches)
- FolkArt Matte paint, Cardinal Red
- Black acrylic craft paint
- Silver acrylic craft paint (or silver Rub 'n Buff)
- White adhesive vinyl
- Clear transfer tape
- Free Old-Fashioned Sleigh Rides cut file, side 1 (PNG)
- Free Old-Fashioned Sleigh Rides cut file, side 2 (PNG)
- Cream and red stripe ribbon
- Battery-operated votive candle (Dollar Tree)
- 1.5-inch wood rounds
- Glittery faux pine picks (Dollar Tree)
- Mini hot glue sticks
Tools
- Cricut or other cutting machine
- 1-inch flat paintbrush
- 1/4-inch flat paintbrush
- Hot glue gun
- Craft scissors
- Scrap cardboard
Instructions
1. Watch the video tutorial. Watch the video tutorial above, right here in this blog post, before getting started.
2. Paint the body red. Paint the sleigh body with FolkArt Matte Cardinal Red using a 1-inch flat brush. Skip the runners. Let dry.
3. Paint the runners. Paint the runners black with a 1/4-inch flat brush, making a straight line where black meets red. Let dry.
4. Dry brush. Tap most of the silver paint off on cardboard, then brush the runners back and forth in one direction until distressed to your liking.
5. Cut the decals. Upload the two mirrored PNG cut files to Cricut Design Space and cut them on white adhesive vinyl at 3.4 inches wide x 3.13 inches tall (for the Hobby Lobby sleigh).
6. Apply the decals. Use transfer tape to apply one decal to each side, working in small sections.
7. Add the bow. Tie a bunny ears bow with the striped ribbon, trim the tails at a 45 degree angle and hot glue it to the back.
8. Raise the candle. Stack 1.5-inch wood rounds inside the sleigh and set the battery votive on top so it peeks over the edge.
9. Add greenery. Trim the faux pine sprigs as needed and tuck them in around the candle.
Notes
* Crazy Craft Lady Tip: Start with less silver paint than you think. You can always build it up, but taking it away means repainting with black.
* Use a battery-operated candle only, never a real flame, since the sleigh is wood and filled with faux greenery.
The Finished Old-Fashioned Sleigh Craft
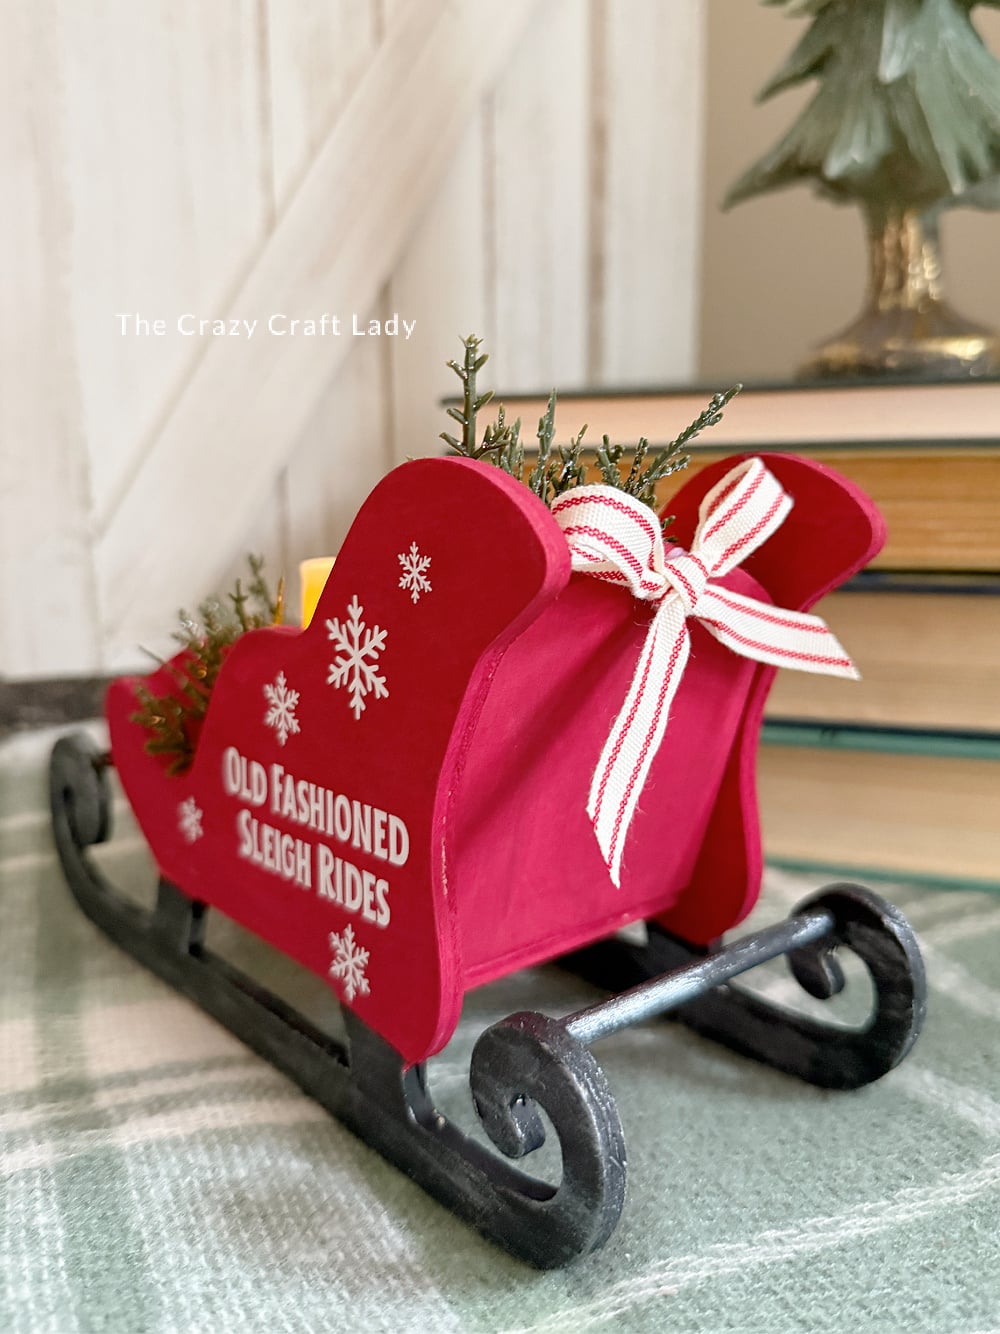
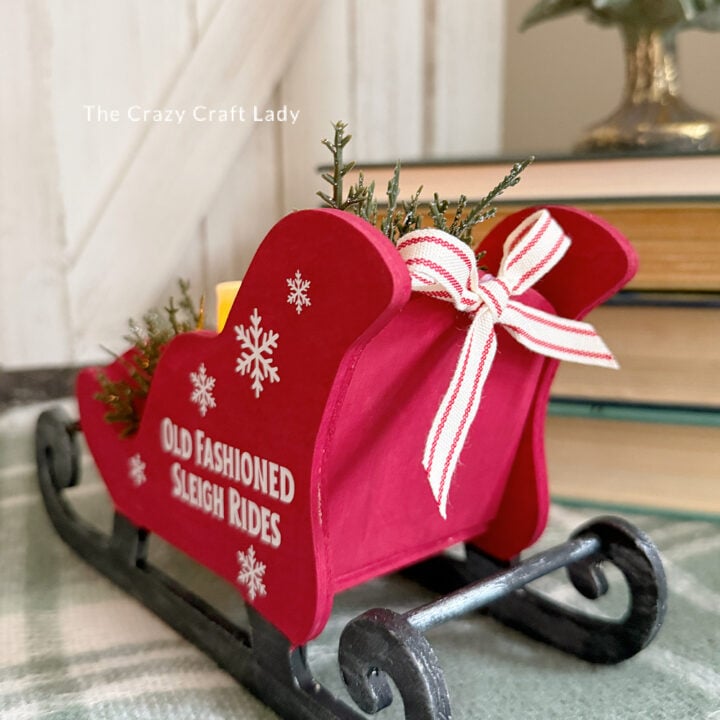
And here’s my little old-fashioned sleigh rides sleigh! It would be great on a bookshelf, a tiered tray, or as a mini centerpiece. Super fun, and so cheap to make.
Where would you put yours: a bookshelf, a tiered tray, or the mantel? Tell me in the comments!
Pin This Wooden Sleigh Craft for Later
More Christmas Wood Crafts You’ll Love
- Napkin Decoupage Wood Stocking Sign
- Rustic Dollar Store Tin Tile Christmas Trees
- Mini Gingerbread Cutting Board Craft
- DIY Christmas Countdown Clock
- Peppermint Burner Cover Ornaments
- 100+ Dollar Tree Christmas Crafts
Raisin (my crafty pup) and I thank you for stopping by. Happy making, friends!