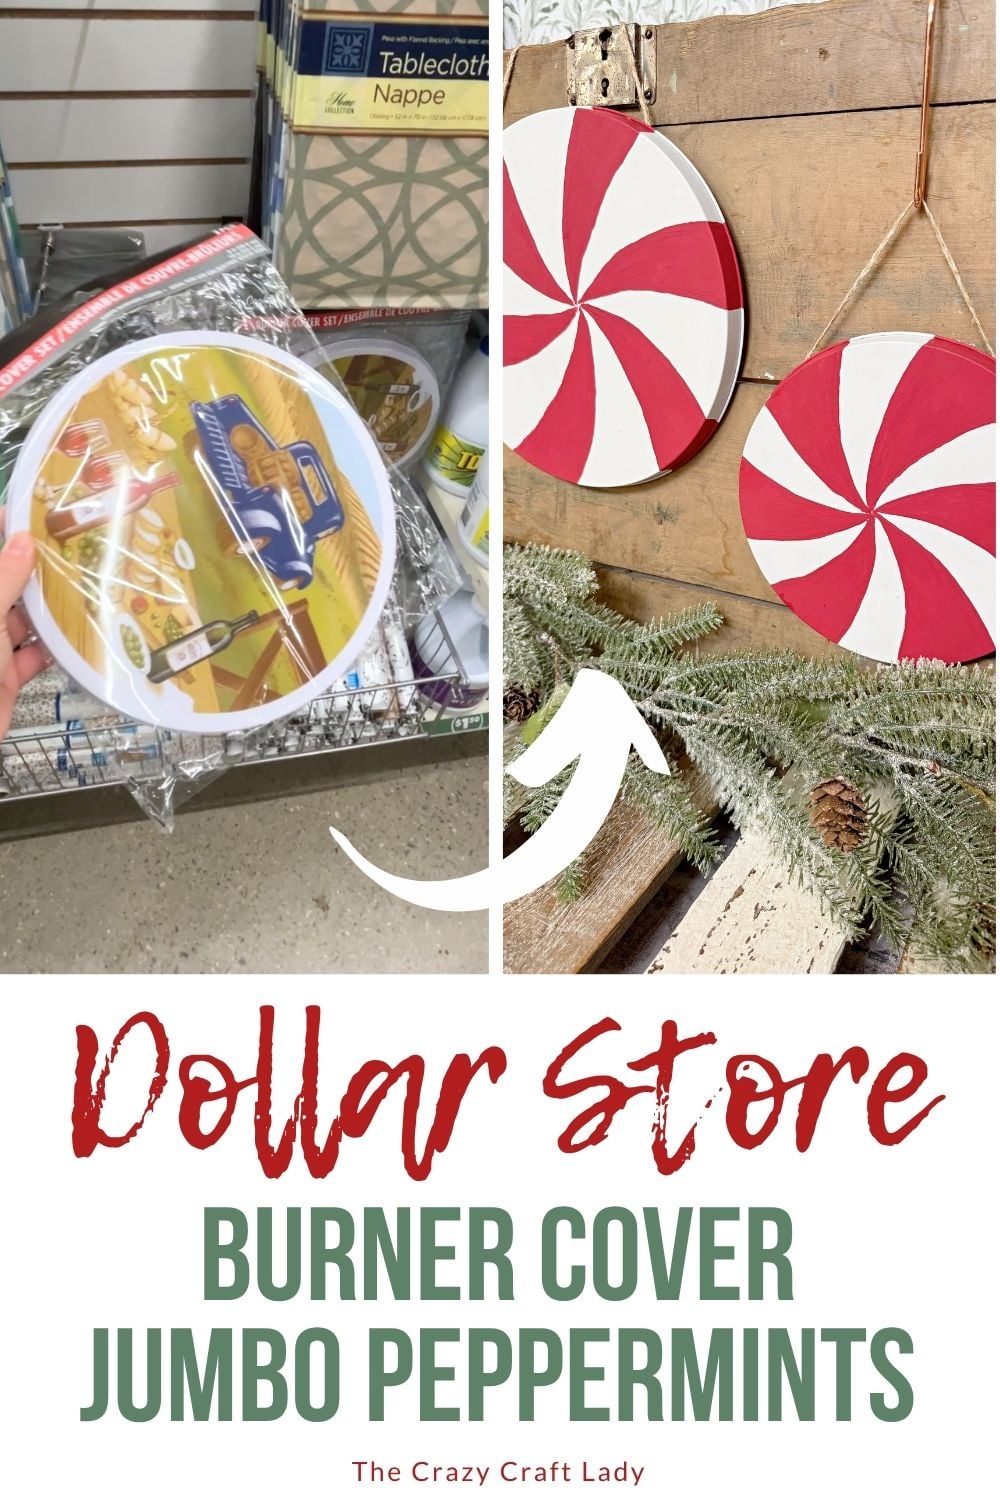
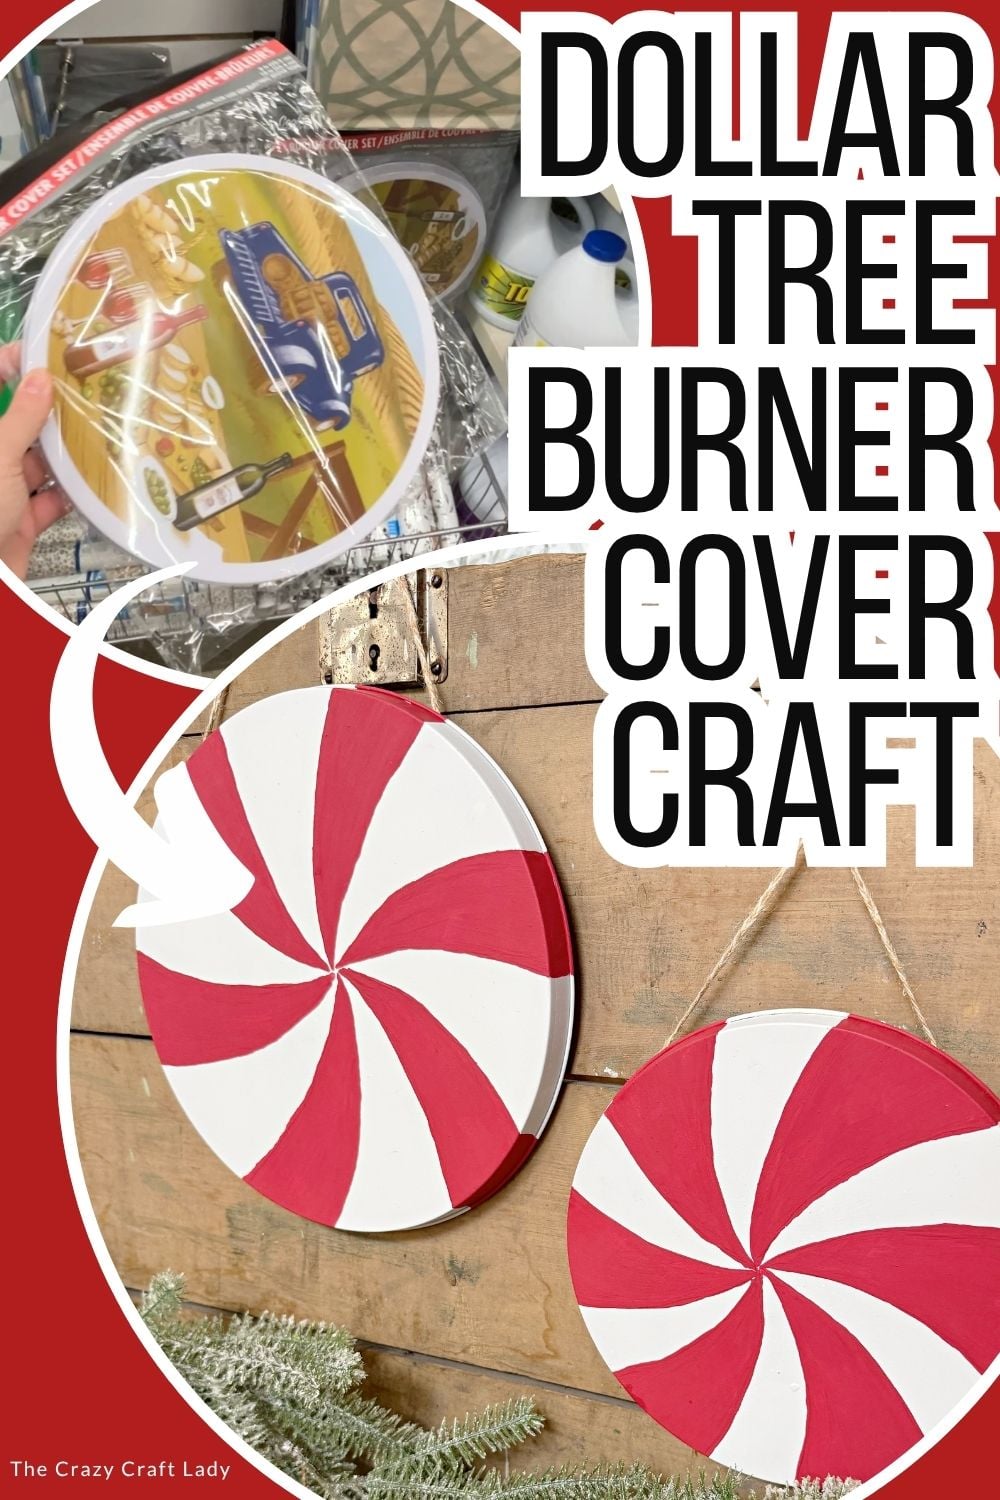
Turn Dollar Tree burner covers into oversized peppermint Christmas ornaments with paint and a free printable template! An easy budget-friendly holiday DIY.
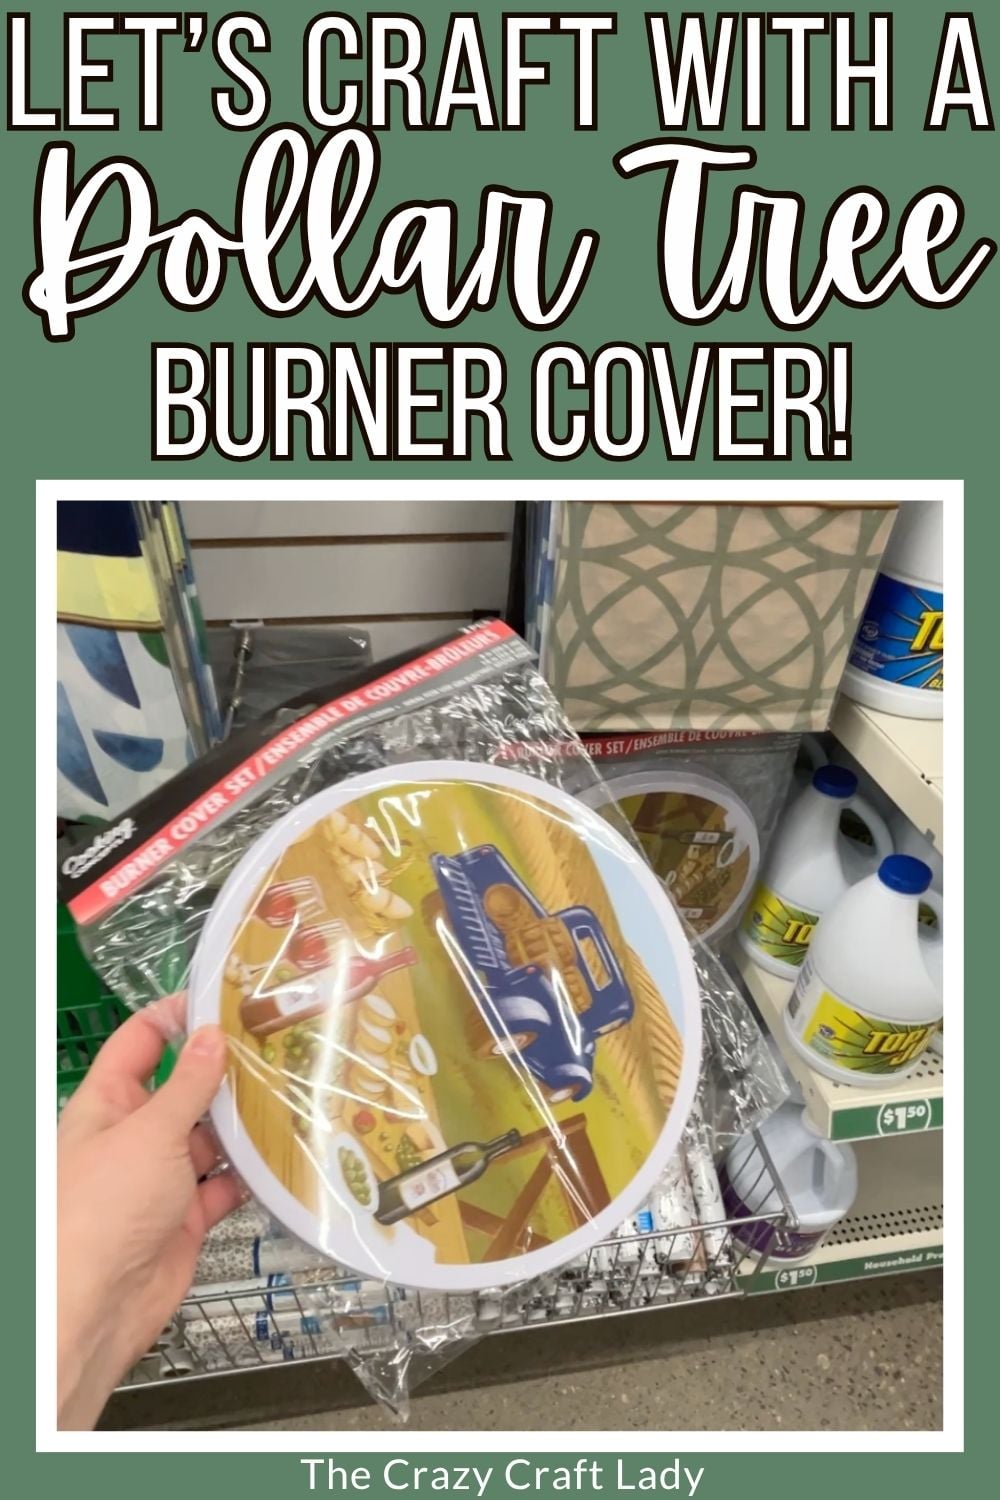
DIY Dollar Tree Peppermint Burner Cover Ornaments
This post contains some affiliate links for your convenience. Click here to read my full disclosure policy.
Looking for a fun way to decorate for Christmas without spending a fortune? These oversized peppermint ornaments are made from inexpensive Dollar Tree burner covers and a little acrylic paint! They’re simple to make, have a charming hand-painted look, and can be displayed on a wall, layered on a shelf, hung from a hook, or even turned into oversized outdoor candy decorations.
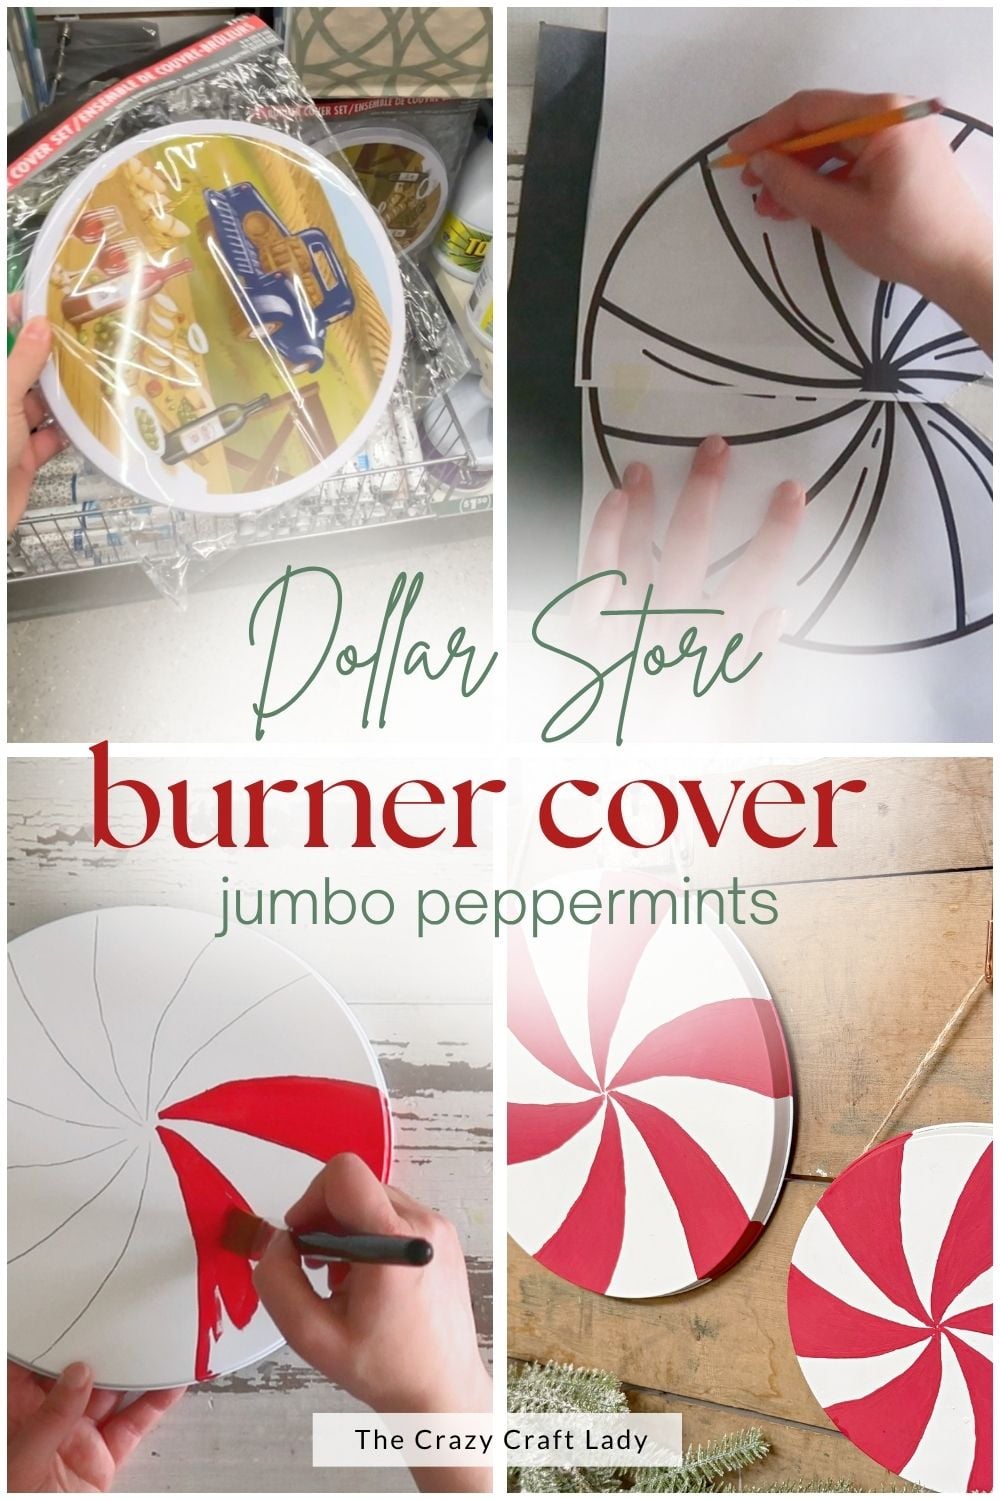
Best of all, I’ll include a free printable template to make painting the peppermint design easy.
Video Tutorial: Peppermint Burner Cover Ornaments
Watch this quick video to see how this craft came together:
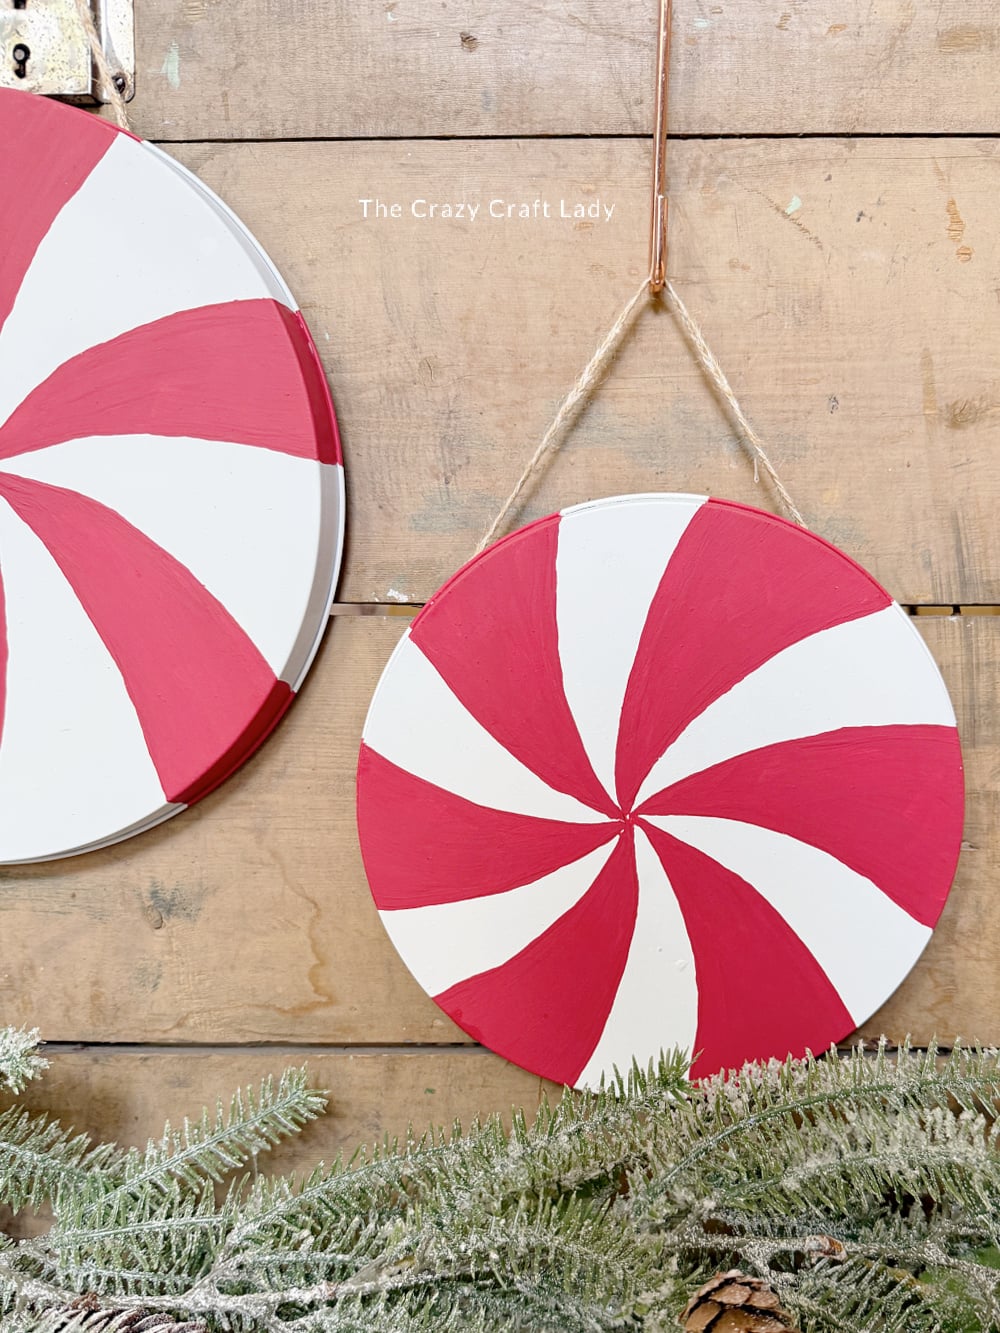
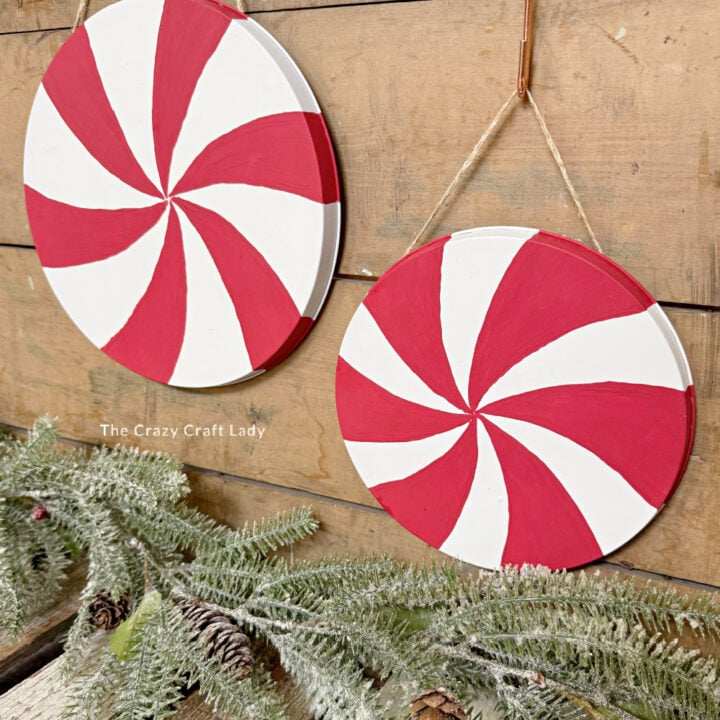
Peppermint Burner Cover Ornaments
Create festive oversized peppermint decorations from inexpensive burner covers. This simple Dollar Tree Christmas craft makes beautiful wall decor or oversized ornaments.
Materials
- Dollar Tree burner covers (small and large)
- White spray paint
- Red acrylic craft paint
- Fine detail paintbrush
- 1-inch flat paintbrush
- Carbon transfer paper
- Free printable peppermint templates
- Pencil
- Braided twine or rope
- E6000 adhesive
- Painter's tape
Tools
- Scissors
- Printer
- Mini heat press or iron (optional)
Instructions
- Watch the Video. Follow along with the video tutorial to see exactly how to create these oversized peppermint ornaments from start to finish.
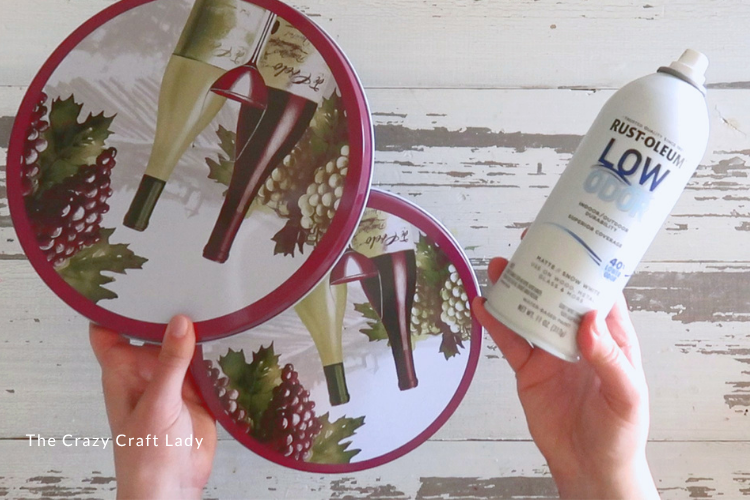
- Paint the Burner Covers. Spray paint the tops of the burner covers white. Allow the paint to dry completely before moving on to the next step.

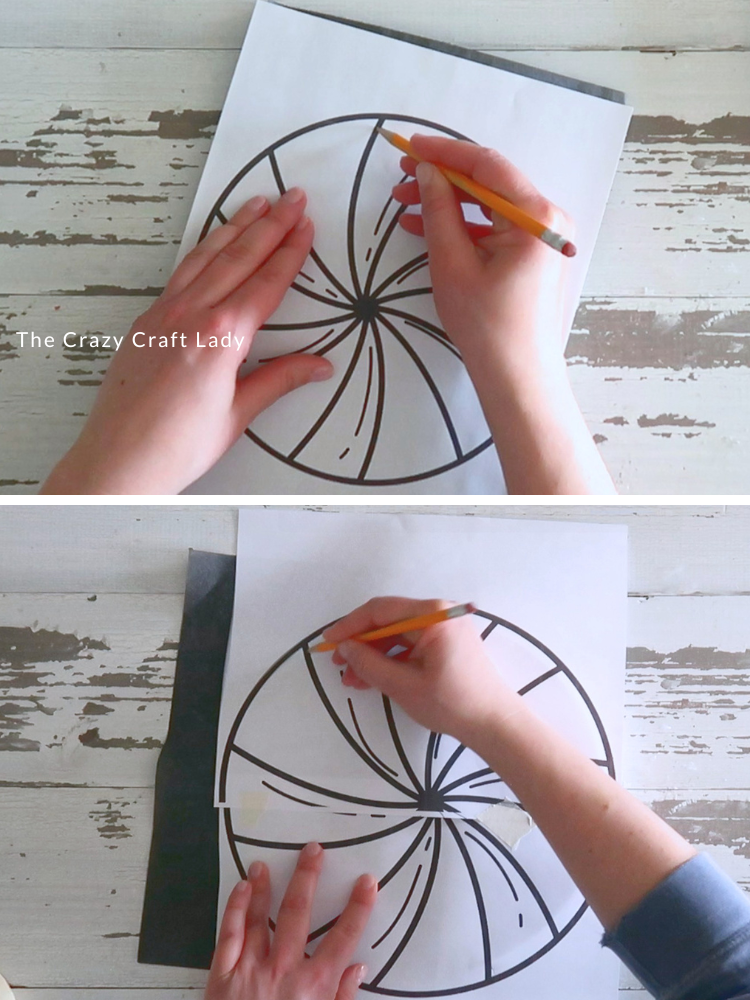
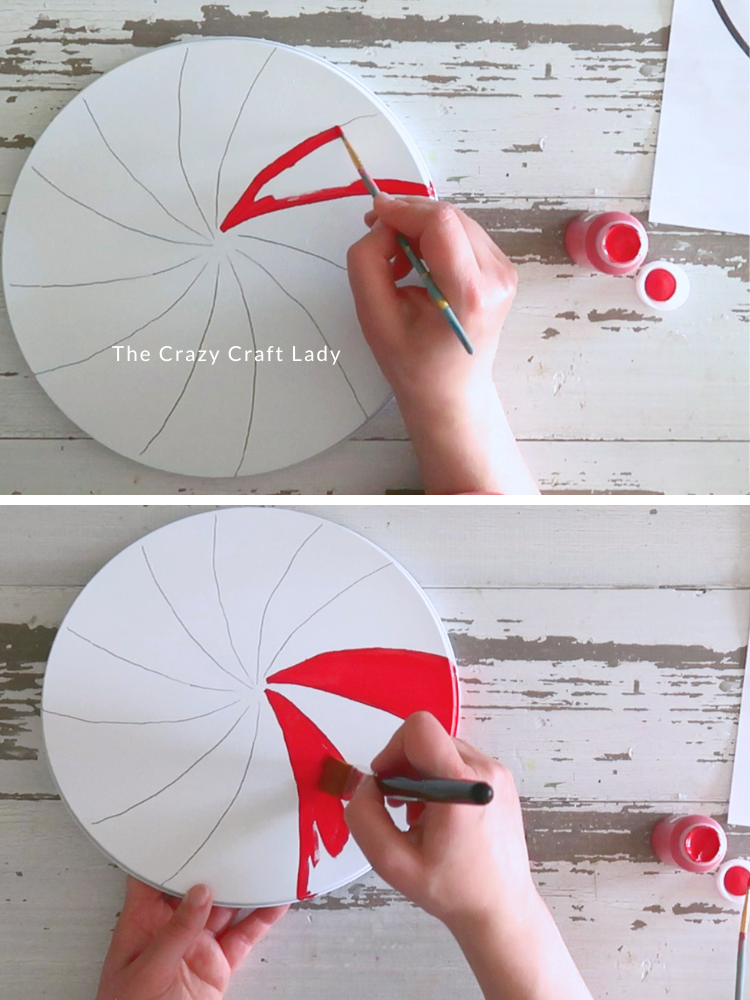
- Transfer the Peppermint Design. Print the free peppermint template and place carbon transfer paper underneath it. Trace all of the peppermint sections with a pencil to transfer the design onto the burner cover. For the large burner cover, tape the two printable pages together before tracing.

- Paint the Peppermint Sections. Use a fine paintbrush to outline each transferred section with red acrylic paint. Then switch to a wider flat brush to fill in the peppermint stripes. Plan on applying a second coat around the edges to fully cover the carbon transfer lines.
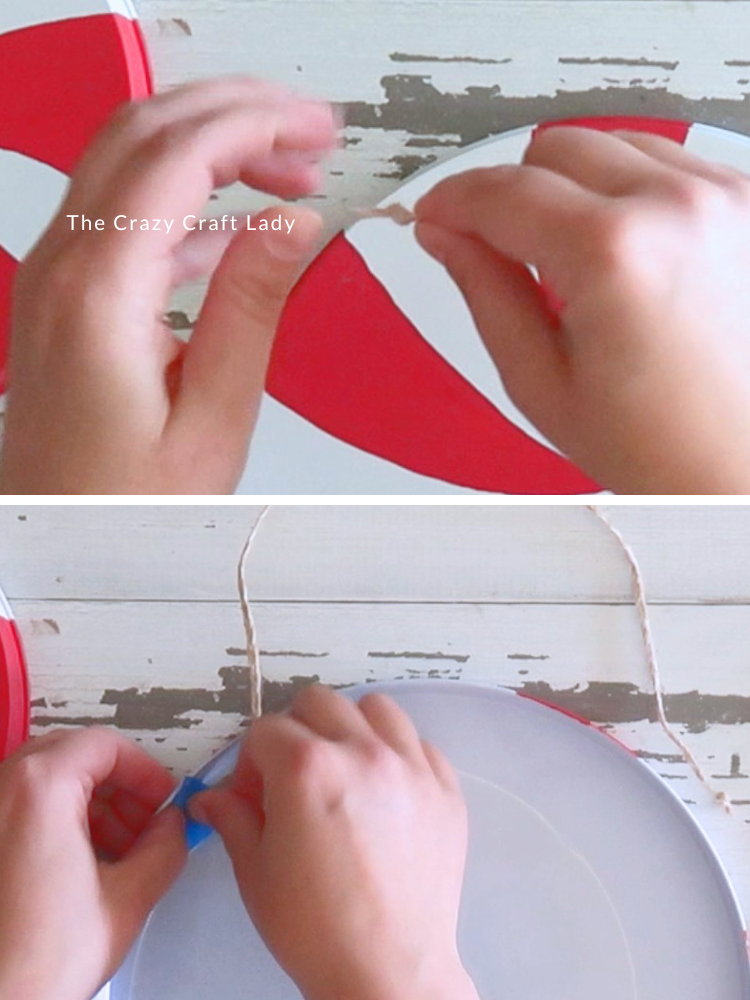
- Create the Ornament Hanger. Cut a length of braided twine for each ornament. If the twine has creases from packaging, smooth it with a mini heat press or iron. Tie a double knot at both ends.
- Attach the Twine. Glue the knotted ends of the twine to the back of the burner cover using E6000. Hold the twine in place with painter's tape while the adhesive cures.
The Finished Peppermint Ornaments
These giant peppermint ornaments make a cheerful statement anywhere you decorate for Christmas. Hang them on a wall, lean them on a shelf, display them as oversized ornaments, or even turn them into peppermint yard stakes with a few wooden dowels.
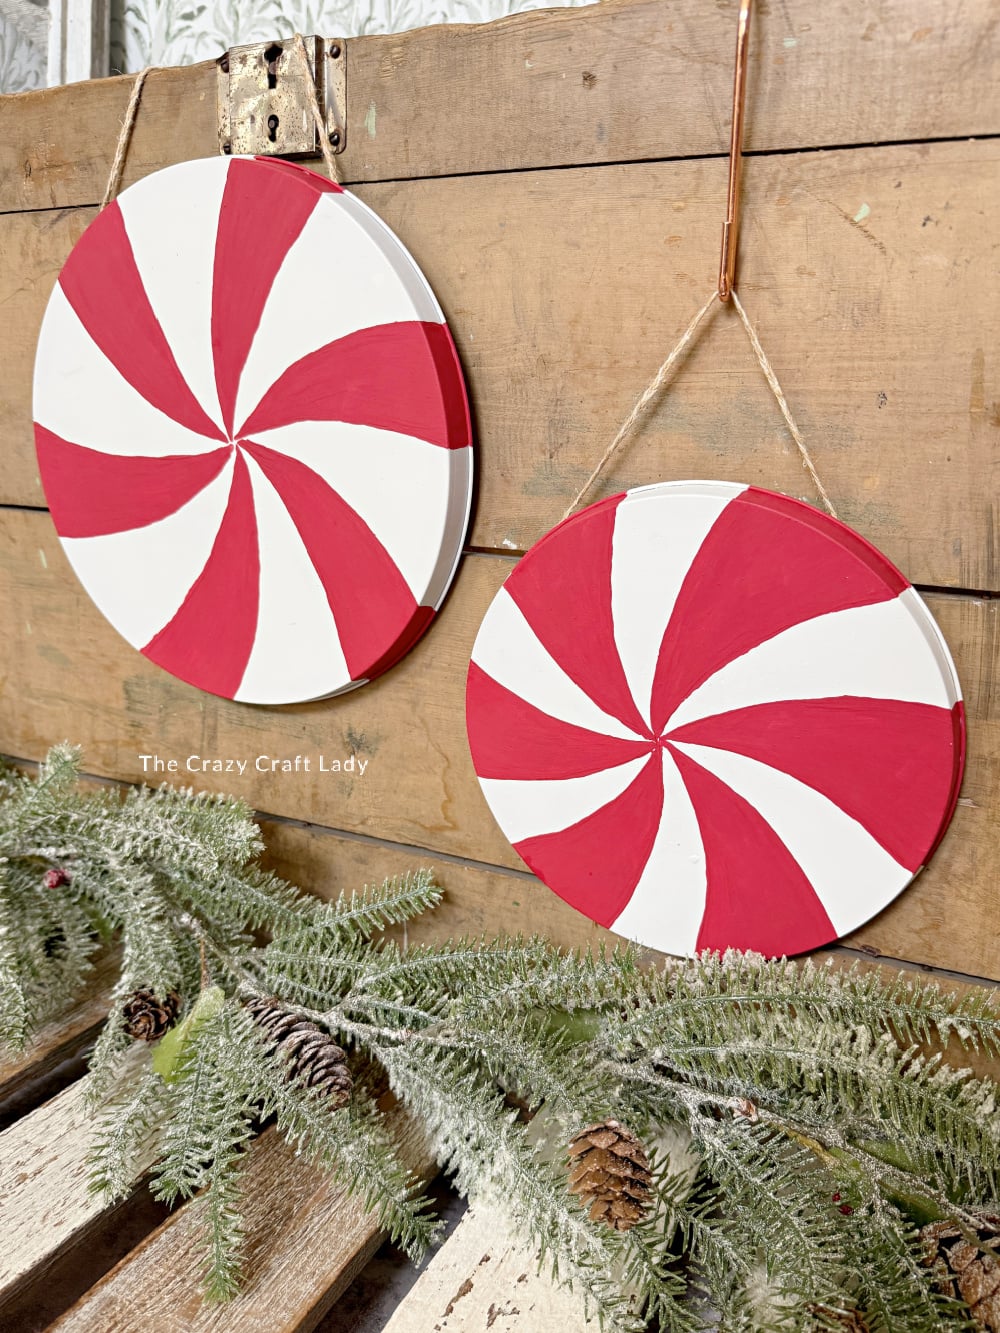
Their slightly hand-painted finish gives them a cozy homemade charm that’s perfect for vintage-inspired holiday decorating.
If you prefer perfectly crisp lines, you could also cut the peppermint sections from red adhesive vinyl with a Cricut instead of painting them—but honestly, I love the handmade look!
PIN this dollar store Christmas craft for later: