
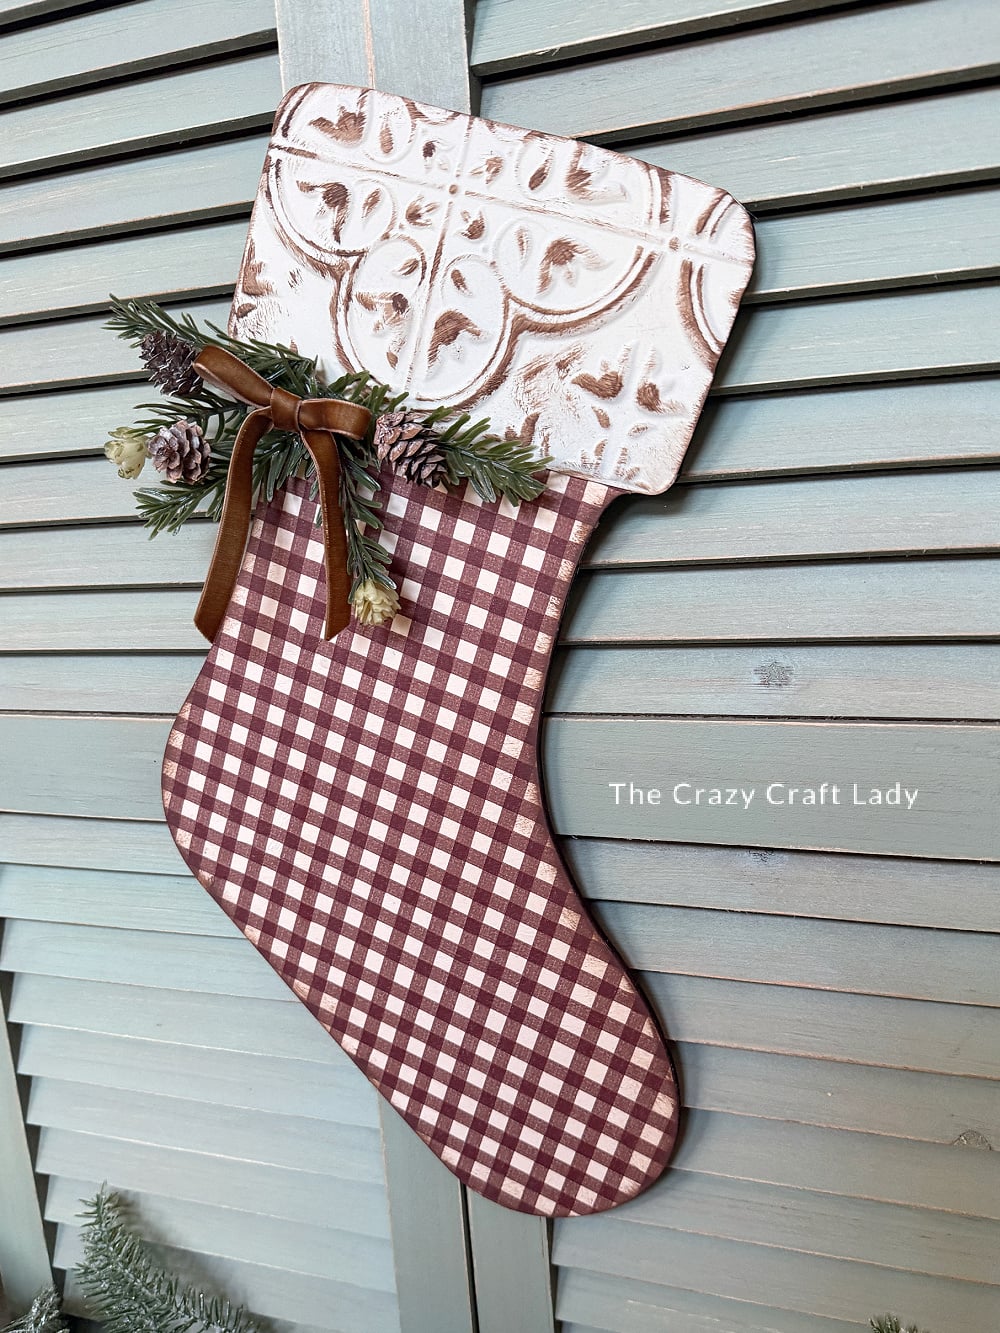
A $2.99 wooden stocking cutout, a Thanksgiving paper napkin and a scrap of Dollar Tree faux tin tile turn into the coziest warm neutral Christmas sign.
This post contains some affiliate links for your convenience. Click here to read my full disclosure policy.
Ok, crafty friends, for my fellow millennials: prepare to gasp. After spending the better part of a decade rejecting everything cream and brown in favor of everything gray and white, I’ve changed my tune. Golden yellows, ochres, browns, creams… I’m loving all of it.
This napkin decoupage wood stocking sign is proof. It started with a paper napkin from the Thanksgiving section at Michaels, a $2.99 Creative Life wooden stocking cutout from Hobby Lobby, and a little piece of Dollar Tree faux tin tile for the cuff.
And just so we’re clear, this isn’t a fabric stocking you hang by the chimney with care. It’s a flat wood cutout sign you can hang on a wall, a door or anywhere you want a little cozy Christmas decor.
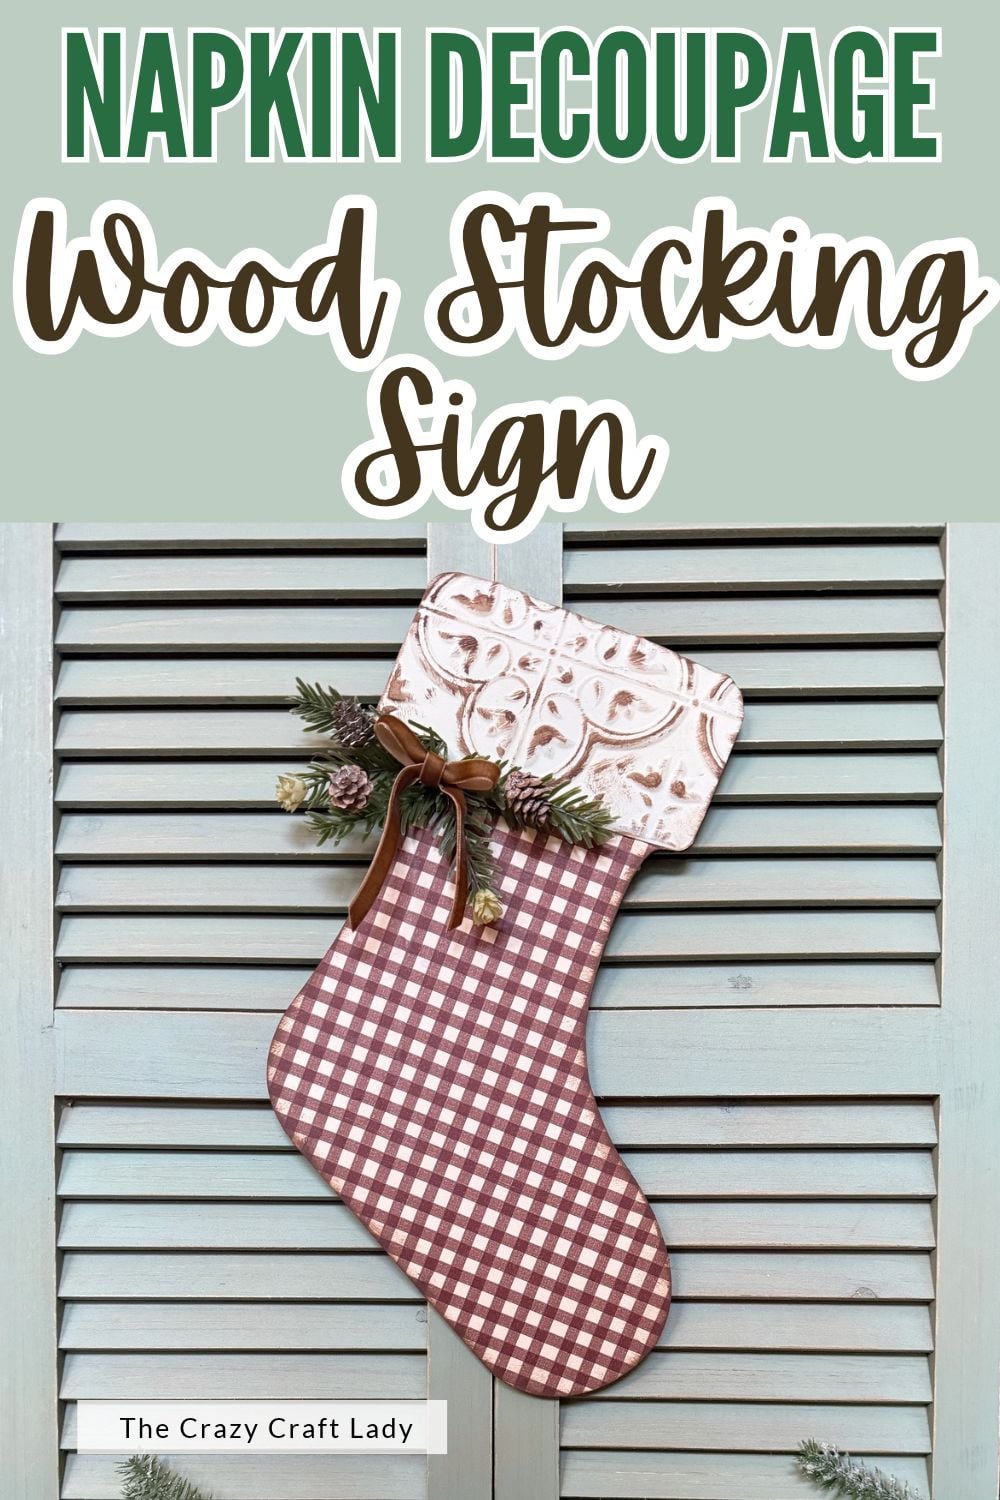
Video Tutorial: Napkin Decoupage Wood Stocking Sign
Watch me make it start to finish, including my three-ply napkin surprise and the velvet ribbon bow trick.
Why I Love This Warm Neutral Christmas Craft
That napkin. Look at it! The golds, browns and creams are what got me into this whole warm color palette situation in the first place.
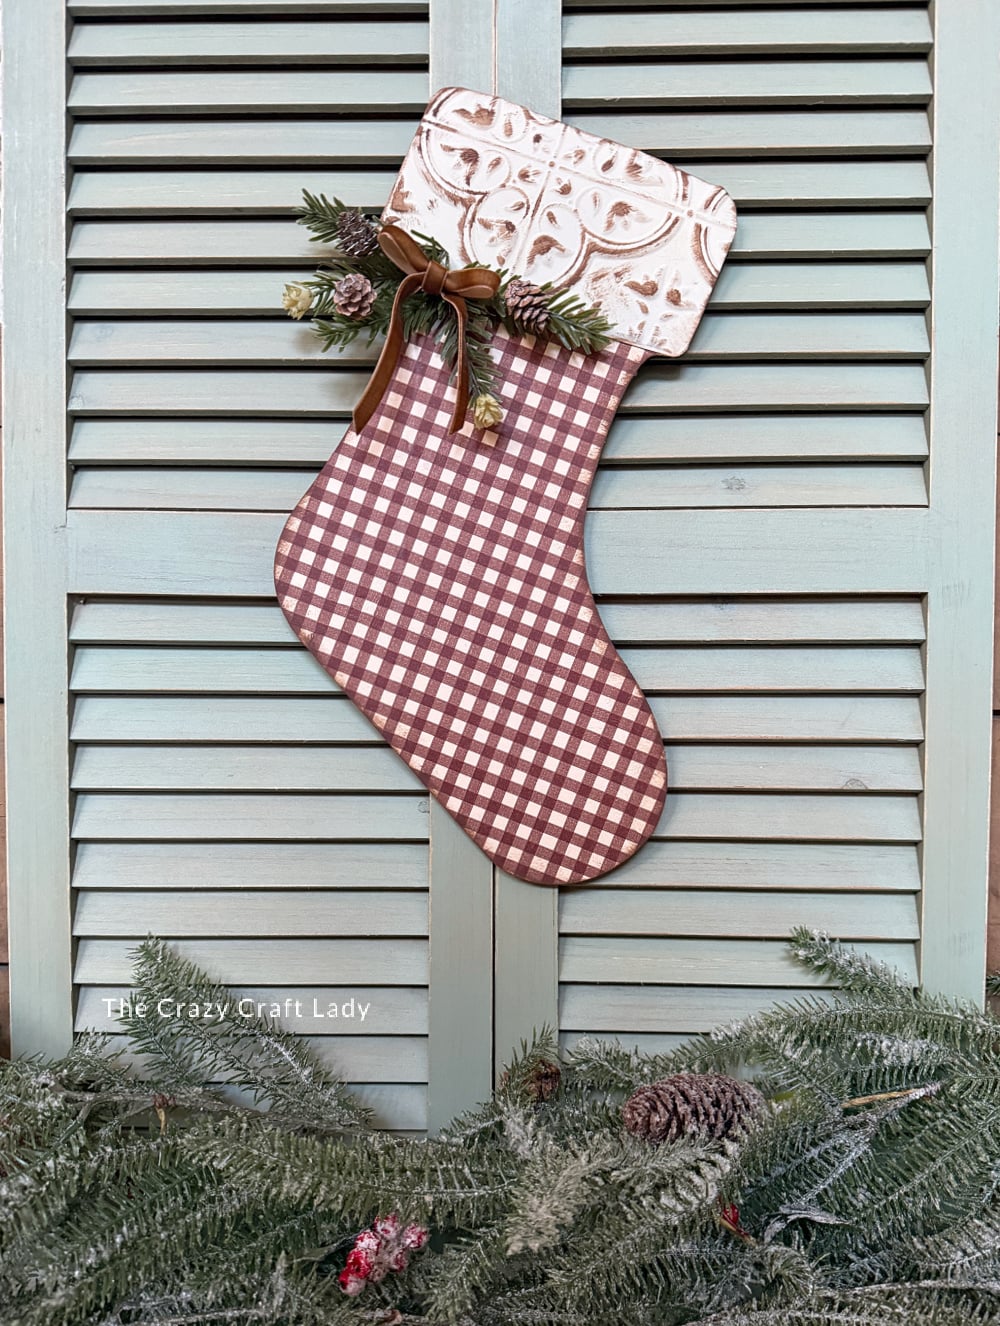
I also love that napkin decoupage hides a multitude of sins. My wood stocking had a blemish right in the middle, and once the napkin went on, you’d never know. If you’ve seen my paper napkin decoupage crafts, you know I’m a little obsessed.
Supplies You’ll Need
- Paper napkin (mine is from the Thanksgiving section at Michaels)
- Wooden stocking cutout (Hobby Lobby Creative Life)
- FolkArt Matte paint in Vintage White
- FolkArt Matte paint in Coffee Bean
- Mod Podge (I used the Dollar Tree version, but matte Mod Podge works too)
- Painter’s tape
- Parchment paper squares
- Dollar Tree faux tin tile
- Fine-tip Sharpie
- Behr chalk spray paint in Chiffon Cream (Home Depot)
- Clean dish sponge
- E6000
- Mini hot glue sticks
- Faux greenery sprigs
- Mini pine cones
- 1/4 inch velvet ribbon
- Sawtooth hanger or Command strip
- Paintbrush
- Mini heat press
- Mini sanding tool
- Craft scissors
- Hot glue gun
Pro tip: Check how many plies your napkin has before you start. Dollar Tree napkins are usually two-ply, but nicer napkins (like this Michaels one) can be three-ply. TJ Maxx, Marshalls, HomeGoods and Hearth & Hand at Target are great napkin sources too, especially on clearance.
You can find my heat press and all my other go-to craft supplies in my Amazon storefront.
How to Make a Napkin Decoupage Wood Stocking Sign (Step by Step)
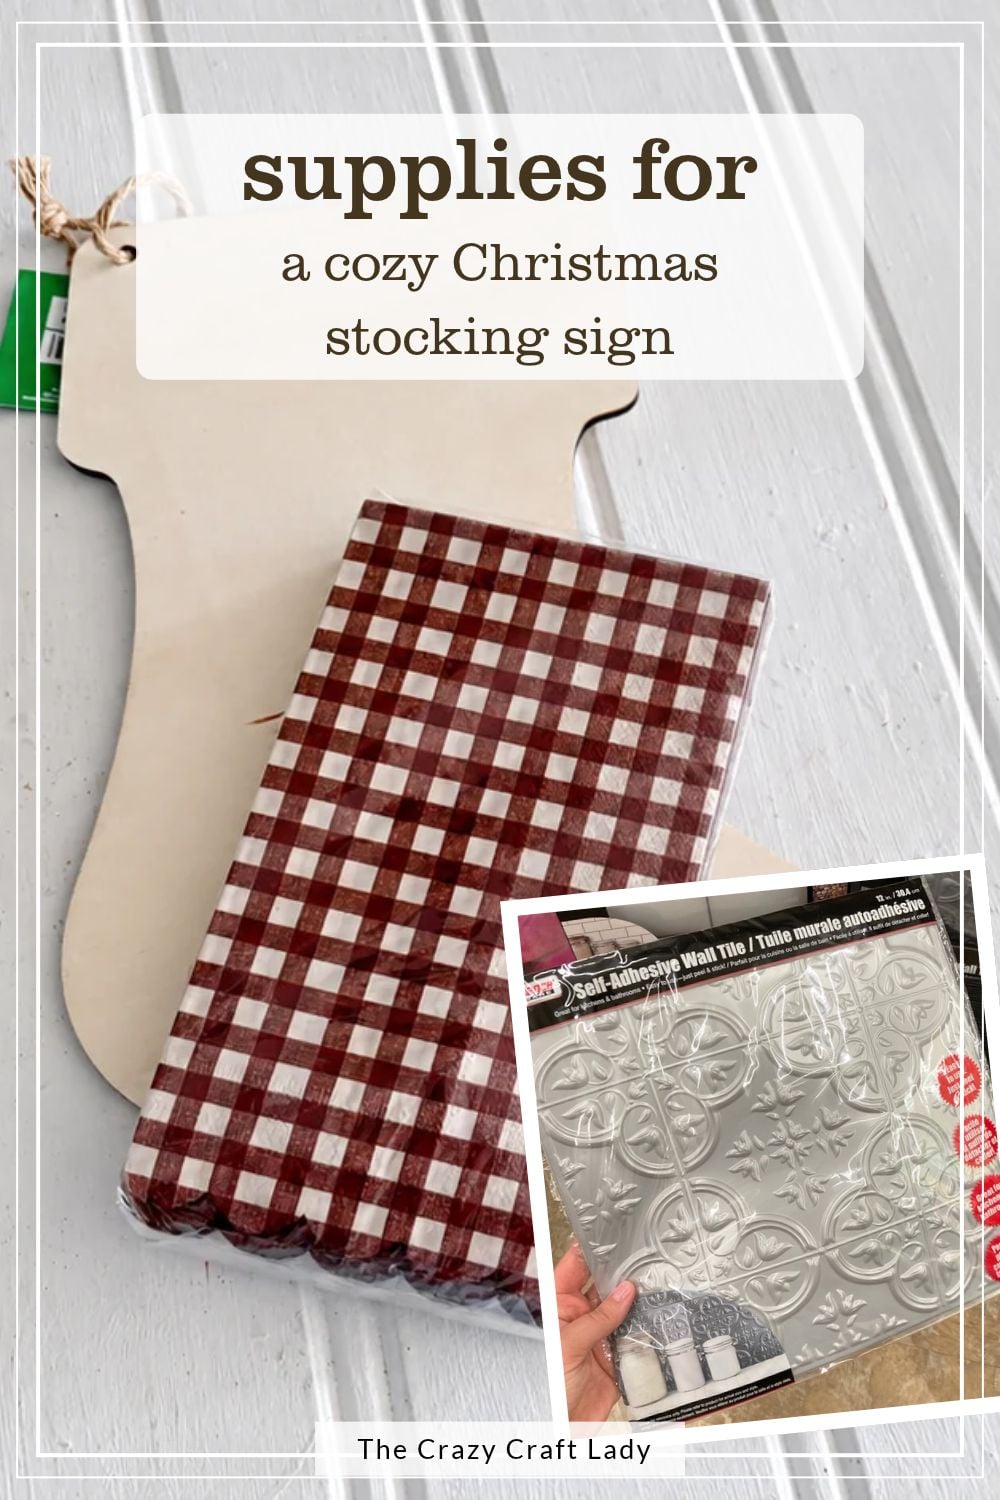
Step 1: Paint the wood stocking
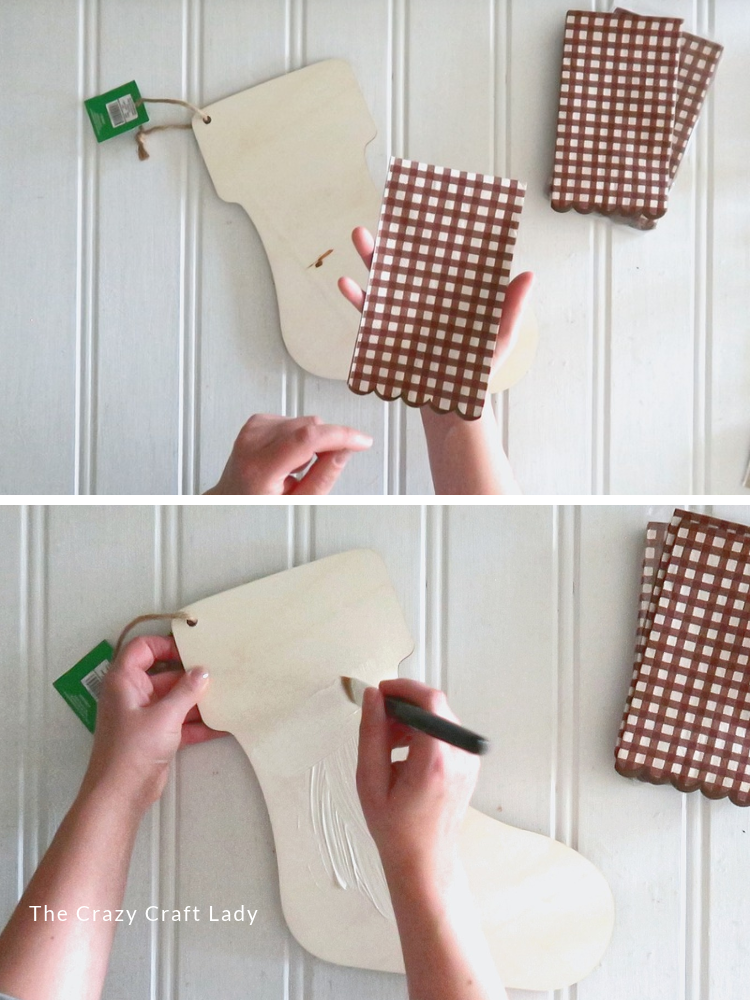
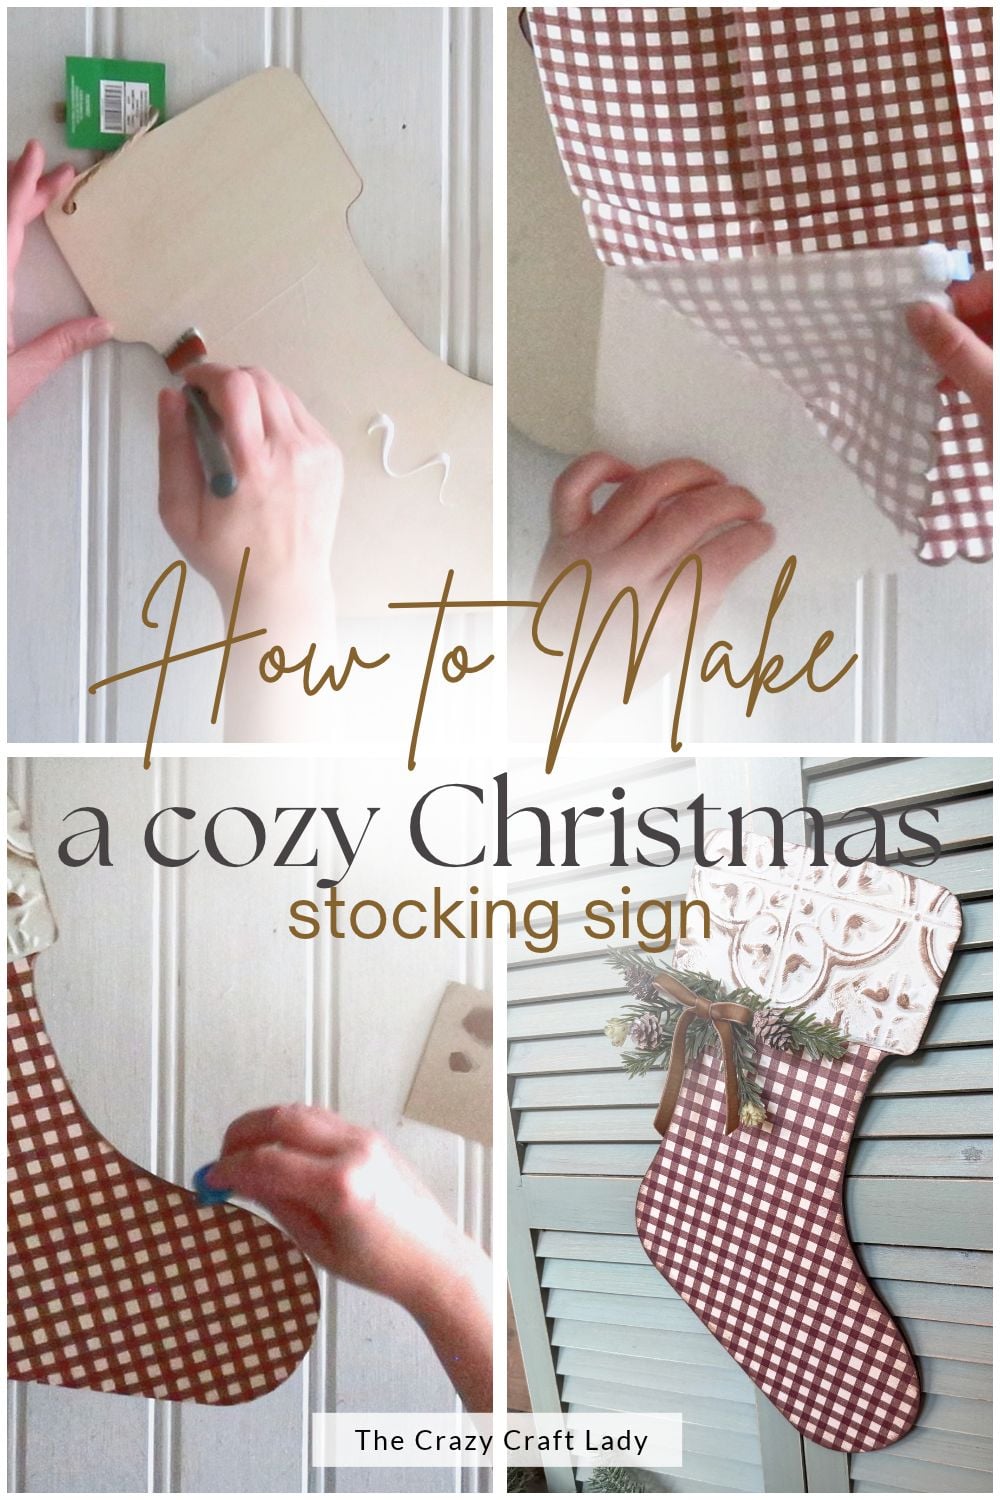
My stocking cutout had a little blemish, so I gave the bottom part a quick coat of FolkArt Matte paint in Vintage White. It’s really close to the color of the wood, and it gives such good one-coat coverage.
Go thickest right over the blemish and thinner toward the edges. It doesn’t need to be perfect, since the napkin covers most of it. Skip the cuff area, because the tin tile goes there later.
Step 2: Add a base coat of Mod Podge
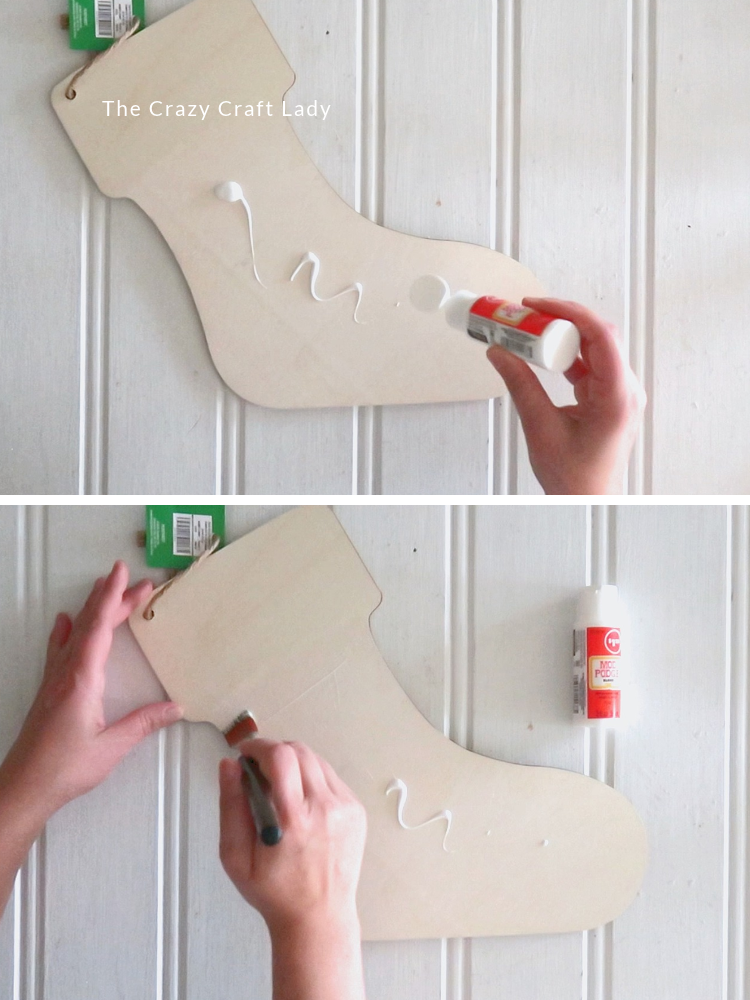
Brush a generous but even coat of Mod Podge over the bottom of the stocking (not the cuff). This is the undercoat, so satin, gloss or whatever you’ve works.
I pour it right onto the project so I don’t dirty a paint tray, then wipe off any extra. Let it dry completely. A little tacky is fine.
Step 3: Separate the napkin layers
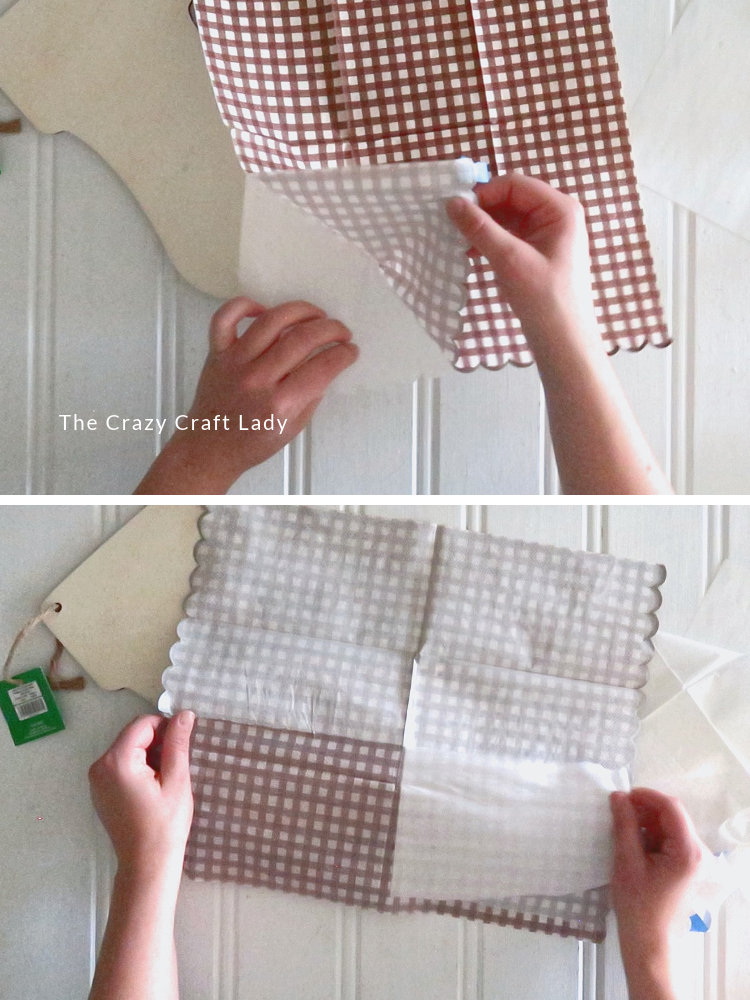
Put a tiny piece of painter’s tape on the front and back of one corner and pull the layers apart. You only want the printed top layer.
Trust but verify! I thought my Michaels napkin was two-ply, and it was actually three-ply, so I had to do this a second time.
Step 4: Press out the napkin creases
Since this is a big piece, I pressed the napkin flat first so the fold lines would not show up on my stocking. My heat press mat must have taken PTO, so I put a piece of cardboard underneath instead.
Once in a while, it’s worth it to go the extra mile. So much better.
Step 5: Heat press the napkin onto the stocking
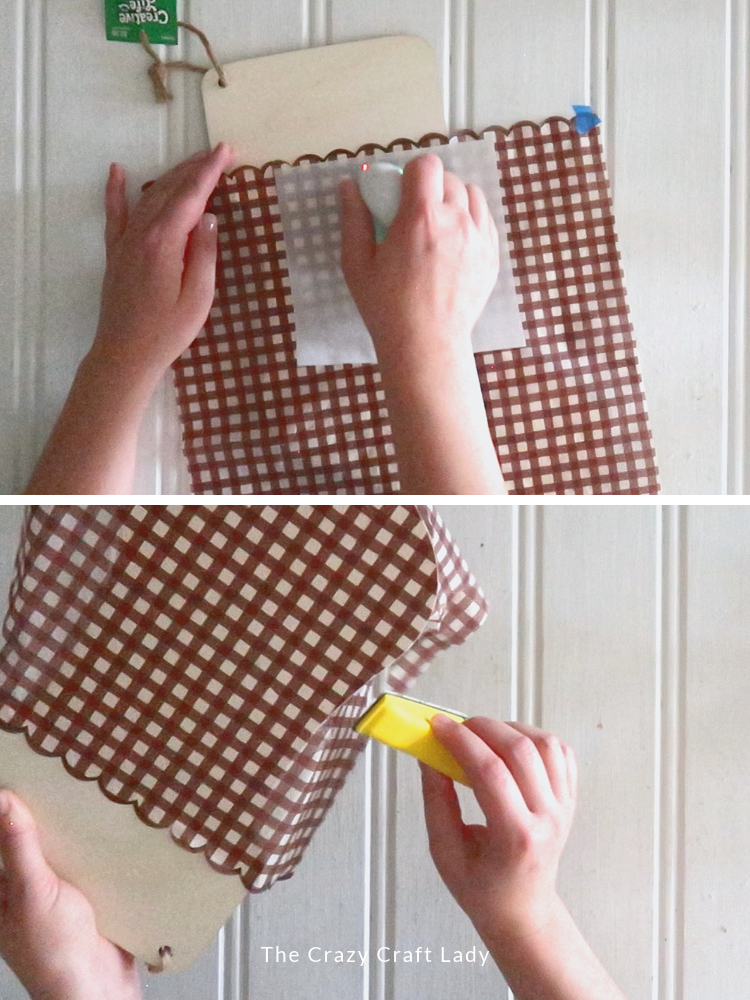
Line up the napkin. I kept the pattern straight up and down to match the top line of the stocking. Lay a parchment paper square on top to protect it.
Start at the top and heat press your way down, smoothing as you go to avoid wrinkles and bubbles. I got a couple of wrinkly spots, but unless you’re getting real up close and personal, you’ll not notice.
Step 6: Sand away the extra napkin
Use a mini sanding tool, a sanding block or a Dollar Tree nail file to remove the extra napkin around the edges.
Only sand in a downward motion: file down, lift away. Do not go back and forth like you’re filing your nails, or the napkin will lift back up. You can skip the top edge, since the cuff covers it.
Step 7: Cut the faux tin tile cuff
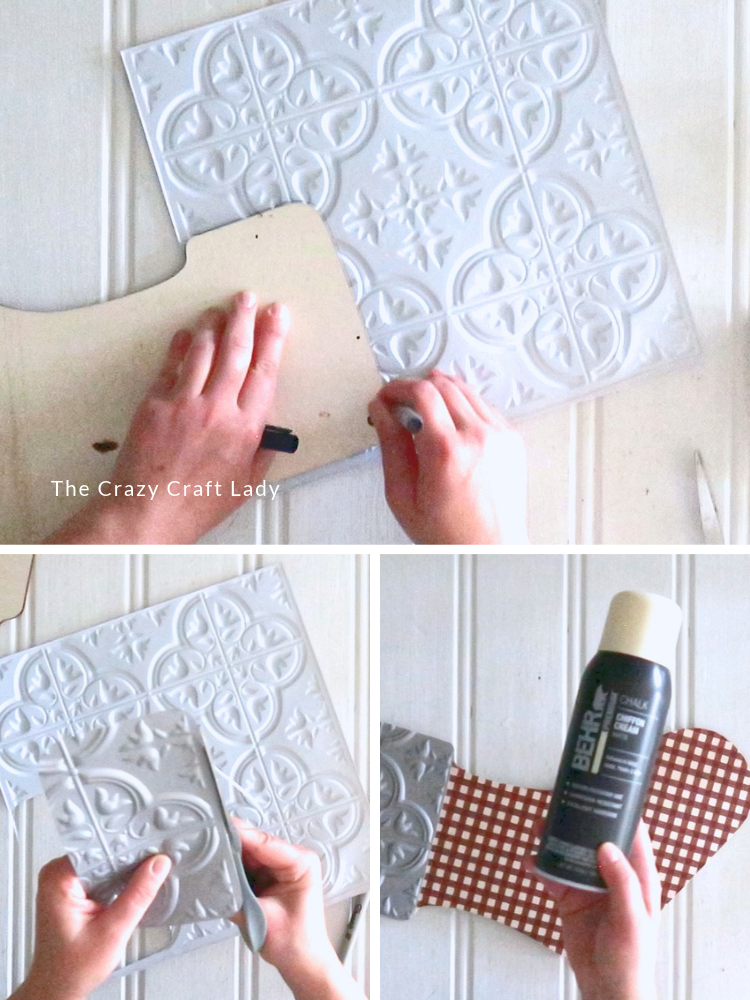
Line up the top of the stocking on the Dollar Tree faux tin tile (not right in the middle, so you don’t waste it), trace around the edge with a fine-tip Sharpie, and cut it out. You’ll lose the stocking’s jute hanger, so plan on a sawtooth hanger or Command strip.
Heads up: once you cut into the tile, the adhesive backing falls off, because it’s only secured at the four corners. I trimmed mine a little more to get rid of a lip at the bottom and a strip with no texture. Much better!
Step 8: Spray paint the tin tile
Silver didn’t fit this cozy palette, so I took the tin tile outside and gave it a quick coat of Behr chalk spray paint in Chiffon Cream from Home Depot.
Normally I’d reach for FolkArt, but lately I’ve been cheating on it with Behr chalk paint. Top-notch quality, and the color is perfect here.
Step 9: Glue on the cuff
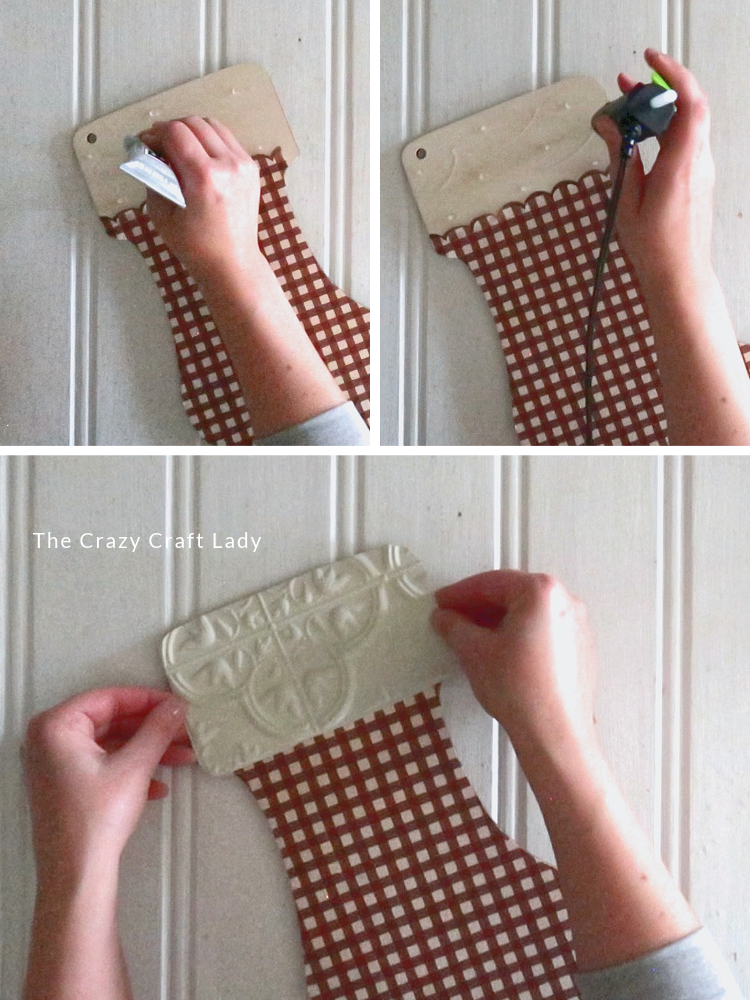
Add a couple dabs of E6000, then a couple dabs of hot glue next to them (not on top). Set the cuff in place.
Keep the hot glue lines tiny. Faux tin tile is plastic, not actual tin, so a big blob can melt it.
Step 10: Distress the tin tile and edges
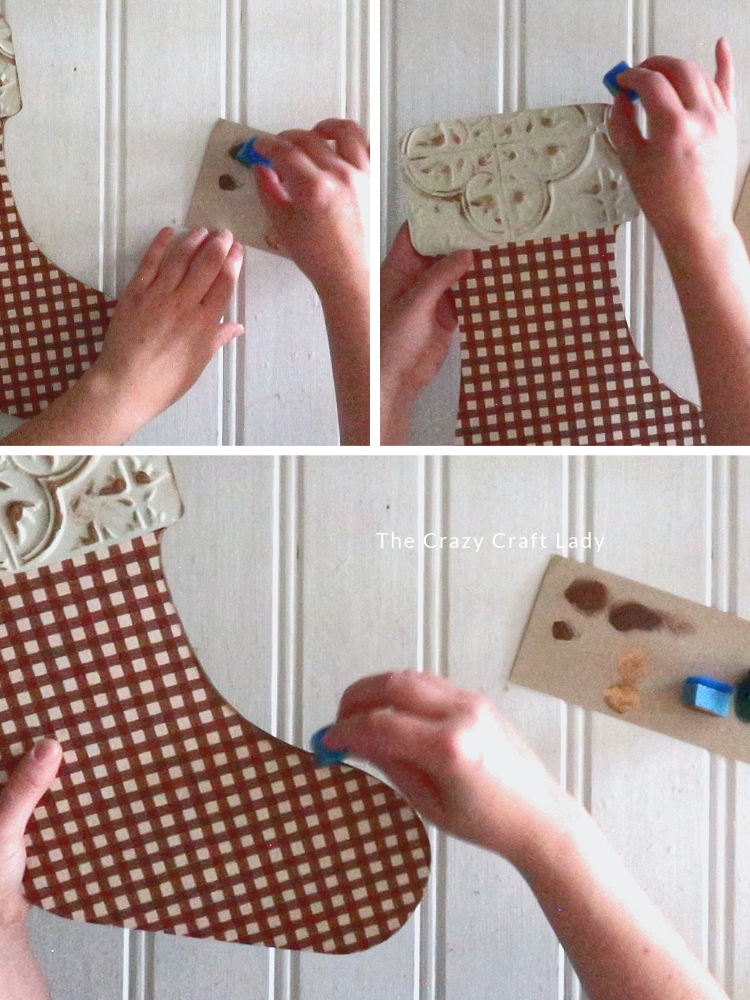
Dip a piece of clean dish sponge in FolkArt Matte Coffee Bean, tap most of it off on scrap paper, then lightly brush over the raised sections of the tin tile. Start conservatively, because you can always add more.
Then lightly brush the same color around the edges of the stocking for a burnt wood look. It’s a small detail, but up close it makes a world of difference. Ten out of ten, would do it again.
Step 11: Add the greenery and pine cones
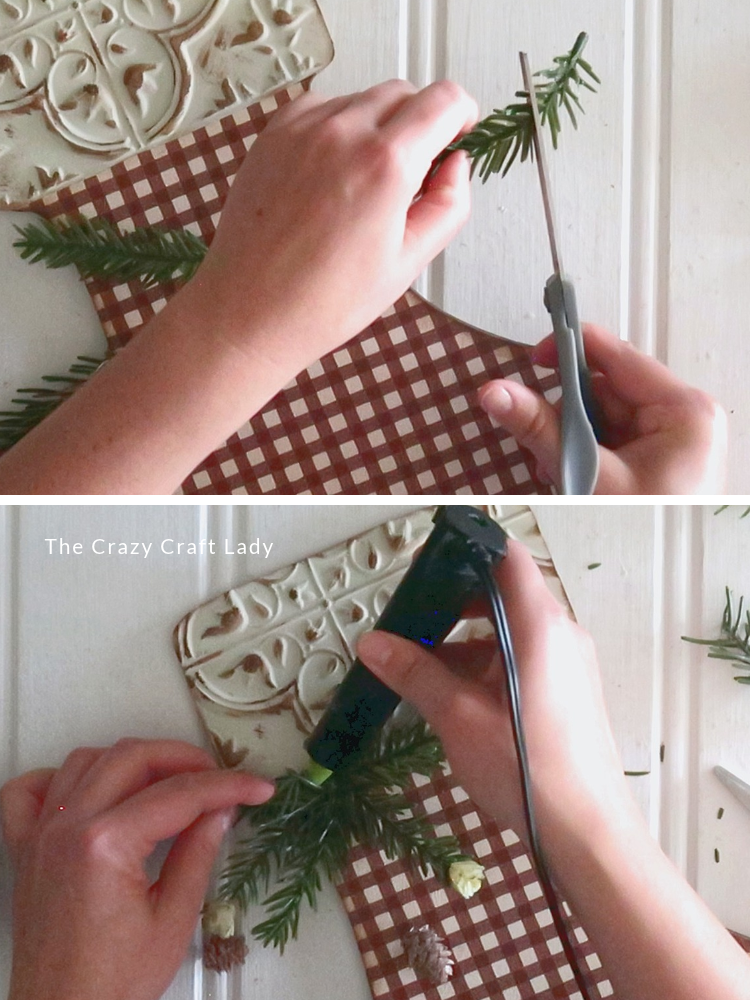
My Hobby Lobby only had oversized greenery within reach (I didn’t want to get banned for life for climbing the shelves), so I cut the sprigs in half. I made a bundle with three pieces pointing left and two pointing right, since odd numbers look best.
Hot glue the bundle in place, then hot glue a few mini pine cones on top. It doesn’t have to be perfect in the center, because the bow covers it.
Step 12: Make the velvet ribbon bow
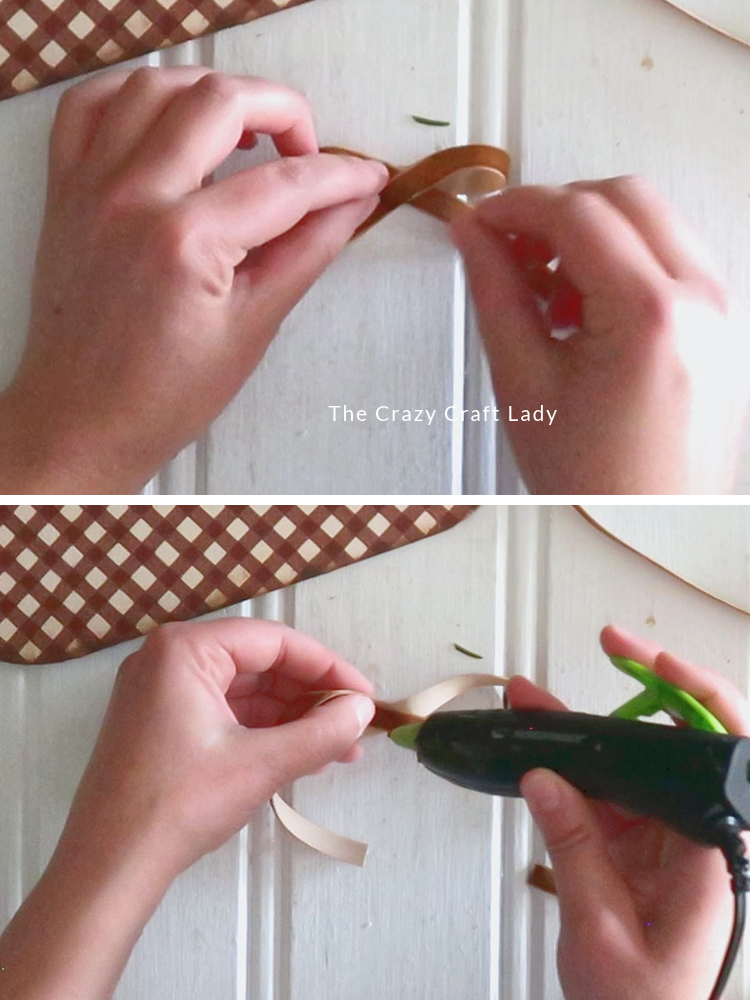
Thin velvet ribbon is only pretty on one side, so my usual bunny ears method doesn’t work. Instead, make a figure eight with loops the size you want, pinch the center, and wrap a short piece of ribbon around the middle.
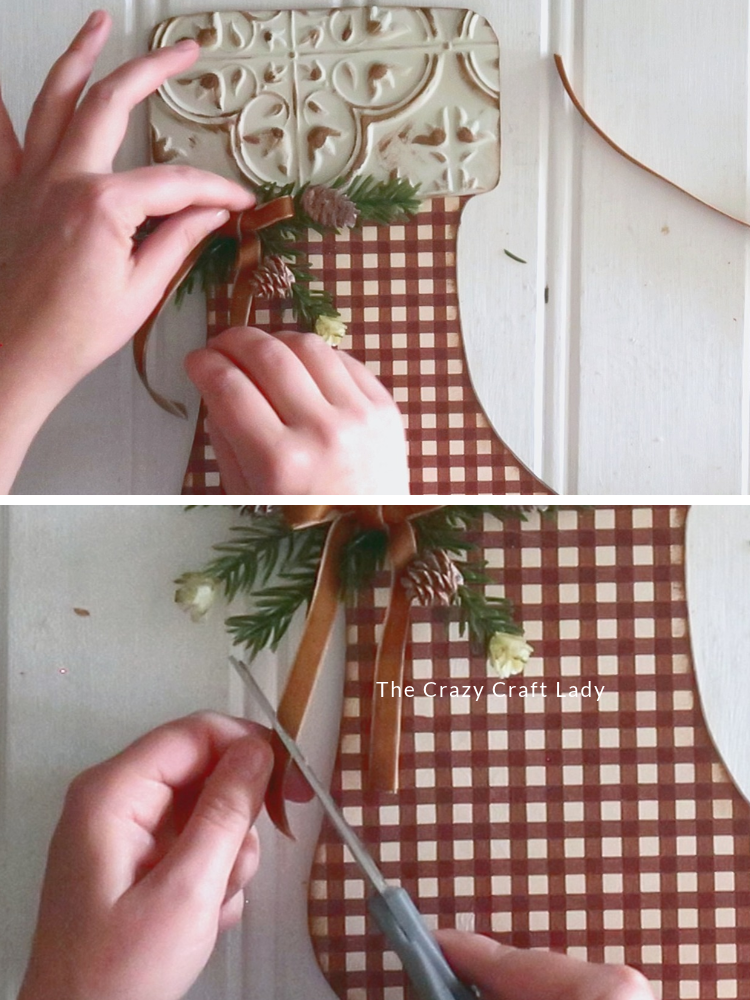
Hot glue one end of that short piece on the back, wrap it around the front, and glue the other end on the back too. Now the good side faces forward everywhere. Trim the tails at a 45-degree angle and hot glue the bow onto the greenery.
Step 13: Add a hanger
Add a sawtooth hanger or a Command strip to the back, and hang it anywhere you like for Christmas.
Ways to Make It Your Own
There is no real wrong way here. A few ideas:
- Use any napkin you love: plaid, poinsettias or a classic red Christmas print.
- Spray paint the tin tile cuff red, black or deep green instead of cream.
- Swap the greenery for berries, mini ornaments or a jingle bell.
- Try the same technique on another wood cutout, like a mitten, tree or ornament.
Tips + FAQs
Why use the heat press method for napkin decoupage?
You let the Mod Podge dry first, then use heat to stick the napkin down. I don’t like dealing with wrinkles and bubbles, and this method keeps them to a minimum.
Can I use the faux tin tile adhesive backing?
Only if you use the whole tile on a bigger project. Once you cut into it, the backing falls off, because it’s only stuck down at the four corners. Use E6000 and tiny dots of hot glue instead.
Where can I find good paper napkins for decoupage?
Dollar Tree, Michaels, TJ Maxx, Marshalls, HomeGoods and Hearth & Hand at Target. Clearance napkins are amazing.
Why sand in only one direction?
Sanding back and forth can lift the napkin back up. File down, lift away, and repeat for a clean edge.
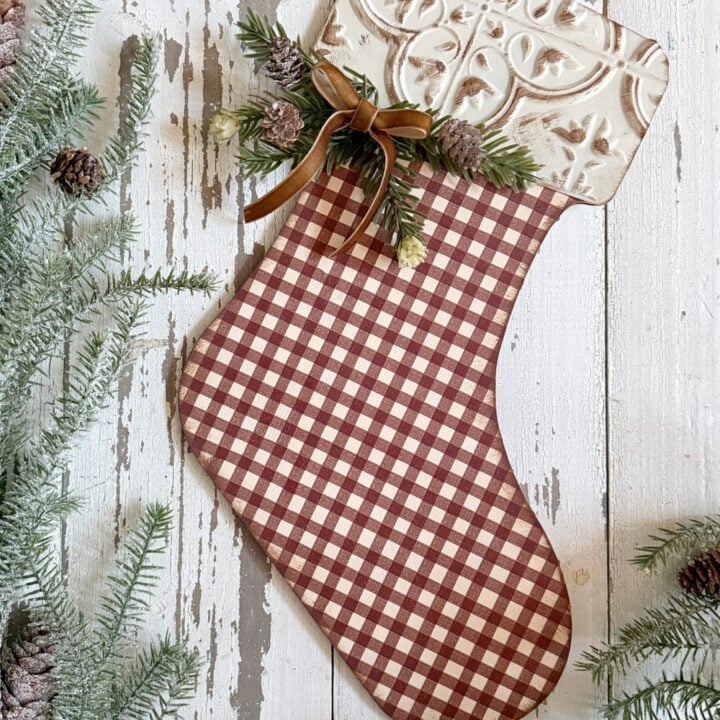
Napkin Decoupage Wood Stocking Sign with a Faux Tin Tile Cuff
Turn a $2.99 wood stocking cutout, a paper napkin and a scrap of Dollar Tree faux tin tile into a cozy warm neutral Christmas sign.
Materials
- Paper napkin
- Wooden stocking cutout (Hobby Lobby Creative Life)
- FolkArt Matte paint, Vintage White
- FolkArt Matte paint, Coffee Bean
- Mod Podge
- Painter's tape
- Parchment paper squares
- Dollar Tree faux tin tile
- Behr chalk spray paint, Chiffon Cream
- E6000
- Mini hot glue sticks
- Faux greenery sprigs
- Mini pine cones
- 1/4 inch velvet ribbon
- Sawtooth hanger or Command strip
Tools
- Paintbrush
- Mini heat press
- Mini sanding tool
- Fine-tip Sharpie
- Craft scissors
- Clean dish sponge
- Hot glue gun
Instructions
1. Watch the video tutorial. Watch the video tutorial above, right here in this blog post, before getting started.
2. Paint. Paint the bottom of the wood stocking with FolkArt Matte Vintage White, thickest over any blemishes. Skip the cuff. Let dry.
3. Mod Podge. Brush a generous, even coat of Mod Podge over the bottom of the stocking. Let it dry completely.
4. Separate the napkin. Use painter's tape on one corner to peel off the printed top layer. Check for a third ply.
5. Press the creases. Press the napkin flat on cardboard so the fold lines don't show.
6. Heat press. Lay the napkin on the stocking, cover with parchment paper, and heat press from the top down, smoothing as you go.
7. Sand the edges. Sand off the extra napkin in a downward motion only.
8. Cut the cuff. Trace the top of the stocking onto Dollar Tree faux tin tile with a fine-tip Sharpie and cut it out.
9. Spray paint. Outside, spray the tin tile with Behr chalk spray paint in Chiffon Cream. Let dry.
10. Glue. Attach the cuff with dabs of E6000 plus tiny lines of hot glue next to them (not on top).
11. Distress. With a dish sponge, lightly brush FolkArt Matte Coffee Bean over the raised tin tile pattern and the stocking edges.
12. Add greenery. Hot glue a bundle of greenery sprigs (three pointing left, two pointing right) and mini pine cones to the cuff.
13. Make the bow. Make a figure eight with velvet ribbon, wrap a short piece around the pinched center, and hot glue it on the back. Trim the tails at 45 degrees and glue the bow onto the greenery.
14. Hang. Add a sawtooth hanger or Command strip to the back.
Notes
* Crazy Craft Lady Tip: Check your napkin for a third ply before you start. Nicer napkins often have three layers.
* Faux tin tile is plastic, so use only tiny lines of hot glue.
* Spray paint outdoors or in a well-ventilated area.
The Finished Napkin Decoupage Wood Stocking Sign
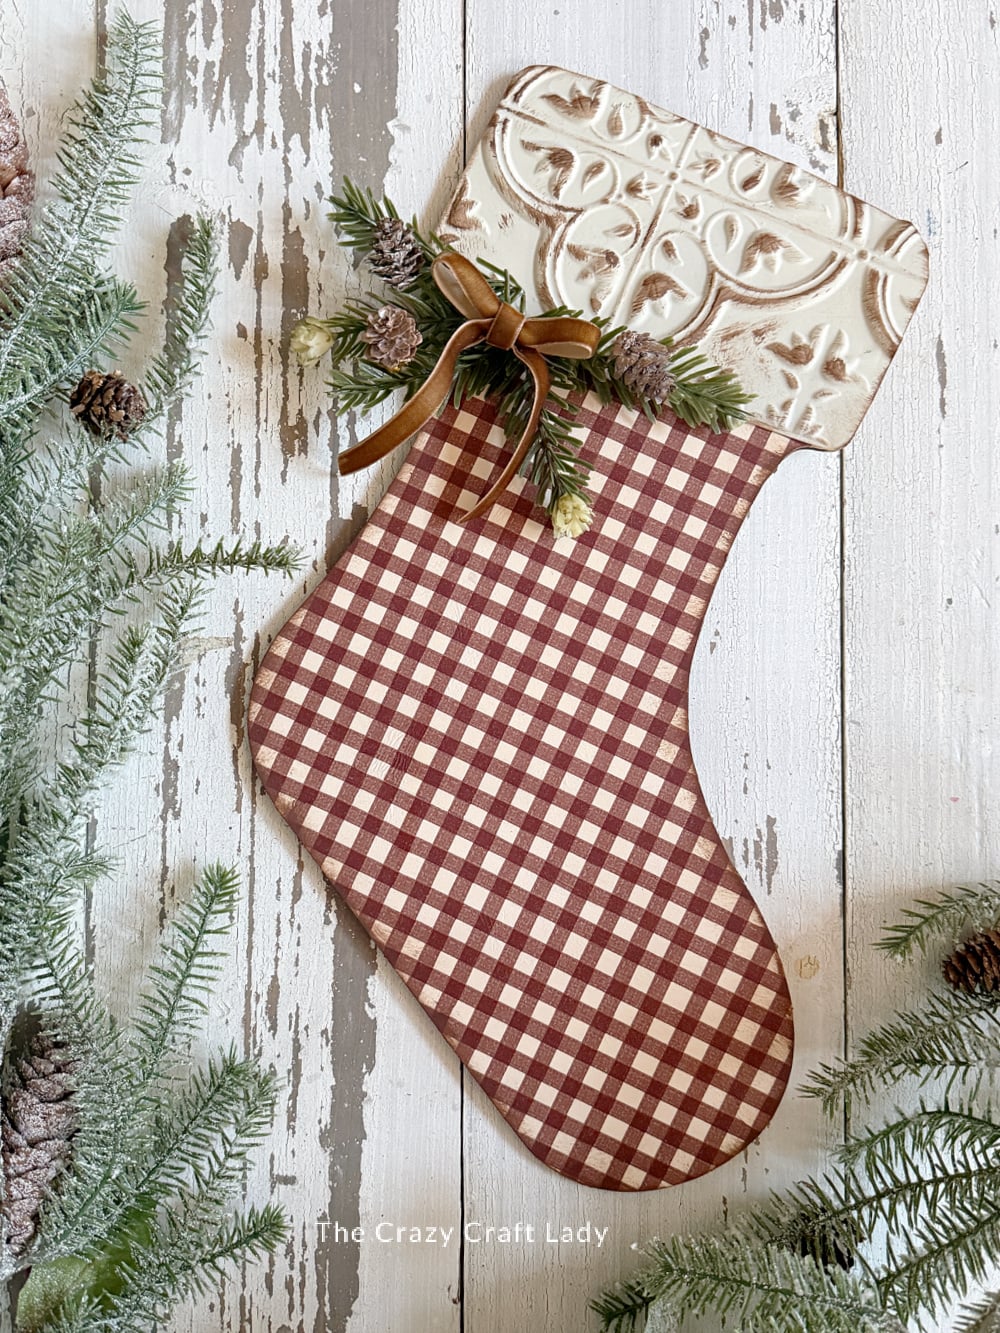
How cute is this? I’m beyond thrilled with how it turned out, and I’m going to play around with this warm brown and cream palette in more crafts. You’ve been warned.
Now help me out: I’ve got about five bajillion of these napkins left, and it breaks my heart to cover up that scalloped edge. What should I make with the rest? Tell me in the comments!
Pin This Napkin Decoupage Christmas Craft for Later
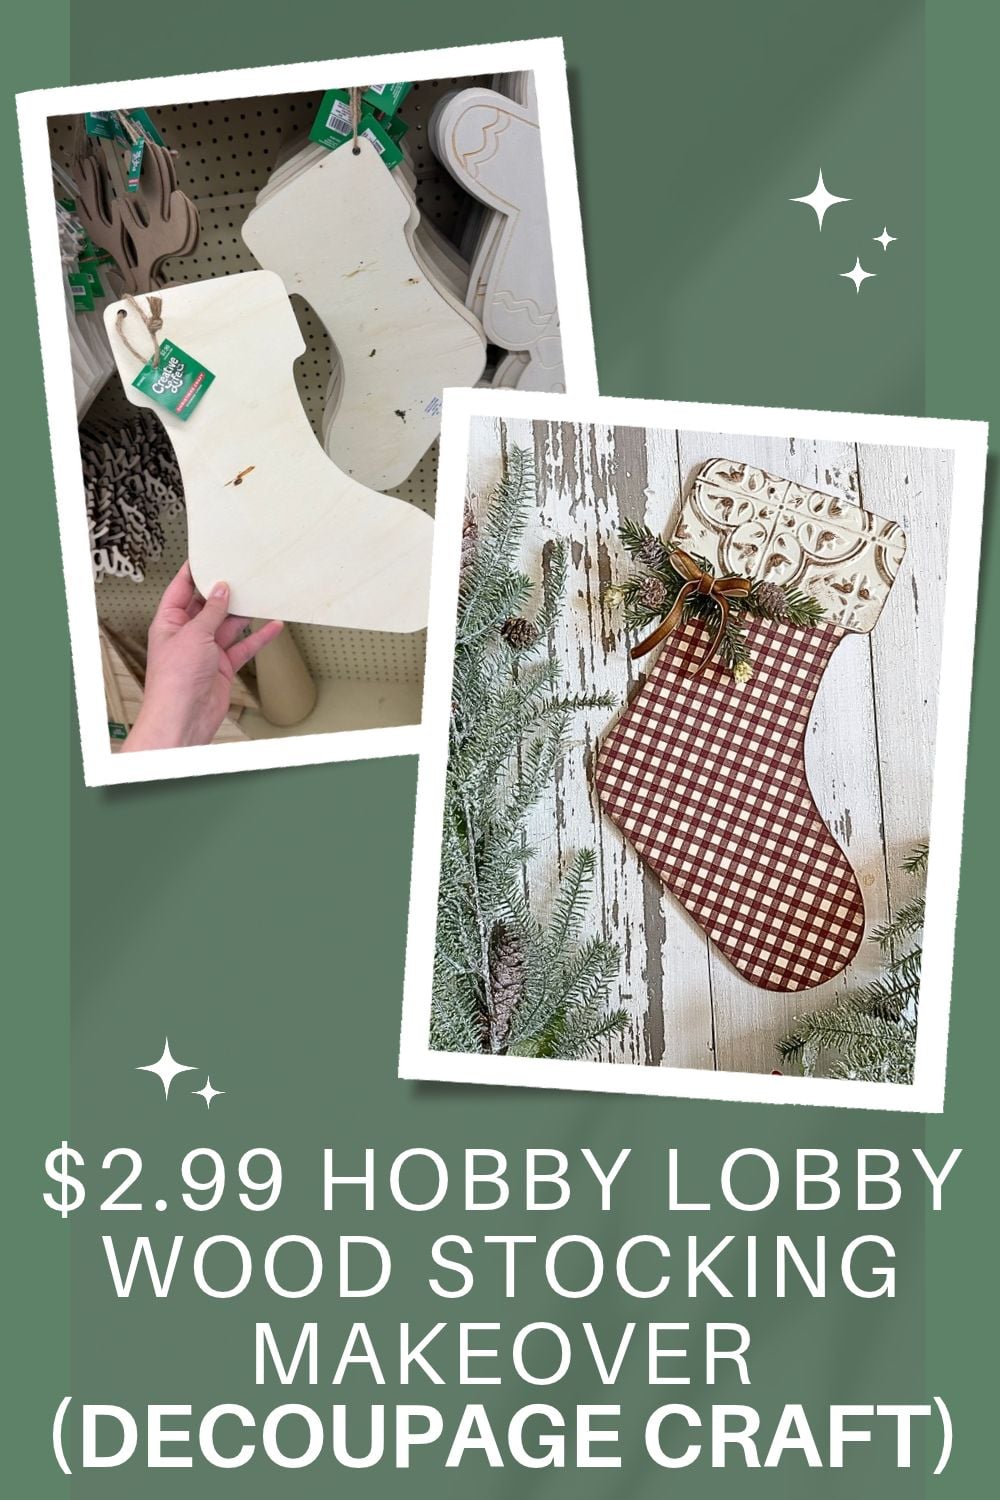
Save this one to your Christmas crafts board so it’s there when you need it.
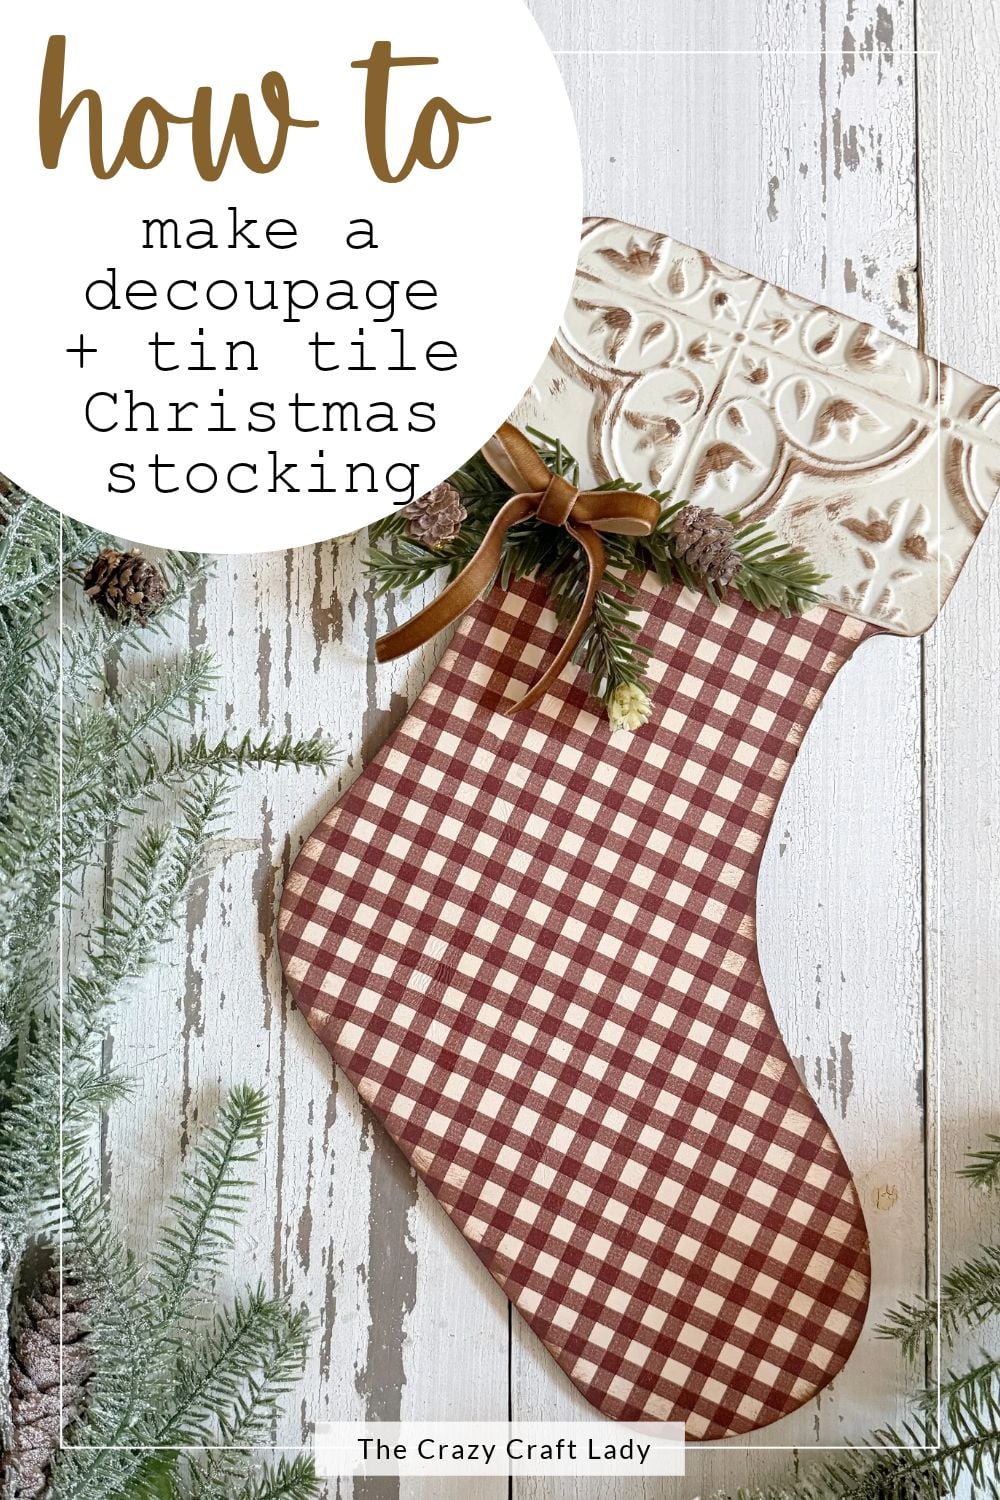
More Christmas Wood Cutout and Tin Tile Crafts You’ll Love
- Rustic Dollar Store Tin Tile Christmas Trees
- Faux Tin Tile Christmas Tree Collar
- Tin Tile Christmas Tree Cutout
- Dollar Store Wood Cutout Christmas Crafts
- Old-Fashioned Wooden Sleigh Craft
- 29 Paper Napkin Decoupage Crafts
- 100+ Dollar Tree Christmas Crafts
Raisin (my crafty pup) and I thank you for stopping by. Happy making, friends!