
These dollar store tin tile Christmas trees turn Hobby Lobby wood cutouts and leftover Dollar Tree faux tin tile into rustic green and gold decor for about $3.
This post contains some affiliate links for your convenience. Click here to read my full disclosure policy.
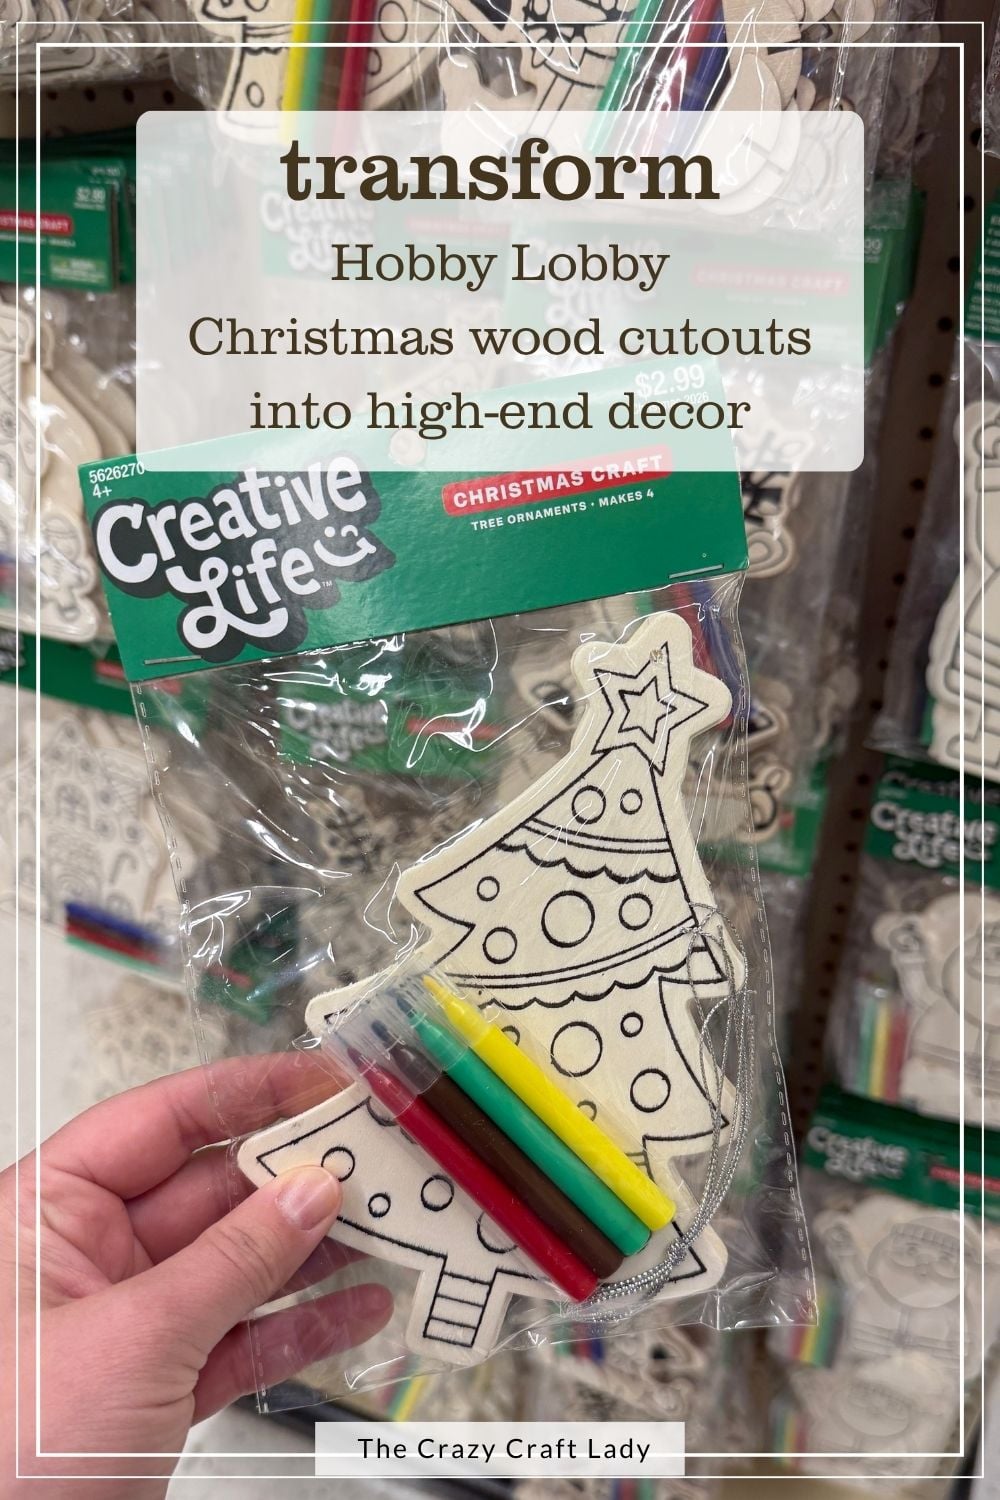
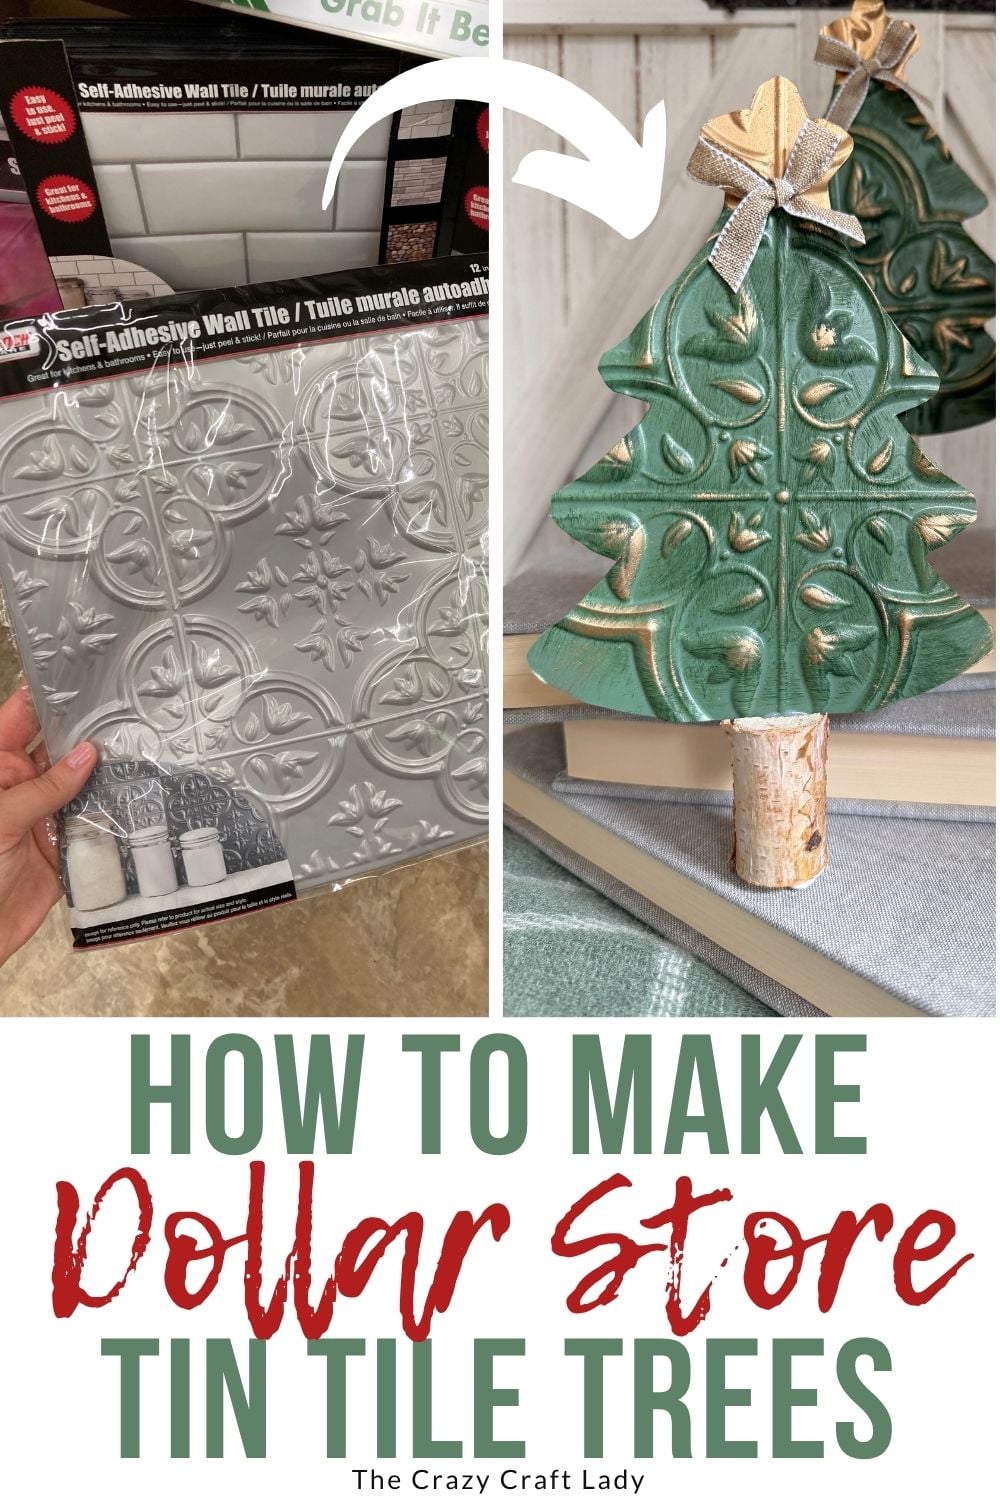
Ok, crafty friends! These dollar store tin tile Christmas trees started with two things I already had on hand: a pack of Hobby Lobby Creative Life unfinished wood Christmas tree cutouts and a pile of leftover Dollar Tree faux tin tile scraps.
This project builds on my tin tile Christmas tree cutout, and I’ve used that faux tin tile in a TON of crafts since (like my faux tin tile flower pocket). I save every last scrap. Waste not, right? It’s not called hoarding. It’s called… I don’t know, something else.
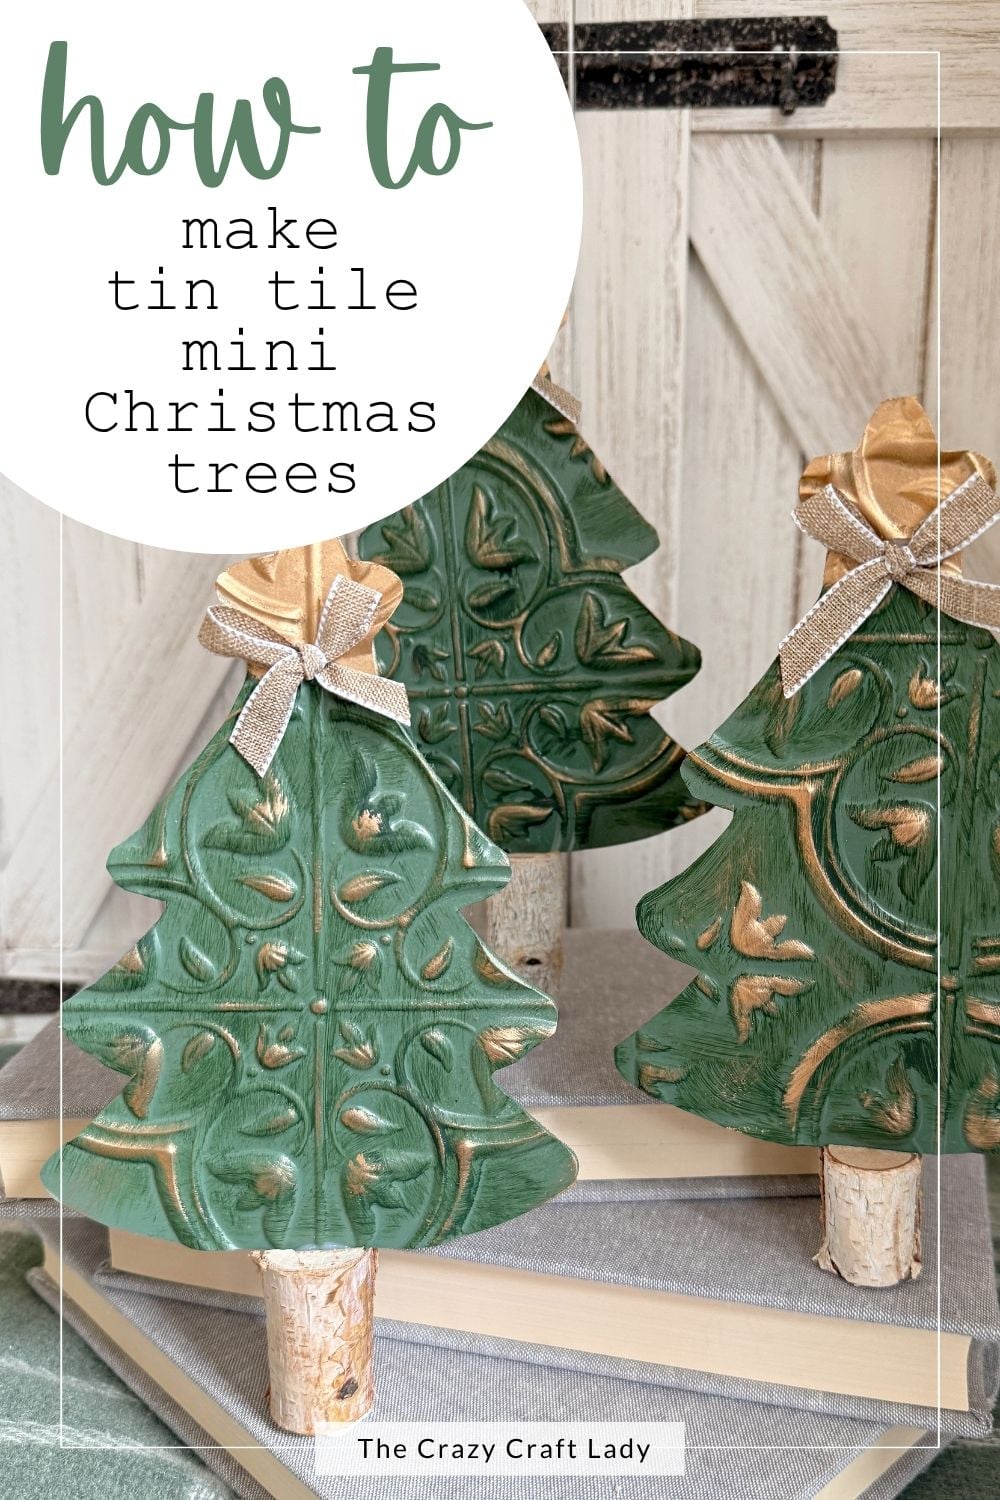
A little moss green spray paint, some gold distressing, birch log bases and tiny burlap bows later, I had a trio of rustic mini trees for about $3. Let’s get making!
Video Tutorial: Dollar Store Tin Tile Christmas Trees
Watch me make these start to finish in the video below, including my birch log cutting struggles and my star Plan B. Then scroll down for the step-by-step photos and tips.
Why I Love This Faux Tin Tile Christmas Craft
First, the price point. I used tin tile scraps I already had and three trees from a four-pack of wood cutouts, so you’ll even have one left over for another project. The whole trio came in around $3.
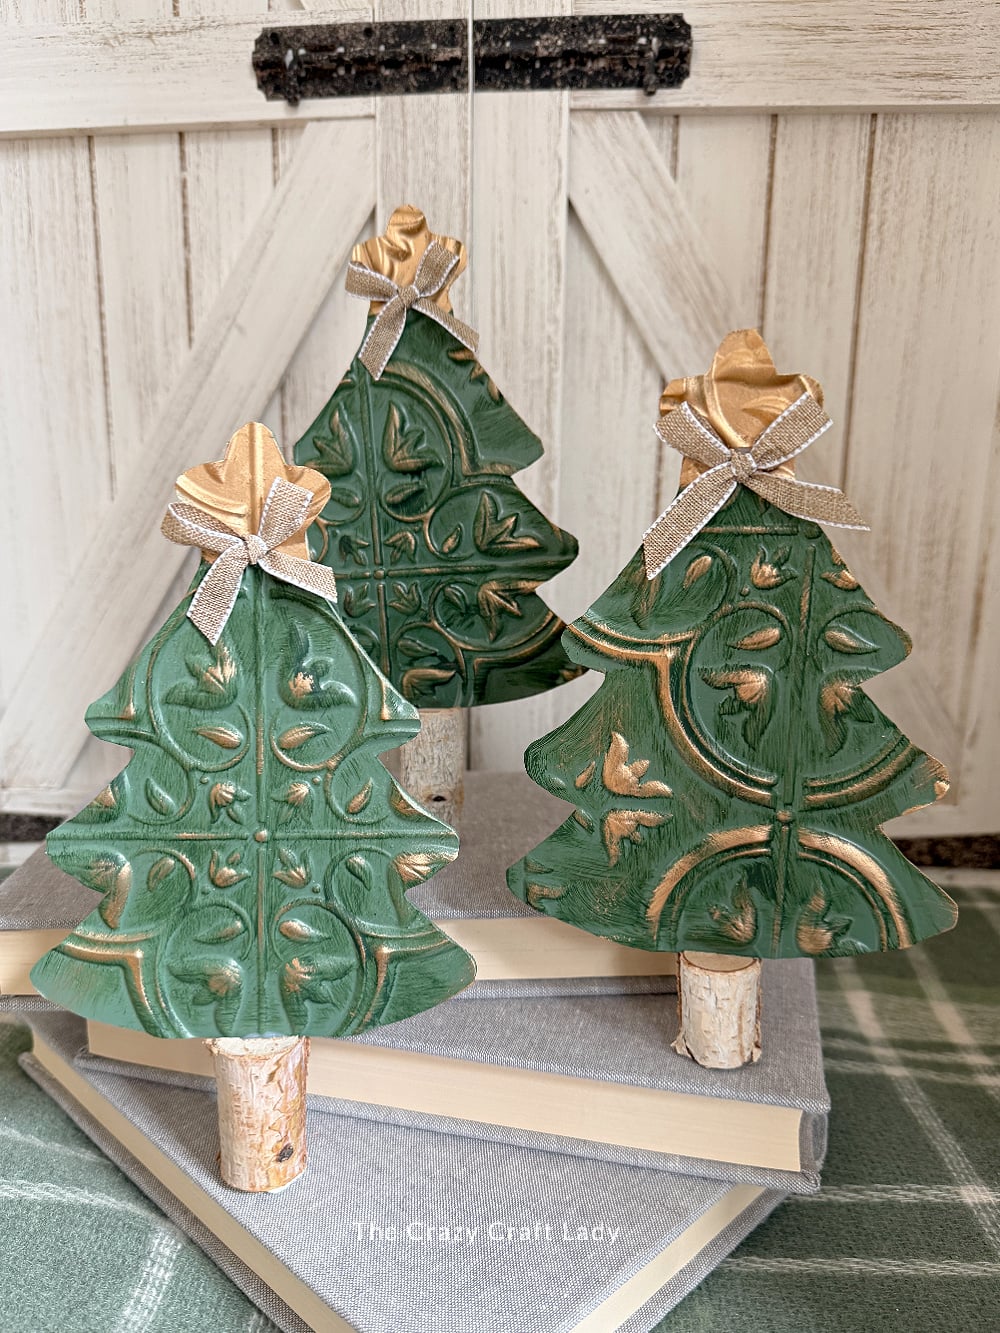
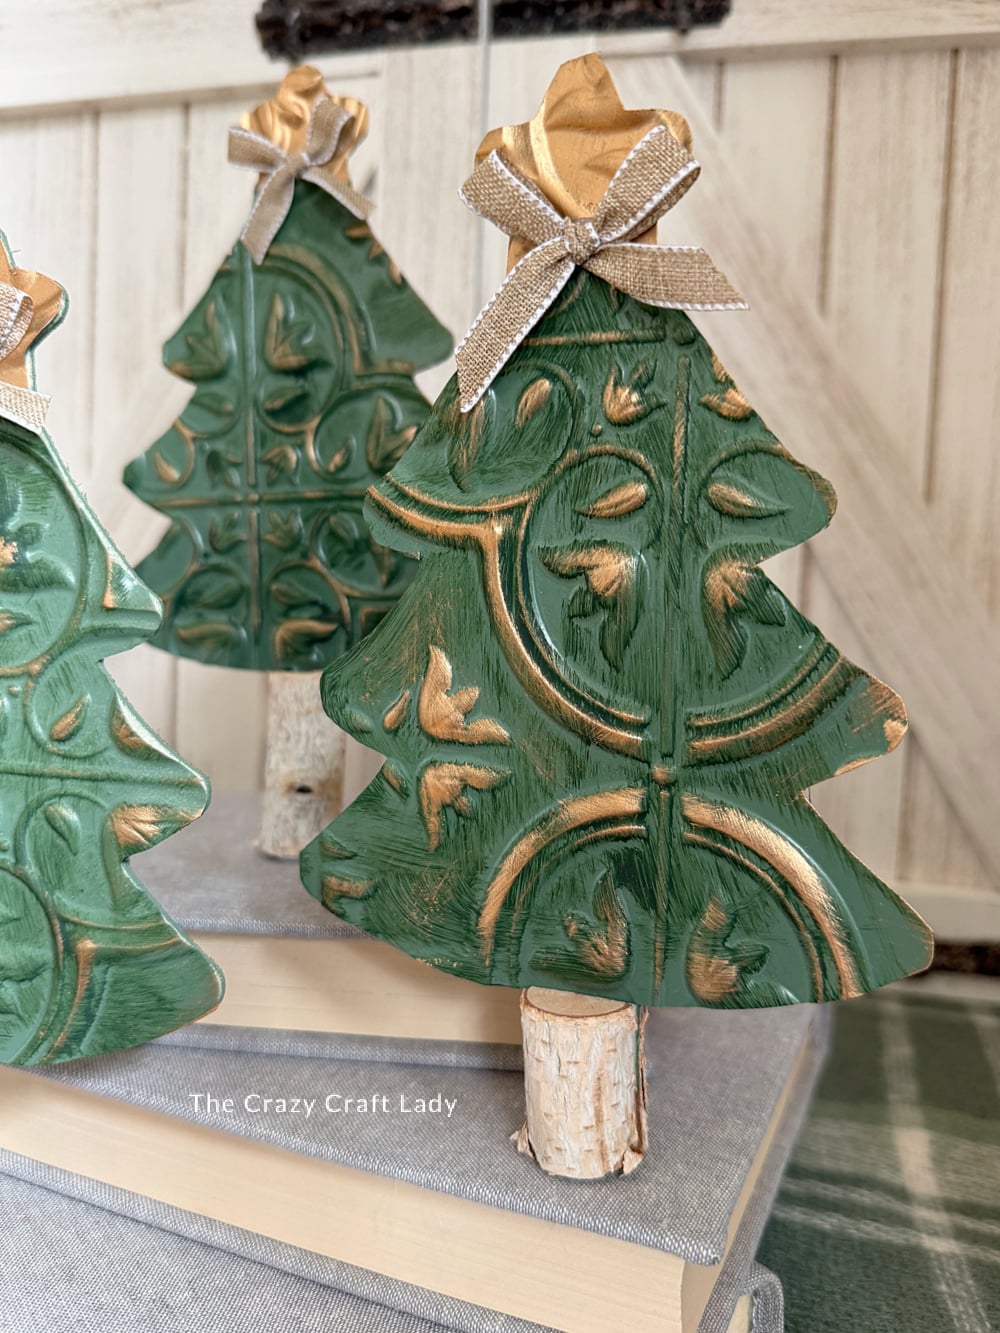
Second, that embossed tin tile pattern plus green and antique gold looks like vintage, high-end Christmas decor, not something that started at the dollar store. And full disclosure, I did not have this one fully planned out. If you ever hear me say I had a project 100% planned before I made it, call the authorities, because I’ve been taken hostage.
Supplies You’ll Need for This Dollar Tree Christmas Craft
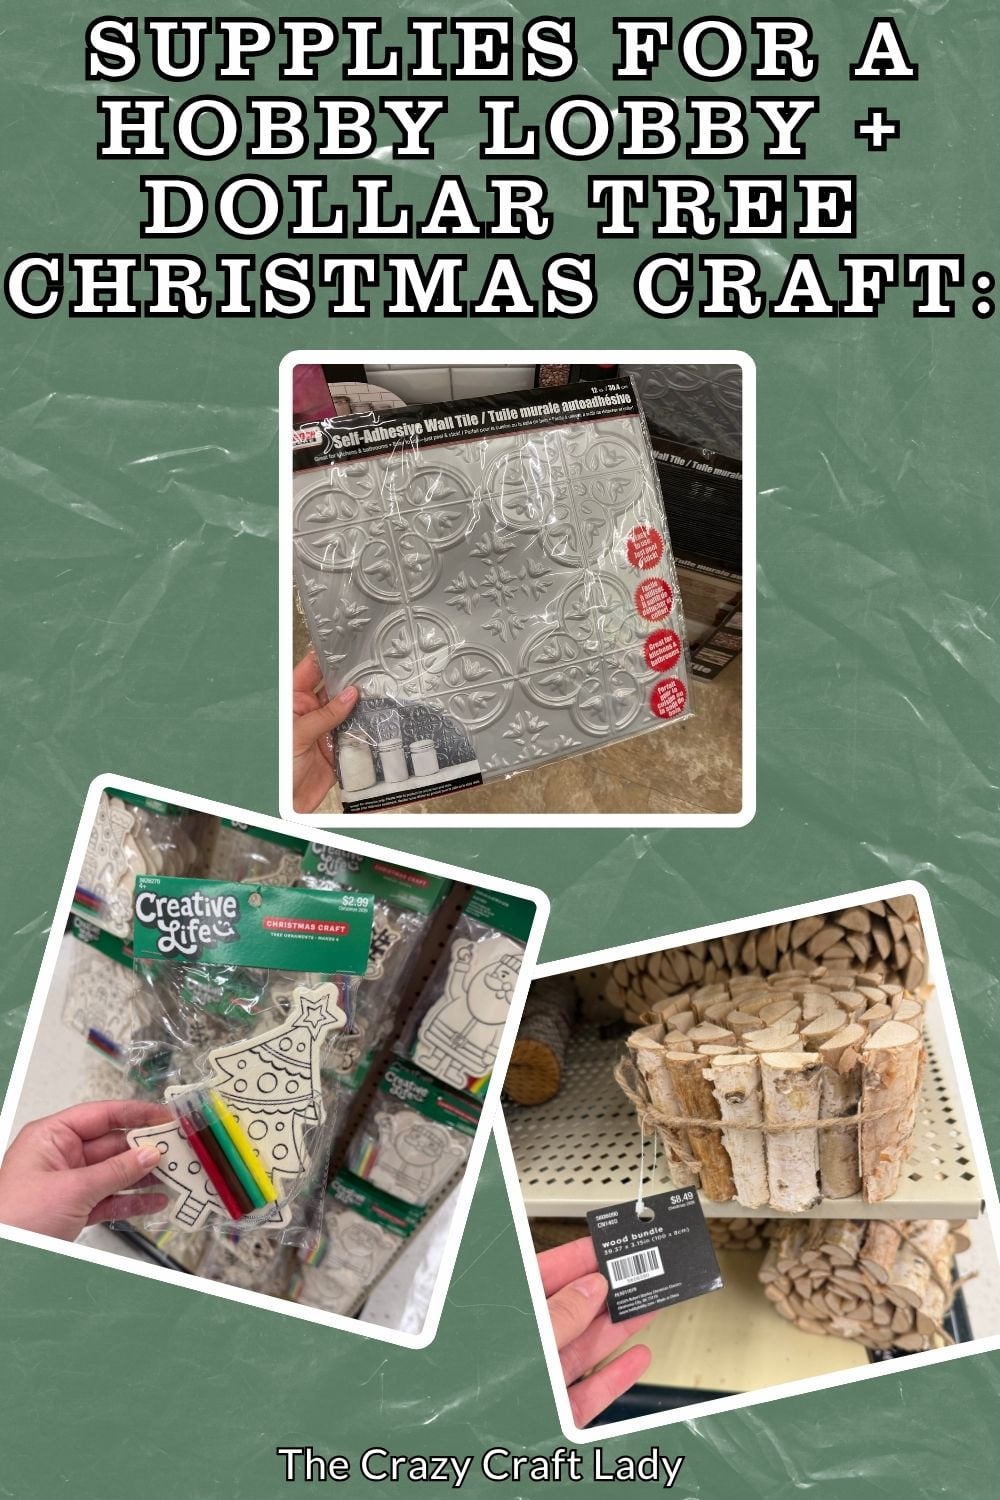
- Hobby Lobby Creative Life unfinished wood Christmas tree cutouts (the pack comes with four; you’ll use three)
- Dollar Tree faux tin tile scraps
- Rust-Oleum moss green satin spray paint
- FolkArt Matte paint in Thicket
- Rub ‘n Buff in antique gold
- A Dollar Tree dish sponge, cut into small pieces
- Birch log roll from Hobby Lobby (I’ve had mine for years, but I spotted them there again recently)
- Thin 1/4-inch burlap ribbon with white trim
- E6000
- Mini hot glue sticks
- Poster hanging putty
- Sharpie
- Craft scissors
- Heat gun
- Vinyl smoothing tool (for scraping off labels)
- Hot glue gun
- Small detail paintbrush
- Miter shears
- Lighter (I grab mine in the Menards checkout lane)
Pro tip: Dollar Tree faux tin tile comes with an adhesive backer, but it’s only attached around the four edges. Once you cut into the tile, the backer falls right off. So unless you’re using a whole tile, plan on E6000 instead.
You can find a bunch of my go-to tools in my Amazon storefront, too.
How to Make Dollar Store Tin Tile Christmas Trees (Step by Step)
Step 1: Trace and Cut Out the Tin Tile Trees
Lay a wood tree cutout on the back of a tin tile scrap and trace around it with a Sharpie. Since you traced on the back, you don’t have to worry about cutting inside the marker line. Just do your best with your craft scissors and work your way around.
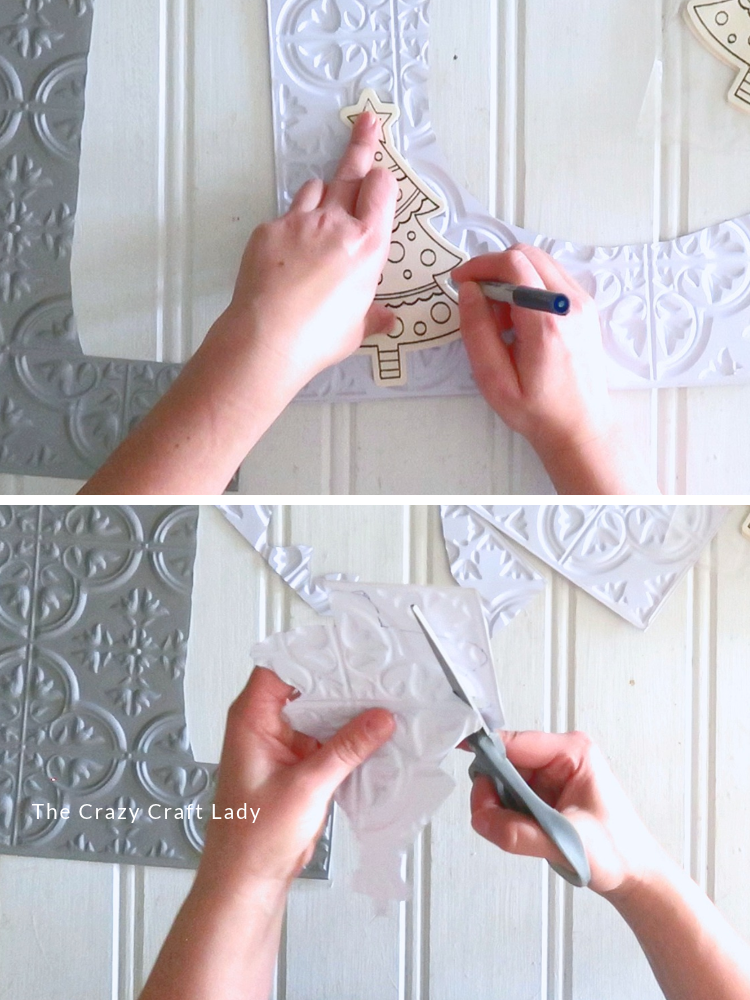
Cut out the star at the top too. At the bottom, skip the little trunk and cut straight across, because we’re adding a different tree trunk later. Repeat to make three.
Step 2: Remove the Labels and Spray Paint
Each wood tree has a little label on the back. Give it a quick blast with a heat gun and peel it off. Mine was really wonky and kept falling apart, so I used the smoothing tool I use for craft vinyl to scrape off the rest.
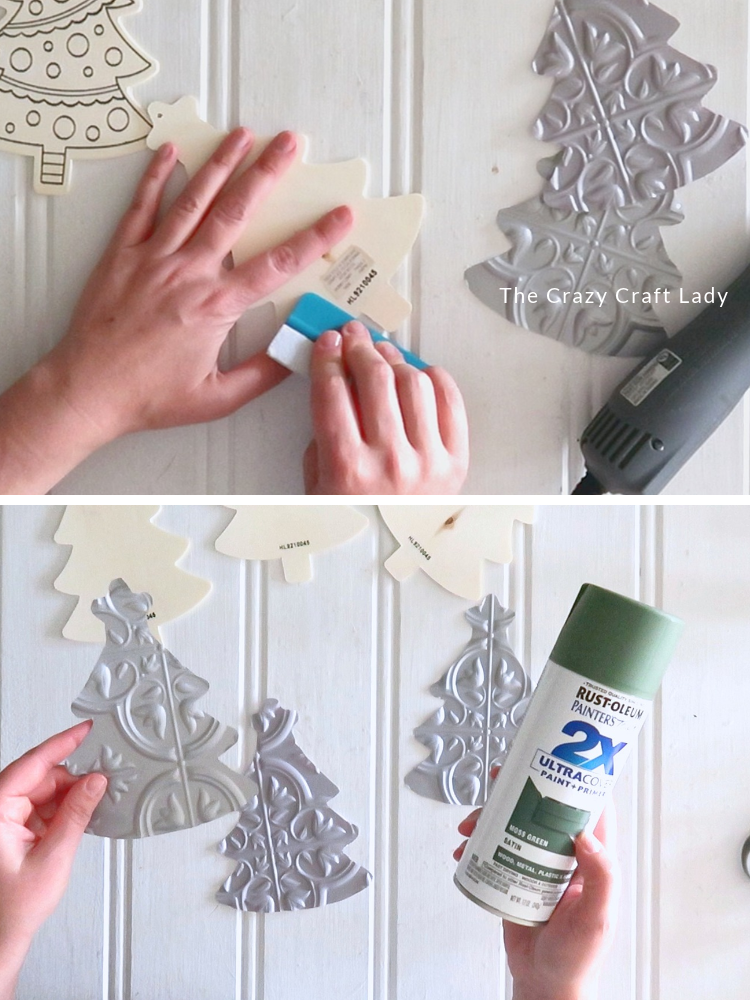
Normally I’d paint a layer of white chalk paint and then pounce on a green. This time we’re taking a shortcut: Rust-Oleum moss green satin spray paint on the backs of the wood trees and the fronts of the tin tile trees. Hold the pieces up at an angle while you spray so you get all the way around the edges of the wood.
Step 3: Glue the Tin Tile to the Wood Trees
Once the paint is dry, it’s time for my dynamic duo: E6000 for the permanent hold and hot glue for the instant hold, because I’m too impatient to wait for the E6000 to harden.
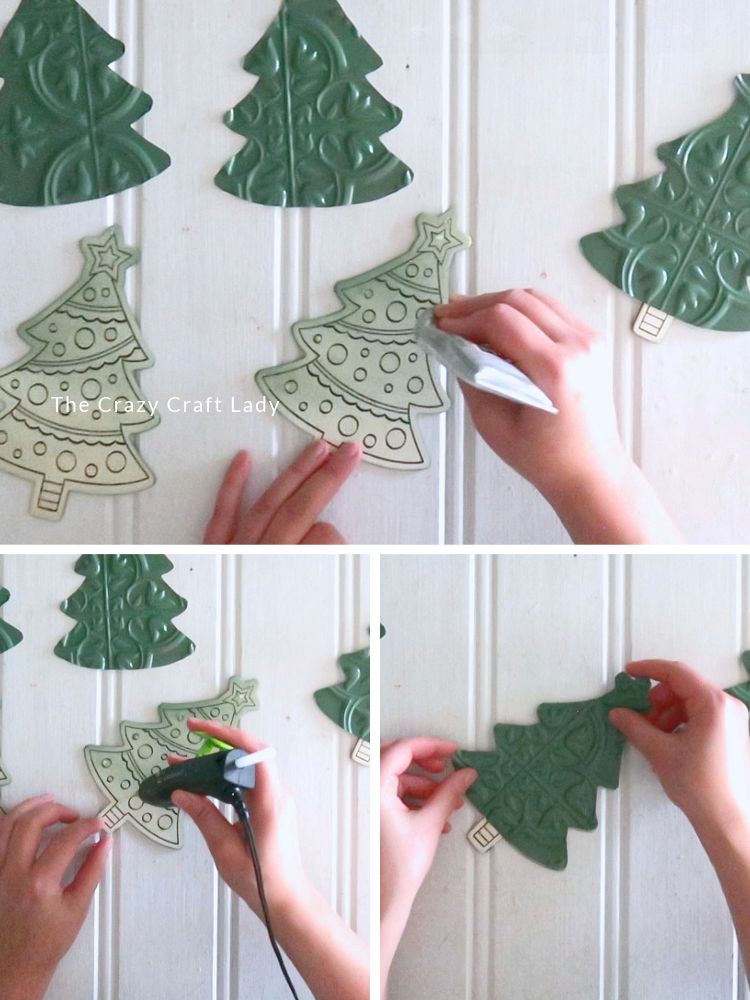
Remember, this is faux tin tile, which means plastic. Use the tiniest dots of hot glue, not a big blob, or it’ll melt. Put the two glues next to each other (don’t mix them). Your little wood trunk will still peek out at the bottom. No big deal, we’ll cover it.
Step 4: Distress with Dark Green Paint
We don’t HAVE to distress these, but we’re going to. Grab a small piece of a Dollar Tree dish sponge and the tiniest bit of FolkArt Matte paint in Thicket, and rub it over the raised details.
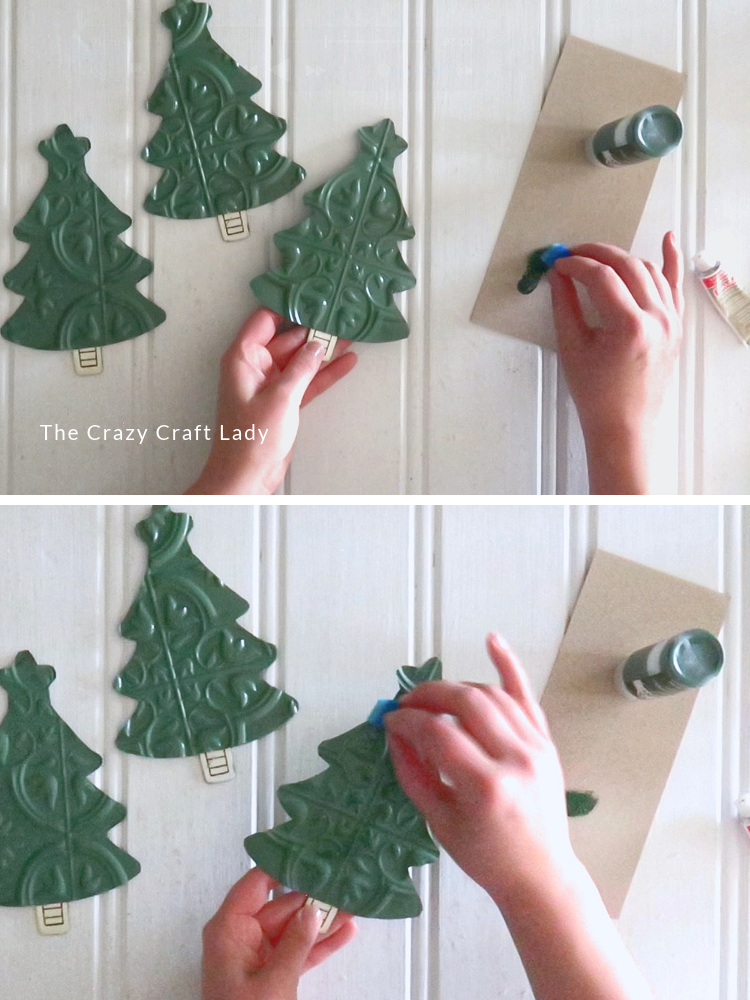
When you distress with one color, go light. But since we’re layering two colors, this first coat goes on thicker, because part of it gets covered by the gold. (One of my hot glue dots let go right about here. We’re just going to pretend that worked.)
Step 5: Add Antique Gold Rub ‘n Buff and Paint the Stars
Once the green is dry, grab a fresh piece of sponge and the tiniest bit of antique gold Rub ‘n Buff. Do a light coat over all three trees, stand back, and only add more if you want it. It’s hard to take away, and since our base coat is spray paint, you can’t just brush more base color back on.
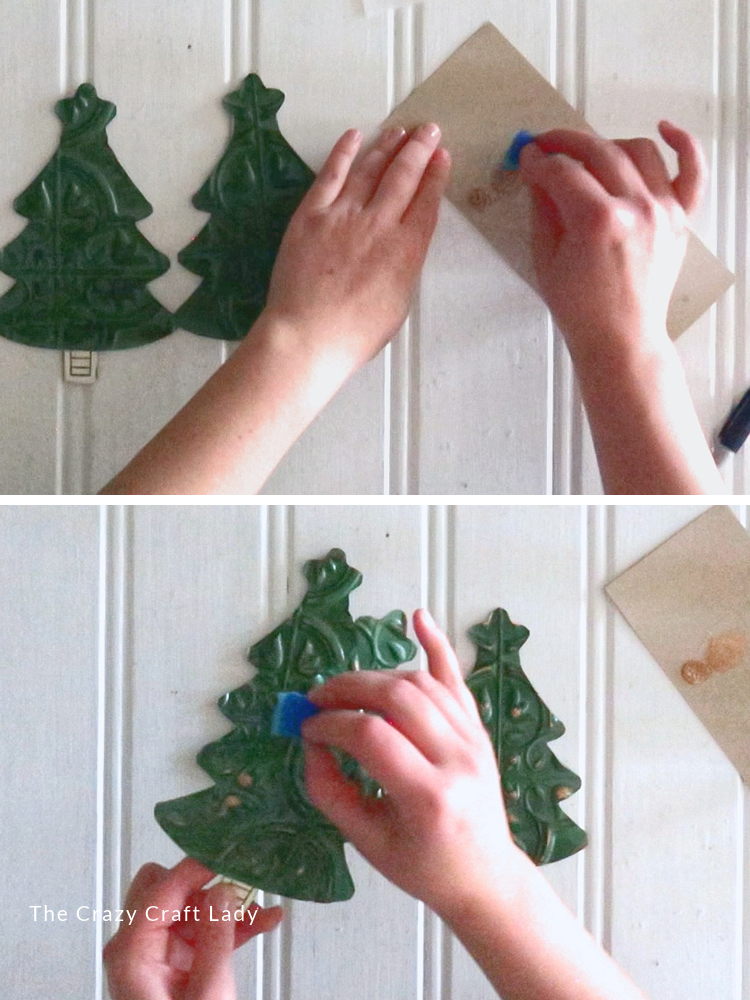
Plan B moment: I wanted to cover the tin tile stars with wood stars from a Creatology wood kit I snagged on Michaels clearance (originally $24.99, on clearance for $10). Boo, the stars were too small. So I painted the whole star top solid gold with a small brush instead. The bottom of each star gets covered by a bow later anyway.
Step 6: Cut the Birch Log Bases
These birch logs come on a roll at Hobby Lobby every Christmas. My first try on a big log did not go well. I couldn’t get through it, so pick the skinnier logs.
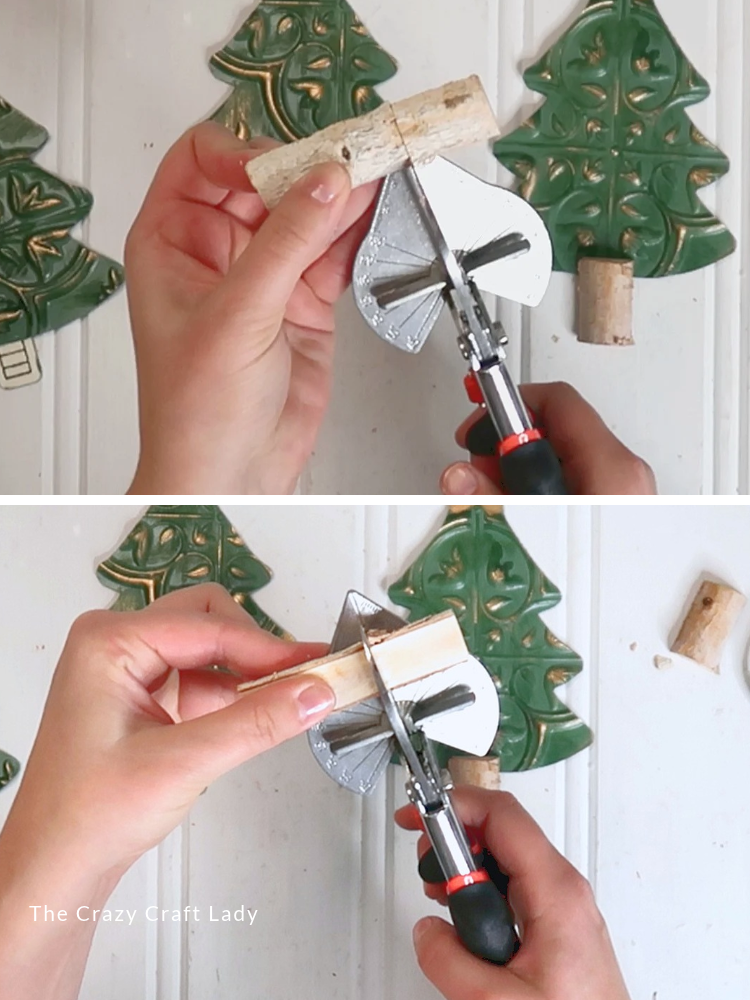
Pull off the felt, then plan a 1/3 and 2/3 split so the trees end up with staggered heights. (Three same-size trees need a little visual interest!) Press in with your miter shears, score each side with the tip, go back and score a little deeper, then flip it over and score the back until it snaps. This only looks easy because the first time, there were four-letter words involved. Cut a front half and a back half for each tree.
Step 7: Attach the Birch Log Bases
Add a generous dab of hot glue to a log half and line it up right against the bottom of the tin tile tree on the front. Flip it over (look how pretty that painted back is!) and do the same with the other half on the back.
Make sure the bottoms are flush so the tree can stand. There will be a little seam between the two halves. If you want to get real extra, you could fill it with wood putty. Then the moment of truth… it stands! Big sigh of relief.
Step 8: Tie Mini Burlap Bows
Plan B, part two: I meant to use teal velvet ribbon, but it was too close to my green and didn’t give enough contrast. I thought about black and white check, but I get plenty of comments that it’s overused (and maybe there’s some truth to that). So I went with a thin 1/4-inch burlap ribbon with white trim.
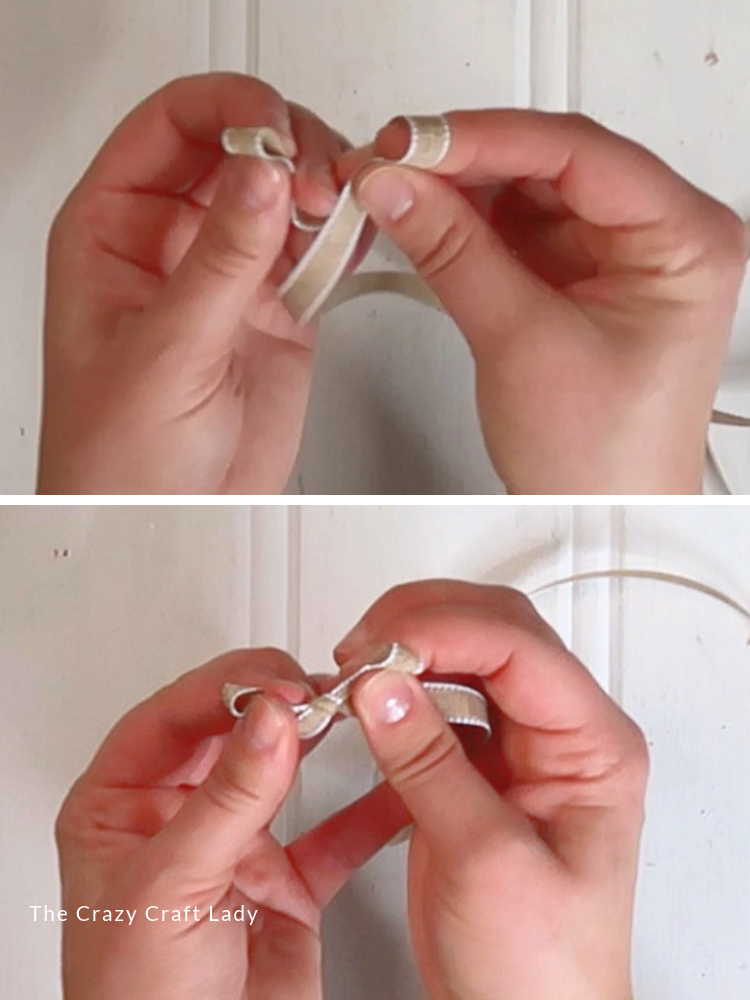
Make a bunny ears bow: one loop, two loops, tie them in a knot. The white trim is only on one side, so flip the center piece before you tighten. Pull the tails down so they both face front, then finagle the loops until they’re the right size for your tree. Mine were too big at first, so I tightened the tails. Much better!
Cut the tails at a 45-degree angle and seal the ends with a lighter. Please be careful and don’t catch your craft room on fire. Easier option: make a loop, pinch it into a figure eight, and tie the center with another piece of ribbon.
Step 9: Glue the Bows Under the Stars
Add a little dab of hot glue and press a bow right at the base of each star. It hides how wonky my star bottoms turned out, and I’m happy with the way that looks.
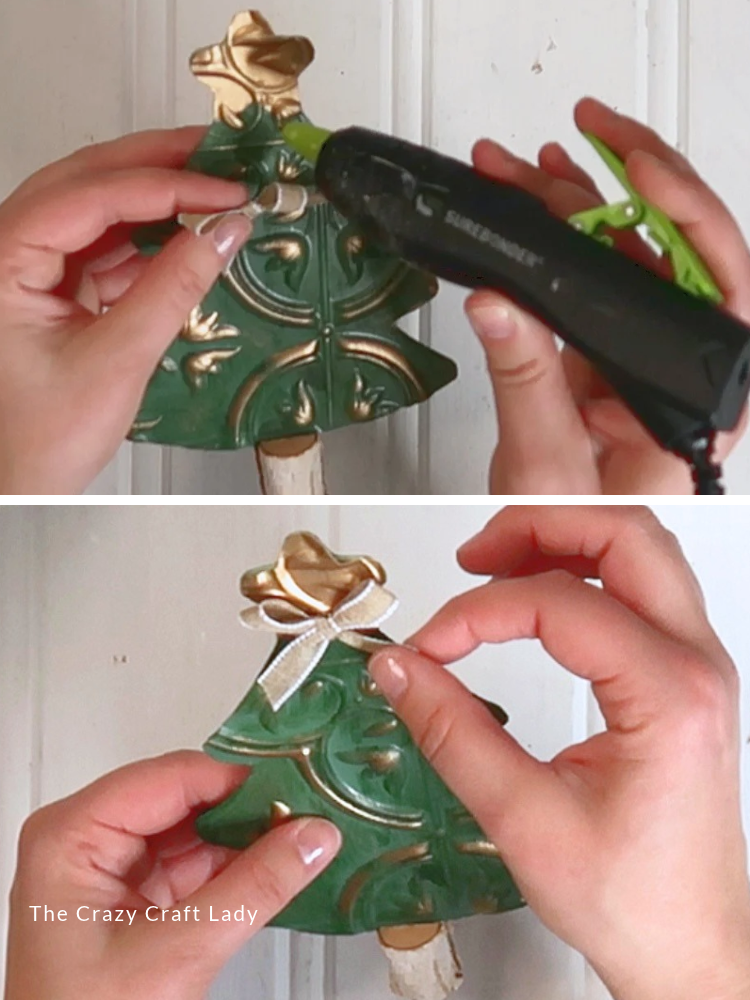
Repeat with the other two trees.
Step 10: Steady the Trees with Poster Putty
I admit my tall tree was a little wobbly. You could hot glue the trees to a wood round or a stand, but I wanted three separate pieces I can move around and display anywhere.
I always keep poster hanging putty around, because my daughter is always changing up the concert posters in her bedroom. Wedge a dab into the crevice in the bottom of each log base, smooth it toward the edges, and press the tree down where you want it. A little goes a long way. No putty? Try Play-Doh, or the candle wax you use to keep taper candles in their holders.
Ways to Make Your Own Tin Tile Christmas Trees
There’s no real wrong way here. A few ideas to make them your own:
- Skip the green and spray paint them white or cream, then distress with gold or silver for a frosty look.
- Use the chalk paint method instead: white chalk paint first, then pounce on a green. Bonus: if you go too heavy with the distressing, you can brush the base color back on.
- Love black and white check? Go for it. You’ll get all the contrast you want.
- Try the same tin tile trick on other wood cutout shapes, like stars or ornaments.
- Glue all three trees to a wood round for one centerpiece instead of three separate pieces.
Tips + FAQs for Tin Tile Christmas Trees
Can I use the adhesive backer on Dollar Tree faux tin tile?
Not once you cut it. The backer is only secured around the four edges of the tile, so it falls off as soon as you cut into it. E6000 plus a few dots of hot glue works much better.
Will hot glue melt faux tin tile?
It can. Faux tin tile is plastic, so use tiny dots of hot glue instead of a big blob, and let the E6000 do the heavy lifting for the permanent hold.
Where do I find the wood Christmas tree cutouts?
Mine are Hobby Lobby Creative Life unfinished wood cutouts. The pack comes with four, so you’ll have one left over for another project.
How do I keep the trees from tipping over?
Poster hanging putty pressed into the bottom of the log base works great. Play-Doh or candle wax should work too, or you can hot glue the trees to a wood round.
Can I use regular paint instead of spray paint?
Yes! Paint a layer of white chalk paint, then pounce on a green. It takes a little longer, but it’s more forgiving if you overdo the distressing.
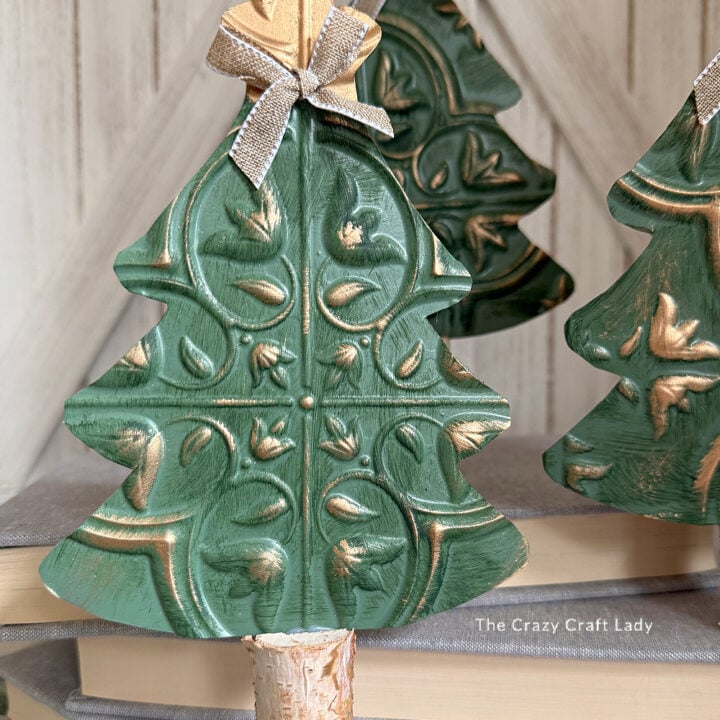
Dollar Store Tin Tile Christmas Trees with Birch Log Bases
Turn Hobby Lobby wood tree cutouts and Dollar Tree faux tin tile scraps into rustic green and gold Christmas trees with birch log bases and tiny burlap bows.
Materials
- Hobby Lobby Creative Life unfinished wood Christmas tree cutouts (use 3 from the pack of 4)
- Dollar Tree faux tin tile scraps, adhesive backer removed
- Rust-Oleum moss green satin spray paint
- FolkArt Matte acrylic paint in Thicket
- Rub 'n Buff in antique gold
- Dollar Tree dish sponge, cut into small pieces
- Hobby Lobby birch log roll (Christmas section)
- Thin 1/4-inch burlap ribbon with white trim
- E6000 craft adhesive
- Mini hot glue sticks
- Poster hanging putty
Tools
- Sharpie marker
- Craft scissors
- Heat gun
- Vinyl smoothing tool (scraper)
- Hot glue gun
- Small detail paintbrush
- Miter shears
- Lighter (to seal ribbon ends)
Instructions
1. Watch the video tutorial. Watch the video tutorial above, right here in this blog post, before getting started.
2. Trace and cut. Trace each wood tree onto the back of the faux tin tile with a Sharpie. Cut it out, including the star, and cut straight across the bottom instead of around the trunk. Make three.
3. Prep the wood. Warm the labels on the backs of three wood trees with a heat gun and scrape them off.
4. Spray paint. Outside, spray paint the backs and edges of the wood trees and the fronts of the tin tile trees moss green. Hold the pieces at an angle to get the edges. Let dry.
5. Glue. Glue each tin tile tree to a wood tree with E6000 plus a few tiny dots of hot glue placed next to it (not mixed).
6. Distress in green. With a small piece of dish sponge, distress the raised details with FolkArt Thicket. Go a little heavier on this first coat. Let dry.
7. Add the gold. With a fresh piece of sponge, lightly buff antique gold Rub 'n Buff over the details. Start with less; you can always add more.
8. Paint the stars. Paint the star tops solid antique gold with a small brush.
9. Cut the bases. Pull the felt off the birch log pieces and cut them with miter shears in a 1/3, 2/3 split, scoring around each side until they snap. Make a front and back half for each tree, with staggered heights.
10. Attach the bases. Hot glue one log half to the front of each tree, right against the bottom of the tin tile, then glue the other half to the back. Keep the bottoms flush.
11. Make the bows. Tie a small bunny ears bow with thin burlap ribbon, flipping the center so the trimmed side faces out. Cut the tails at a 45-degree angle and seal them with a lighter.
12. Glue the bows. Hot glue a bow at the base of each star.
13. Steady the trees. Press a small dab of poster putty into the bottom of each log base and smooth it toward the edges. Press the trees down wherever you display them.
Notes
* Crazy Craft Lady Tip: Faux tin tile is plastic, so use only tiny dots of hot glue. A big blob can melt it.
* Because the base coat is spray paint, go light with the gold. It is hard to cover up if you add too much.
* Spray paint outdoors or in a well-ventilated area.
* Be careful with the lighter when sealing ribbon ends, and keep it away from your craft supplies.
The Finished Dollar Store Tin Tile Christmas Trees
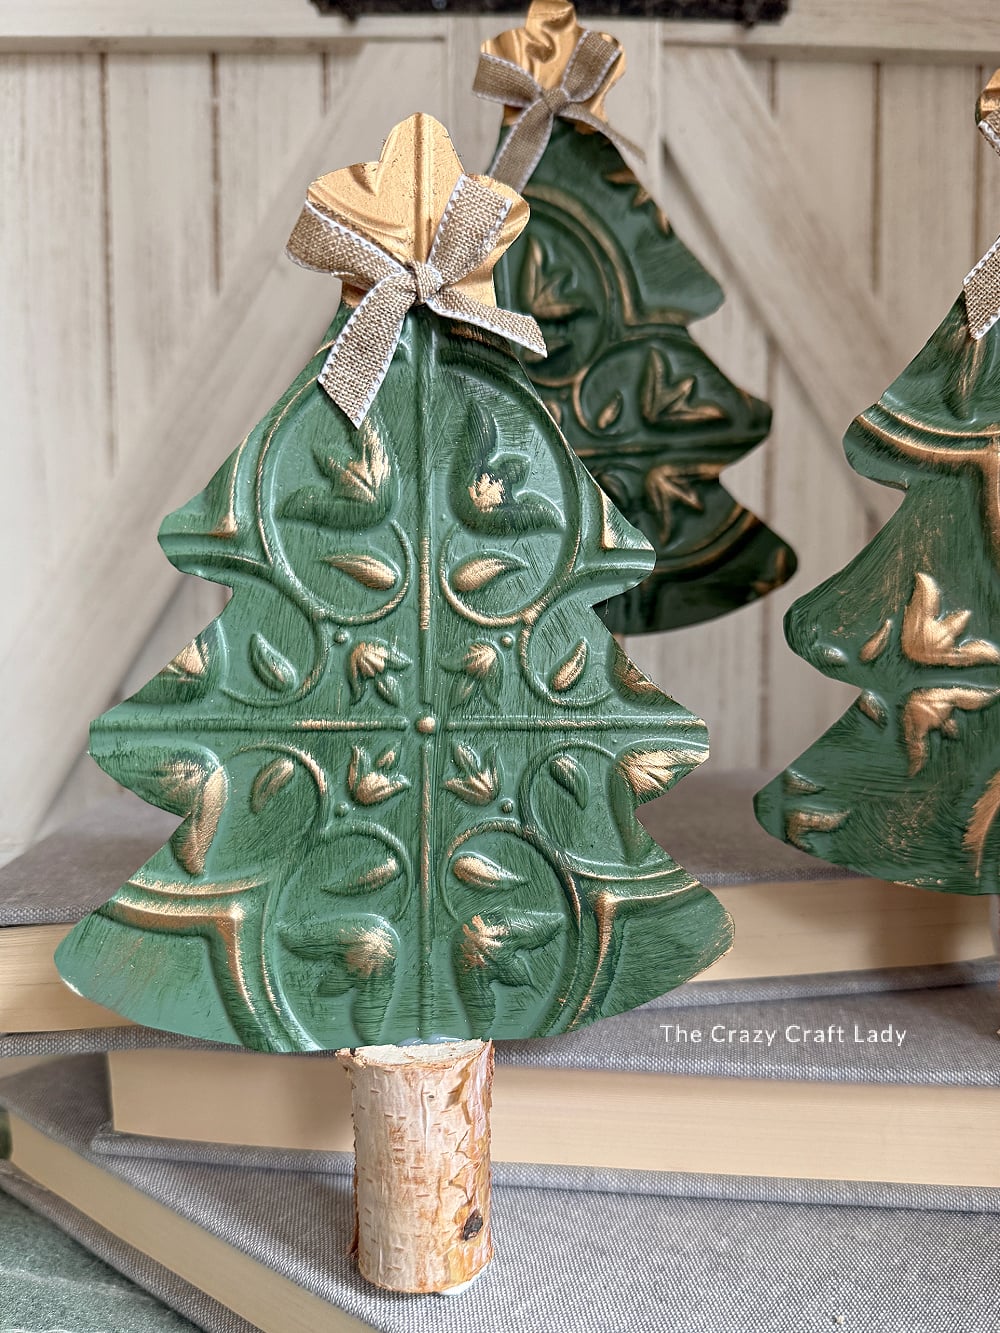
I am so happy with how these turned out! The embossed tin tile, the gold details and those little birch log trunks give them such a cozy, vintage feel, and I love that I can move them around anywhere. Would you keep yours green and gold, or try a different color? Tell me in the comments!
Pin These Dollar Store Tin Tile Christmas Trees for Later
More Dollar Store Christmas Crafts You’ll Love
- Tin Tile Christmas Tree Cutout
- Burner Cover Tin Tile Jumbo Ornaments
- Faux Tin Tile Flower Pocket
- Dollar Store Wood Cutout Christmas Crafts
- Mini Gingerbread Cutting Board Craft
- Dollar Tree Calendar Christmas Sign
- 100+ Dollar Tree Christmas Crafts
Raisin (my crafty pup) and I thank you for stopping by. Happy making, friends!