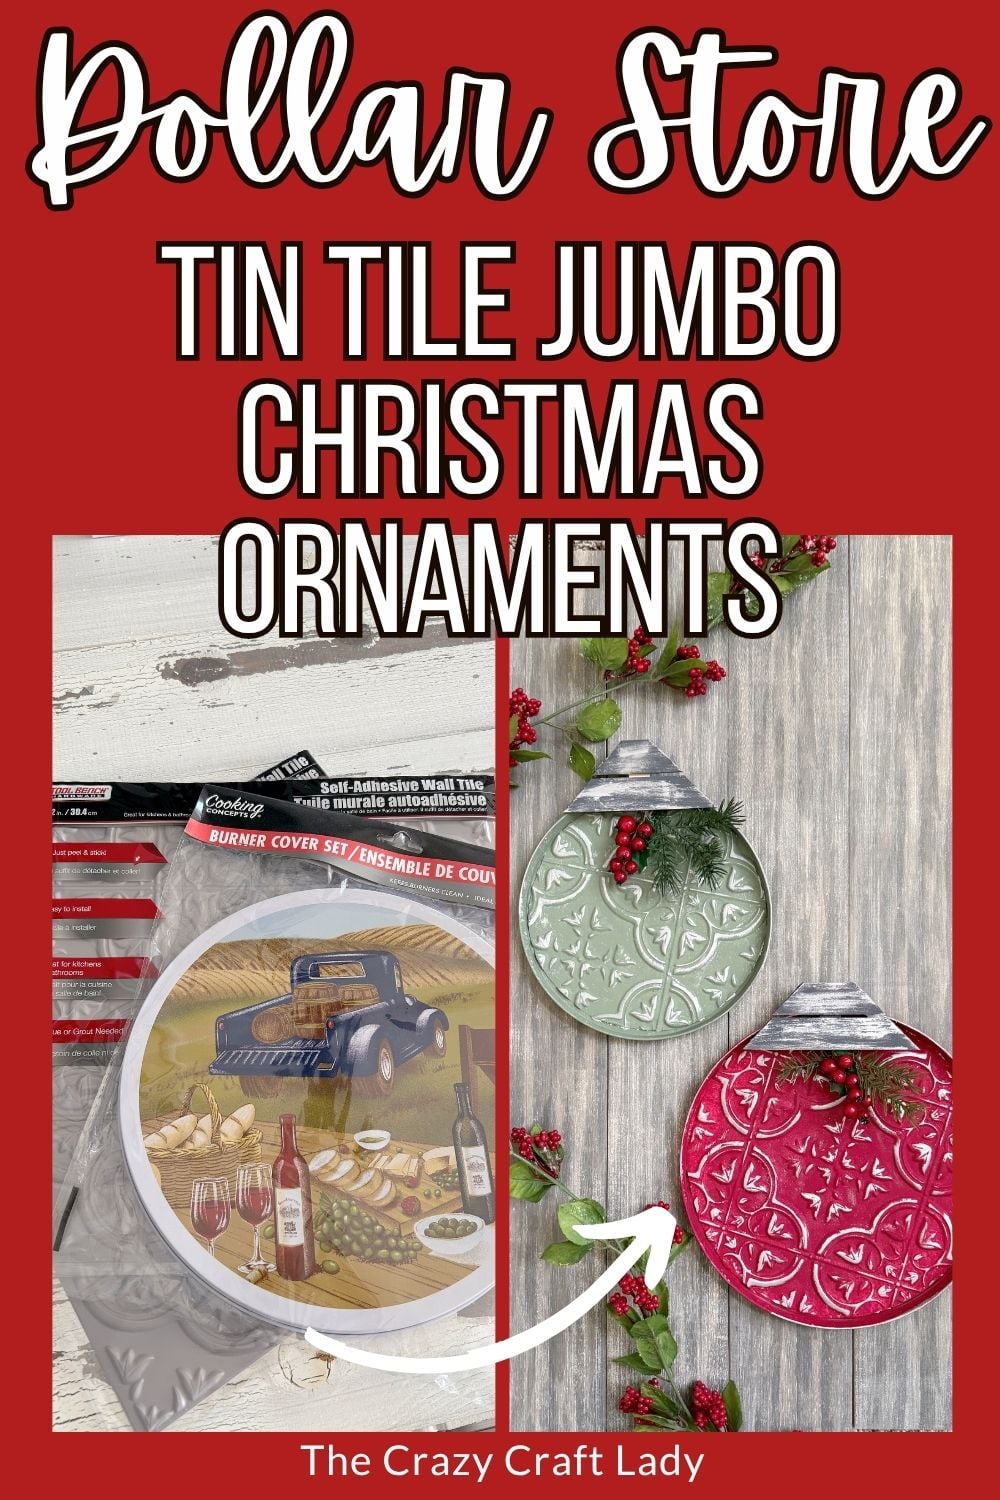
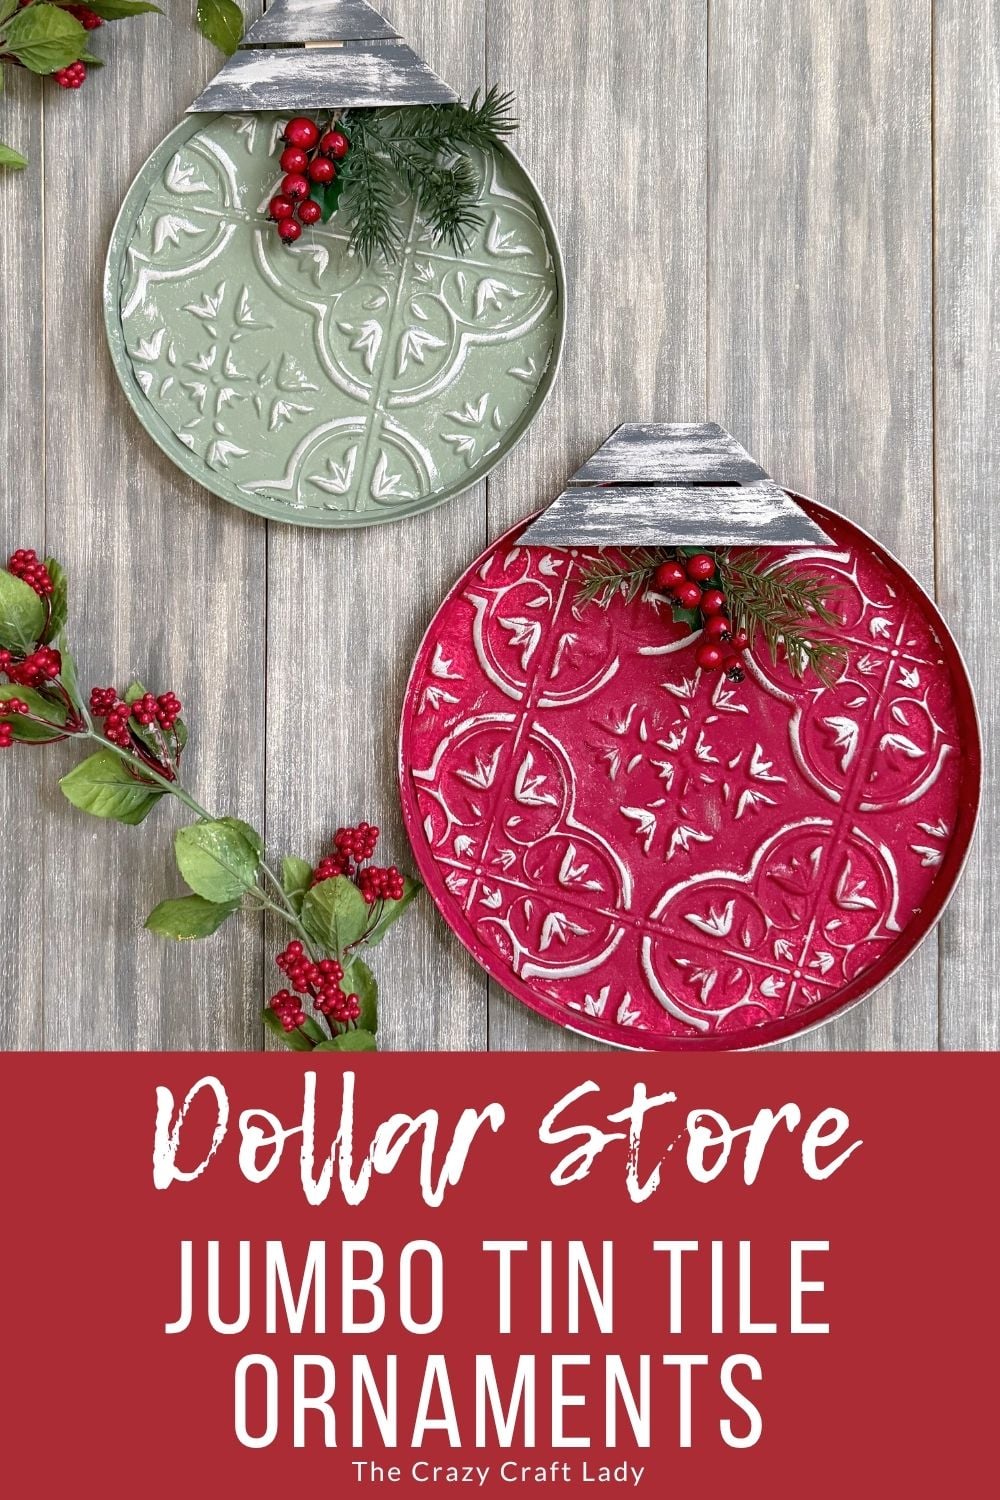
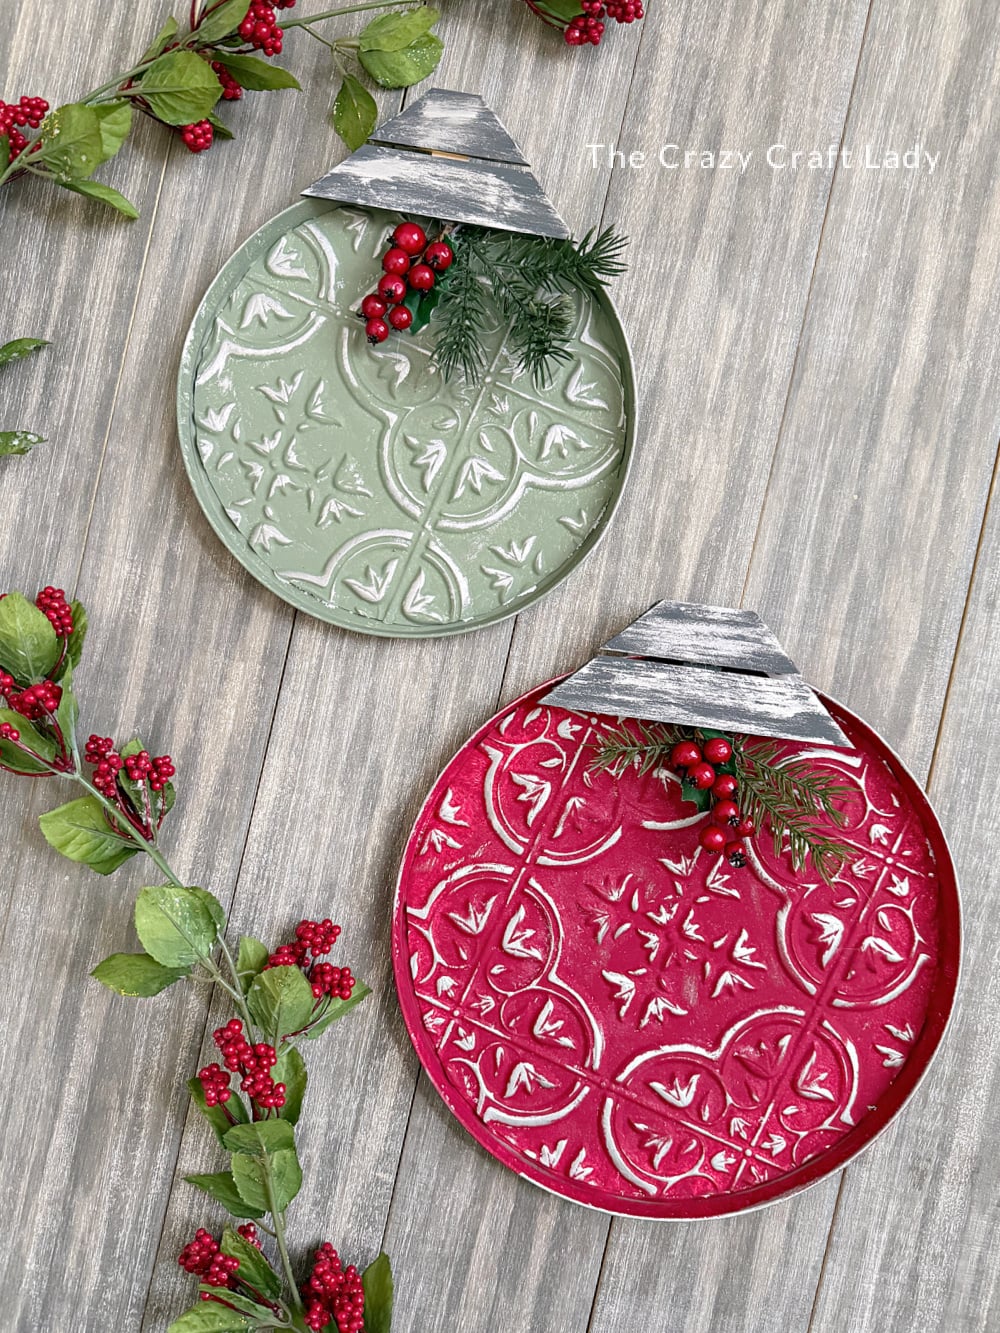
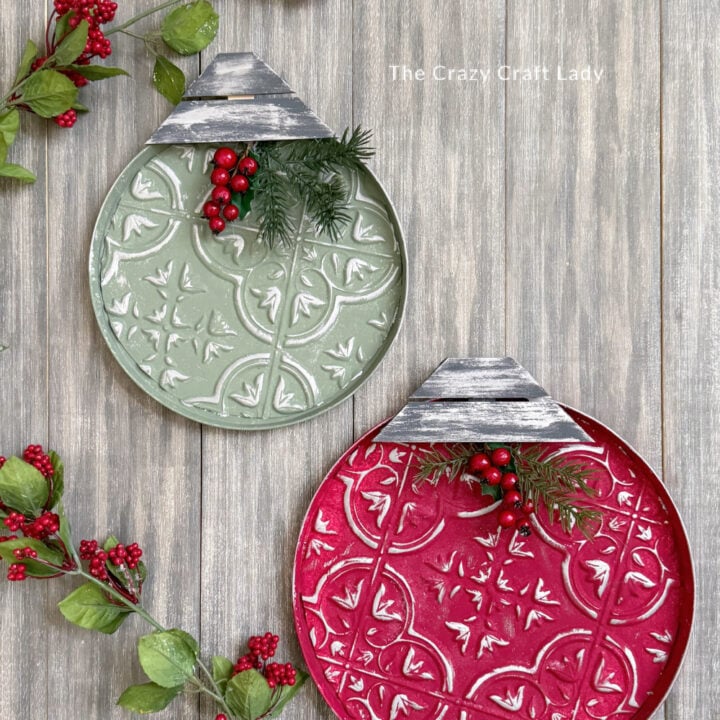
Turn Dollar Tree burner covers and faux tin tiles into beautiful vintage-inspired jumbo Christmas ornaments with this easy budget-friendly Christmas craft tutorial.
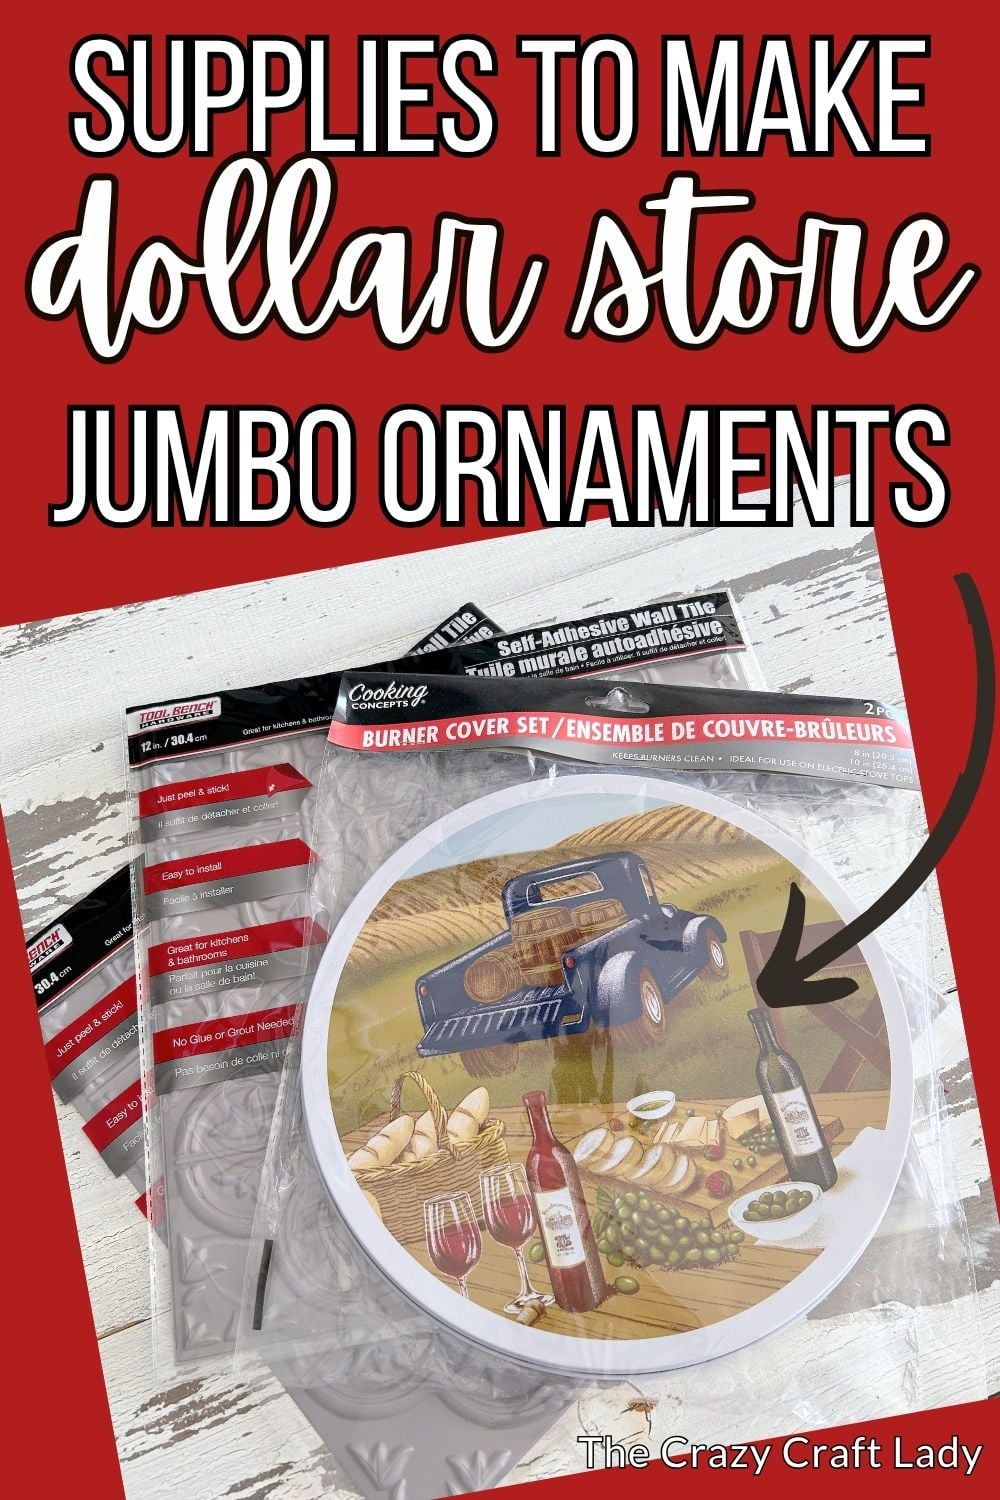
How to make jumbo Christmas ornaments using dollar store burner covers and faux tin tiles
This post contains some affiliate links for your convenience. Click here to read my full disclosure policy.
If you love Dollar Tree Christmas crafts as much as I do, you’re going to love this one! This project combines two of my all-time favorite craft supplies—Dollar Tree faux tin tiles and burner covers—to create oversized Christmas ornaments with beautiful vintage-inspired texture.
These ornaments look high-end, but they’re made with inexpensive materials and are surprisingly simple to put together. Display them on a shelf, tuck them into your Christmas tree, hang them on a wreath, or add them to a festive gallery wall.
Why You’ll Love This Craft
- Budget-friendly Dollar Tree project
- Beautiful vintage-inspired faux tin finish
- Easy to customize with your favorite colors
- Makes a statement in holiday decorating
- Perfect for farmhouse, vintage, or cottage-style Christmas décor
Video Tutorial: Burner Cover Tin Tile Jumbo Ornaments
Watch this quick video to see how this craft came together:
Burner Cover Tin Tile Jumbo Ornaments
Create oversized Christmas ornaments using Dollar Tree burner covers, faux tin tiles, paint, and faux greenery for elegant holiday décor on a budget.
Materials
- Dollar Tree burner covers (2 sizes - large and small)
- 2 Dollar Tree faux tin tiles
- E6000 or tacky glue (or low-temp hot glue)
- White spray primer
- Waverly Chalk Paint in Moss (green)
- Waverly Chalk Paint in Lacquer (red)
- Gray or black chalk paint
- Paint stir sticks
- Small craft stick (for reinforcement)
- Silver Rub 'n Buff
- Small piece of dish sponge
- Faux pine greenery
- Faux berries
Instructions
- Watch the Video. Follow along with the video tutorial for a complete step-by-step walkthrough.
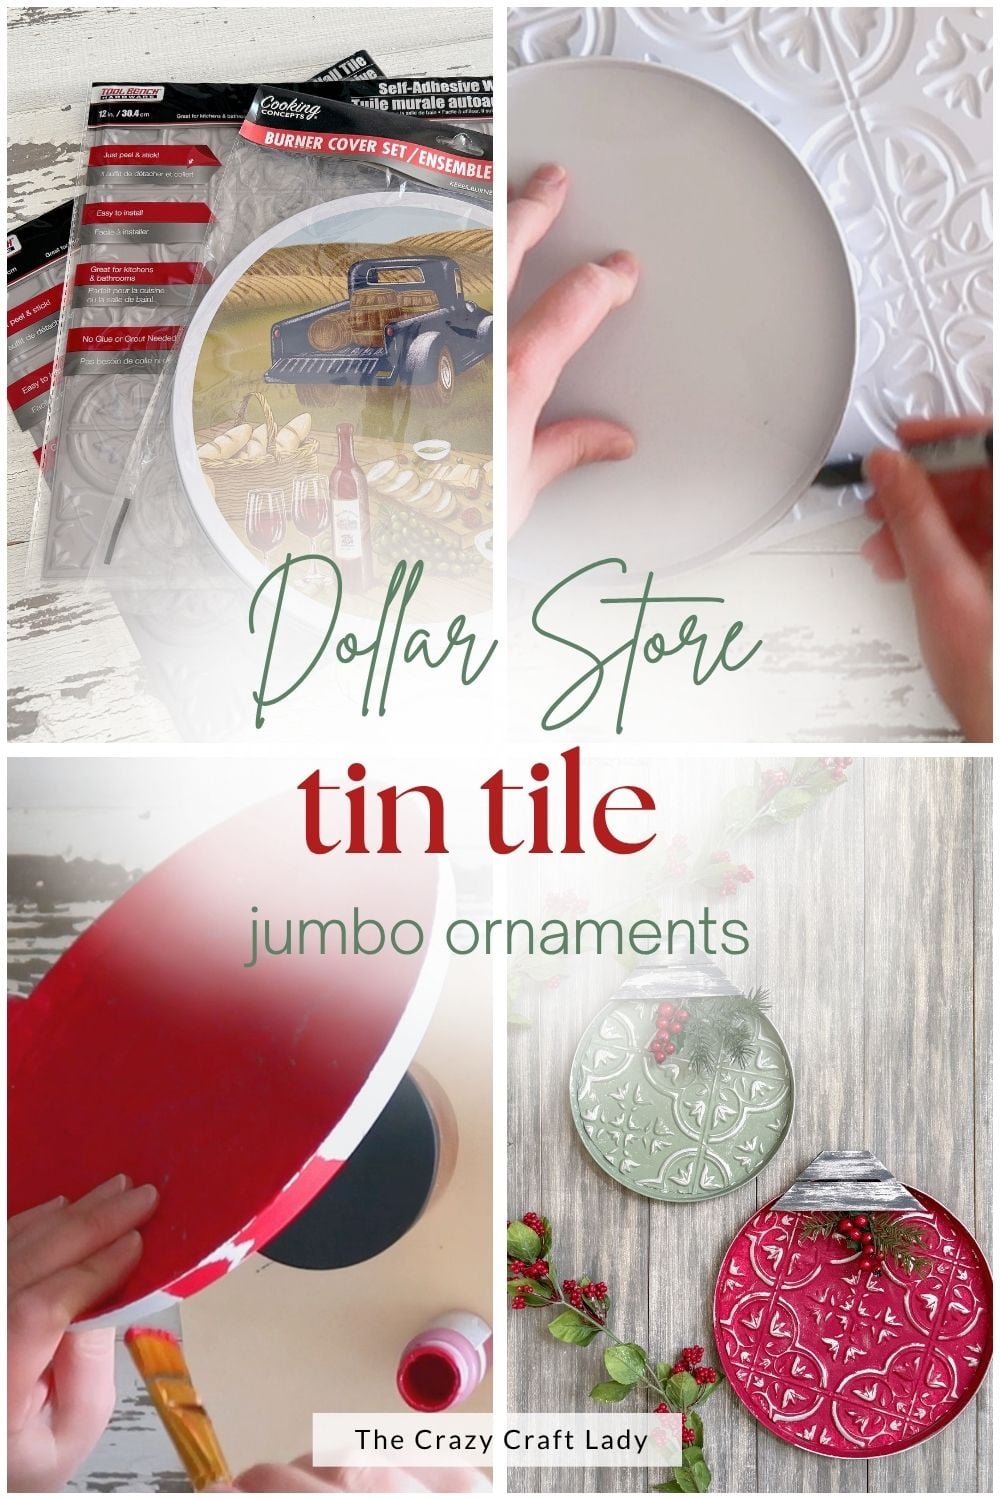
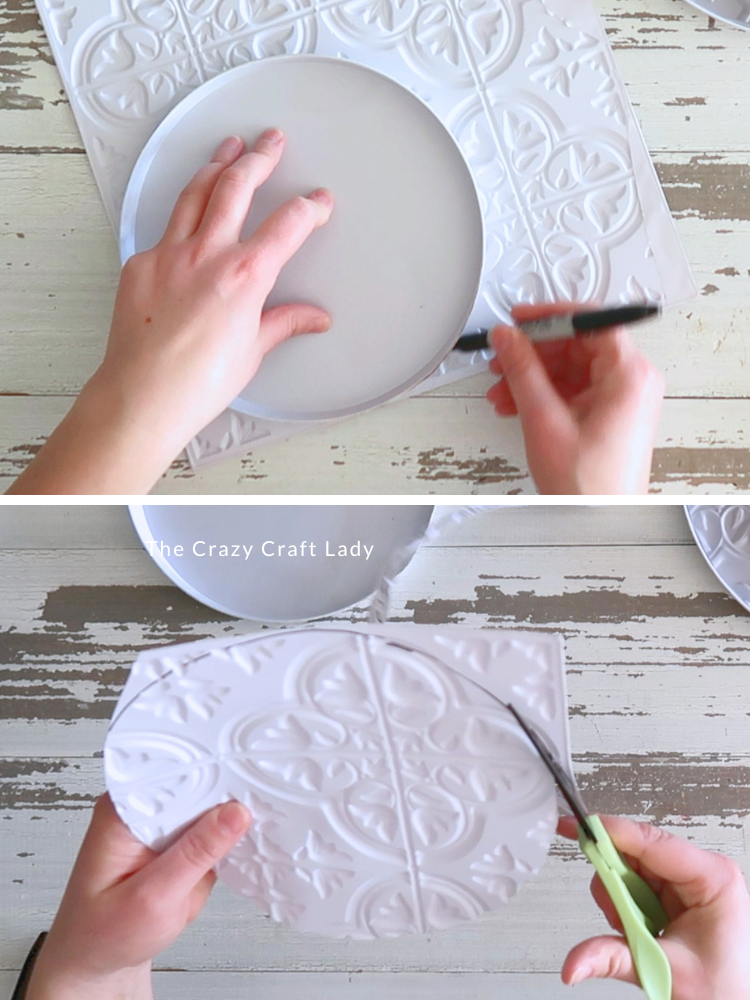
- Cut the Faux Tin Tile. Remove the backing from the faux tin tile. Center a burner cover on the tile, trace around it, then cut just inside the traced line so the faux tin piece fits neatly inside the burner cover.

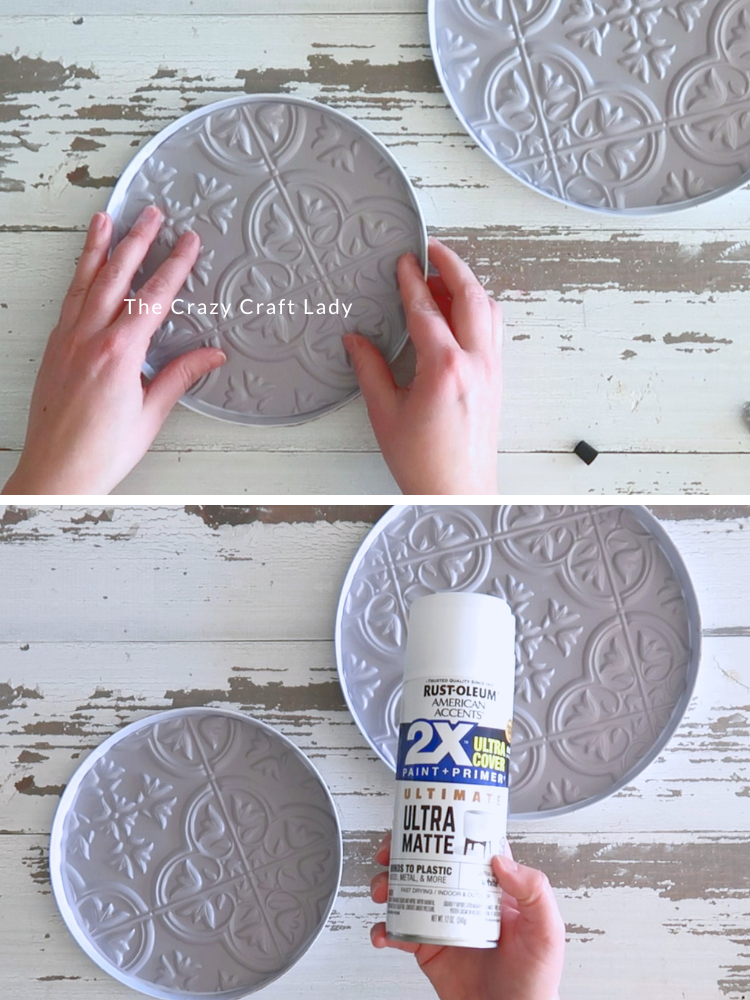
- Glue the Tile in Place. Add small dabs of E6000 around the back of the faux tin tile and press it into the burner cover. Allow the adhesive to dry completely before moving on.
- Prime Everything. Apply a light coat of white spray primer over the entire burner cover, including the edges. This helps the paint adhere to both the metal and plastic surfaces.
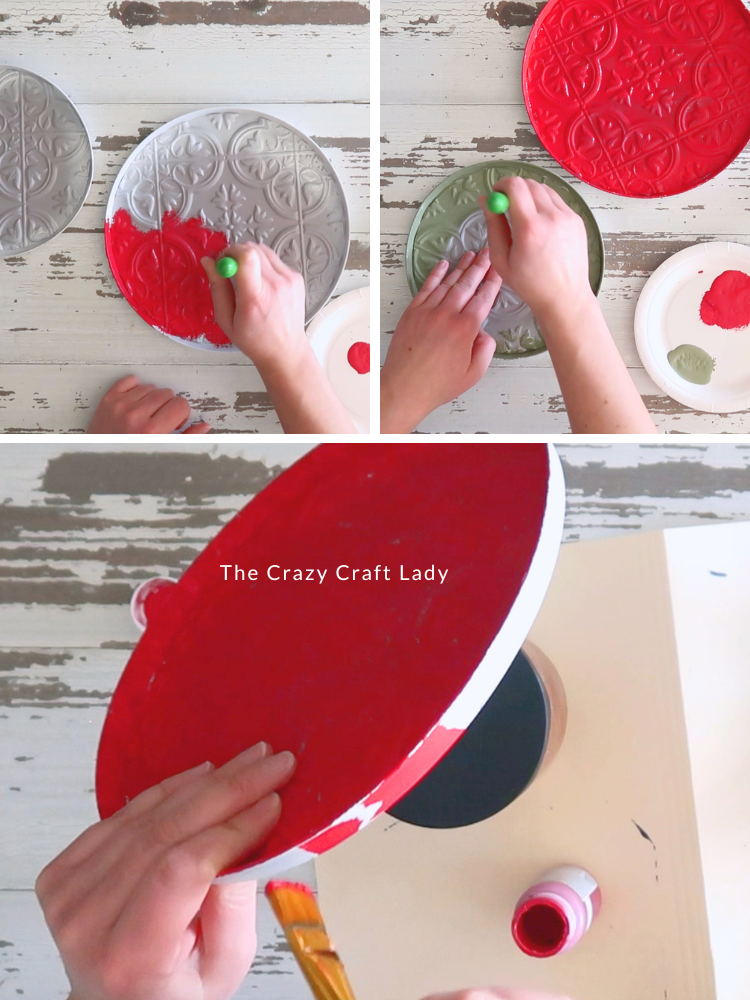
- Paint the Ornaments. Use a pouncer brush to paint the faux tin texture with chalk paint. Paint one ornament red and another green, then use a flat brush to paint the outer edges of the burner covers.
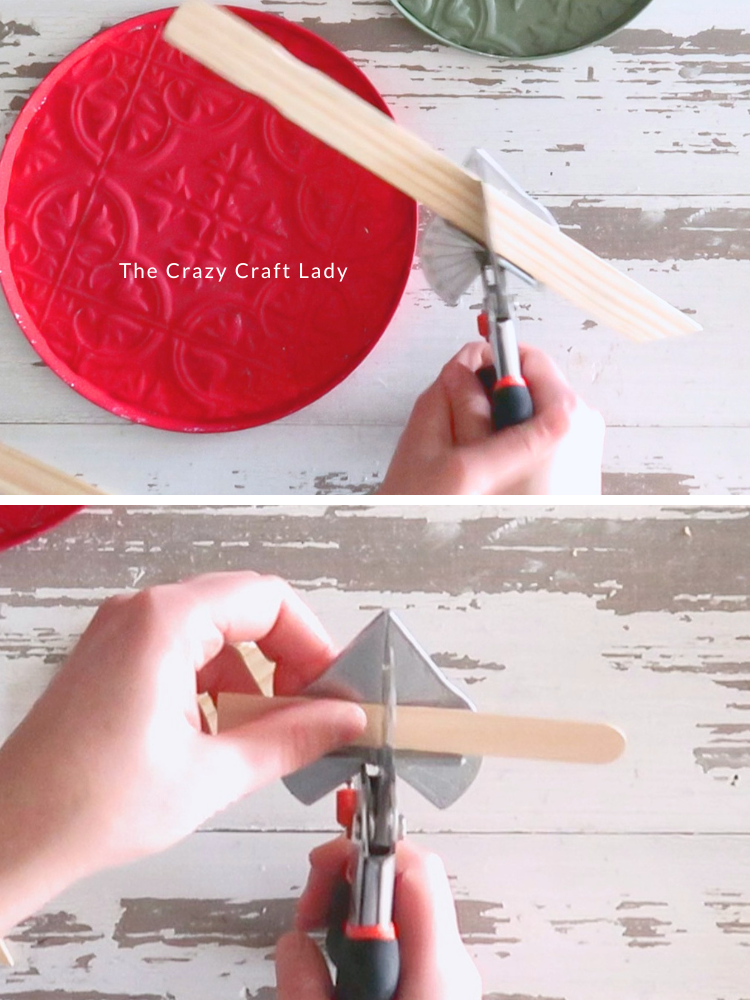
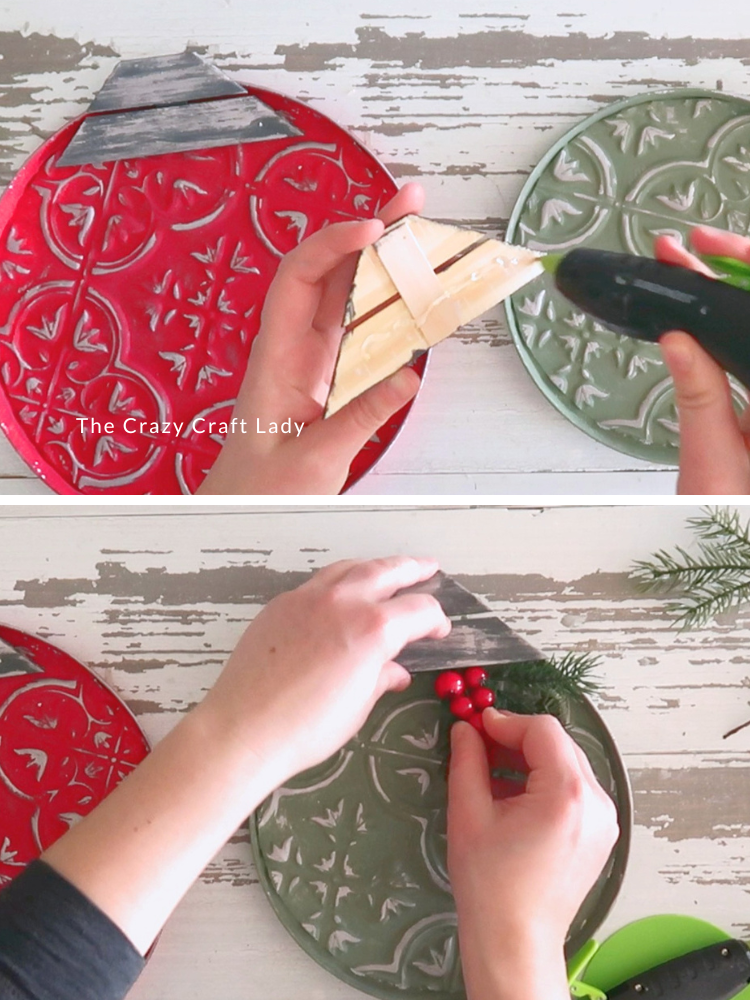
- Cut the Ornament Tops. Cut two angled pieces from a paint stir stick to create a trapezoid-shaped ornament cap.
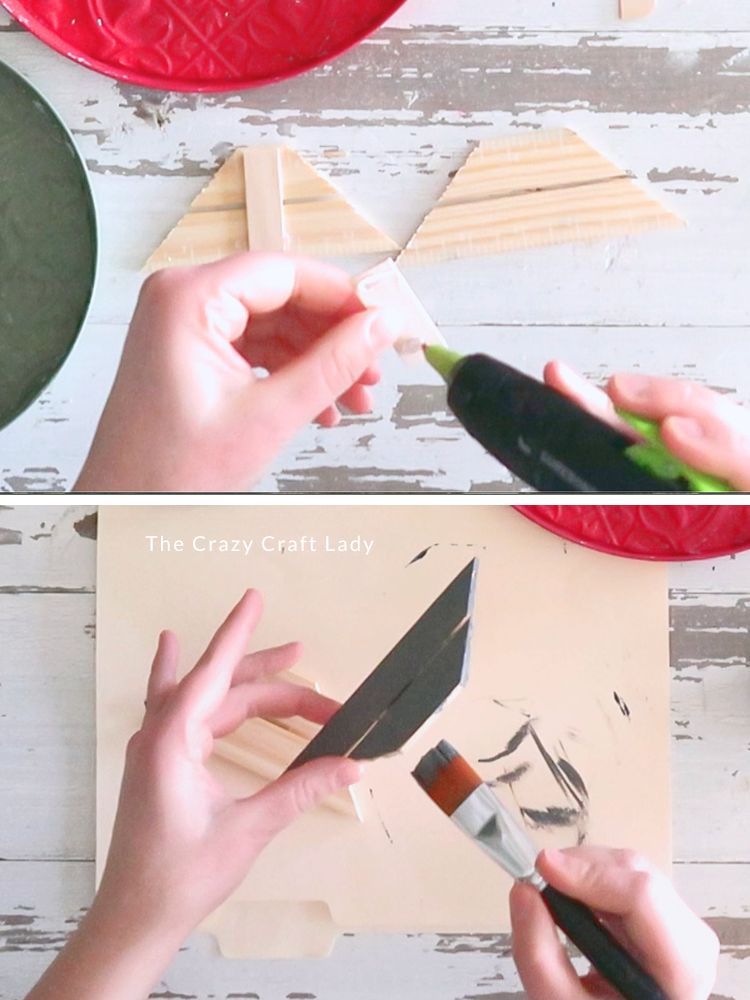
- Assemble and Paint the Ornament Tops. Glue the pieces together using a small piece of craft stick on the back for support, then paint them gray or black.
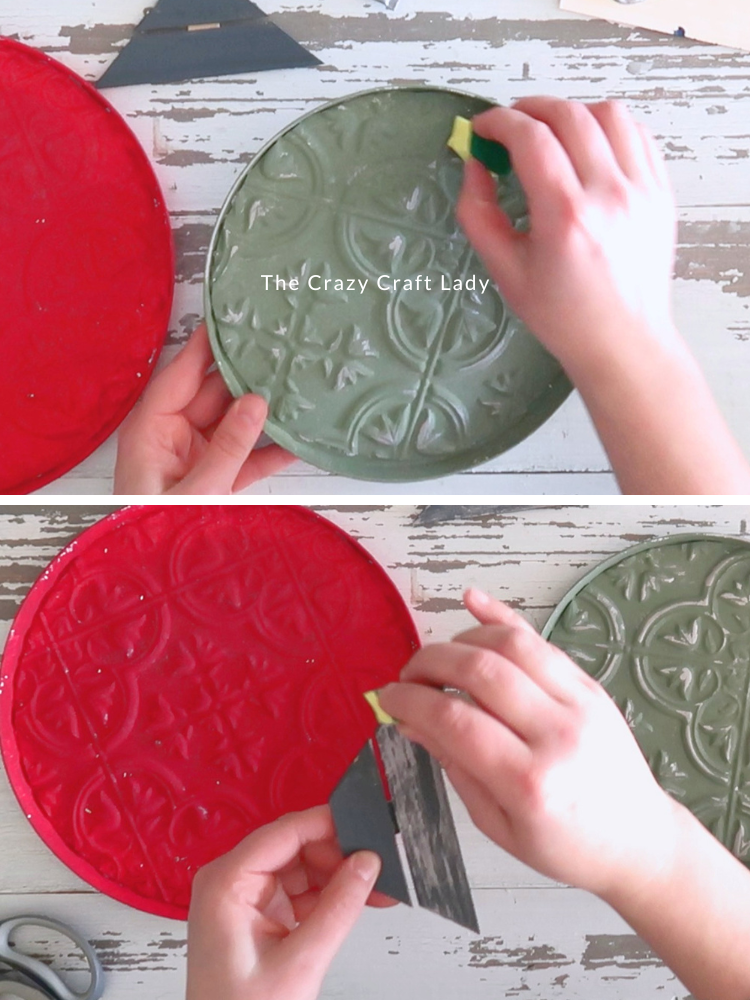
- Add Metallic Highlights. Apply a small amount of silver Rub 'n Buff to a piece of dish sponge and lightly brush it over both the faux tin tile and the ornament topper. This brings out the embossed texture and creates an aged metal look.
- Assemble the Ornament. Hot glue the ornament topper to the top of the burner cover.
- Finish with Greenery. Tuck small sprigs of faux pine and berries beneath the ornament topper and secure them with hot glue for a festive finishing touch.
Tips for Success
- Cut slightly inside your traced line for the best fit.
- A pouncer brush helps avoid visible brush strokes on the embossed texture.
- Low-temperature hot glue works if you don’t have E6000, but avoid high heat that could warp the plastic faux tin tile.
- Silver Rub ‘n Buff is what really makes the embossed pattern stand out, so don’t skip this step.
The Finished Jumbo Ornaments
These jumbo faux tin ornaments are one of those projects that look far more expensive than they actually are! With just a few Dollar Tree supplies and a little creativity, you can make beautiful oversized Christmas decorations that add vintage charm to your holiday décor.
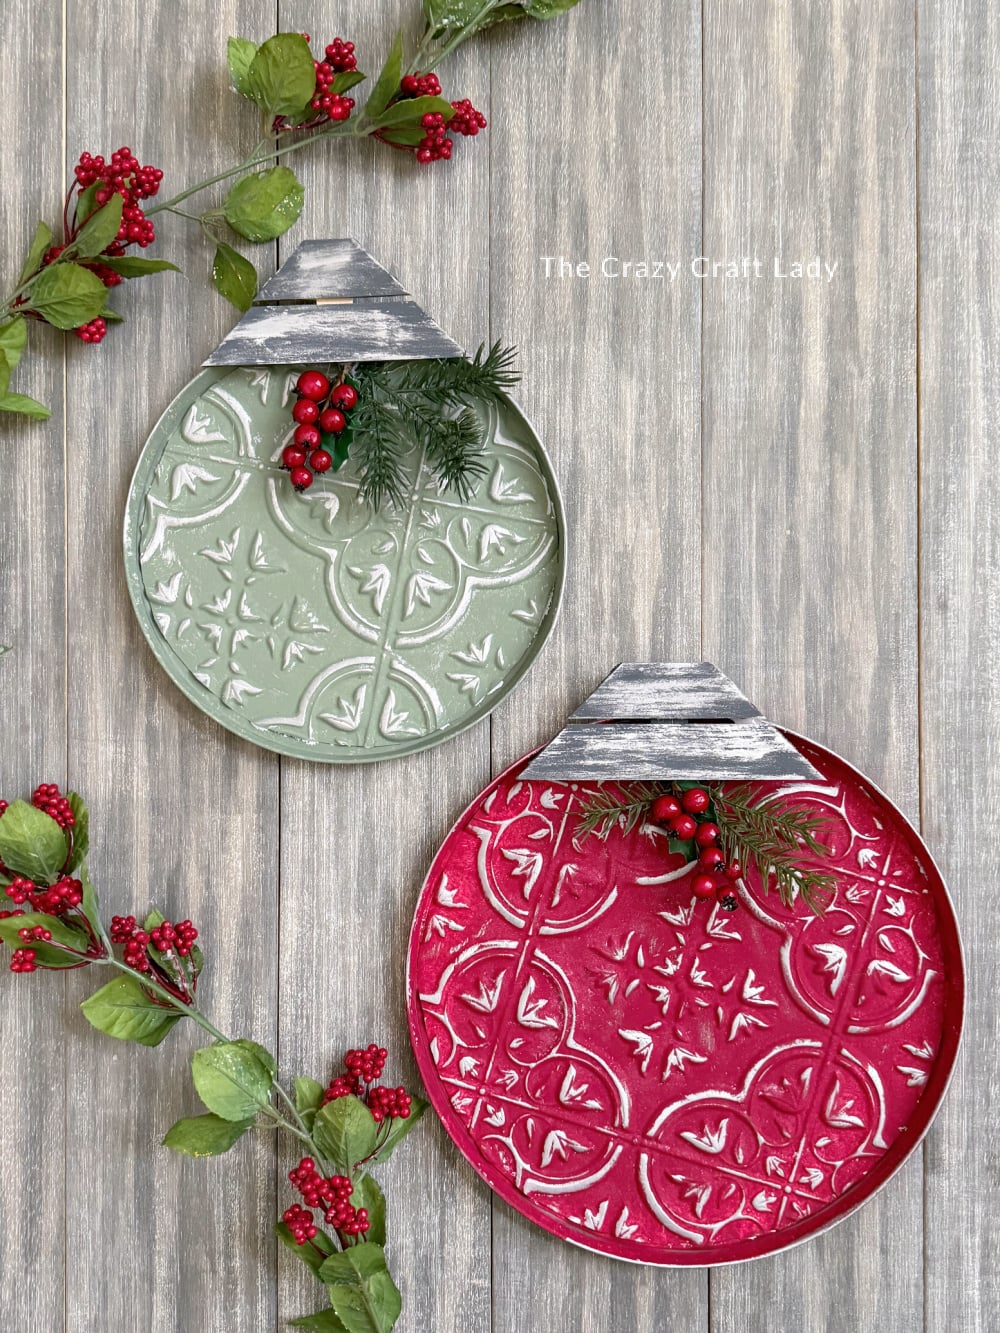
Whether you display them on a shelf, tuck them into your Christmas tree, or use them as part of a festive centerpiece, they’re sure to become a favorite part of your holiday decorating.
PIN this dollar store Christmas craft for later: