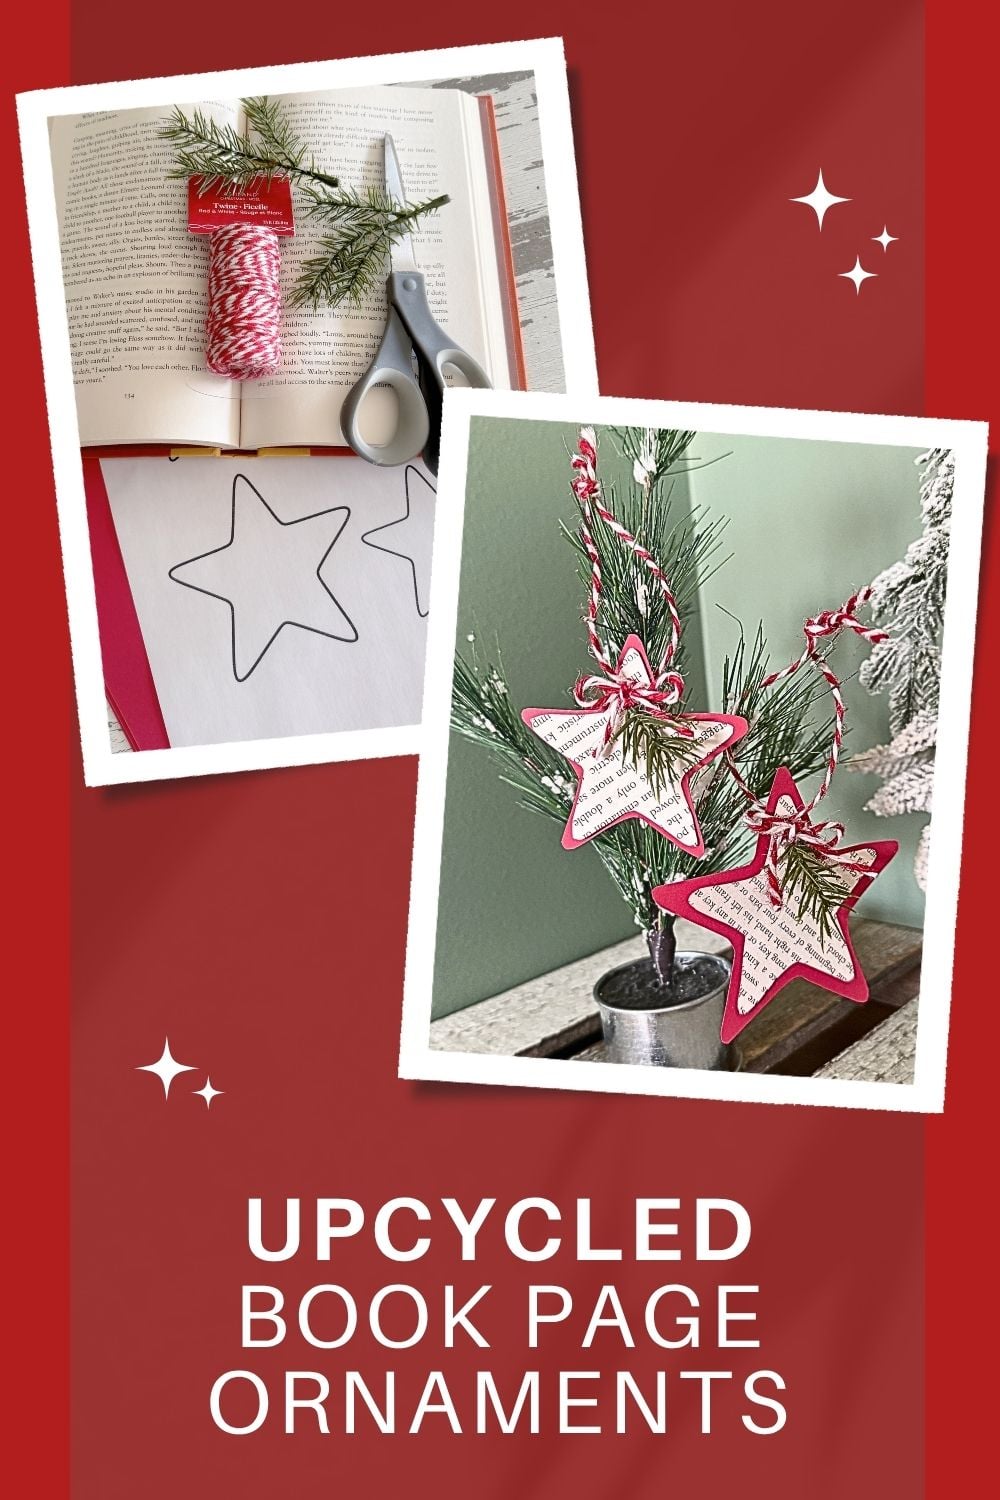
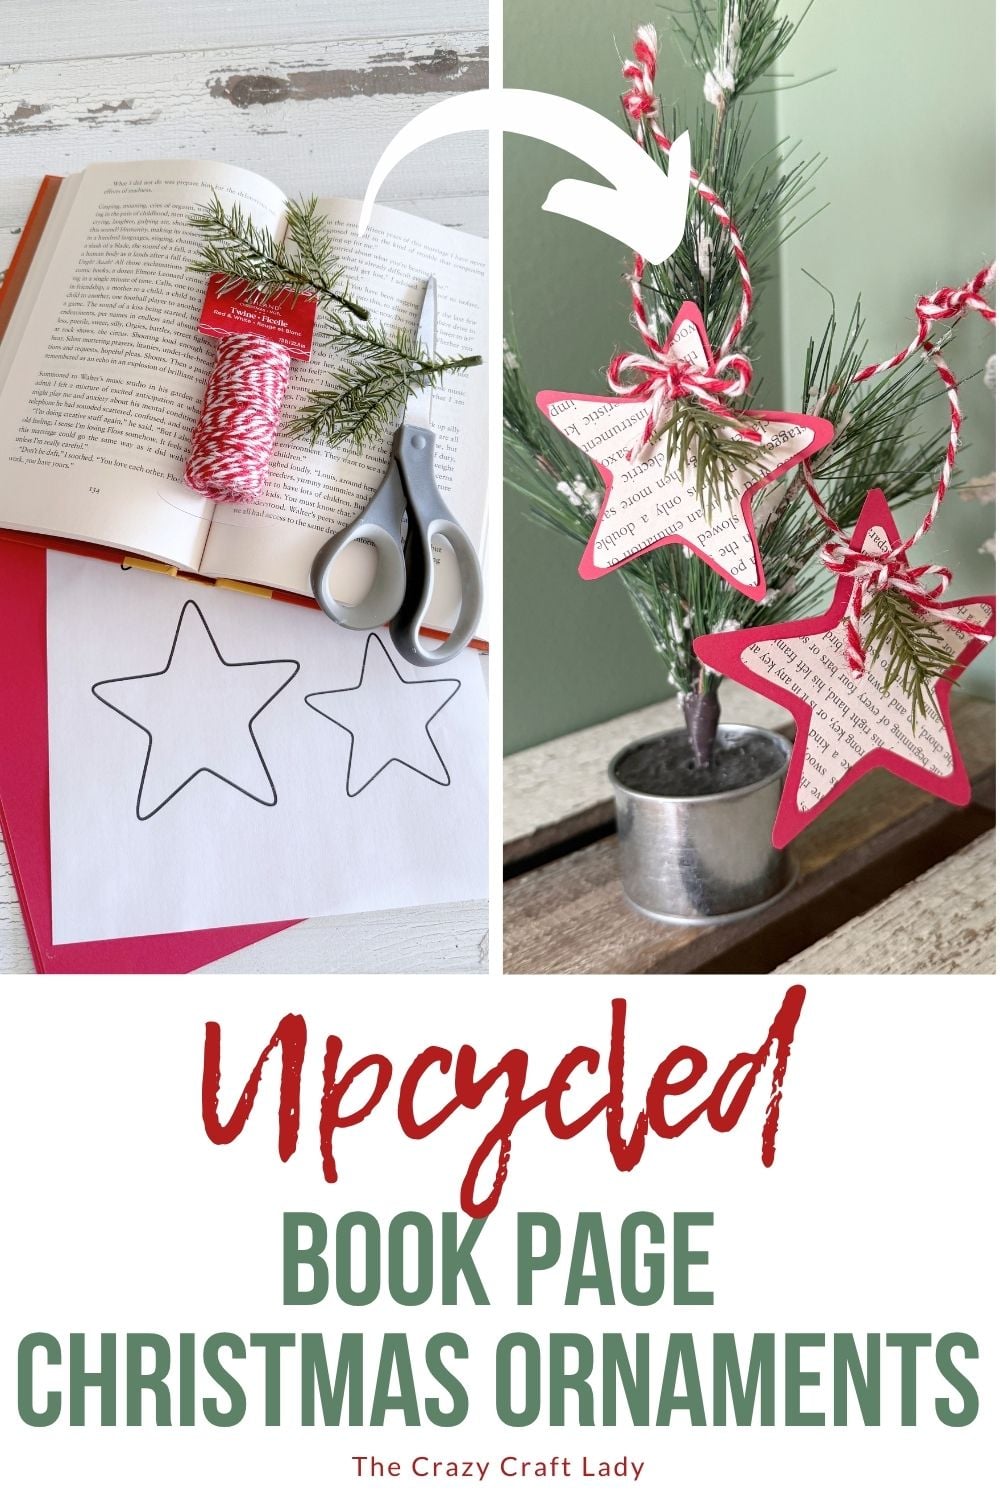
Make beautiful layered book page star ornaments with old book pages, cardstock, and baker’s twine. This easy DIY Christmas ornament is beginner-friendly and perfect for farmhouse holiday decor.
DIY Layered Book Page Star Ornaments
This post contains some affiliate links for your convenience. Click here to read my full disclosure policy.
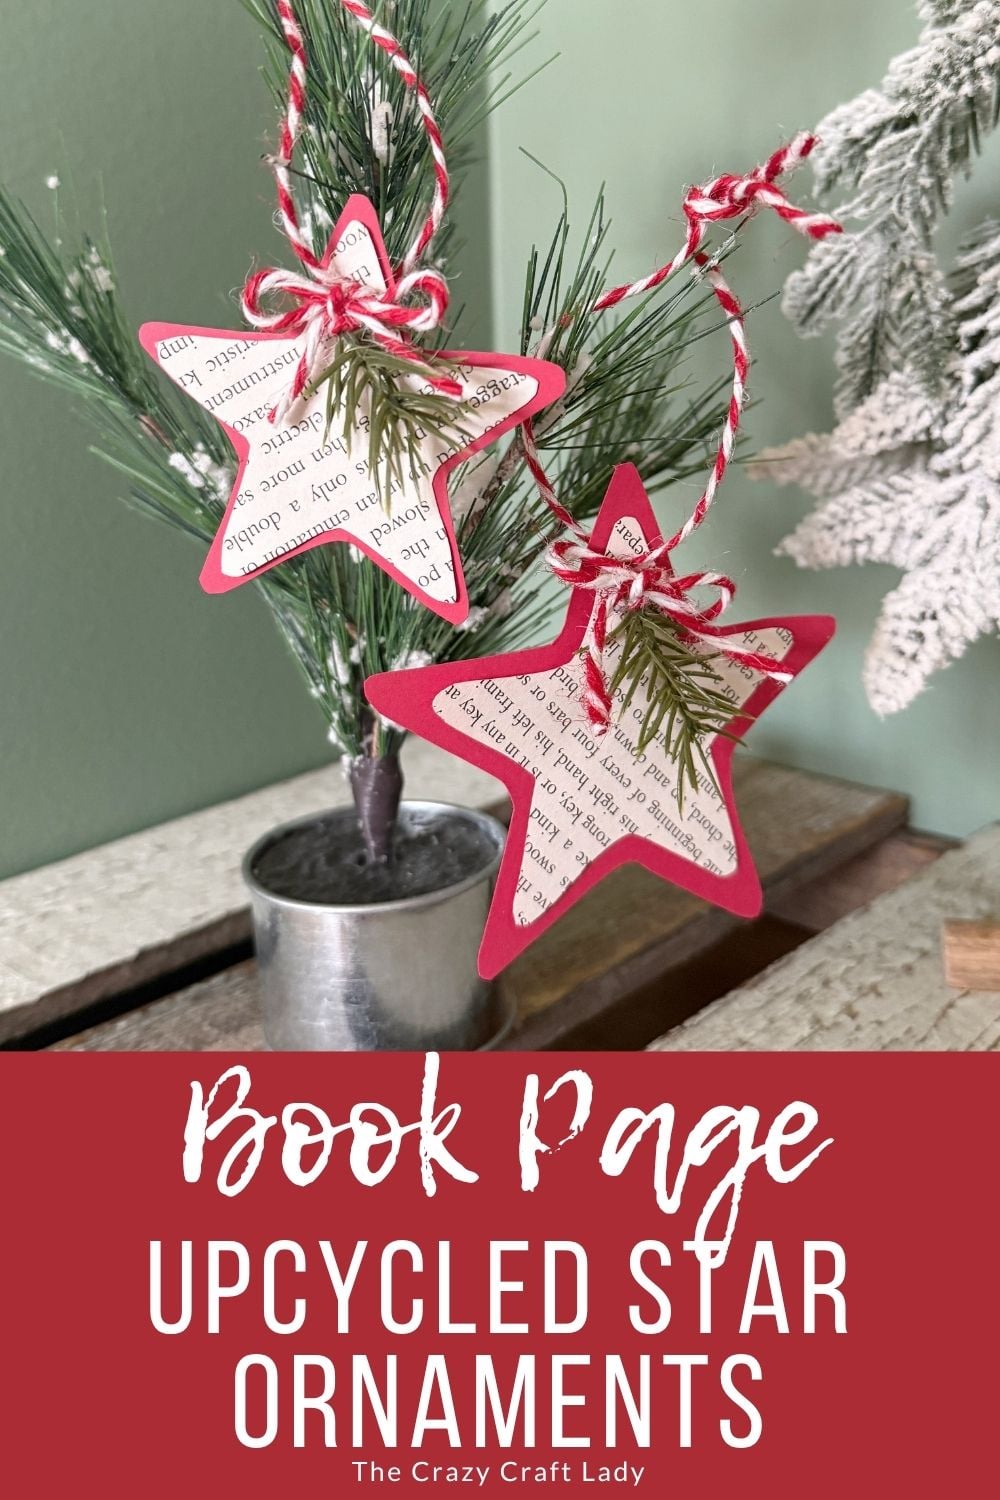
If you’ve been around here for any length of time, you know I can never resist turning old book pages into Christmas decor! These layered star ornaments are one of those projects that look much fancier than they actually are. They’re quick to make, use just a handful of supplies, and have that cozy vintage farmhouse look that I absolutely love.

The layered red cardstock peeking out behind the book pages gives these stars just enough color to make them pop on the tree, while a tiny sprig of faux greenery and a baker’s twine bow finish them off perfectly. They’re simple enough to make several in one afternoon, making them great for decorating your own tree or gifting to friends and neighbors.
Video Tutorial: Book Page Star Christmas Ornaments
Watch this quick video to see how this craft came together:
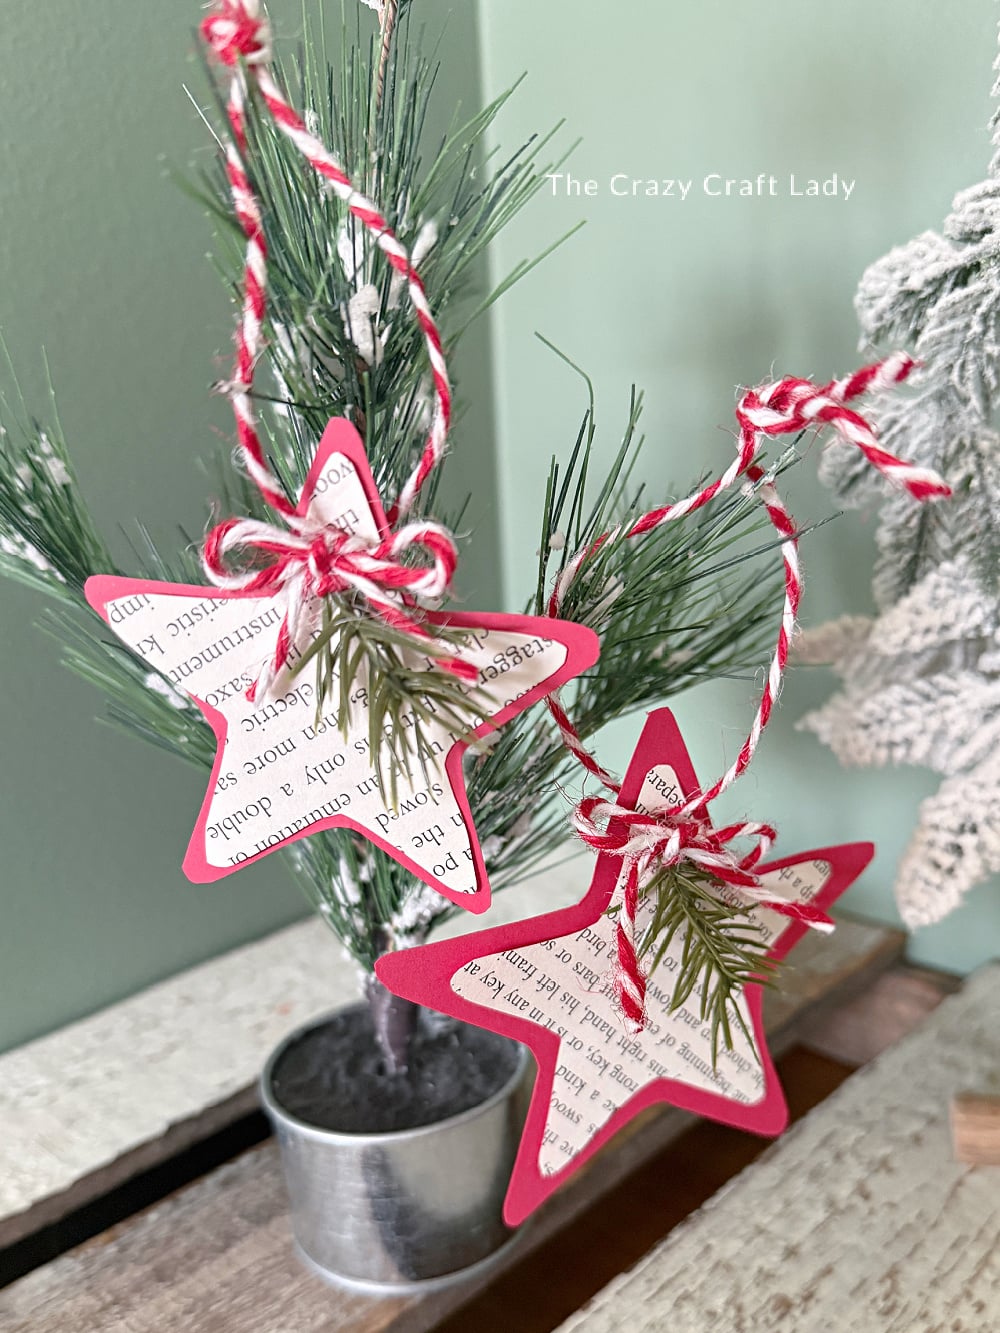
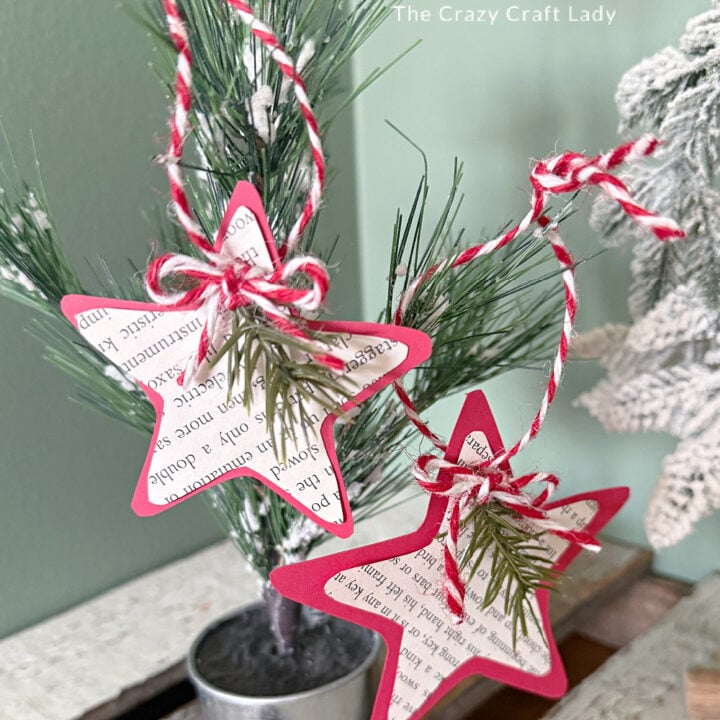
Layered Book Page Star Ornaments
Turn old book pages into charming layered Christmas star ornaments! This simple DIY uses free printable templates, cardstock, and faux greenery for a vintage-inspired holiday decoration.
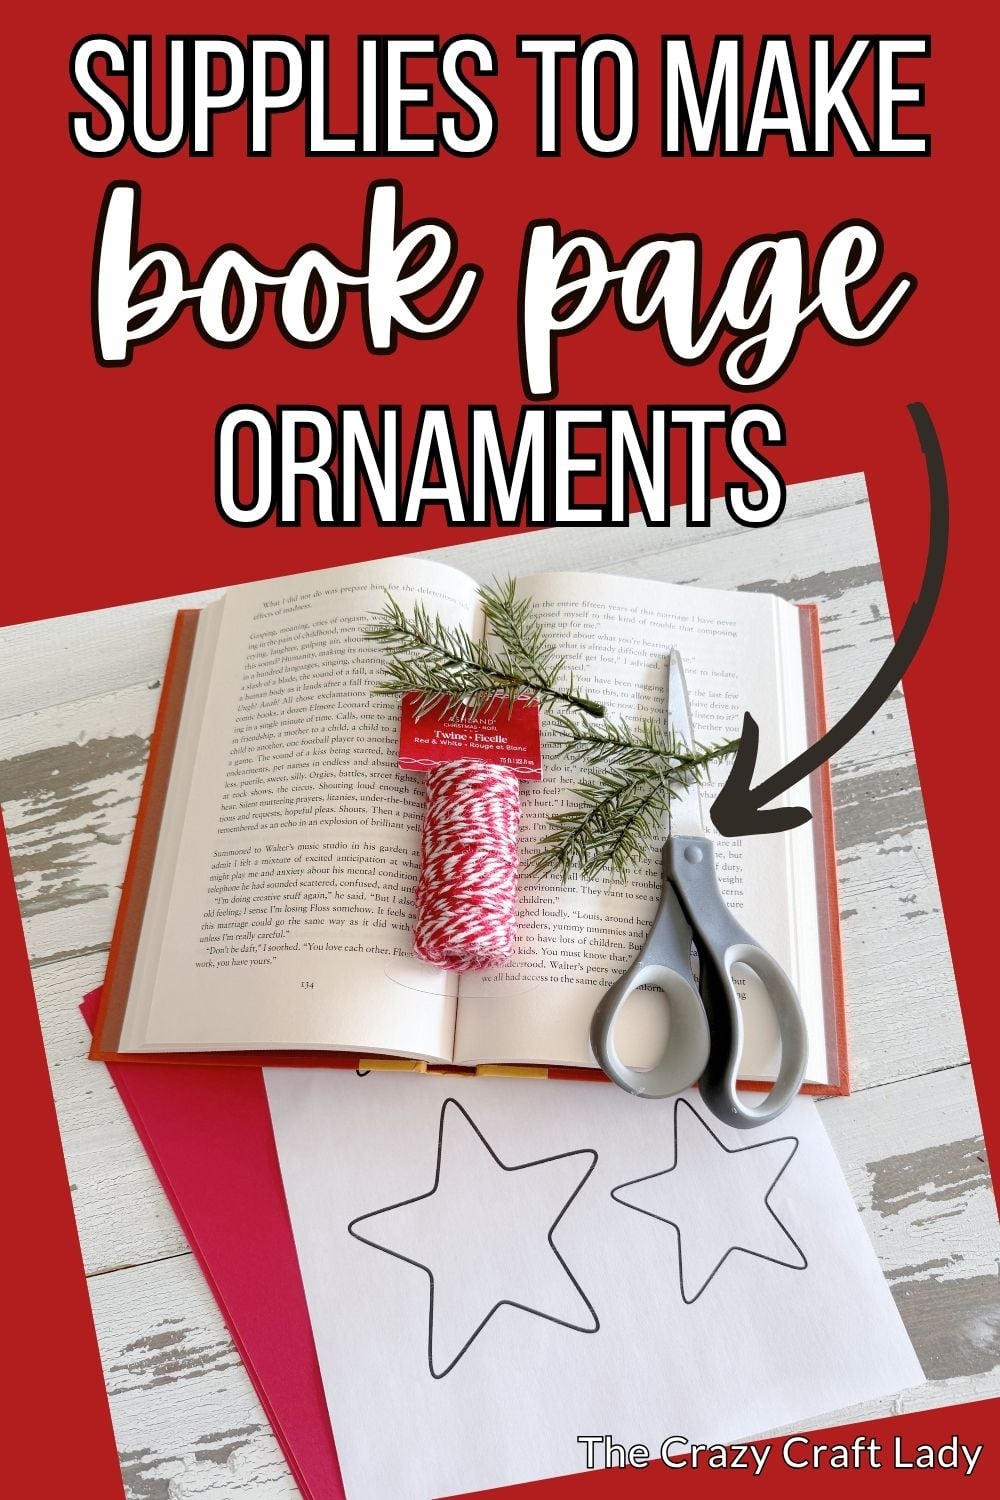
Materials
- Free printable star templates (four graduated star sizes)
- Old book pages
- Red cardstock
- Carbon transfer paper (optional)
- Double-sided tape
- Red and white baker's twine
- Small faux pine sprigs
Tools
- Stylus or pencil
- Scissors
- Hole punch
- Hot glue gun and glue sticks
Instructions
- Watch the video tutorial. Before you begin, watch the full video tutorial to see how the layered stars come together. Then gather your supplies and follow the written instructions below at your own pace.
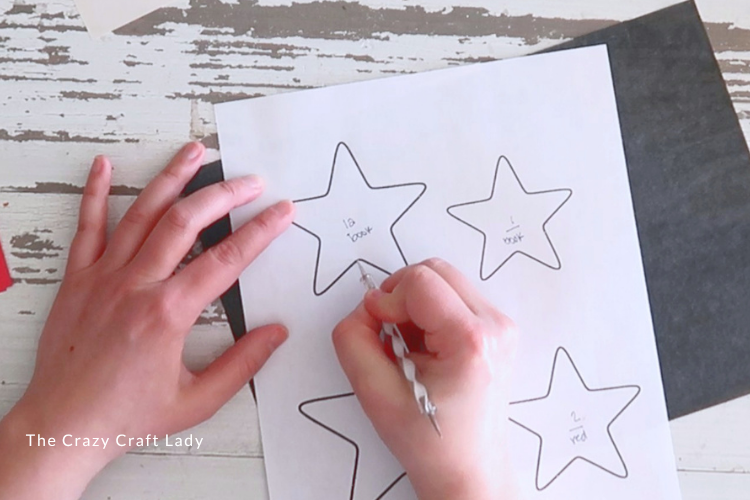
- Print and cut out the star templates. Download the free printable star template and print it at full size. You'll need four stars that gradually increase in size—two smaller stars for the book pages and two larger stars for the red cardstock.

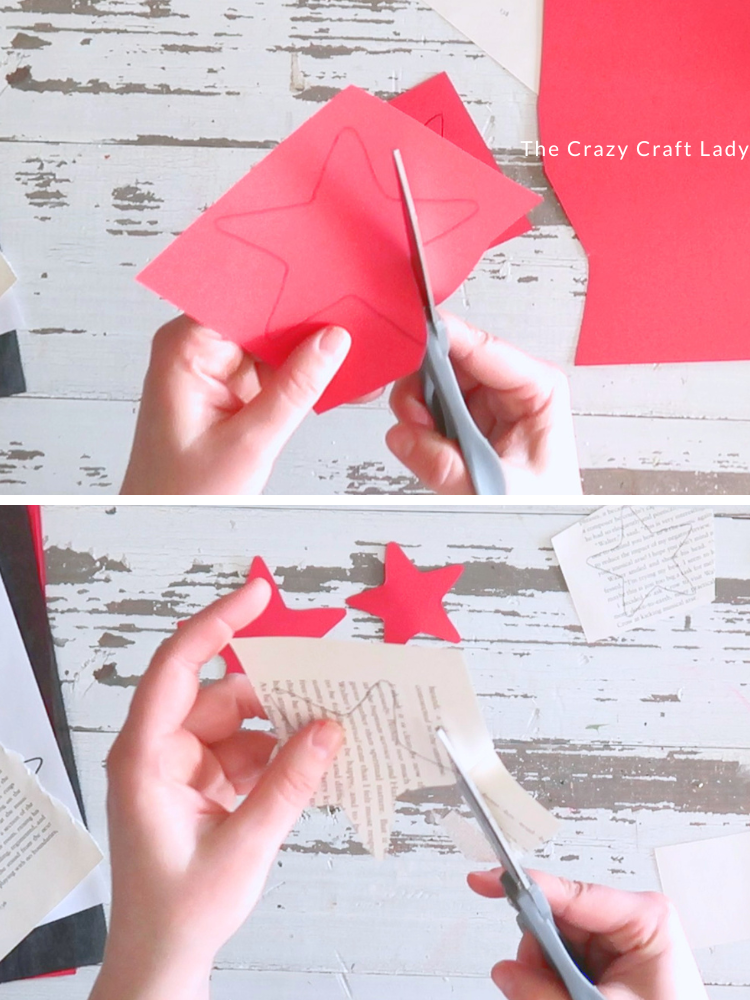
- Transfer the star shapes. Use carbon transfer paper (or simply trace the templates) to transfer the two smaller stars onto old book pages and the two larger stars onto red cardstock.
- Cut out the stars. Carefully cut out all four stars, trimming just inside the transfer lines so no marks remain visible on the finished ornaments.

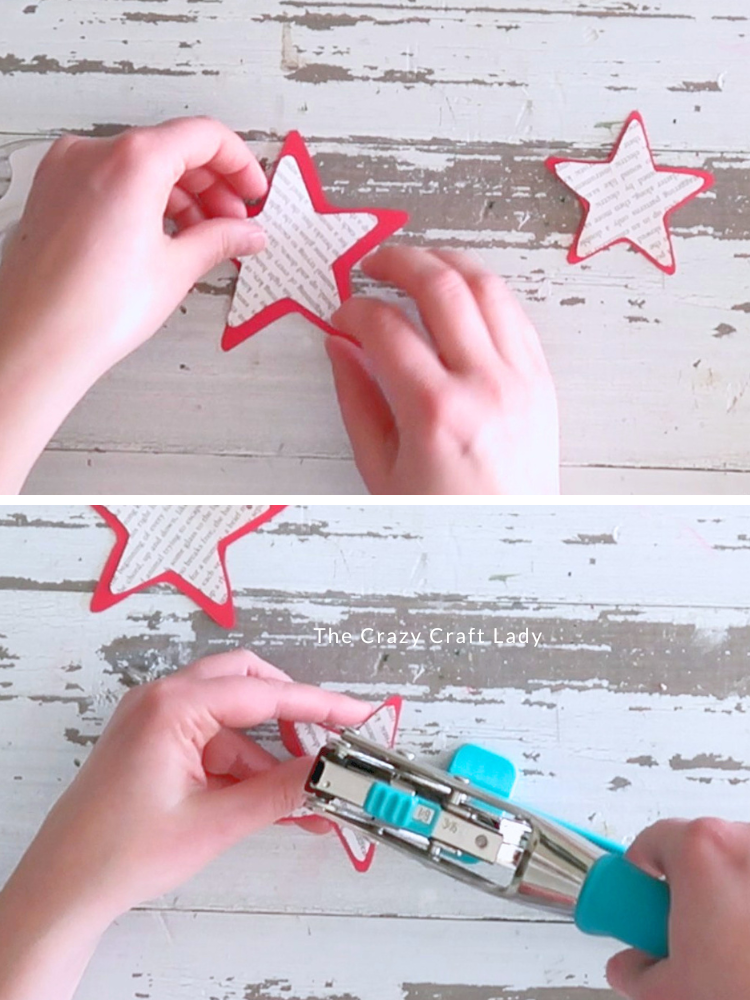
- Layer the stars together. Center each book page star on top of its matching cardstock star. Secure each pair with a small piece of double-sided tape to keep the layers perfectly aligned.
- Punch the hanging holes. Punch a small hole near the top point of each layered star.
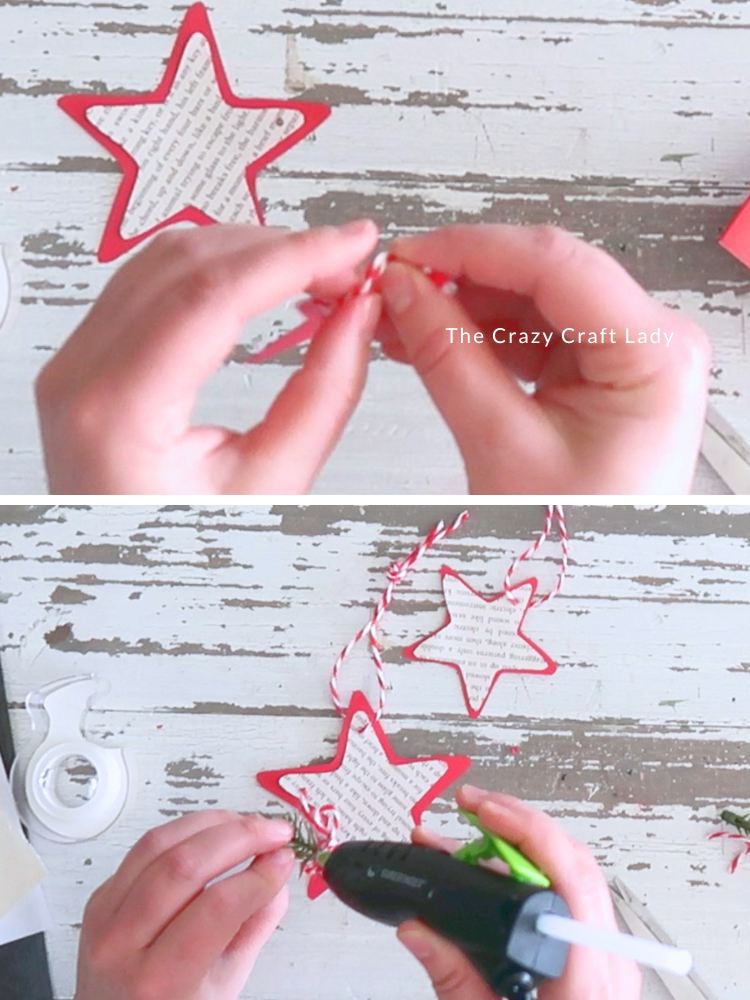
- Add the ornament hanger. Thread a piece of red and white baker's twine through the hole and tie the ends together to create a hanging loop.
- Create the greenery embellishment. Cut a tiny sprig from a faux pine stem. Wrap a short piece of baker's twine around the sprig twice, then tie it into a small bow. Adjust the loops and trim the tails until you're happy with how it looks.
- Finish the ornaments. Hot glue the greenery and bow over the punched hole to hide it and add a festive finishing touch. Repeat for the second ornament, then hang your handmade book page stars on the Christmas tree or display them around your home.
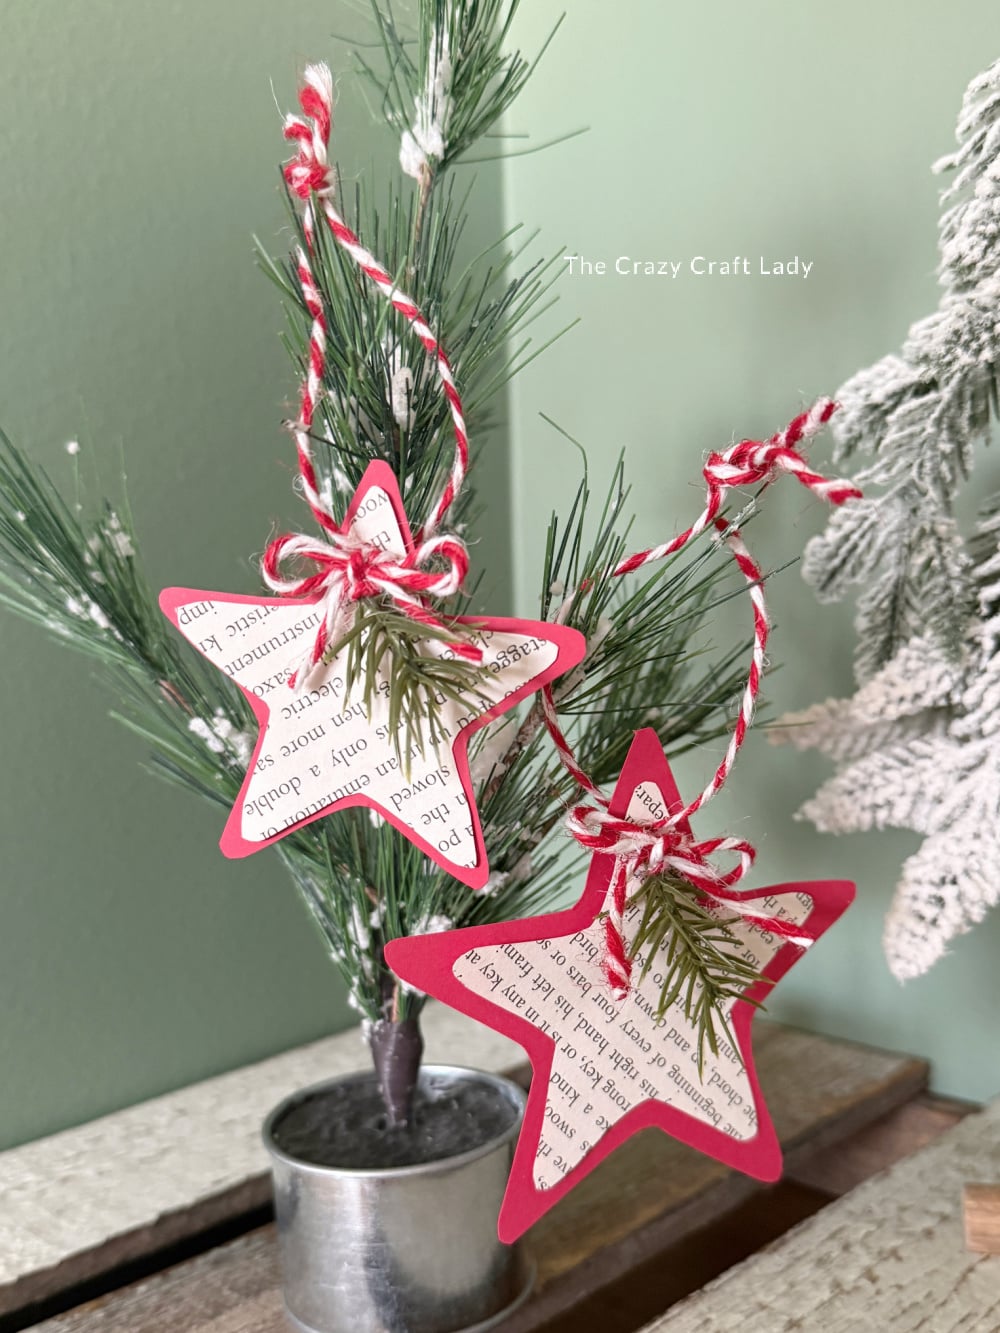
The finished book page ornaments
Sometimes the simplest crafts end up being my favorites, and these layered book page star ornaments are definitely one of them. They’re inexpensive, beginner-friendly, and a wonderful way to give old books a second life.
Whether you make just a couple for your own tree or create a whole batch to give as handmade gifts, these little stars are sure to add plenty of cozy Christmas charm to your holiday decorating.
PIN this upcycled Christmas craft for later: