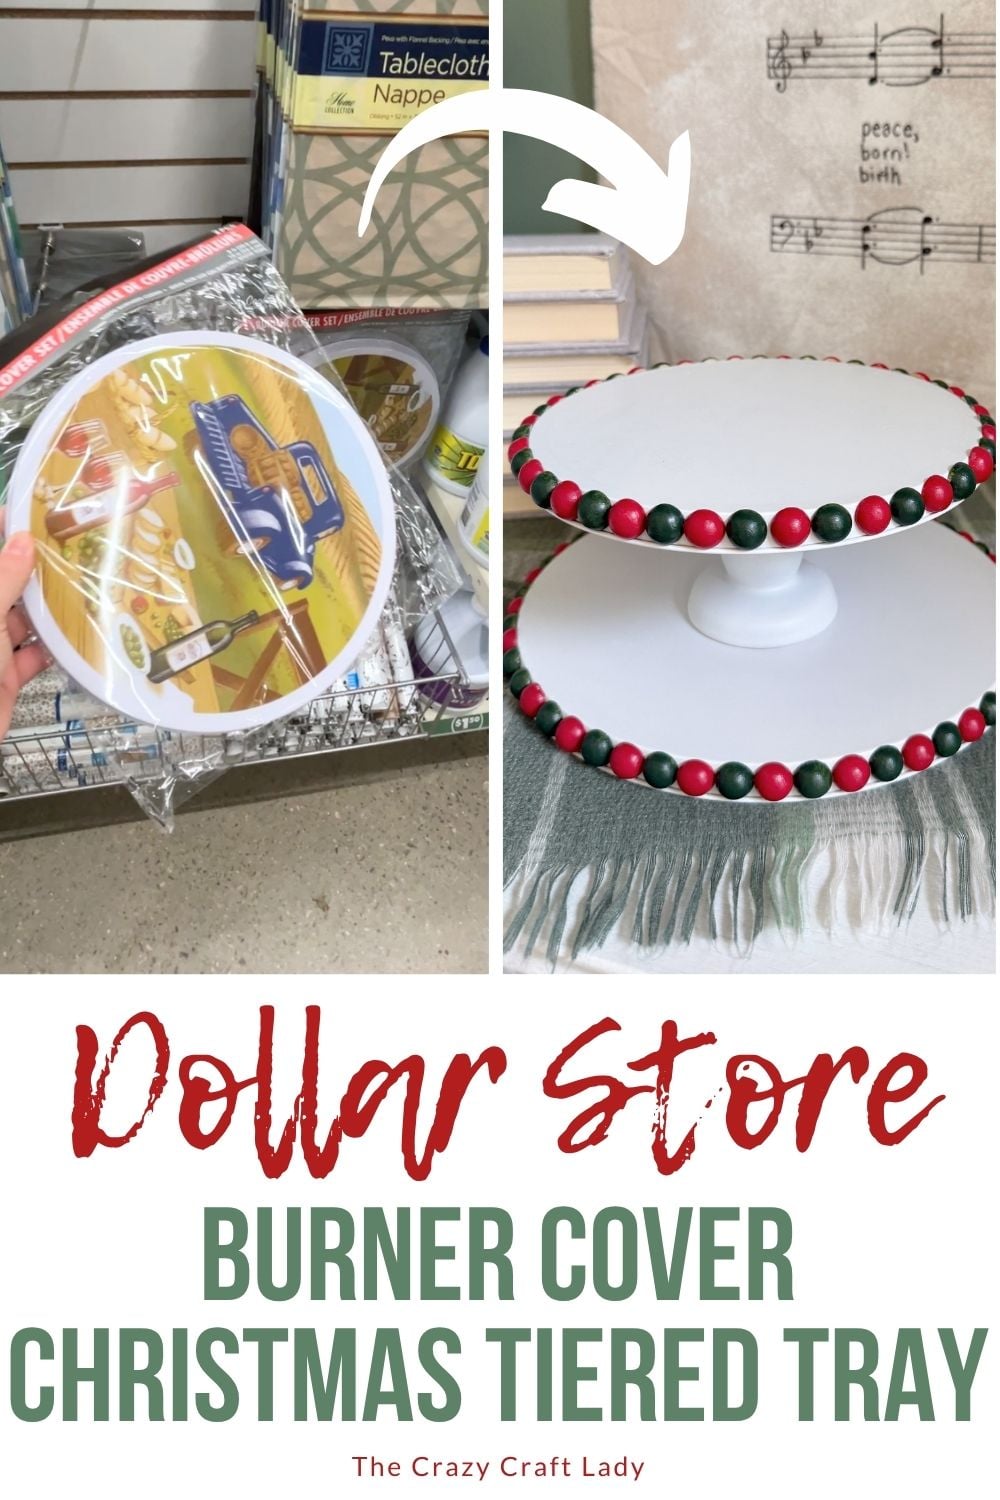
Turn Dollar Tree burner covers into a beautiful Christmas tiered tray! This easy DIY uses a candlestick and wood beads to create a high-end holiday centerpiece on a budget.
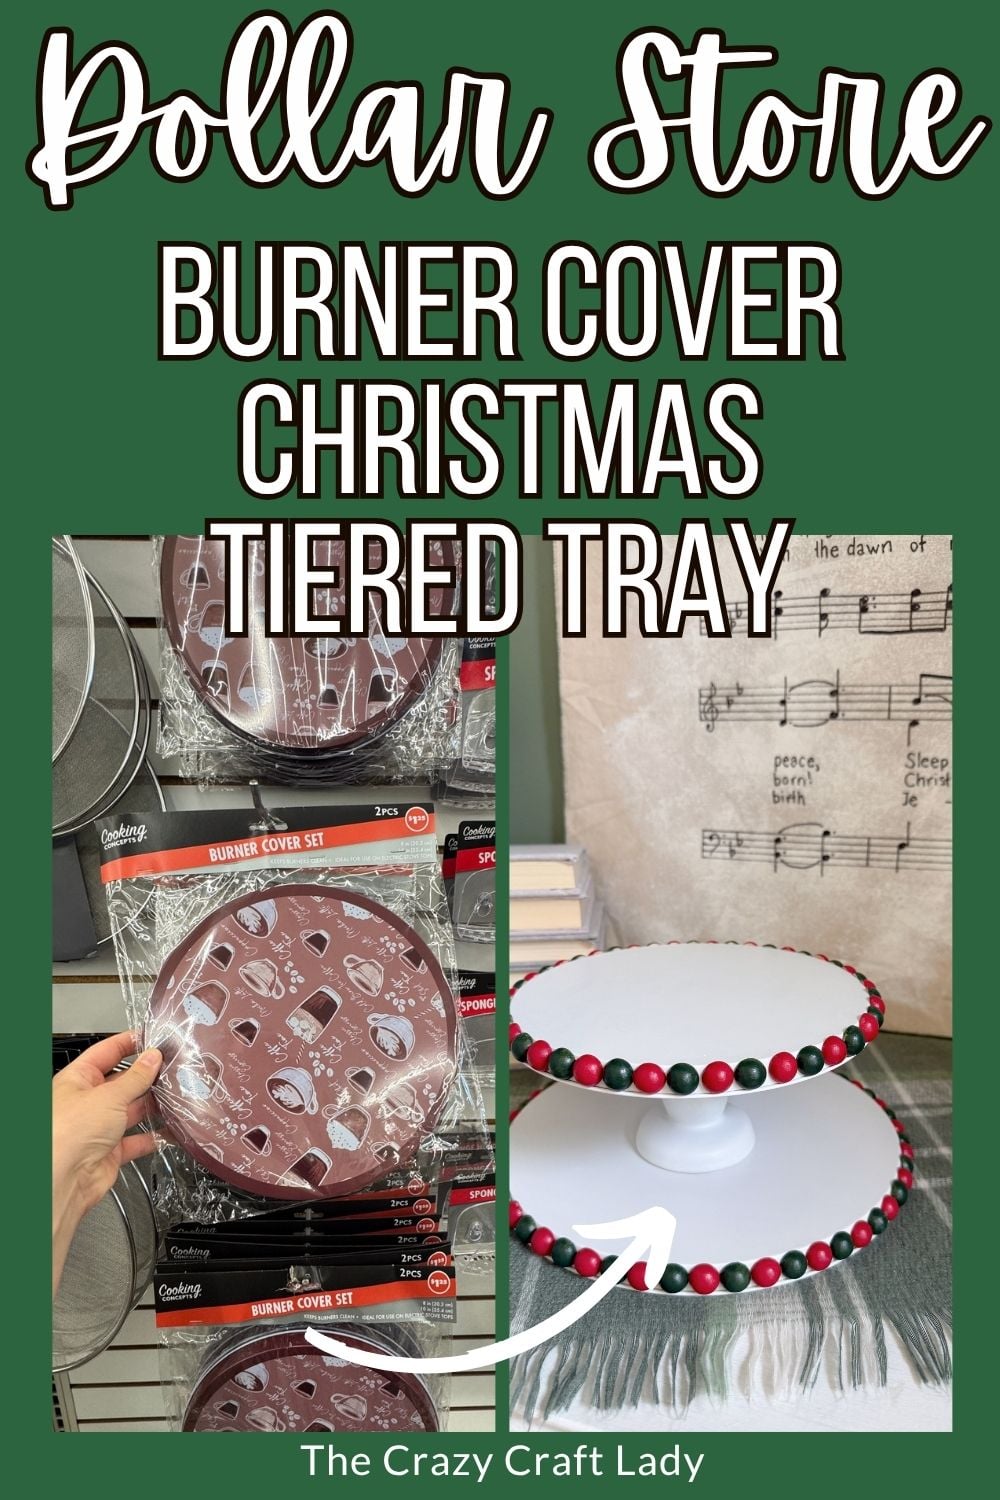
DIY Christmas Tiered Tray from Dollar Store Burner Covers
This post contains some affiliate links for your convenience. Click here to read my full disclosure policy.
Tiered trays have become one of my favorite ways to decorate for the holidays, but have you seen how expensive they can be? Thankfully, this DIY version looks just as festive without the designer price tag! Using a pair of dollar store burner covers, a simple candlestick, and a handful of wooden half beads, you can create a charming Christmas display that’s perfect for mini trees, ornaments, candles, or seasonal figurines.
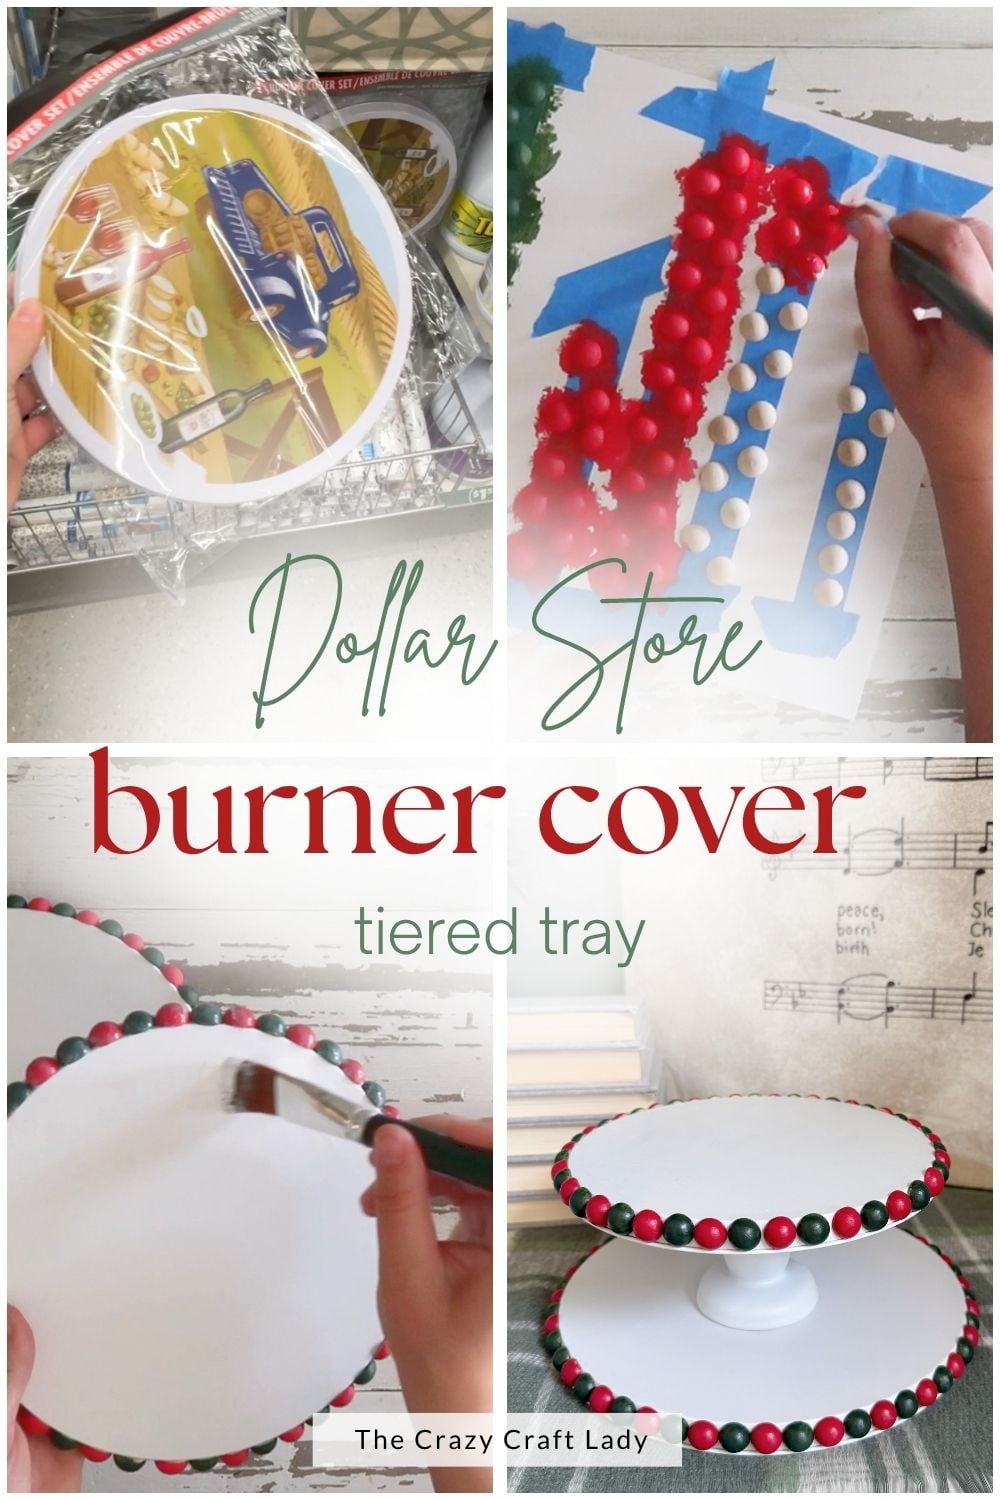
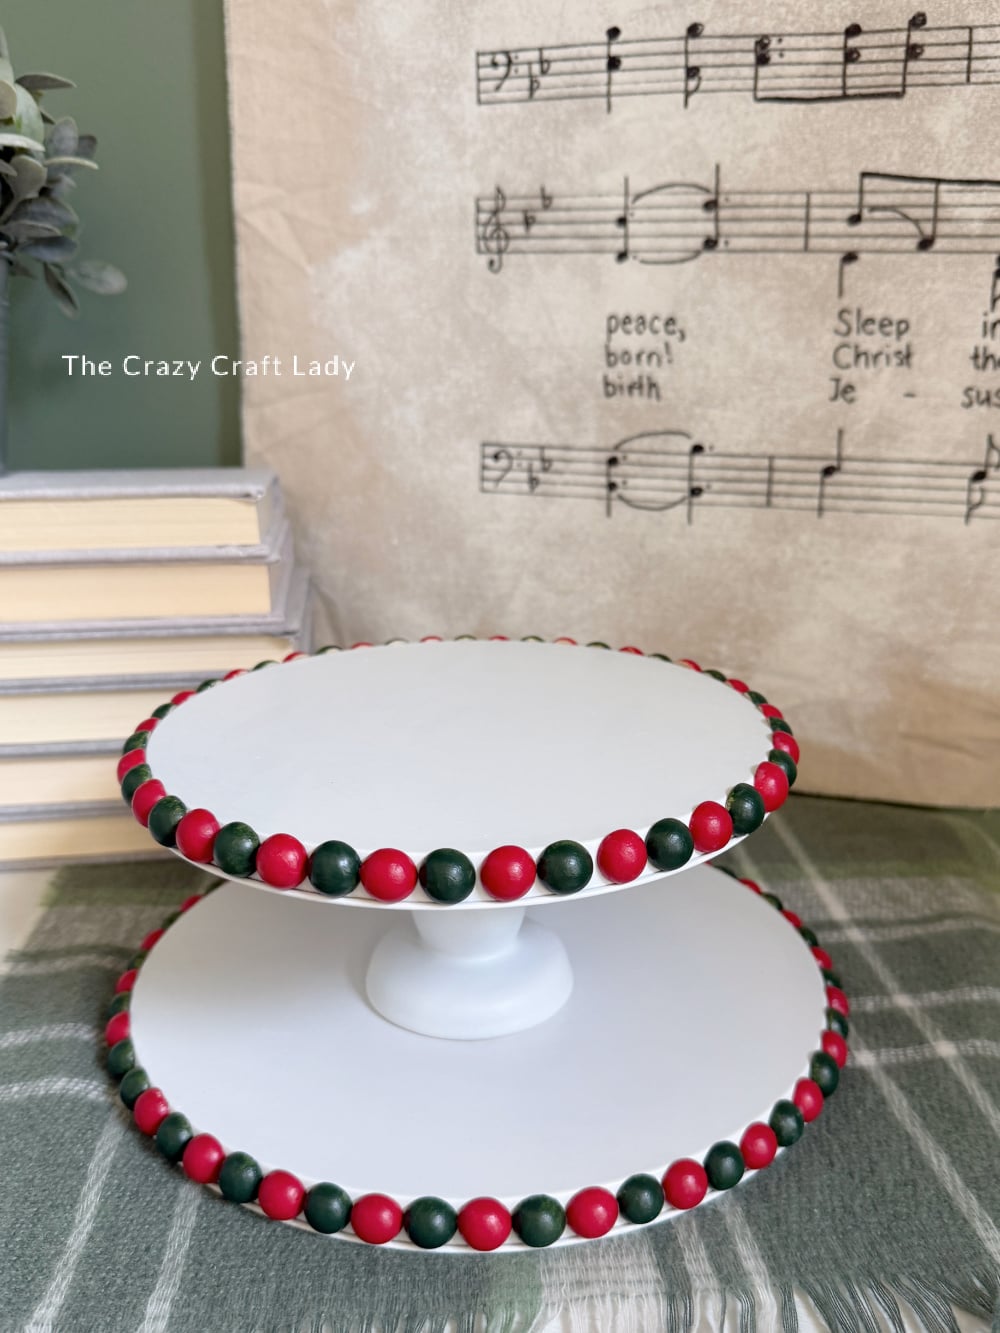
The painted bobbin-style edge gives this tray a fun high-end look, and my favorite part is that it comes apart for easy storage once Christmas is over.
Video Tutorial: Bobbin Edge Christmas Tiered Tray
Watch this quick video to see how this craft came together:
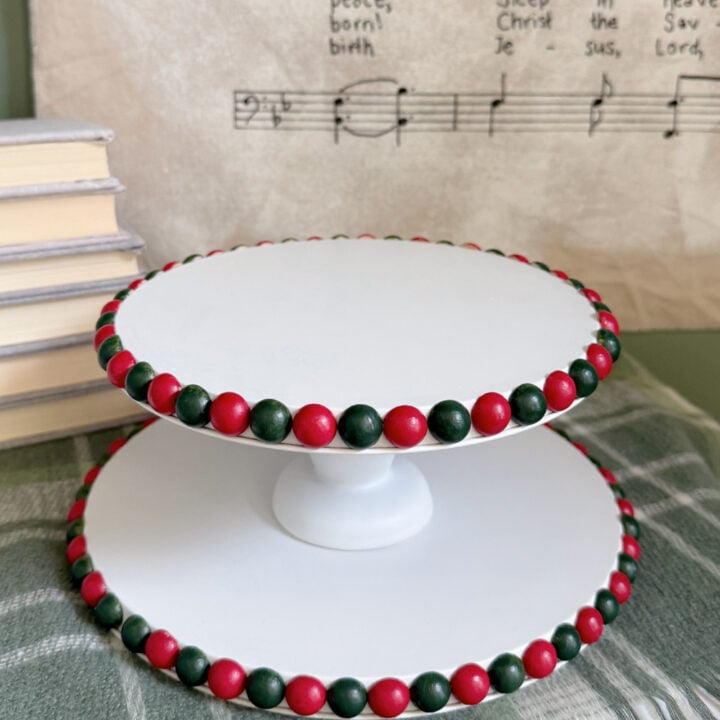
Bobbin Christmas Tiered Tray
Create a gorgeous holiday tiered tray with dollar store supplies! This easy Christmas DIY features painted burner covers, bobbin trim, and a removable design for easy storage.
Materials
- 2 burner covers (large and small)
- 1 candlestick, dollar store
- White spray paint
- 15mm wooden half beads
- Red acrylic craft paint
- Dark green acrylic craft paint
- E6000 adhesive
- Mod Podge
- Painter's tape
- Scrap cardboard or paper
Tools
- 1-inch flat paintbrush
- Protective surface for spray painting
Instructions
- Watch the Video. Follow along with the video tutorial for a complete walkthrough of this festive dollar store Christmas craft.
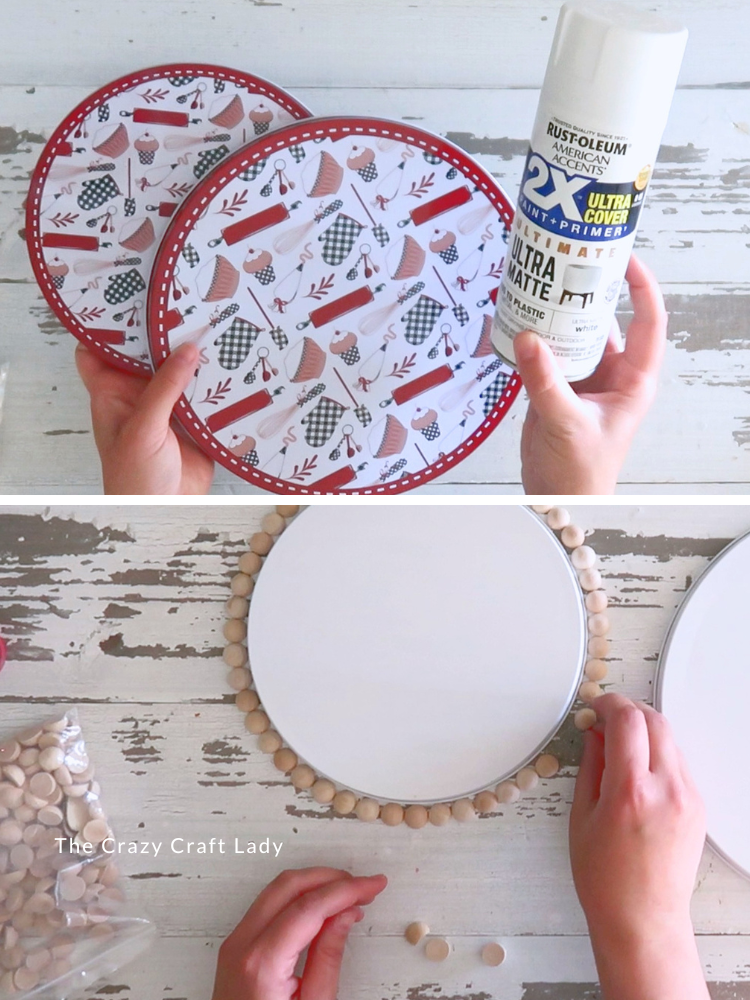
- Spray Paint the Burner Covers. Spray paint both burner covers white, applying several light coats until the original pattern is completely covered. Spray paint the candlestick at the same time so all of the pieces match.

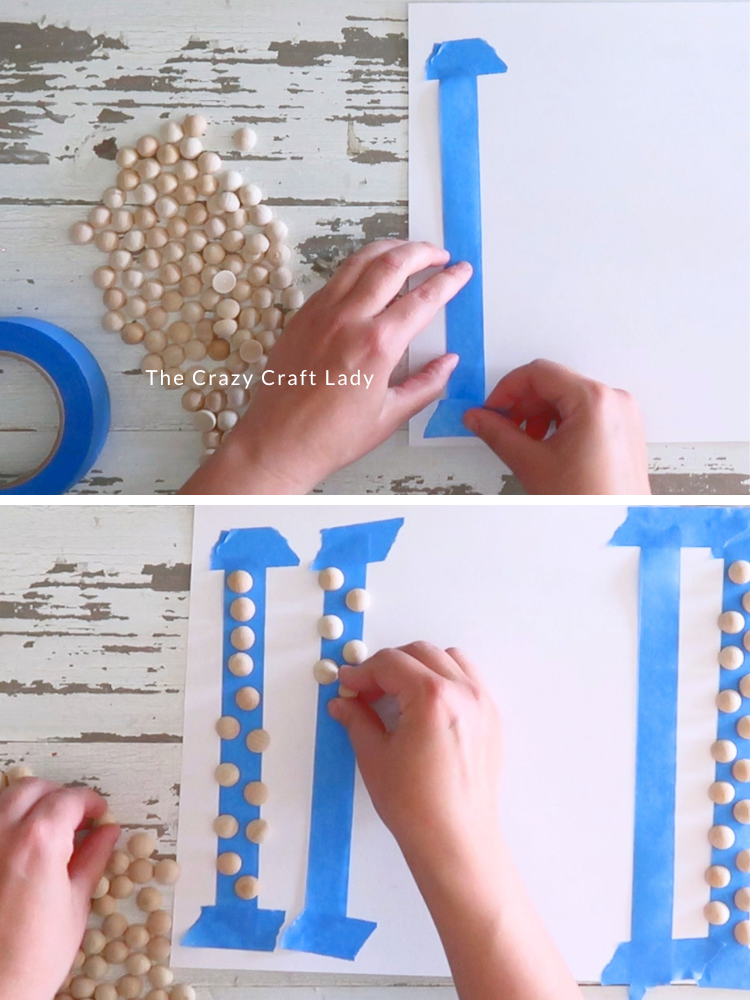
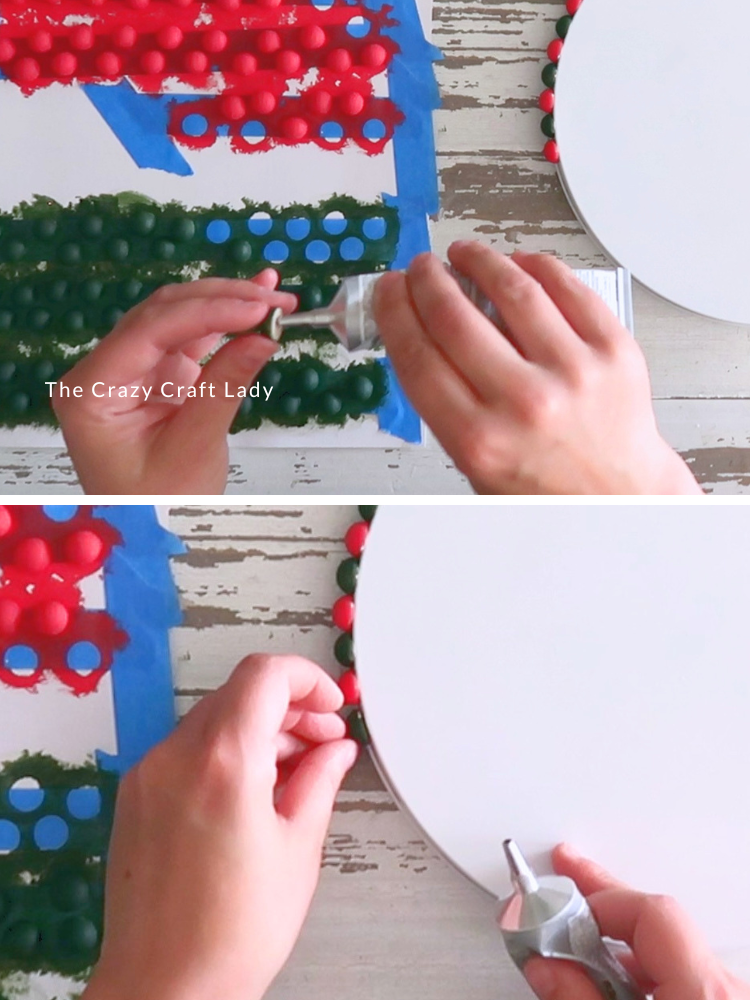
- Prep the Wooden Half Beads. Dry fit the 15mm wooden half beads around the edges of both burner covers to determine how many you'll need. Stick the beads onto strips of painter's tape placed sticky-side-up on cardboard.
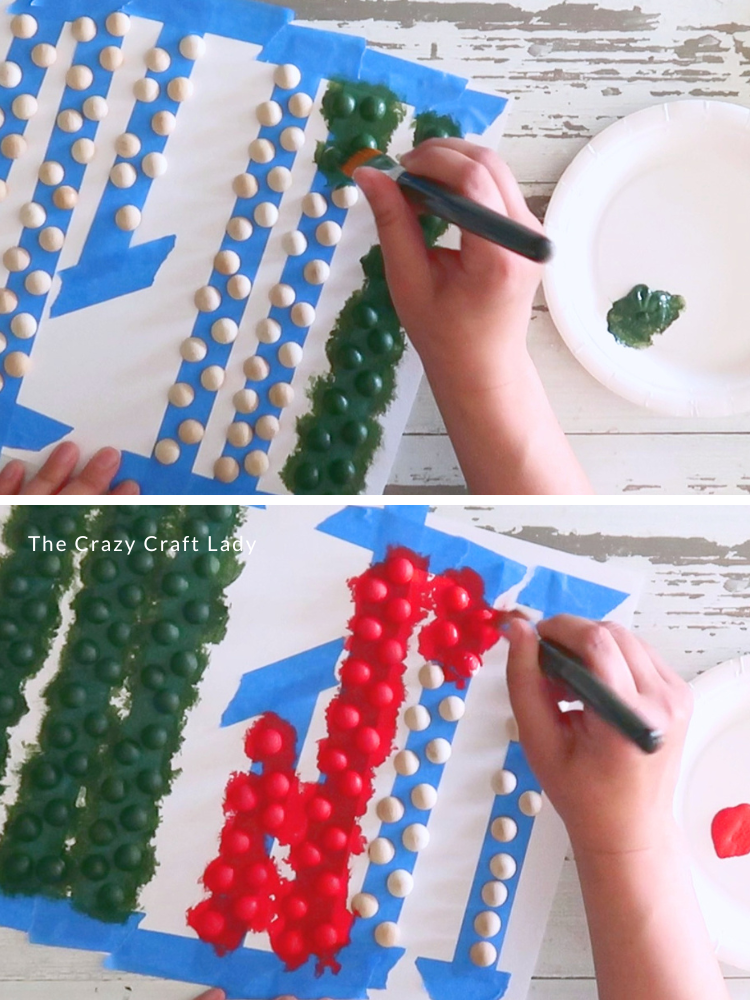
- Paint the Wooden Half Beads. Using a pouncing or stippling motion with your brush, paint half of the wood half-balls red and half dark green. Allow them to dry completely before touching up any missed spots.
- Create the Bobbin Edge. Using small dabs of E6000, glue the painted half beads around the rim of each burner cover, alternating red and green. Because the beads are lightweight, the adhesive holds them in place while it cures.
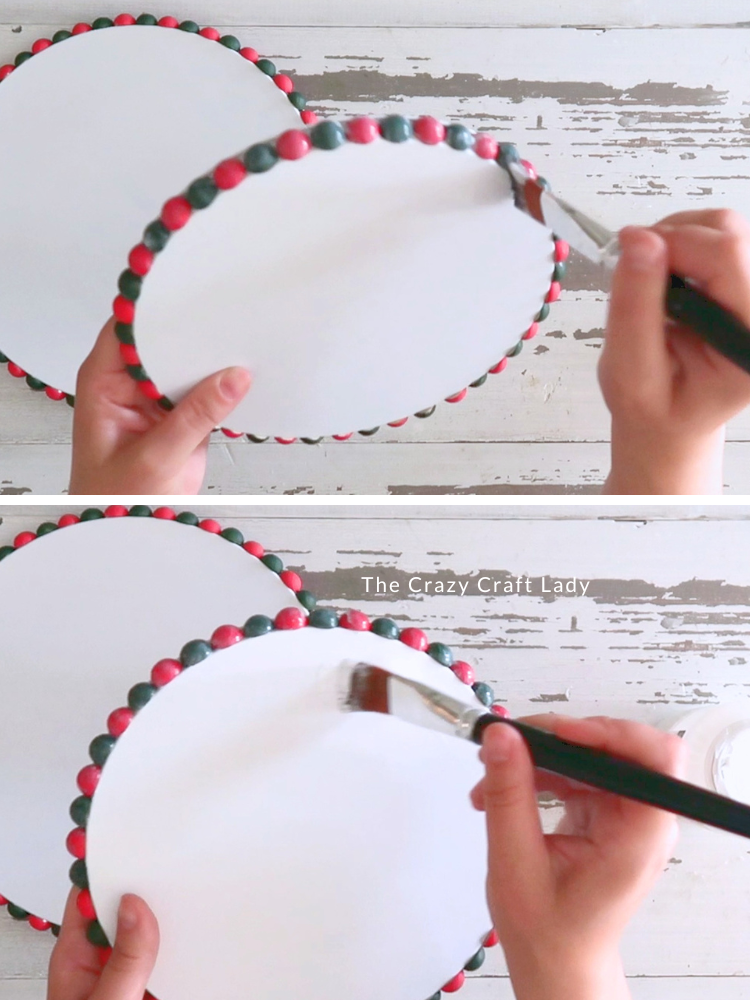
- Seal the Finish. Brush a coat of Mod Podge over both burner covers to help protect the painted surface. Use a pouncing motion around the bead trim to reach all of the small gaps.
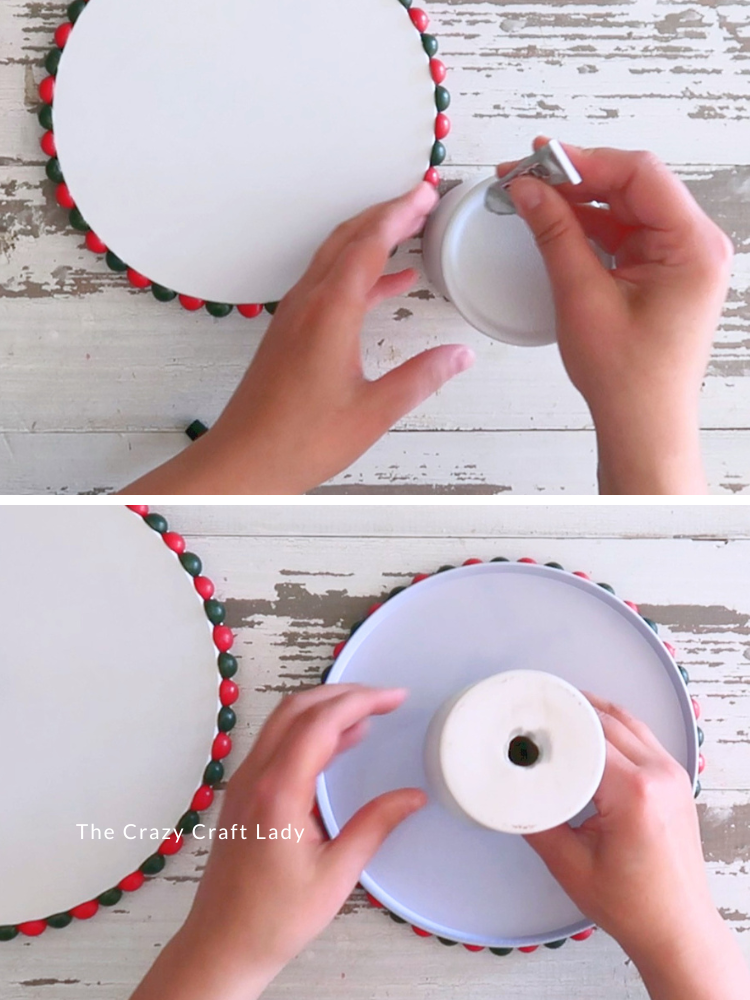
- Assemble the Tiered Tray. Glue the candlestick to the center of the smaller burner cover using E6000. Leave the bottom burner cover unattached so the tray can be taken apart and stored flat after the holidays.
The Finished Bobbin Edge Christmas Tiered Tray
I absolutely love when inexpensive supplies turn into something that looks like it came from a boutique home décor store. The colorful bobbin trim gives this tiered tray so much personality, and it’s a fun twist on the classic farmhouse look.
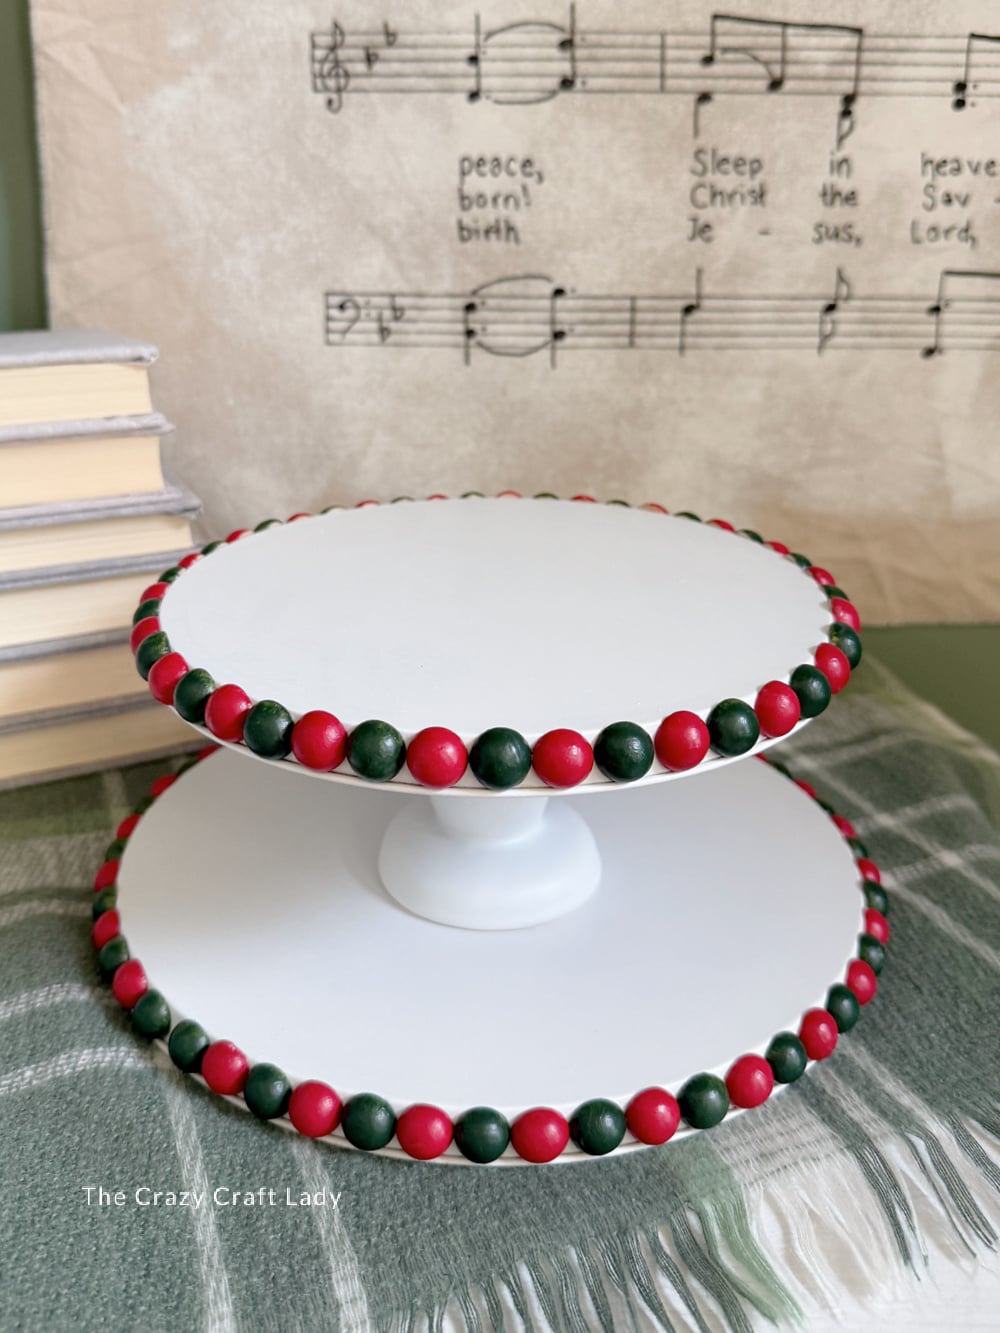
Whether you use it as a centerpiece, coffee bar display, or part of your Christmas mantel décor, it’s an easy project that’s sure to become part of your holiday decorating every year.
PIN this Christmas craft for later: