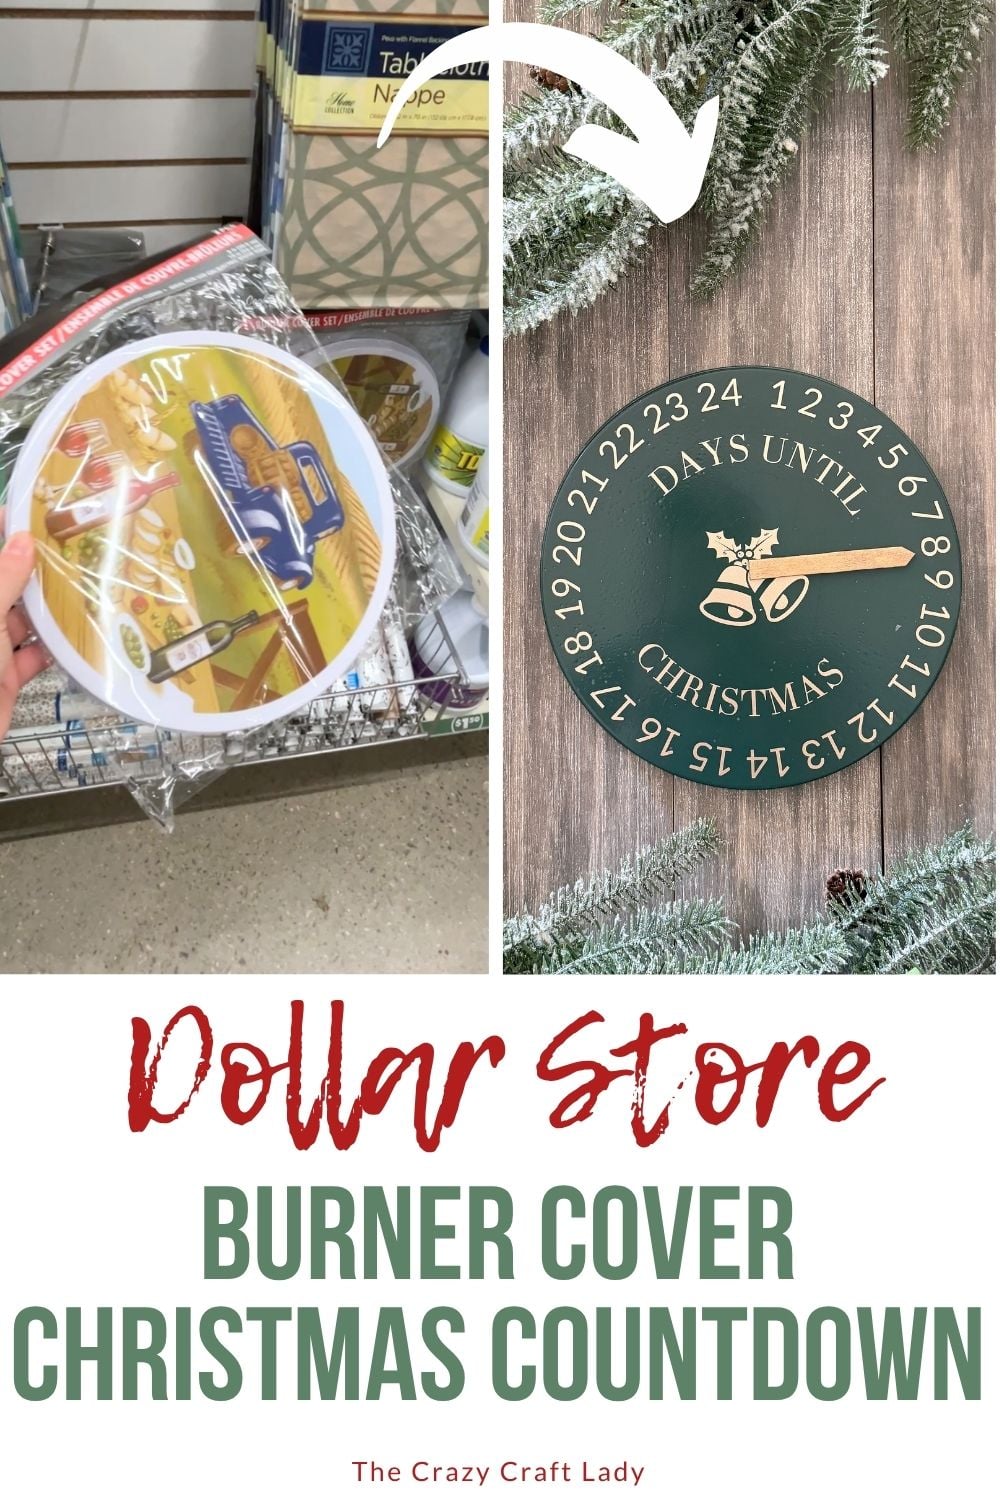
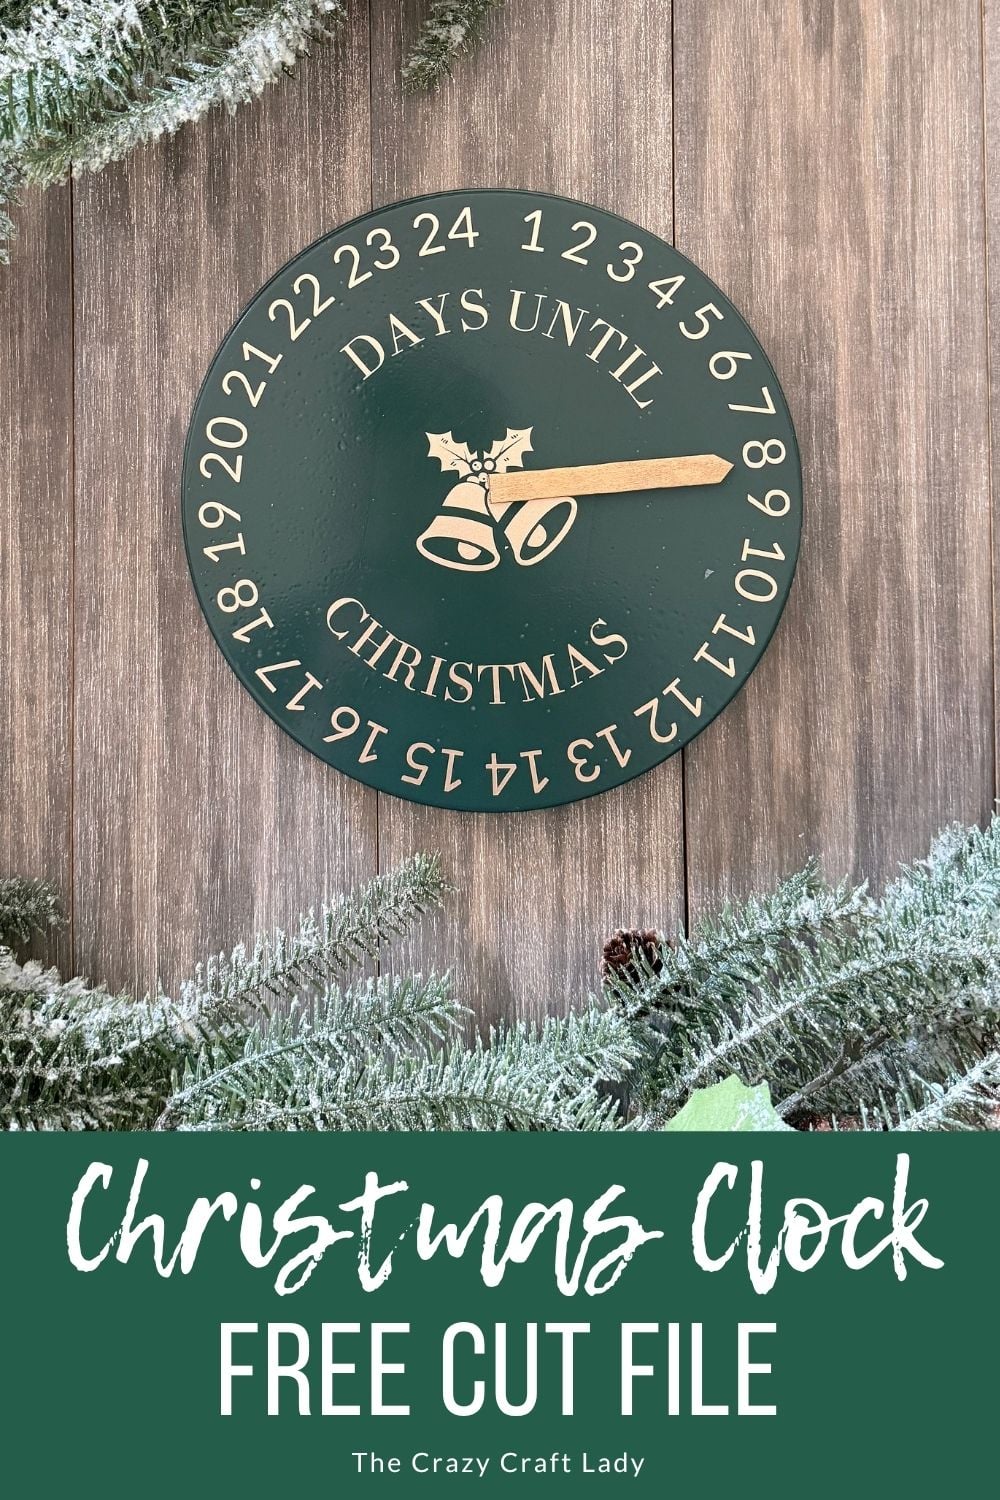
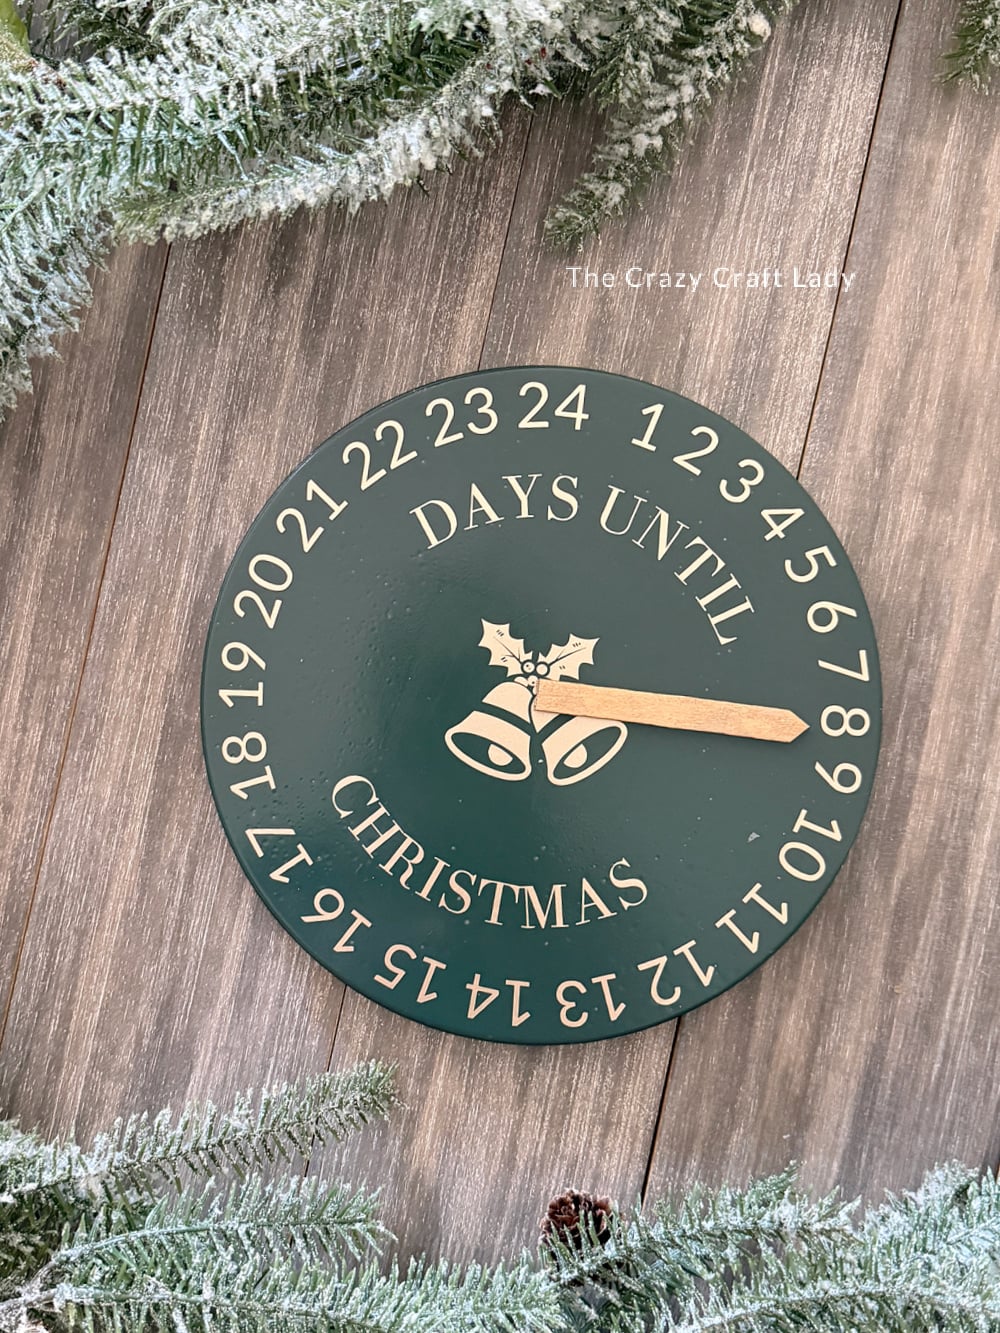
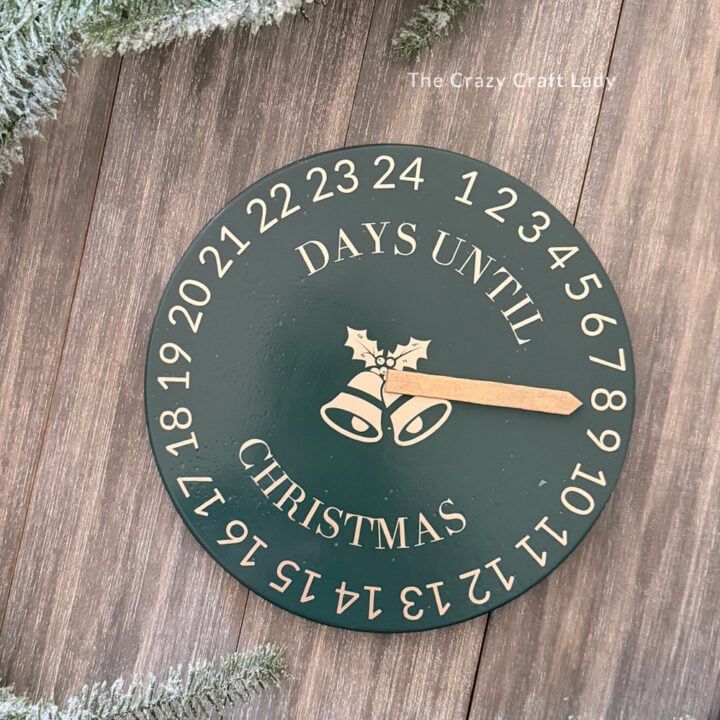
Make a DIY Christmas Countdown Clock using a Dollar Tree burner cover, gold vinyl, and a magnetic clock hand! Includes a free SVG cut file.
DIY Christmas Countdown Clock (Dollar Tree Burner Cover Craft)
This post contains some affiliate links for your convenience. Click here to read my full disclosure policy.
If you’re anything like me, you start counting down to Christmas the second the Halloween candy hits the clearance aisle. This easy DIY Christmas Countdown Clock is a fun way to build excitement during the holiday season, and it’s made from one of my favorite Dollar Tree crafting supplies: a metal burner cover!
The best part? The countdown hand is magnetic, so you can move it each day as Christmas gets closer. I even designed the cut file myself because I couldn’t find one anywhere online after the original version I used years ago disappeared. So of course…it’s free for you to download!
This project is perfect for Cricut or Silhouette users and makes adorable holiday décor for a mantel, entryway, or kitchen.
Video Tutorial
Watch this quick video tutorial to see how this craft came together:
DIY Christmas Countdown Clock - Burner Cover Craft
Create an easy Christmas countdown calendar with a Dollar Tree burner cover and Cricut. Download the free SVG and make this festive farmhouse Christmas decoration.
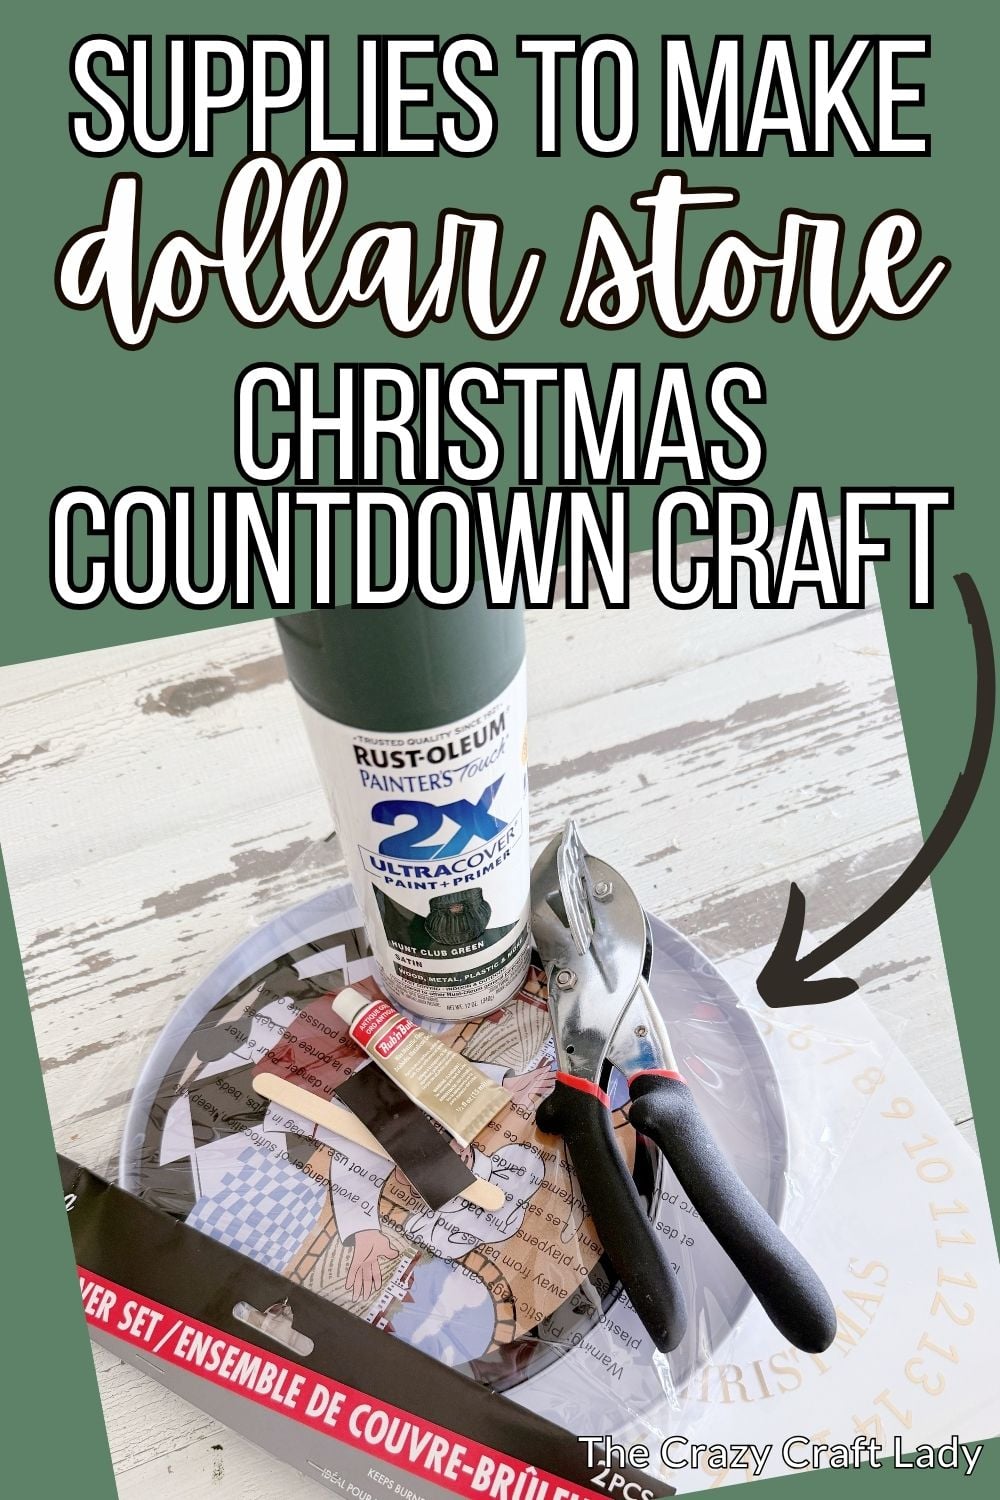
Materials
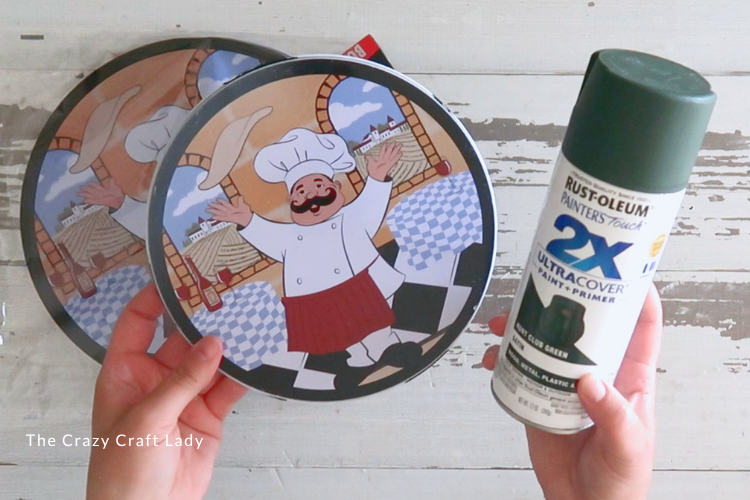
- Small Dollar Tree burner cover (or use the larger size for easier vinyl application)
- Hunt Club Green spray paint (Rust-Oleum brand)
- Gold permanent adhesive vinyl
- Free Christmas Countdown Clock SVG
- Popsicle stick
- Rub 'n Buff in Antique Gold
- Thin magnetic strip (saved from the back of a magnetic notepad)
- E6000 adhesive
Tools
- Cricut or Silhouette cutting machine
- Transfer tape
- Miter shears or craft scissors
- Paintbrush or finger for applying Rub 'n Buff
Instructions
- Watch the Video. Follow along with the video tutorial for a complete walkthrough of the project and see how the magnetic countdown hand works.
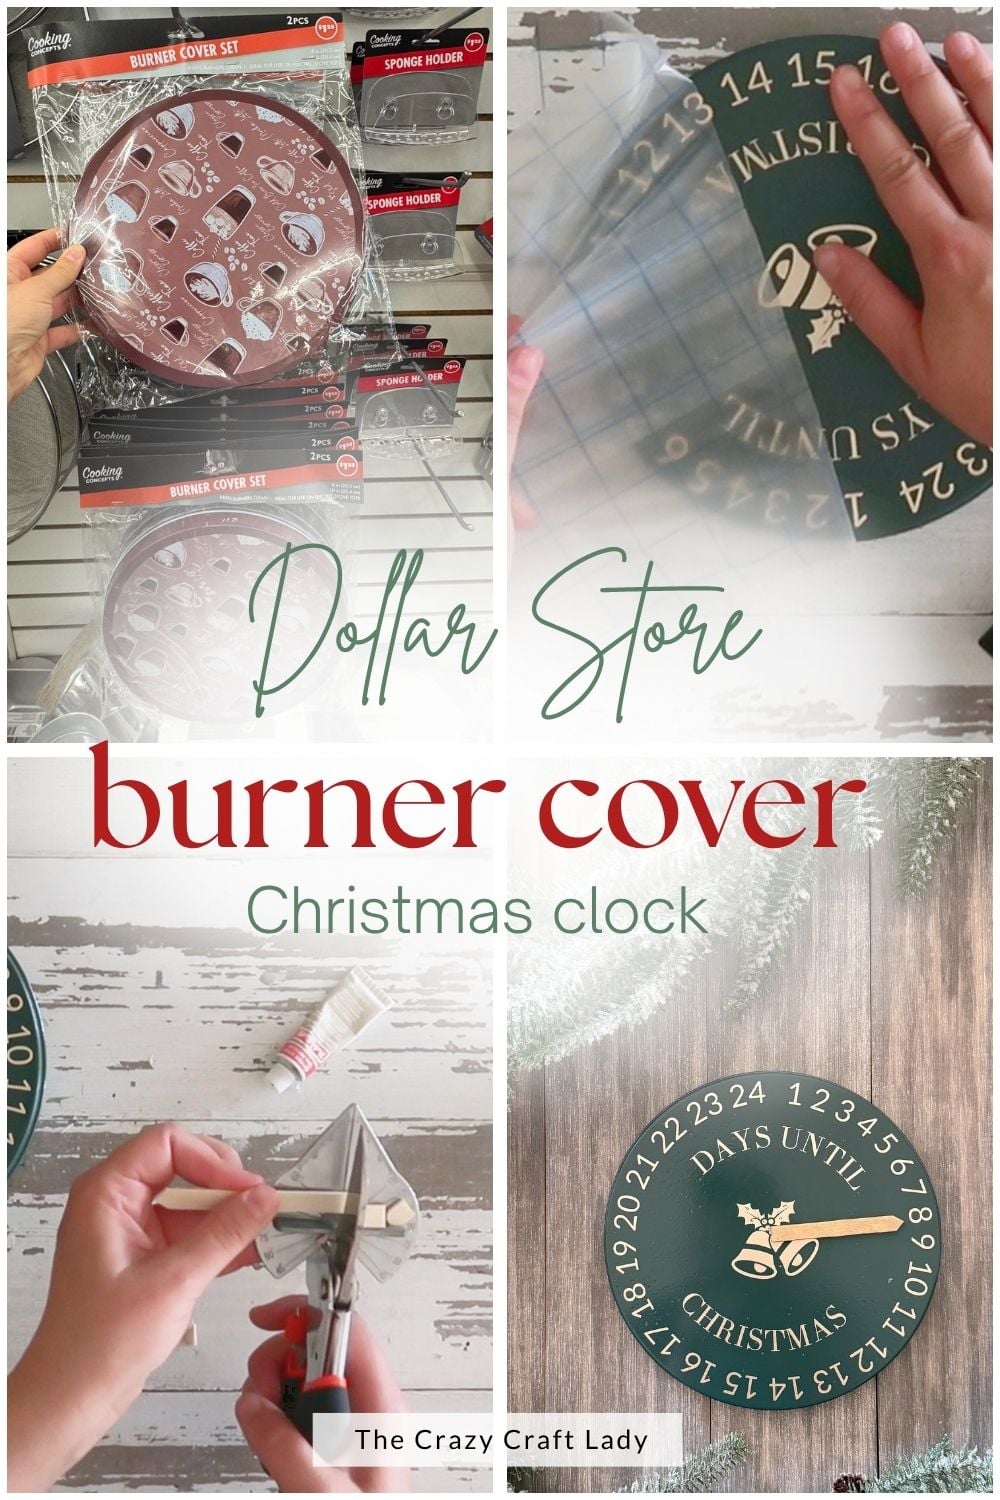
- Paint the Burner Cover. Spray paint a Dollar Tree burner cover with Hunt Club Green spray paint. Let the paint cure for several days before applying vinyl so it doesn't lift during the transfer process.

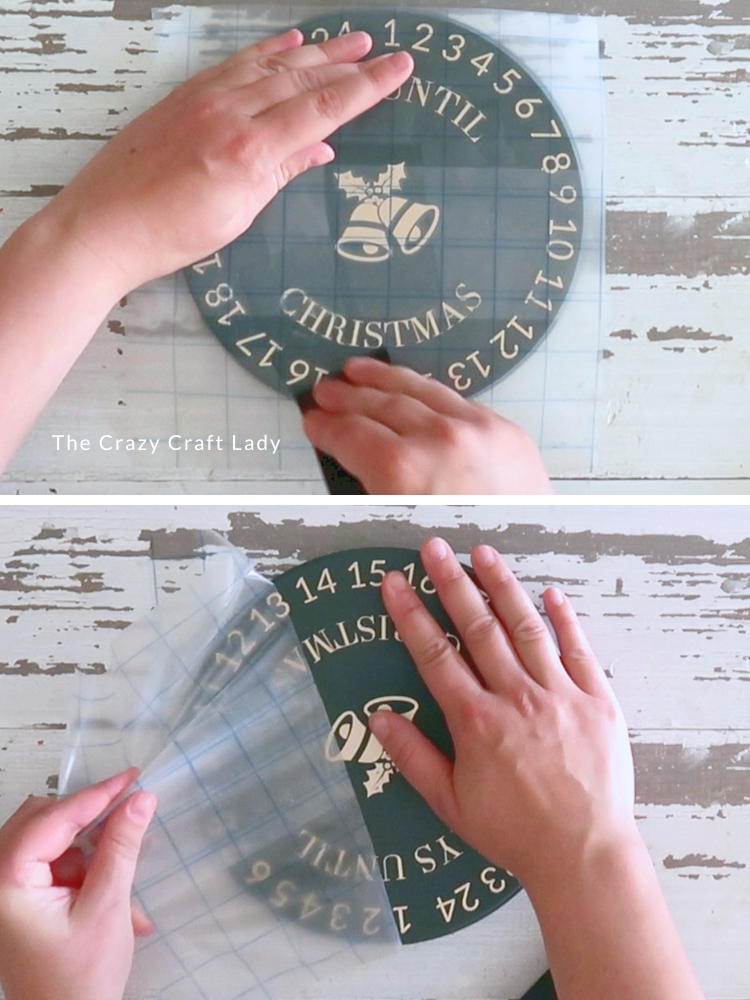
- Cut and Apply the SVG. Cut the free Christmas Countdown Clock cut file from gold permanent vinyl. Weed the design, apply transfer tape, and carefully center it on the burner cover. If you're making this project yourself, I'd actually recommend using the larger burner cover—it gives you a little more room to work with and makes weeding much easier.

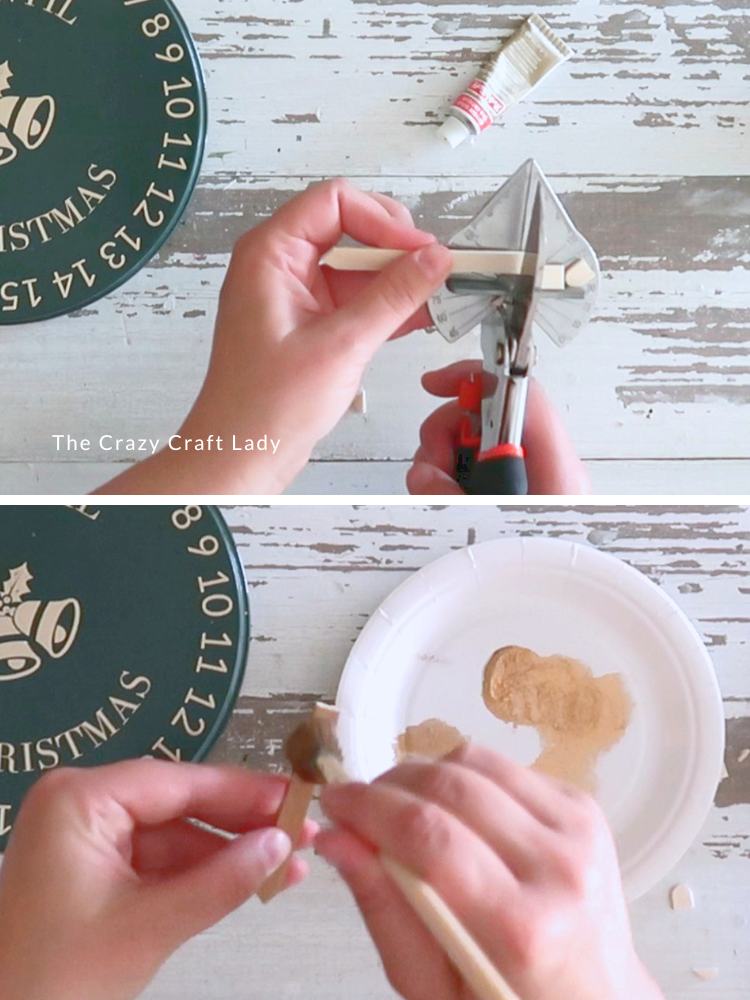
- Make the Clock Hand. Trim a popsicle stick into a simple clock hand by cutting one end into a point and trimming the other end square. Adjust the length until it fits nicely inside the countdown circle.
- Paint the Pointer. Rub Antique Gold Rub 'n Buff over the front and edges of the popsicle stick. Allow it to dry completely before moving on.
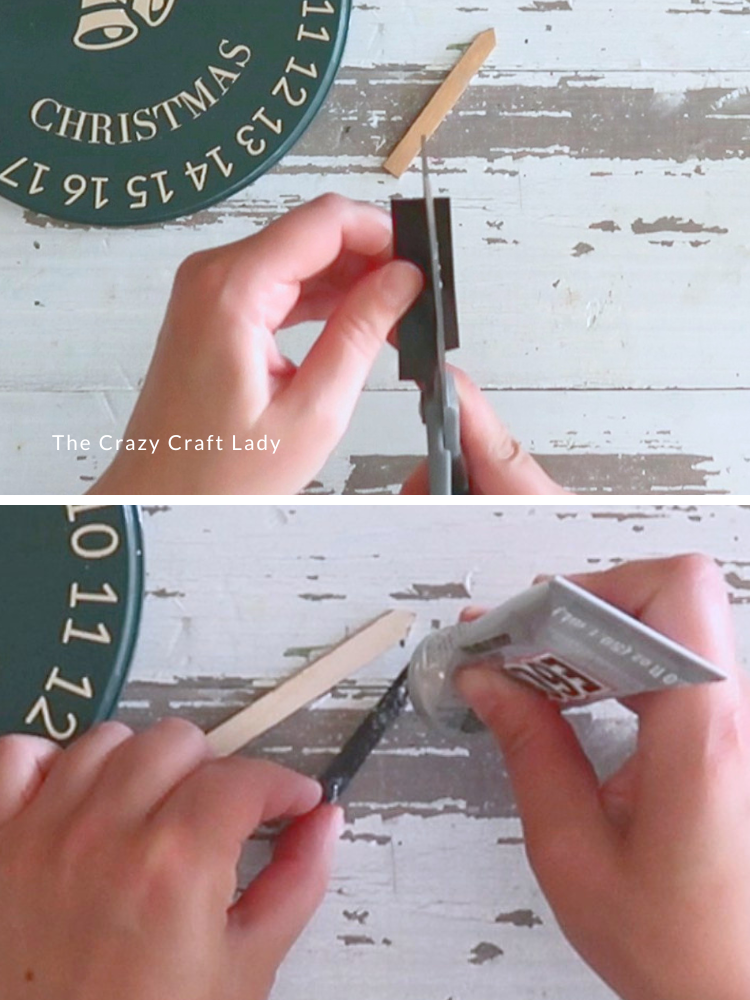
- Add the Magnet. Cut a narrow strip from a flexible refrigerator magnet and glue it to the back of the popsicle stick with E6000. Once dry, the magnetic hand will stick to the metal burner cover and easily rotate around the countdown clock.

Notes
Crazy Craft Lady Tip:
Don't toss those magnetic strips from the backs of refrigerator notepads! They're perfect for crafts like this and make a reusable countdown hand without any hardware or complicated assembly.
The Finished Christmas Countdown Clock
This DIY Christmas Countdown Clock is such a fun way to decorate for the holidays while giving the whole family something interactive. Simply move the magnetic pointer one day closer to Christmas each morning, then pack it away after the season to use again next year.
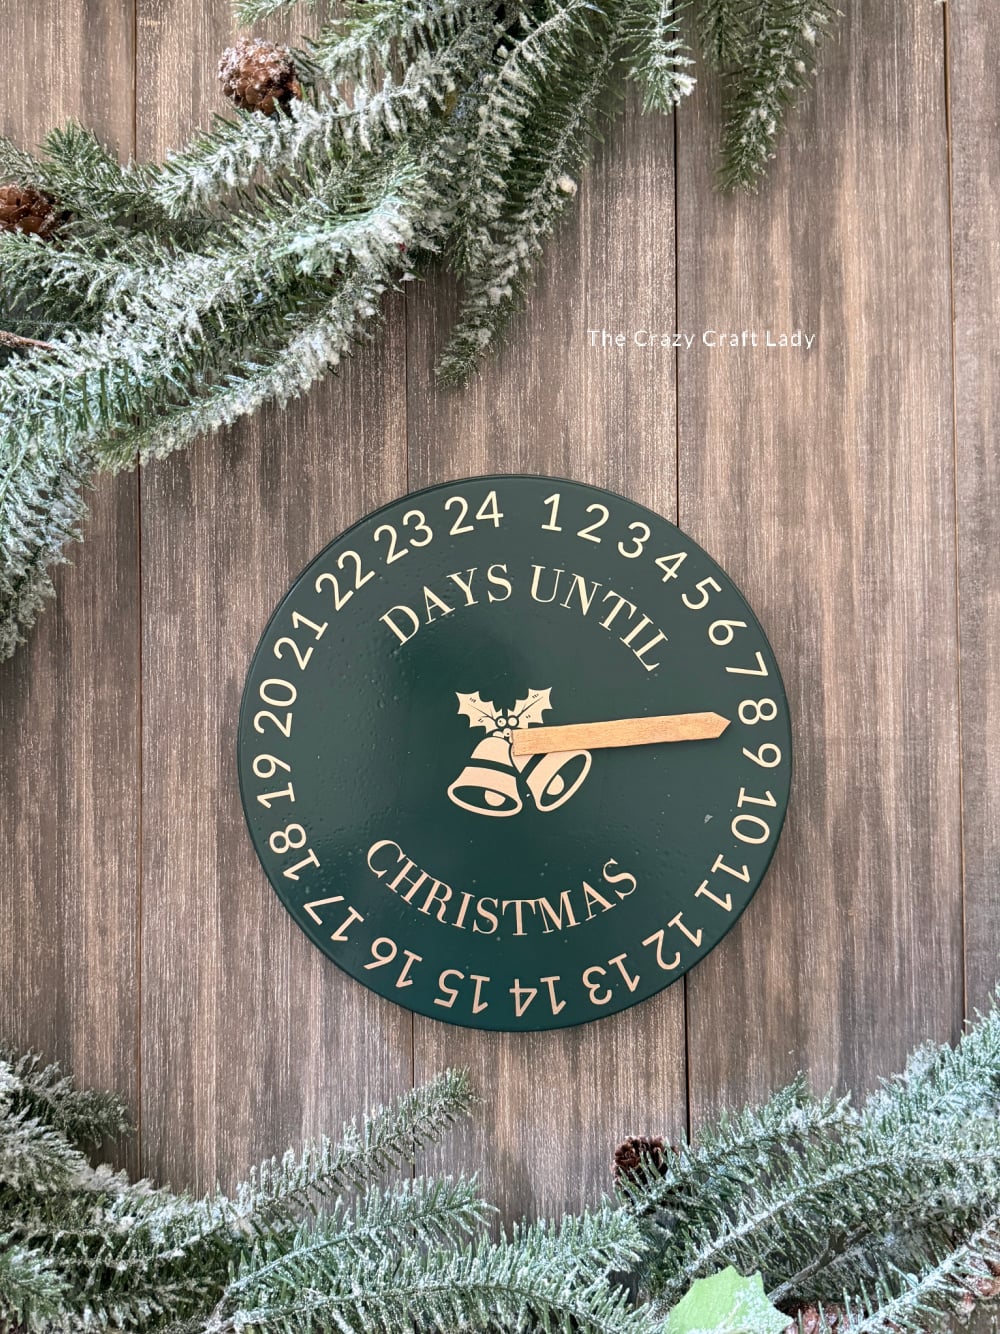
It’s inexpensive to make, easy to customize with different paint or vinyl colors, and the free SVG makes recreating the project a breeze.
Happy crafting!
PIN this Dollar Store Burner Cover Christmas Craft for Later: