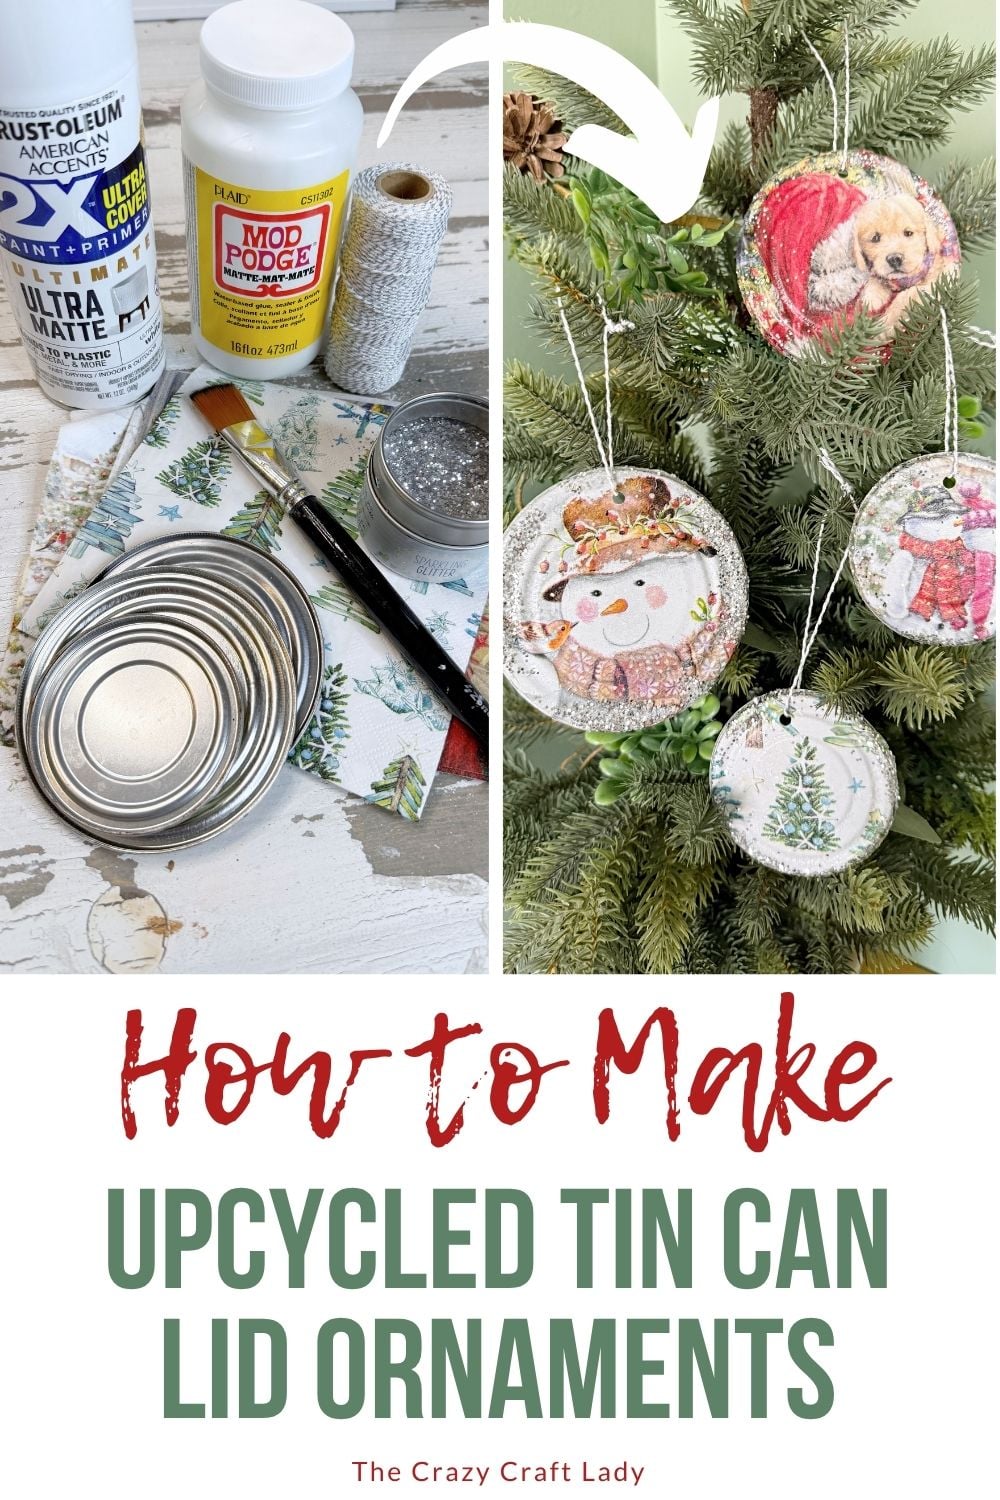
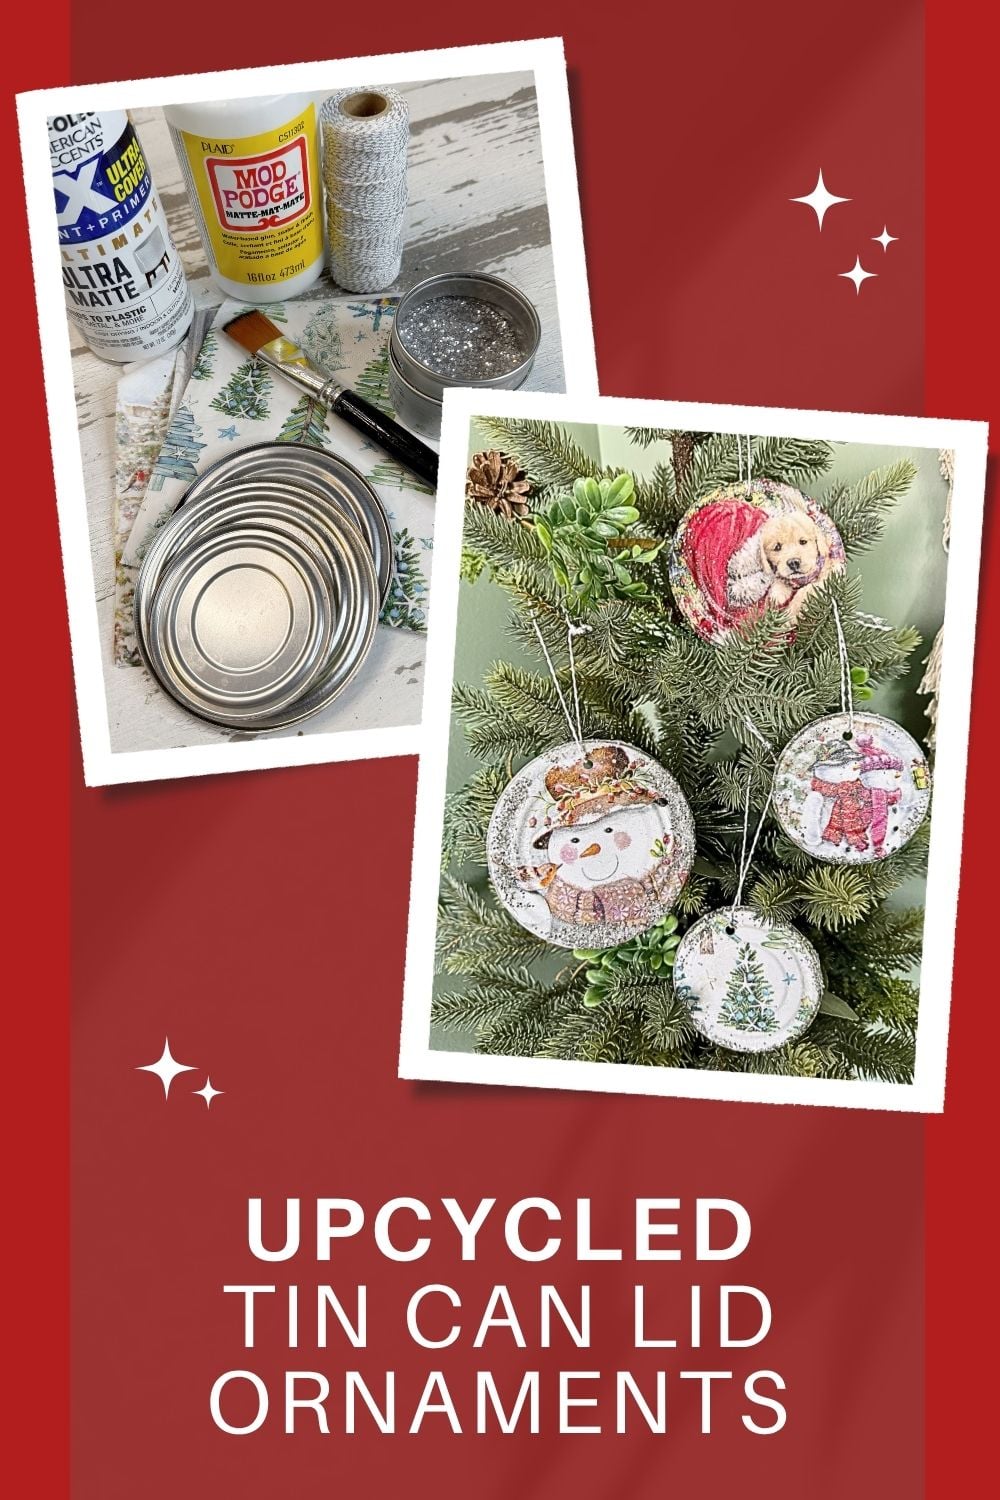
Turn leftover tin can lids and pretty holiday napkins into beautiful DIY Christmas ornaments with this easy upcycled craft tutorial.
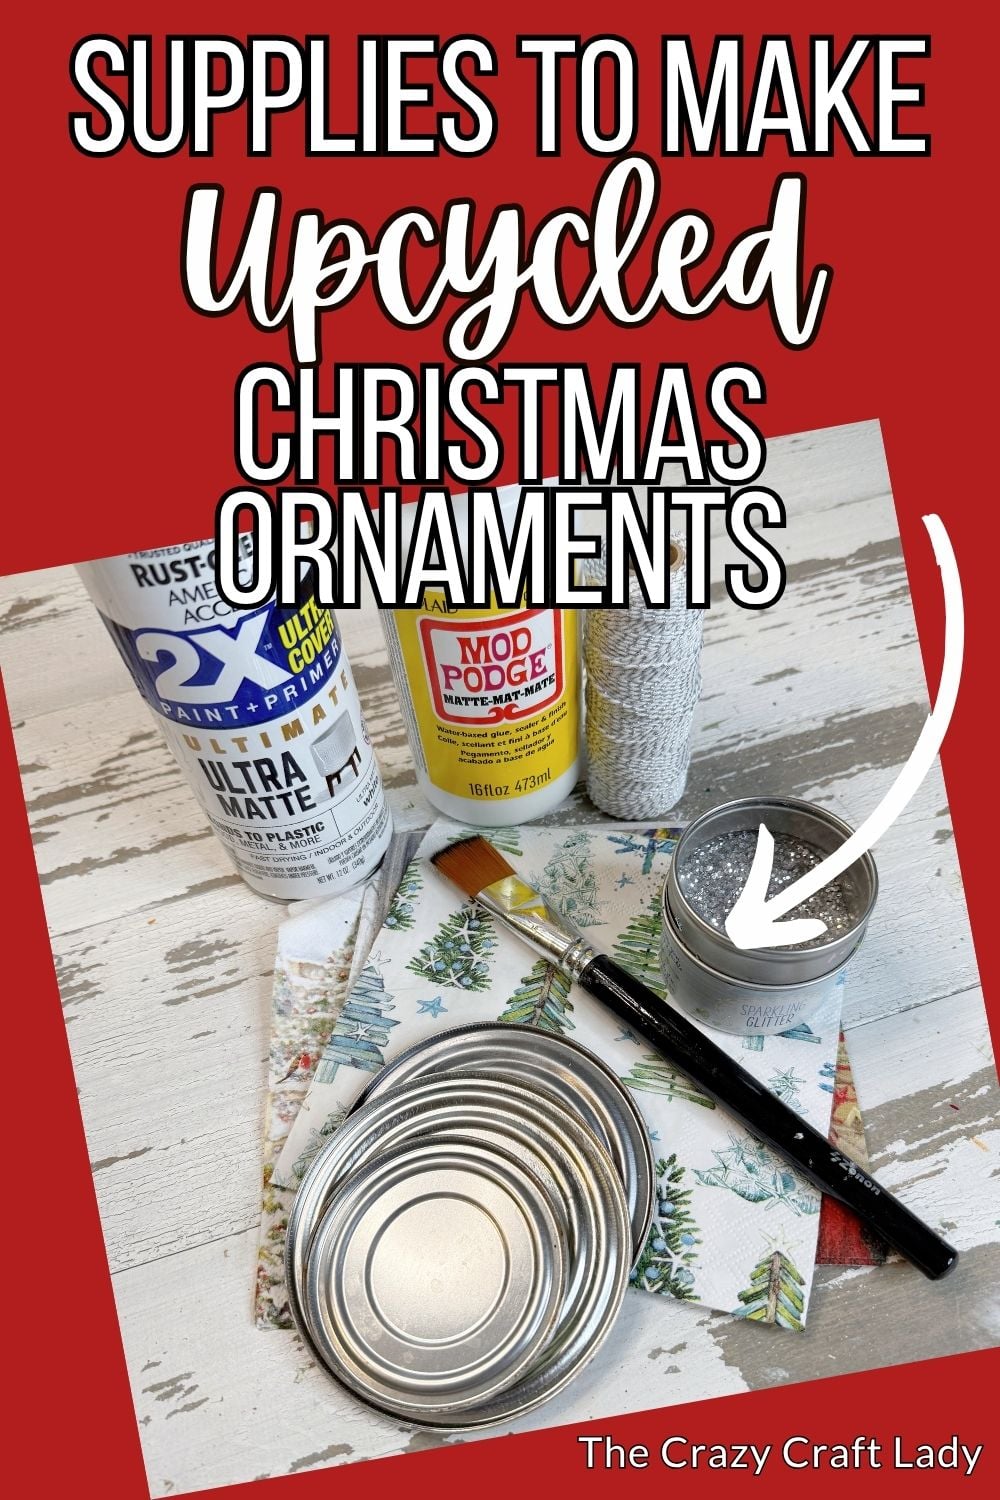
How to upcycle tin can lids with Mod Podge and paper napkins.
This post contains some affiliate links for your convenience. Click here to read my full disclosure policy.
I have made quite a few tin can crafts over the years. But sometimes I feel like the actual tin can lids get a little left out.
We save the cans. We paint the cans. We turn the cans into planters, organizers, lanterns, and all sorts of cute things. And then the lids end up in the recycling bin. But not today! Today, the humble tin can lid is finally getting its time to shine.
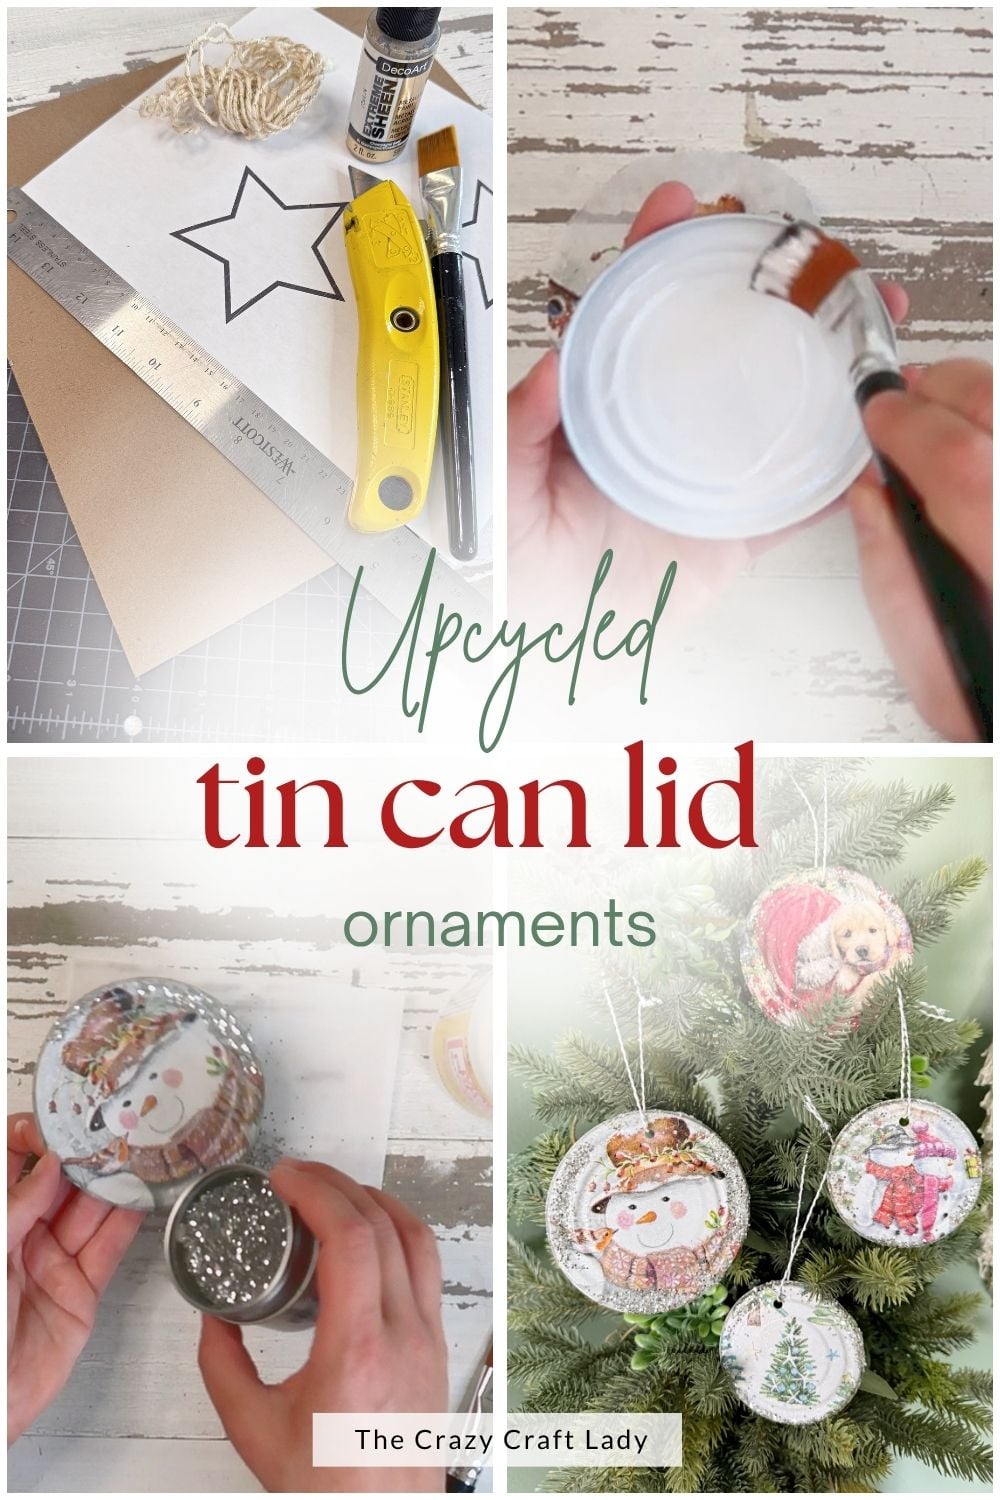
With a pretty holiday paper napkin and a little Mod Podge, you can turn leftover tin can lids into beautiful Christmas ornaments. These ornaments are double-sided, lightweight, and practically free to make.
Plus, this is the perfect excuse to save—or politely borrow—one of those extra-cute paper napkins the next time you go to a holiday party. Be tacky. Put a napkin in your purse. It’s for crafting!
Video Tutorial: Upcycled Tin Can Lid Christmas Ornaments
Watch this quick video to see how this craft came together:
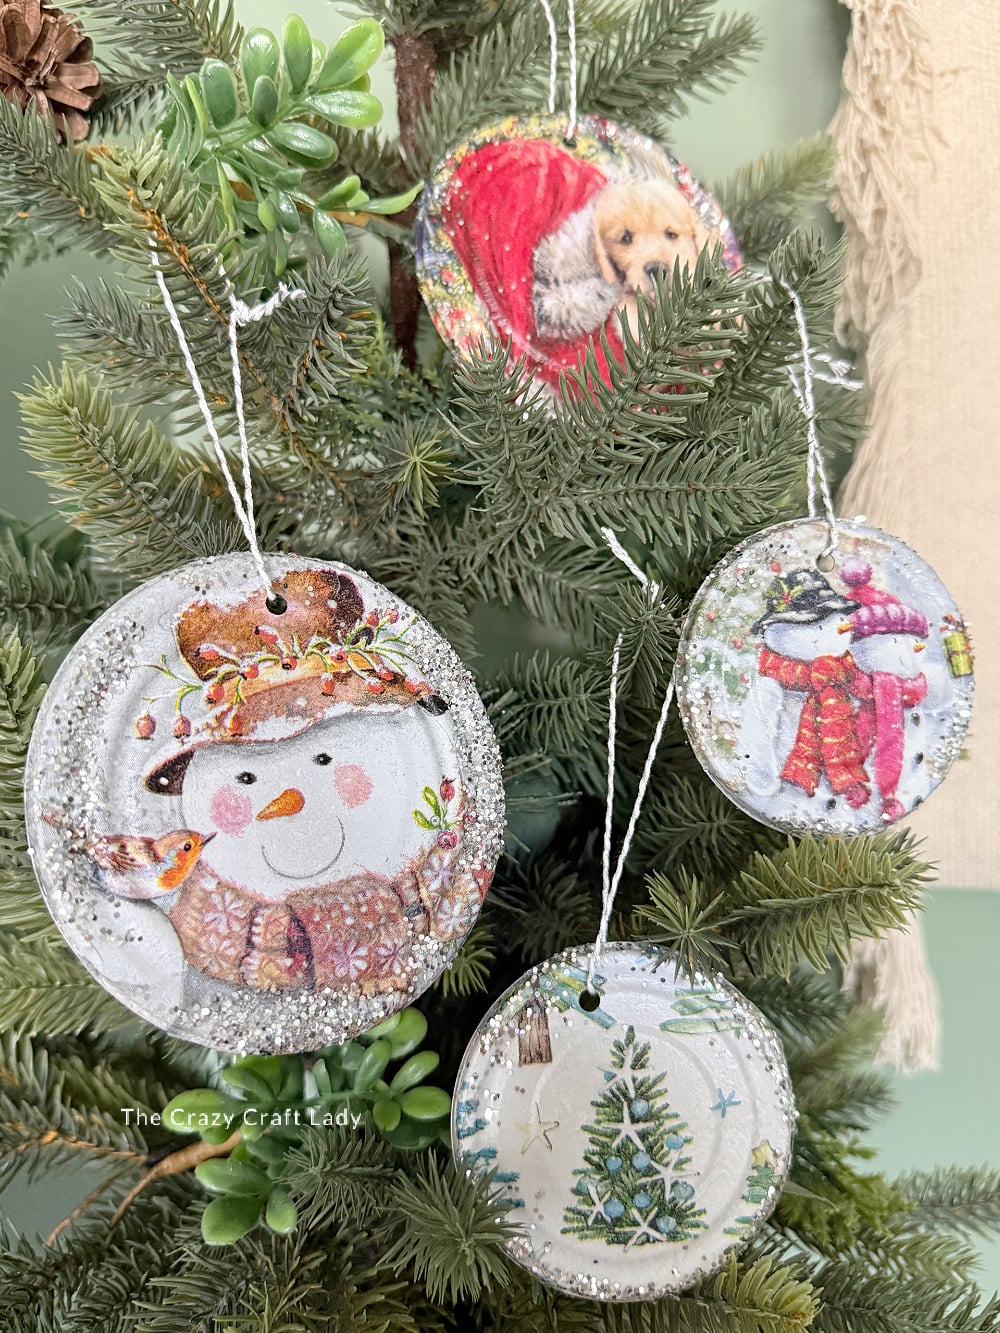
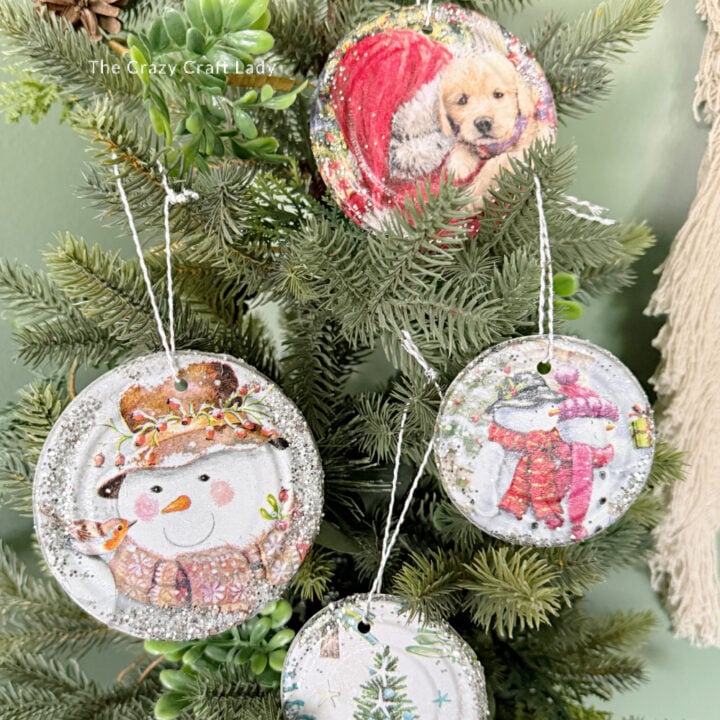
Upcycled Tin Can Lid Christmas Ornaments
Don’t throw away those tin can lids! Transform them into festive double-sided Christmas ornaments using napkins, Mod Podge, and a little glitter.
Materials
- Clean tin can lids
- Rubbing alcohol
- Paper towel or clean cloth
- White spray paint
- White chalk paint, if needed
- Decorative holiday paper napkins
- Masking tape
- Mod Podge
- Plastic wrap, optional
- Fine-grit sandpaper
- Fine silver glitter, optional
- Crop-A-Dile hole punch
- Thin baker’s twine, ribbon, or regular twine
Tools
- Pen or pencil
- Scissors
- Flat 1-inch paintbrush
- Nail, hammer, and scrap piece of wood, if you do not have a metal hole punch
Instructions
- Watch the Video. Follow along with the video tutorial to see exactly how these upcycled tin can lid ornaments come together.
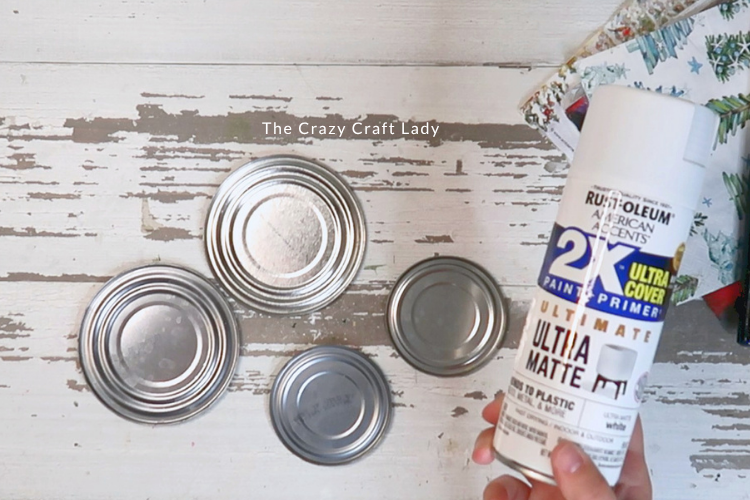
- Clean and Paint the Lids. Wipe the printed expiration dates off the tin can lids with rubbing alcohol before painting. Spray paint both sides white and allow them to dry completely. If any ink bleeds through, touch it up with a little white chalk paint.

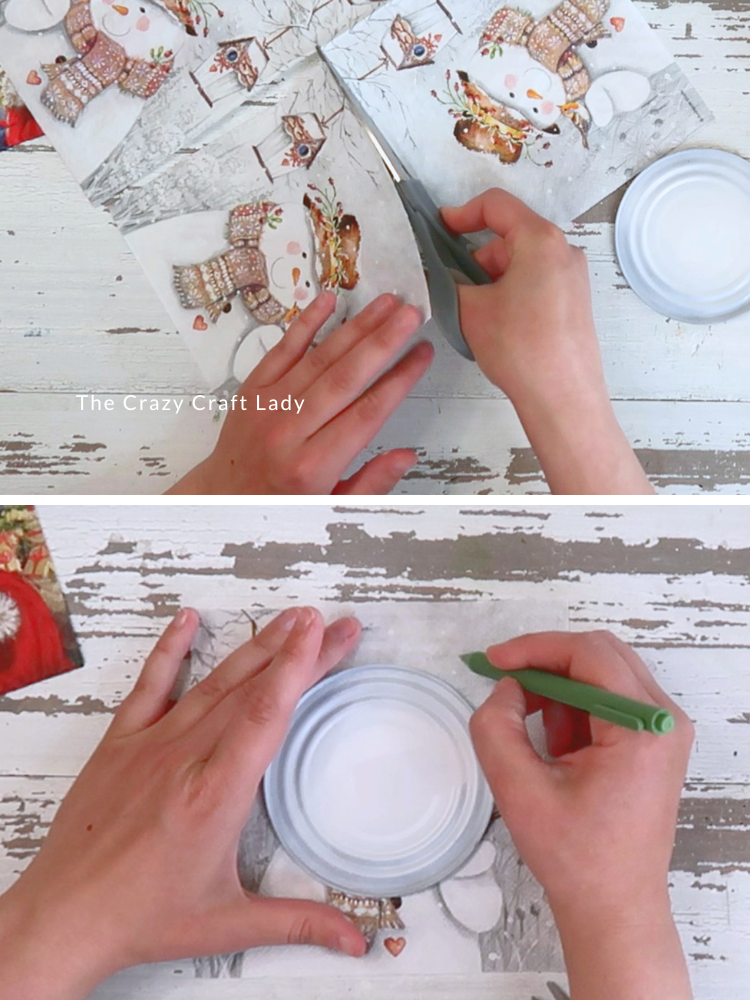
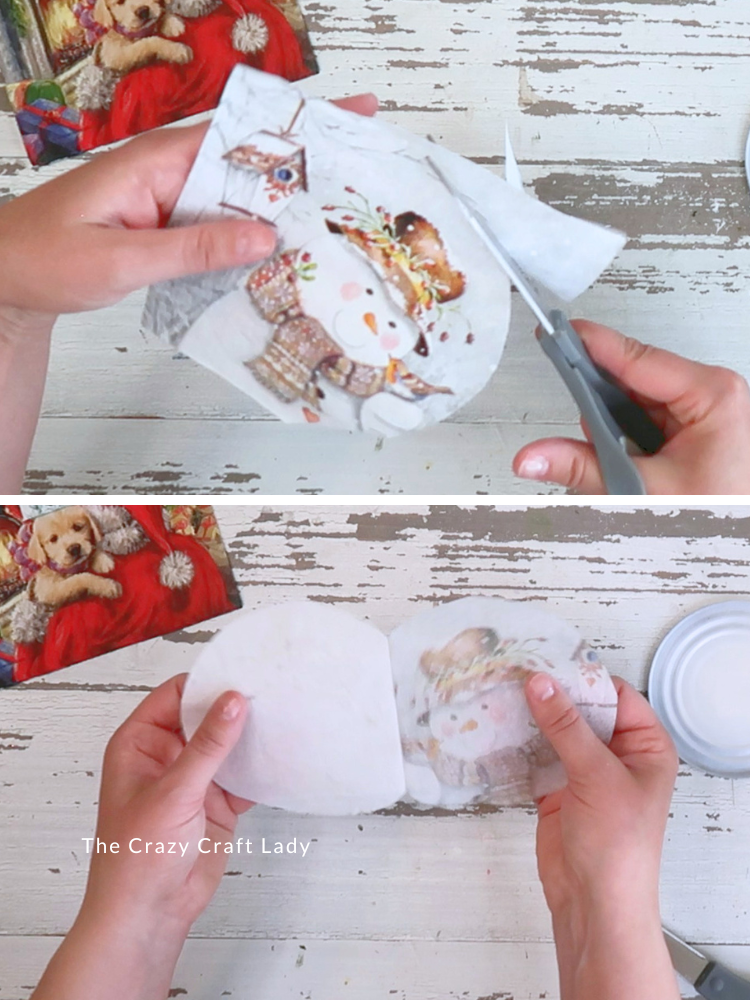
- Cut the Napkin. Place a tin can lid over the section of the holiday napkin you want to use. Trace around it about 1/4 inch larger than the lid, then cut out the circle. Separate the napkin layers so you're left with only the printed top ply.

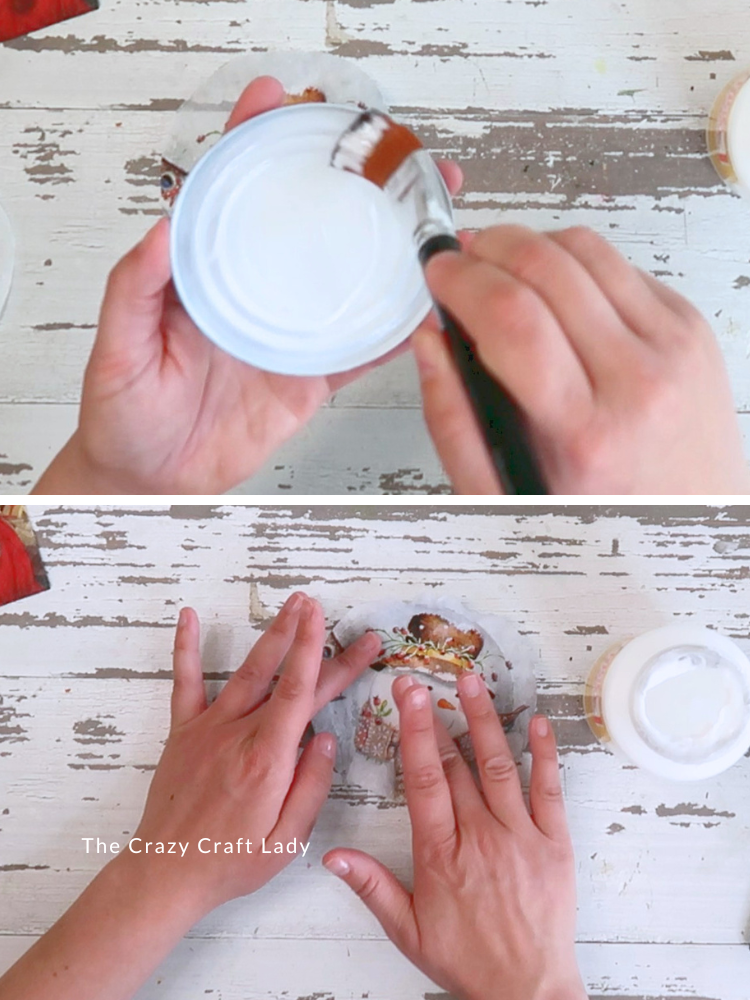
- Decoupage the Front. Brush an even coat of Mod Podge onto one side of the lid. Center the napkin over the lid and gently tap it into place with your fingertips until it is as smooth as you'd like. Allow the Mod Podge to dry completely.
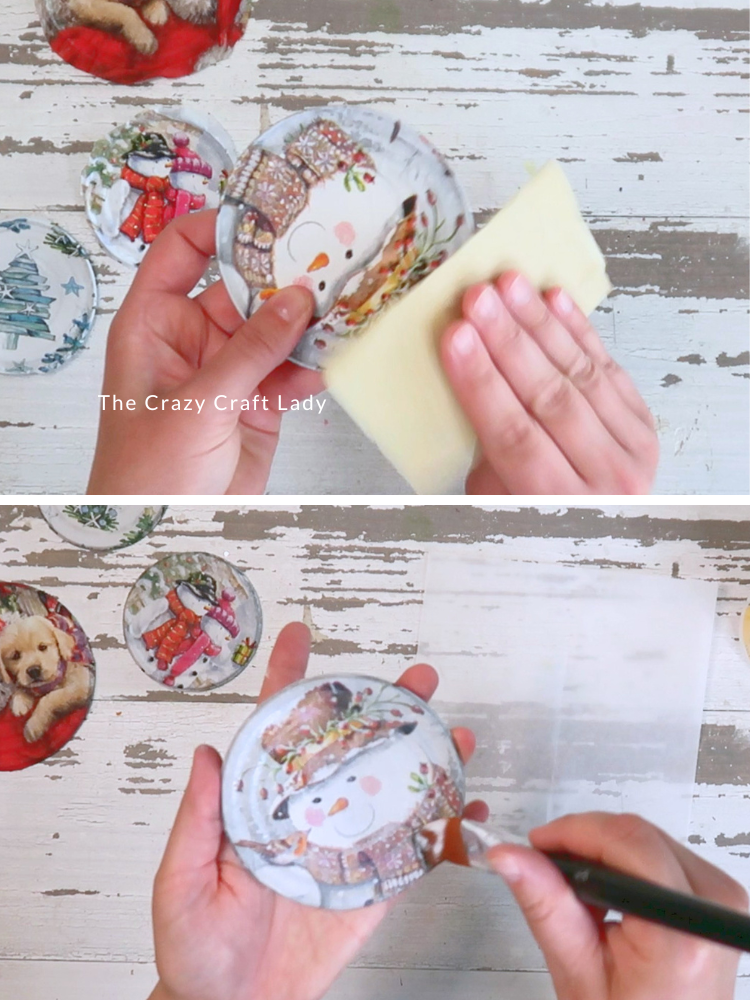
- Trim the Edges. Use fine-grit sandpaper to remove the excess napkin around the edge of the lid. Sand only in a downward motion to avoid lifting the napkin.
- Cover the Back. Repeat the same process on the reverse side of the lid using a second piece of napkin. Decorating both sides gives the ornament a finished look, even when it spins on the tree.
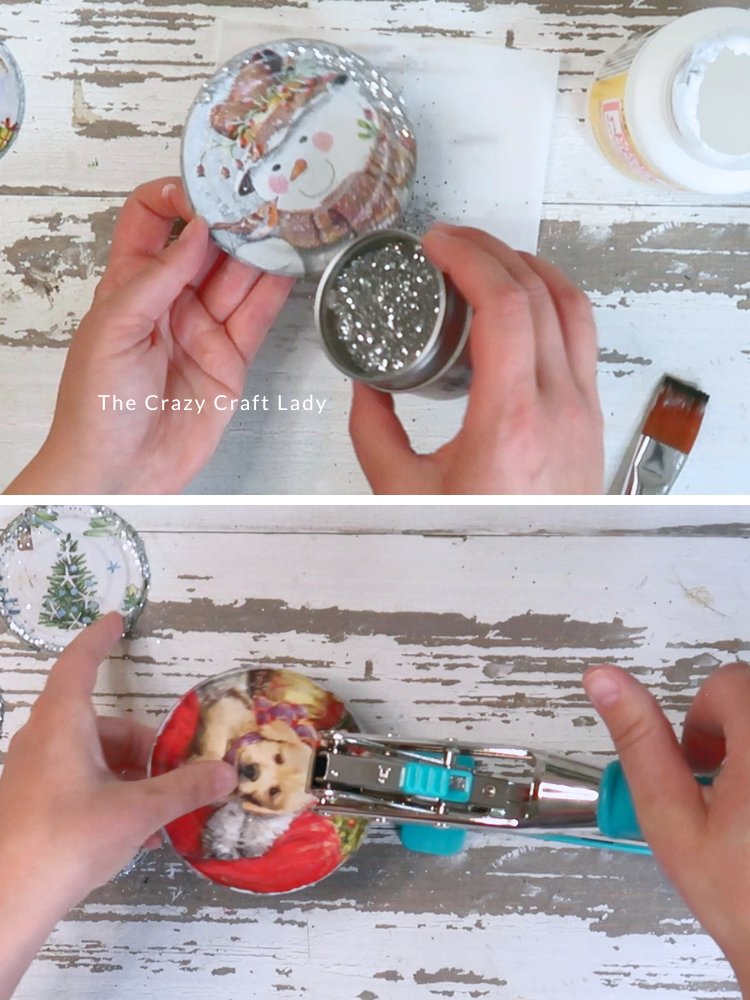
- Seal and Add Glitter. Brush a thin coat of Mod Podge over both sides to seal the napkin. While it's still wet, sprinkle a little silver glitter around the edges for extra holiday sparkle, if desired.
- Punch a Hanging Hole. Punch a hole near the top of the ornament with a Crop-A-Dile. If you don't have one, place the lid on a scrap piece of wood and carefully use a nail and hammer to create the hole.
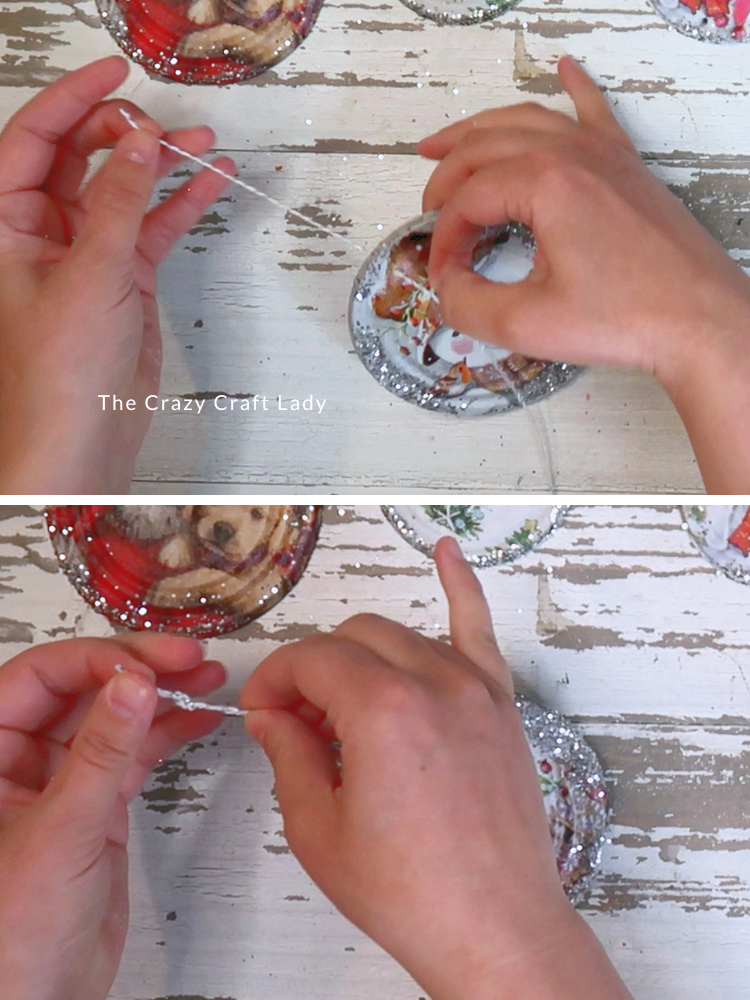
- Add the Hanger. Thread baker's twine, ribbon, or string through the hole and tie a loop. Your upcycled Christmas ornament is ready to hang on the tree!
Notes
A Quick Note About Tin Can Lids
Make sure your tin can lids do not have sharp edges before using them for this project.
Lids removed with a smooth-edge can opener are ideal because they leave behind a much safer, smoother edge. If your lids have any sharp or jagged areas, be careful handling them and make sure those edges are completely covered or smoothed before turning the lids into ornaments.
Step 1: Clean and Paint the Tin Can Lids
One of my favorite things about this project is that every ornament can look completely different depending on the napkins you use. Look for holiday napkins with small individual designs that will fit nicely inside your tin can lids. Christmas trees, snowflakes, greenery, cardinals, snowmen, vintage Santas, and winter scenes would all be adorable.
The Finished Tin Can Lid + Mod Podge Ornaments
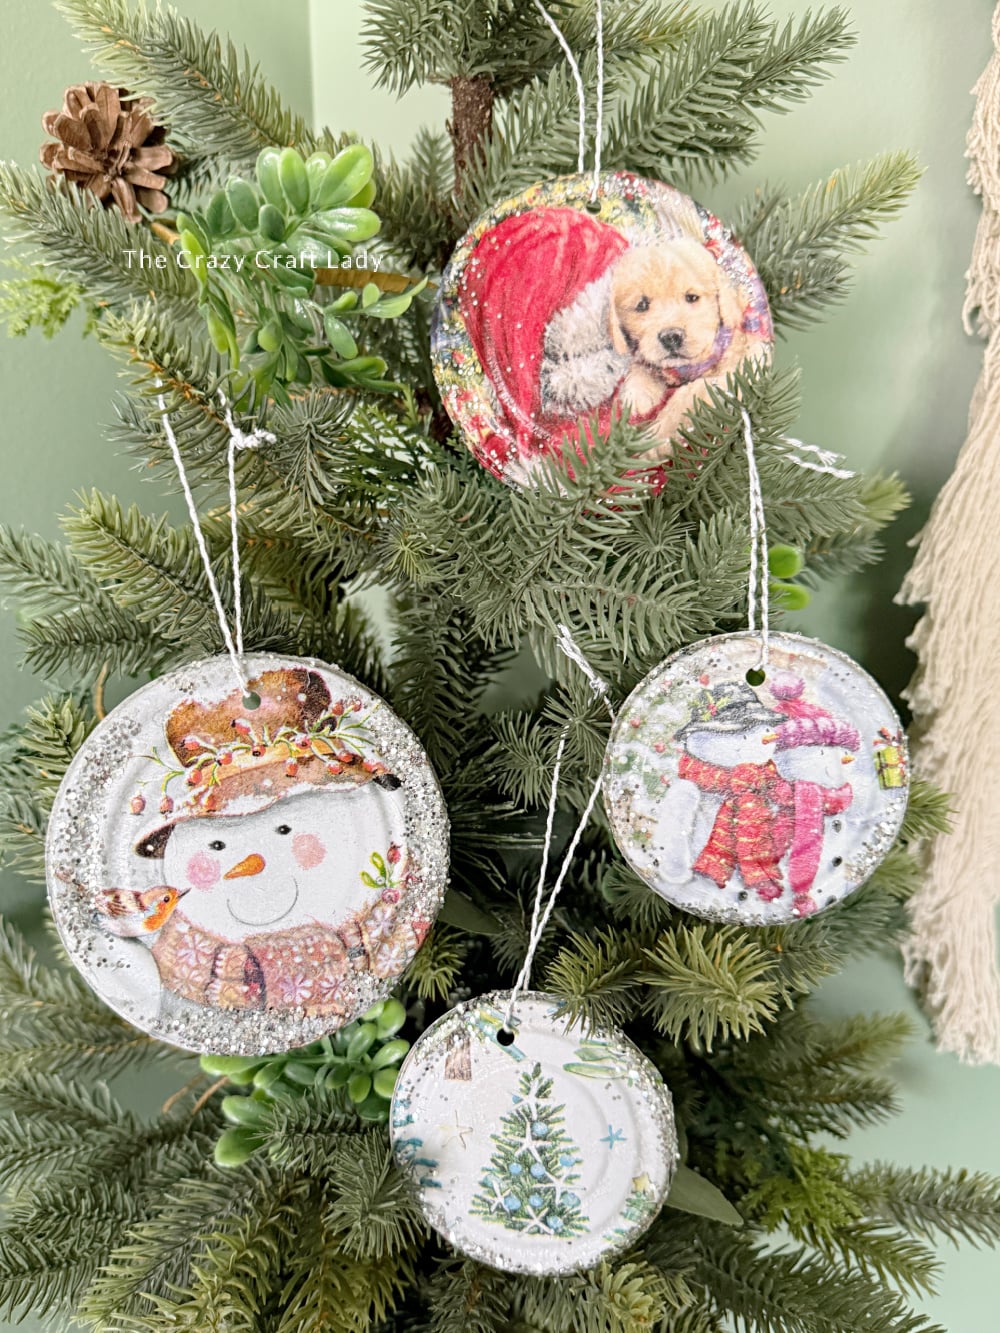
A Practically Zero-Dollar Christmas Craft
These upcycled ornaments are exactly the kind of Christmas craft I love.
The tin can lids would otherwise have gone into the recycling bin. The holiday napkins can be leftovers from a party or previous Christmas celebration. And you only need small amounts of Mod Podge, paint, twine, and glitter from your existing craft stash.
So save those lids, grab a pretty holiday napkin, and give those forgotten tin can lids their well-deserved time to shine!
PIN these Christmas ornaments for later: