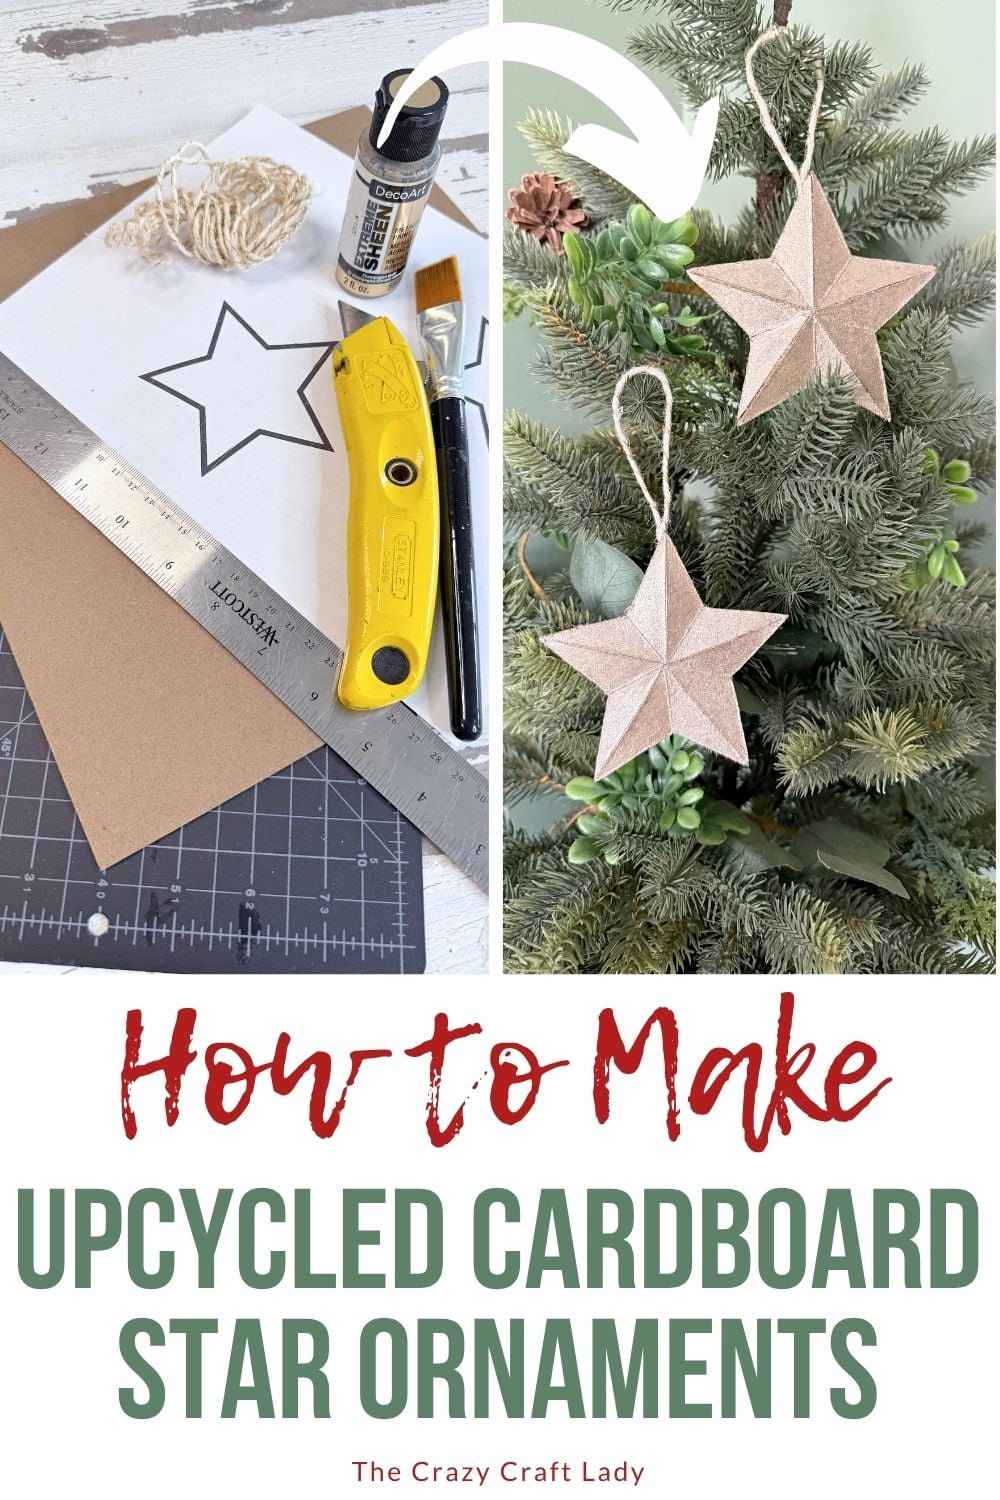
Learn how to make elegant 3D cardboard star ornaments using recycled cardboard, craft paint, and supplies you already have at home.
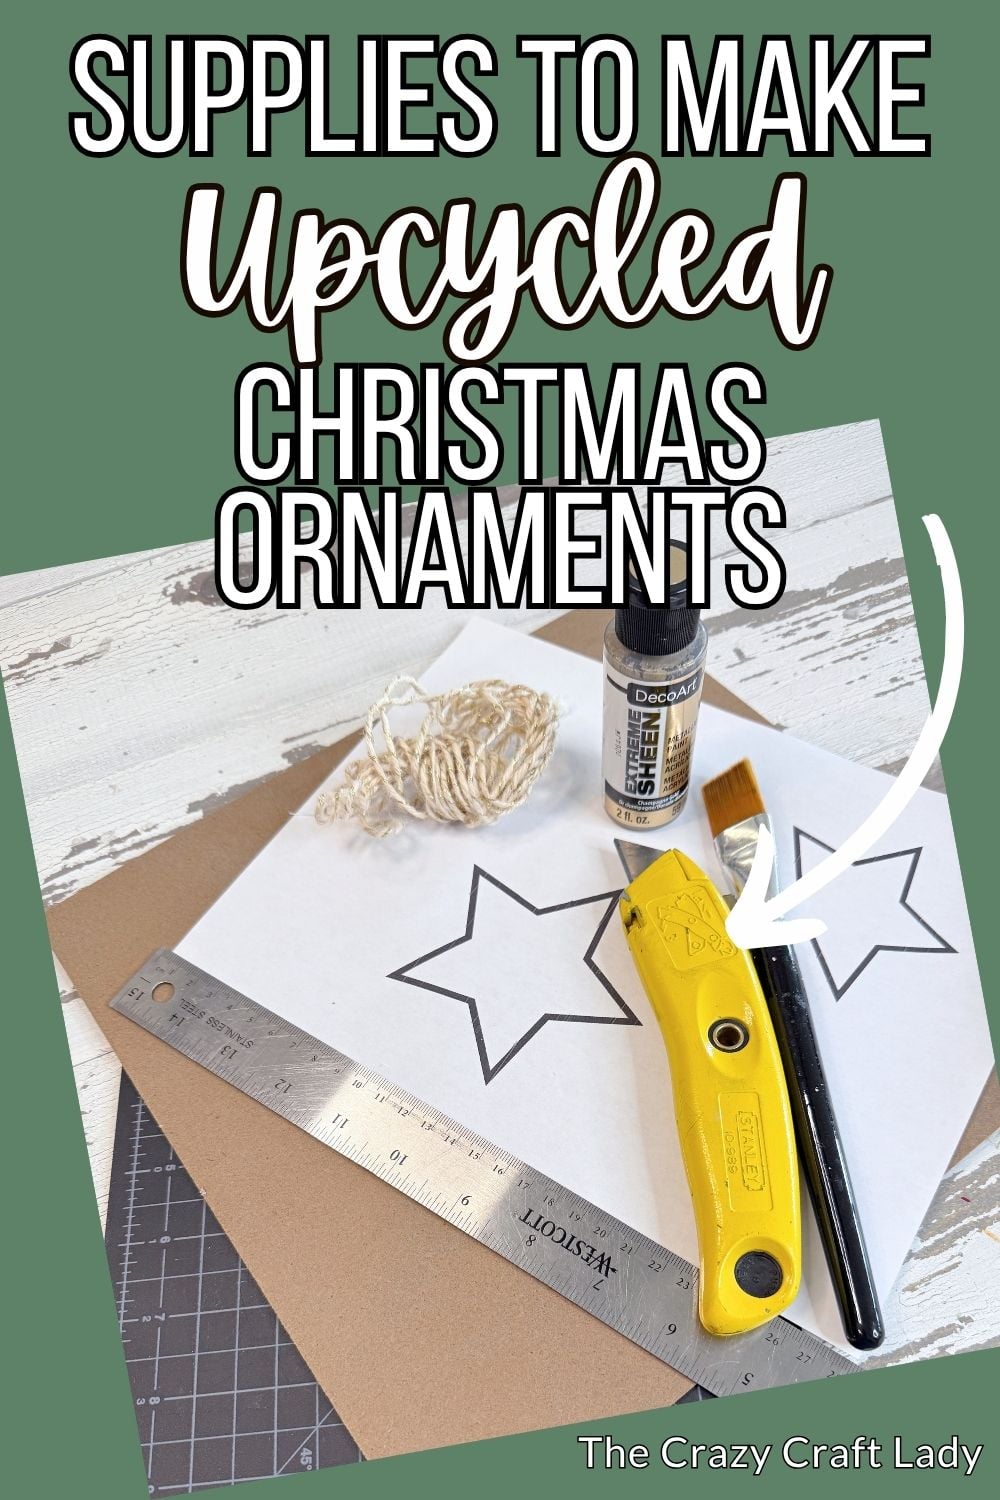
How to make gold upcycled cardboard star ornaments.
This post contains some affiliate links for your convenience. Click here to read my full disclosure policy.
If you have a sturdy piece of cardboard and a little leftover craft paint, you can make these beautiful dimensional star ornaments for practically nothing!
And when I say cardboard, I don’t mean corrugated shipping-box cardboard. For this project, you’ll want that really thick, solid cardboard—sometimes called chipboard—that you might find on the back of a picture frame, sketch pad, notebook, or pad of paper. Instead of tossing those sturdy cardboard backing pieces, save them for crafts like this one!
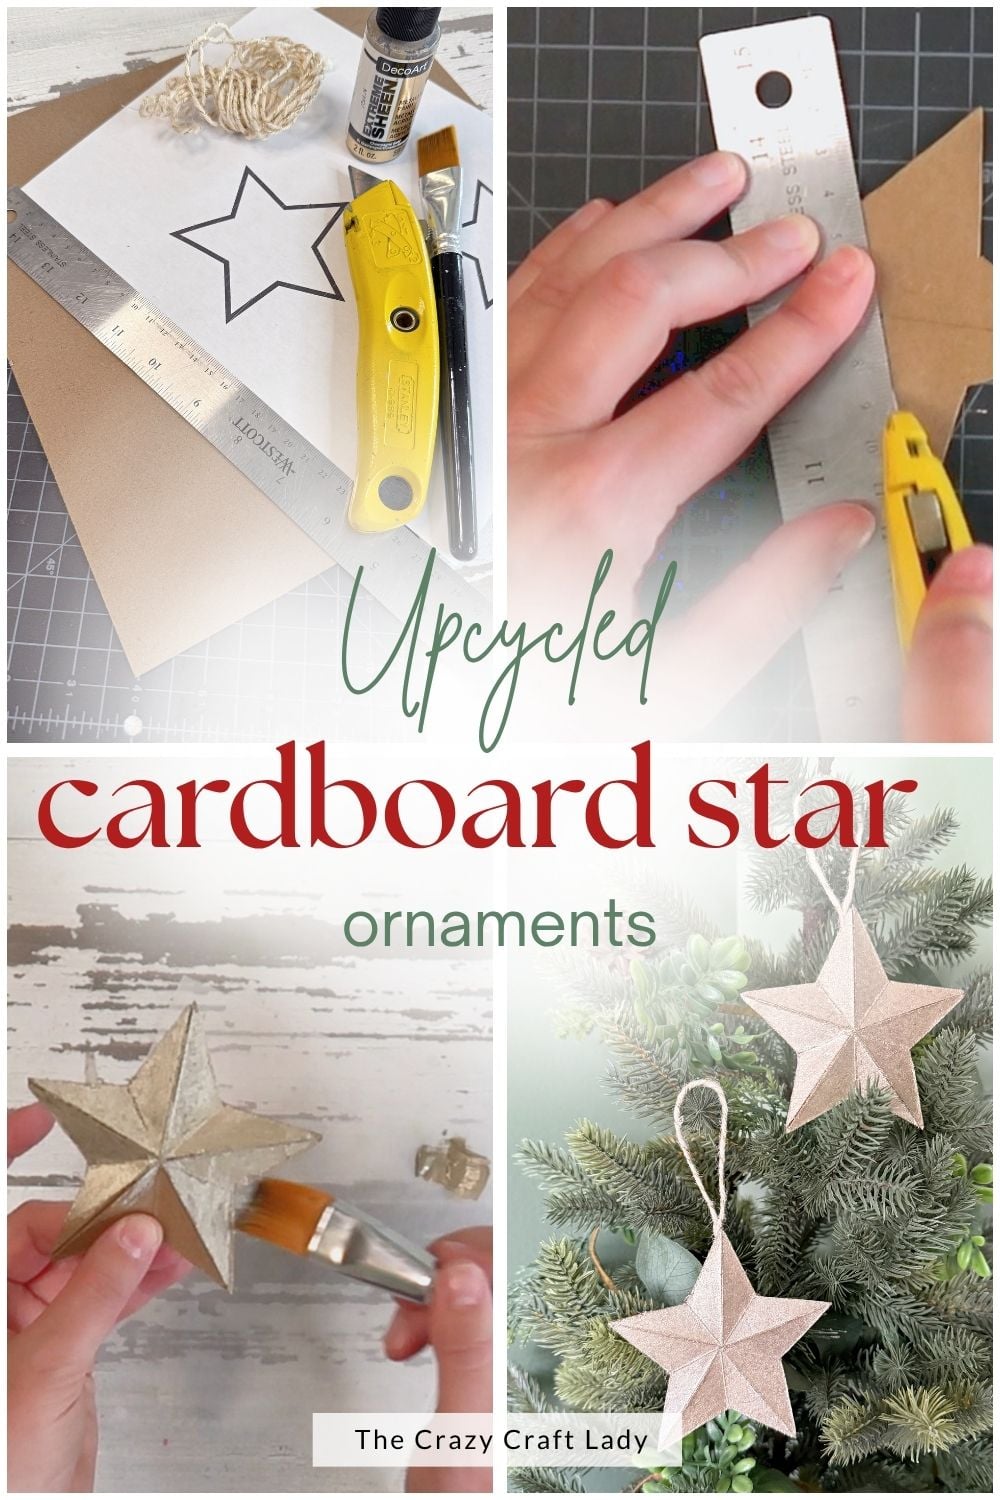
With a little careful cutting, scoring, and folding, a flat cardboard star transforms into a dimensional ornament that looks surprisingly high-end. A coat of champagne-gold paint gives the finished stars the look of vintage metal Christmas ornaments, but they’re lightweight, inexpensive, and made almost entirely from recycled materials.
This is exactly the kind of Christmas craft I love: simple supplies, minimal cost, and a finished project that doesn’t look like it started with a piece of cardboard.
Video Tutorial: Upcycled Cardboard Star Ornaments
Watch this quick video to see how this craft came together:
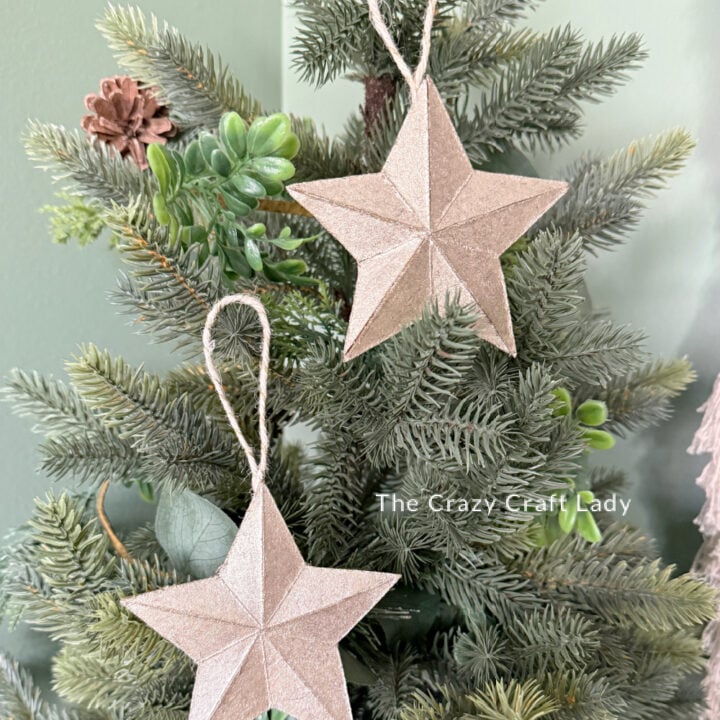
Upcycled Cardboard Star Ornaments
These DIY cardboard star ornaments look like expensive metal Christmas decorations but are made with recycled cardboard and inexpensive craft supplies.
Materials
- Thick, non-corrugated cardboard or chipboard
- Printable star template
- Printer paper
- Carbon transfer paper
- Fine-grit sandpaper
- Black marker
- Champagne-gold acrylic craft paint
- Decorative twine, yarn, or thin ribbon
Tools
- Pencil or stylus
- Metal ruler
- Craft knife, utility knife, or X-Acto knife
- Cutting mat
- Paintbrush
- Scissors
- Hot glue gun and glue sticks
Instructions
- Watch the Video. Follow along with the video tutorial for a step-by-step walkthrough of how to make your own dimensional cardboard star ornaments.
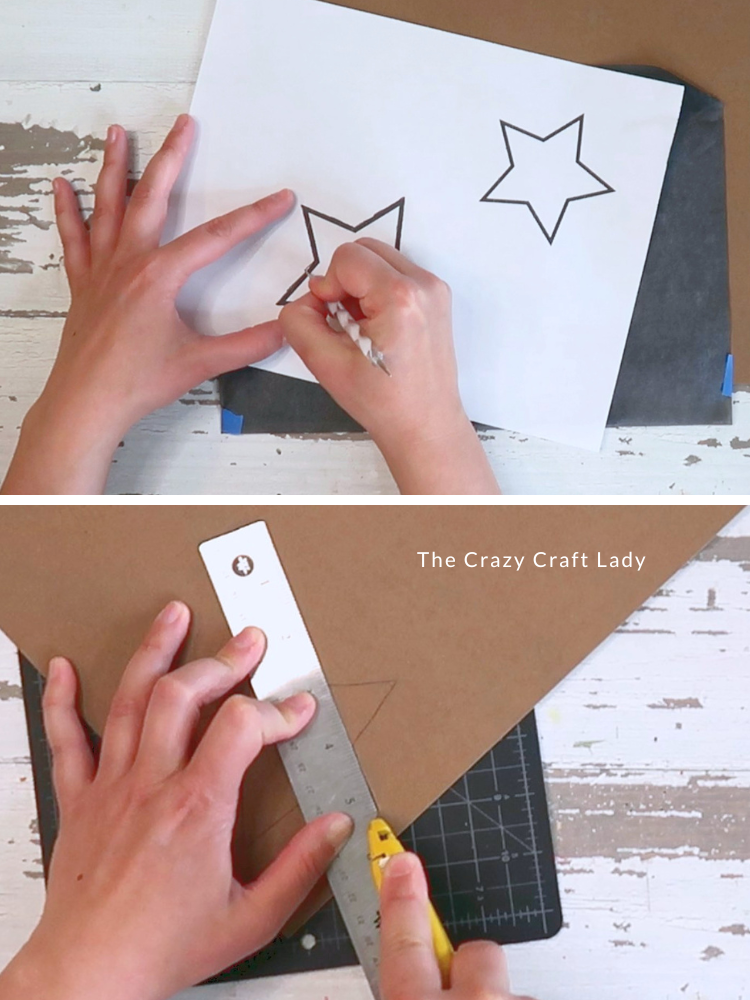
- Trace the Stars. Print the star template. Place a sheet of carbon transfer paper between the template and a thick piece of non-corrugated cardboard or chipboard. Trace around the stars to transfer the outlines onto the cardboard.

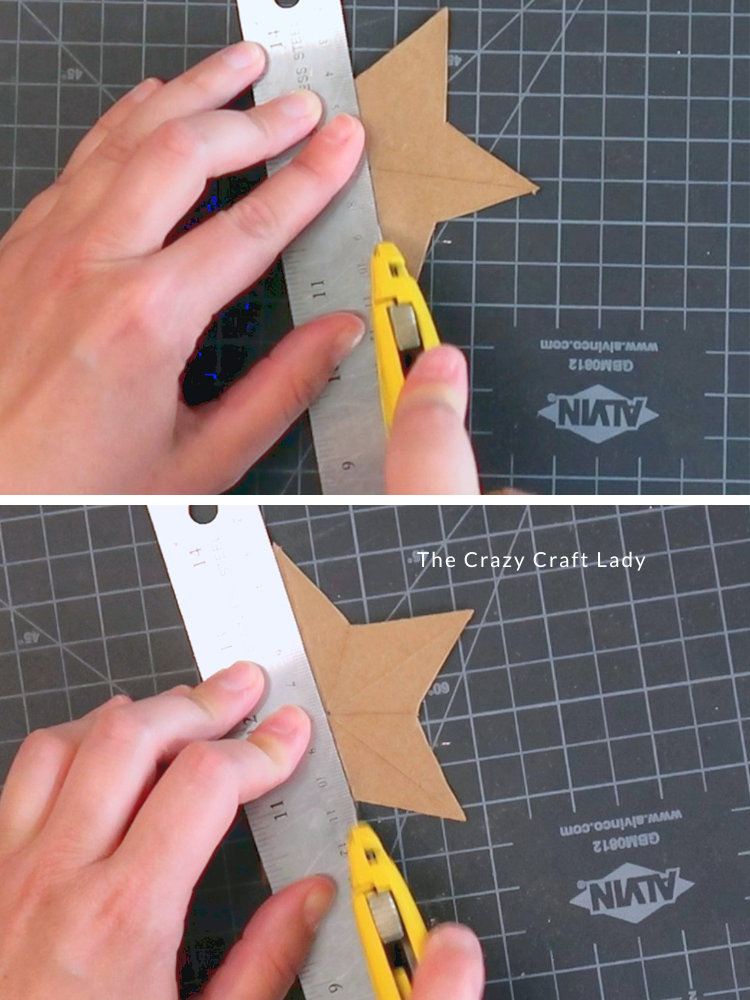
- Cut Out the Stars. Place the cardboard on a cutting mat. Line up a metal ruler along one section of the star, then repeatedly score the cardboard with a craft knife until you cut through all the layers. Work your way around all 10 edges. If needed, flip the cardboard over and carefully cut through any areas that are still connected.
- Sand the Edges. Lightly sand around the outside edges of each cardboard star to smooth away any rough or uneven spots.
- Score the Stars. Mark the approximate center of each star with a small dot. Using a metal ruler and craft knife, lightly score a line from the center to each of the five outer points. Then score from the center to each of the five inner corners. Use only enough pressure to create fold lines without cutting through the cardboard.
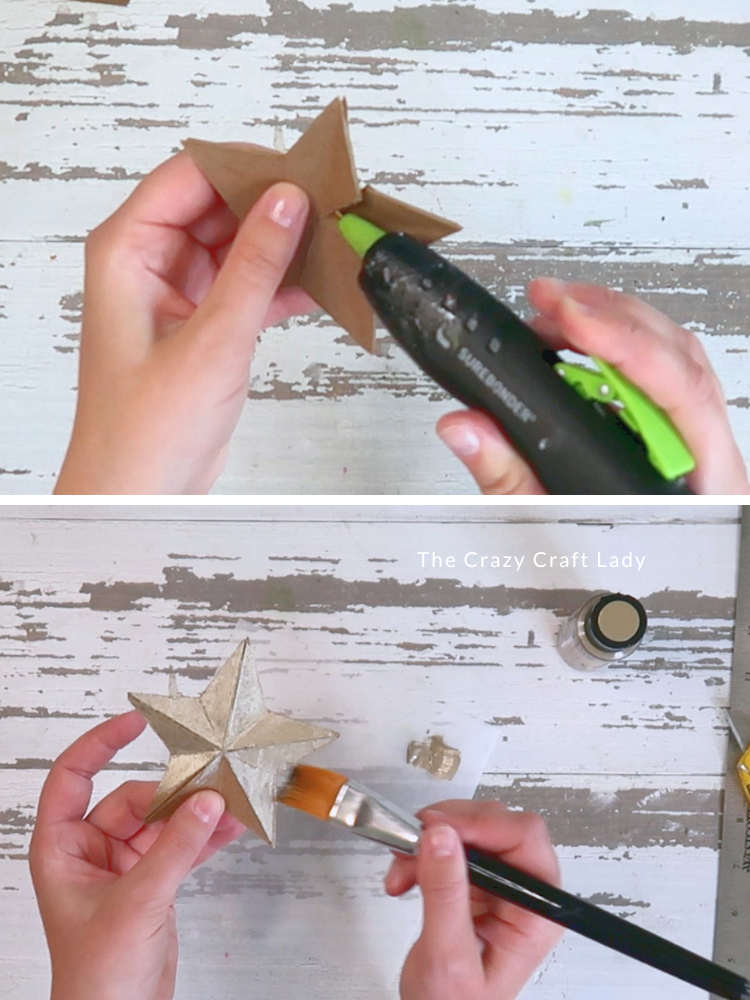
- Shape the Stars. Gently bend the cardboard along the score lines. Fold the lines leading to the outer points upward and the lines leading to the inner corners downward to create a dimensional star shape. If any section splits, repair it with a very thin line of hot glue.
- Paint the Stars. Paint the front, back, and outside edges of each ornament with champagne-gold acrylic craft paint. Allow the paint to dry completely. You can also use any metallic or colored craft paint you already have on hand.
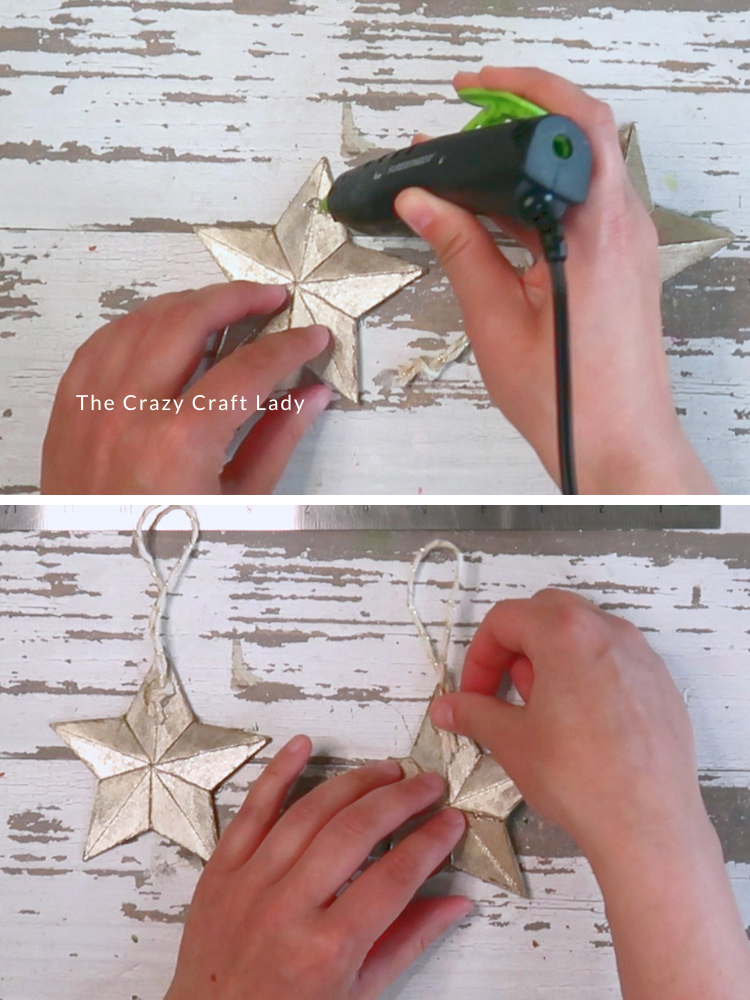
- Add the Hangers. Cut a 10-inch piece of twine, yarn, or thin ribbon. Fold it in half and tie the loose ends together in a knot. Hot glue the knot to the back of one star point to create a loop for hanging.
Notes
Safety note: Thick cardboard takes several passes with a craft knife to cut completely. Always work on a protected cutting surface, keep your fingers out of the cutting path, and cut away from your body.
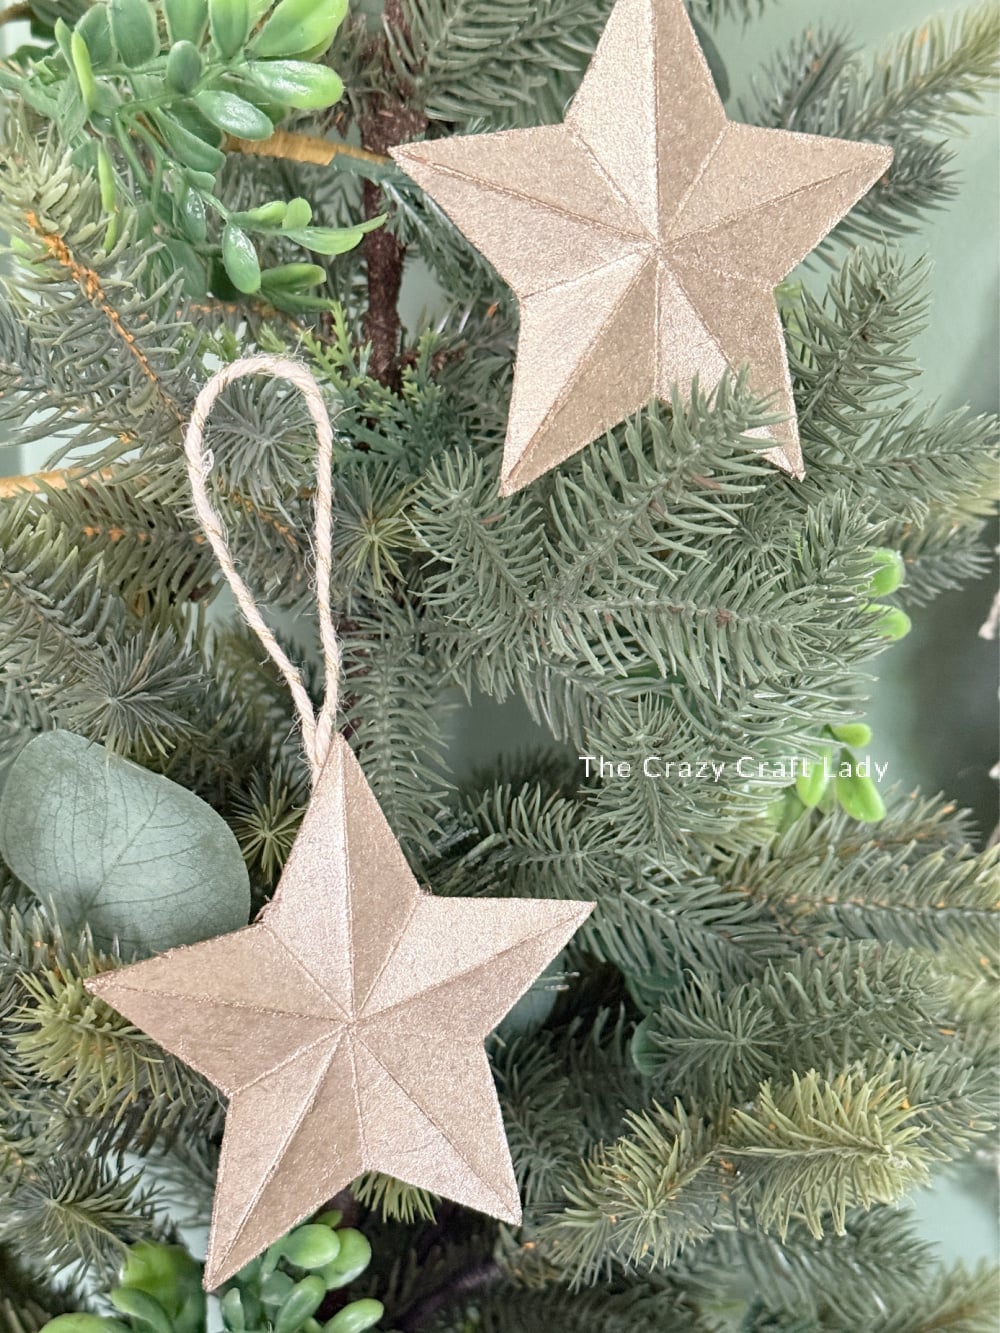
The Finished Ornaments
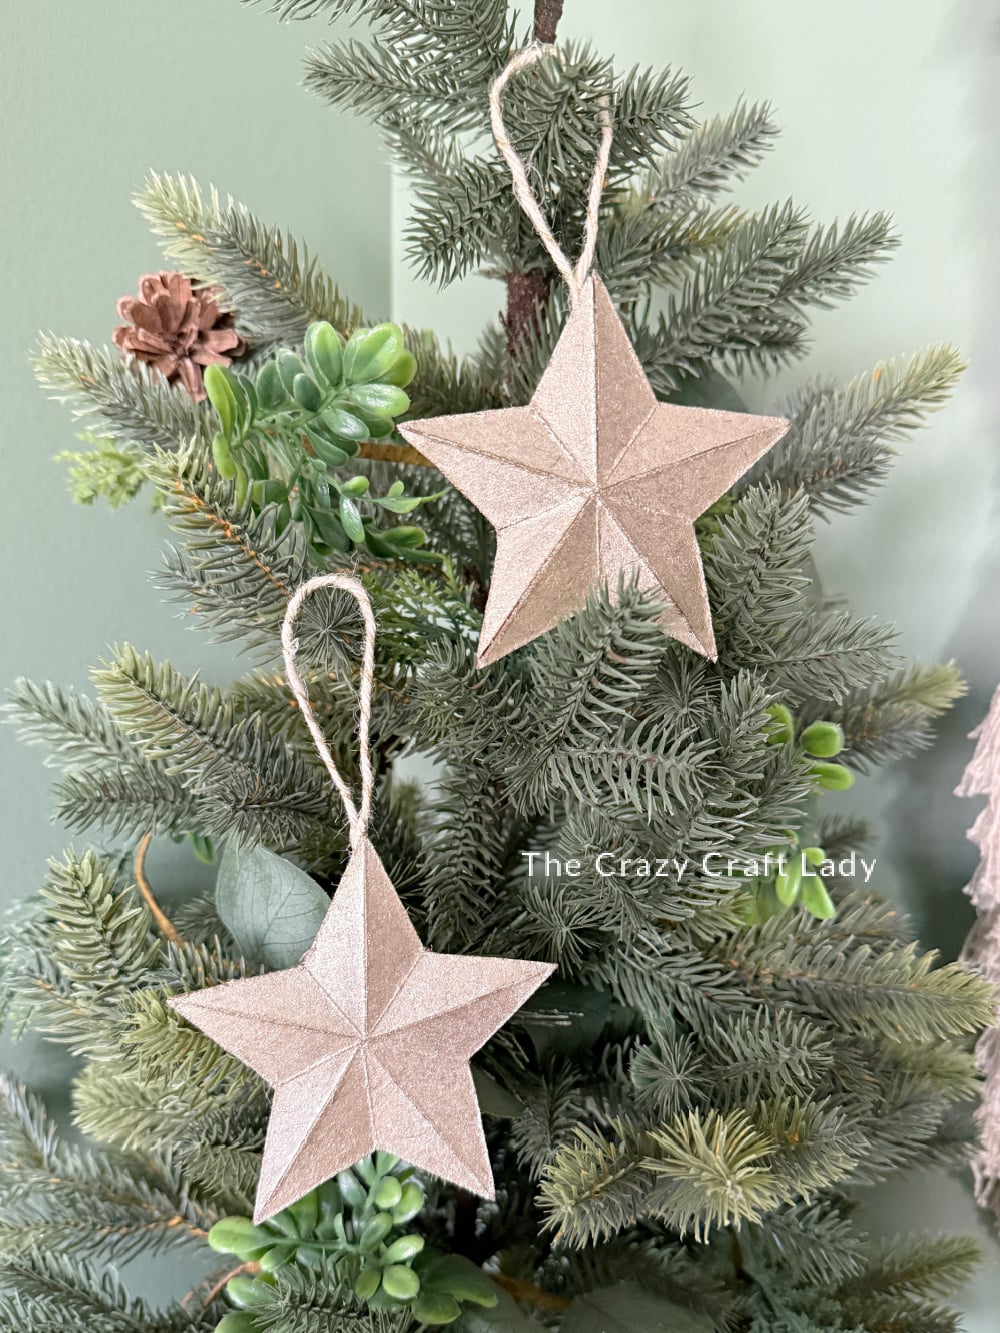
A Simple Trash-to-Treasure Christmas Craft
Before recycling the cardboard backing from a picture frame, sketchbook, or paper pad, tuck it into your craft stash.
With a printable star template, a little paint, and some leftover twine, you can turn it into beautiful Christmas ornaments that look much more expensive than they are.
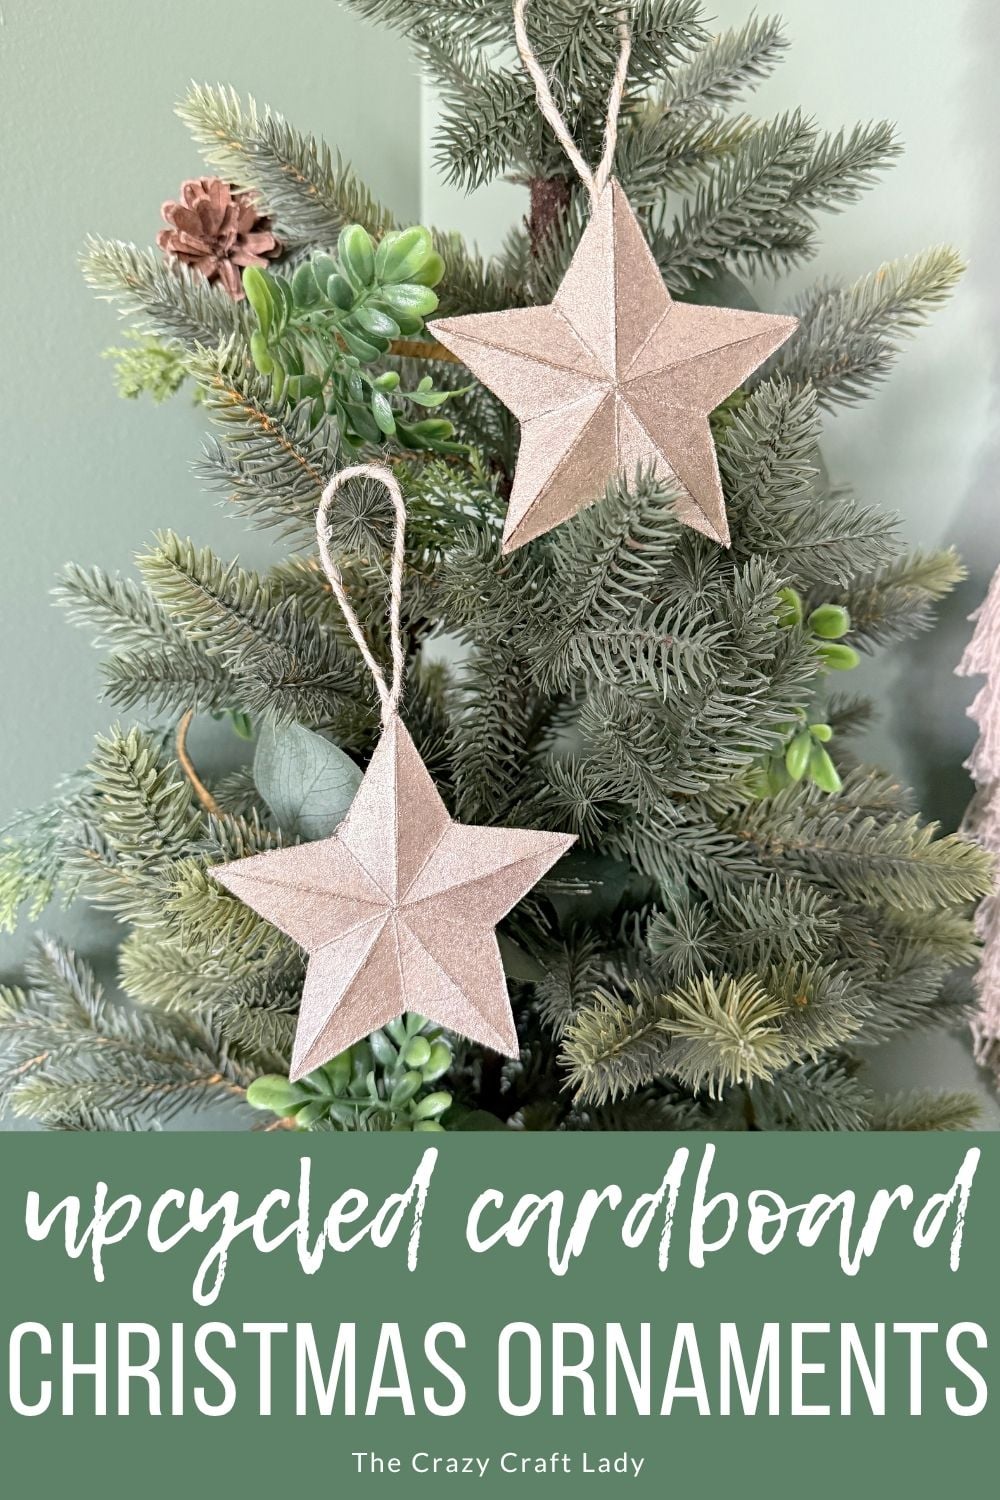
Use whatever cardboard you have lying around, whatever paint color you already own, and any ribbon, yarn, or twine left in your craft stash.
These dimensional cardboard star ornaments are practically free to make—and they definitely don’t look like they started as recycled cardboard!
PIN this ucpcyled Christmas craft for later: