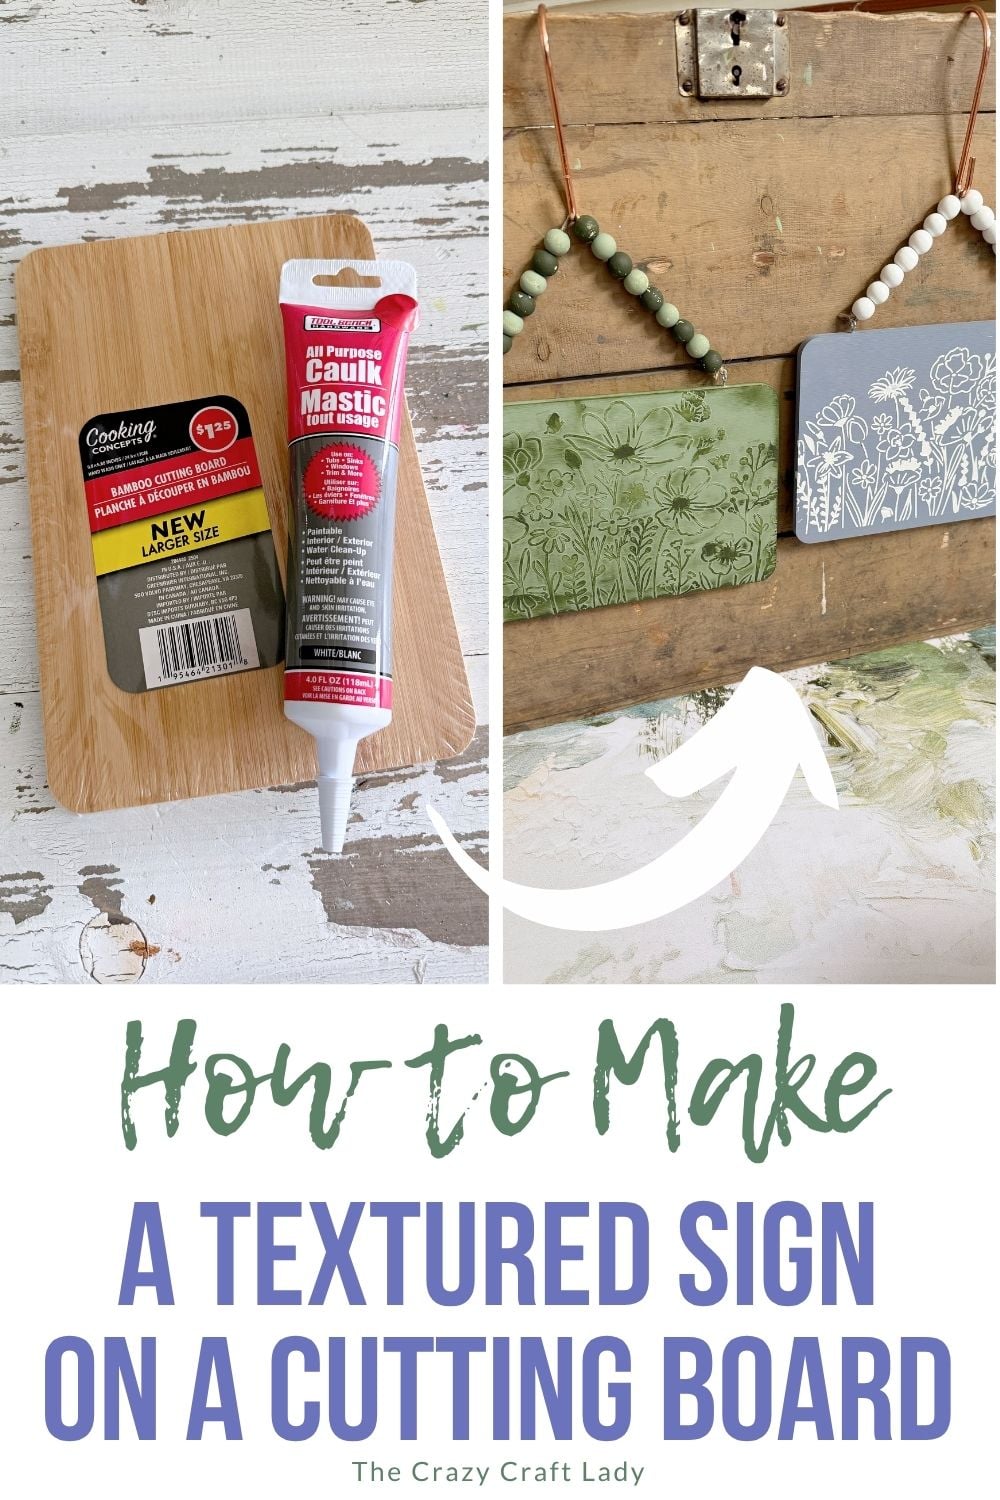
Create a beautiful textured botanical cutting board sign using a Dollar Tree cutting board, floral stencil, caulk, and painted wood beads. This easy DIY looks like high-end farmhouse decor.
This post contains some affiliate links for your convenience. Click here to read my full disclosure policy.
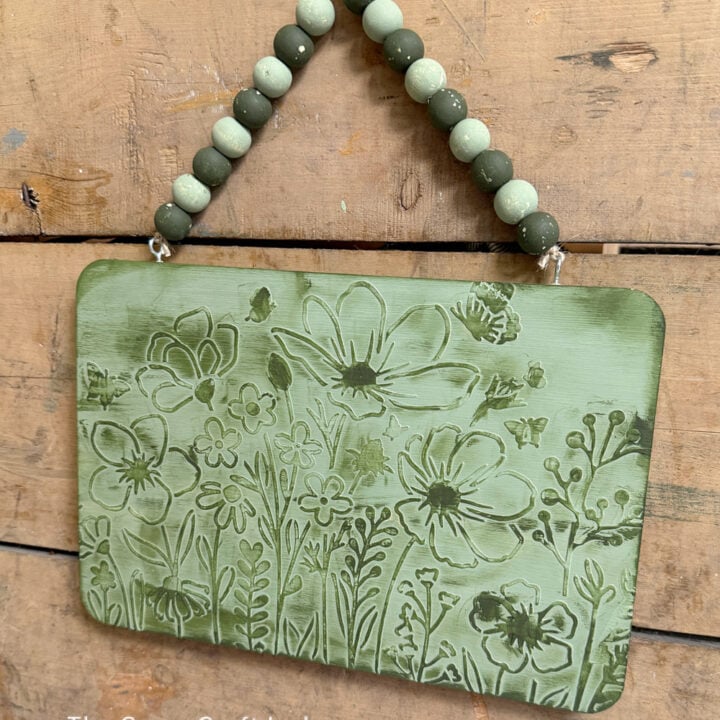
How to make a textured botanical cutting board sign with a distressed green paint finish.
If you’ve ever walked through a boutique home decor store and fallen in love with those textured botanical signs, you’re going to love this easy Dollar Tree DIY. Using a bamboo cutting board, floral stencil, and a little caulk, you can create gorgeous raised texture that looks surprisingly expensive.
Video Tutorial: Textured Botanical Cutting Board Sign
Watch this quick video to see how this craft came together:
Textured Botanical Cutting Board Sign
Turn a Dollar Tree cutting board into stunning wall decor with raised floral texture and a custom wood bead hanger. Easy DIY home decor on a budget.
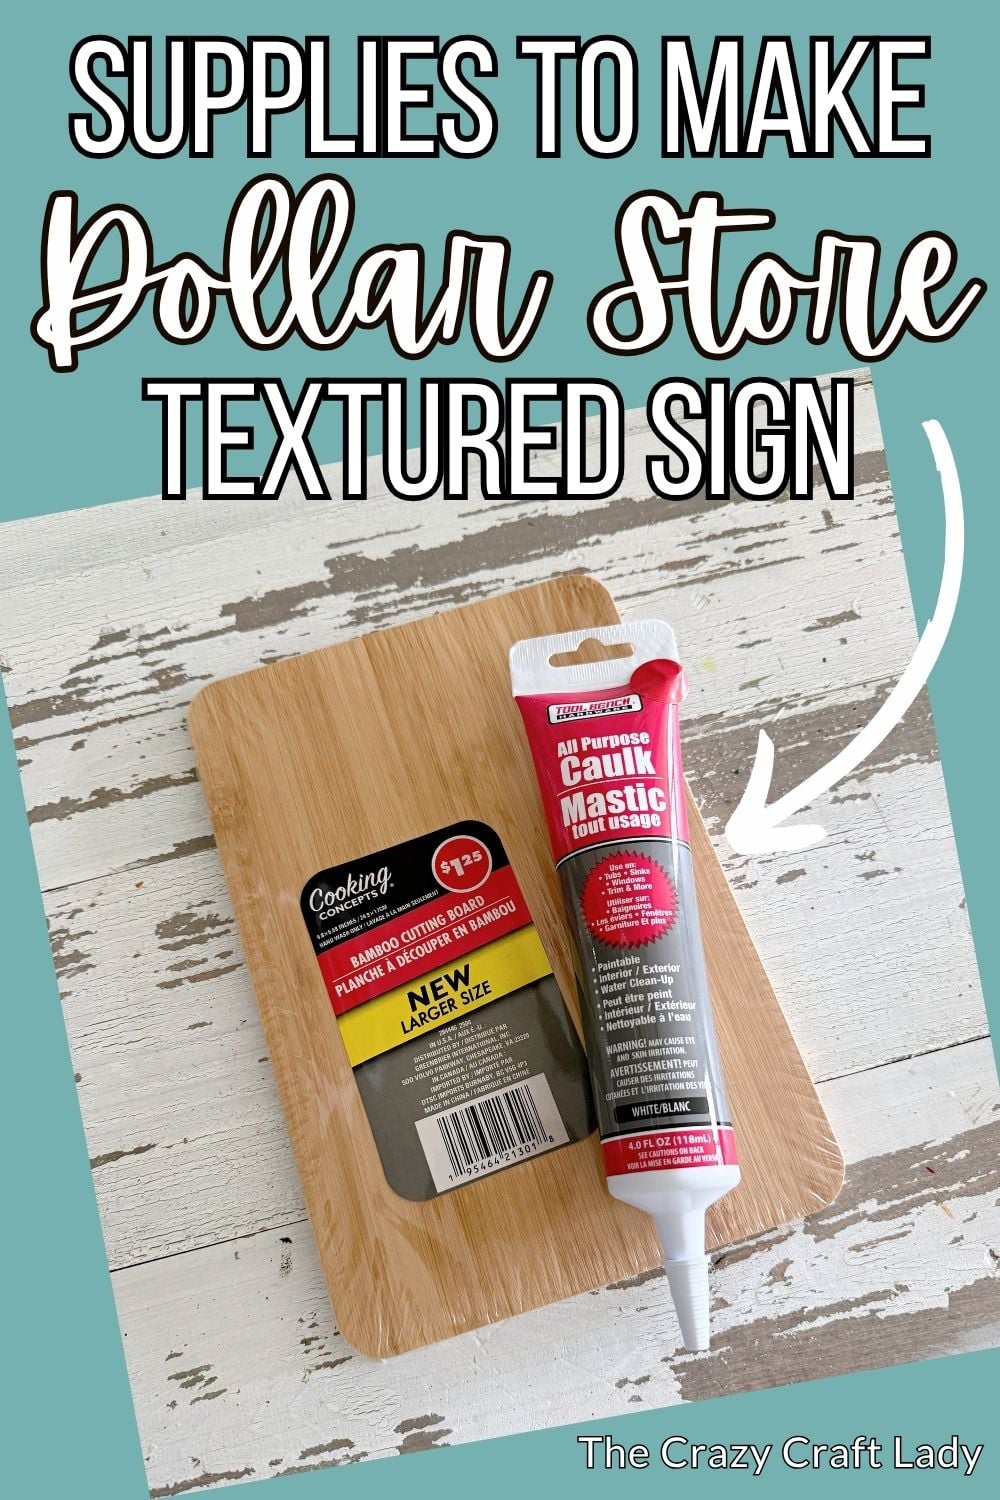
Materials
- Dollar Tree bamboo cutting board
- Dark green and light green craft paint
- Floral stencil
- Dollar Tree caulk or lightweight spackle
- Painter’s tape
- Small squeegee, scraper, or old gift card
- Twine
- Wood beads or bead garland
- 2 plastic ziplock bags
- 2 screw eye hooks
Tools
- Small piece of a clean dish sponge or Dollar Tree makeup sponge
- Paintbrush
- Pin vise tool or small drill
- Scissors
Instructions
- Watch the video. Follow along with the video tutorial for a step-by-step walkthrough of how to make your own textured stencil cutting board sign.
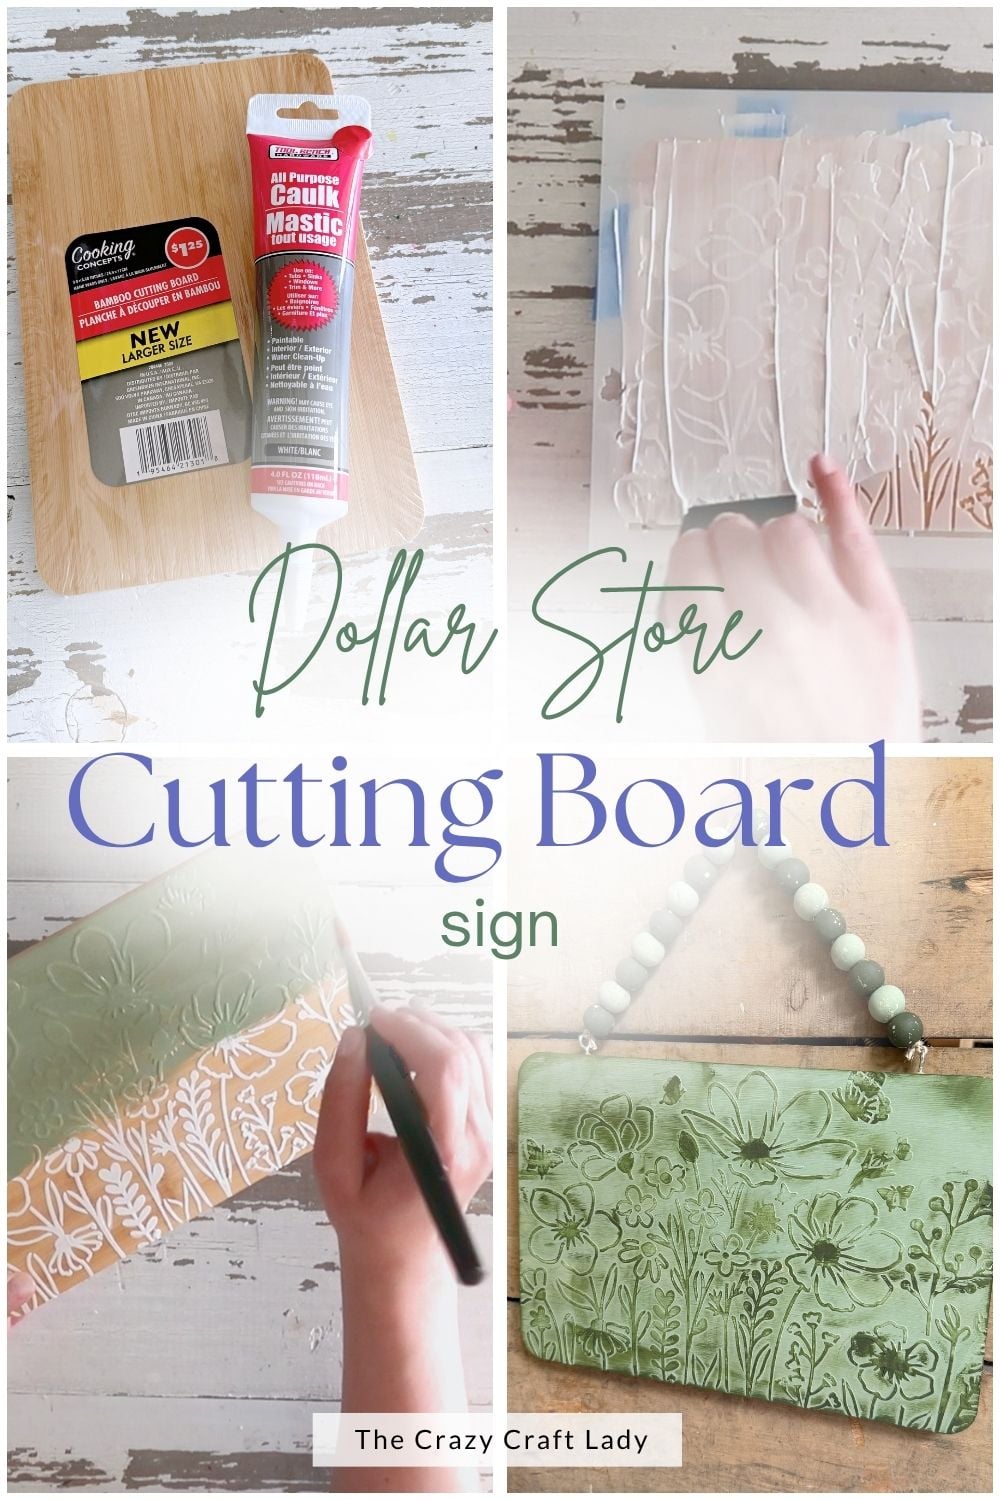
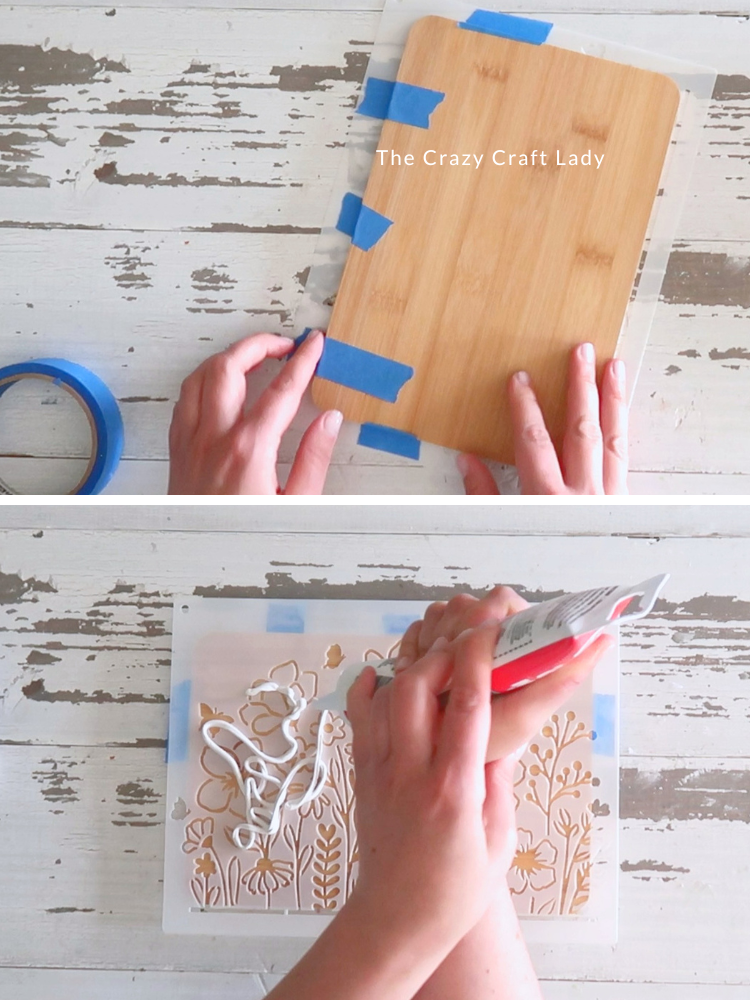
- Attach the Stencil. Start with a Dollar Tree bamboo cutting board. Position your stencil where you'd like the design and secure it with painter's tape so it doesn't shift while you're working.

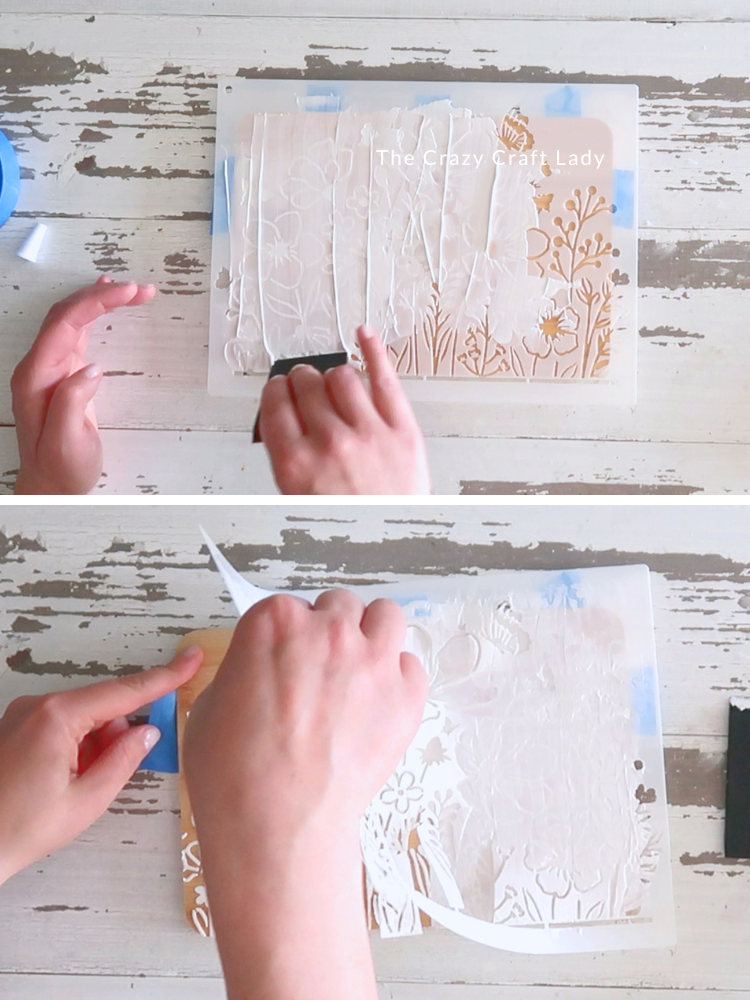
- Add the Texture. Apply caulk or spackle over the stencil. Using a small squeegee, spread the material across the stencil until every opening is completely filled. Work from different angles to ensure the texture reaches all the little details.
- Remove the Stencil. While the caulk or spackle is still wet, carefully peel away the stencil. Set the cutting board aside and allow the texture to dry completely.
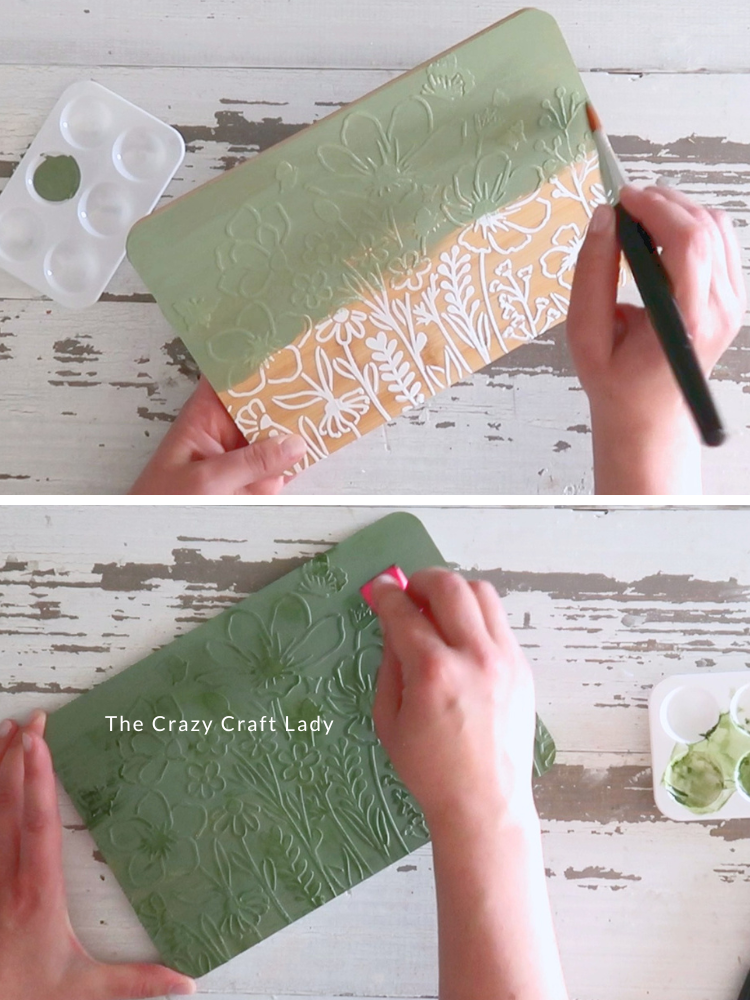
- Paint the Sign. For this version, I wanted a soft monochromatic look. I painted the entire front of the cutting board with a mossy green craft paint, making sure to work the paint into all the textured details. After covering the design completely, I used smooth horizontal brush strokes to even out the finish and reduce visible brush marks. Don't forget to paint the cutting board edges as well.
- Highlight the Texture. Once the paint is dry, use a small piece of makeup sponge or clean dish sponge. Dip it lightly into paint and gently brush over the raised areas of the design. This technique highlights the texture and gives the sign a beautiful dimensional effect.
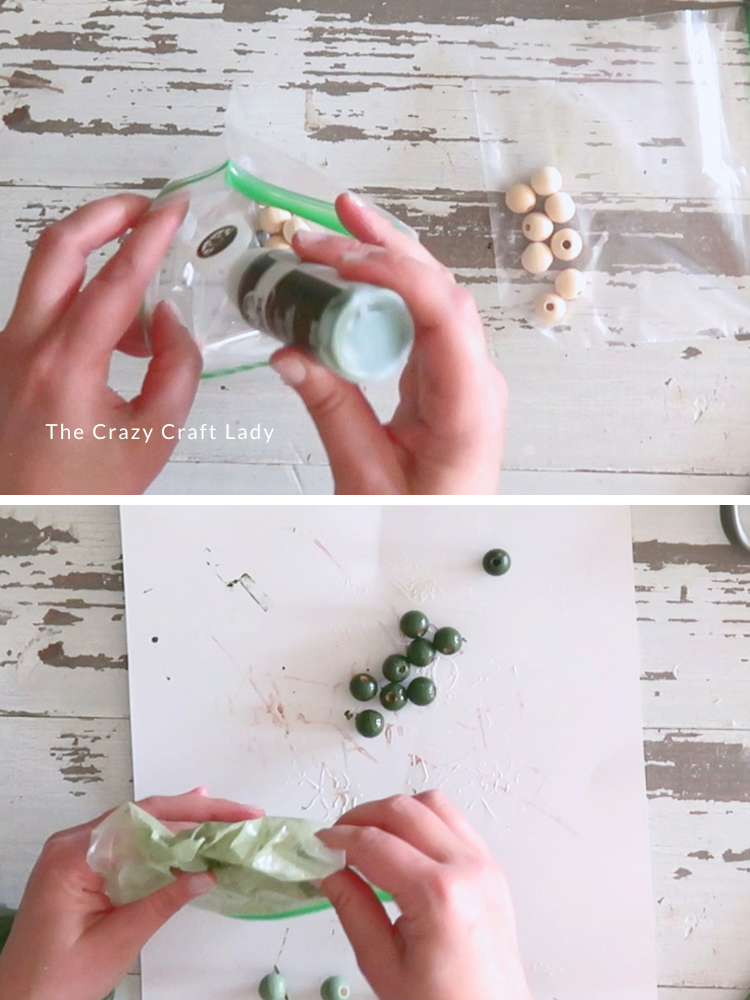
- Paint the Wood Beads. Determine how many beads you'll need by stringing them onto twine first. Once you're happy with the length, divide the beads into two groups. Place half the beads into a Ziploc bag with light green paint and the other half into a separate bag with dark green paint. Seal the bags and roll the beads around until fully coated. Dump them onto cardboard to dry.
- Add Hanging Hardware. Measure 1½ inches from each side of the top edge of the cutting board. Mark the spots and drill pilot holes using a pin vise tool or small drill. Twist a screw eye hook into each hole.
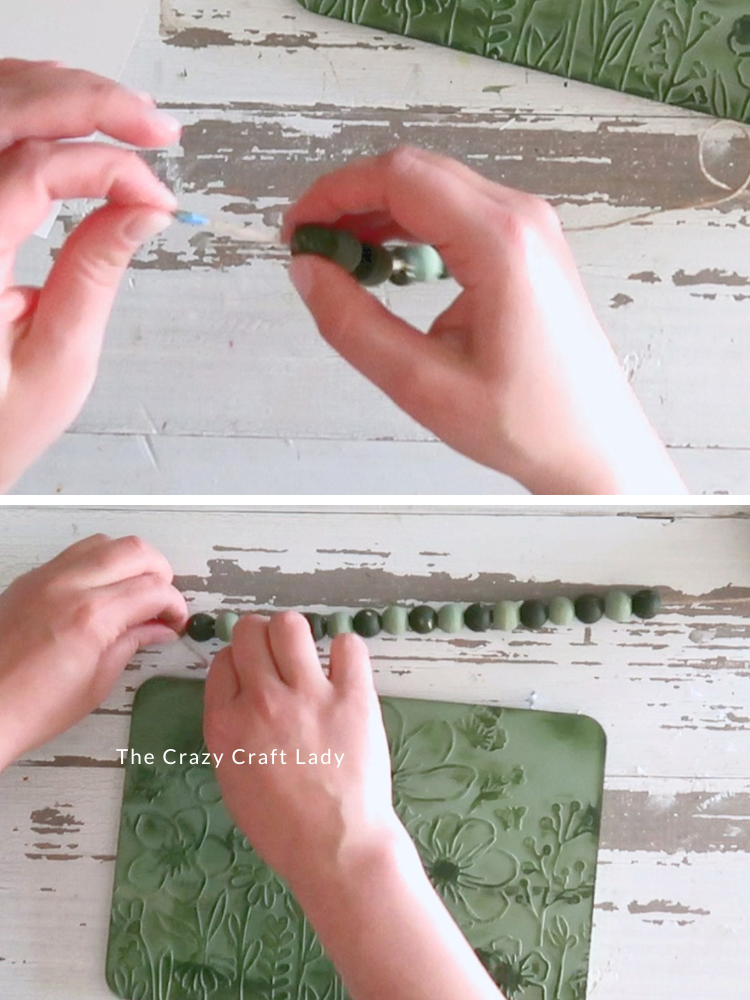
- String the Beads. Wrap the end of your twine with painter's tape and trim it at an angle. This makes threading the beads much easier. String the beads onto the twine, alternating colors until you've reached your desired pattern. Thread each end of the twine through the screw eye hooks and secure with a double knot. Your custom bead hanger is finished!

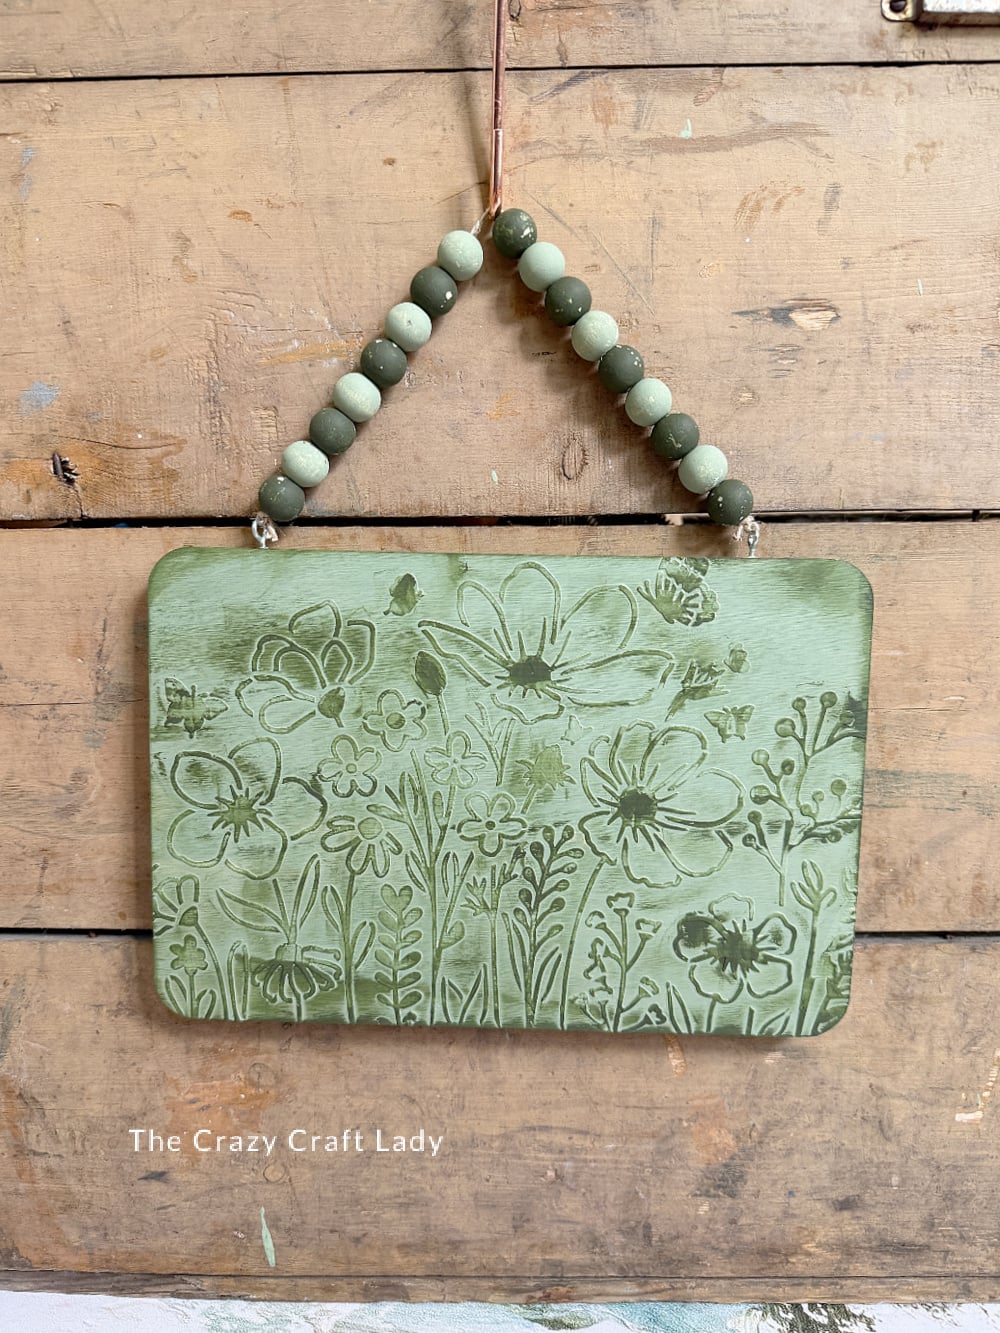
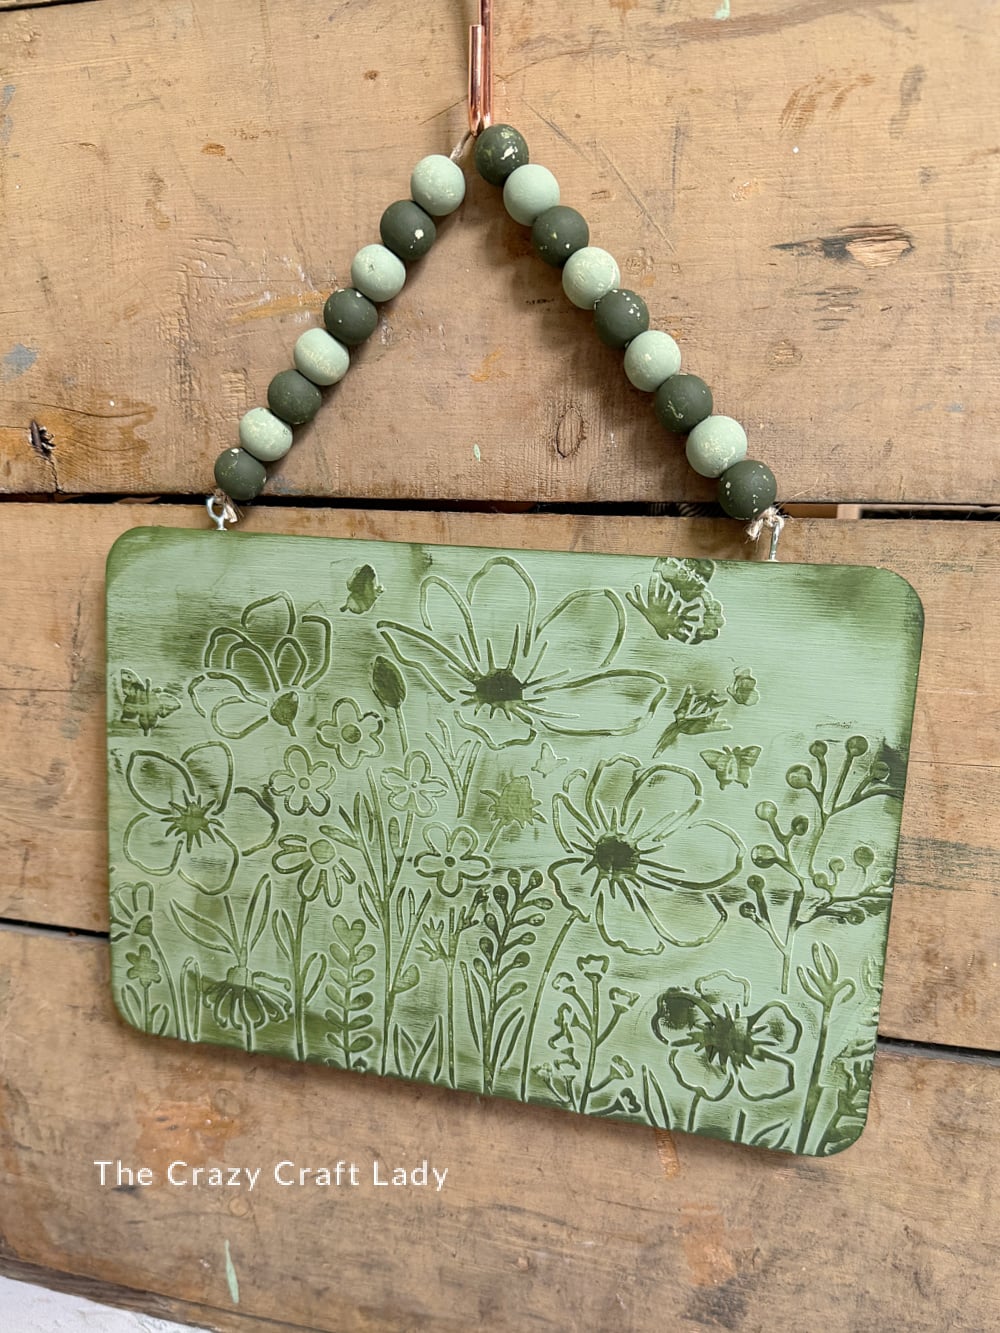
The Finished Craft
If you’re looking for an easy, inexpensive DIY that looks like something you’d find in a boutique home decor shop, this textured cutting board wall hanging is definitely worth trying. It may just become one of your new favorite Dollar Tree crafts!
PIN this craft for later: