
Make a rustic DIY wire bunny Easter sign using scrap wood, floral wire, paint, and faux florals. It’s so easy and budget-friendly!

How to make a wire Easter bunny craft on a scrap wood sign
This post contains some affiliate links for your convenience. Click here to read my full disclosure policy.
If you love that rustic, slightly imperfect farmhouse look, this craft is for you. This DIY wire bunny sign uses scrap wood, floral wire, and a simple distressing technique to create a sweet, handmade Easter decoration.
It’s budget-friendly and totally customizable with whatever supplies you already have on hand.

Video Tutorial: Scrap Wood and Wire Bunny
Watch this quick video to see how this craft came together:

Scrap Wood and Wire Bunny
Learn how to create a distressed wood bunny sign with floral wire and faux greenery for the perfect farmhouse Easter decor.
Materials
- Scrap wood piece
- Gel stain (oak or similar)
- Chalk paint (vintage white or cream)
- Piece of wax candle (tea light or broken pillar candle works great)
- Packing tape
- Floral wire
- Spray paint (black or bronze)
- Faux greenery and small flowers
- Twine
- 1/4-inch ribbon (neutral color)
Tools
- Paintbrush (1-inch flat brush)
- Hot glue gun + glue sticks
- Scissors or wire cutters
- Smoothing tool or credit card (for distressing technique)
Instructions
- Watch the video. Follow along with the video tutorial for a step-by-step walkthrough of how to make your own scrap wood Easter bunny sign.
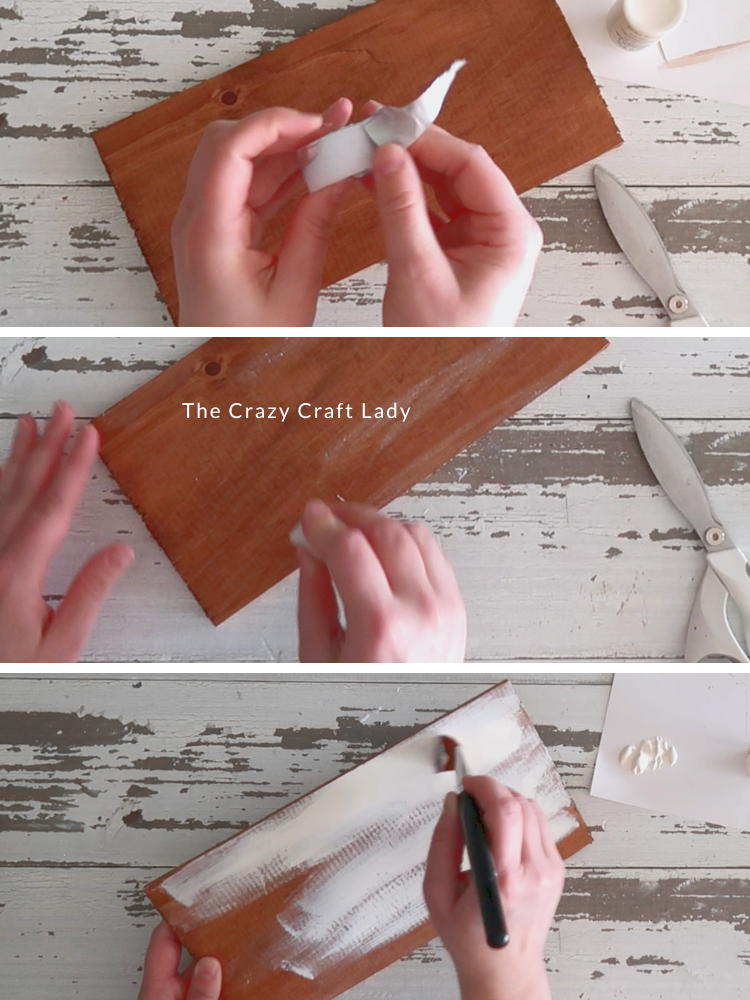
- Stain the Wood. Start by applying a coat of stain to your scrap wood using a brush. Coat the front panel as well as the 4 edges. Wipe away any excess. Let it dry briefly (it doesn’t have to be fully cured).

- Add Candle Wax for Distressing. Rub a wax candle (tea light works great) over a few areas of the wood. Heavier wax will give you more distressing, while lighter wax leads to a more subtle wear. This is what gives that chippy, rustic finish later.
- Paint Over the Wax. Apply a coat of cream chalk paint. Let it dry completely.
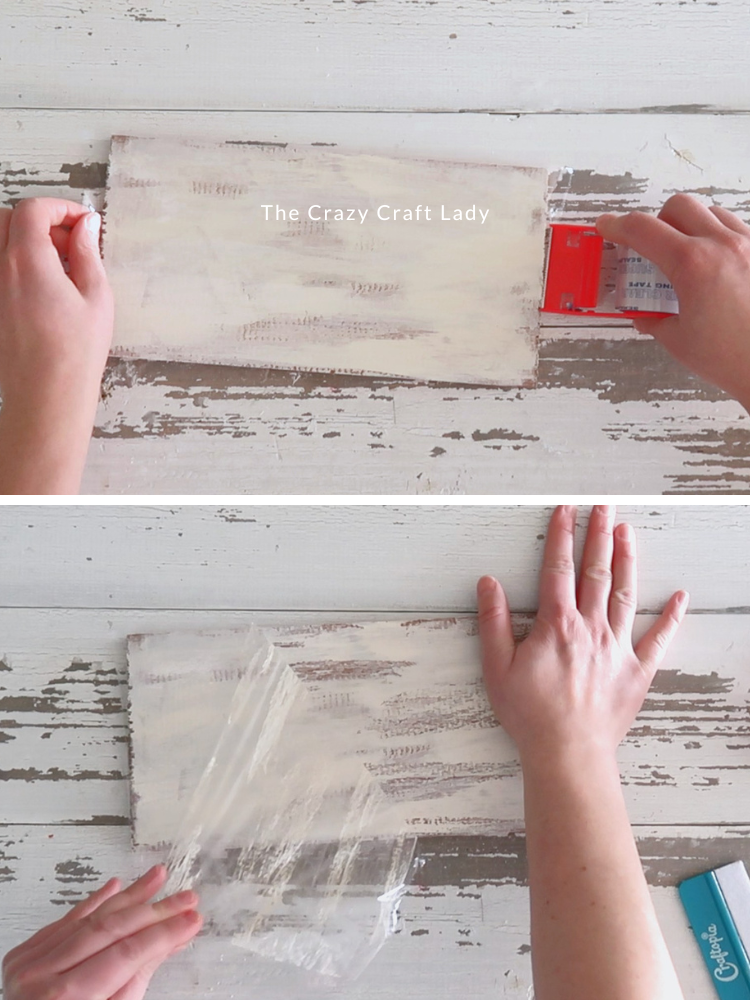
- Create the Distressed Finish. Lay strips of packing tape across the surface, pressing it down firmly with a scraper or credit card. Then peel it off. This lifts paint where the wax was applied, creating a perfectly imperfect distressed look.
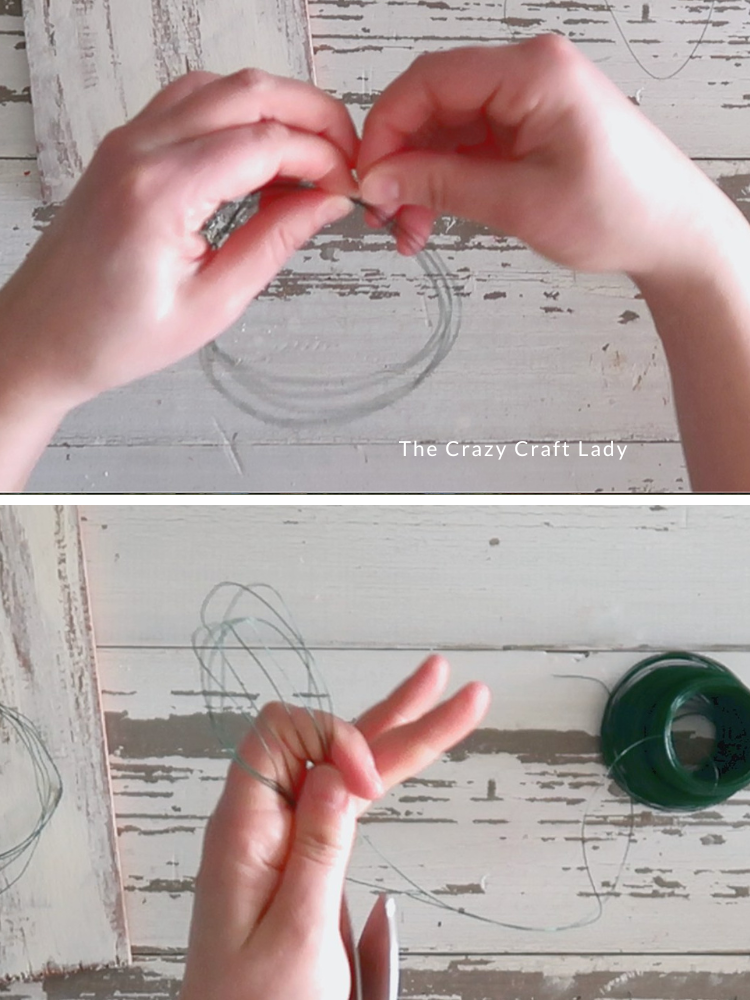
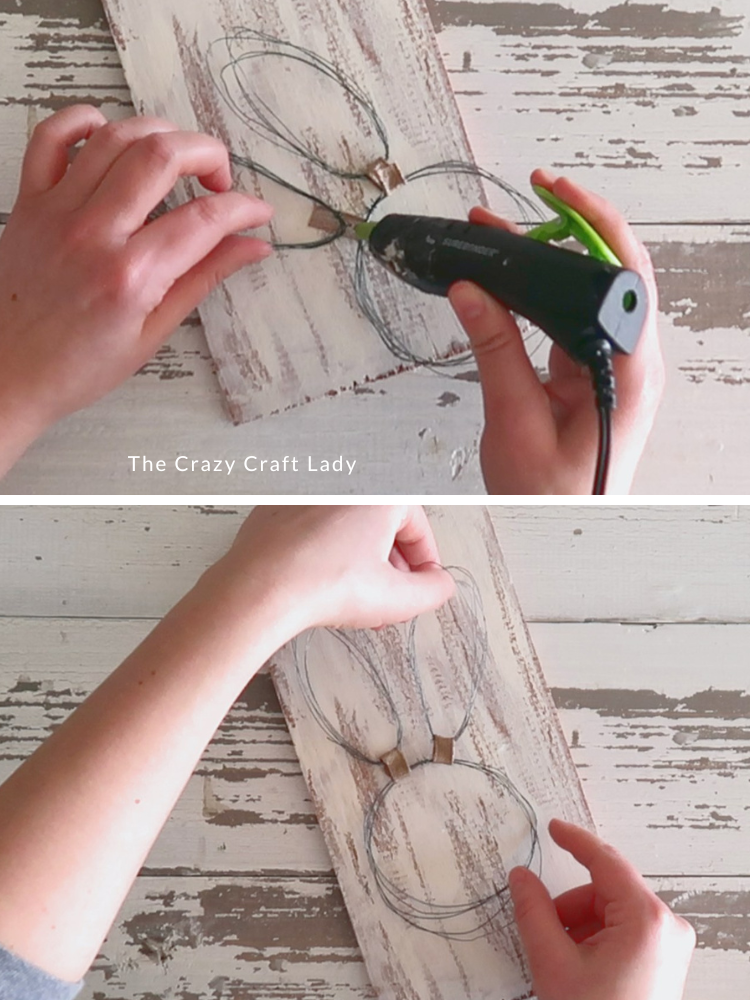
- Make the Bunny Shape. Using floral wire, create a loose circle for the bunny head and two oval shapes for ears. Wrap each shape several times for thickness, and then secure each bundle with a small piece of wire. Don’t aim for perfection, slight bends and unevenness add character! You will have three wire bundles: one circle (head) and two ovals (ears).
- Paint the Wire. Spray paint your wire shape (black, bronze, or whatever you like). Let dry completely.

- Attach the Bunny to the Wood. Because hot glue doesn’t stick well to metal, wrap small loops of ribbon around the wire, and then hot glue the ribbon loop to the wood. This securely holds the bunny shape in place on the wood sign. Do one loop to attach each oval ear to the circle bunny head.
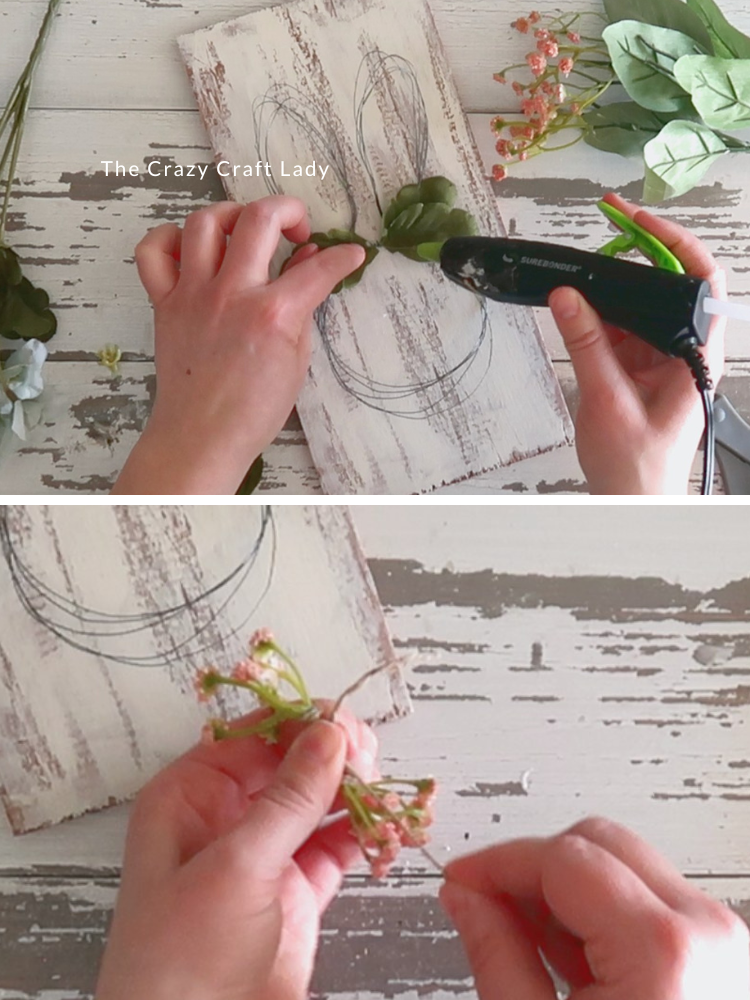
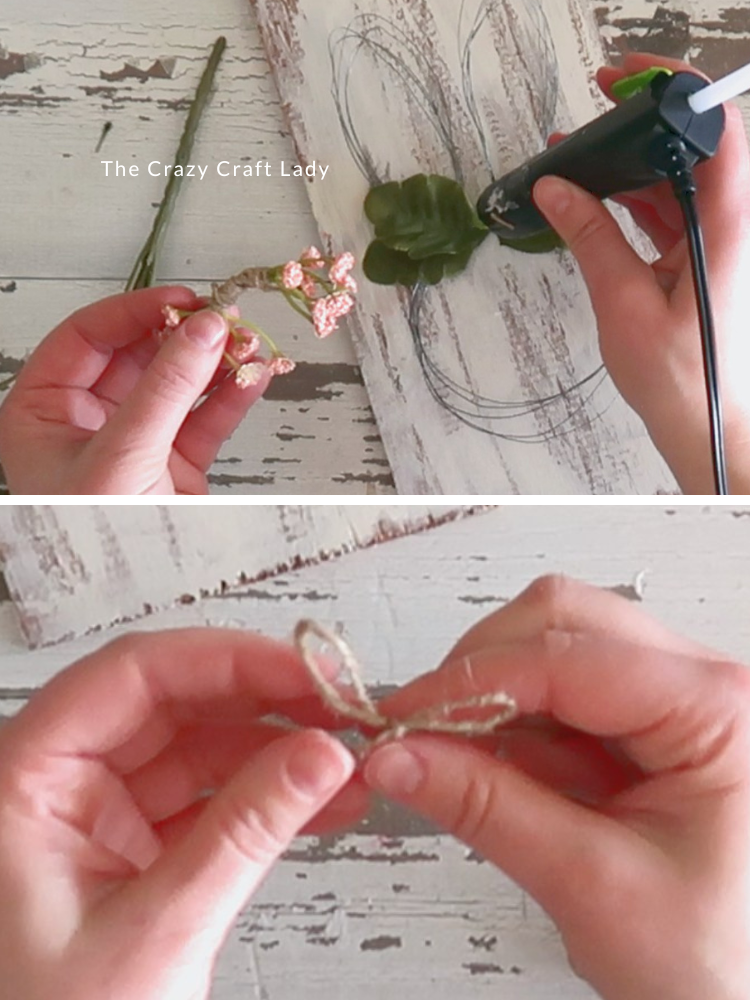
- Add Greenery & Flowers. Cover the ribbon attachment point with faux greenery. Glue small leaves pointing left and right. Then add a small bundle of flowers on top. Simply tie the bundle with twine before gluing.
- Finish with a Bow. Tie a simple twine bow and glue it over the floral bundle. Trim ends as desired.
- Optional: Add a Hanger. Attach a sawtooth hanger or 3M velcro strips to the back if you want to hang it on the wall.


Notes
Tips & Variations:
* Layer multiple paint colors for a more dimensional distressed look
* Use black wire instead of painting
* Swap flowers for seasonal greenery (lavender, eucalyptus, etc.)
* Try different wood sizes for larger statement pieces
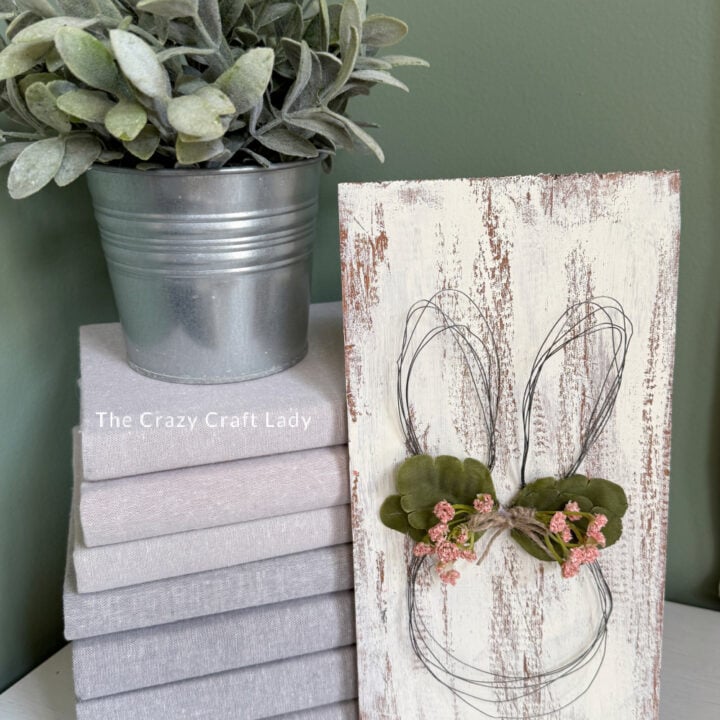
The finished wire bunny craft

This rustic wire bunny sign is one of those crafts that looks high-end but costs almost nothing to make. The combination of distressed wood, simple wire shapes, and soft florals gives it that cozy, handmade charm that’s perfect for spring.
And the best part? No two will ever look exactly the same. And that’s what makes it special!
Pin this craft for later:

More Easter Bunny Crafts:
- Dollar Tree Mini Wood Crate Easter Decor – Learn how to turn a Dollar Tree jumbo Easter egg cutout into a beautiful hand-painted bunny decoration!
- Corrugated Easter Bunny Cutout – Transform a dollar store Easter egg sign to make a cute decoupage sign for spring.
- DIY Easter Bunny Specimen Art – Grab some unfinished wood pieces and craft paint to make this quick and easy craft for spring.
- Easter Egg Bunnies – Turn simple Easter egg cutouts into whimsical bunny decor with this easy Dollar Tree DIY.
- Faux Stone Bunny Craft – This craft can be used with Easter or spring decor, as a book holder, or dainty little centerpiece.
- Raffia Bunny Wreath – Grab a bunny wreath form and transform it with just a few basic craft supplies into an adorable DIY wreath for Easter.
- Spring Moss and Greenery Bunny Wreath – Grab a few dollar store supplies – a bunny wreath form, moss, faux greenery, and twine – to make this adorable spring wreath.