
Learn how to turn a Dollar Tree jumbo Easter egg cutout into a beautiful hand-painted bunny decoration! This easy spring DIY uses a mini wood crate and faux florals for the perfect shelf sitter.

How to make a mini wood crate centerpiece perfect for Easter… complete with a hand-painted wood cutout Easter egg.
This post contains some affiliate links for your convenience. Click here to read my full disclosure policy.
Looking for a sweet little spring craft that doubles as décor? This hand-painted Easter egg bunny decoration is one of those projects that looks fancy but is made with simple Dollar Tree supplies.
It’s a relaxing painted craft that’s perfect for putting on a movie and enjoying a little creative time.
The finished piece sits on top of a Dollar Tree mini wood crate filled with faux florals, making it the cutest little spring shelf sitter for a bookshelf or side table.
Let me show you exactly how I made it!

Video Tutorial: Dollar Tree Mini Wood Crate Easter Decor
Watch this quick video to see how this craft came together:


Mini Wood Crate Easter Decor
Learn how to turn a Dollar Tree jumbo Easter egg cutout into a beautiful hand-painted bunny decoration! This easy spring DIY uses a mini wood crate and faux florals for the perfect shelf sitter.
Materials
- Jumbo Easter egg cutout (Dollar Tree)*
- Mini wood crate (Dollar Tree)
- Faux florals and greenery (small stems work best)
- Floral craft foam
- Ribbon (light pink and white check or similar)
- Acrylic craft paint or chalk paint in a variety of colors: moss green, lavender, plum, mauve or light pink, white, yellow, and orange
Tools
- Fine detail paint brush
- Flat paint brush
- Paper plate (for mixing paint)
- Hot glue gun and glue sticks
- Scissors
- Floral wire cutters
Instructions
- Watch the video. Follow along with the video tutorial for a step-by-step walkthrough of how to make your own mini wood crate Easter craft.
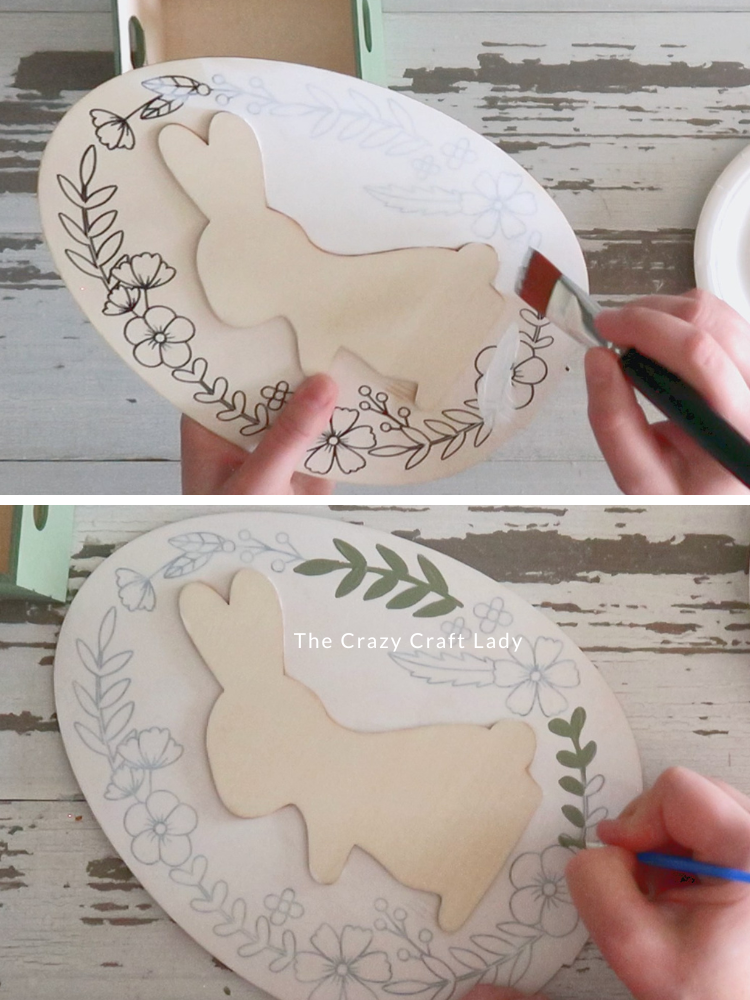
- Prep the Easter Egg Cutout. Start with a jumbo Easter egg cutout from Dollar Tree. Paint the background around the bunny with a quick coat of white paint. This softens the black outlines so they appear more gray, making them easier to cover when you begin painting the details. Let the paint dry before moving on.

- Paint the Leaves. Using moss green paint, trace over the leaves with a fine detail paintbrush. For larger leaves, start with a base coat of green and mix a tiny bit of white into the green to create a lighter shade. Lightly brush this onto the leaves to mimic natural leaf veins and add dimension. You can also mix green and white to create lighter tones for stems so everything isn’t the same shade.
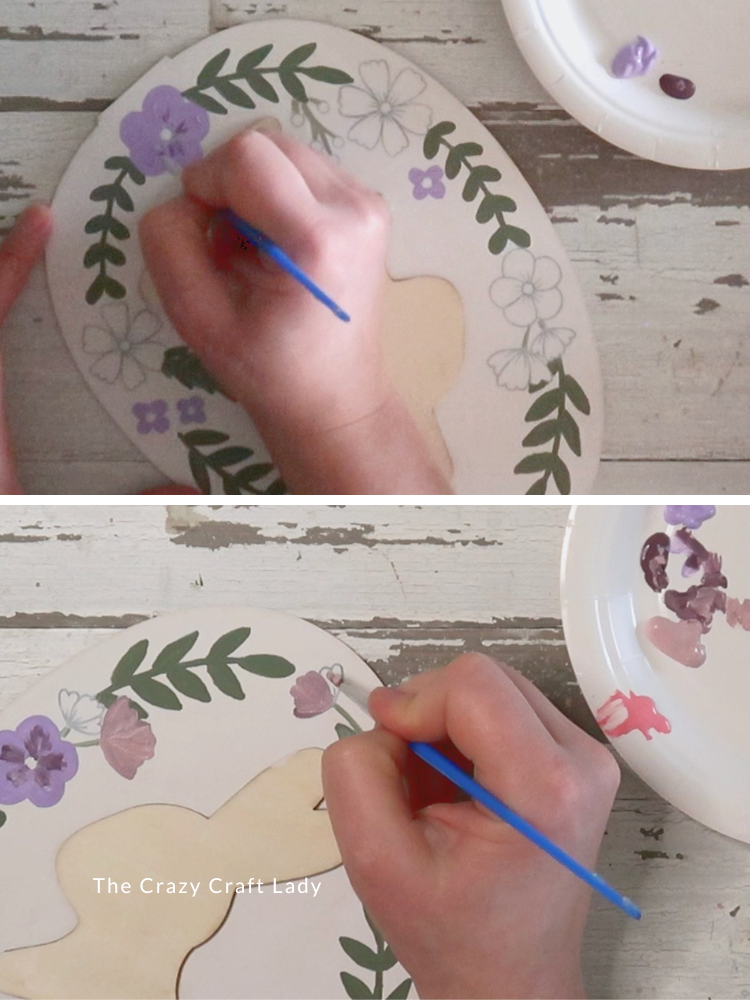
- Paint the Flowers. Next, add color to the flowers. For the purple flowers, paint the petals with a lavender base coat and add a darker plum shade starting from the center of the flower and brush outward slightly. This creates a soft gradient effect similar to flowers like African violets. For the pink flowers, use a mauve or soft pink base. Then blend a little plum into the center for depth.
- Paint the Berries. Use a fine brush to paint the small berries with plum paint.
- Paint the Pollen Centers. Mix yellow with a tiny touch of orange to tone down the brightness. Paint small dots in the centers of the flowers.
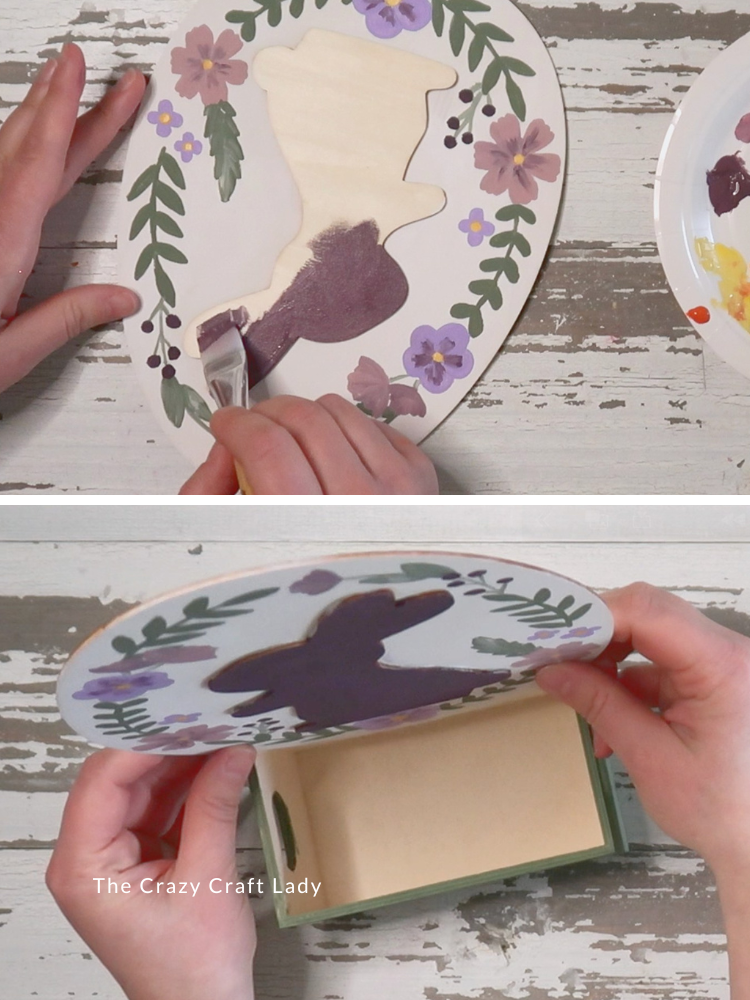
- Paint the Bunny. Using a flat paint brush, paint the bunny in the center with plum paint. Use brush strokes that move from the center outward so you get a clean edge against the painted border.
- Attach the Egg to the Wood Crate. Paint a Dollar Tree mini wood crate with the same Moss green paint. Once dry, hot glue the Easter egg cutout to the back of the crate so it stands upright.
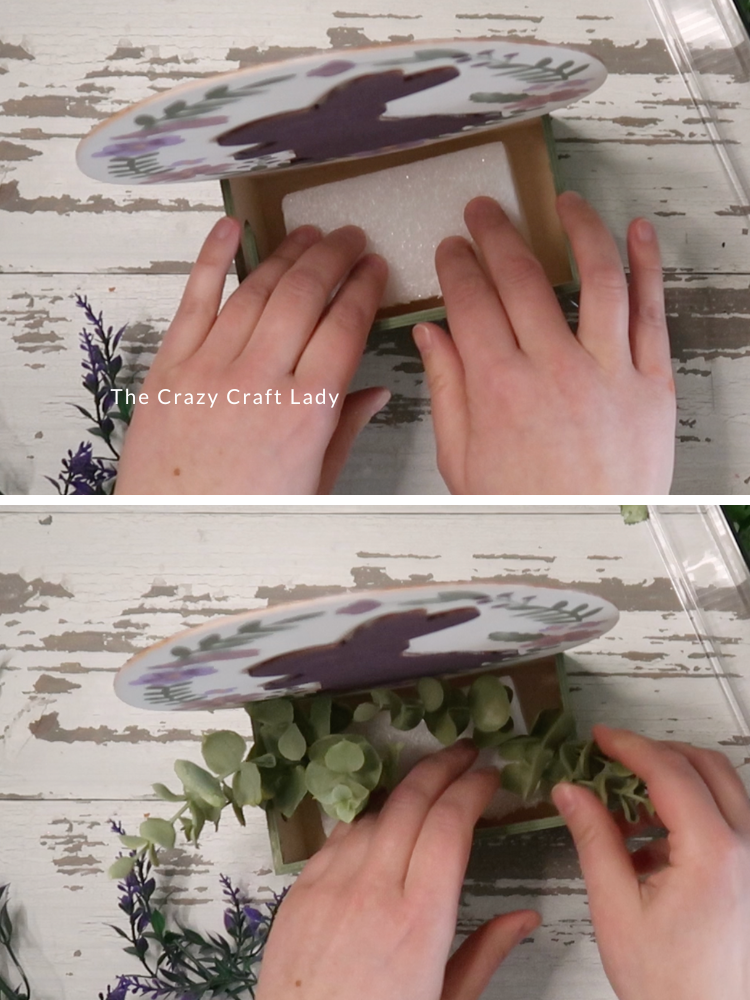
- Add Faux Florals. Hot glue a small piece of floral craft foam inside the crate. Insert small faux greenery and florals into the foam. Good options include: boxwood, lavender stems, or small berry picks. Stick with smaller florals, since the crate is tiny and oversized flowers can overwhelm the design.
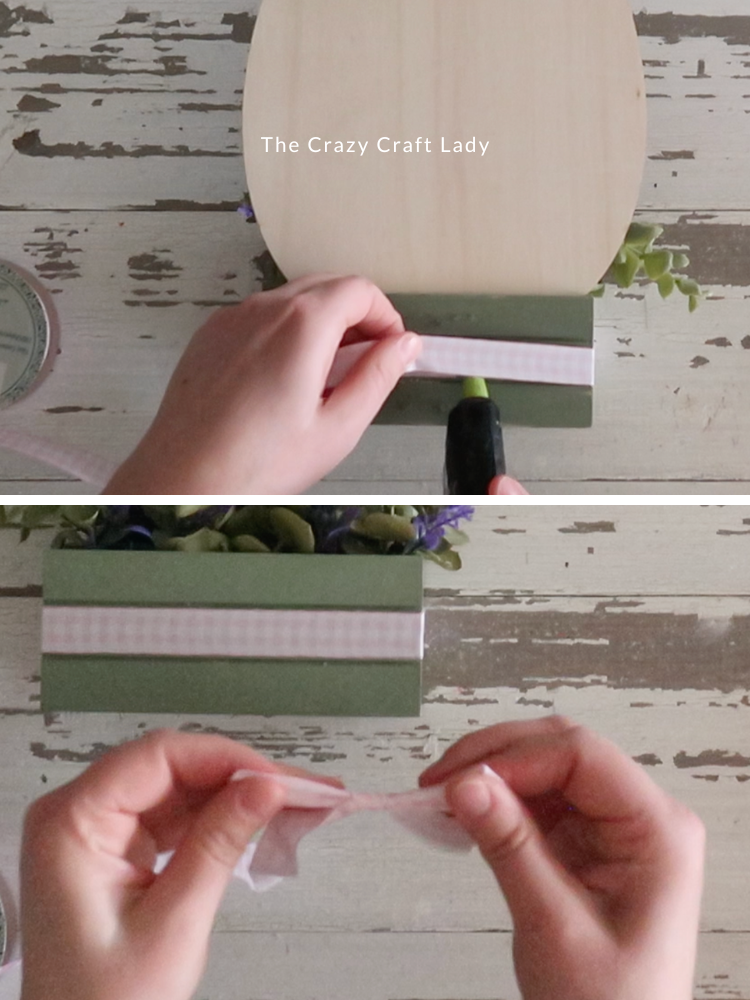
- Wrap the Crate with Ribbon. Glue one end of ribbon to the back of the crate. Wrap it around the front, and glue the other end to the back.
- Make a Bunny-Ear Bow. Create a simple bunny ear bow. Make two loops and tie the loops into a knot. Ensure the tails point downward before tightening. Trim the ribbon tails at a 45-degree angle. Hot glue the bow to the center front of the crate.
Notes
* A note on the Easter egg wood cutout: These are usually meant for kids to color, but they also make a great base for painting. Feel free to play around with your favorite spring paint colors, and let the creativity flow. There is no wrong way to paint these.
The Finished Easter Egg Bunny Shelf Sitter DIY

This hand-painted Easter egg bunny decor turned out so cute and whimsical. The combination of soft spring colors, greenery, and the mini wood crate makes it the perfect little spring accent piece.
It’s not a huge centerpiece, but more of a small shelf or side-table decoration. Sometimes those little seasonal touches are exactly what a space needs.
PIN this Easter craft for later:
