
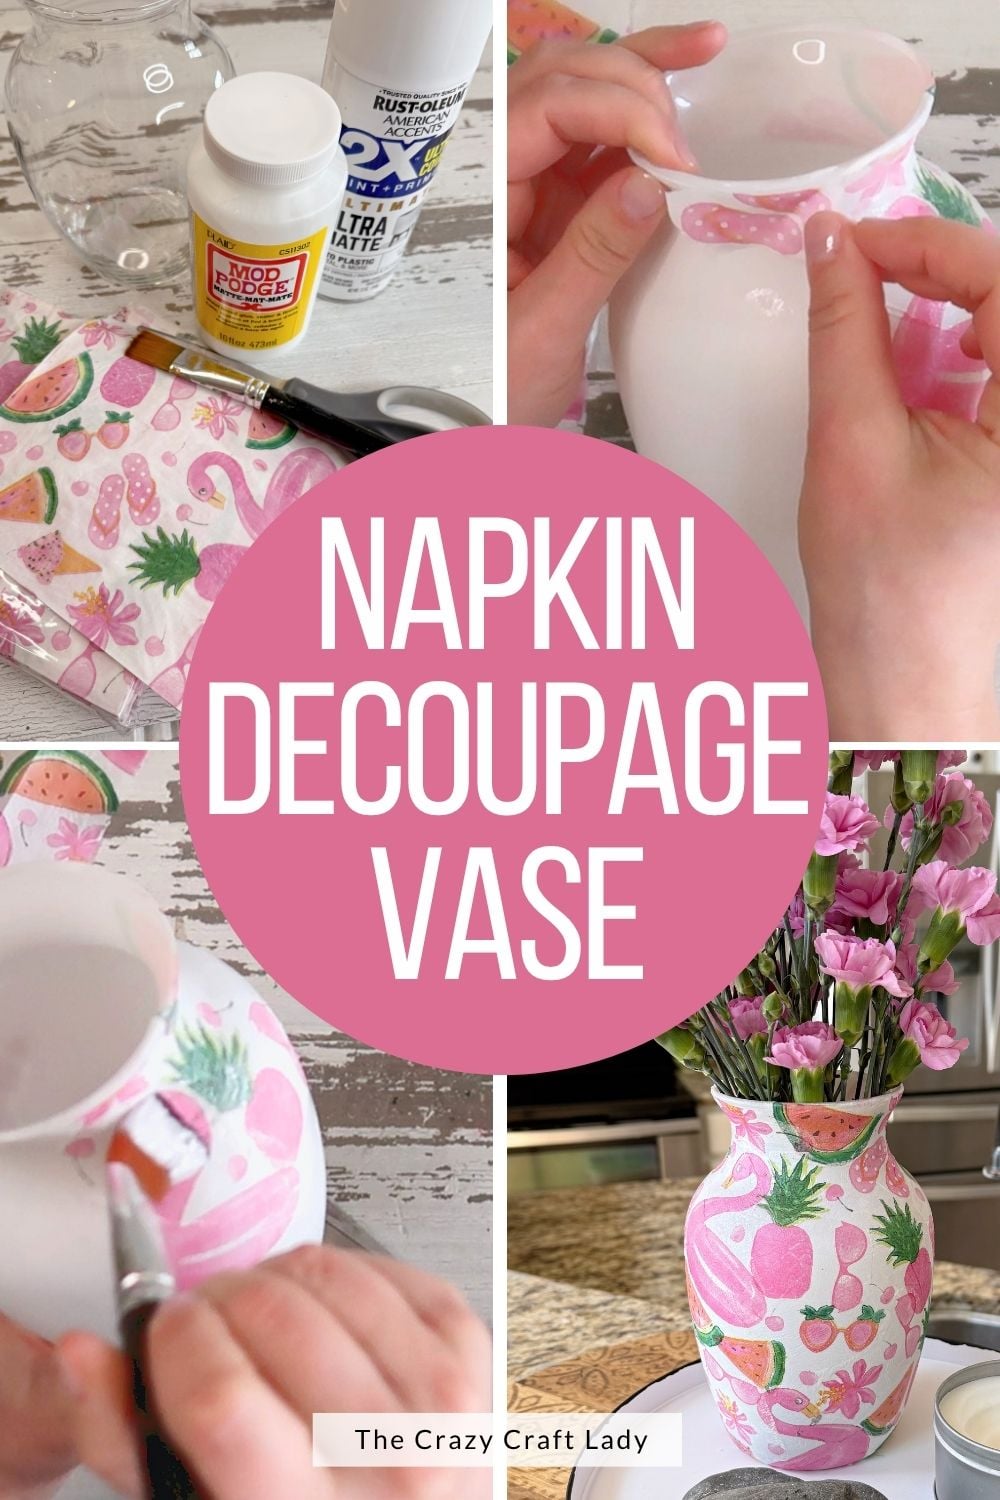
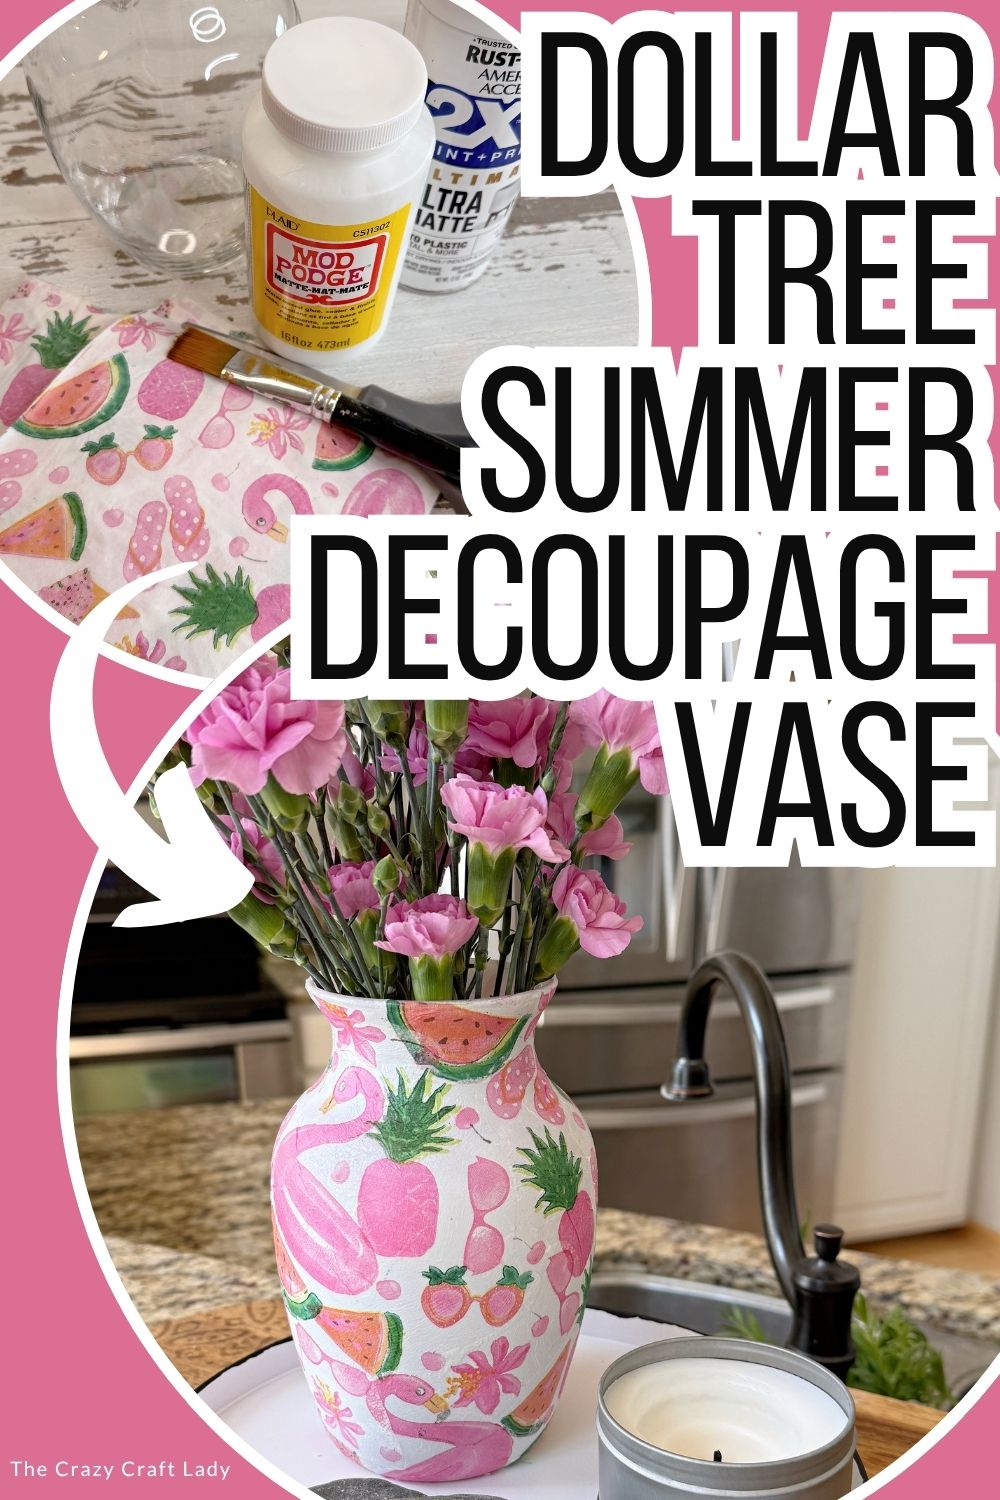
Create a cute DIY summer vase with Dollar Tree napkins, spray paint, and Mod Podge. This easy decoupage craft is perfect for bright seasonal home decor.

This post contains some affiliate links for your convenience. Click here to read my full disclosure policy.
How to make a summer vase with decoupage paper napkins
Looking for a bright and cheerful summer craft idea using Dollar Tree supplies? This DIY summer decoupage vase is such a fun way to transform an inexpensive glass vase (or even an old pasta sauce jar!) into colorful seasonal home decor.
Using decorative paper napkins, Mod Podge, and a little creativity, you can create a custom vase that looks boutique-worthy for just a few dollars. I used a fun tropical-inspired napkin with pink, green, and white designs, but you can easily swap in lemons, strawberries, patriotic prints, florals, or any seasonal napkin design you love.
This is one of those easy summer crafts that looks impressive but is actually super beginner-friendly!
Video Tutorial: Summer Napkin Decoupage Vase
Watch this quick video to see how this craft came together:
Summer Napkin Decoupage Vase
Learn how to make a colorful DIY summer decoupage vase using Dollar Tree supplies, decorative napkins, and Mod Podge. Easy budget-friendly summer craft!
Materials
- Plain glass vase from Dollar Tree OR recycled glass jar (mason jar, pasta sauce jar, etc.)
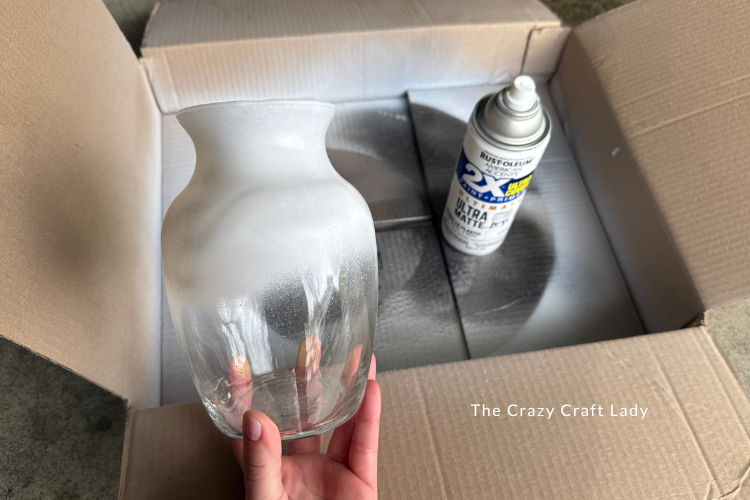
- White spray paint
- Decorative paper napkins
- Matte Mod Podge
Tools
- 1-inch flat paintbrush
- Scissors
Instructions
- Watch the video. Follow along with the video tutorial for a step-by-step walkthrough of how to make your own summer decoupage vase.
- Spray Paint the Vase. Since most decorative napkins are fairly thin and somewhat transparent, adding a quick coat of white spray paint helps the colors really pop. Think of it as a primer coat. It doesn’t need to be perfect because the napkin design will cover most of the glass. Let the paint dry completely before moving on.

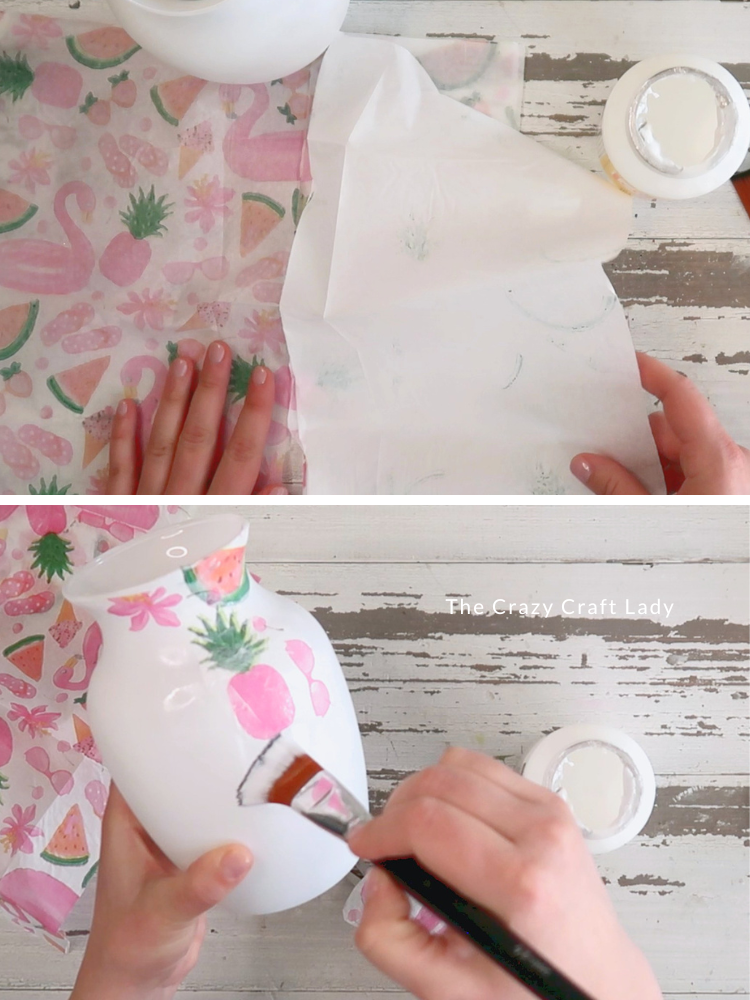
- Separate the Napkin Layers. Most decorative napkins have multiple layers, and you only want to use the top printed layer. Carefully peel the layers apart before cutting your design pieces. Pro tip: Don’t panic if your napkin tears while separating it. Mine ripped too, and it didn’t matter at all because we’re cutting the design into smaller pieces anyway. You may need two napkins depending on the size of your vase.

- Cut Out Design Elements. Instead of applying one large piece of napkin, cut out smaller sections of the design. Try to avoid using edge pieces where the design looks cut off; save those for the top edge of your vase later. Think of this step like putting together a puzzle.
- Apply Mod Podge. Brush a thin coat of Mod Podge onto a small section of your vase. Place one napkin piece onto the vase and gently smooth it down using a tapping motion with your fingers.
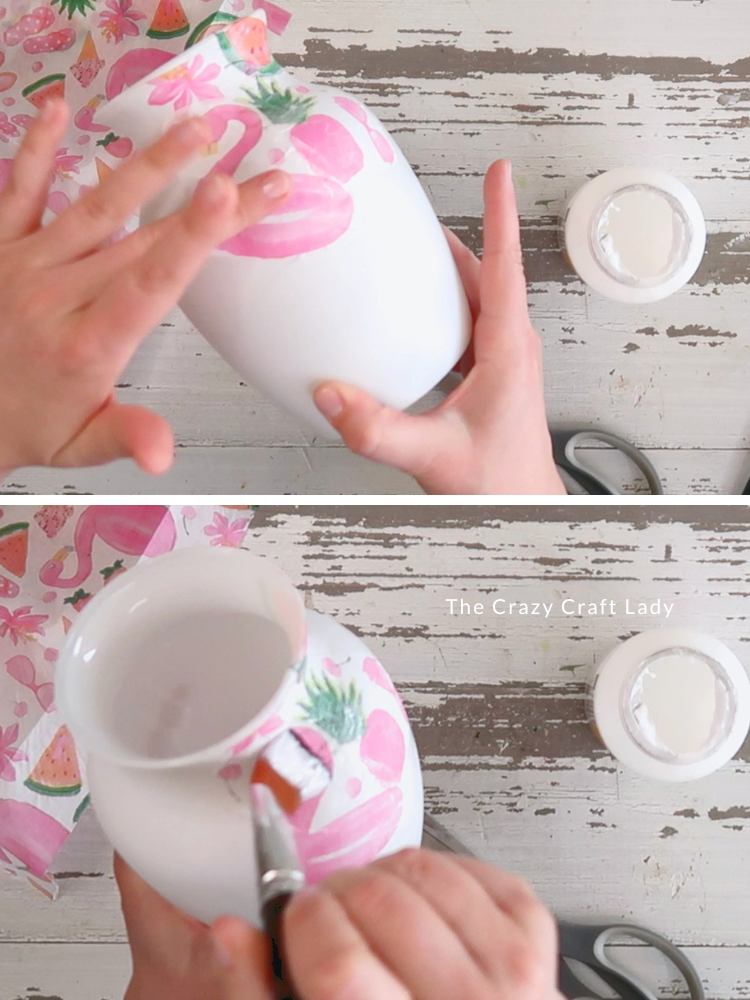
This helps prevent wrinkles and tearing. Once it looks smooth, add another thin coat of Mod Podge over the top. - Continue Around the Entire Vase. Repeat the process around the entire vase. Cut small sections
- Arrange your pieces. Glue them down. Then seal them with Mod Podge. Try not to overlap your design pieces too much, but don’t leave huge gaps either.
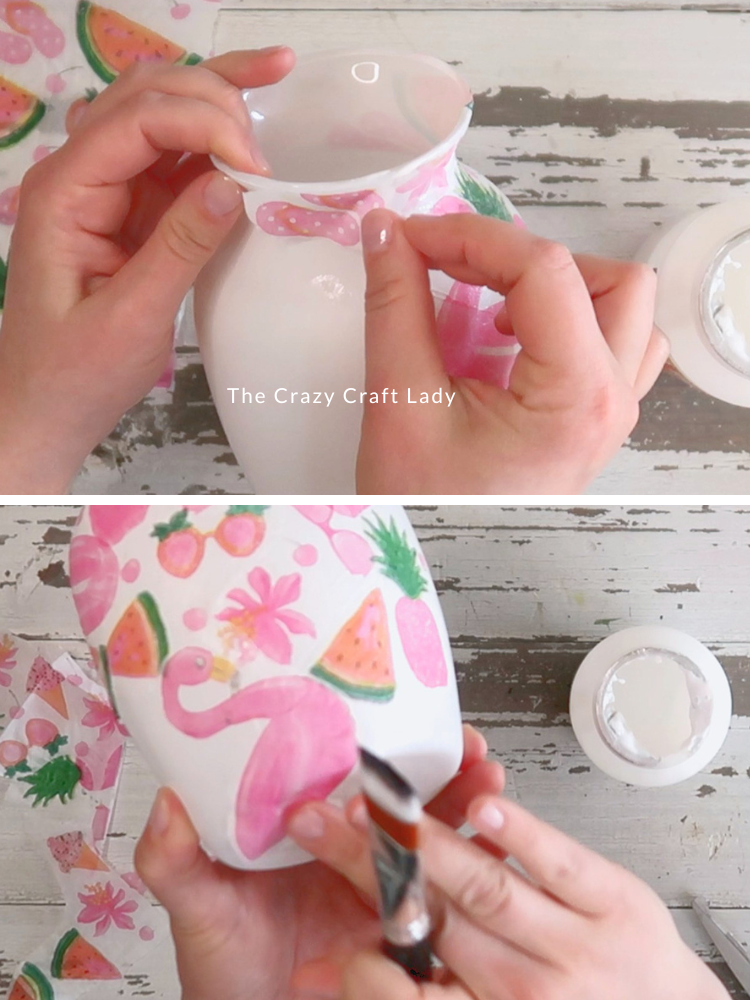
Fill Small Gaps. Notice an awkward empty space between designs? Simply cut a tiny piece from another section of your napkin and fill it in. - Finish the Top Edge. Use the napkin pieces from the outer edge of your design that already appear “cut off.” Line those pieces up with the top rim of your vase so it looks like the pattern naturally continues off the edge.
- Cover the Bottom Edge. For pieces hanging over the bottom edge of the vase, simply fold them over the bottom and smooth them down with Mod Podge.
Notes
Tips for Success
* Use small napkin sections for easier application
* Work slowly to avoid wrinkles
* Don’t oversaturate your napkin with Mod Podge
* Let each section dry before handling too much
* Save extra napkin scraps for filling gaps
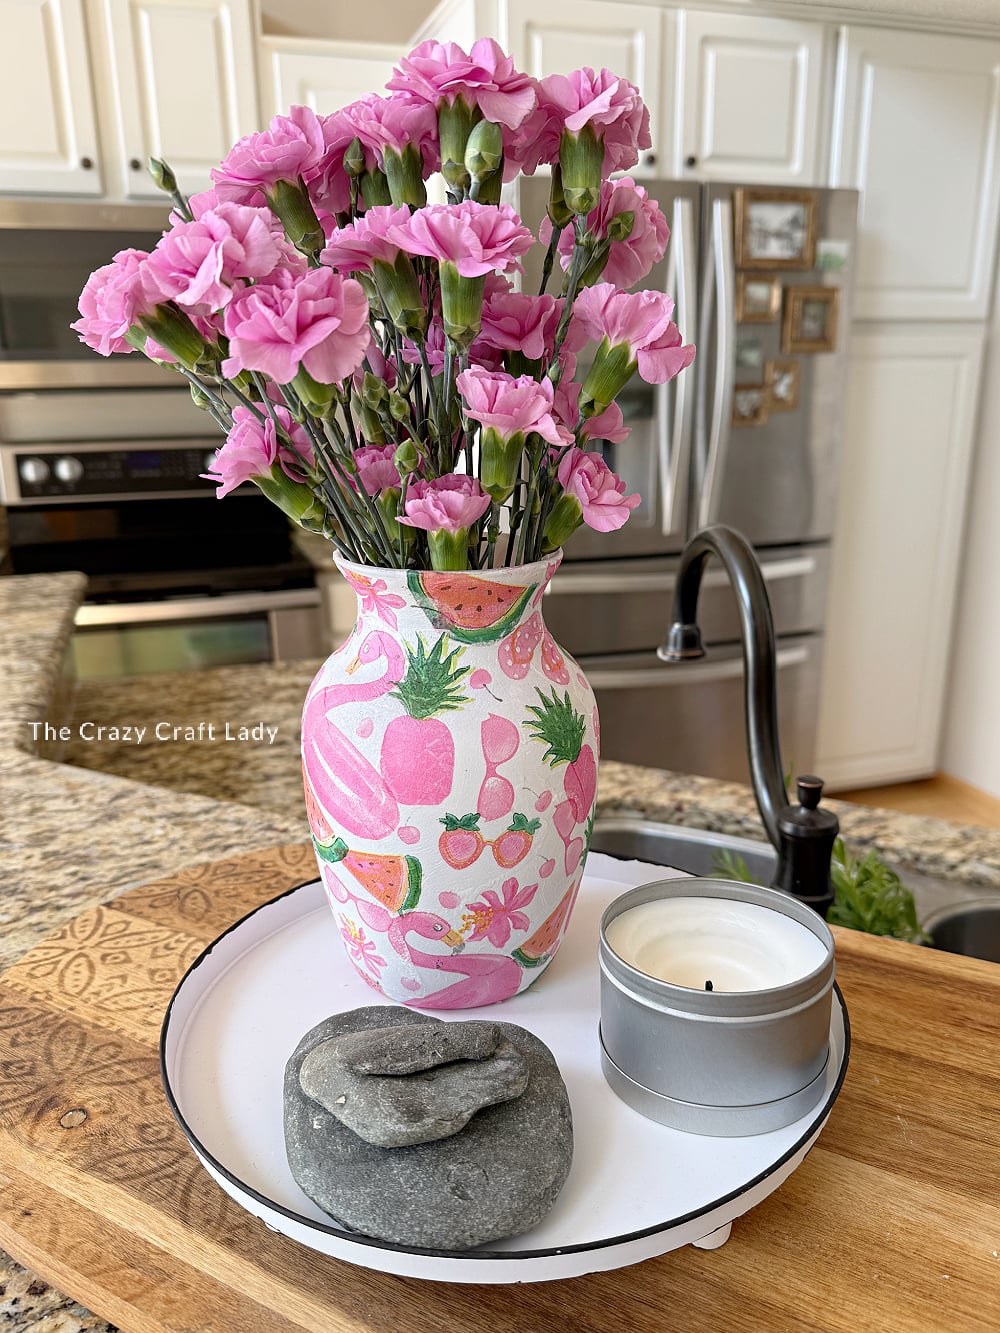
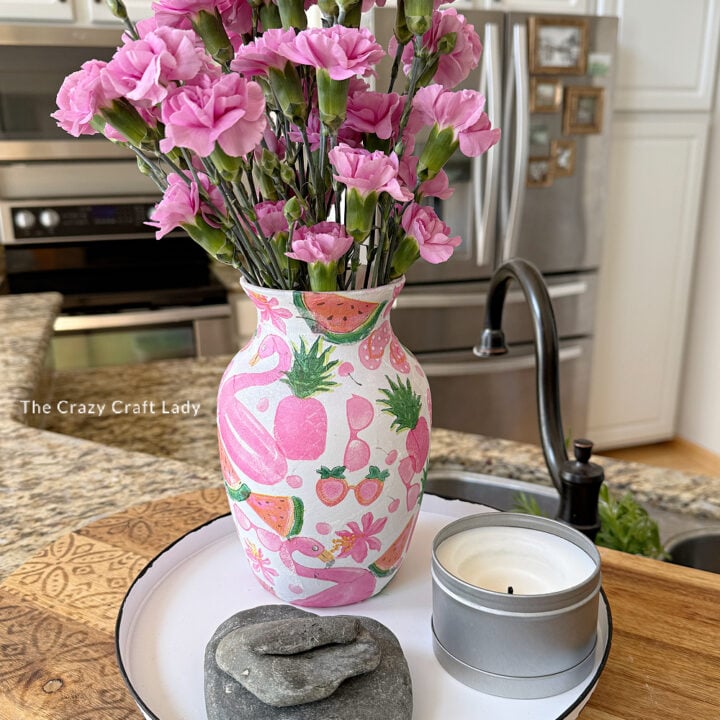
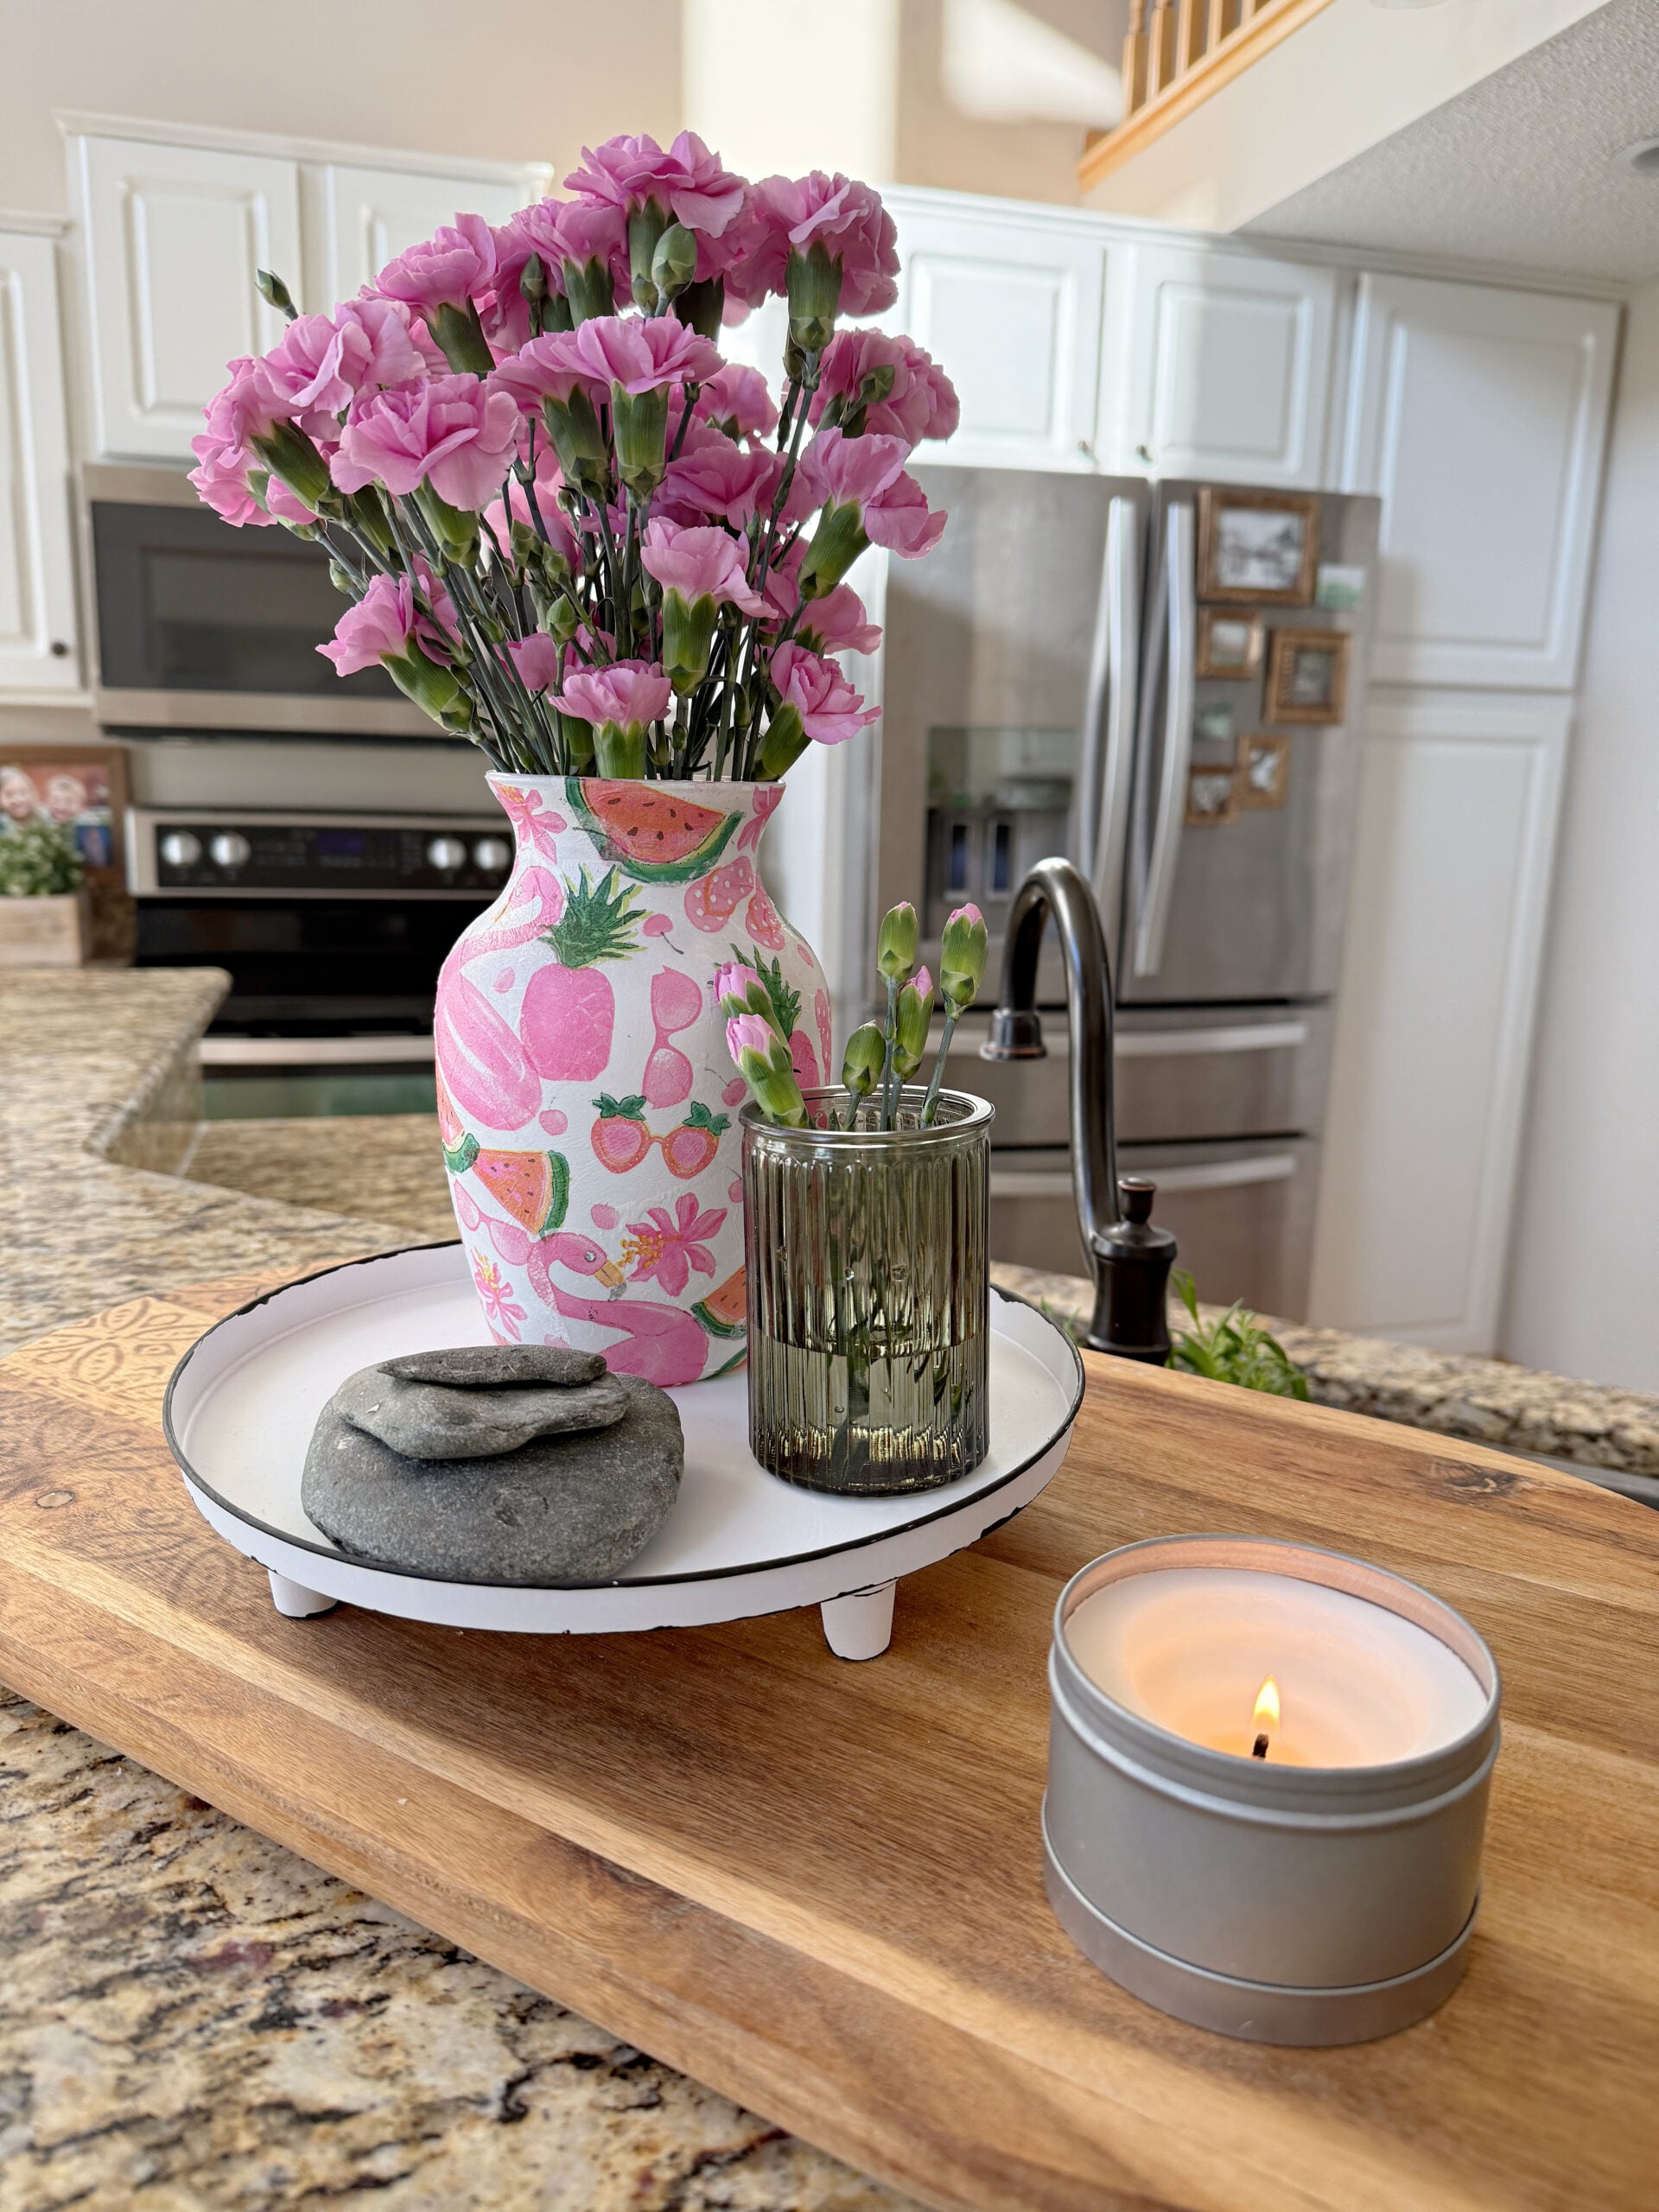
The Finished Vase
I absolutely love how this colorful summer vase turned out. It feels bright, playful, and perfect for summer decorating.
And the best part? You can recreate this same technique with different napkin patterns for every season. Think pumpkins for fall, snowflakes for winter, florals for spring, or patriotic prints for summer.
Dollar Tree napkin crafts are quickly becoming one of my favorite budget-friendly DIYs because they’re inexpensive, easy, and always turn out so cute. Happy crafting!
Don’t Forget to PIN this Craft for Later:
More Dollar Tree Napkin Crafts You’ll Love
If you loved this colorful summer vase makeover, be sure to check out more budget-friendly napkin crafts here on The Crazy Craft Lady! Decorative napkins are one of my favorite inexpensive craft supplies because you can completely transform ordinary Dollar Tree finds into custom seasonal decor. From home decor pieces to holiday crafts, there are so many creative ways to use this technique.