
Turn a Dollar Tree jumbo carrot cutout into an adorable spring shelf sitter! This easy DIY uses napkin decoupage, paint, and twine to make a cute spring decoration.

How to make a carrot shelf sitter craft with a Dollar Tree carrot wood cutout, napkin decoupage, and paint.
This post contains some affiliate links for your convenience. Click here to read my full disclosure policy.
If you spot those jumbo carrot wood cutouts at Dollar Tree this year, be sure to grab one. This easy spring craft combines napkin decoupage, simple painting, and a little twine for a cute finished piece that looks sweet on a shelf, tiered tray, mantel, or spring vignette.
What I love most about this project is that it’s simple, budget-friendly, and easy to customize. Use whatever orange-toned napkin you have on hand, add a different spring phrase, or skip the vinyl altogether and keep it plain. Either way, it will turn out adorable.

Video Tutorial: Carrot Shelf Sitter Craft
Watch this quick video to see how this craft came together:

Carrot Shelf Sitter Craft
Turn a Dollar Tree jumbo carrot cutout into an adorable spring shelf sitter! This easy DIY uses napkin decoupage, paint, and twine to make a cute spring decoration.
Materials
- Dollar Tree jumbo carrot wood cutout
- White acrylic craft paint
- Green acrylic craft paint
- Mod Podge (matte or satin)
- Decorative orange spring napkin
- Charcoal gray or black heat transfer vinyl
- Twine
Tools
- Paintbrush
- Parchment paper
- Heat press or mini heat tool
- Nail file or sandpaper
- Cricut machine
- Scissors
Instructions
- Watch the video. Follow along with the video tutorial for a step-by-step walkthrough of how to make your own carrot craft.
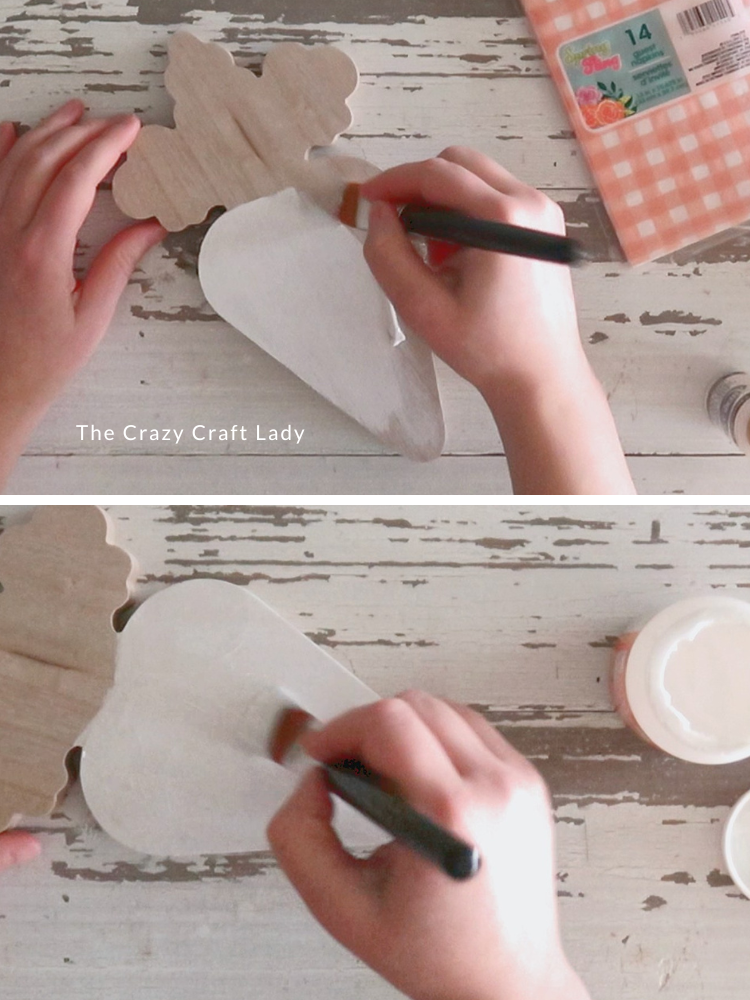
- Paint the carrot base white. Paint only the carrot body white, not the leafy top section. Use brush strokes that move outward toward the edges instead of inward. That helps prevent paint from pooling around the edges of the cutout. Let the paint dry completely.

- Add a coat of Mod Podge. Brush a generous coat of Mod Podge over the carrot body. Let the Mod Podge dry fully before moving on to the napkin step.
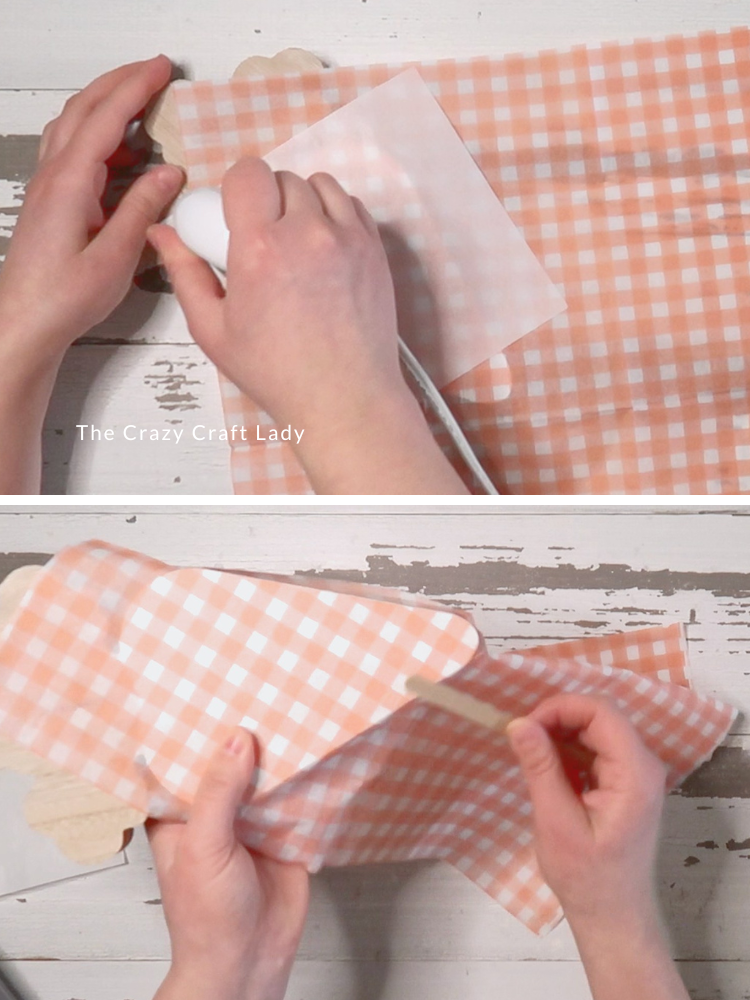
- Apply the napkin. Separate your napkin layers so you’re working with only the printed top layer. Place it over the carrot body, then cover it with a piece of parchment paper and heat press. Use heat to reactivate the dried Mod Podge underneath. This gives you a much smoother decoupage finish than brushing wet Mod Podge over the top of the napkin.
- Remove the excess napkin. Once the napkin is adhered, sand or file away the excess paper around the edges. A Dollar Tree nail file works great for this. At the top of the carrot, it may be easier to tear away the extra napkin first, then file the rest clean.
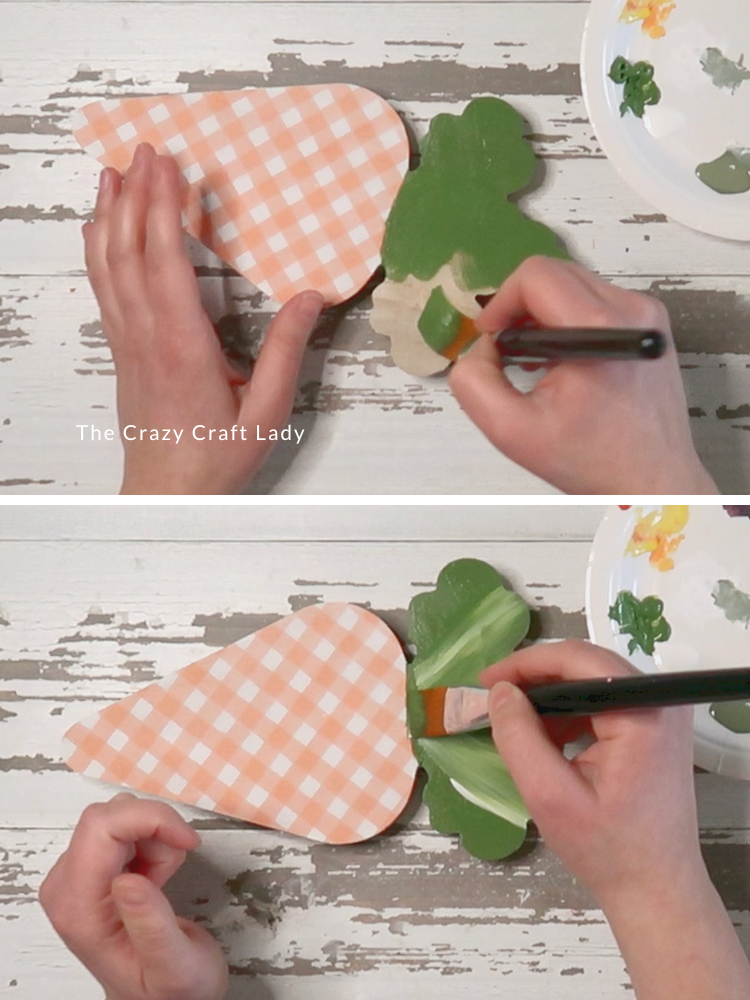
- Paint the carrot top. Paint the leafy top section green. Add a little white paint in upward strokes to create dimension and texture. Blend it slightly until you like the look.
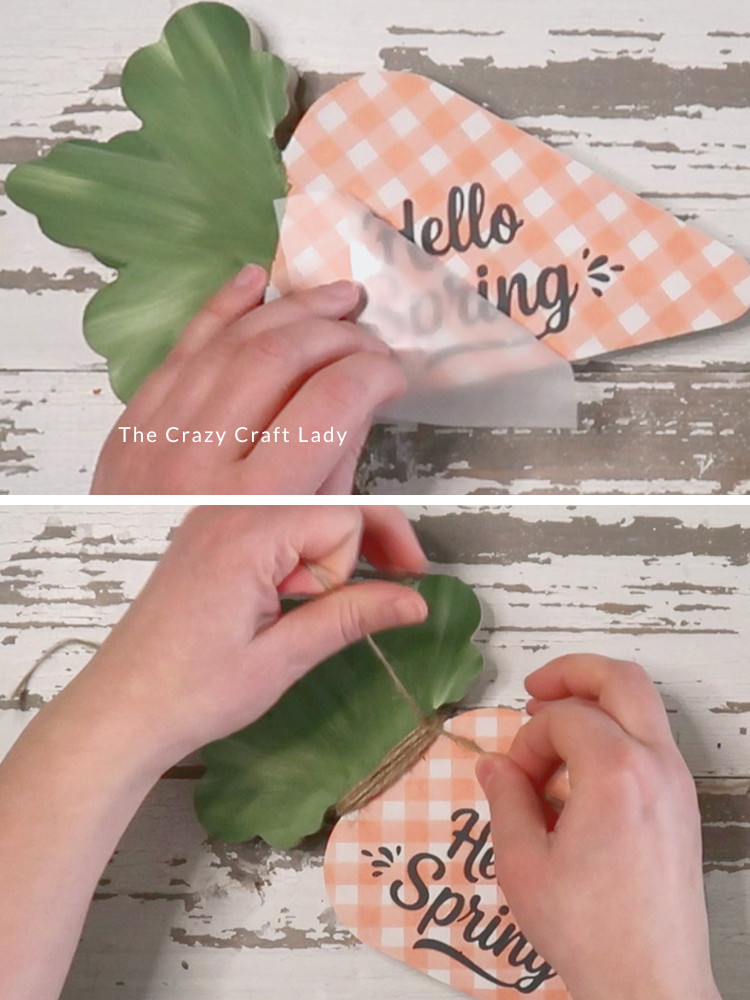
- (Optional) Add your spring phrase. Cut a small “Hello Spring” design from heat transfer vinyl using your Cricut. Before applying the vinyl, lightly dab the carrier sheet on your sweater or shirt to reduce the stickiness a bit. That helps protect the napkin surface underneath. Then heat press the design slowly and carefully. If your HTV doesn’t transfer perfectly on the first try, just keep going section by section and peel the backing away slowly.
- Finish with twine. Wrap twine around the area where the carrot body meets the leafy top. Tie it into a simple bow.
Notes
Project Tips
* Orange-and-white check napkins give this carrot a soft, cottage-style look.
* The heat method is perfect for getting smooth napkin decoupage without wrinkles.
* If heat transfer vinyl gives you trouble, you could easily swap it for paint, rub-on letters, or a small stencil.
* This craft is lightweight, so it works perfectly as a shelf sitter for spring decorating.
The Finished Craft
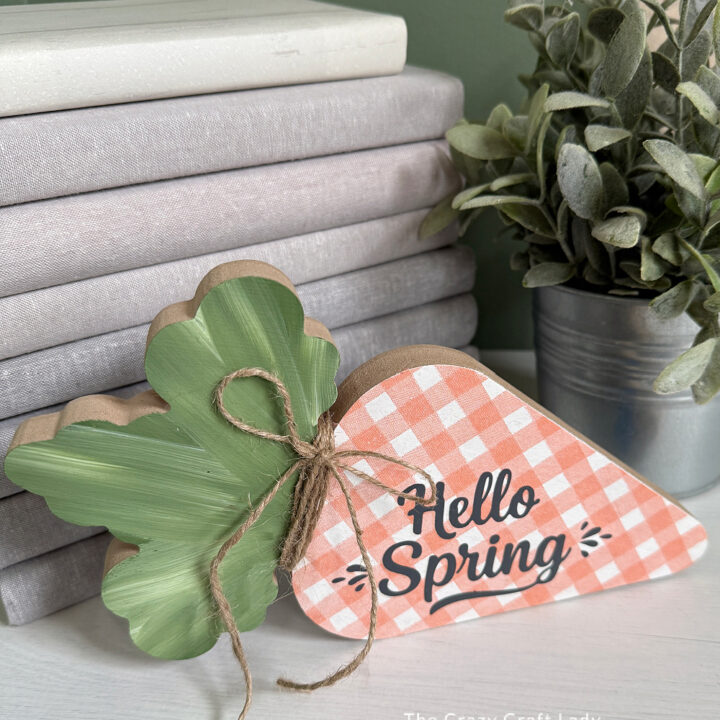
This Dollar Tree jumbo carrot craft is such a fun and easy spring project. The decoupaged napkin adds pattern and charm, the painted greenery gives it dimension, and the twine bow finishes it off with a simple rustic touch.

It’s the kind of quick seasonal craft that looks cute just about anywhere, and it’s a great way to turn a basic Dollar Tree wood cutout into something a little more special.
PIN this craft for later:
