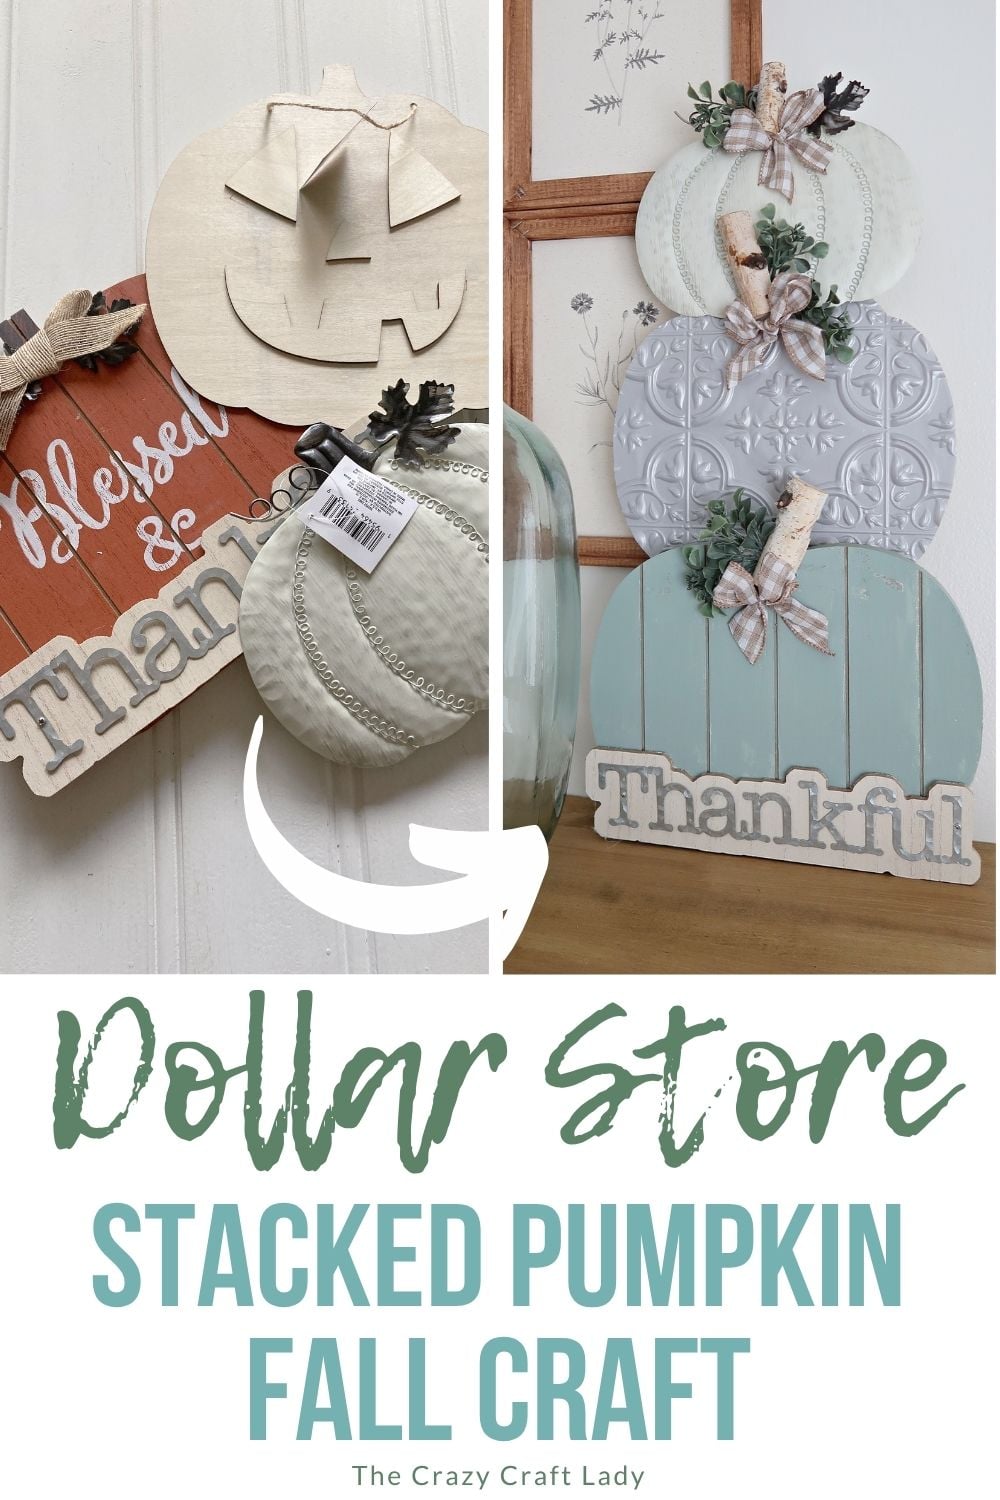
Make a Dollar Store Stacked Pumpkin Craft with faux tin tile, sage chalk paint, and buffalo check ribbon for beautiful neutral fall decor.
This post contains some affiliate links for your convenience. Click here to read my full disclosure policy.
If you love neutral fall decor, this Dollar Store Stacked Pumpkin Craft is such a fun way to turn a few inexpensive pumpkin signs into something that looks like it belongs in a home decor boutique. We’re combining a faux tin tile, a little sage chalk paint, and some simple ribbon and greenery to make a layered pumpkin stack that’s perfect for a mantel or shelf.
The best part about this craft is that you can mix and match different dollar store pumpkins to create your own stack. I used three different sizes and finishes, but the same basic idea would work with whatever pumpkin signs you can find.
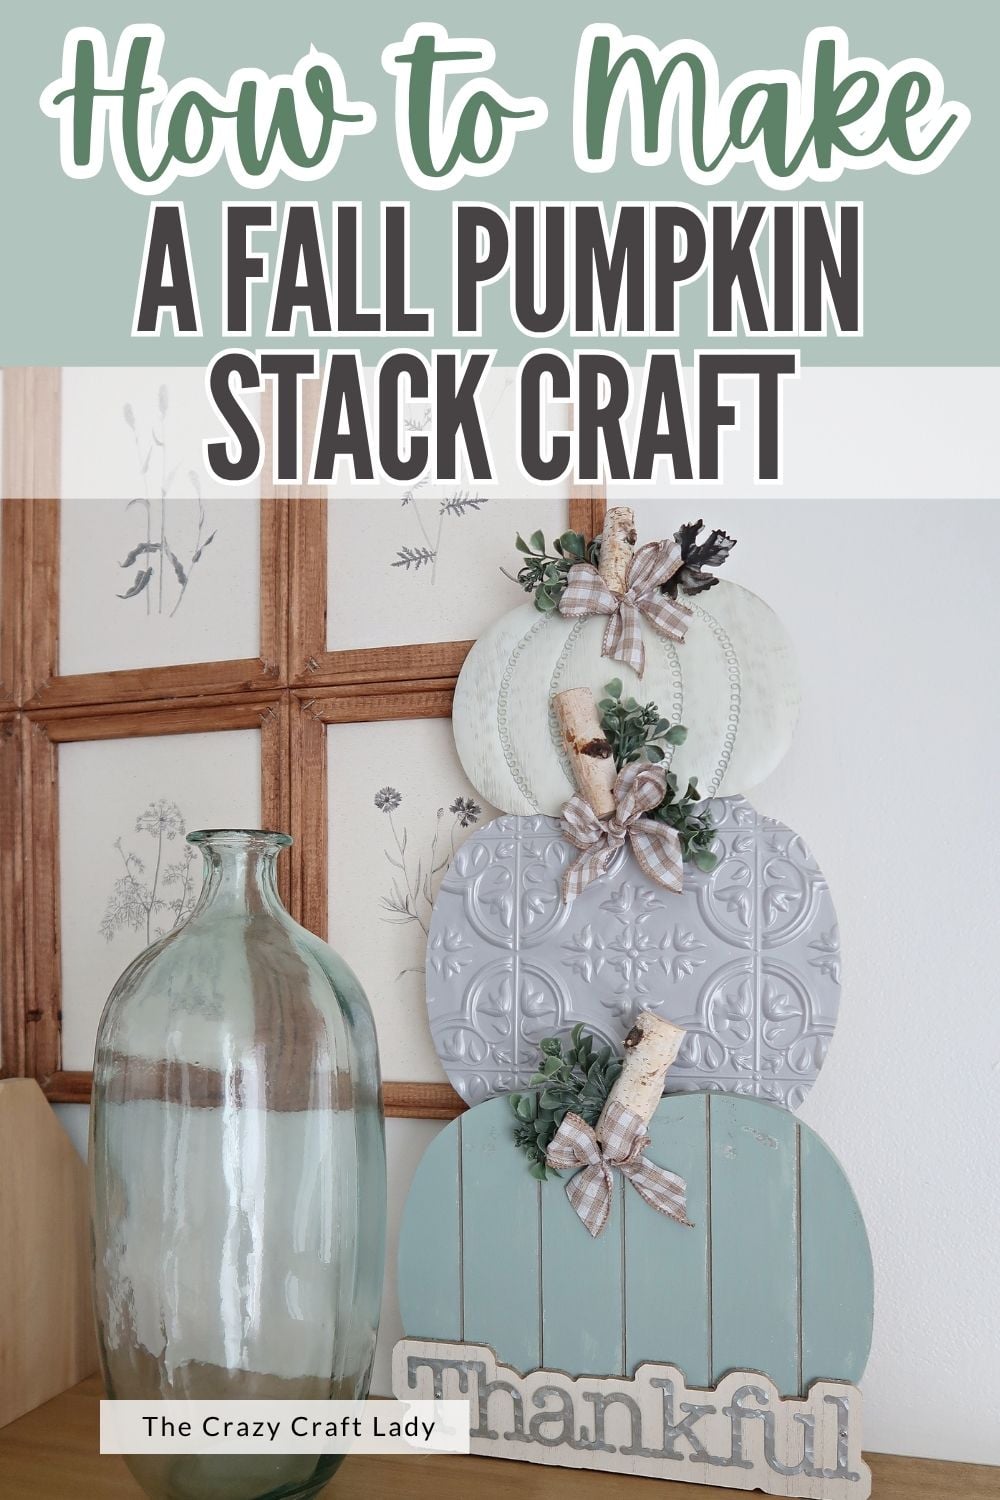
Video Tutorial: Dollar Store Stacked Pumpkin Craft
Watch this quick video to see how this craft came together:
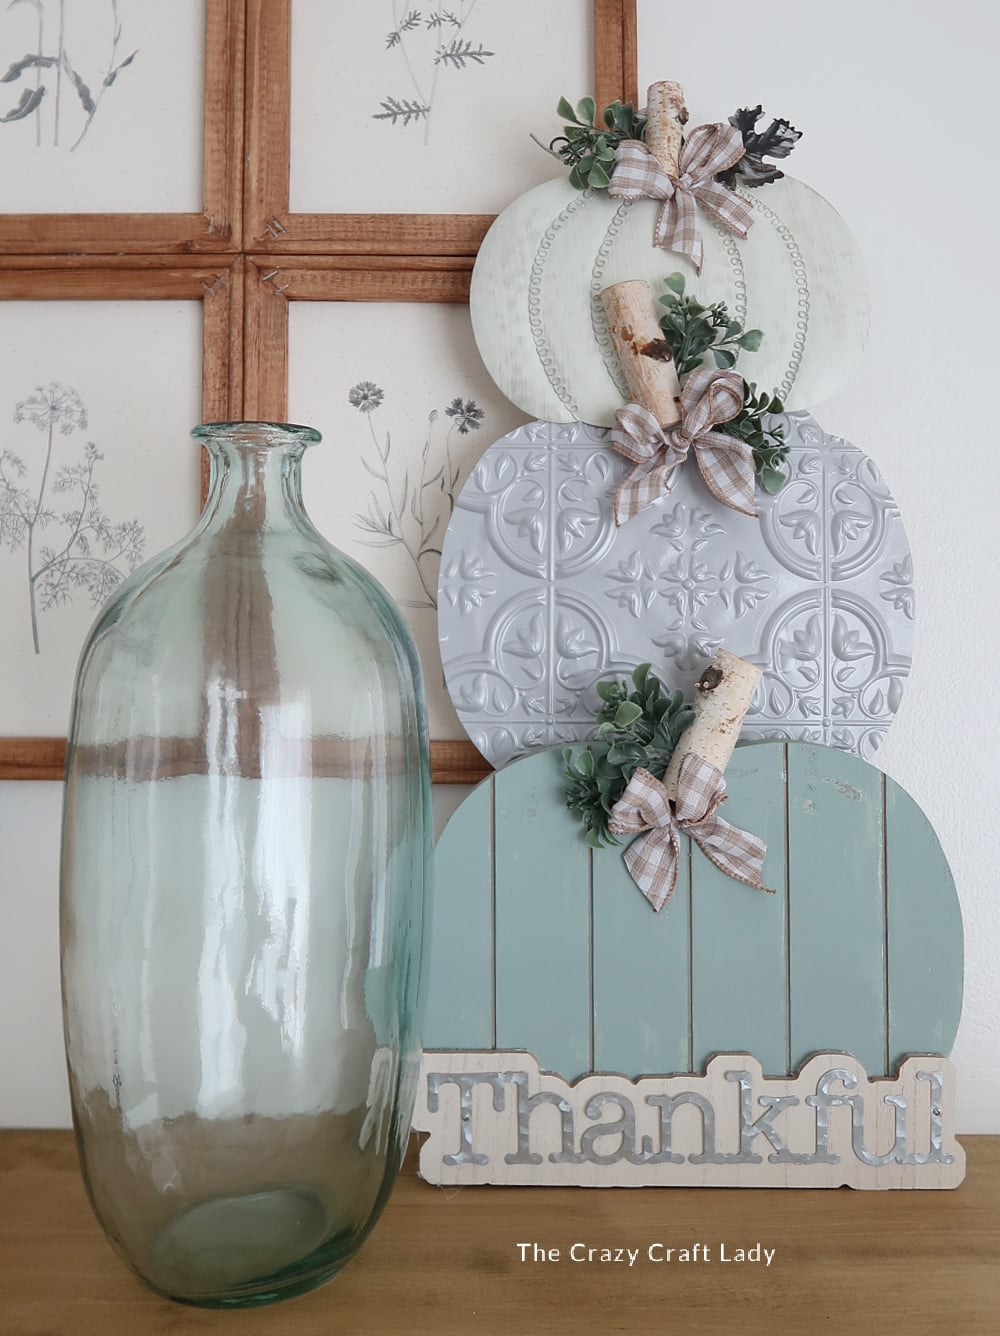
Dollar Store Stacked Pumpkin Craft
Turn three inexpensive pumpkin signs into a layered fall decoration with this easy DIY stacked pumpkin craft using dollar store supplies.
Materials
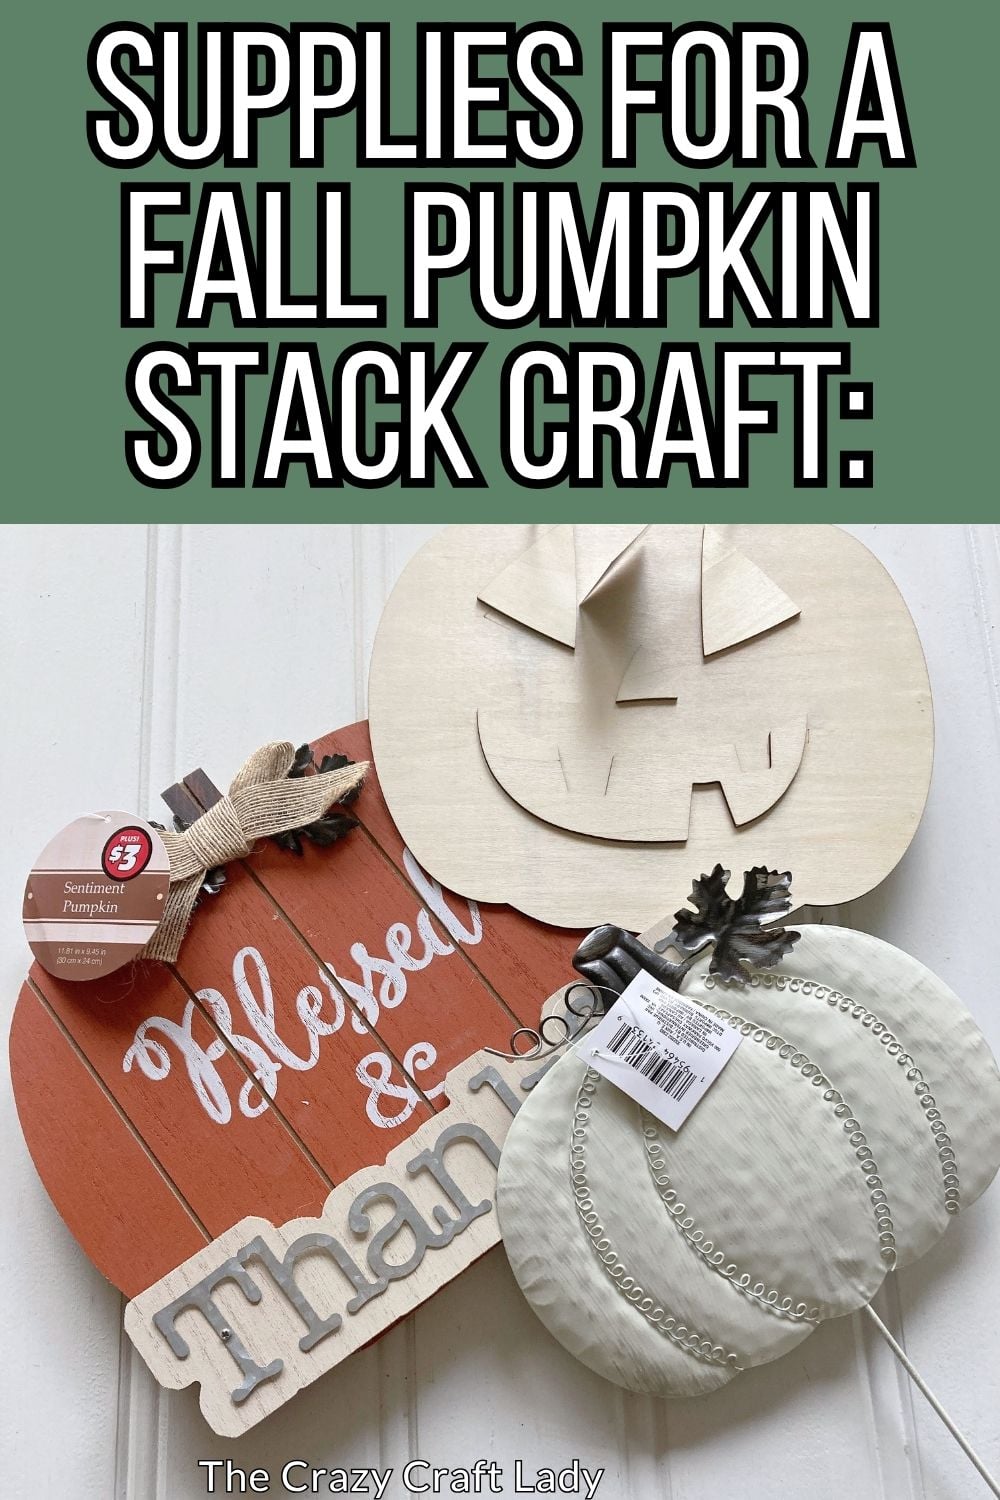
- Three pumpkin signs in different sizes
- Faux tin peel-and-stick wall tile
- Sharpie
- E6000 glue or tacky glue
- White chalk paint or primer
- DecoArt Home Decor Chalk Paint in Sage Shadow
- Taupe craft paint
- Tan and white buffalo check ribbon
- Faux greenery
- Small twigs or birch craft sticks
- Jumbo paint stir stick
Tools
- Scissors
- Hot glue gun and glue sticks
- Paintbrushes
- Lighter for heat-sealing ribbon ends
Instructions
- Watch the Video Tutorial. Watch the video tutorial to see how I made each pumpkin and assembled the finished stack.
- Make the Faux Tin Tile Pumpkin. Start with a jack-o’-lantern wood cutout and flip it over so you have a plain pumpkin shape. Remove all of the adhesive backing from a faux tin wall tile, including the sticky material around the edges. Trace the pumpkin onto the tile with a Sharpie, then cut just inside the marker line for the most accurate fit. Attach the tile to the pumpkin with E6000 or tacky glue. I also added four tiny dots of hot glue to hold everything in place while the stronger glue dried. Be careful not to use too much hot glue, because the plastic tile can melt.
- Prepare the Top Pumpkin. For the smallest pumpkin, I used one of the little metal pumpkin stakes from Dollar Tree. I removed the metal stand so I could use just the pumpkin shape. Be a little more careful than I was here! I ended up making a hole in mine while removing the stake, but it was nothing a little ribbon couldn’t cover. It all worked out.
- Paint the Base Pumpkin. My largest pumpkin came from the Dollar Tree Plus section. It had a “thankful” detail at the bottom, but I wasn’t loving the bright orange color, so I gave it a makeover.
Because the pressed-cardboard material absorbs quite a bit of paint, I started with a coat of white Rust-Oleum chalk paint. Once that dried, I added a coat of DecoArt Home Decor Chalk Paint in Sage Shadow. Finally, use a fine-point paintbrush and taupe craft paint to fill in the recessed lines. - Make the Ribbon and Greenery Accents. Make three simple bows using wide tan and white buffalo check ribbon. Trim the ends at a 45-degree angle. If your ribbon is synthetic, you can carefully heat-seal the ends with a lighter to prevent fraying. For each pumpkin, layer a little faux greenery, a short twig or birch craft stick, and a ribbon bow.
- Assemble the Pumpkin Stack. Here’s where I learned my lesson! You want the middle pumpkin to sit behind the bottom pumpkin, not in front of it. Otherwise, the stems and bows end up looking like they’re in the middle of the pumpkins instead of at the top. Add glue to the bottom of the middle pumpkin and position the large base pumpkin over it. Then glue the smallest pumpkin to the top of the middle pumpkin. Once everything is positioned correctly, attach your greenery, twig, and bow accents to each pumpkin.
- Reinforce the Back. Flip the entire pumpkin stack over and attach a jumbo paint stir stick to the back. I’m talking about the extra-large stir sticks made for five-gallon paint buckets, not the regular little ones. Use hot glue or a combination of hot glue and a stronger adhesive to secure the stick across the pumpkin pieces. This helps keep the entire stack together and upright. The base pumpkin is wide enough that mine stands on its own when placed against a wall, making it perfect for a mantel or shelf.
A Neutral Fall Pumpkin Stack for Your Mantel
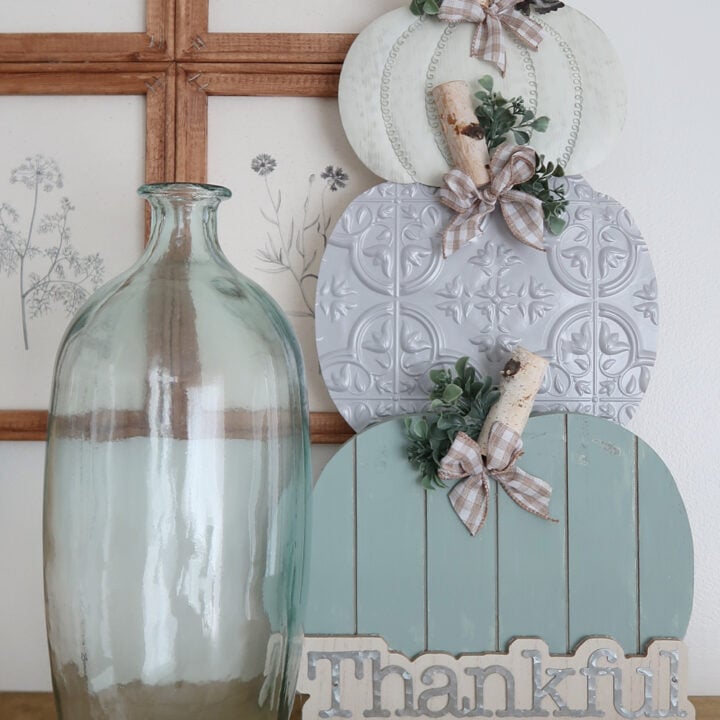
I love how this one turned out on my mantel. The bluish-sage paint on the bottom pumpkin looks especially pretty next to my collection of glass bottles, and the faux tin tile adds just enough texture without making the whole thing feel too busy.
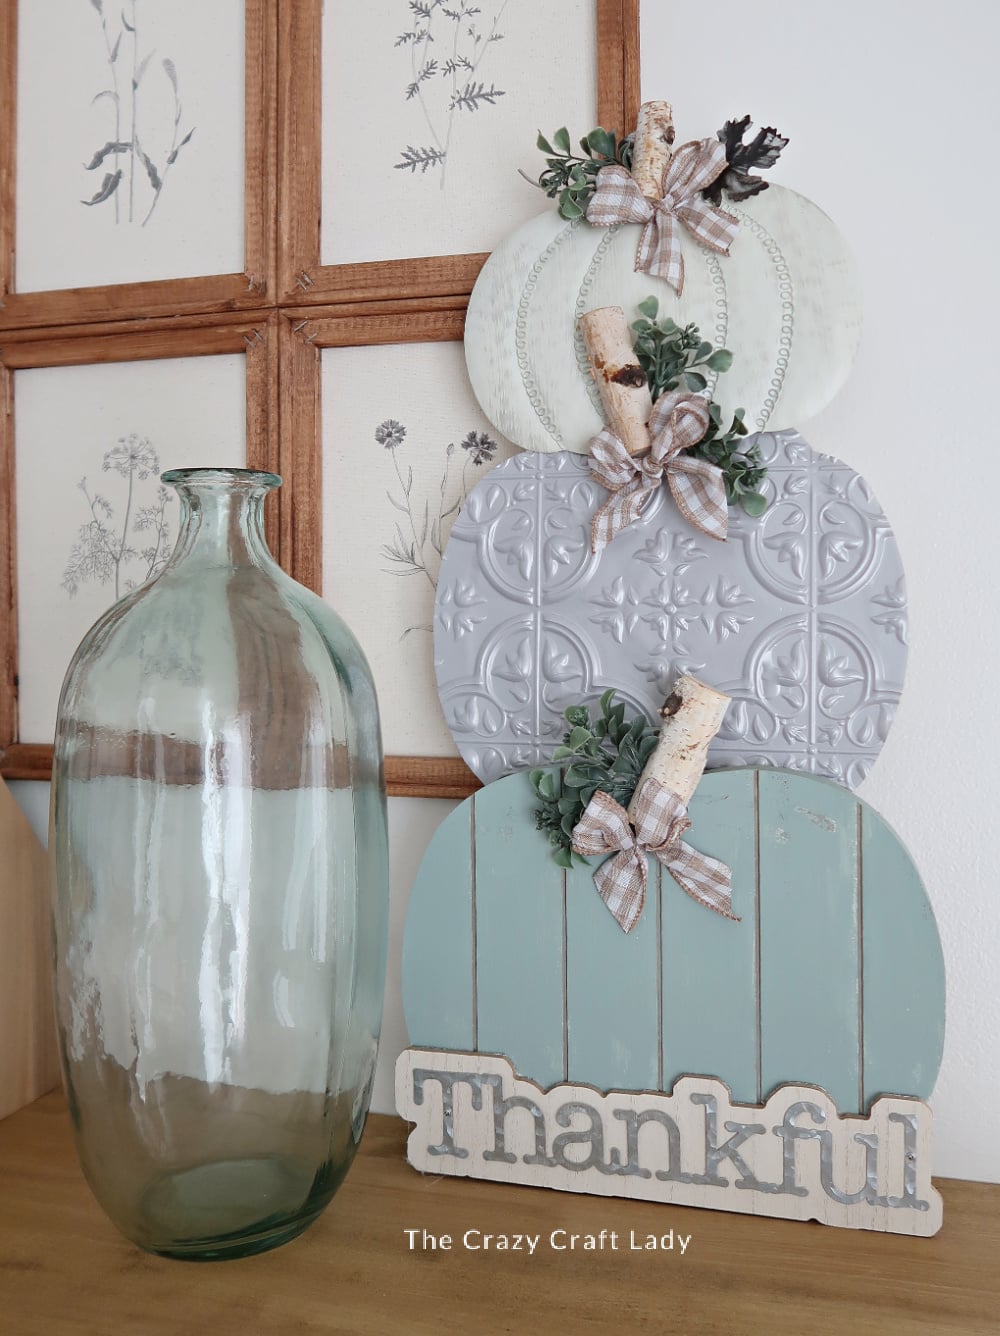
You could easily customize this project with different paint colors, ribbon, or greenery. Try cream and gold for a more elegant look, warm browns for a rustic farmhouse style, or even traditional orange if that’s more your thing.
More Dollar Store Pumpkin Crafts
If you love turning inexpensive pumpkin cutouts into custom fall decor, be sure to check out my other dollar store pumpkin craft ideas. There are so many ways to use paint, fabric, scrapbook paper, and faux tin tiles to give those basic seasonal signs a completely different look.