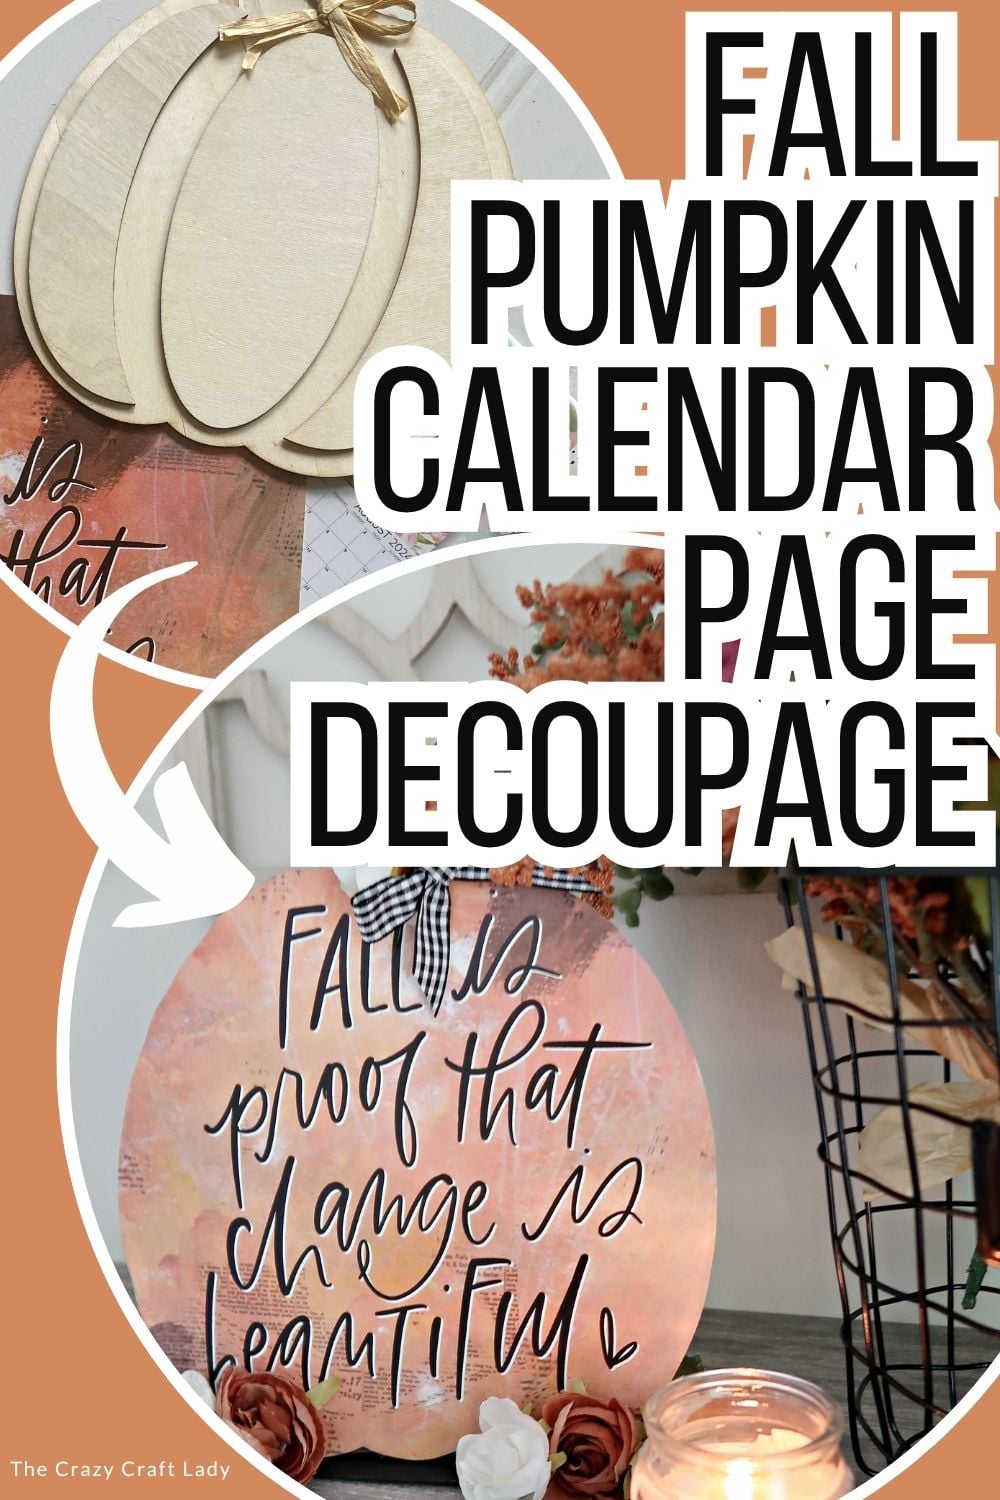
Make a decoupage calendar page wood pumpkin craft using a dollar store cutout, Mod Podge, flowers, and an easy heat-press technique.
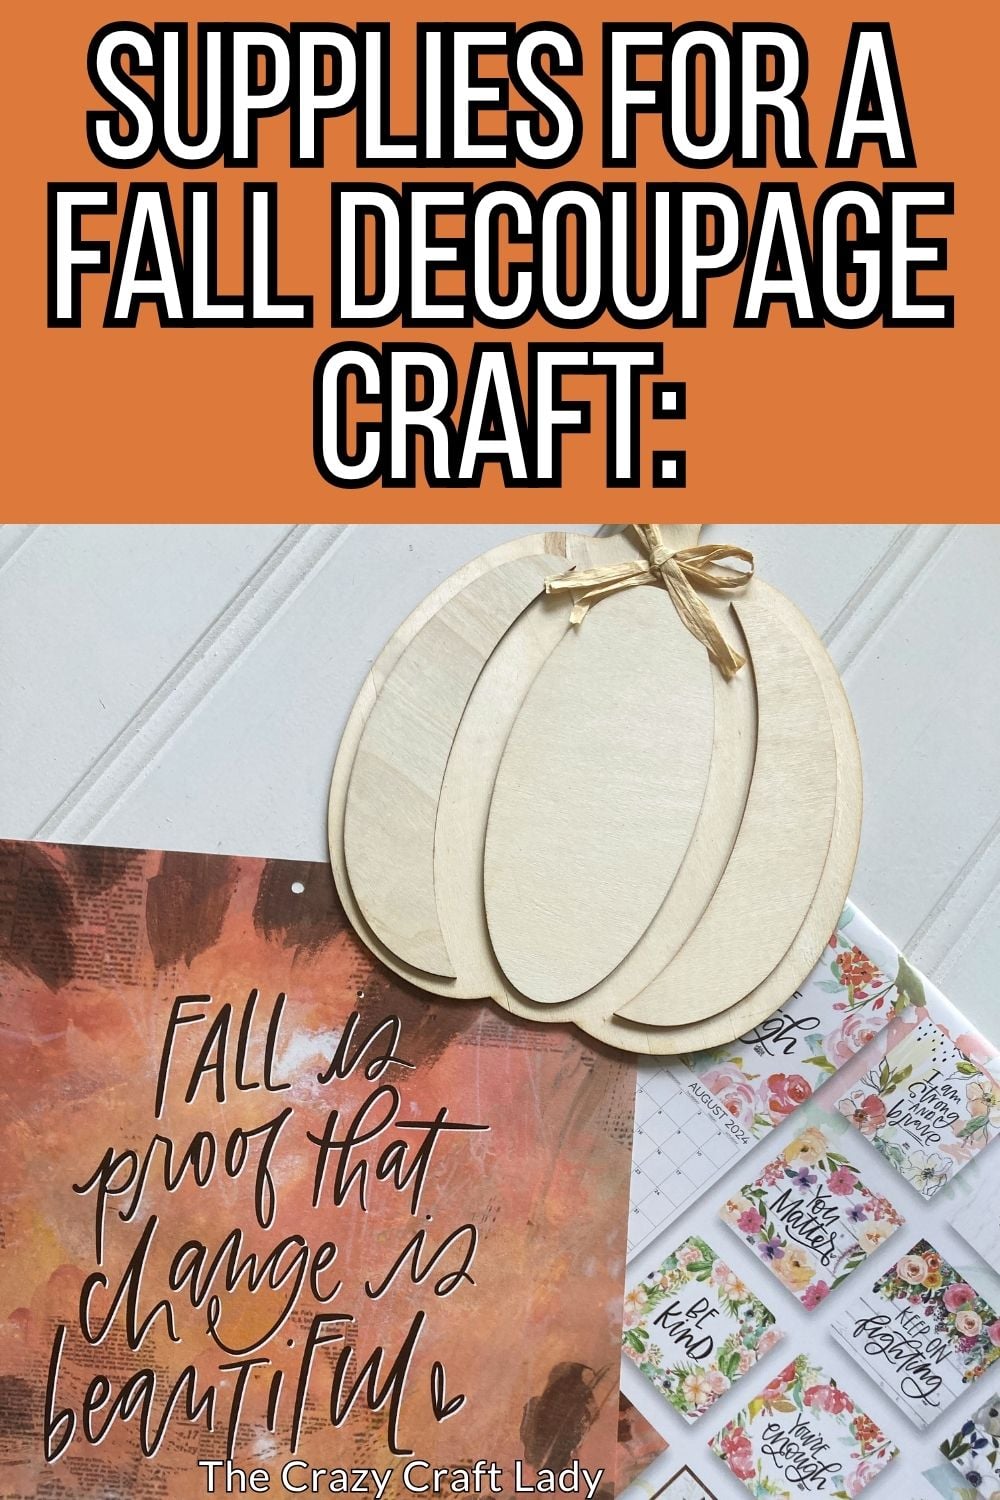
Decoupage Calendar Page Wood Pumpkin Craft with Dollar Tree Supplies
This post contains some affiliate links for your convenience. Click here to read my full disclosure policy.
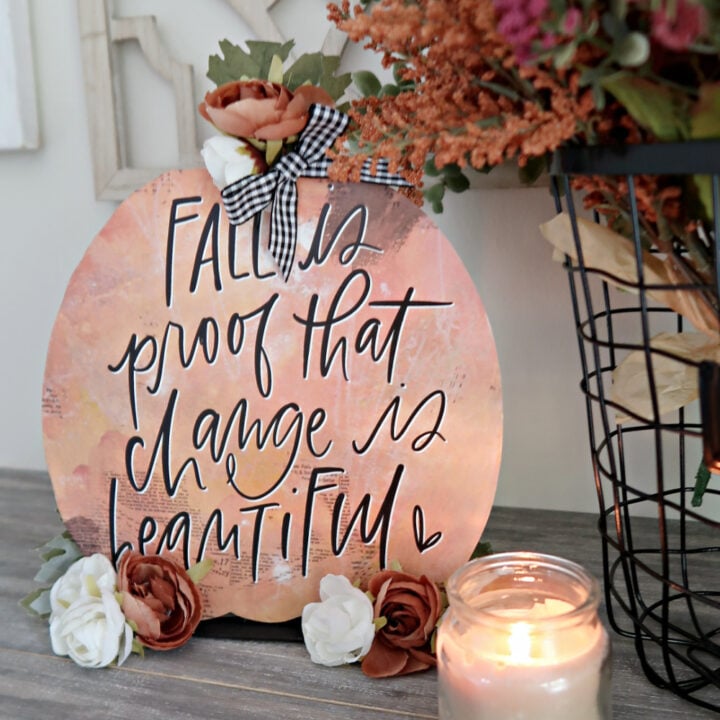
Turn an old calendar page and a dollar store pumpkin cutout into pretty fall decor with this easy decoupage calendar page wood pumpkin craft. Instead of traditional wet decoupage, this project uses dried Mod Podge and a little heat to attach the paper smoothly without all those annoying wrinkles and bubbles.
Even better, we’re turning this wood pumpkin into a freestanding sign instead of another door hanger. Add some fall flowers, greenery, and a simple checkered bow, and you have an inexpensive pumpkin that’s perfect for a bookshelf, mantel, or end table.
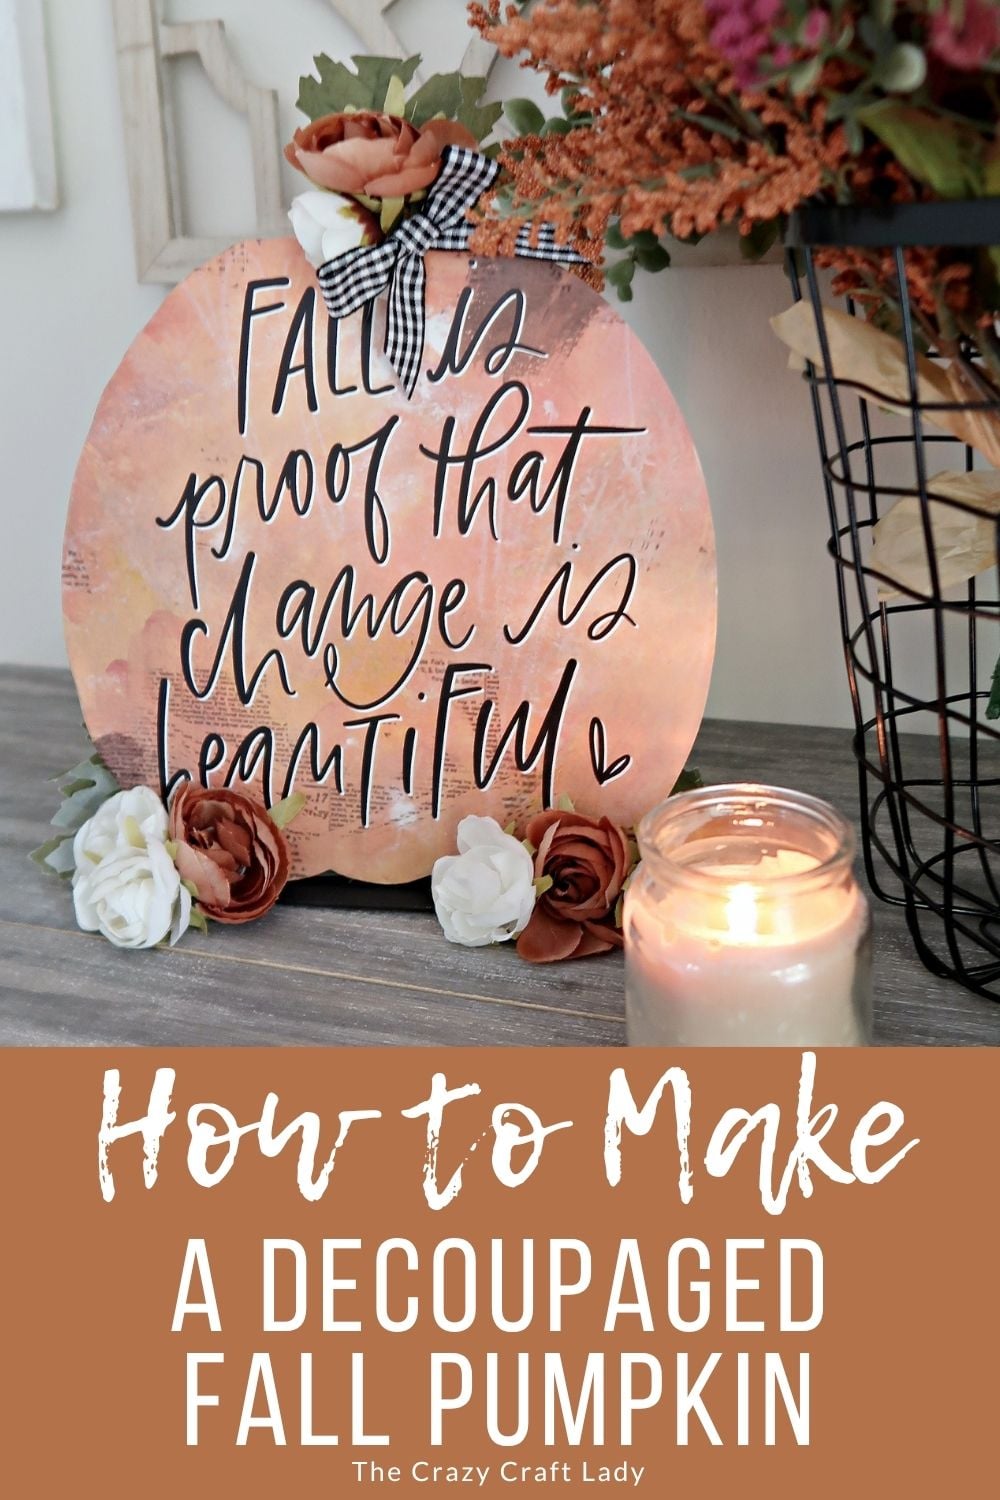
Video Tutorial: Decoupage Calendar Page Wood Pumpkin Craft
Watch this quick video to see how this craft came together:
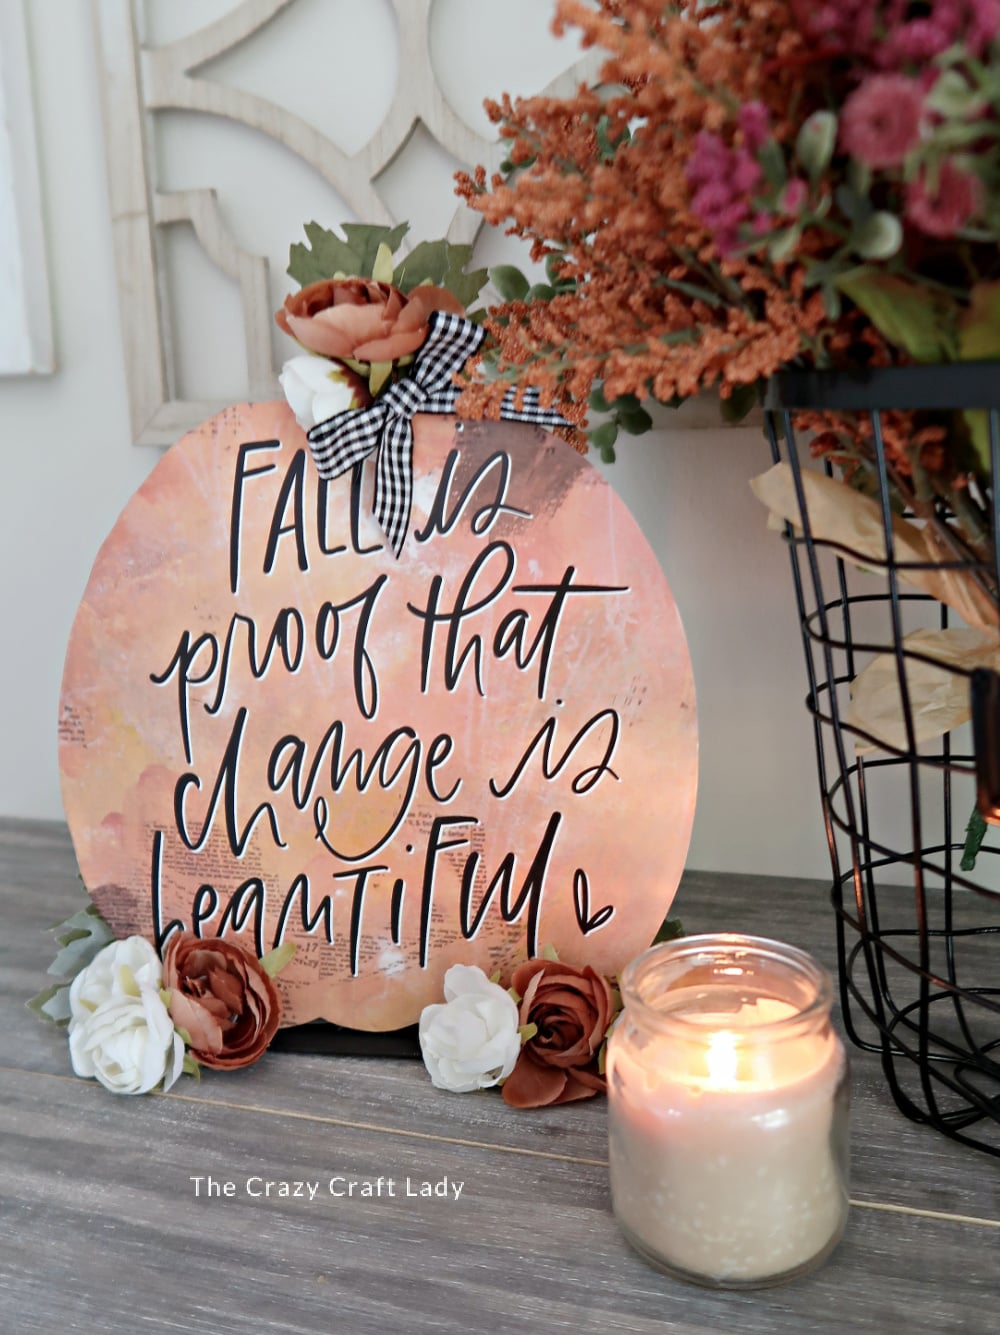
Decoupage Calendar Page Wood Pumpkin Craft
Turn an old calendar page into fall decor with this easy decoupage calendar page wood pumpkin craft using a dollar store pumpkin cutout.
Materials
- Dollar store wood pumpkin cutout
- Calendar page
- Matte Mod Podge
- Parchment paper
- Jumbo craft stick or paint stir stick
- Black craft paint
- 2 tumbling tower blocks or scrap wood
- Wood glue
- Faux fall flowers and greenery
- Black and white checkered ribbon
Tools
Instructions
- Watch the Video Tutorial. Watch the video tutorial first to see the full process, including the heat-press decoupage technique for getting a smooth finish with calendar paper.
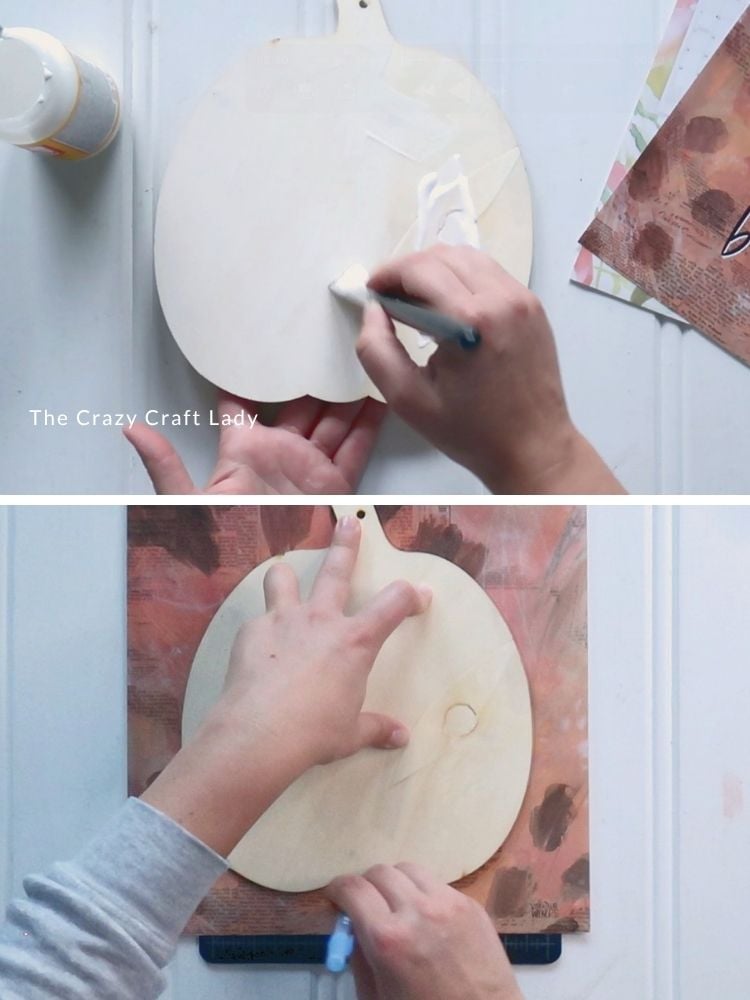
- Apply the Mod Podge. Flip the dollar store wood pumpkin over so you're working with the smooth, flat back. Brush on an even coat of Mod Podge and let it dry completely before moving on.

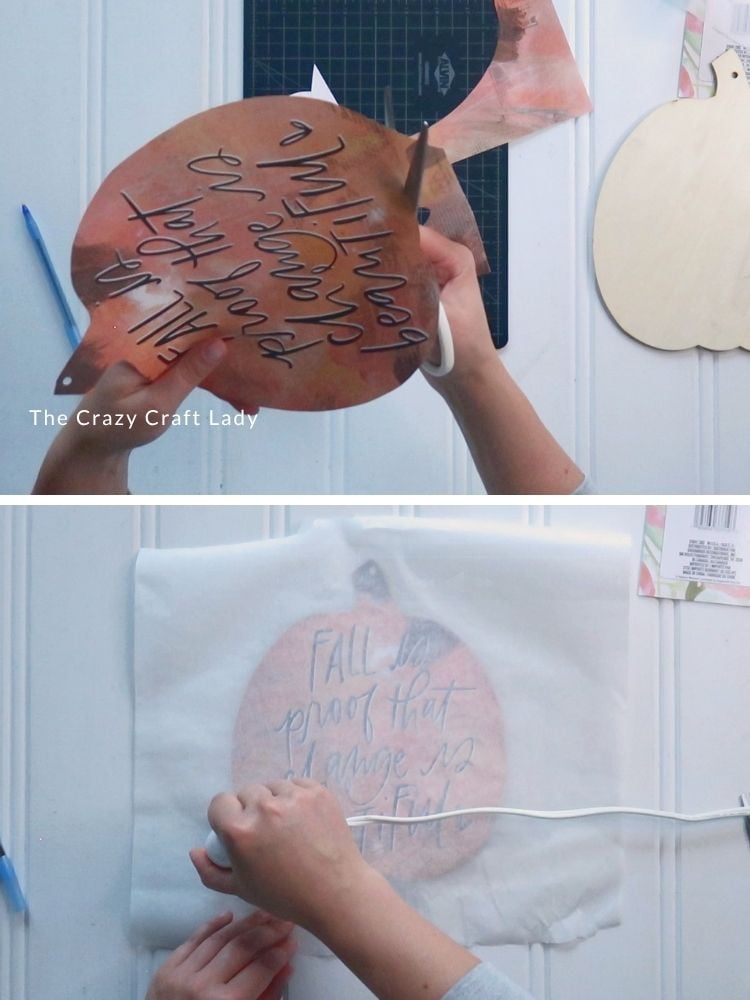
- Cut the Calendar Page. Position the pumpkin over your calendar page, making sure the artwork or quote is centered where you want it. Trace around the pumpkin, then cut out the shape with scissors.
- Heat Press the Calendar Page. Place the cut calendar page over the dried Mod Podge and cover it with parchment paper. Use a mini heat press—or an iron with the steam turned off—to press the paper onto the pumpkin. The heat reactivates the Mod Podge and adheres the paper without the wrinkles and bubbles you can get with wet decoupage.
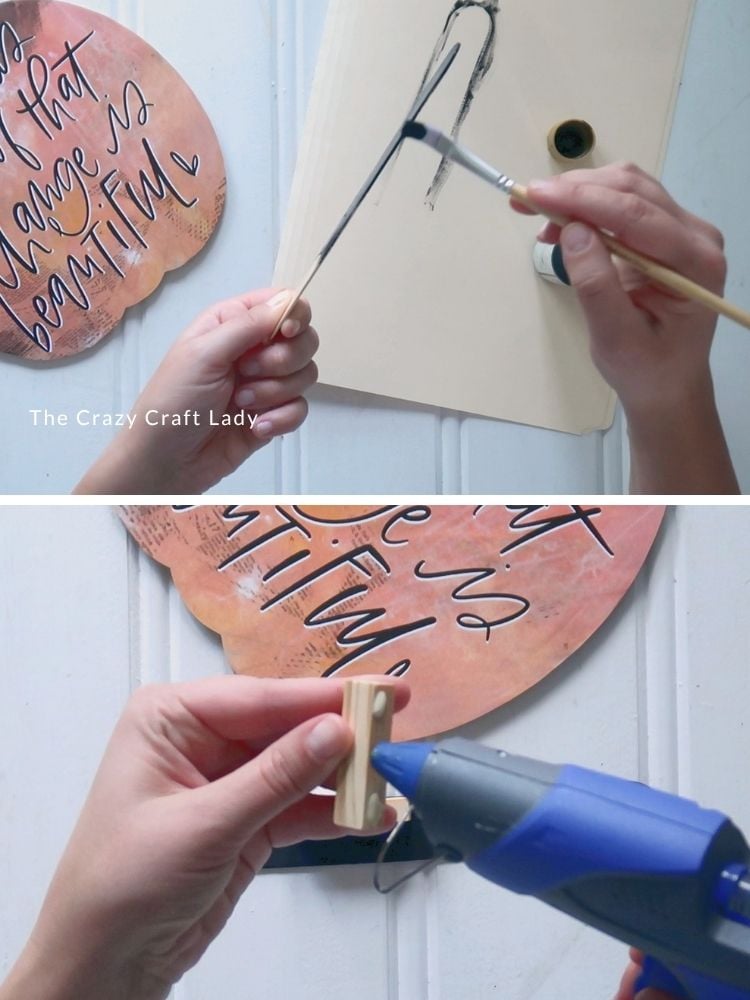
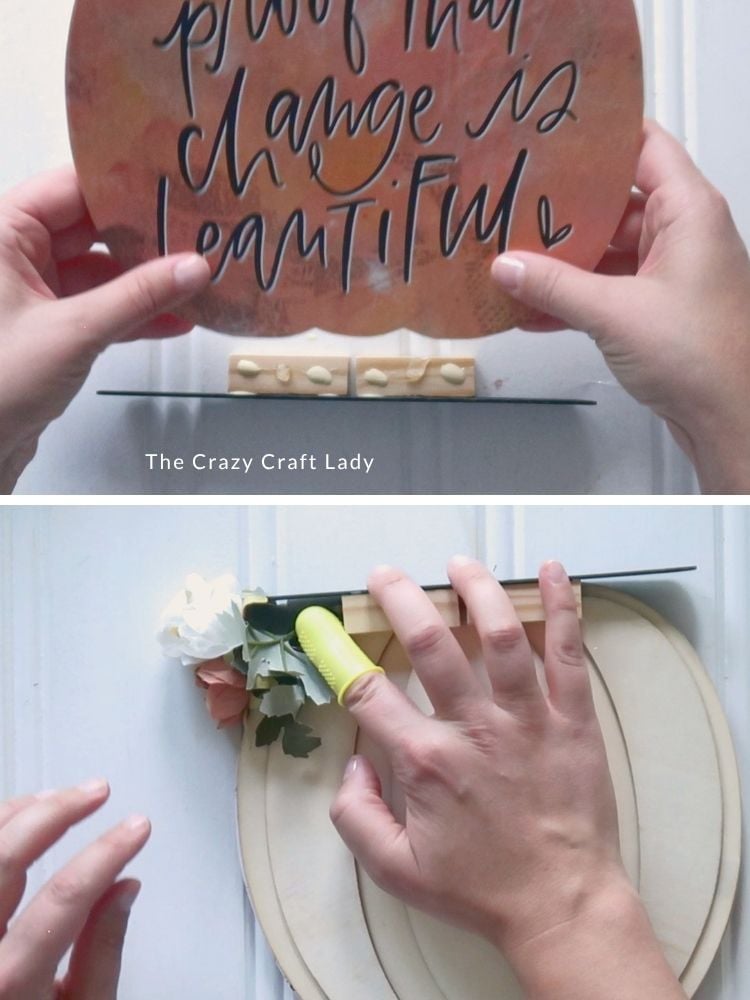
- Make the Pumpkin Stand. Paint a jumbo craft stick or piece of paint stir stick black. Glue two tumbling tower blocks or small pieces of scrap wood to the back of the stick. Attach the pumpkin to the blocks using wood glue and a little hot glue for an instant hold.
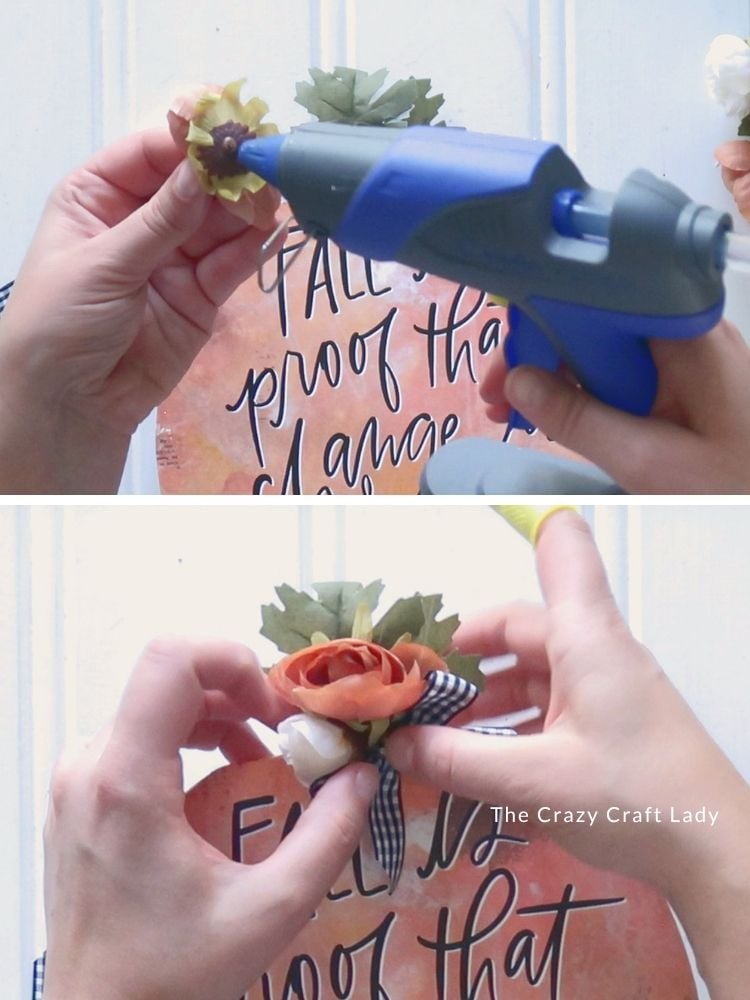
- Add Flowers and Greenery. Hot glue faux flowers and greenery to the back of the pumpkin so they peek out around the edges. Once the glue has cooled, gently arrange the stems and flowers from the front until you're happy with the look.
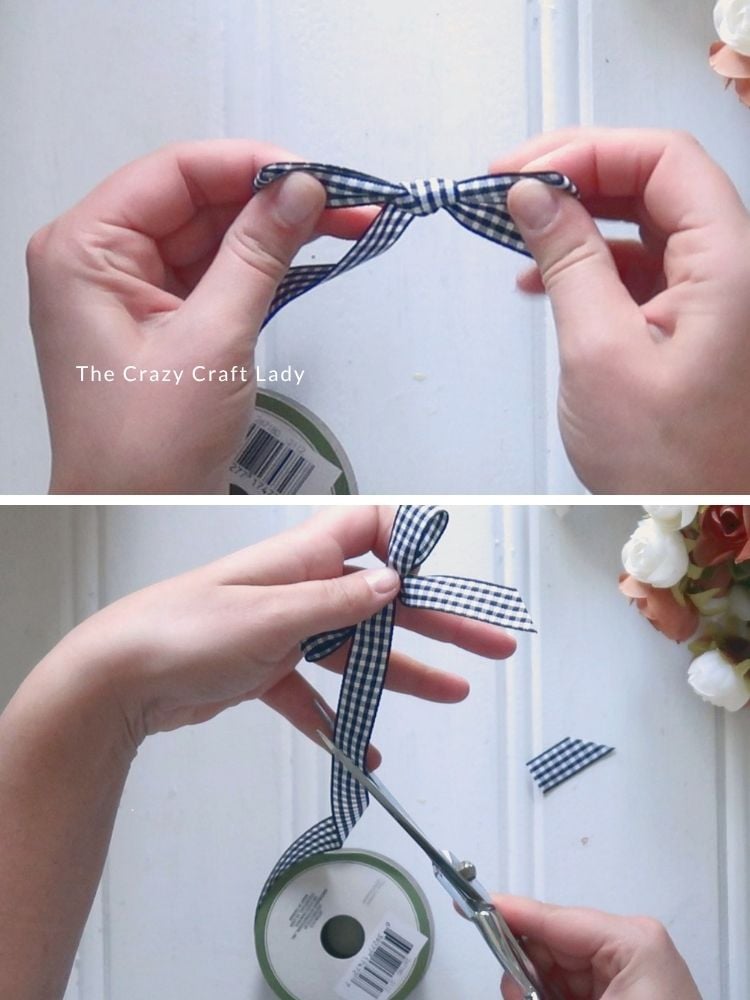
- Add the Bow. Tie a simple bow with black and white checkered ribbon and trim the tails at a 45-degree angle. Hot glue the bow to the top of the pumpkin, then tuck in a little extra greenery and a few flowers to finish it off.
Easy Fall Decor Using Old Calendar Pages
That’s all there is to it!
This decoupage calendar page wood pumpkin craft is such an easy way to turn two inexpensive supplies into fall decor that looks completely different from the original dollar store cutout.
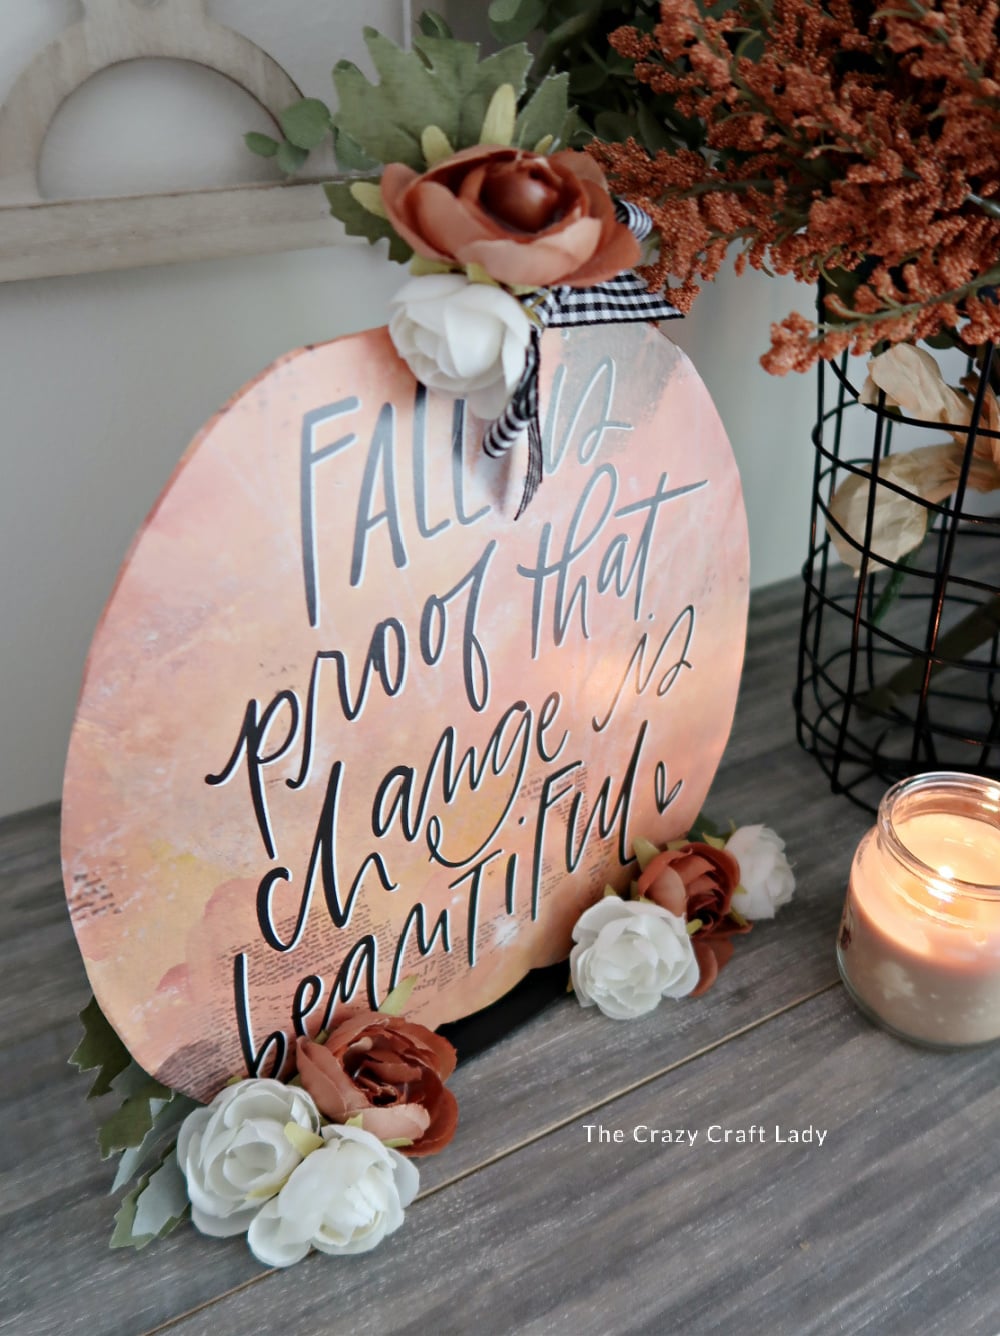
I especially love the heat-press method for calendar pages. You get that pretty decoupage look without fighting wrinkles and bubbles, and it’s a great excuse to save those old calendars instead of tossing them at the end of the year.
Display your finished pumpkin on a bookshelf, mantel, end table, or entryway table for a simple little touch of fall.
PIN this Dollar Store Wood Pumpkin Fall Craft for Later: