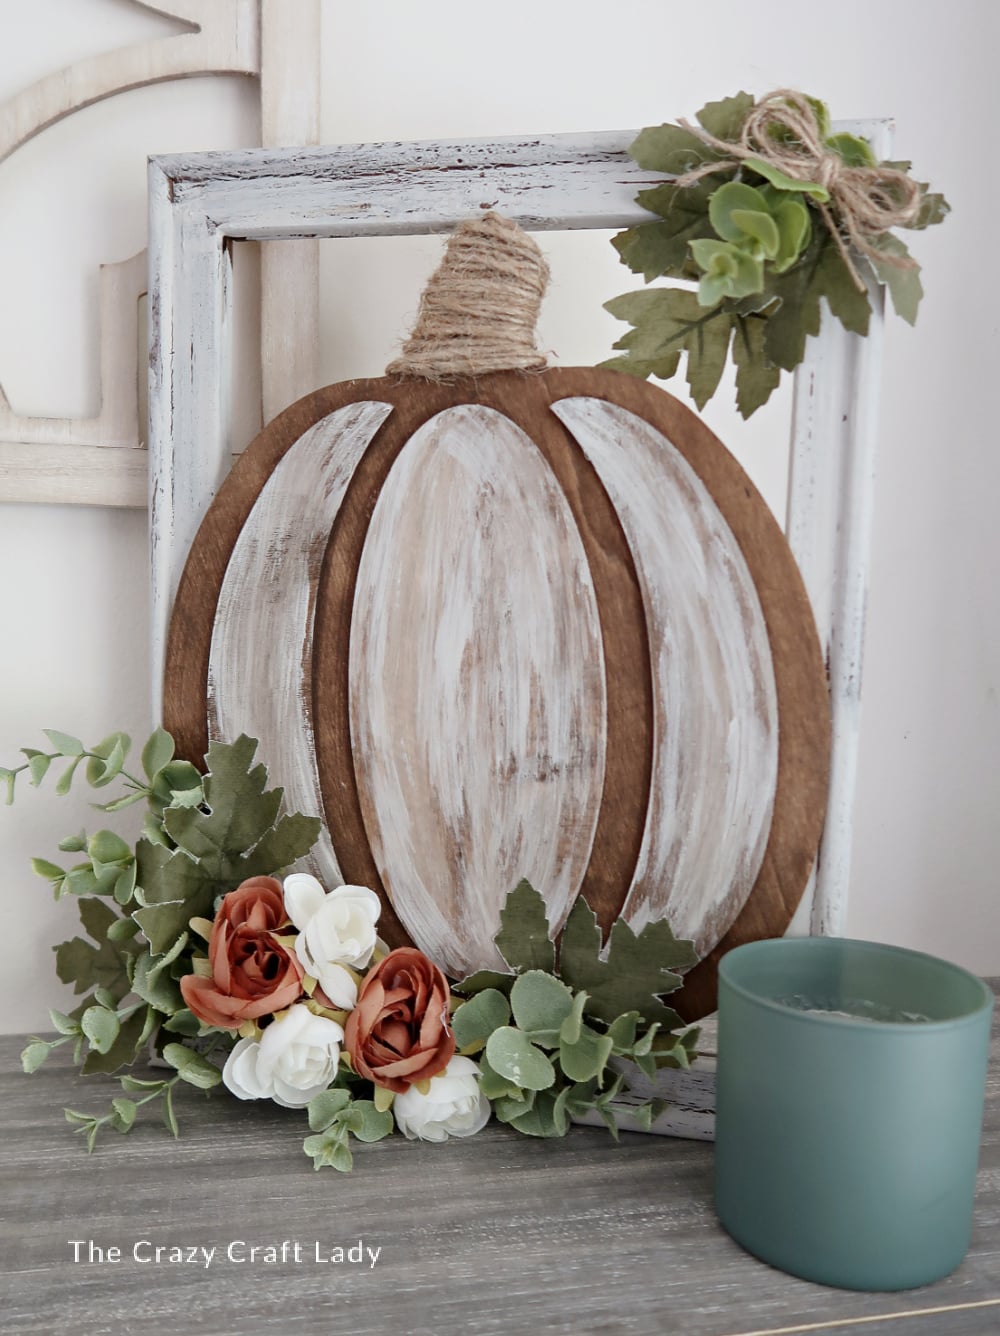
Make a Dollar Store reverse canvas pumpkin craft with stained wood, chalk paint, twine, greenery, and fall florals for easy rustic decor.
This post contains some affiliate links for your convenience. Click here to read my full disclosure policy.
Dollar Store Reverse Canvas Pumpkin Craft
Turn a simple wood pumpkin and an old stretched canvas into a pretty piece of rustic fall decor! This Dollar Store Reverse Canvas Pumpkin Craft combines distressed paint, stained wood, faux greenery, and a few leftover florals for an easy autumn project that looks much more expensive than it is.
If you’ve never tried a reverse canvas craft before, this is a great place to start. Once you remove the canvas fabric, you’re left with a simple wood frame that can be stained, painted, distressed, and decorated however you like.
And for this one, I’m embracing a little more brown and rustic wood than I normally use—and I really love how it turned out!
Video Tutorial: Dollar Store Reverse Canvas Pumpkin Craft
Watch this quick video to see how this craft came together:
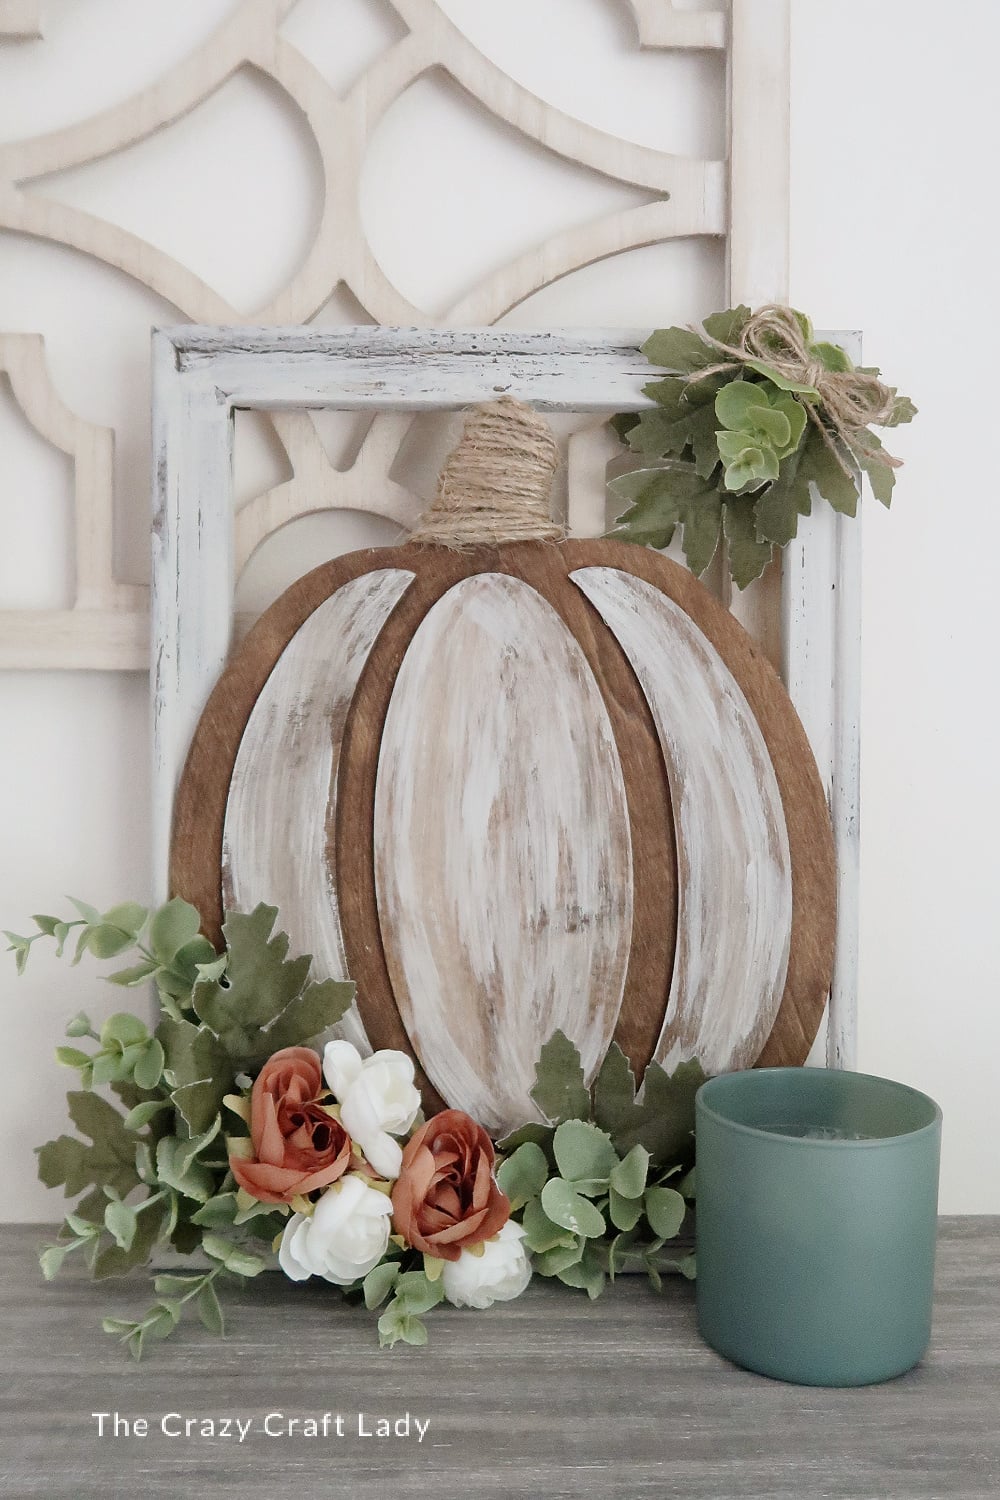
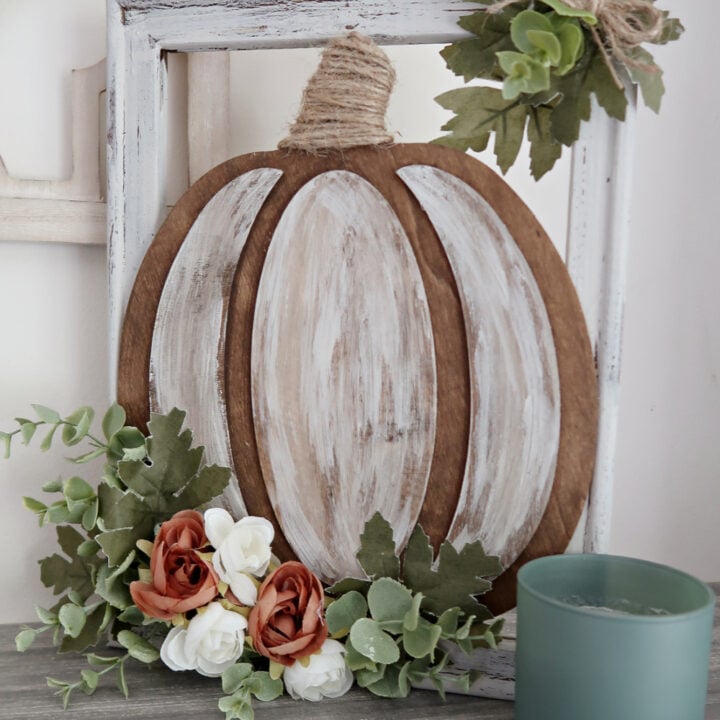
Dollar Store Reverse Canvas Pumpkin Craft
Create rustic fall decor with this Dollar Store reverse canvas pumpkin craft featuring distressed wood, eucalyptus, and pretty autumn flowers.
Materials
- For this fall pumpkin craft, you’ll need:
- 9x12-inch stretched canvas
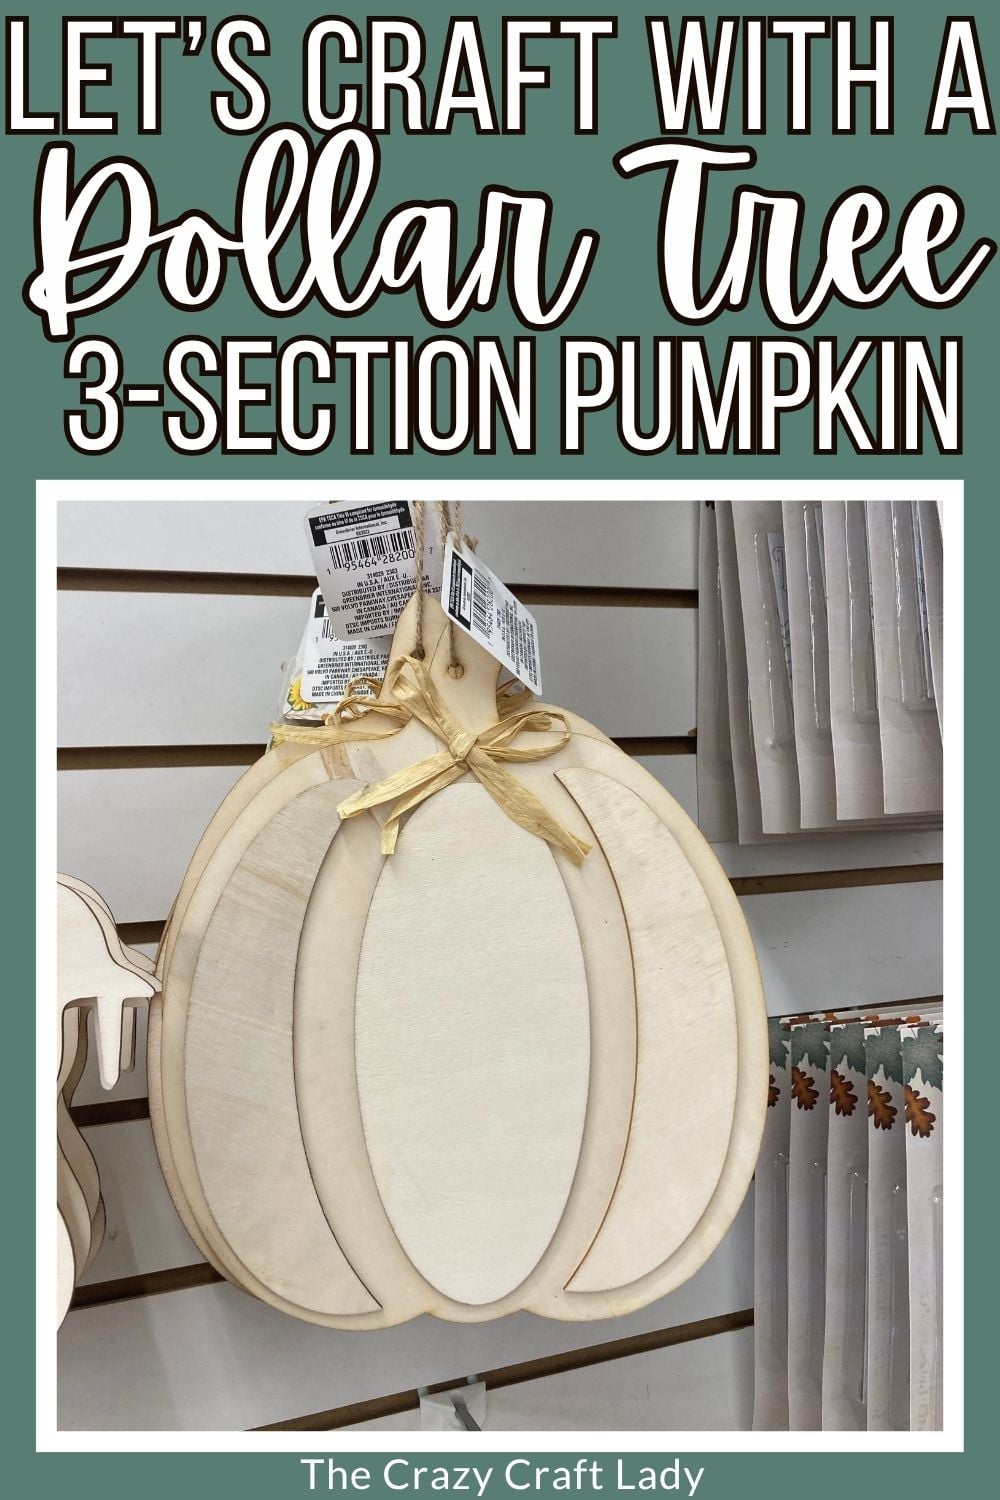
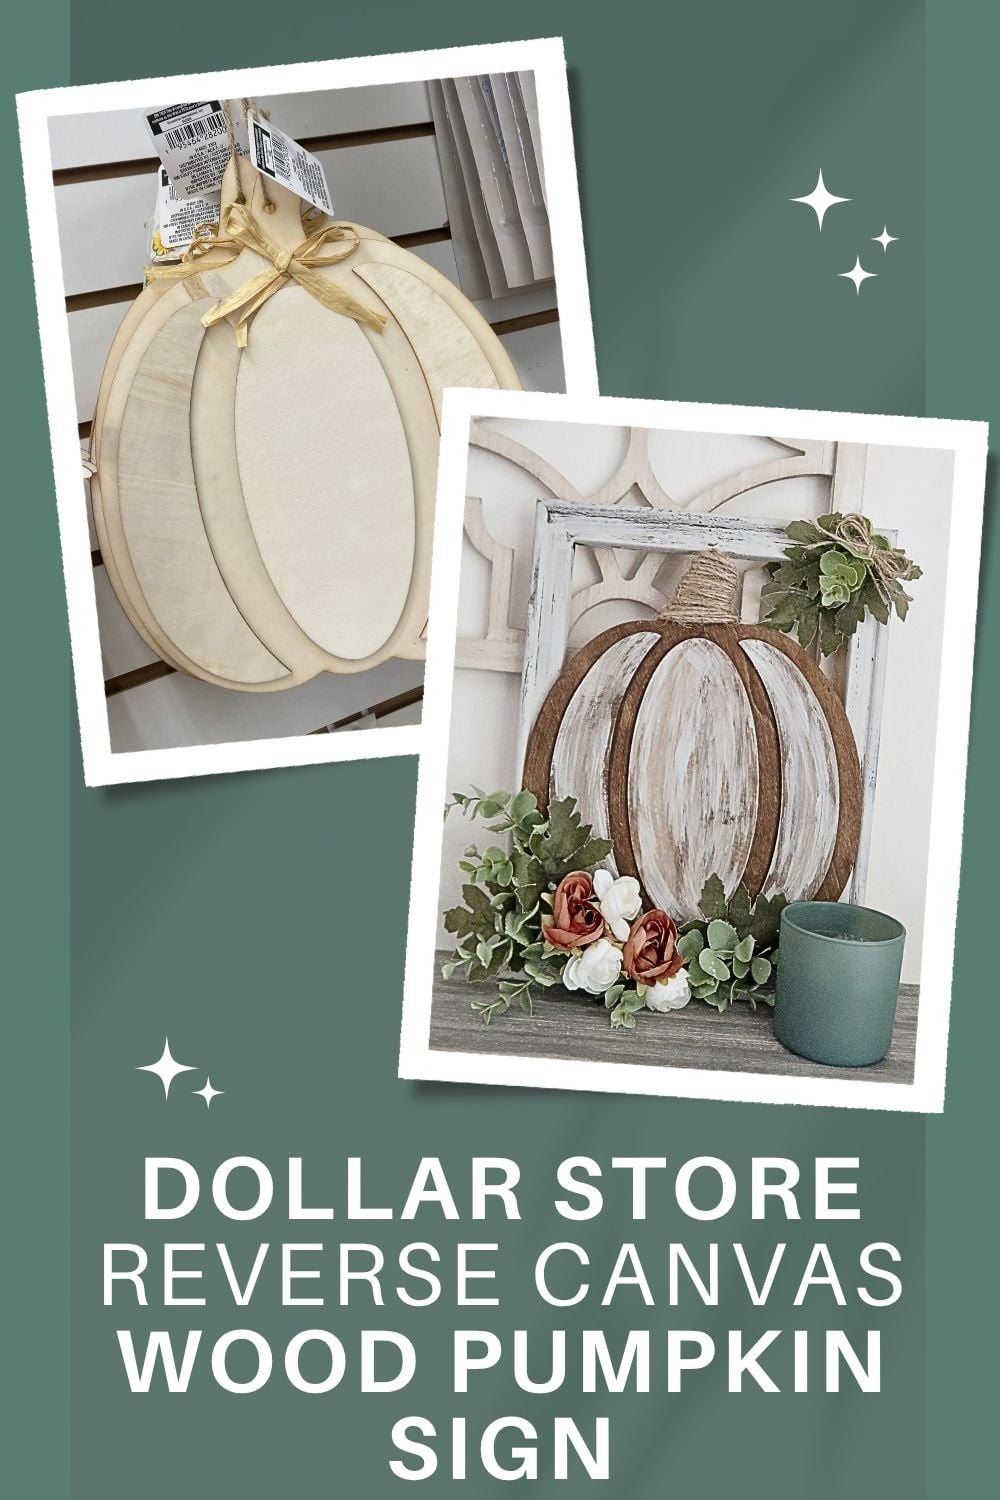
- Dollar Tree three-section wood pumpkin
- FolkArt Home Decor Antique Wax
- FolkArt Home Decor Chalk Paint in French Linen
- Elmer’s glue
- Small piece of clean dish sponge
- Twine
- Faux eucalyptus
- Faux fall flowers and leaves
- Paper towels
- Picture-hanging hardware, optional
Tools
- Paintbrush
- Hot glue gun and glue sticks
- Pen blade or razor blade
- Heat gun or hair dryer
Instructions
- Watch the Video Tutorial. Watch the video tutorial to see exactly how this reverse canvas pumpkin craft comes together from start to finish.
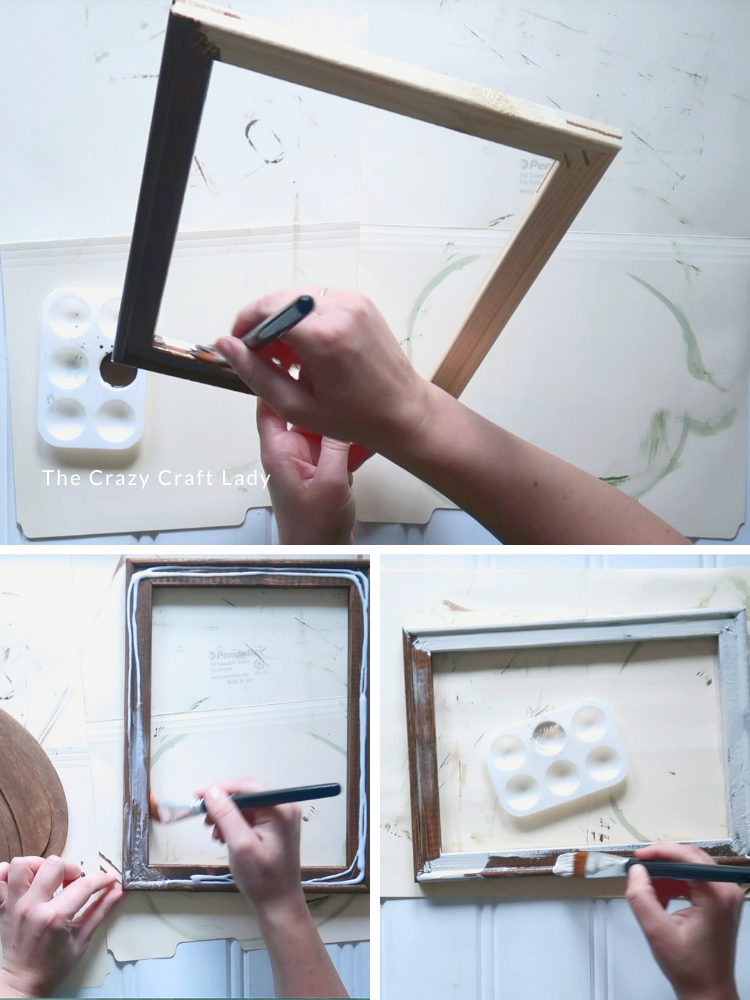
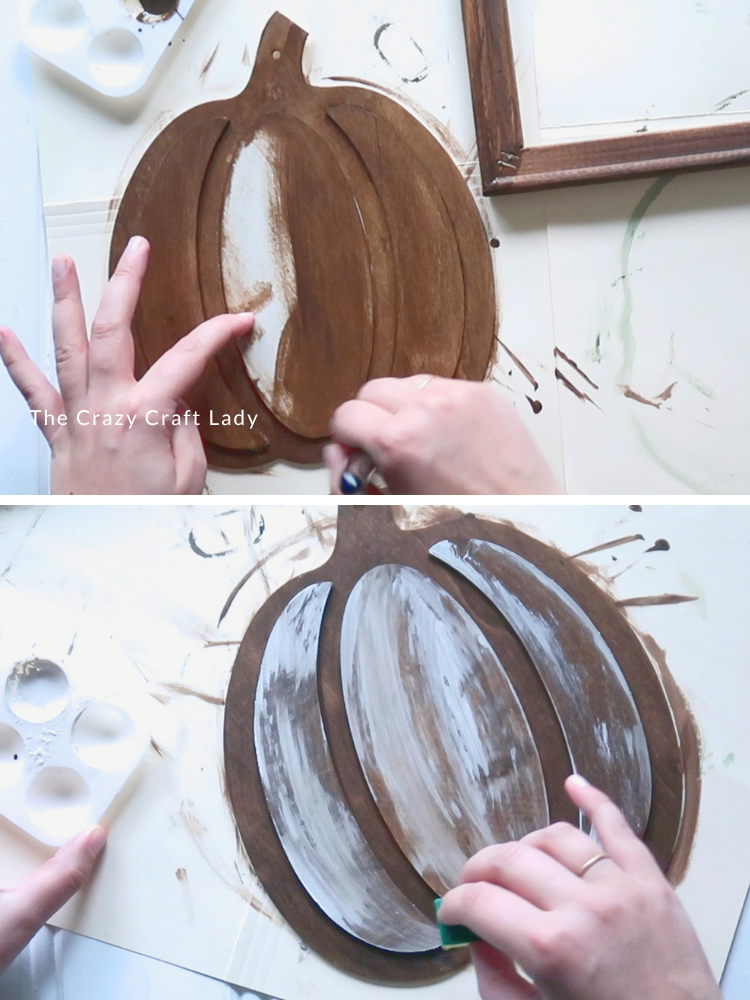
- Prepare and Stain the Frame. Remove the canvas fabric from a 9x12-inch stretched canvas using a pen blade or razor blade. Stain the entire wood frame with FolkArt Home Decor Antique Wax. Stain the three-section wood pumpkin at the same time, wiping away any excess with a paper towel.

- Distress the Frame. Brush Elmer’s glue over the stained frame and let it sit for about 15-20 minutes, until slightly tacky. Carefully brush French Linen chalk paint over the glue. Let it dry naturally or use a heat gun to encourage the crackle effect.
- Paint the Pumpkin. Use a small piece of dish sponge to lightly dry brush French Linen chalk paint over the three pumpkin sections. Leave the dividing lines and stem stained brown.
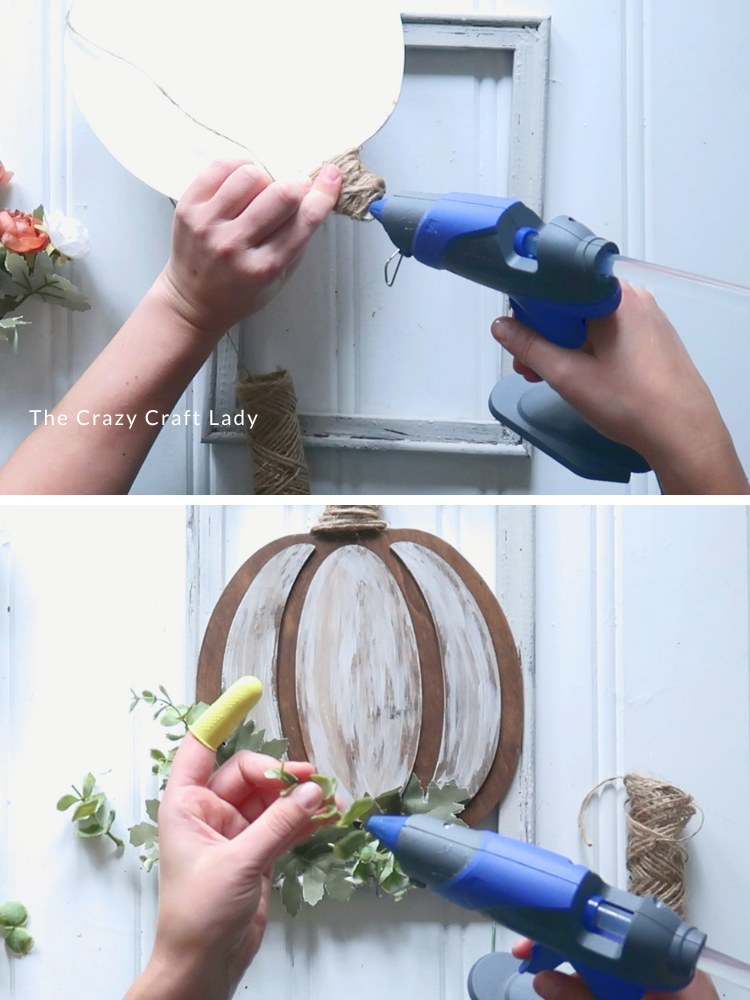
- Wrap the Stem. Hot glue twine to the back of the pumpkin stem and wrap until covered. At the top, coil the twine and secure it with hot glue.
- Attach the Pumpkin. Center the finished pumpkin on the reverse canvas frame and secure it with hot glue.
- Add the Florals. Create small bundles of faux eucalyptus and tie them together with twine. Hot glue the greenery, leaves, and fall flowers around the lower left corner of the pumpkin. Add a smaller grouping to the upper right corner for balance.
- Add a Twine Bow. Wrap twine around your fingers four or five times, pinch the loops in the center, and tie with another piece of twine. Hot glue the finished scrappy bow among the florals to complete your pumpkin sign.
Notes
Feel free to raid your craft stash for the greenery and flowers. This is a great project for using up those random leftover floral stems from other fall crafts!
Easy Rustic Fall Decor on a Dollar Store Budget
I love how this Dollar Store Reverse Canvas Pumpkin Craft turned out. It’s definitely a little more rustic and brown than a lot of my usual projects, but all of the stained wood, creamy paint, eucalyptus, and fall florals work so well together.
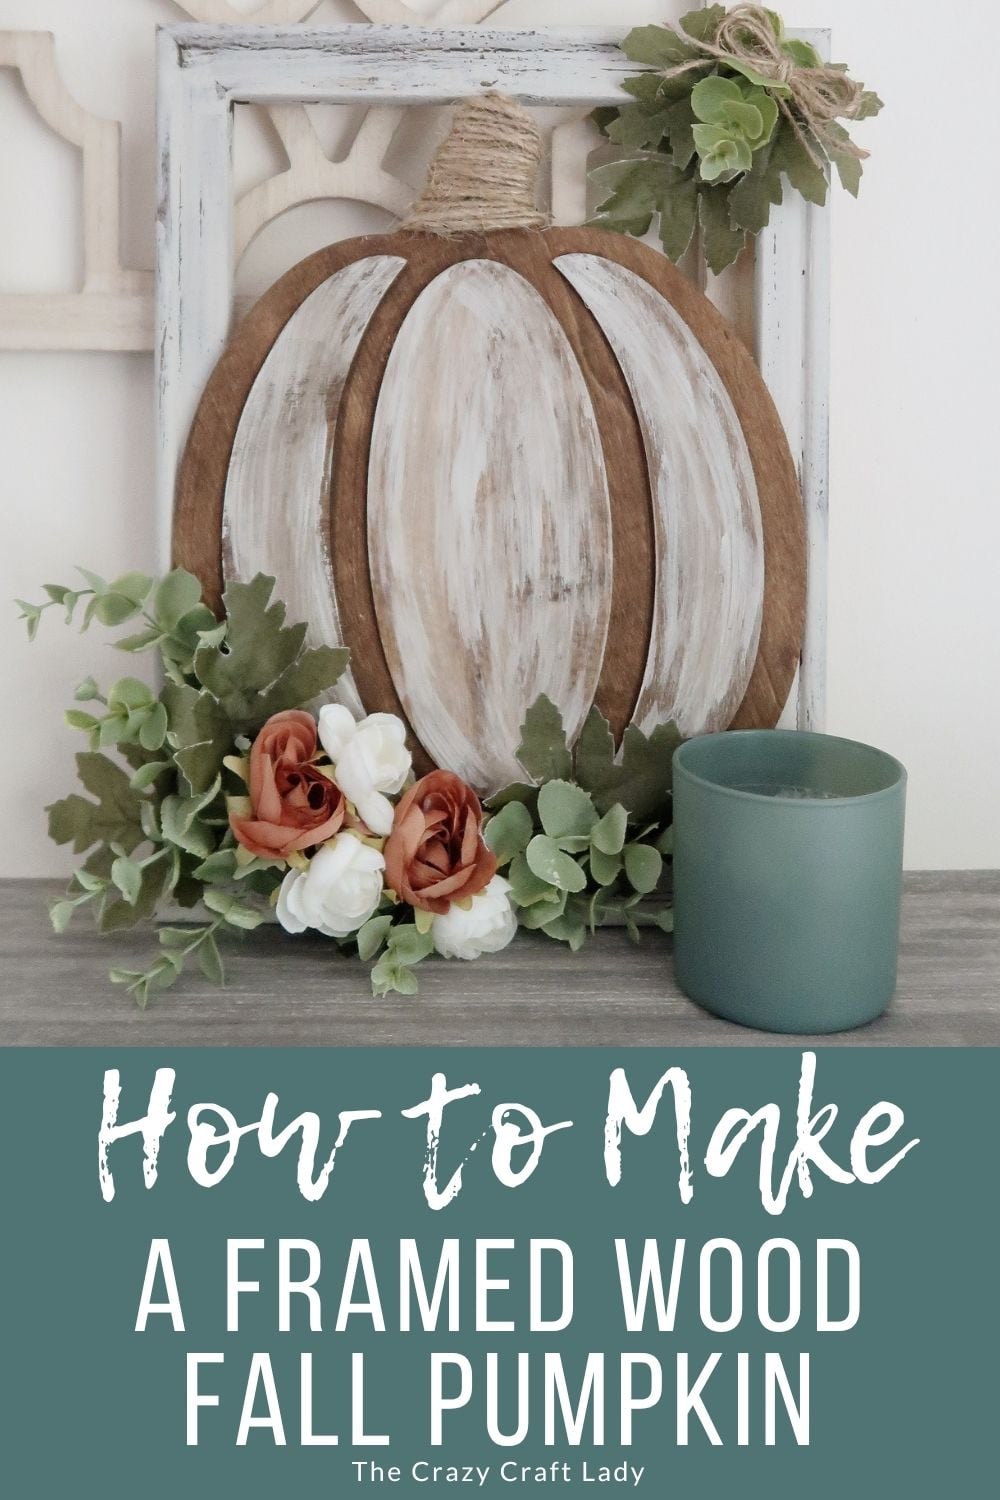
Plus, you can easily customize it with whatever you already have in your craft stash. Change the paint color, swap out the florals, use a different pumpkin cutout, or skip the crackle technique and simply dry brush the entire frame.
Add picture-hanging hardware to the back to turn it into a fall wall hanging, or simply prop it on a shelf, mantel, entryway table, or fall tiered-tray display.
Either way, it’s an easy Dollar Store fall craft with plenty of cozy, rustic charm!