
Turn a dollar store wood pumpkin cutout into pretty neutral fall decor with peel-and-stick wallpaper and simple embellishments.
This post contains some affiliate links for your convenience. Click here to read my full disclosure policy.
If you love easy fall crafts with a pretty neutral color palette, grab one of those inexpensive pumpkin cutouts from the dollar store! This peel and stick wallpaper pumpkin craft is ridiculously simple to make, but the finished pumpkin looks like something you’d find tucked into the fall decor section of a much more expensive store.
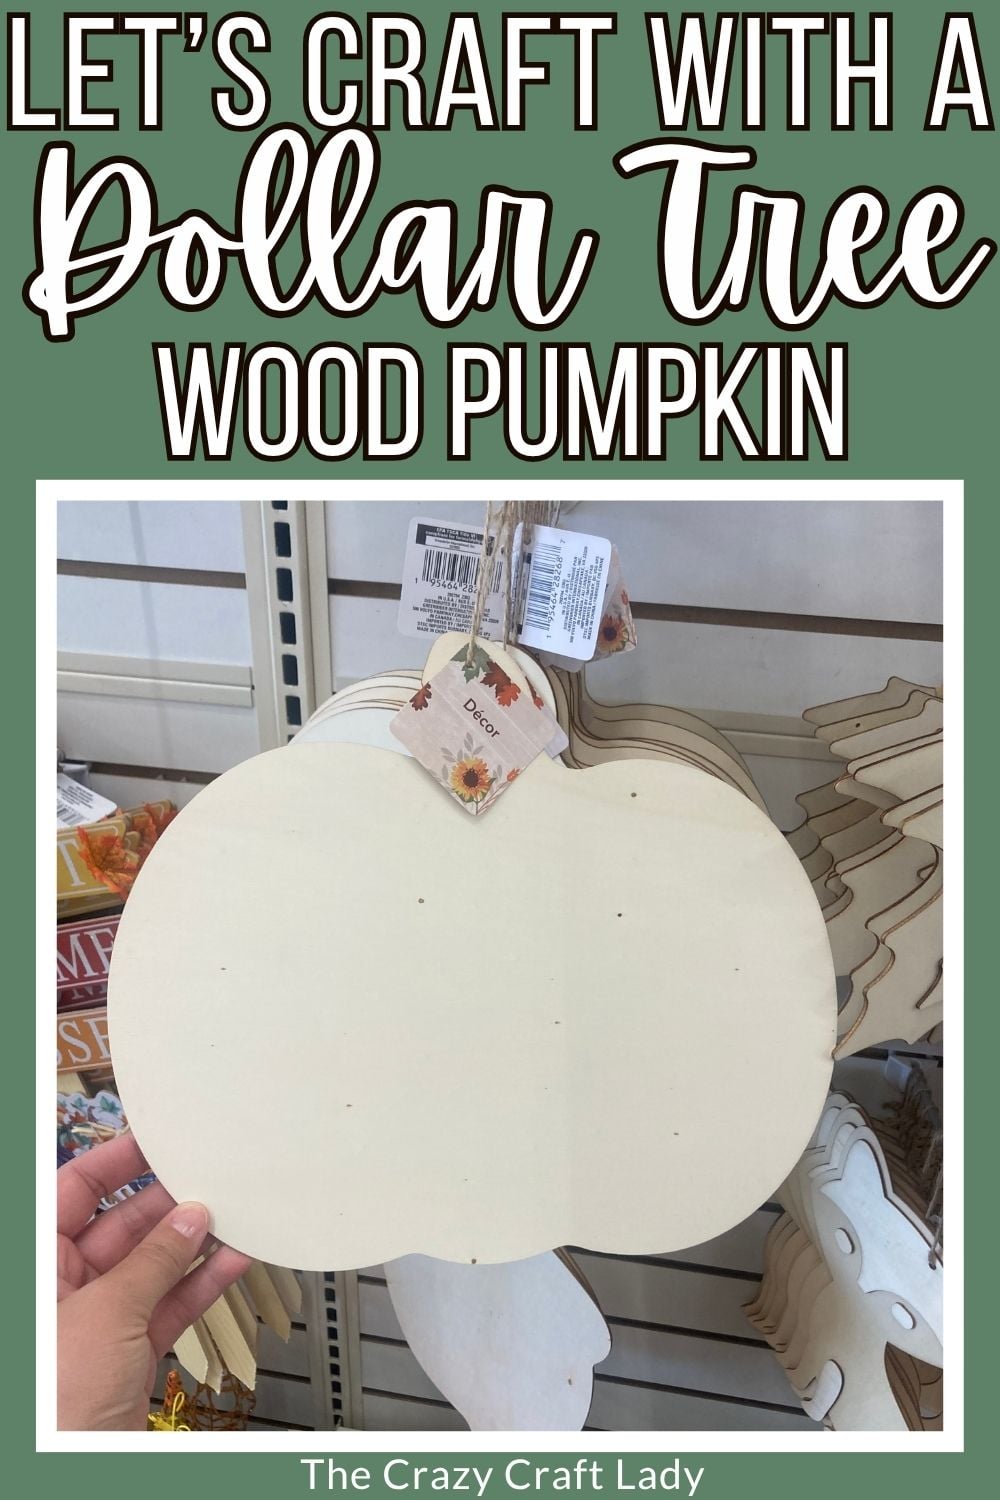
Every fall, Dollar Tree seems to have a great selection of pumpkin cutouts in different shapes and sizes. In years past, I’ve found cardboard versions, but lately I’ve been seeing more unfinished wood pumpkin cutouts—which are even better for crafting.
And then there’s the wallpaper.
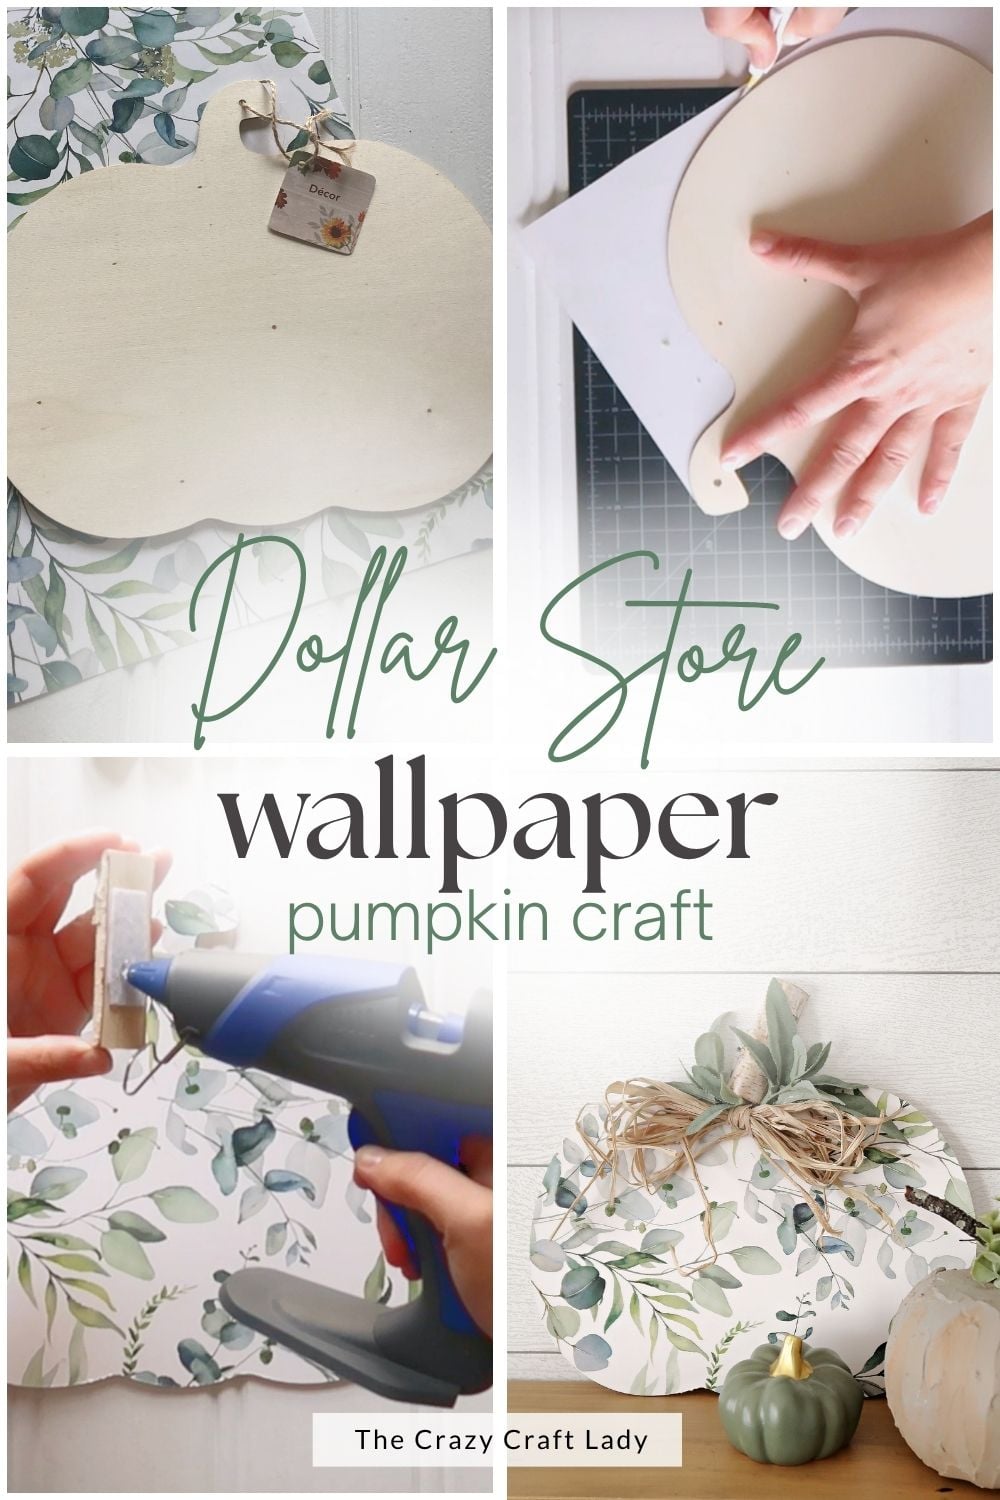
I won the Dollar Tree wallpaper lottery a while back and found this gorgeous eucalyptus peel-and-stick wallpaper. Obviously, I stocked up. I’ve been slowly working my way through my stash, and this little pumpkin was the perfect excuse to use another piece.
No Dollar Store Peel-and-Stick Wallpaper? No Problem!
Just use leftover wallpaper scraps from a different project, decorative printed vinyl (like for Cricut projects), scrapbook paper and Mod Podge, or even decoupage fabric onto your pumpkin. The possibilities are endless!
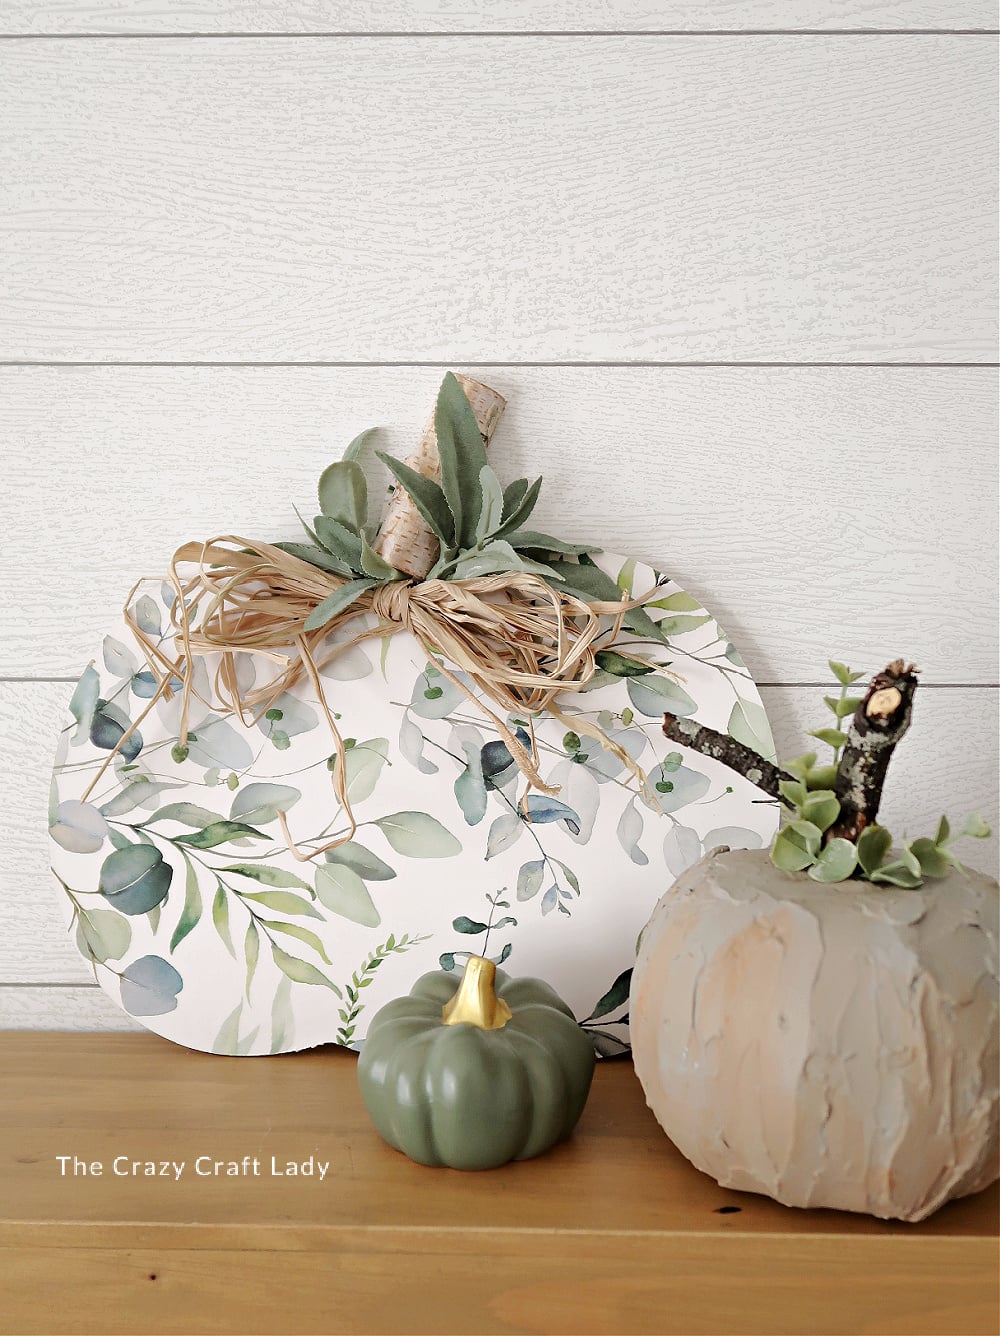
Add a faux birch stem, some greenery, and a messy raffia bow, and you have an easy fall pumpkin that speaks directly to my green, white, and neutral-fall-decor-loving heart.
Video Tutorial: Peel and Stick Wallpaper Pumpkin Craft
Watch this quick video to see how this craft came together:
Peel and Stick Wallpaper Pumpkin Craft
This easy Dollar Tree wallpaper pumpkin craft combines eucalyptus print, greenery, raffia, and rustic details for neutral fall decor.
Materials
- Dollar store wood pumpkin cutout
- Peel-and-stick wallpaper
- Faux birch piece, small twig, or similar piece for the stem
- Faux lamb's ear or greenery
- Raffia
Tools
- Mini cutting mat
- Pen blade or craft knife
- Hot glue gun and glue sticks
Instructions
- Watch the Video Tutorial. Watch the video tutorial to see exactly how I transformed a basic dollar store pumpkin cutout with peel-and-stick wallpaper and a few simple embellishments.
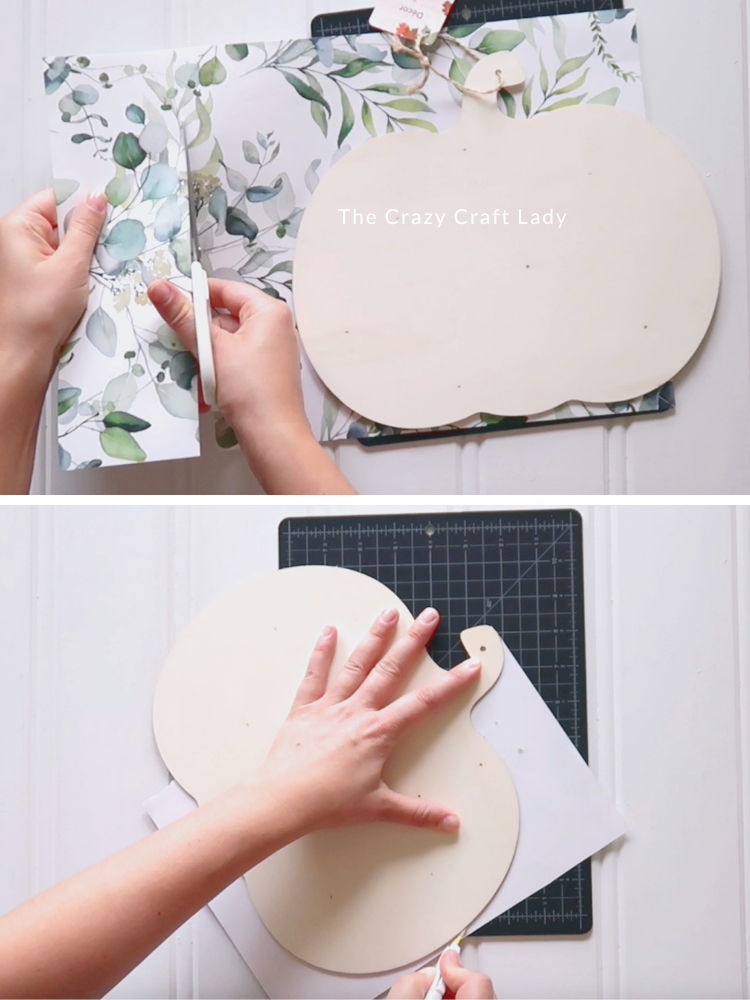
- Cover the Pumpkin with Wallpaper. Cut a piece of peel-and-stick wallpaper slightly larger than your pumpkin cutout. Save those scraps—they're perfect for another little project! Peel away the adhesive backing and carefully smooth the wallpaper over the front of the pumpkin. Press it down firmly, working out any bubbles or wrinkles as you go.

- Trim the Excess Wallpaper. Place the covered pumpkin on a small cutting mat. Use a sharp pen blade or craft knife to carefully cut around the outside edge of the wood pumpkin.
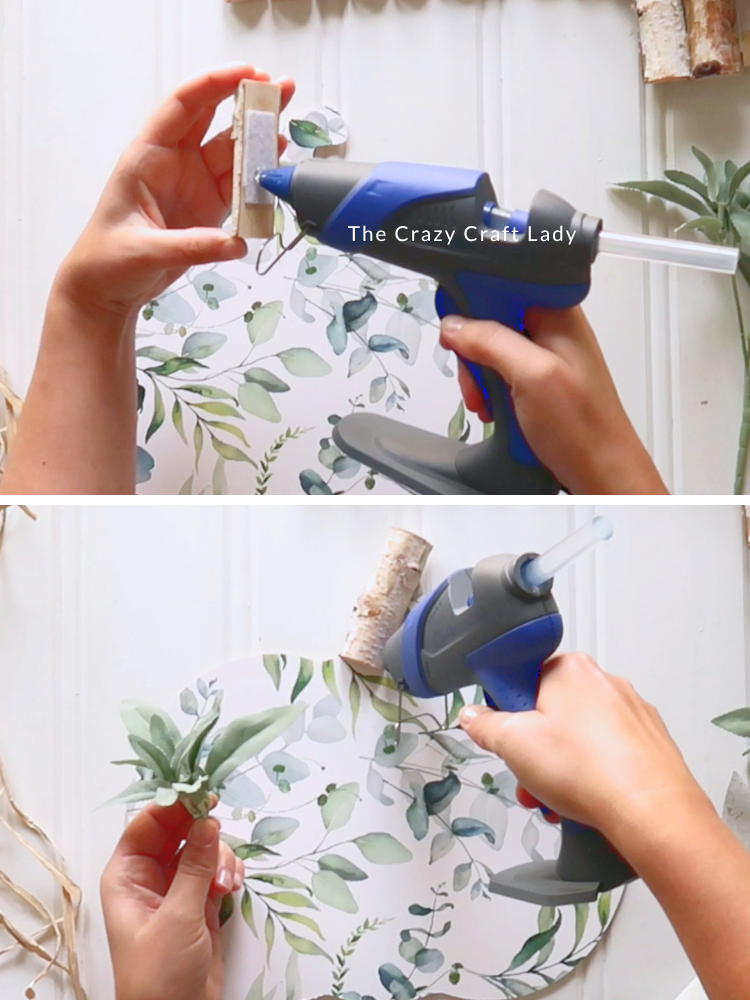
I love this method because you don't have to perfectly trace and cut the pumpkin shape ahead of time. Just cover the entire thing and trim away the excess afterward. - Add a Rustic Pumpkin Stem. For a little extra dimension, I hot glued a small half-birch-log piece over the existing pumpkin stem. Mine came from a roll of birch pieces I found at Hobby Lobby around Christmas, but there's absolutely no reason to buy something special for this. A little twig from your yard would be adorable, too.
- Add Some Greenery. Cut a few small sprigs of faux lamb's ear or your favorite greenery and hot glue them near the base of the pumpkin stem. This is also a great opportunity to use those random little pieces of faux greenery left over from other projects.
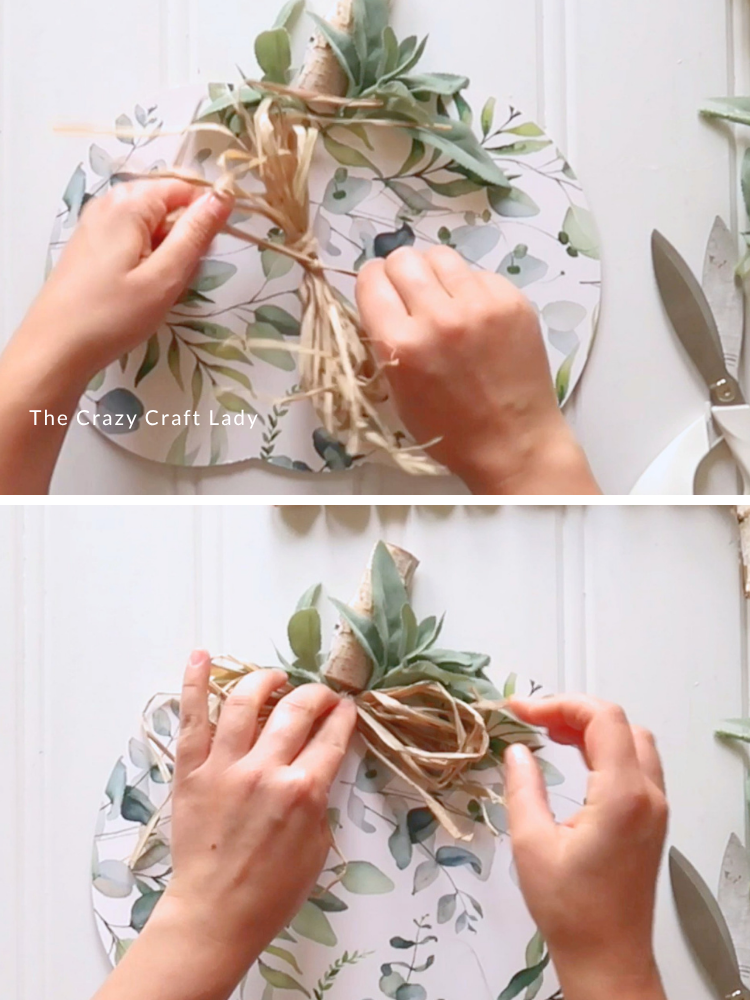
- Make a Messy Raffia Bow. I wanted this pumpkin to have a casual, rustic look, so I made a big, messy raffia bow. Create a large loop with the raffia, wrap another piece around the center several times, and tie it securely. I wrapped mine around about 10 times before tying it off. If you want your raffia to look a little neater than mine, you can soak it in water first and let it dry straight.
- Finish the Pumpkin. Hot glue the raffia bow at the base of the stem, fluff everything until you're happy with it, and that's it! Such an easy little fall project.
Notes
No peel-and-stick wallpaper? Use contact paper instead. For regular scrapbook or decorative paper, simply attach it to the pumpkin with Mod Podge and allow it to dry before trimming.
Customize Your Dollar Store Pumpkin Cutout
There are so many ways you could change up this project depending on the peel-and-stick wallpaper or decorative paper you find.
Try faux wood-grain contact paper for a rustic farmhouse pumpkin, a small floral print for a cottage-style look, buffalo check for traditional fall decor, or a black-and-white pattern for something a little more modern.
You could also swap the lamb’s ear for eucalyptus, fall leaves, wheat, or whatever faux greenery you already have tucked away in your craft stash.
Easy Neutral Fall Decor on a Budget
I love a good orange pumpkin, but when it comes to decorating my own home for fall, I’m always drawn to greens, whites, natural wood tones, and neutrals.
This peel and stick wallpaper pumpkin craft checks all those boxes.
Even better, it’s one of those projects that doesn’t require a giant pile of supplies. Start with an inexpensive dollar store pumpkin, add a scrap of wallpaper and a few leftover embellishments, and you’ve got a pretty piece of fall decor that you can display on a shelf, mantel, tiered tray, or tucked into a fall vignette.