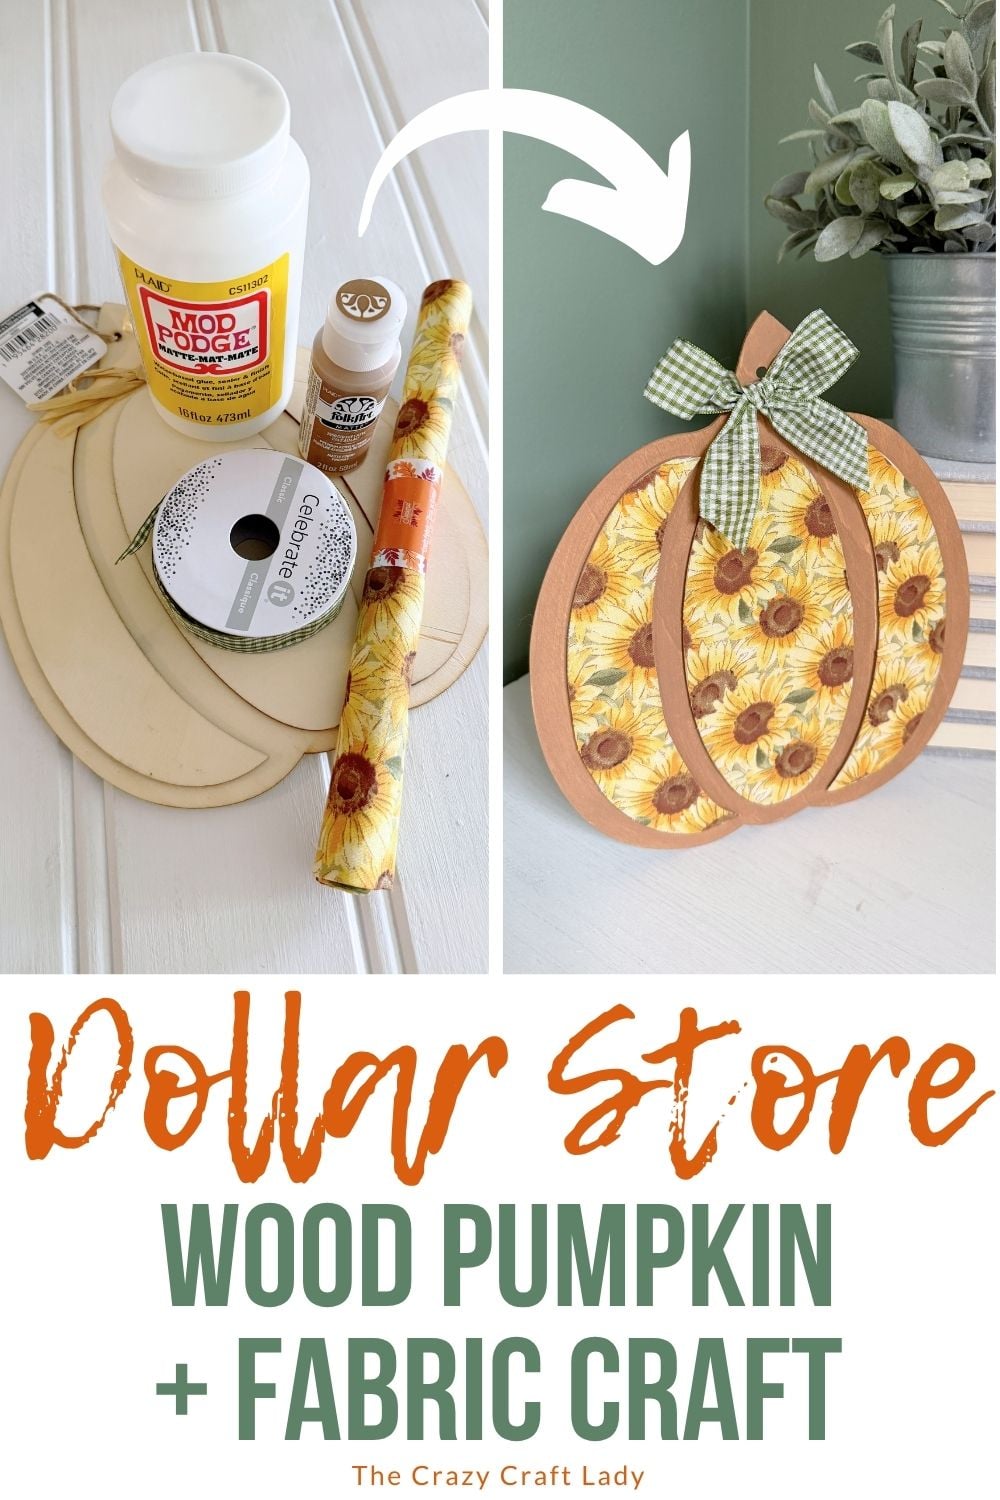
Make a Fabric Decoupage Wood Pumpkin Cutout using fall fabric, Mod Podge, and paint for an easy, budget-friendly autumn craft.
How to make a Fabric Decoupage Wood Pumpkin Cutout
This post contains some affiliate links for your convenience. Click here to read my full disclosure policy.
Give a simple Dollar Tree pumpkin a cozy fall makeover with this easy Fabric Decoupage Wood Pumpkin Cutout craft! A little fall fabric, Mod Podge, paint, and ribbon are all you need to turn an inexpensive wood cutout into cute autumn decor.
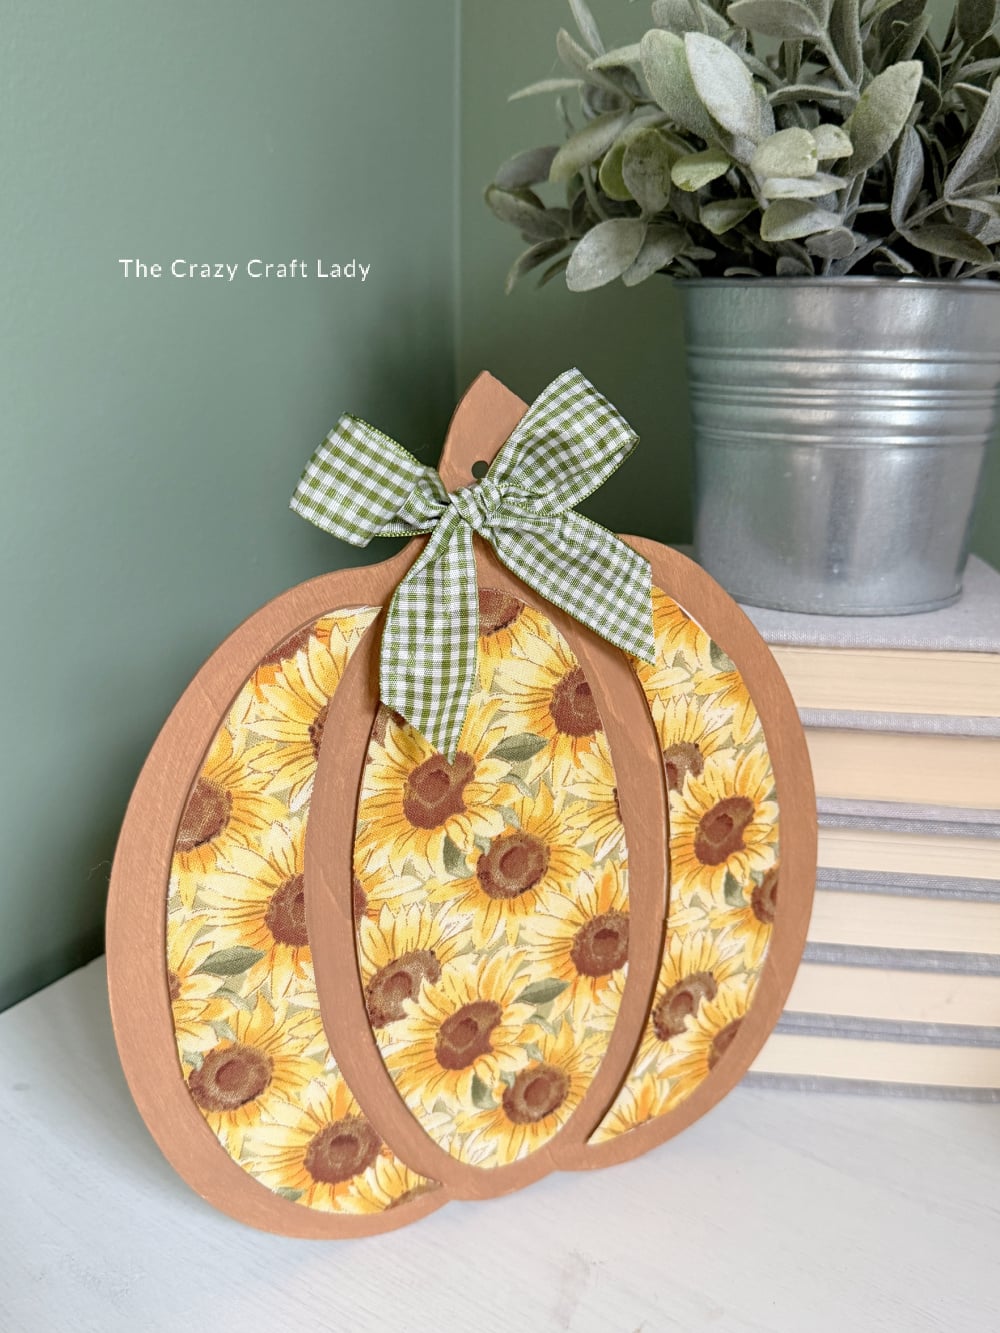
I used a sunflower print fabric from the dollar store, but you can customize this project with whatever fabric you have in your craft stash. Plaid, pumpkins, florals, or even scrapbook paper would all work beautifully.
This is one of those easy Dollar Tree fall crafts that looks completely different depending on the colors and patterns you choose.
Watch the Video Tutorial
Watch the video tutorial below to see exactly how I made this Fabric Decoupage Wood Pumpkin Cutout, including my easy trick for creating templates that fit the raised sections of the pumpkin.
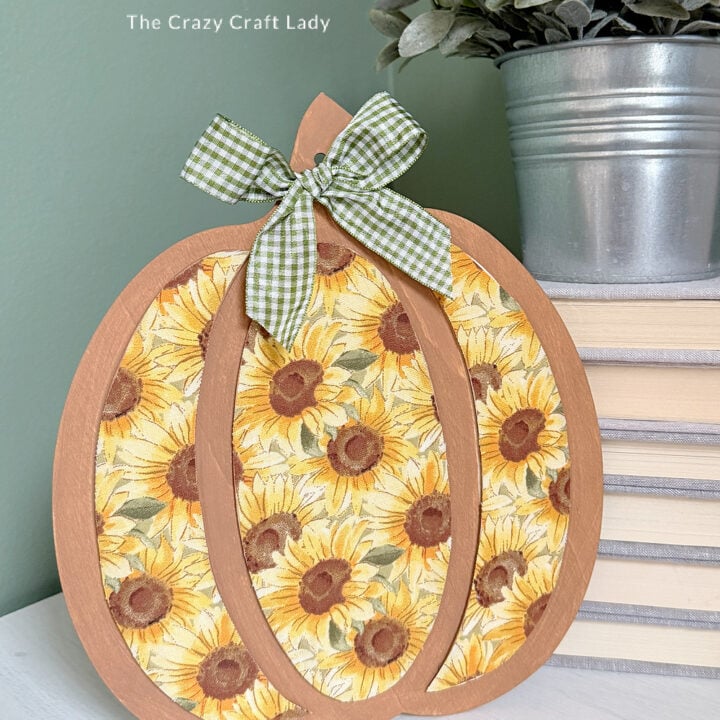
Fabric Decoupage Wood Pumpkin Cutout
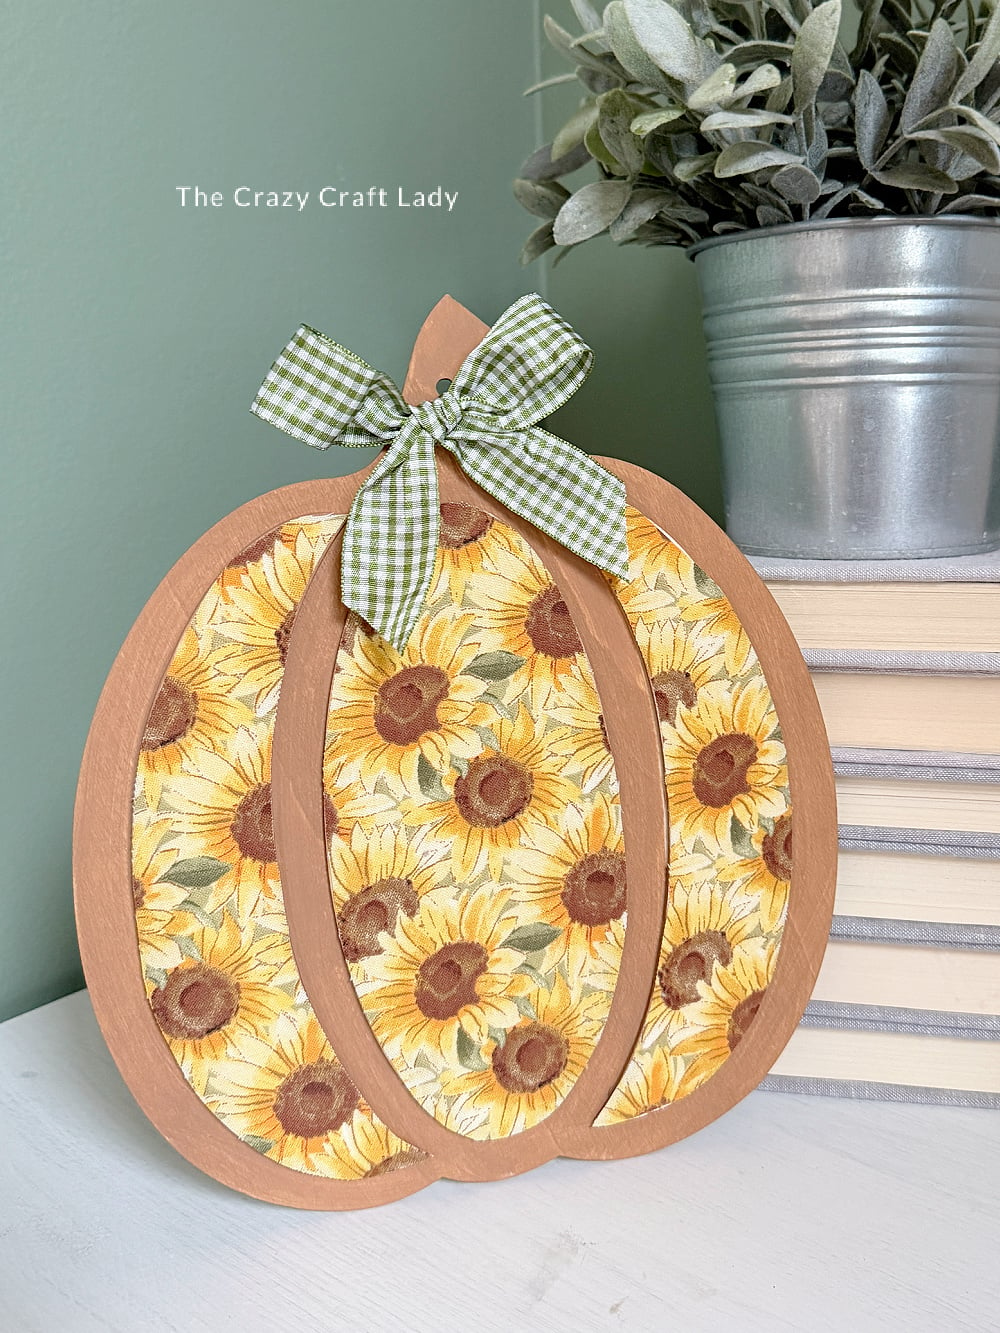
This Fabric Decoupage Wood Pumpkin Cutout is an easy fall craft using inexpensive supplies, fabric, paint, and a simple decoupage technique.
Materials
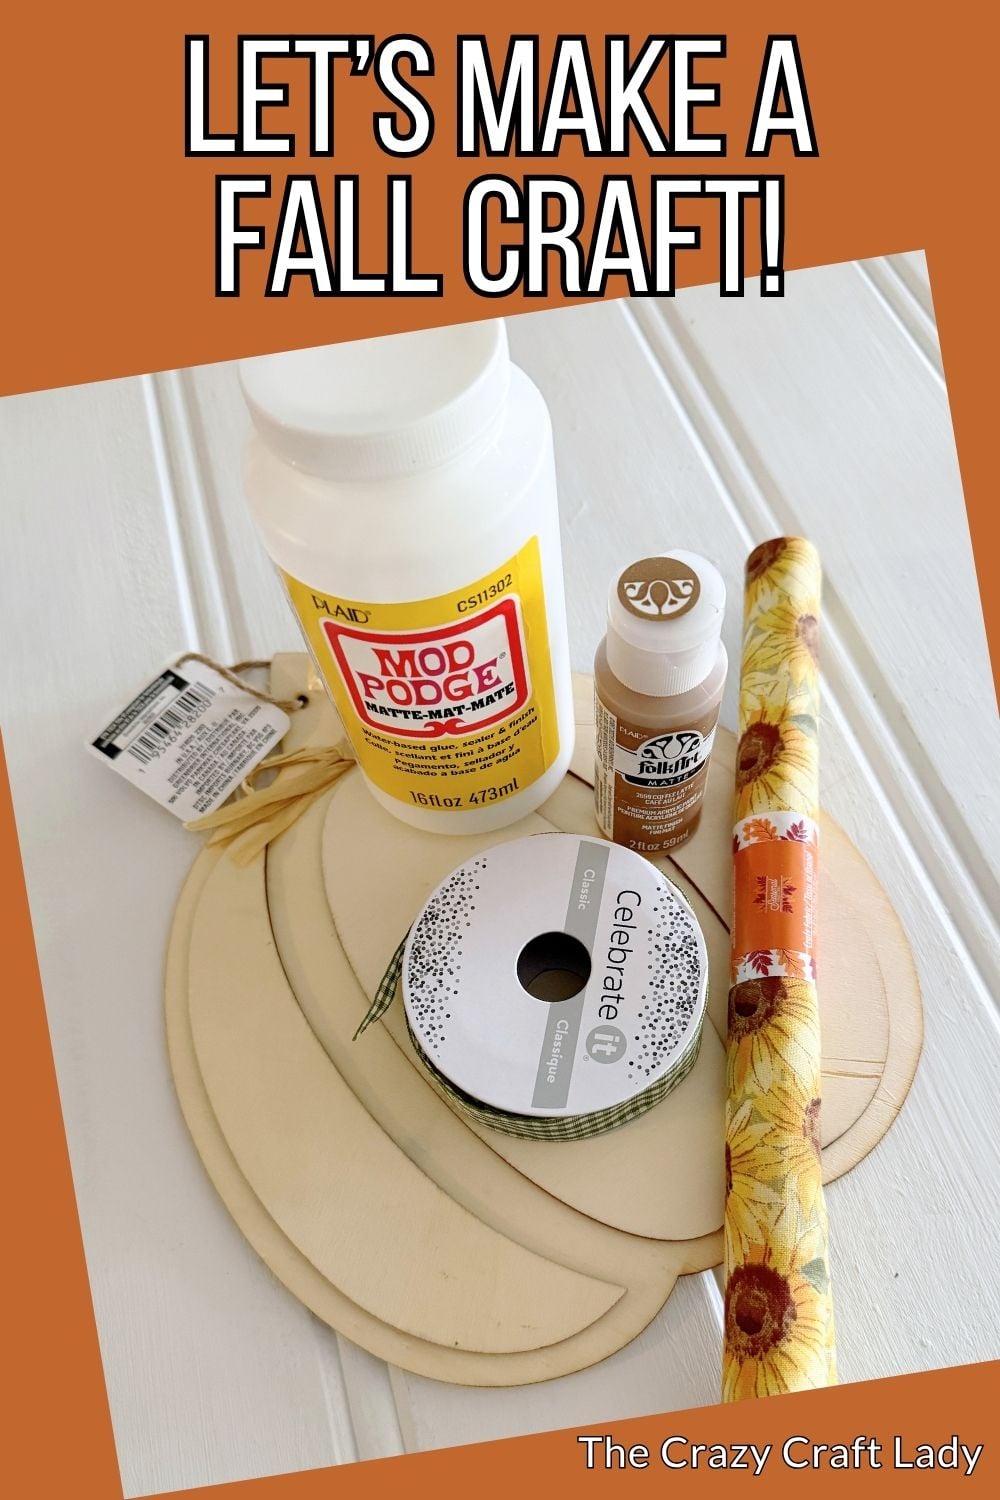
- Dollar Tree wood pumpkin cutout
- Fall fabric
- Mod Podge
- Acrylic craft paint
- 1 Sheet of printer paper, or other scrap paper
- Ribbon
Tools
- Paintbrush
- Pen
- Craft scissors
- Rotary cutter and cutting mat, optional
- Hot glue gun and glue sticks
Instructions
- Watch the Video Tutorial. Watch the full video tutorial to see exactly how this pumpkin craft came together. Then follow the written instructions below as you create your own.
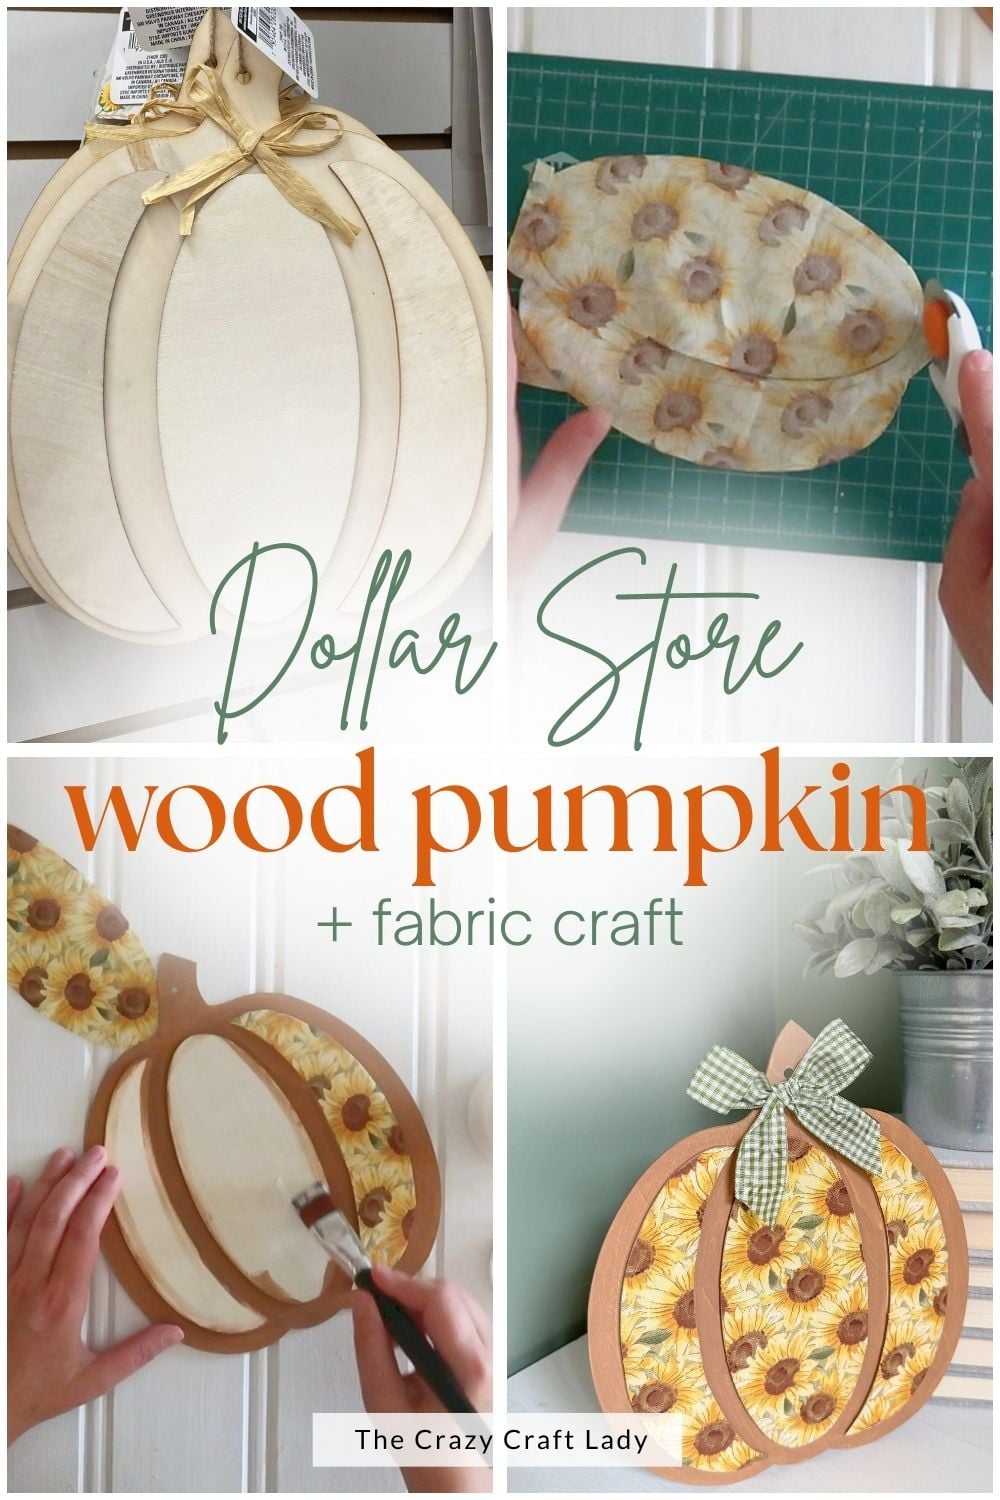
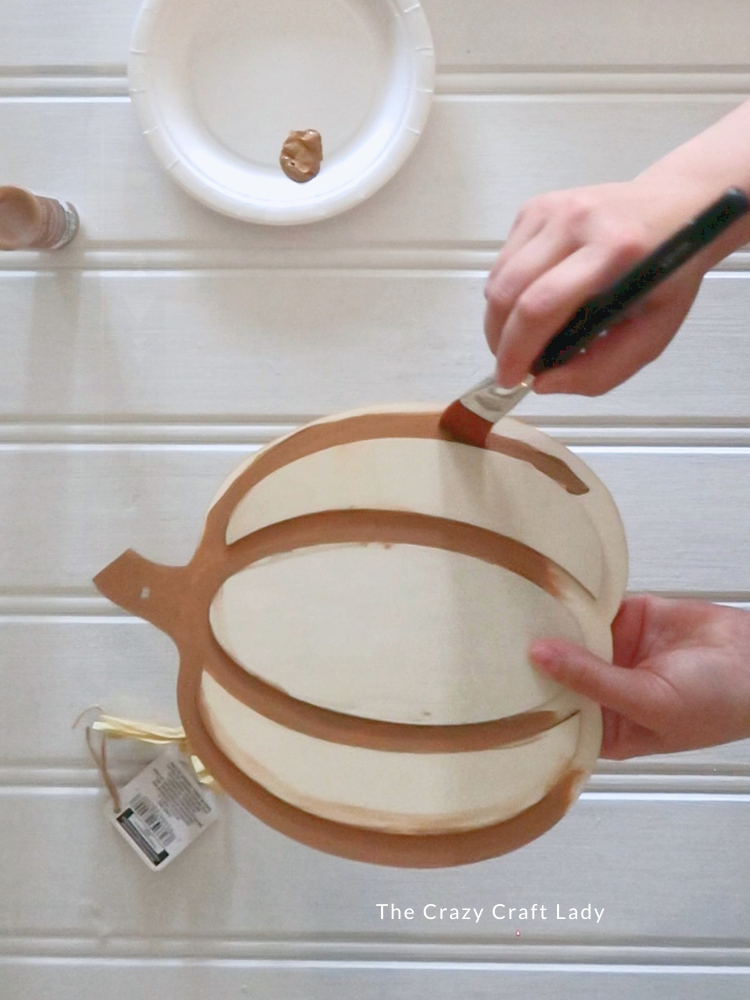
- Prep the Wood Pumpkin. Start by removing any embellishments from the top of your wood pumpkin cutout. Mine had a small decoration attached with hot glue, so I pulled it off and scraped away the remaining glue. My pumpkin had three raised wood sections that I wanted to cover with fabric. I left those sections unfinished for now and painted the recessed areas around them with a light brown craft paint. Choose a paint color that coordinates with your fabric and let it dry completely.

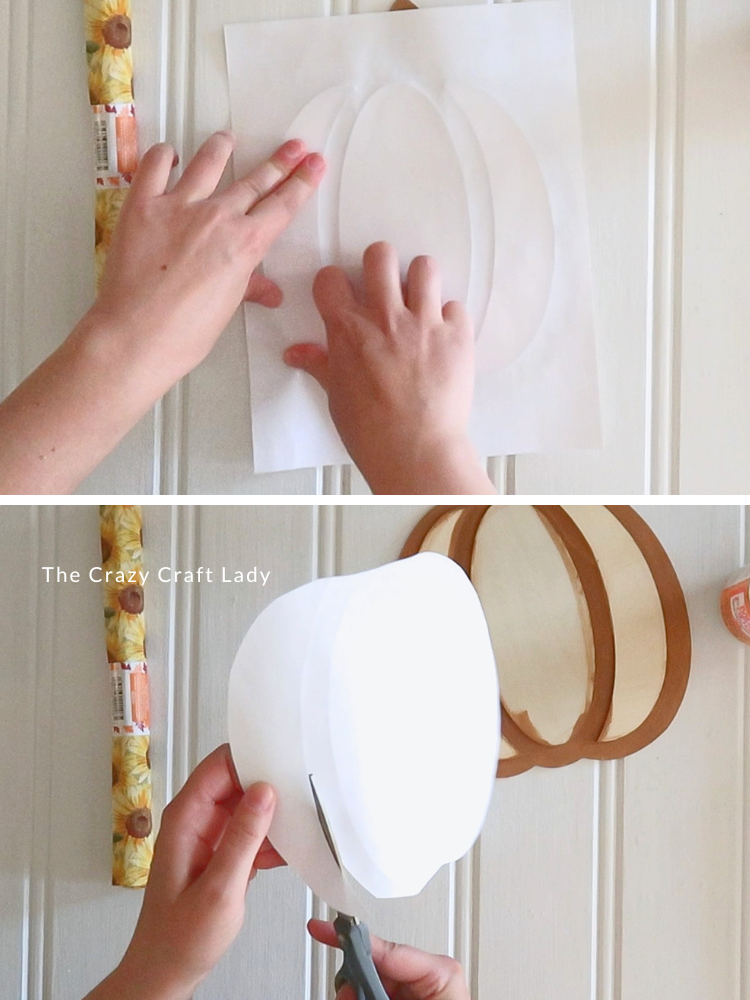
- Make Paper Templates. Instead of trying to guess the exact shape of those raised pumpkin sections, we're going to make templates. Place a piece of regular printer paper over the wood pumpkin and use your fingertips to gently press and smooth the paper around the edges of each raised section. You should be able to see and feel the outline transferred onto the paper. Carefully cut along those creased lines to create three paper templates that match your pumpkin.
- Trace the Templates onto Fabric. Flip your fall fabric over so you're working on the wrong side.
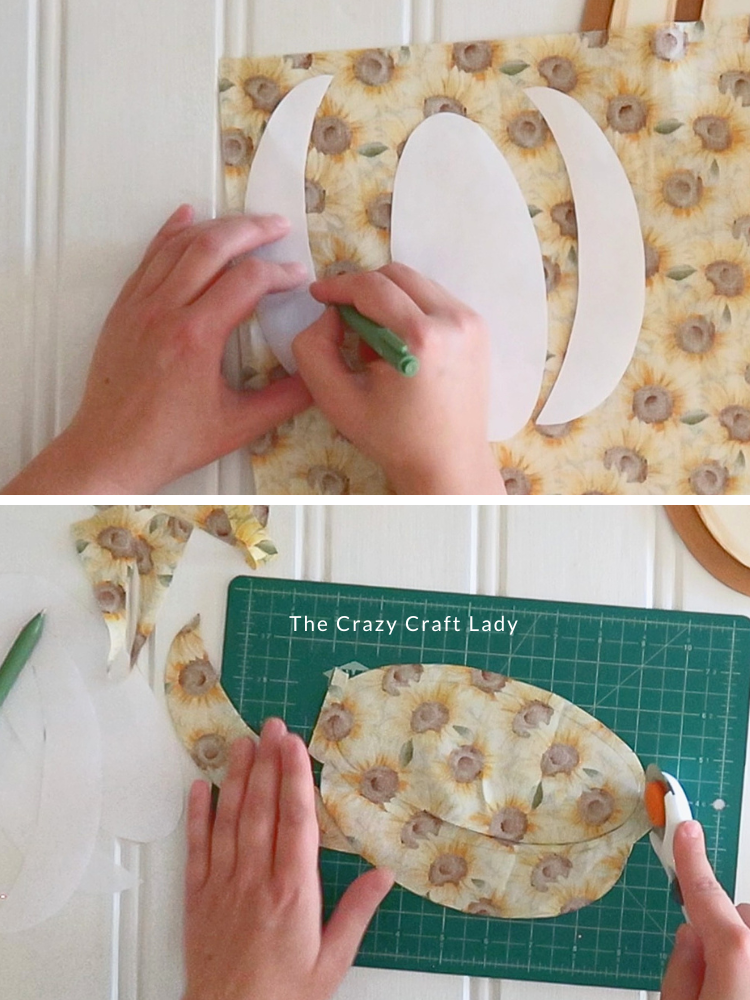
Arrange the three paper templates on the fabric and trace around each one with a pen. I prefer using a regular pen instead of a marker so there's less chance of ink bleeding through the fabric.
Take your time and keep the paper from shifting as you trace. - Cut Out the Fabric. Carefully cut out all three fabric pieces. A rotary cutter and cutting mat worked much better for me, especially around the curves. If you don't have a rotary cutter, sharp fabric scissors will work too.
- Test Fit the Fabric. Make sure the fabric pieces fit neatly inside their corresponding raised sections. If anything hangs over the edge, trim away a tiny bit of fabric at a time until you're happy with the fit.
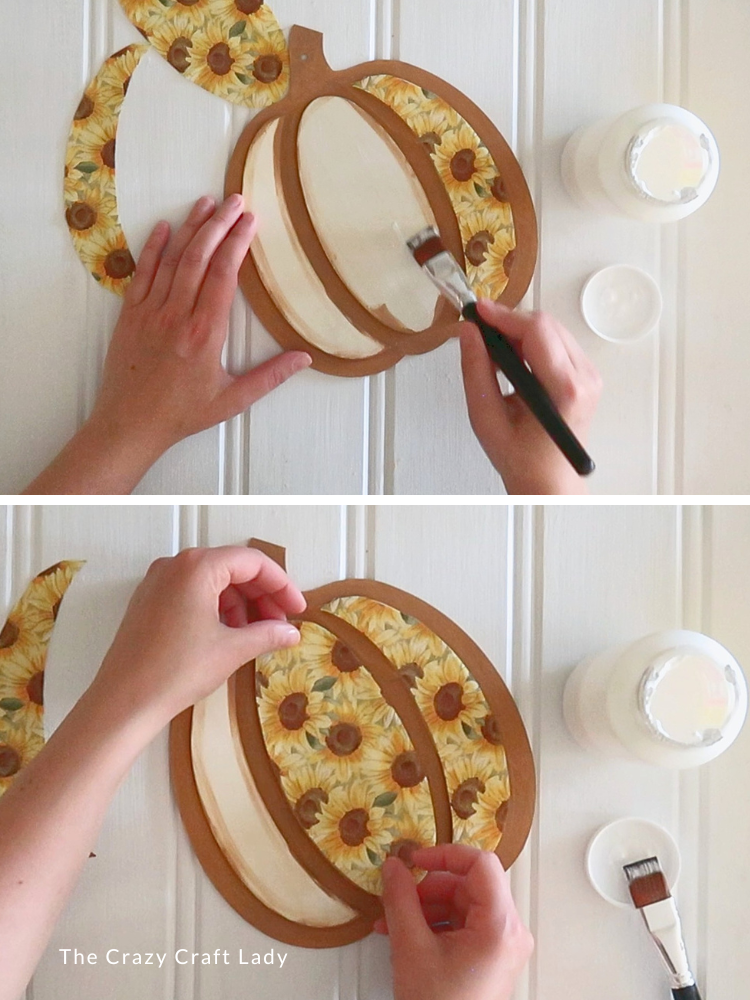
- Decoupage the Fabric onto the Pumpkin. Working with one section at a time, brush Mod Podge directly onto the raised wood surface. Carefully position the corresponding fabric piece over the Mod Podge and smooth it down with your fingertips. Repeat with the other two sections until your entire pumpkin is covered.
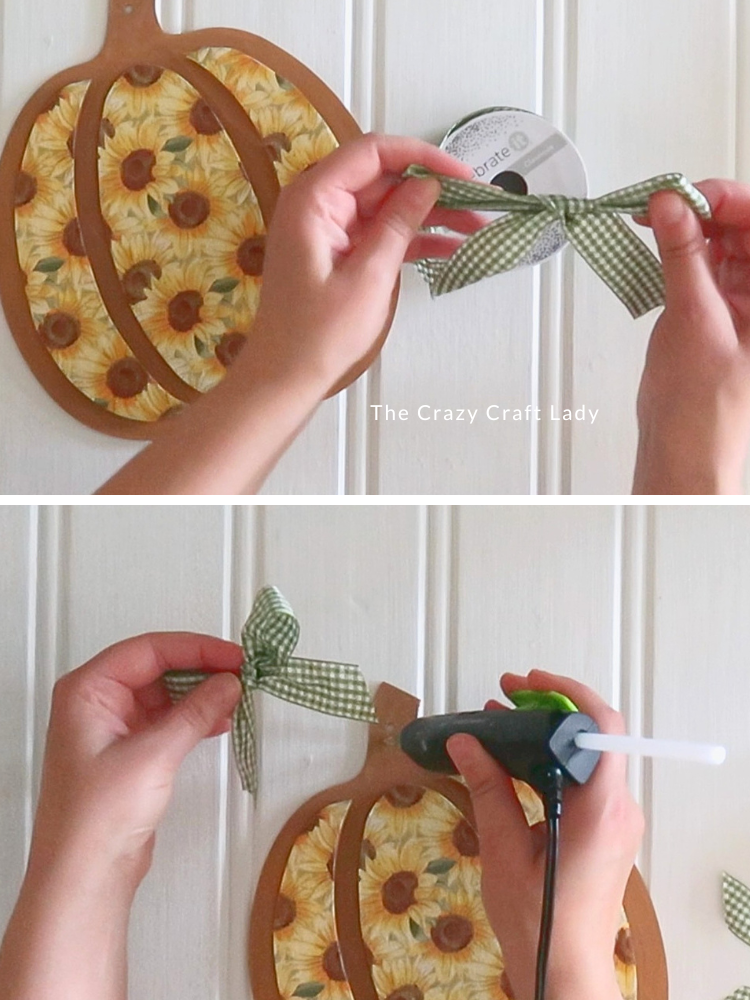
- Add a Ribbon Bow. I used green and white check ribbon to make a simple bow using the bunny ears method: one loop, two loops, tie them together, and pull everything tight. Tighten the loops, trim down the tails, and cut the ends at a 45-degree angle. Hot glue the finished bow at the base of the pumpkin stem.
Notes
Tips for Fabric Decoupage on Wood. Fabric decoupage is pretty forgiving, but there are a few things that will make this project easier:
- Always test fit your fabric pieces before applying Mod Podge. It's much easier to trim a dry piece of fabric than to discover it's too large after it's covered in glue.
- You'll also get a cleaner finished project if you trace your pattern onto the back of the fabric. That way, you don't have to worry about stray pen marks showing on the finished pumpkin.
- And if you're working with detailed shapes or lots of curves, a rotary cutter can give you a little more precision than regular scissors.
Can You Decoupage Fabric onto Wood?
Absolutely! Fabric and Mod Podge work really well together on unfinished wood.
The Mod Podge adheres the fabric to the wood while allowing the texture and pattern of the material to remain visible. It’s a fun alternative to traditional paper decoupage, especially for fall crafts when plaid, floral, pumpkin, and sunflower fabrics are everywhere.
For this project, you only need Mod Podge underneath the fabric to adhere it to the pumpkin.
Don’t Have Fall Fabric?
No problem.
You can use scrapbook paper instead and follow essentially the same process. Create your paper templates, trace them onto your scrapbook paper, cut everything out, and decoupage the pieces onto the wood pumpkin.
You could also try leftover fabric scraps from another project, which makes this a great craft for using up those little pieces that aren’t quite big enough for anything else.
Easy Dollar Tree Fall Pumpkin Craft
I just love crafting with these little Dollar Tree wood cutouts. They’re inexpensive, easy to customize, and there are about a million different things you can do with them.
And this Fabric Decoupage Wood Pumpkin Cutout might be one of my favorite fall versions yet. The fabric adds so much texture and pattern without making the project complicated.
So if you spot one of these wood pumpkins at the dollar store this fall, grab it—and then go dig through that fabric stash!
PIN this fall pumpkin craft for later: