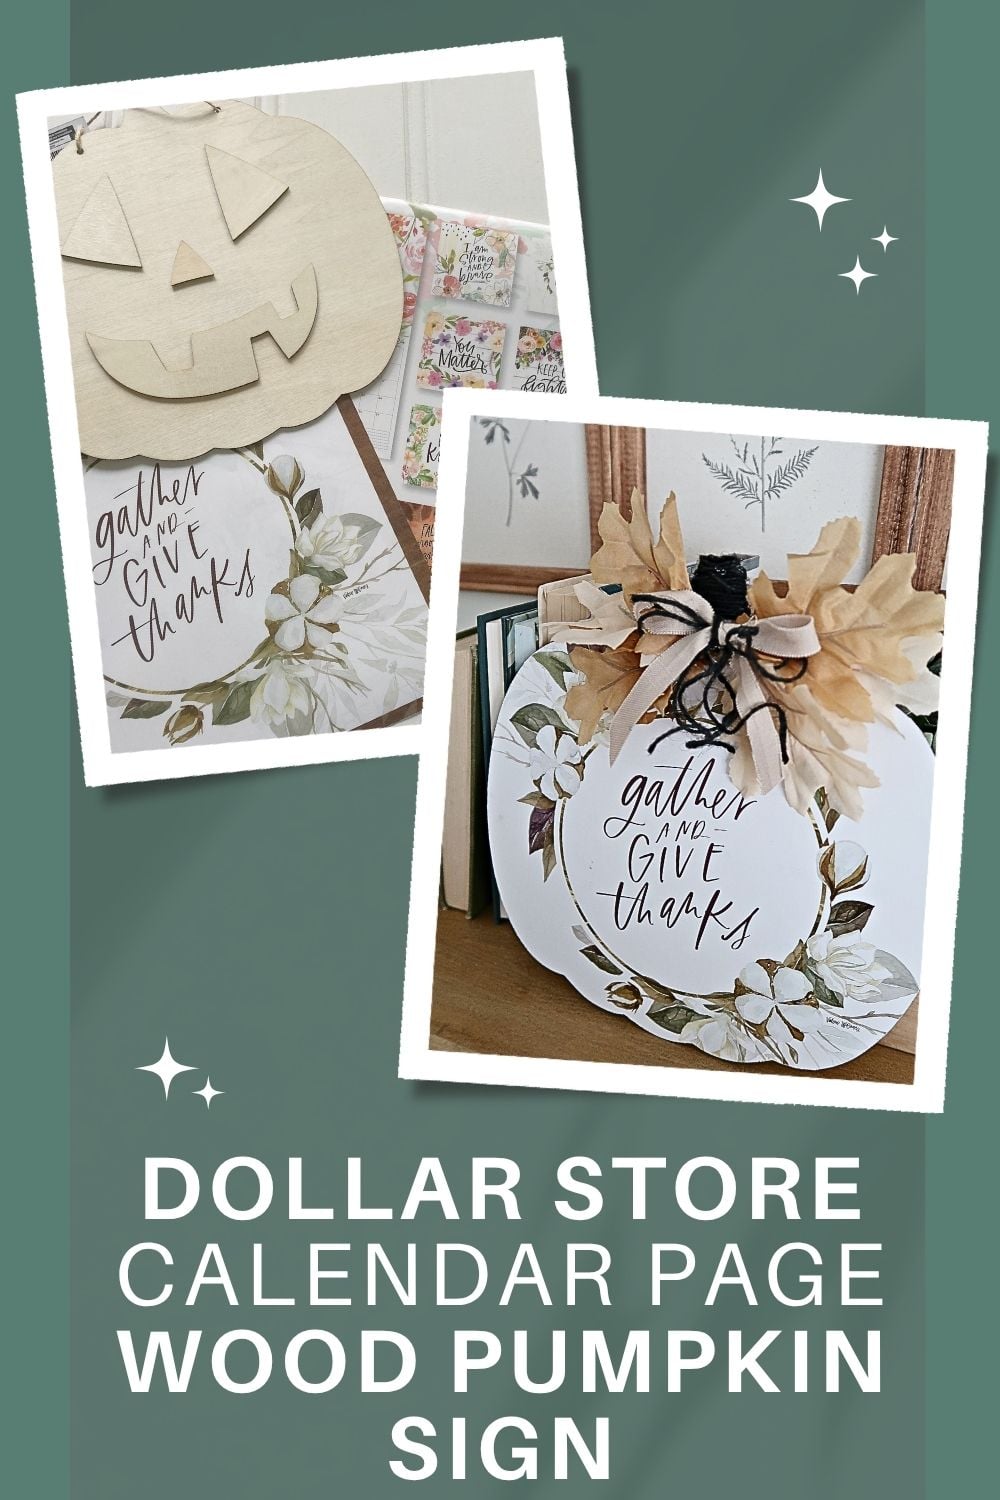
Make a Calendar Page Decoupage Pumpkin Craft using a dollar store wood cutout, Mod Podge, fall leaves, fabric, and twine.
This post contains some affiliate links for your convenience. Click here to read my full disclosure policy.
I’m back with another calendar page pumpkin craft, and at this point, I think it’s safe to say I have a slight obsession with turning old Dollar Tree calendars into seasonal decor.
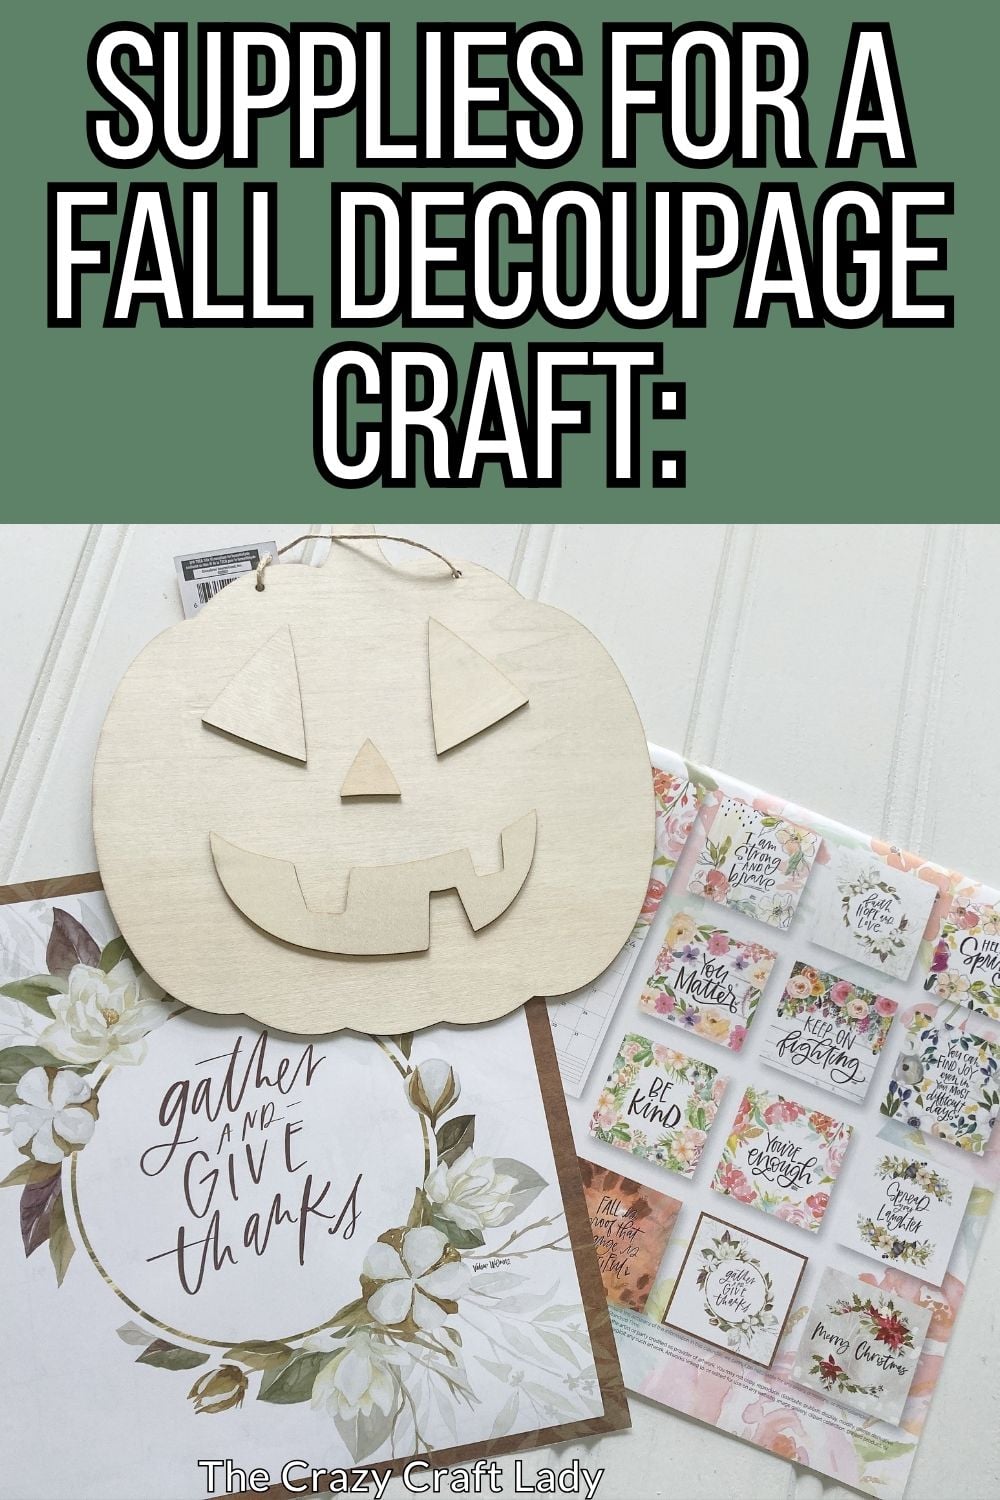
This Calendar Page Decoupage Pumpkin Craft starts with an inexpensive jack-o’-lantern wood cutout, but we’re flipping it over and using the plain backside. Add a pretty calendar page, a little Mod Podge, some fall leaves, and a few scraps from your craft stash, and suddenly that basic dollar store pumpkin looks completely different.
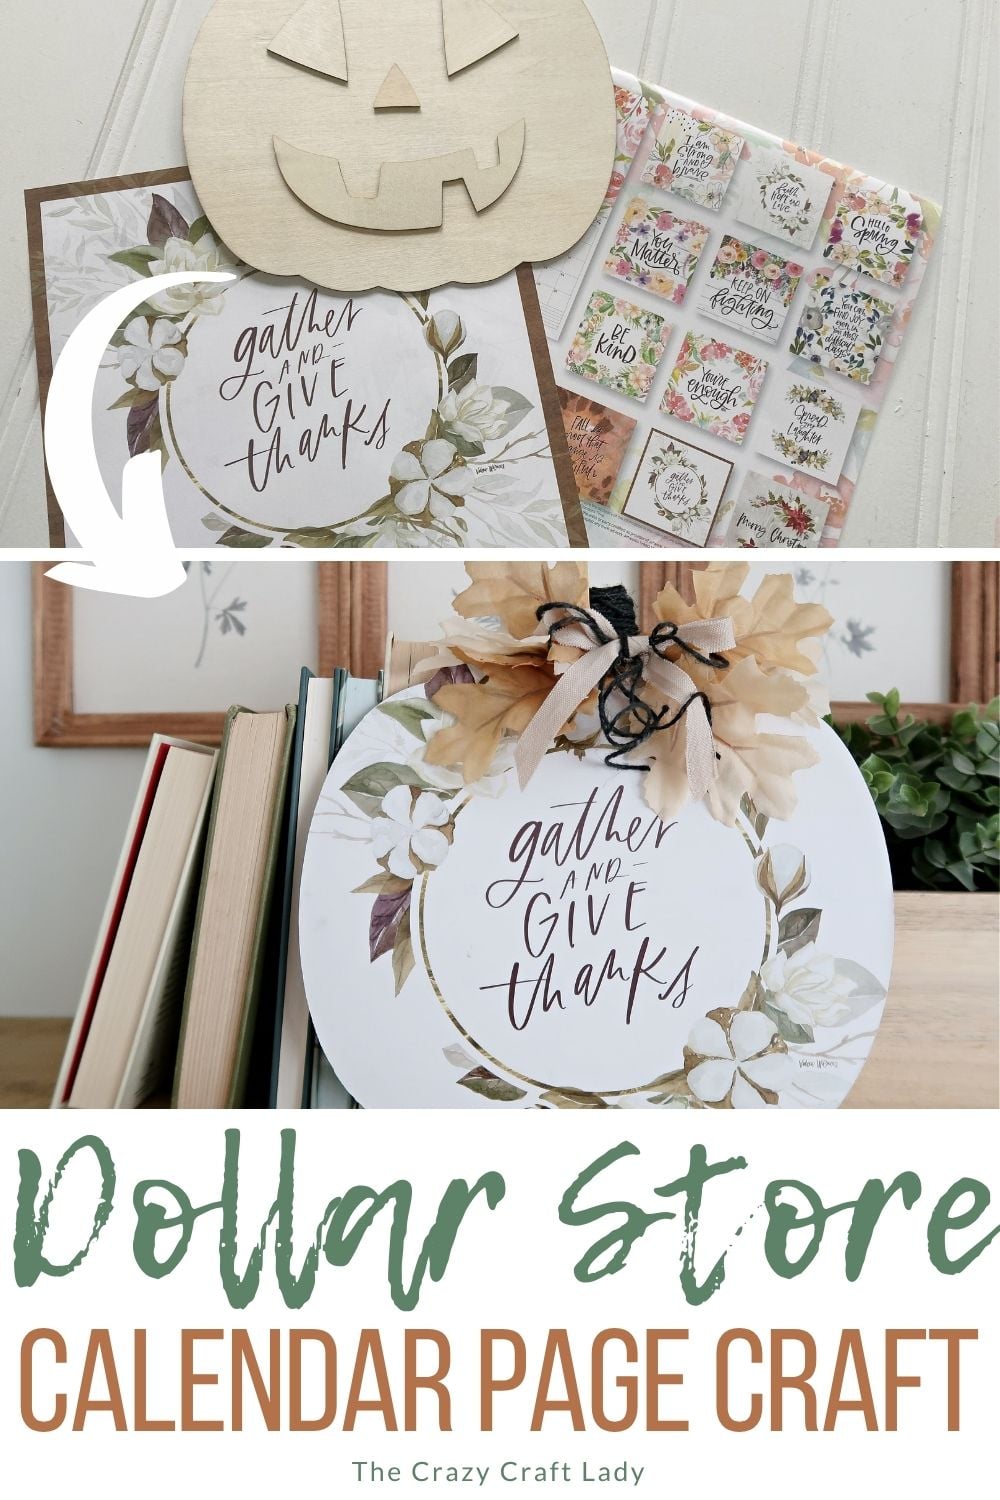
Video Tutorial: Calendar Page Decoupage Pumpkin Craft
Watch this quick video to see how this craft came together:
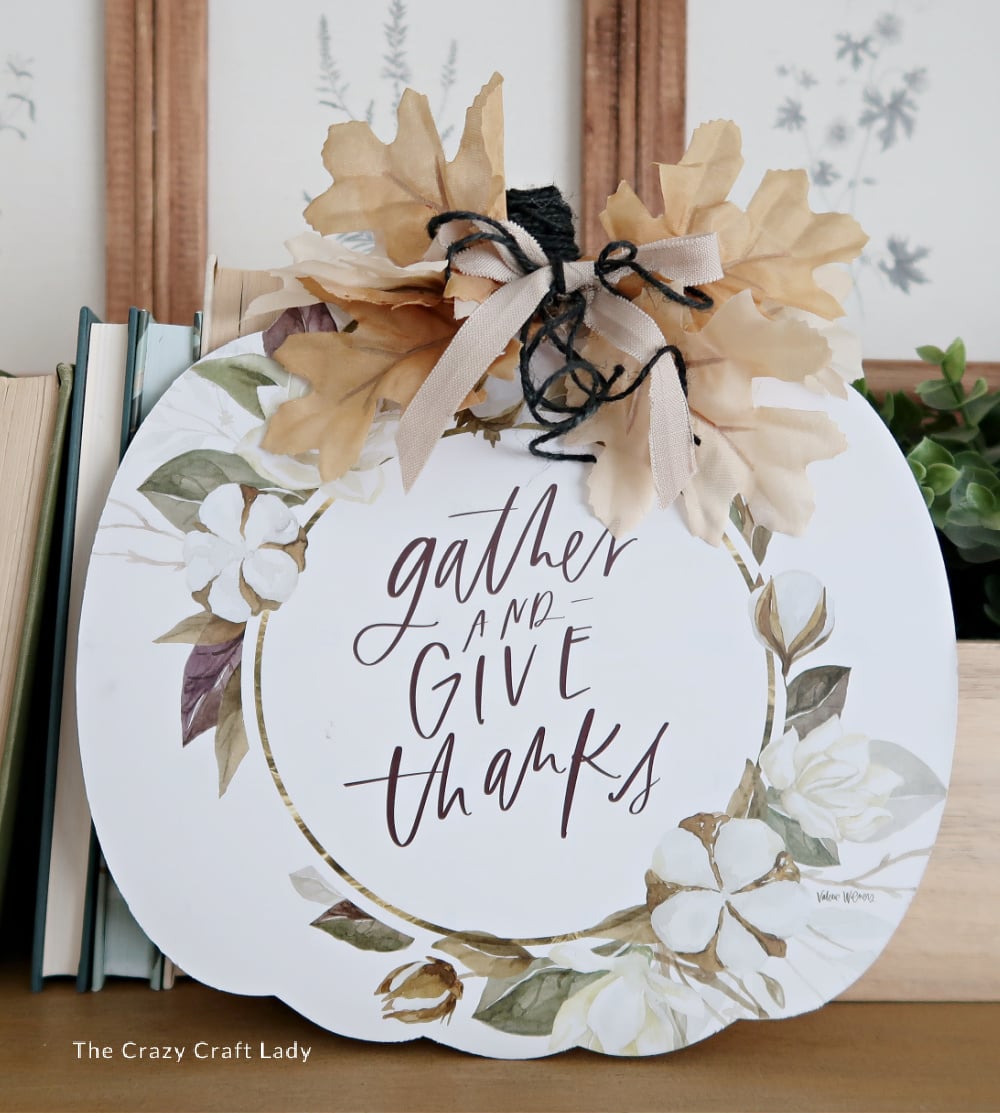
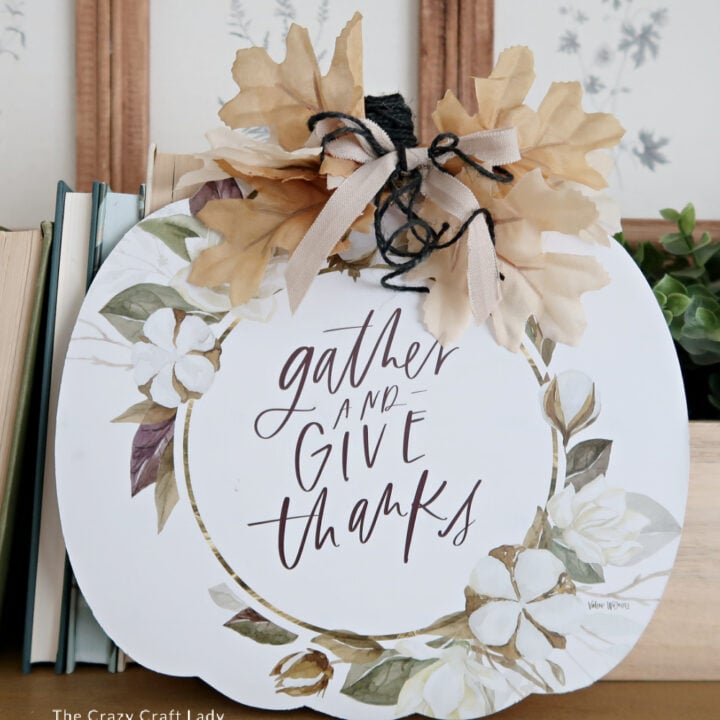
Calendar Page Decoupage Pumpkin Craft
Use an old calendar page to transform a Dollar Tree wood pumpkin into inexpensive DIY fall decor with leaves, fabric, and twine.
Materials
- Dollar store jack-o’-lantern wood pumpkin cutout
- Calendar page
- Mod Podge
- Parchment paper
- Dollar store faux leaves and berries
- Neutral scrap fabric
- Black twine
Tools
Instructions
- Watch the Video Tutorial. Watch the video tutorial first to see the full process, including the heat-press decoupage technique for getting a smooth finish with calendar paper.
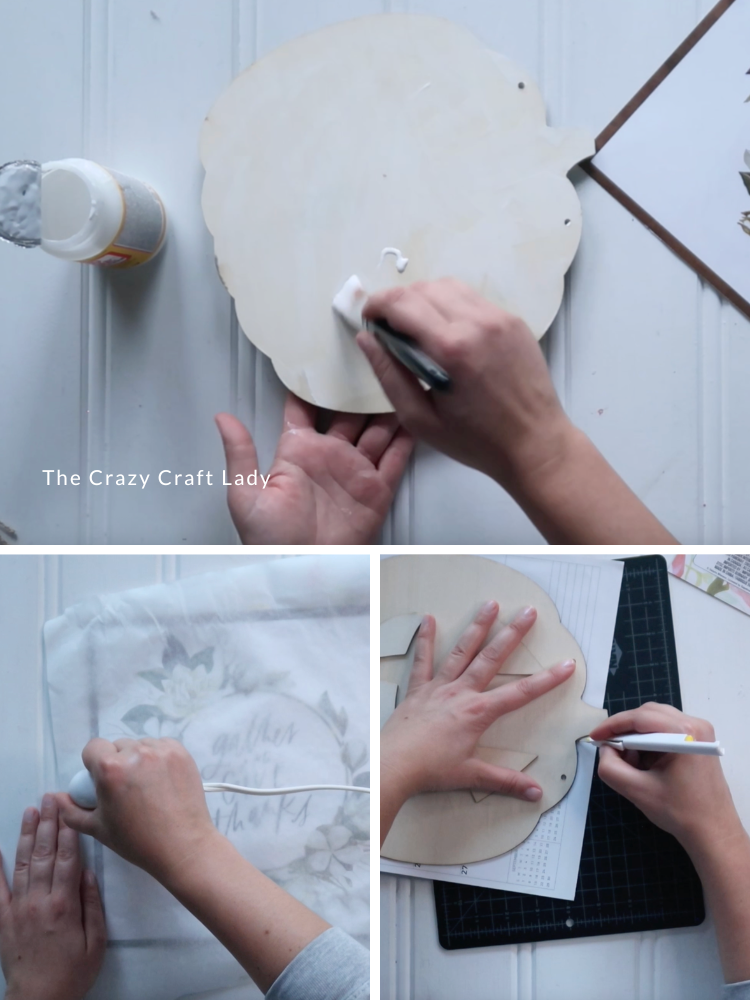
- Add Mod Podge. Flip the jack-o’-lantern pumpkin over so the plain backside is facing up. Brush an even coat of Mod Podge over the entire surface and let it dry completely.

- Heat Press the Calendar Page. Position the calendar page over the pumpkin until the design is centered where you want it. Cover it with parchment paper and use a mini heat press to reactivate the dried Mod Podge and adhere the paper.
- Trim the Paper. Place the pumpkin on a cutting mat. Use a pen blade or craft knife to carefully cut around the outside edge, removing all the excess calendar paper.
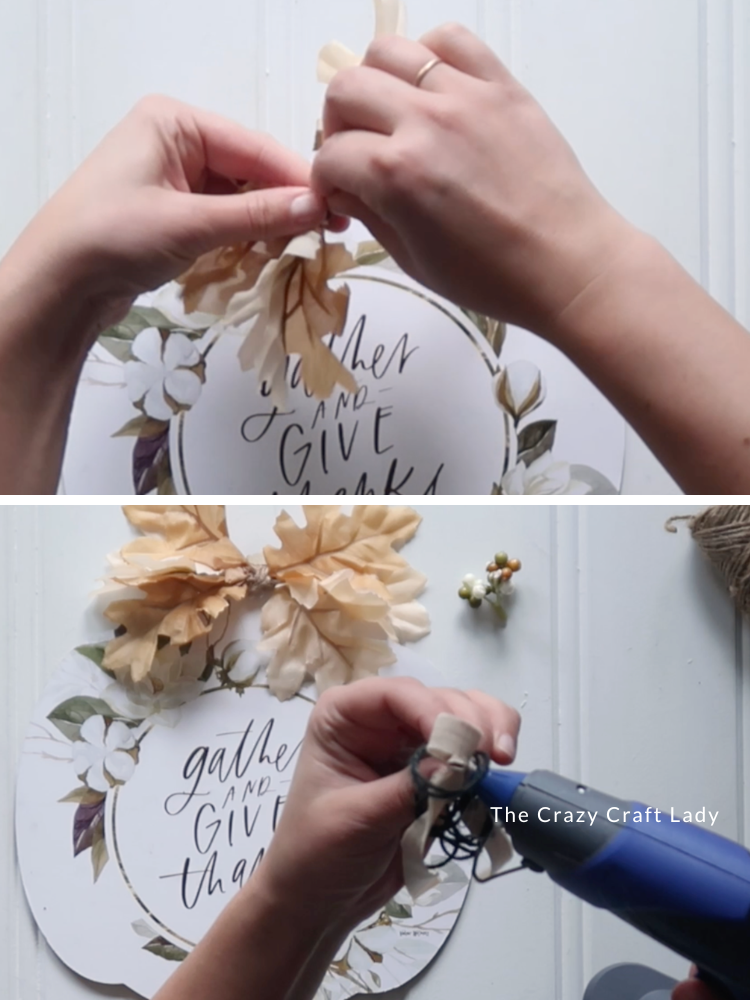
- Make the Leaf Bundle. Gather six faux leaves, with three pointing in each direction. Pinch the stems together, wrap the center with twine, and secure it with a double knot.
- Make a Fabric Bow. Cut a strip of neutral scrap fabric and layer it with two pieces of black twine. Tie everything together into a simple bow and trim the tails as needed.
- Wrap the Pumpkin Stem. Wrap the wood stem with black twine, securing it with small dots of hot glue as you go. The darker stem adds some much-needed contrast against a light or neutral calendar design.
- Add the Embellishments. Hot glue the leaf bundle and fabric bow near the top of the pumpkin, making sure they sit low enough that you can still see the twine-wrapped stem.
Easy Fall Decor from Dollar Store Supplies
This Calendar Page Decoupage Pumpkin Craft is such an easy way to give those inexpensive dollar store wood cutouts a completely new look.
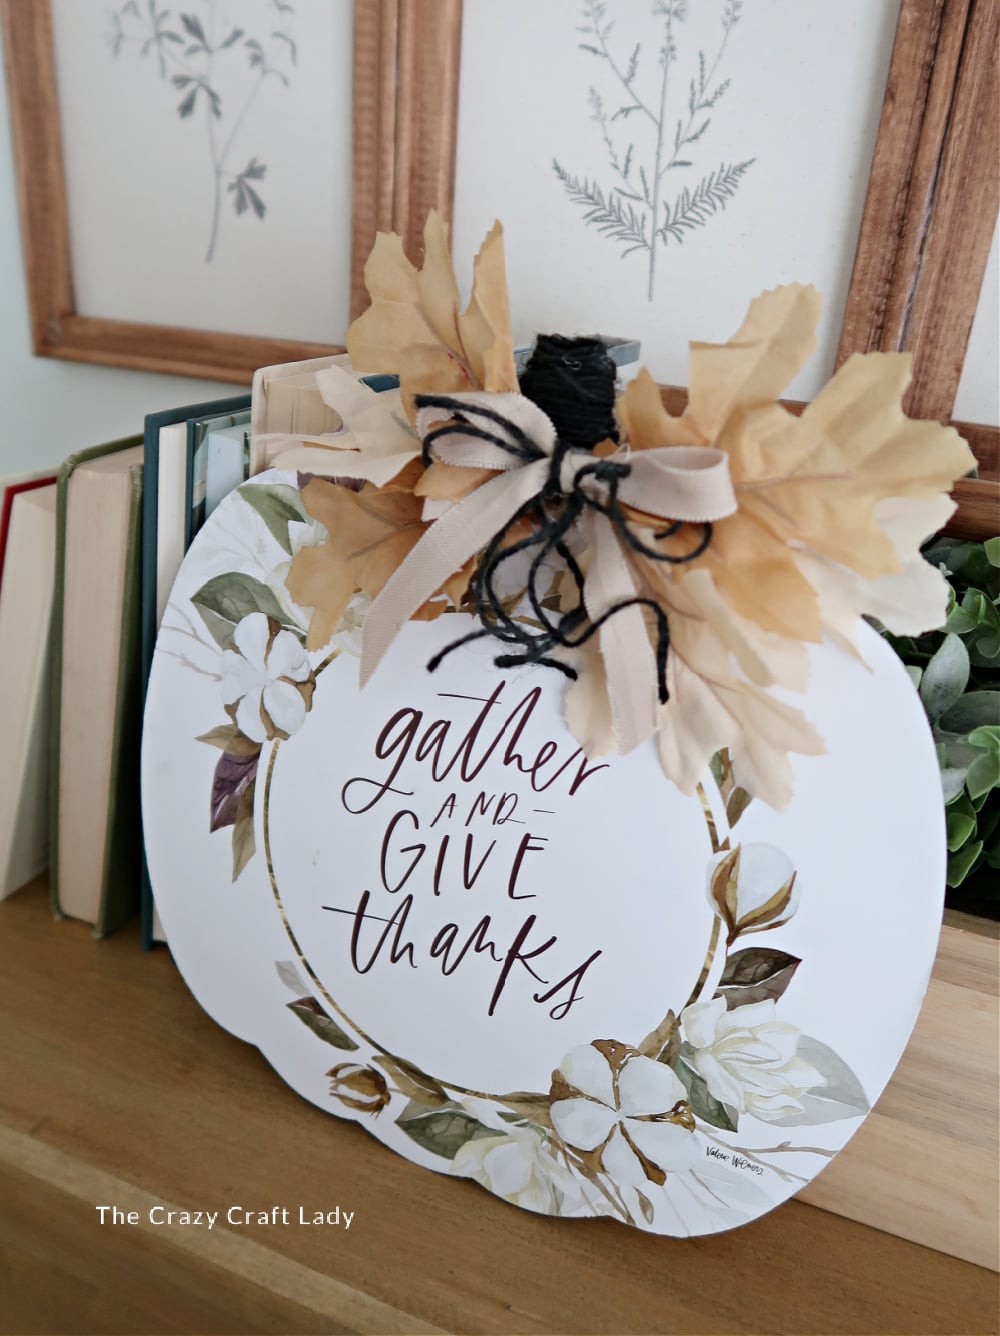
Even better, you can customize it with whatever you already have. Try a floral calendar page, vintage artwork, scrapbook paper, leftover fabric, ribbon, raffia, or different faux greenery. No two pumpkins have to look the same.
And if you’ve been saving old calendars because the pictures are just too pretty to throw away, consider this your excuse to finally turn them into something!