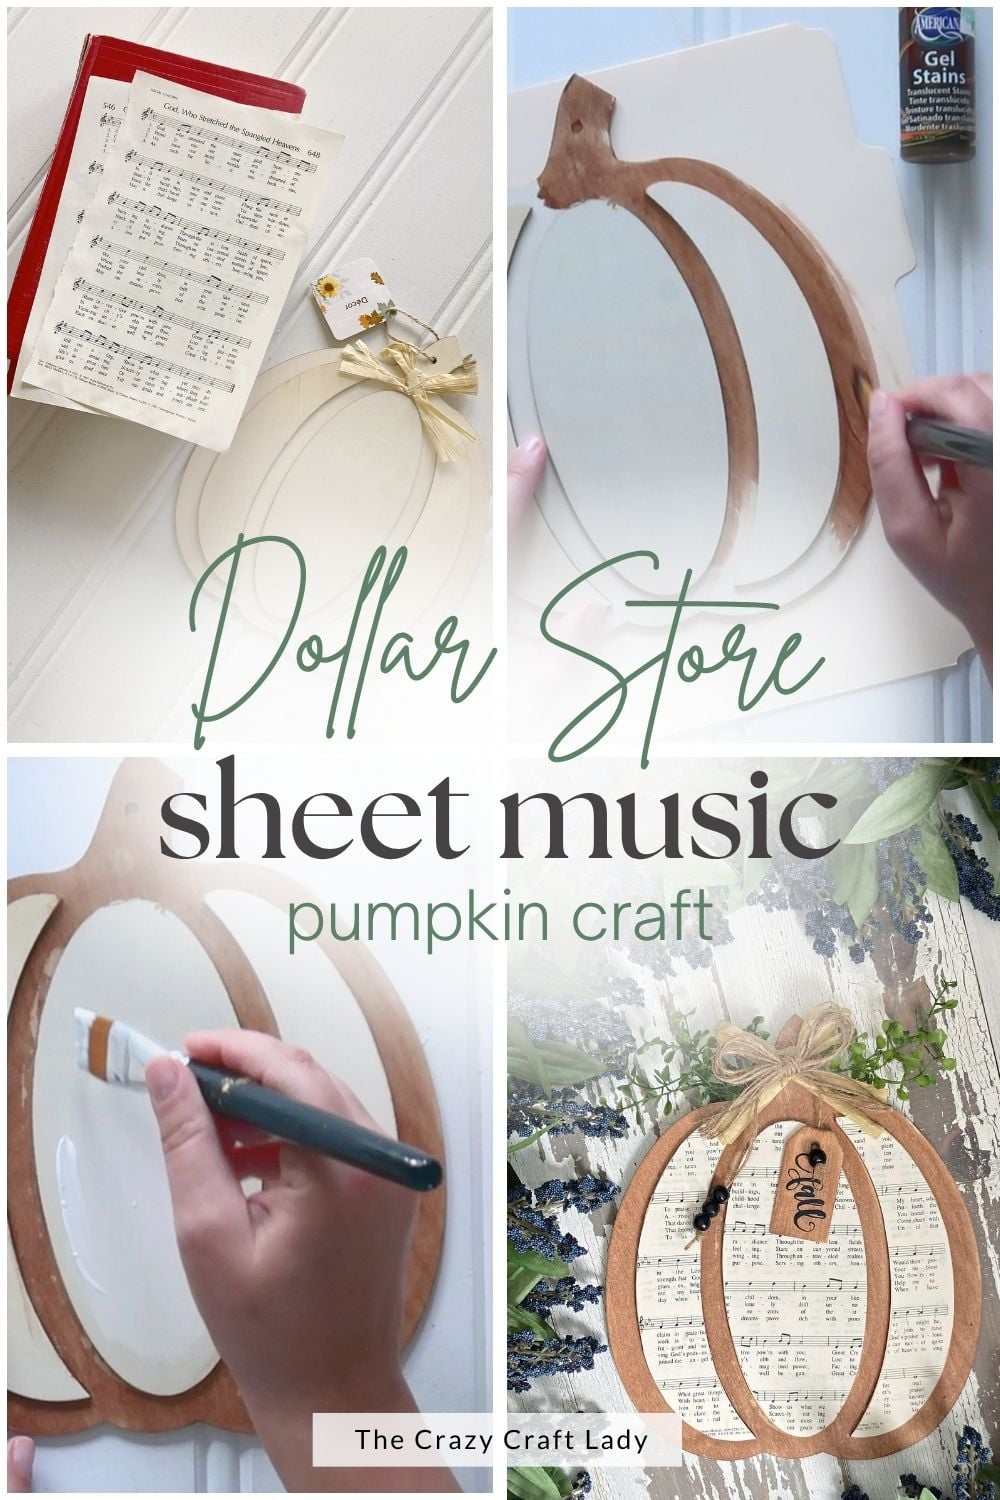
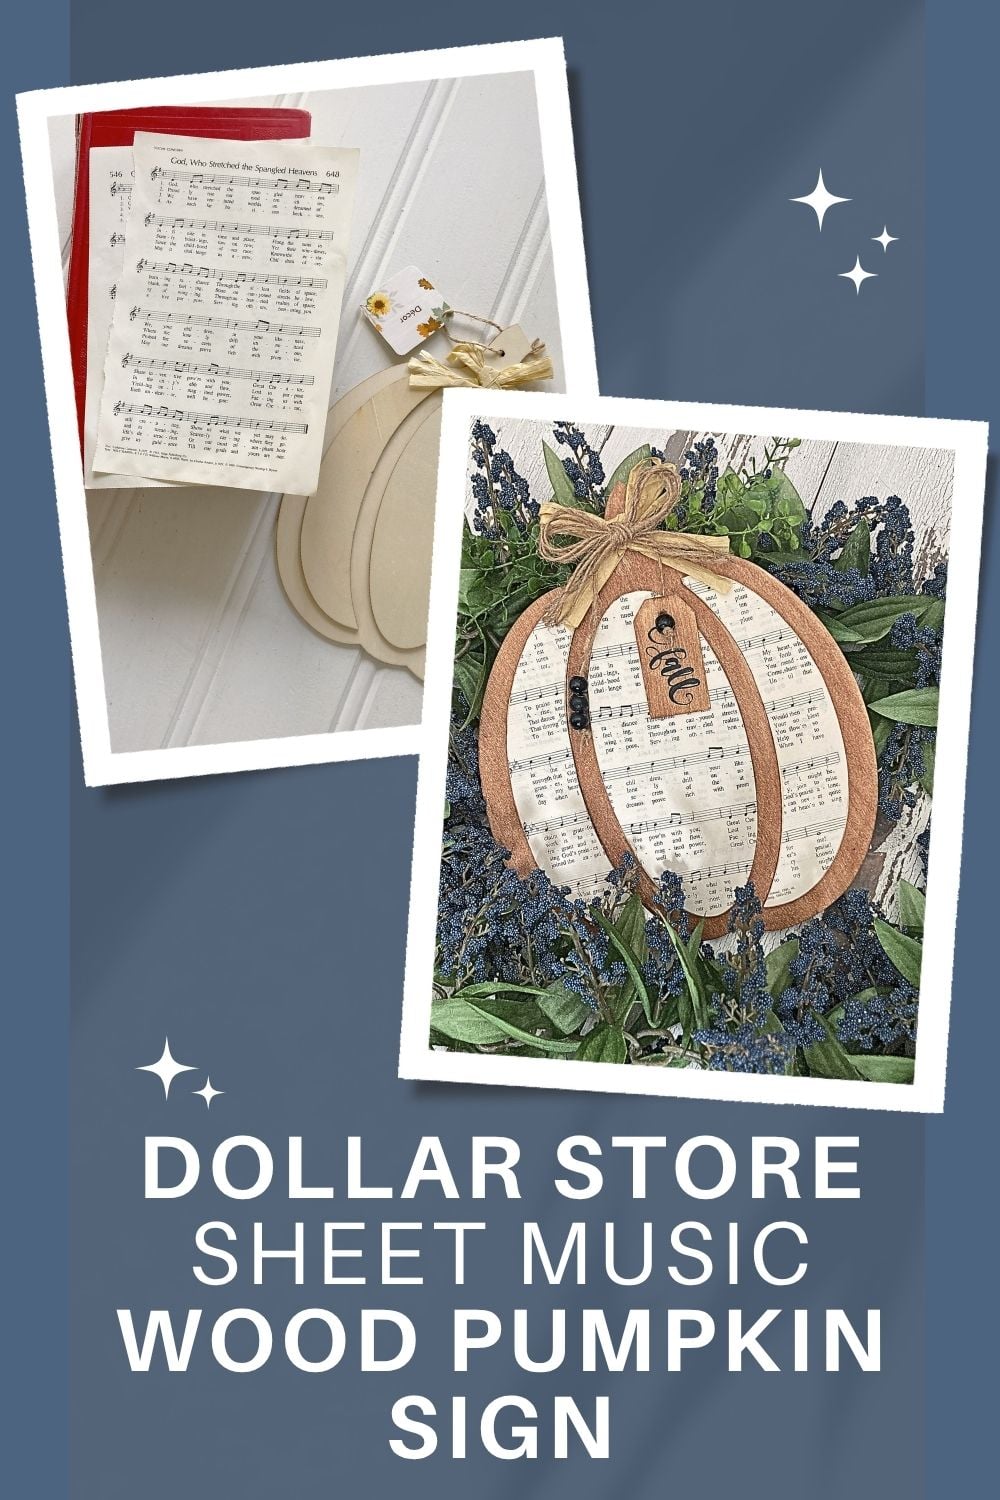
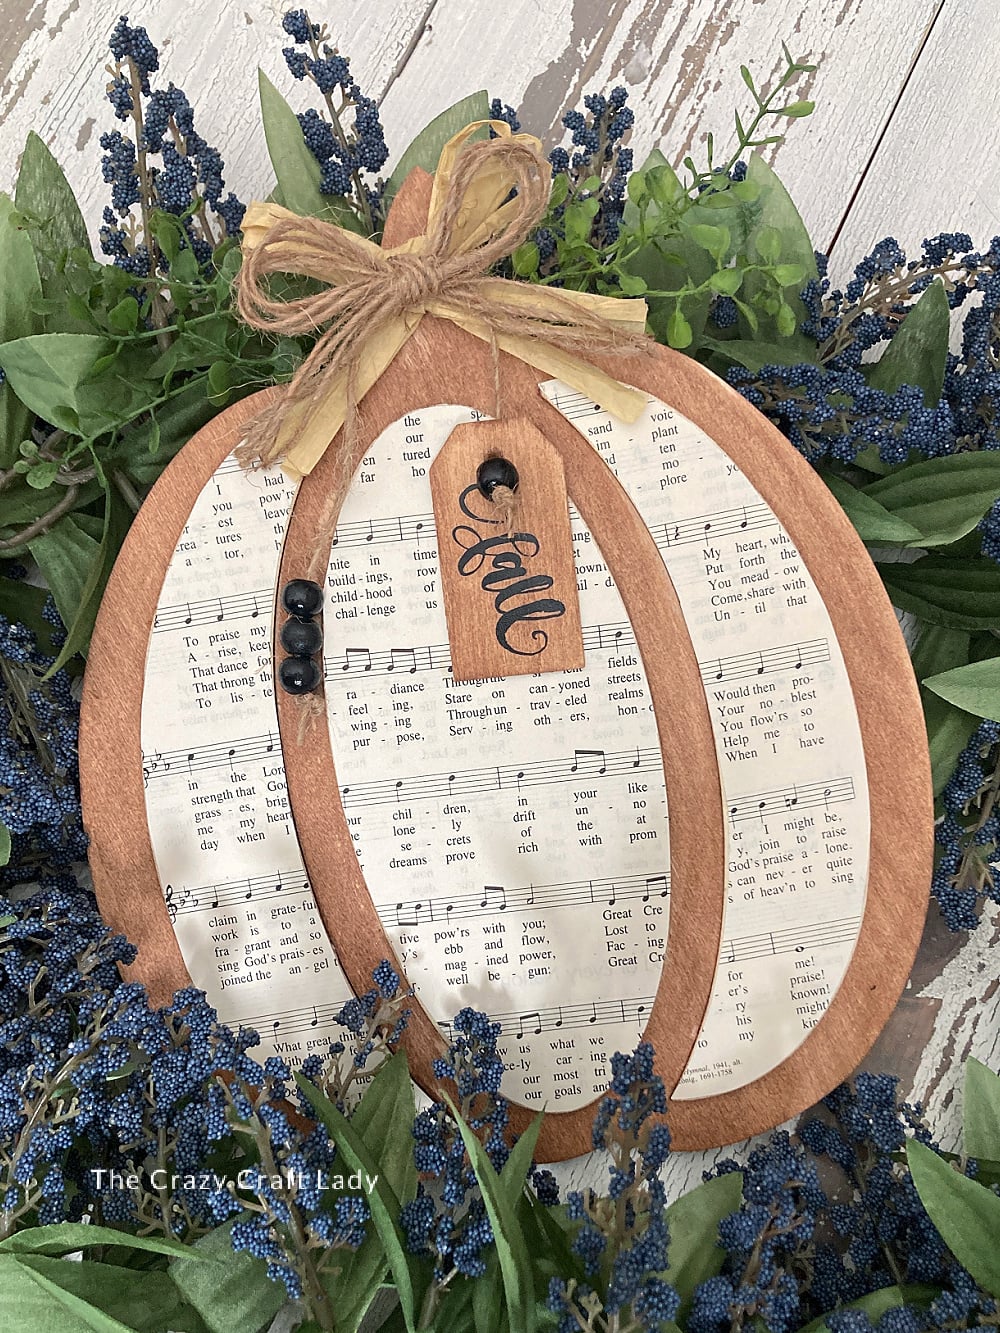
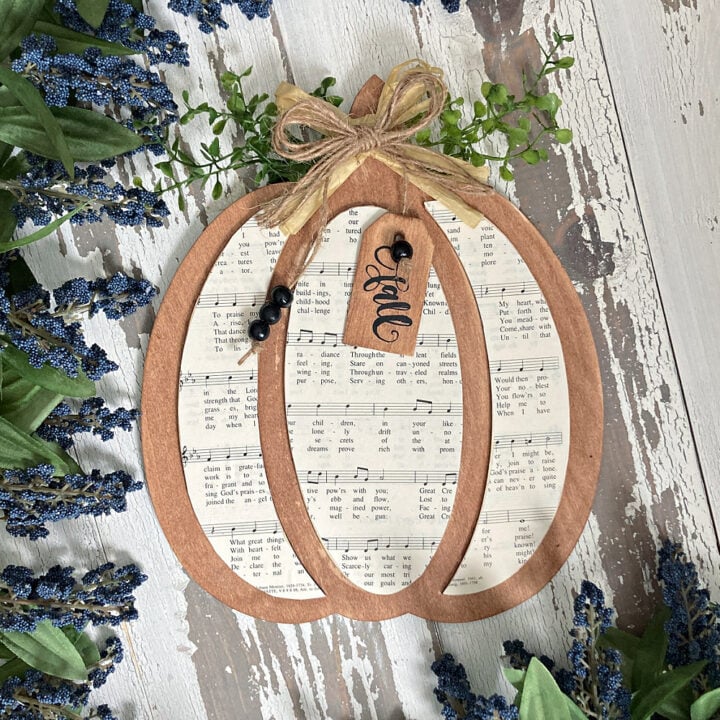
Make a DIY sheet music pumpkin craft with a dollar store wood cutout, old hymnal pages, and simple rustic embellishments for fall.
This post contains some affiliate links for your convenience. Click here to read my full disclosure policy.
There’s just something about old sheet music that makes a craft feel extra cozy and vintage. And when you pair it with a dollar store wood pumpkin? Well, now we’re talking about a fall craft that looks like it belongs in a cute little antique shop.
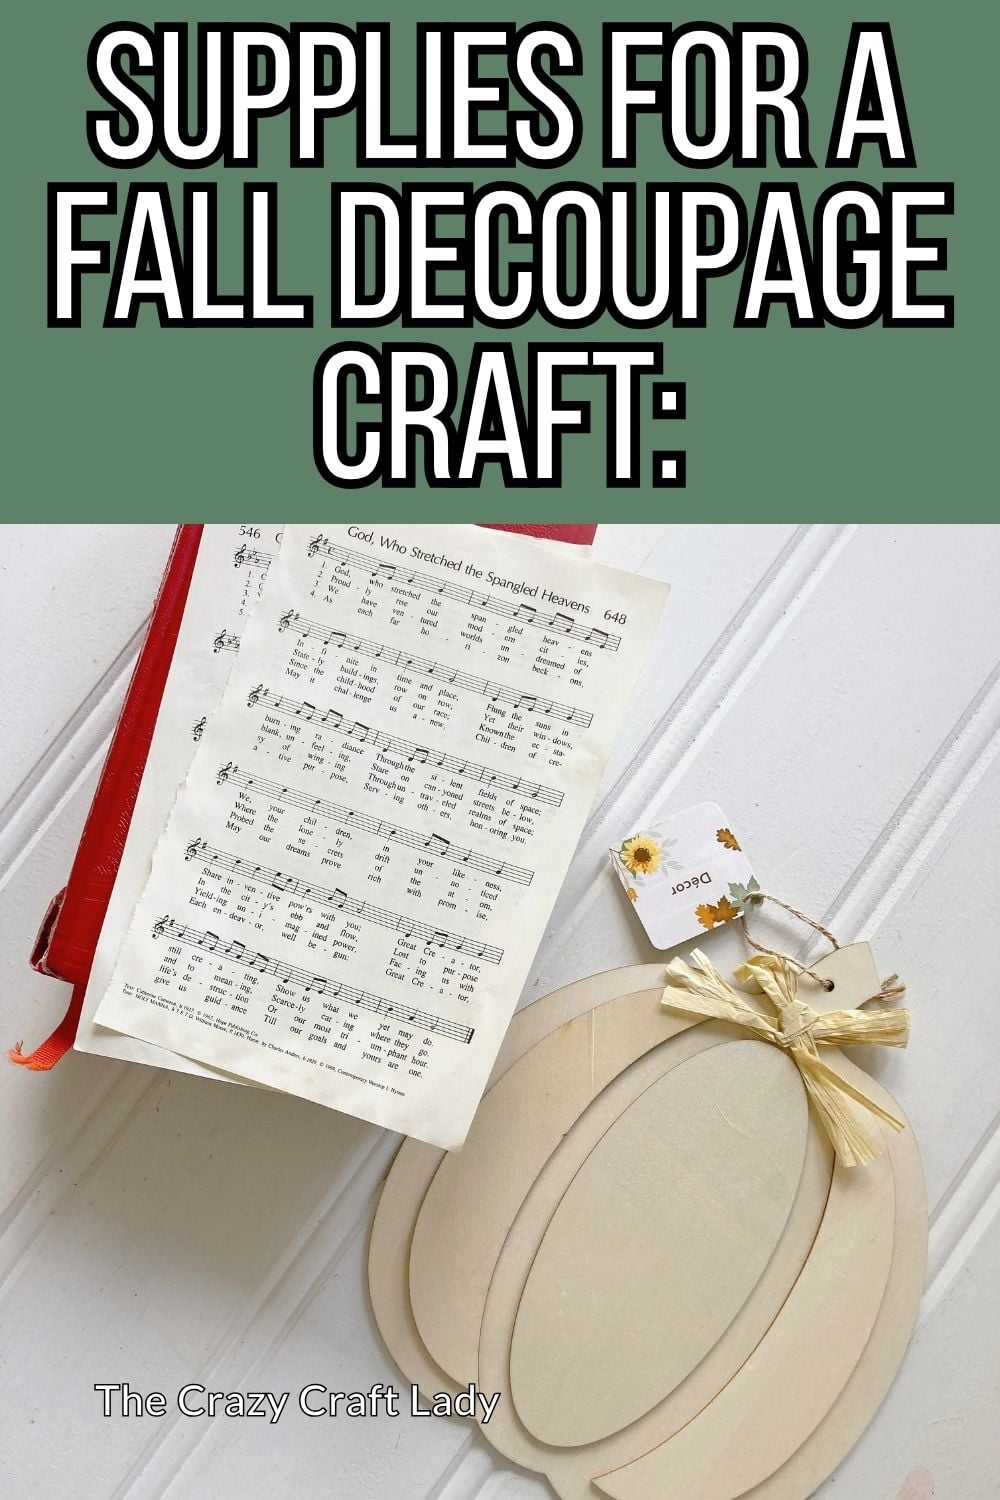
For this project, I used pages from an old hymnal, a little wood stain, and some simple embellishments to give a three-section pumpkin a completely new look. The best part is that you don’t need an old hymnal to make one. Scrapbook paper that looks like sheet music or even old book pages would be just as pretty.
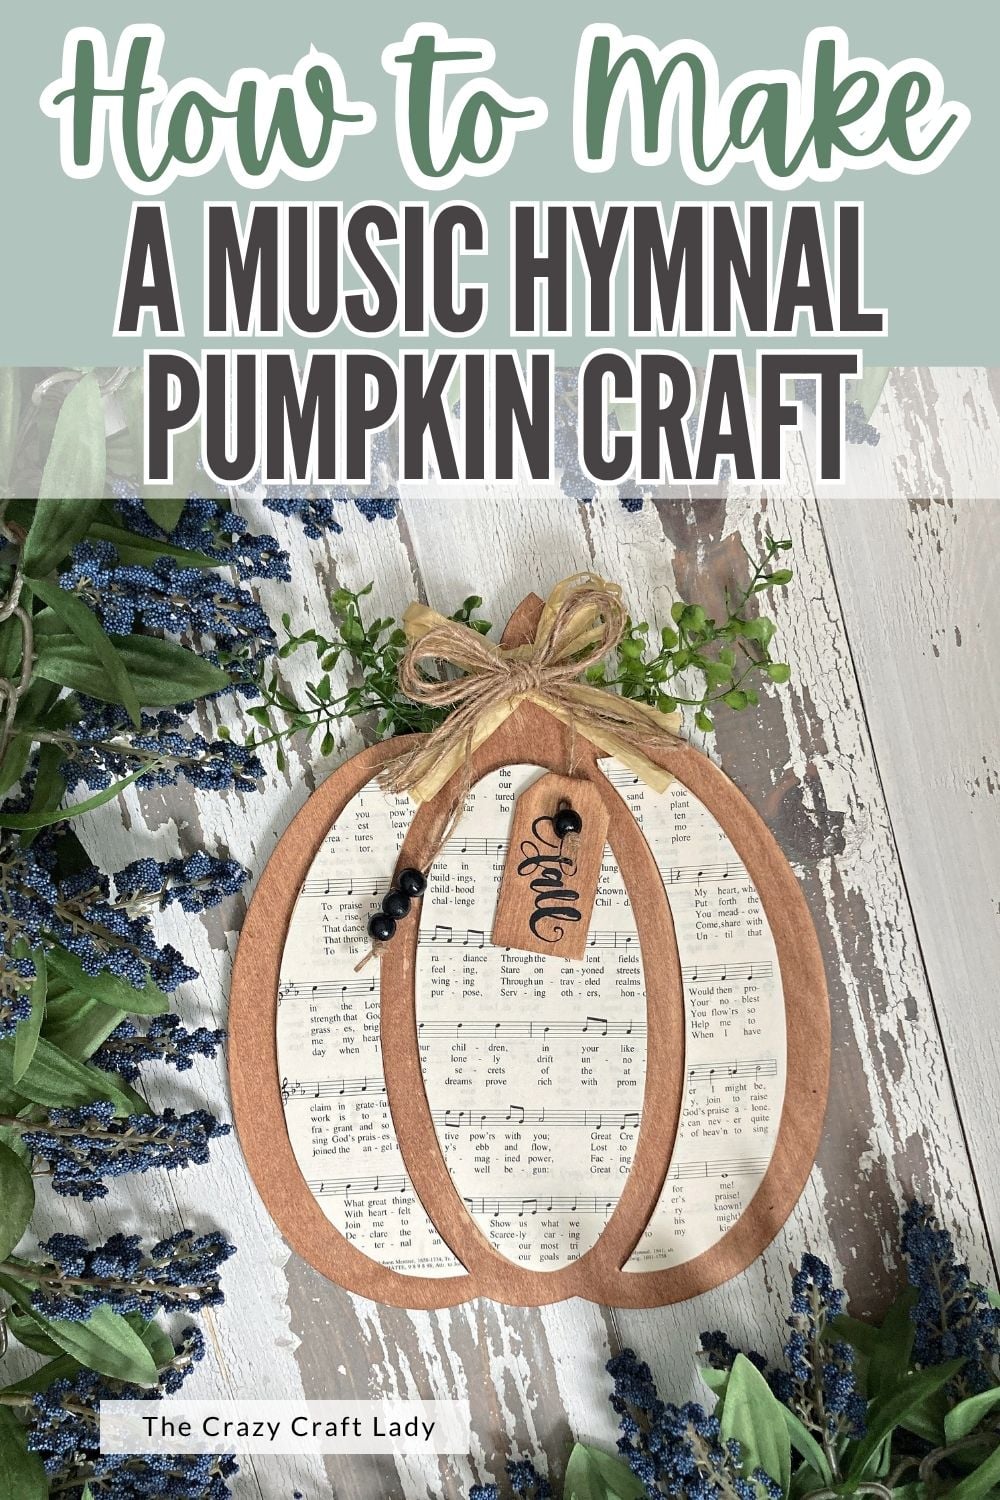
This DIY sheet music pumpkin craft is an easy way to turn a basic dollar store find into something that looks a whole lot more expensive than it actually is.
Video Tutorial: DIY Sheet Music Pumpkin Craft
Watch this quick video to see how this craft came together:
DIY Sheet Music Pumpkin Craft
Learn how to make a sheet music pumpkin with old book pages or hymnal pages. This easy fall craft is perfect for wreaths and rustic decor.
Materials
- Three-section wood pumpkin cutout
- Old hymnal pages, sheet music scrapbook paper, or book pages
- Americana gel stain in Oak, or your favorite wood stain
- Matte Mod Podge
- Parchment paper
- Faux greenery
- Twine
- Wood beads
- Small wood tag
- Cricut vinyl or other embellishments for the tag, optional
Instructions
- Watch the Video Tutorial. Watch the video tutorial to see how I transformed this dollar store wood pumpkin using old hymnal pages, wood stain, and simple embellishments.
- Remove the Original Embellishments. Remove the original bow and any hot glue from the pumpkin. Save the bow to reuse later.
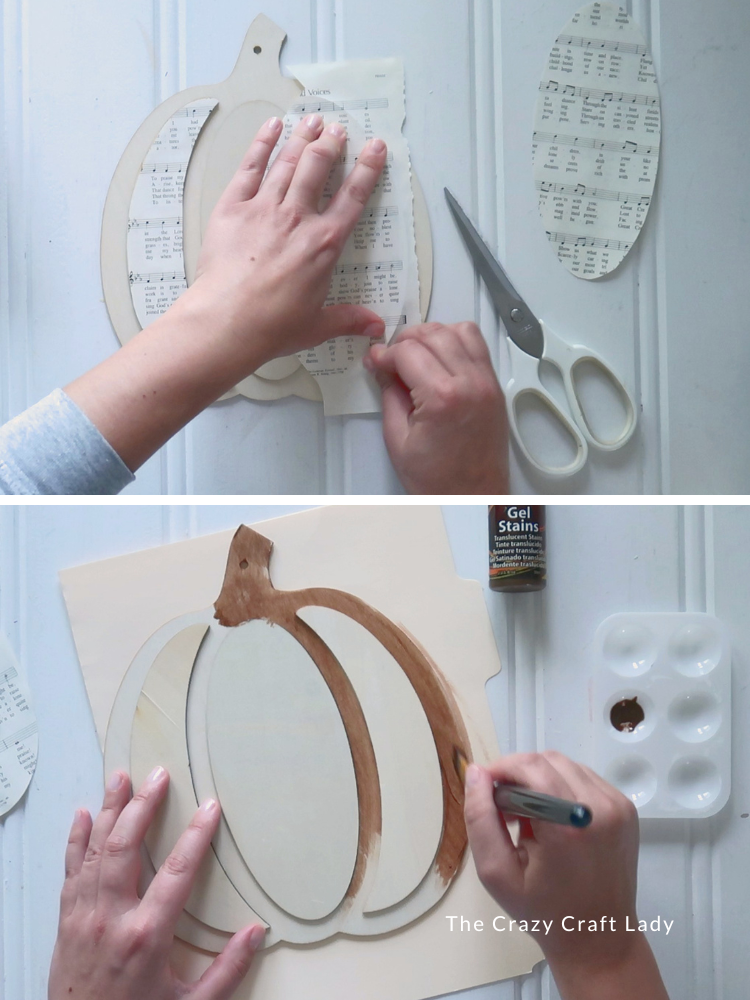
- Cut the Sheet Music. Choose pages with plenty of music printed on them. Smooth the paper over each raised pumpkin section, crease the edges with your fingers, and cut to fit. I used one page for the center and a second page for both sides.

- Stain the Pumpkin. Apply a quick, even coat of wood stain to the dividing sections between the three raised pumpkin pieces. I used Americana gel stain in Oak.
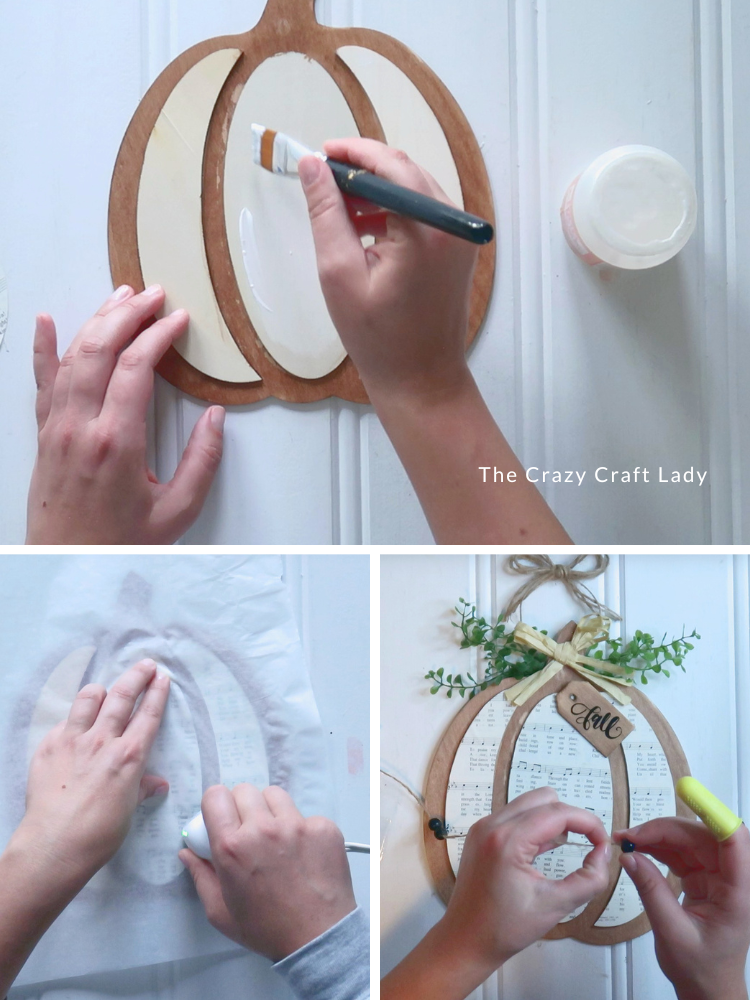
- Apply Mod Podge. Brush matte Mod Podge onto the three raised sections, avoiding the stained areas as much as possible. Let it dry completely.
- Heat Press the Paper. Position the sheet music, cover it with parchment paper, and use a mini heat press to reactivate the Mod Podge. This creates a smooth, wrinkle-free finish. A household iron with the steam turned off works, too.
- Add Greenery and Bows. Hot glue faux greenery to the back of the pumpkin so it peeks over the top. Reattach the original raffia bow, then make a second bow with three lengths of twine using the bunny ears method.
- Make the Beaded Tag. Stain a small wood tag and embellish it with “fall,” if desired. String three wood beads, the tag, and one more bead onto twine. Secure the ends with double or triple knots.
- Attach the Embellishments. Adjust the tag to your desired length, then hot glue it and the twine bow into place. Your vintage-inspired pumpkin is ready for fall!
A Cozy Vintage Pumpkin for Fall
I’m loving how this little pumpkin came together. The sheet music gives it such a pretty vintage look, while the stained wood and simple twine embellishments keep it feeling warm and rustic.
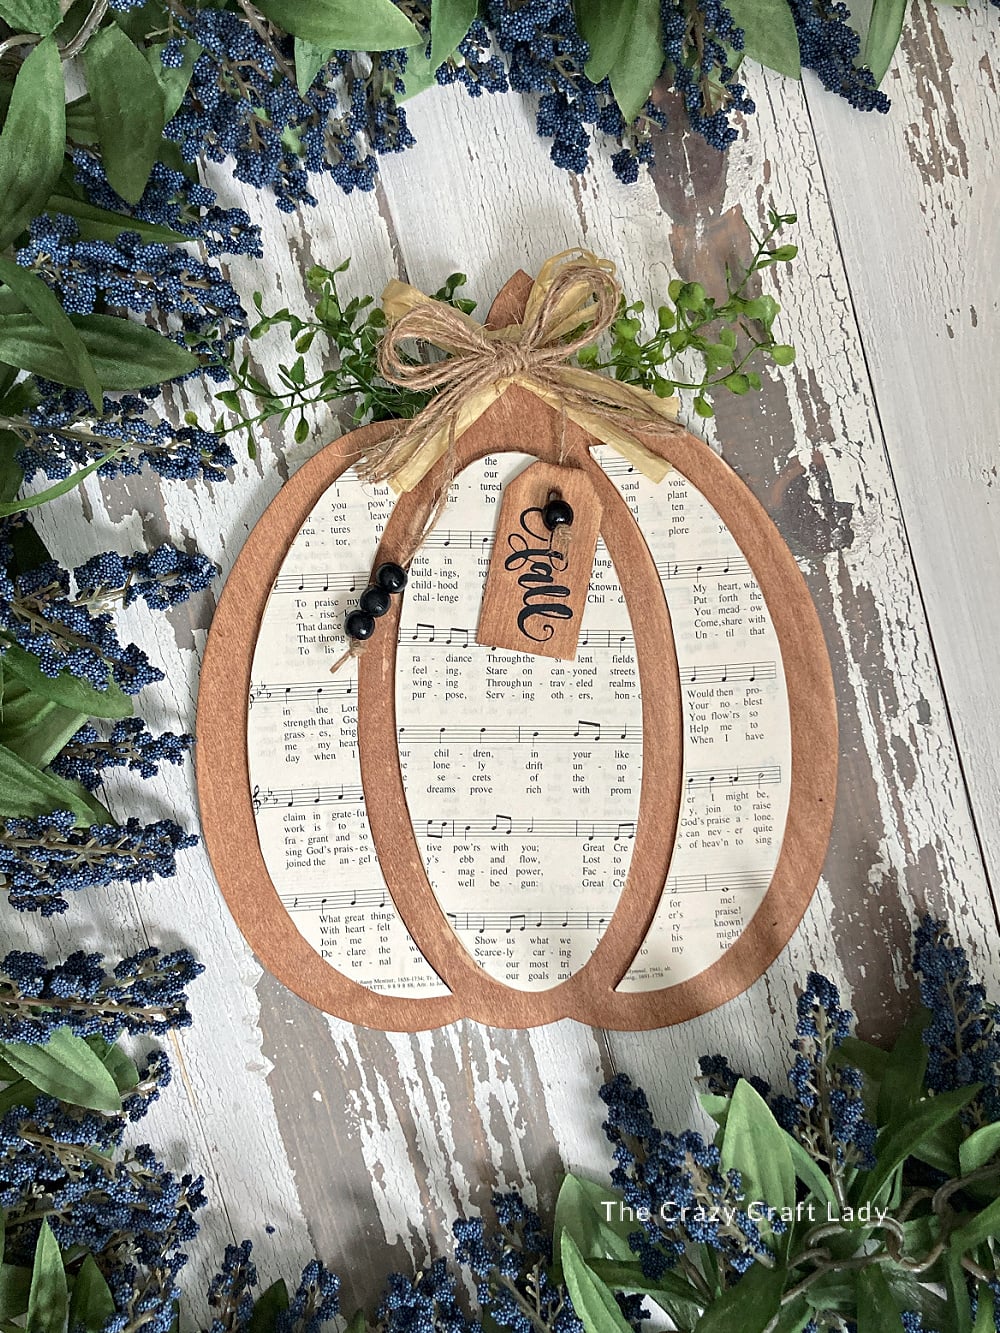
It would make a great addition to a fall wreath, but you could also display it on a shelf, tuck it into a tiered tray, or add it to a little autumn vignette.
And if you don’t have an old hymnal, don’t let that stop you. Grab some book pages or your favorite scrapbook paper and make this dollar store pumpkin your own. Happy crafting!