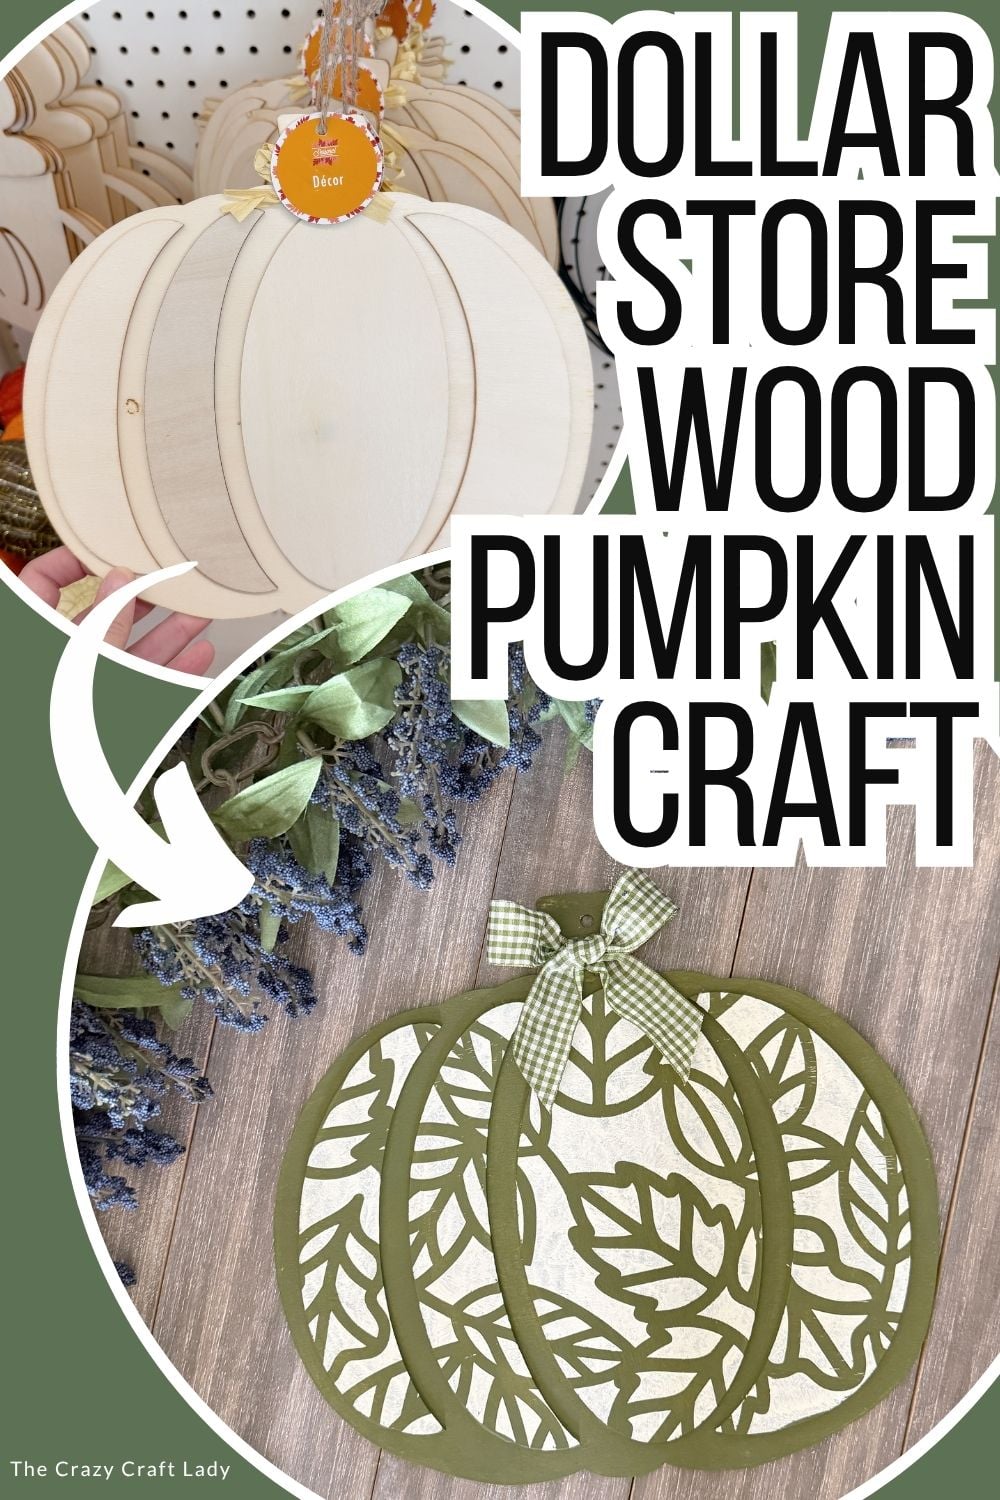
Make a stenciled wood pumpkin craft with a Dollar Tree pumpkin cutout, fall leaf stencil, paint, and ribbon for easy DIY fall decor.
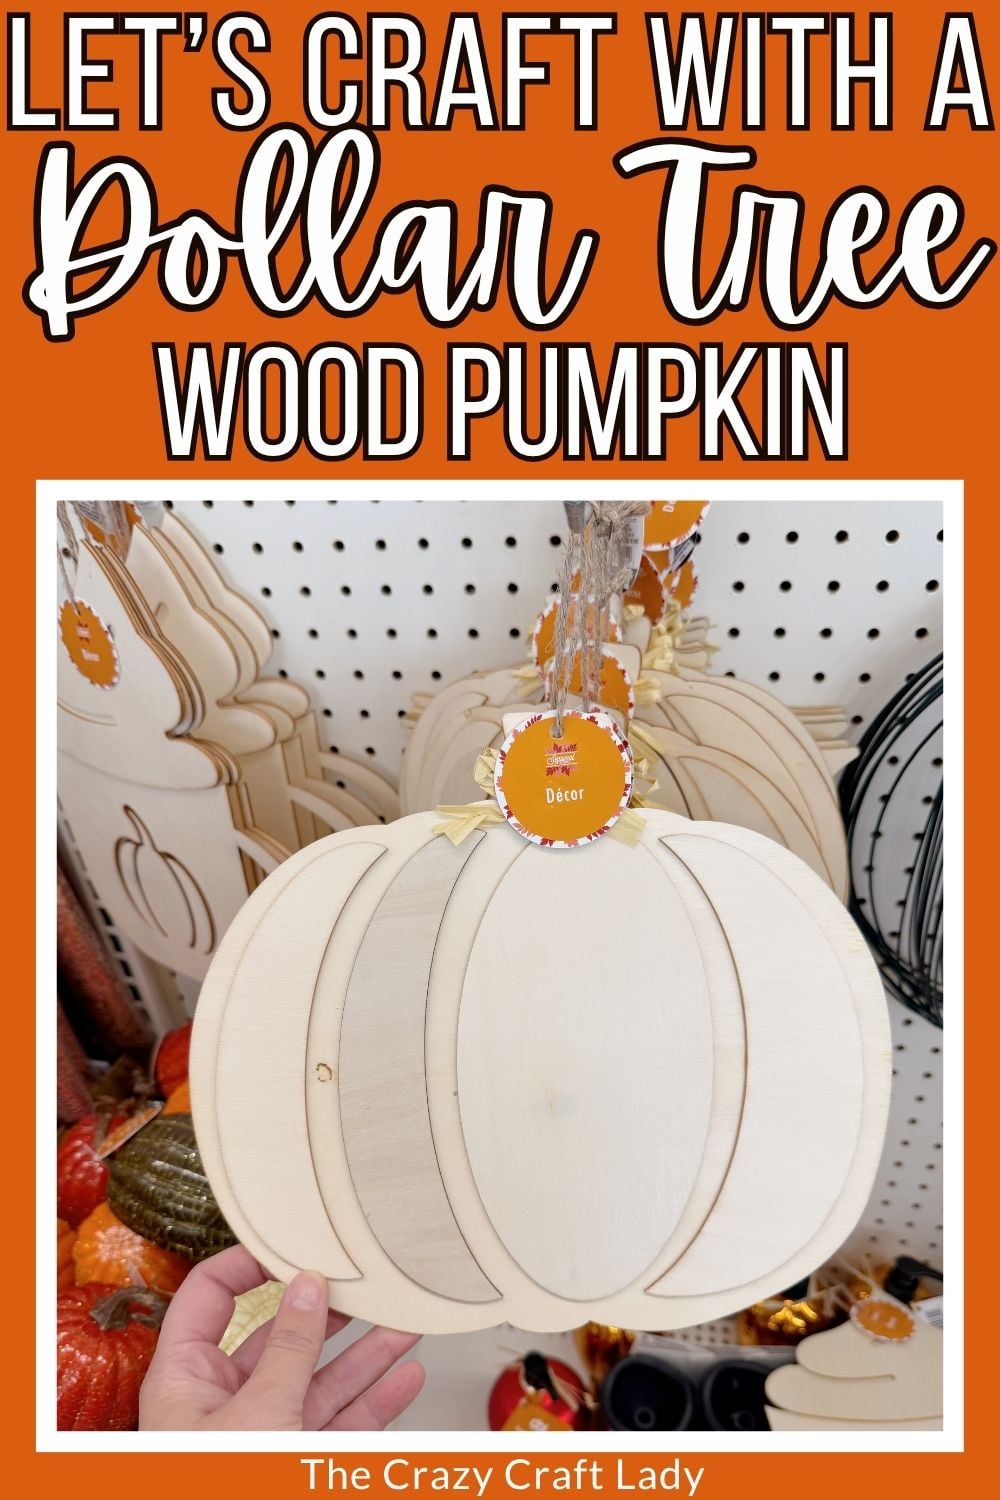
How to make a DIY Stenciled Wood Pumpkin Craft with Dollar Store supplies and your Cricut.
This post contains some affiliate links for your convenience. Click here to read my full disclosure policy.
I’ve crafted with these Dollar Tree wooden pumpkin cutouts approximately a million times at this point. Okay, slight exaggeration—but if you’ve been around here for a while, you’ve definitely seen them before.
Usually, I decorate each of those raised pumpkin sections individually. This time, I wanted to try something a little different and use the raised design to create a pretty stenciled wood pumpkin craft.
I went with dark olive green, creamy white, and a delicate fall leaf stencil, and I absolutely love the slightly more modern look. Plus, once you realize you can cut your own stencil vinyl with a Cricut, the possibilities are pretty much endless.
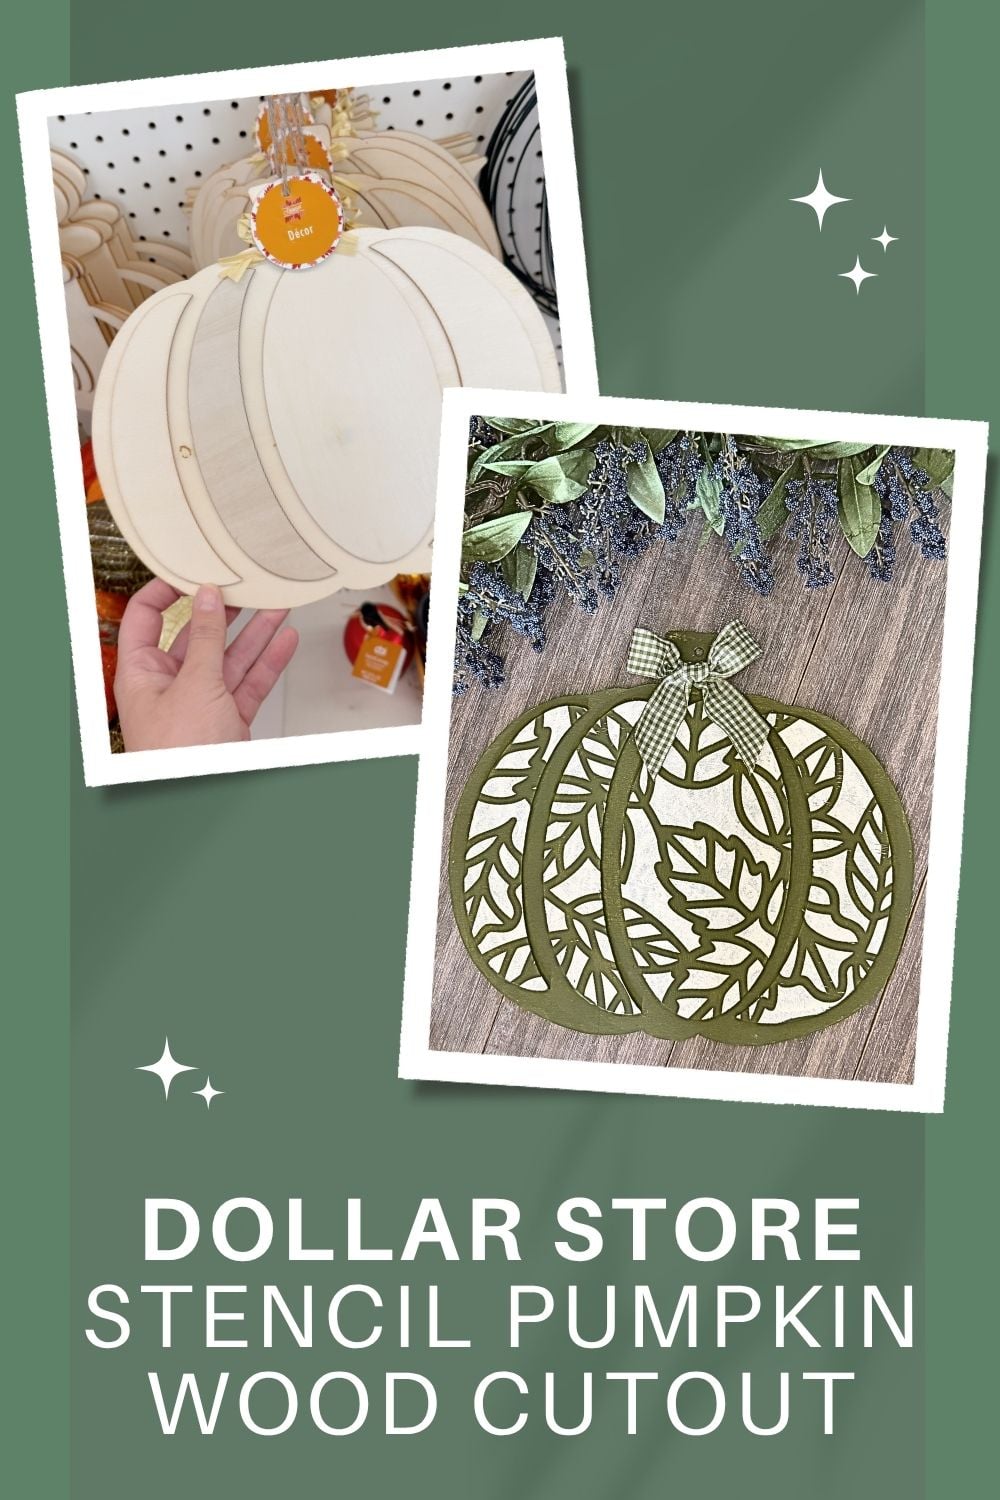
Dollar Tree Stenciled Wood Pumpkin
One of my favorite things about these Dollar Tree pumpkin cutouts is the raised-panel design. It gives you built-in dimension without having to add anything to the wood.For this project, we’re going to paint the entire pumpkin one color and then stencil only the raised sections. That little detail makes the leaf pattern look like it’s wrapping across the pumpkin while still allowing those recessed lines to show.
And if you don’t have a Cricut? No worries. Any fall stencil that fits your pumpkin will work.
Video Tutorial: Stenciled Wood Pumpkin Craft
Watch this quick video to see how this craft came together:
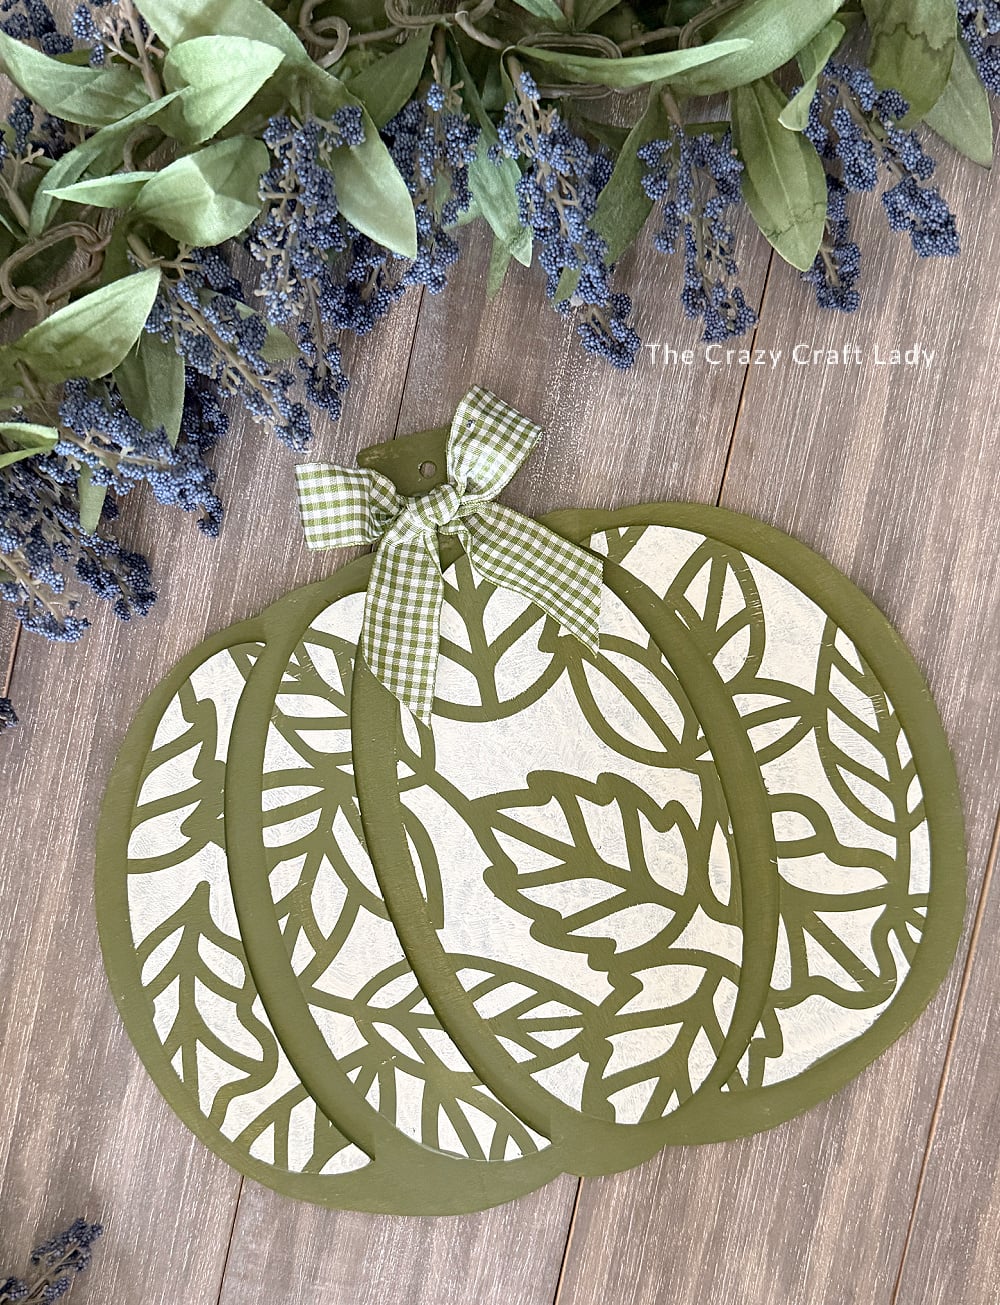
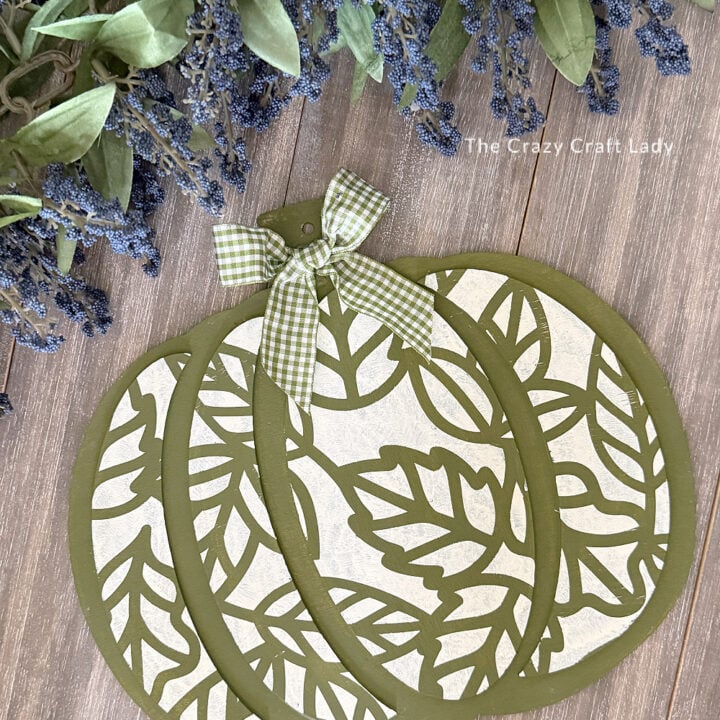
Green and White Stenciled Wood Pumpkin Craft
Transform a Dollar Tree pumpkin cutout into a pretty stenciled wood pumpkin with olive green paint, a leaf pattern, and a simple bow.
Materials
- Dollar Tree wooden pumpkin cutout with raised sections
- Olive green craft or chalk paint, I used FolkArt Matte in Crocodile
- FolkArt Matte Acrylic Paint in Vintage White
- Stencil vinyl
- Transfer tape
- Green and white check ribbon
Tools
- Cricut or other cutting machine, and Fall leaf stencil design
- Flat one-inch paintbrush
- Craft knife
- Hot glue gun and glue sticks
- Scissors
- Heat gun, optional
Instructions
- Watch the video tutorial. Watch the video above to see a complete walkthrough of how this stencil pumpkin craft came together. Then follow the step-by-step directions below.
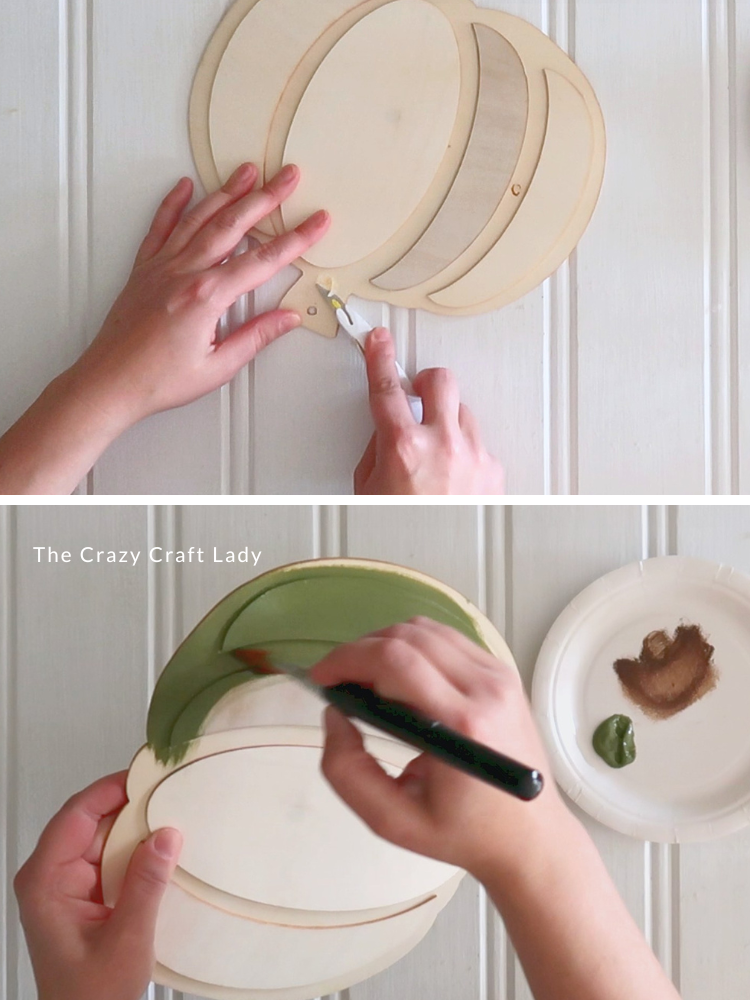
- Prep the Pumpkin. Remove the original bow and any embellishments from the wooden pumpkin. Scrape away the leftover hot glue with a craft knife. A heat gun can also soften stubborn hot glue and make it much easier to remove—which I figured out approximately one craft too late.

- Paint the Pumpkin. Paint the entire pumpkin olive green, including the raised panels, recessed divider sections, and outer edges. Give everything nice, even coverage and set it aside to dry completely.
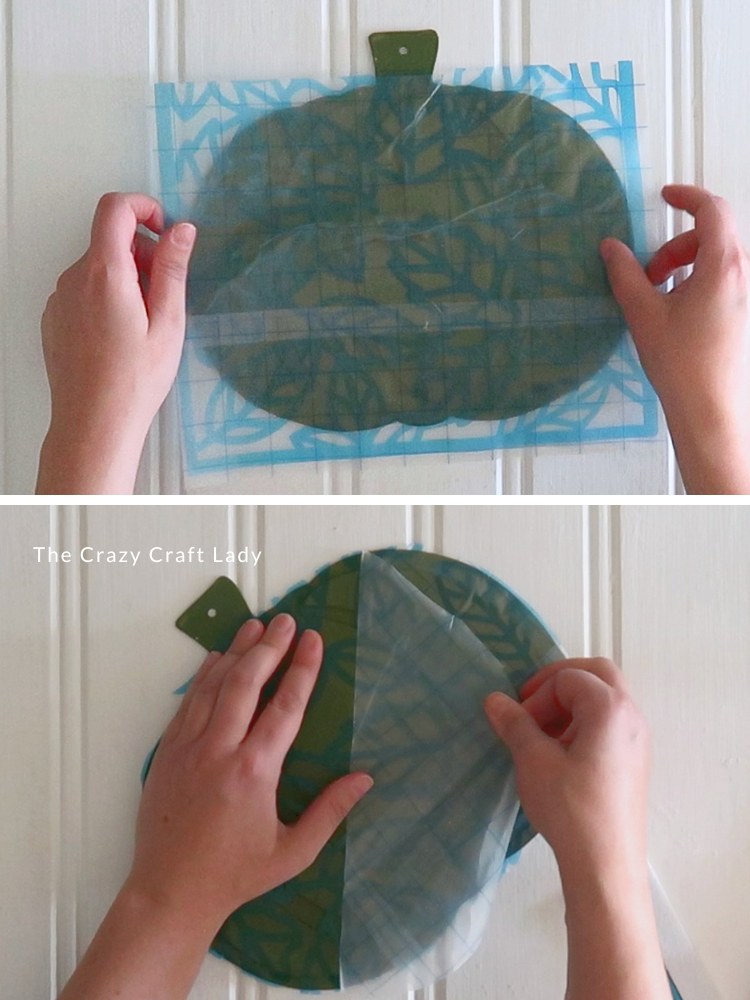
- Add the Stencil. Cut a fall leaf pattern from stencil vinyl using your Cricut and apply it to the front of the pumpkin with transfer tape. Trim away the excess stencil vinyl around the outside edge of the pumpkin before removing the transfer tape. Smooth everything down well, especially around the detailed portions of the design.
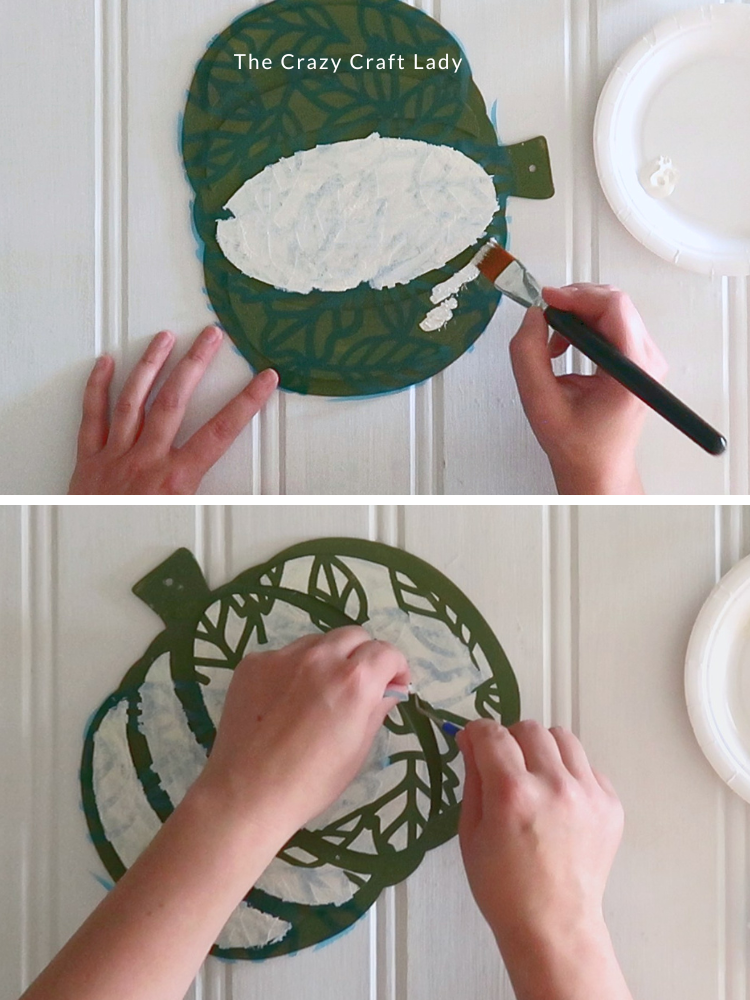
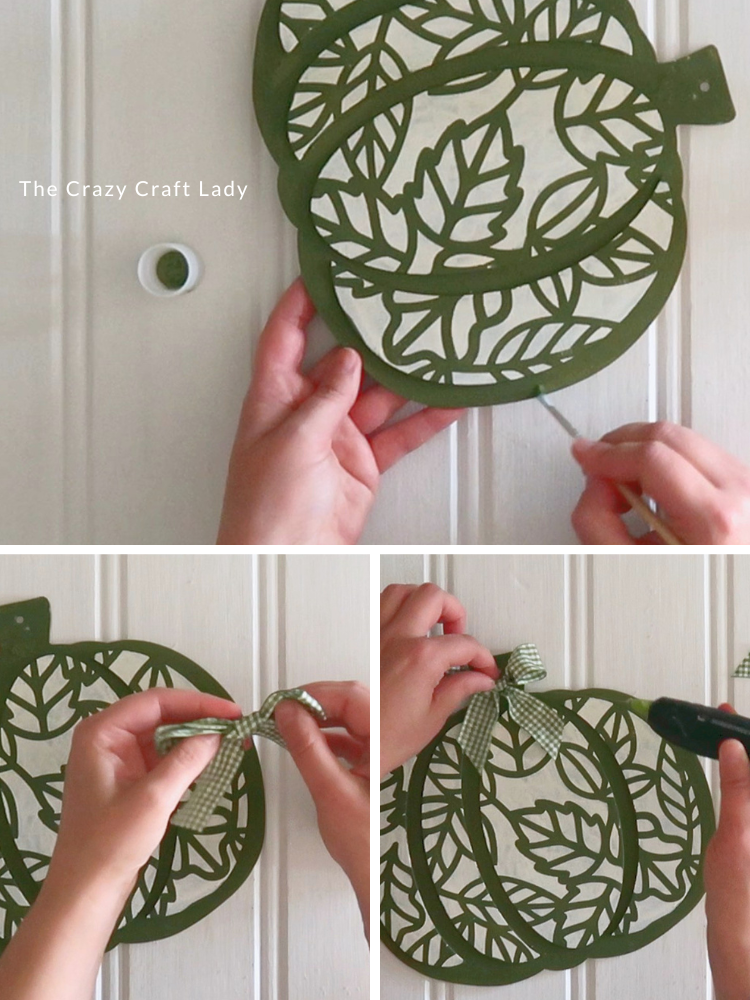
- Stencil the Raised Sections. Use a flat one-inch paintbrush and Vintage White craft paint to stencil the design. Instead of using a traditional stencil pouncer, stipple the paint onto only the raised sections of the pumpkin. As you approach the edges of each section, flatten the brush slightly so you can get close without painting the recessed divider lines. Use a light amount of paint and build up the coverage as needed.
- Remove the Stencil. Don't wait until the paint is completely dry to remove the stencil. Peel away the vinyl while the paint is still slightly tacky to help create cleaner, crisper lines. If a little cream paint sneaks into the recessed sections, don't panic. Once everything is dry, use your green paint and a small brush to touch up those areas.
- Add a Bow. Tie green-and-white check ribbon into a simple bow using the bunny-ear method. Make two loops, tie them together, and adjust the loops and tails until you're happy with the size.
Trim the ribbon tails at an angle and hot glue the bow to the pumpkin stem.
An Easy Way to Customize Dollar Tree Wood Pumpkins
I love how this simple stencil gives a basic Dollar Tree pumpkin cutout a completely different look. The dark olive green and creamy white feel perfect for fall without relying on the traditional bright orange pumpkin colors.
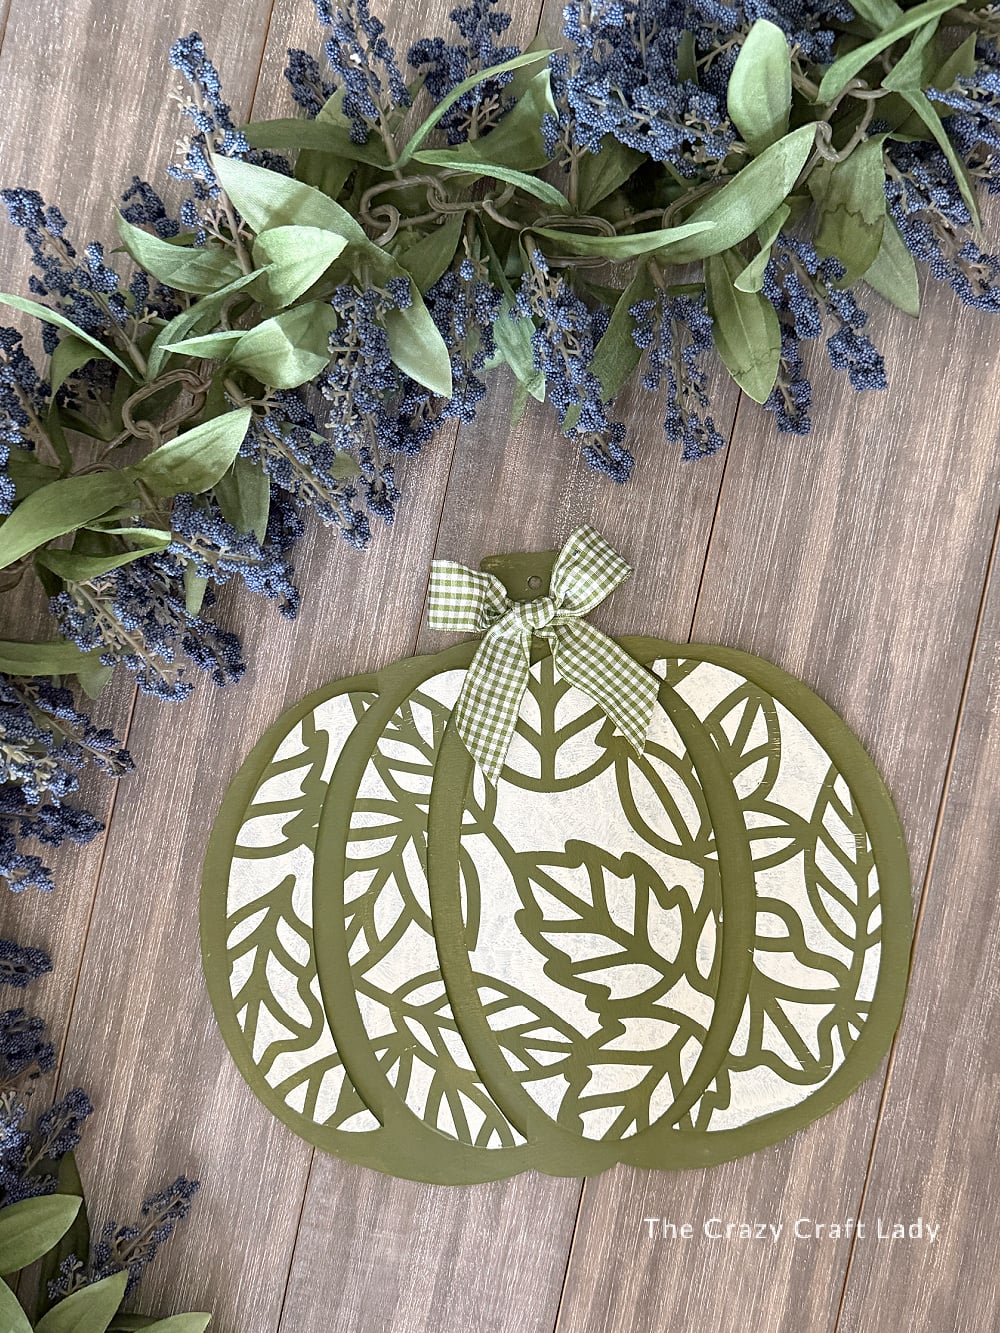
And you definitely don’t have to use a leaf pattern. That’s the fun part! Cut any stencil you like with your Cricut—or grab one you already have in your craft stash—and use the same technique to customize these wooden pumpkins for your own fall decor.
Sometimes all you need is paint, a stencil, and one more excuse to buy another Dollar Tree wood cutout.
PIN this pumpkin craft for later: