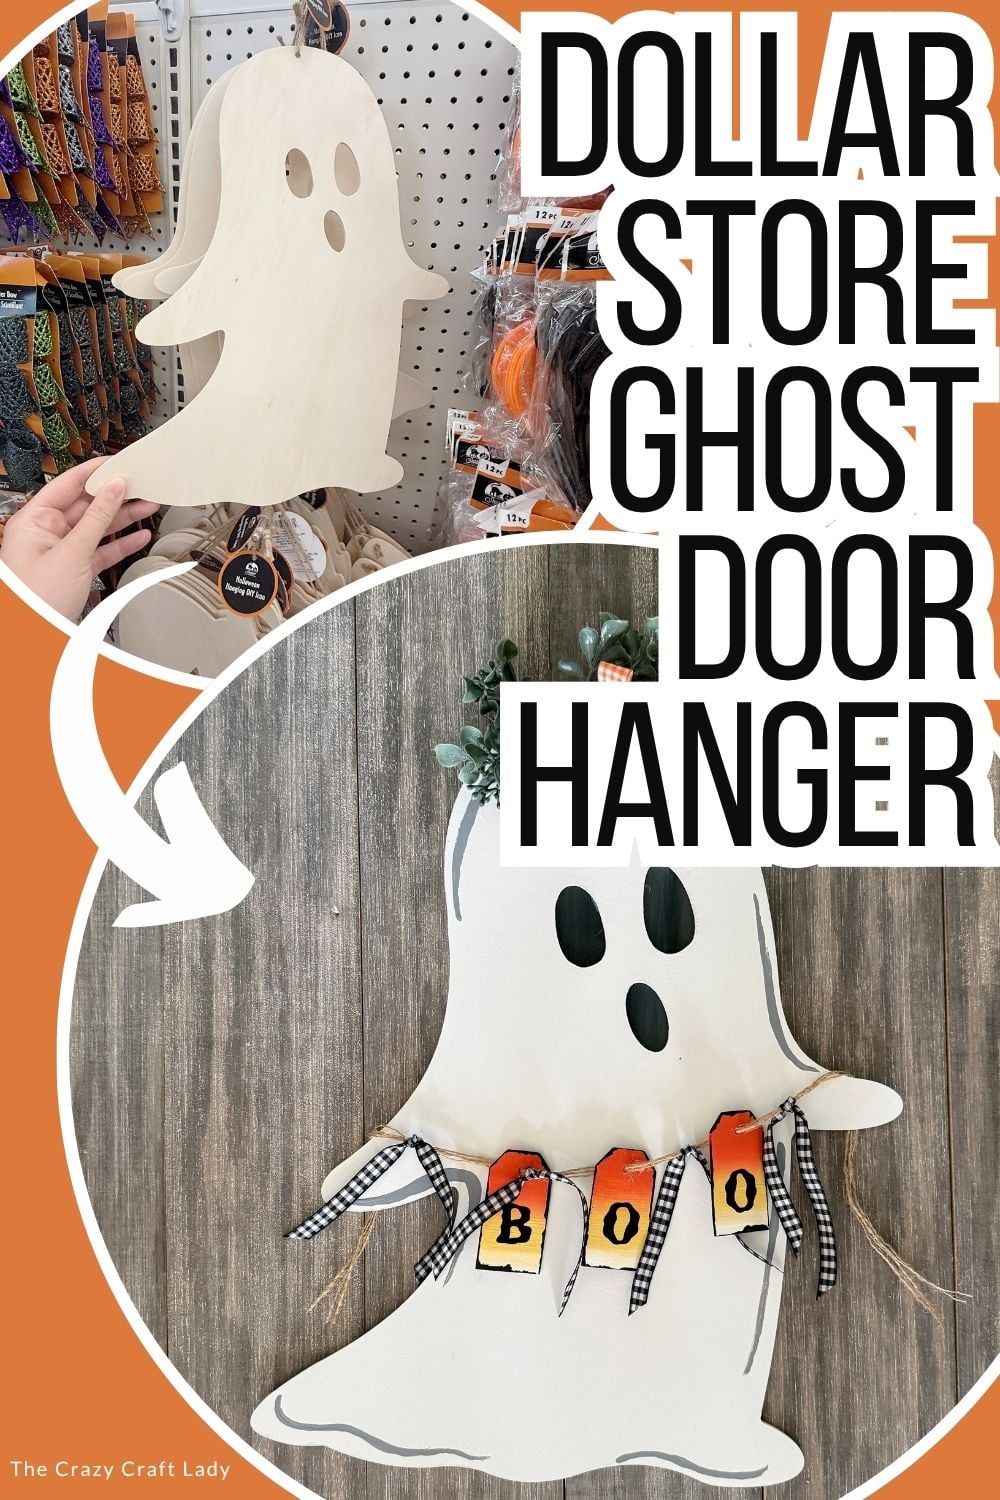
Make a cute Dollar Store ghost door hanger with a jumbo wood ghost, colorful BOO banner, checkered ribbon, and simple greenery.
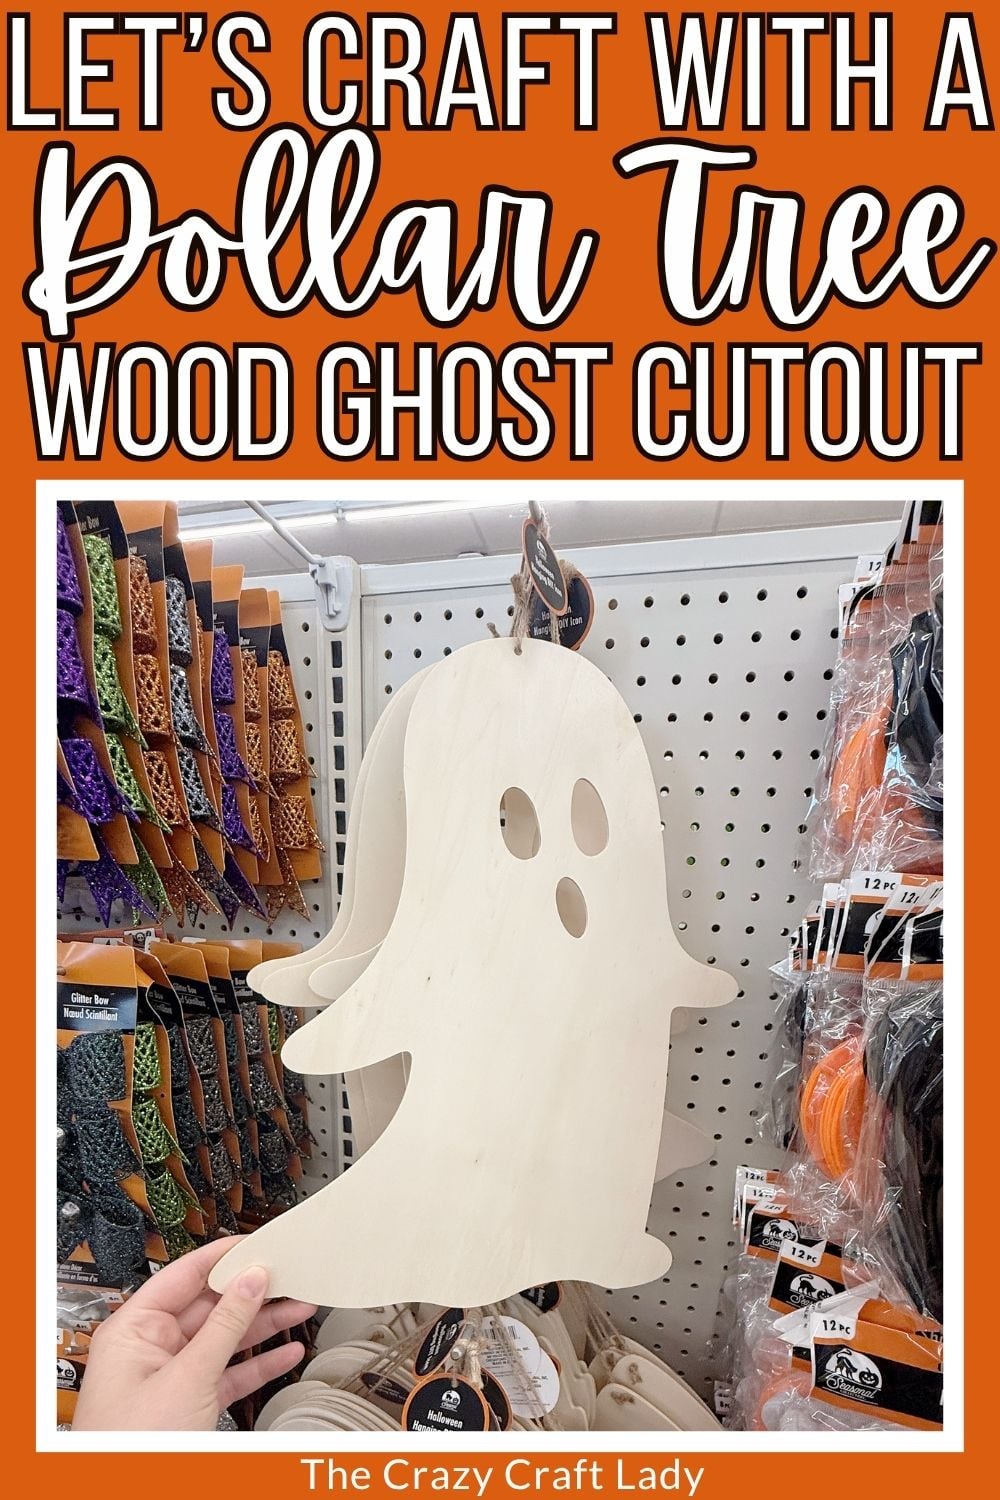
How to make a Dollar Store Ghost Door Hanger
This post contains some affiliate links for your convenience. Click here to read my full disclosure policy.
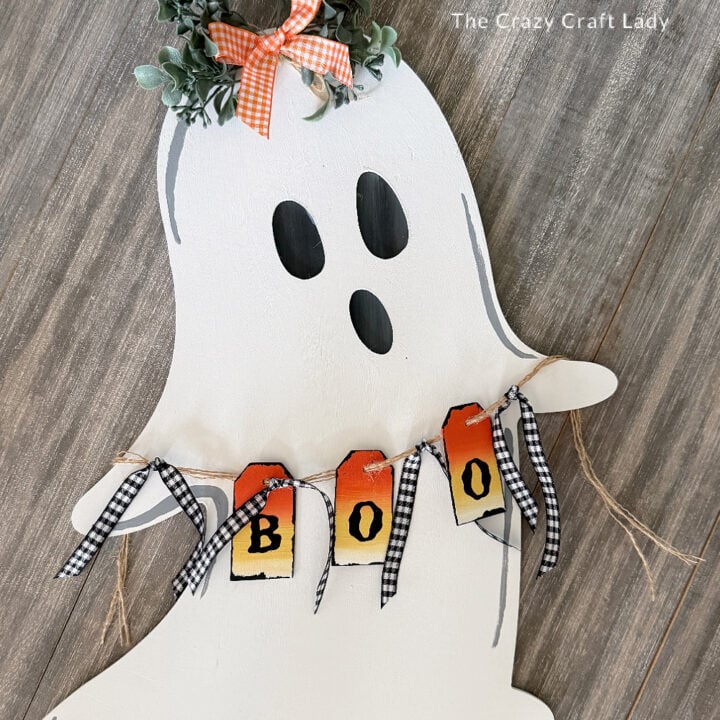
If you see one of those jumbo wooden ghost cutouts at Dollar Tree, grab it! We’re turning it into the cutest little ghost door hanger with a mini “BOO” banner, checkered ribbon, and just enough greenery to finish it off.
This is my favorite kind of Halloween craft. It’s not scary, not gory, just cute and festive. And most of the supplies are simple Dollar Tree wood blanks and things you probably already have hanging around your craft stash.
I especially love the little ombre BOO tags hanging between the ghost’s hands. They add some color against all that white without turning the whole project bright orange.
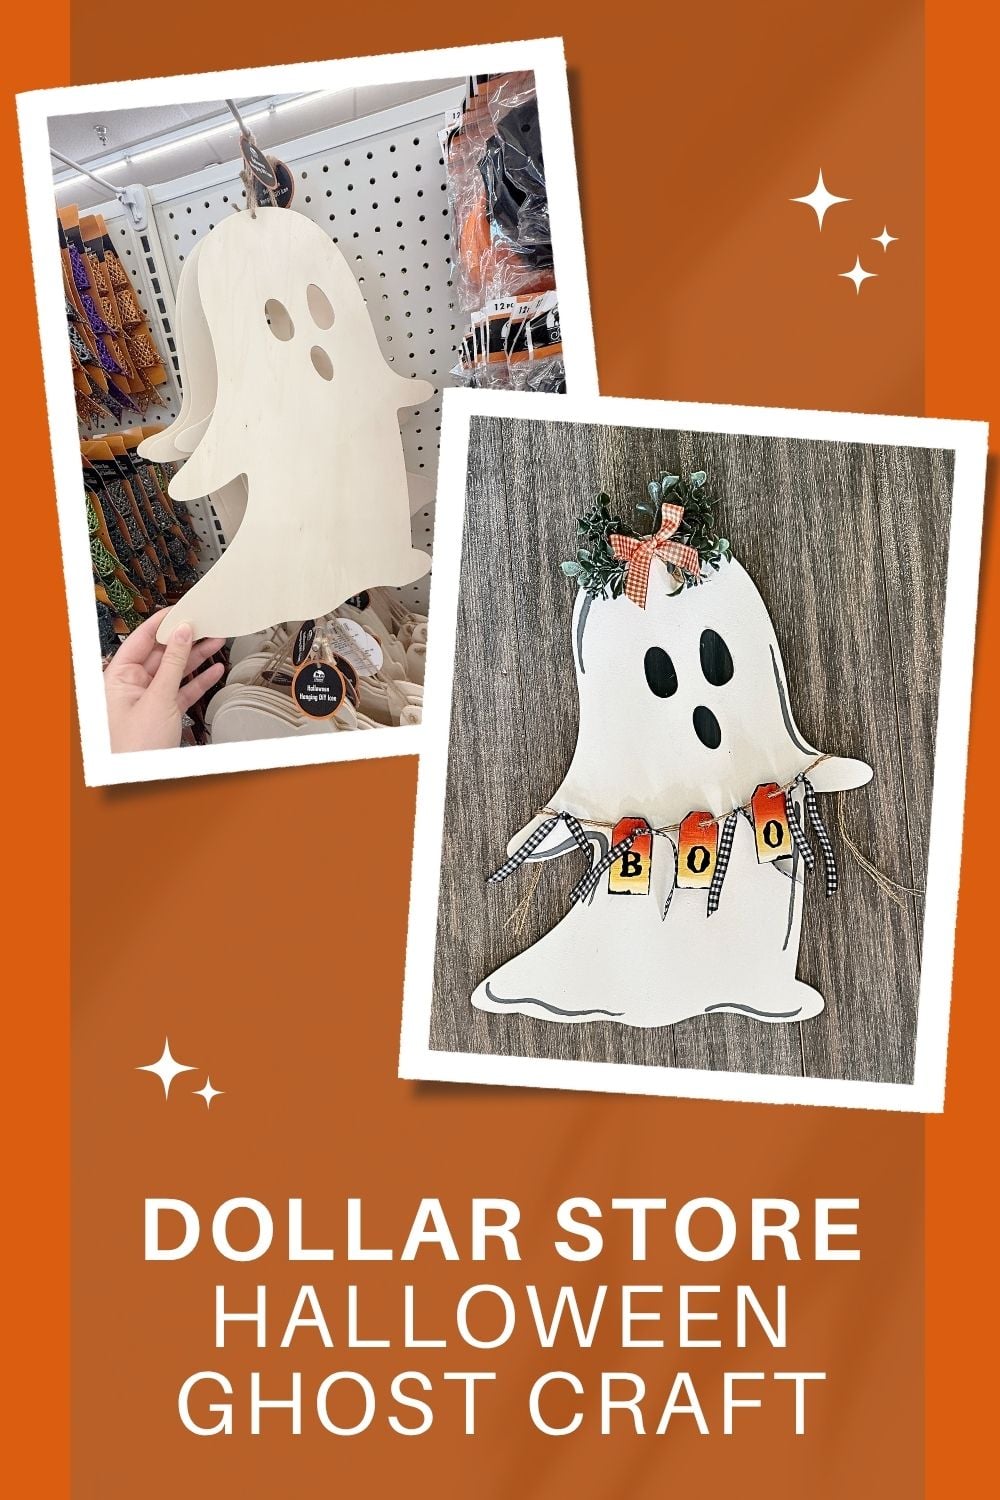
Dollar Store Ghost Door Hanger
I painted my ghost white with a few gray accent lines around the edges, but you can definitely customize this one. Add fall leaves instead of greenery, switch out the ribbon, or use different colors for your BOO banner.
The basic idea is simple: paint your jumbo ghost, give his face a contrasting background, and string a cute little Halloween banner between his hands.
Video Tutorial: Dollar Store Ghost Door Hanger
Watch this quick video to see how this craft came together:
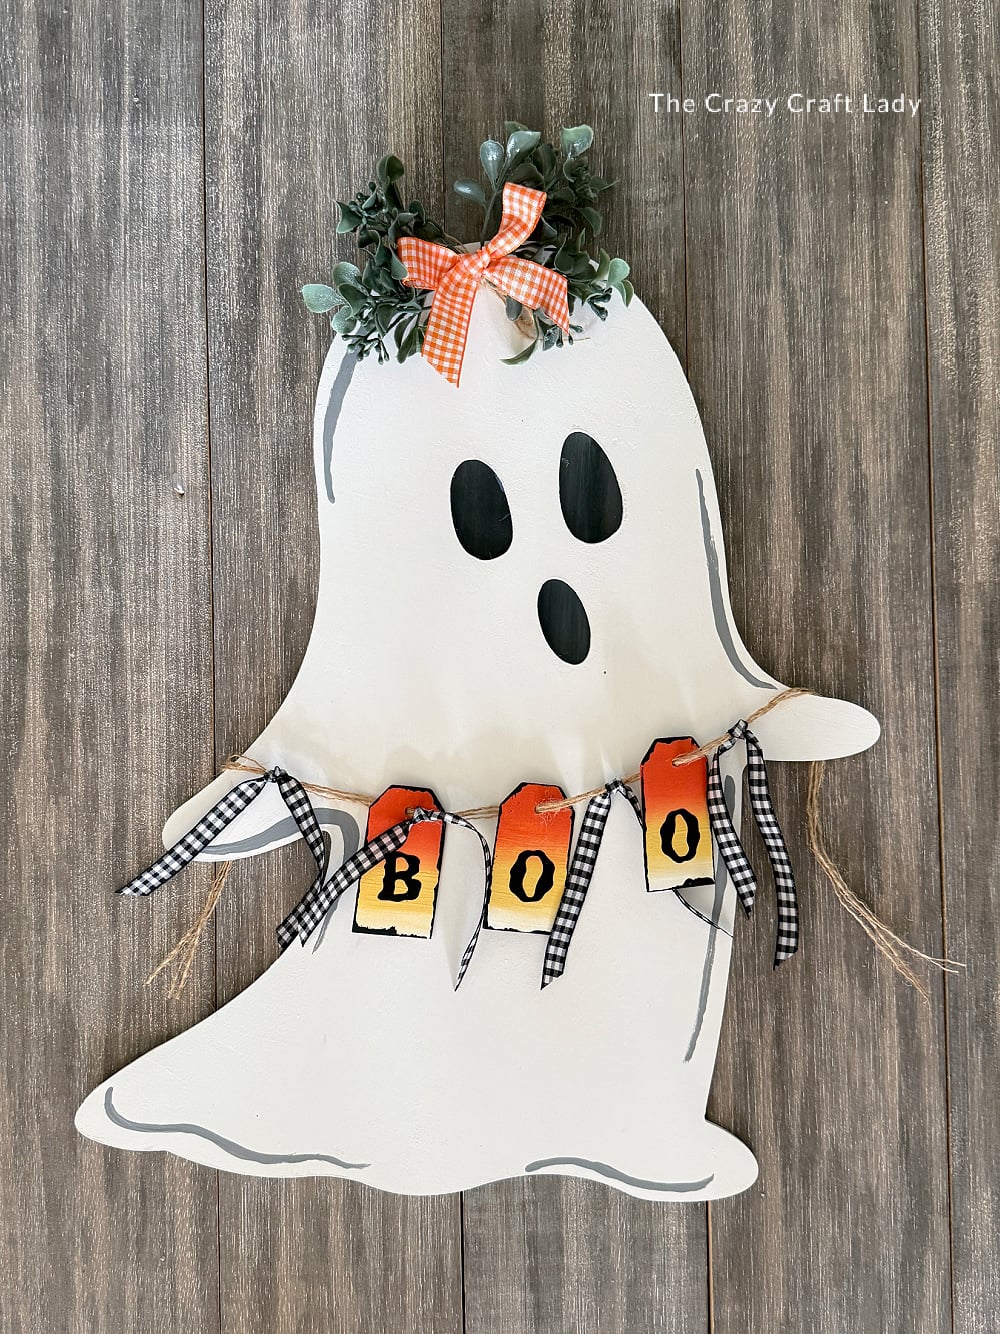
Dollar Store Ghost Door Hanger
Create a fun Dollar Store ghost door hanger featuring a hand-painted ghost, mini BOO banner, checkered bows, and inexpensive craft supplies.
Materials
- Jumbo Dollar Tree wooden ghost cutout
- 3 small wooden gift tag cutouts
- Small scrap wood piece, approximately 4x4-inches
- White chalk or craft paint
- Orange craft paint
- Yellow craft paint
- Charcoal gray craft paint
- Medium gray craft paint
- Black craft paint
- Black adhesive vinyl
- Transfer tape
- Burlap strands or twine
- Thin black and white check ribbon
- Orange and white check ribbon
- Faux greenery
- Painter's tape
Tools
- Flat paintbrush
- Fine-tip paintbrush
- Cricut or other cutting machine, optional
- Scissors
- Hot glue gun and glue sticks
Instructions
- Watch the video tutorial. Watch the video above to see a complete walkthrough of how this ghost door hanger came together. Then follow the step-by-step directions below.
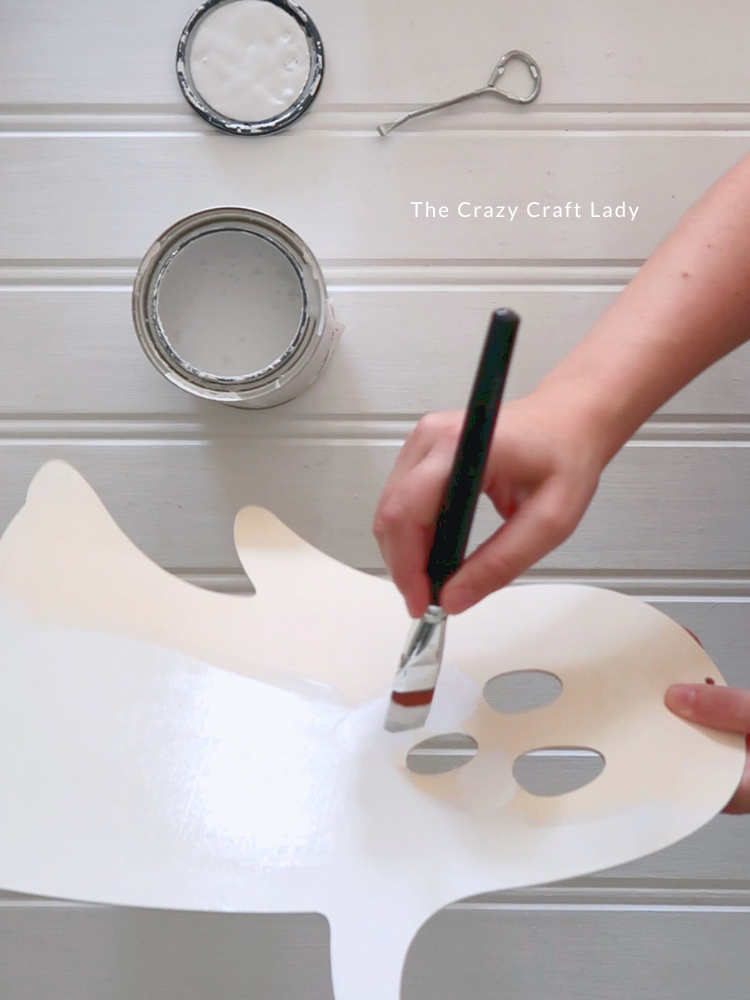
- Paint the Ghost. Paint the entire wooden ghost white, including the outer edges and inside the eyes and mouth. After painting around the edges, use long, smooth brushstrokes over the front to eliminate any areas where the paint may have pooled. Set the ghost aside to dry.

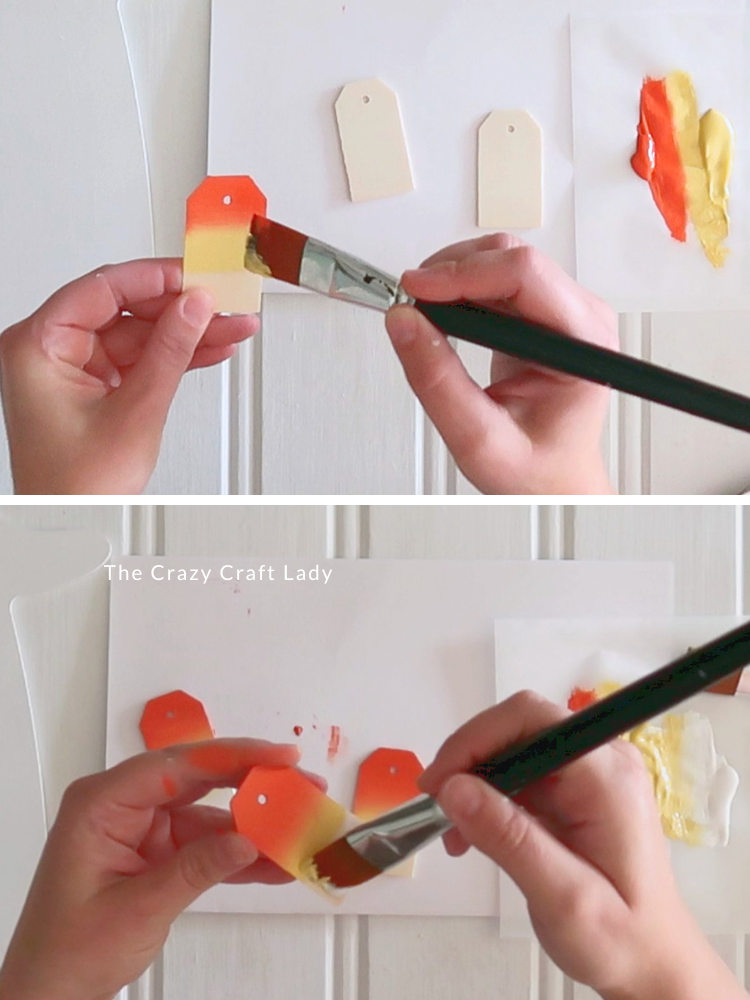
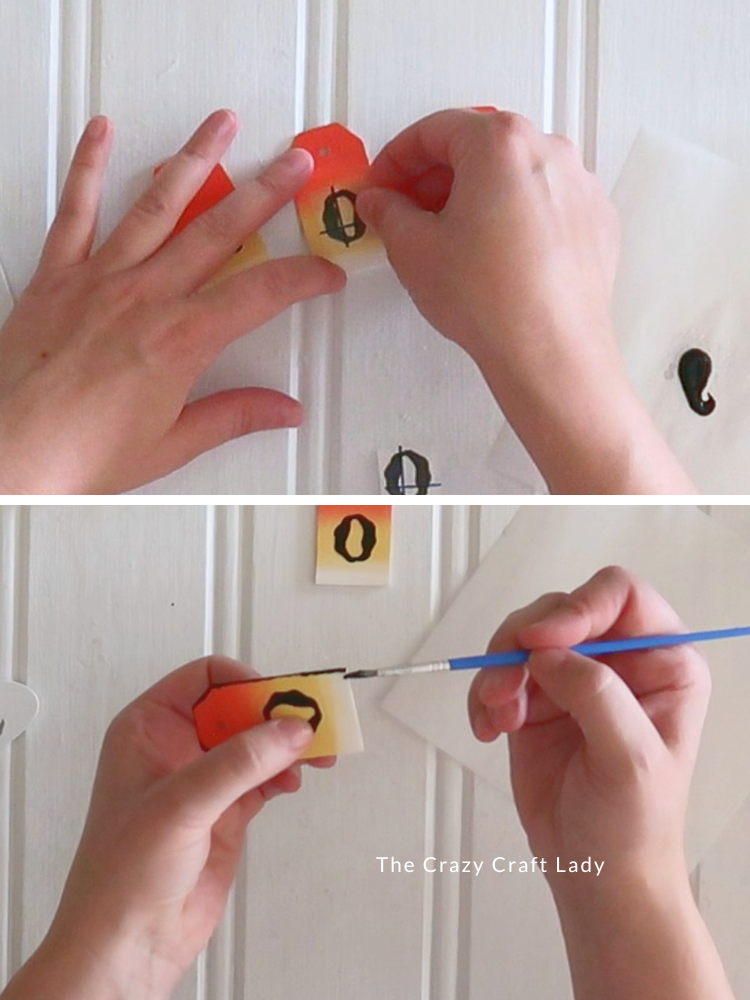
- Paint the BOO Tags. Paint three small wood gift tags with an ombre effect. First, load a flat brush with orange and yellow paint and blend the colors directly on the wood. Second, use yellow and white with the same method. Don't forget to paint the edges!
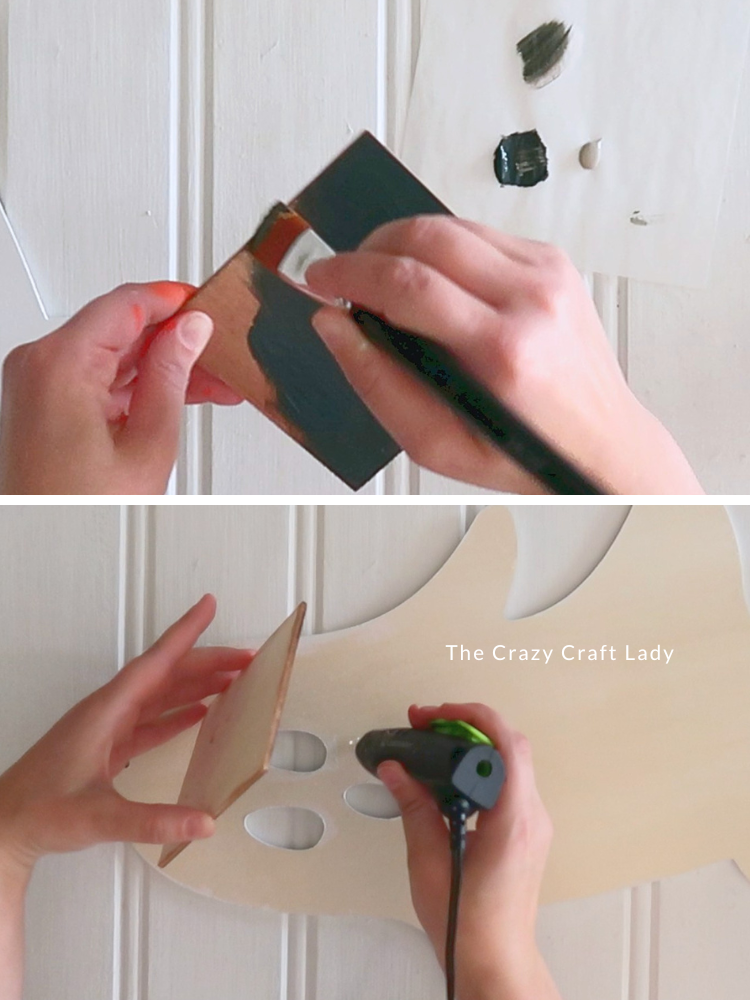
- Make the Ghost's Face Pop. Find a scrap of wood large enough to cover the eye and mouth openings from behind. I used a small square wood piece and painted it charcoal gray, blending in a few lighter and darker gray tones for dimension. Once dry, hot glue the wood piece to the back of the ghost so the dark color shows through the face.
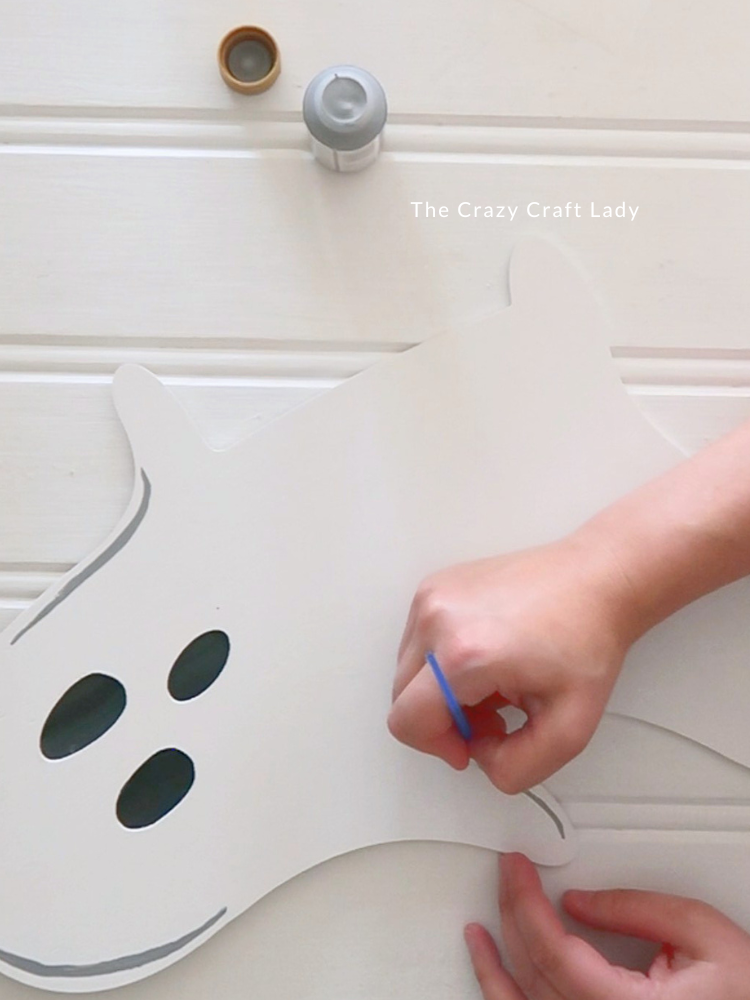
- Add Gray Details. Use a fine-tip paintbrush and medium gray paint to add small accent lines around the outside of the ghost. Instead of outlining the entire thing, make each line thin at the ends and slightly thicker through the middle. Space them randomly around the ghost for a softer, hand-painted look.
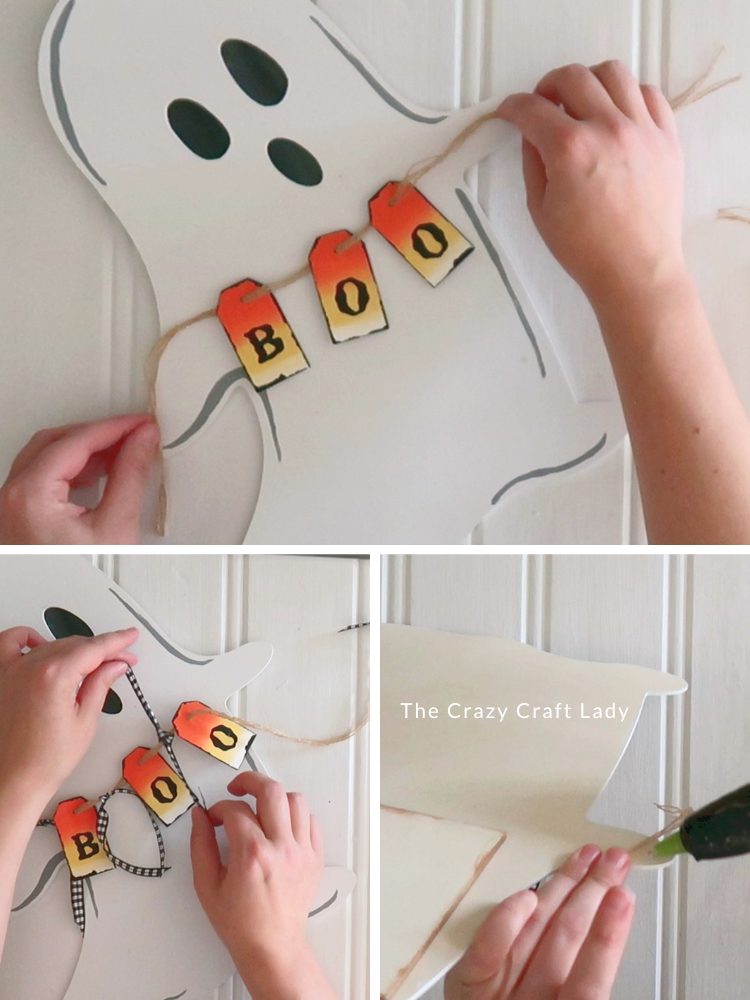
- Make the BOO Banner. Cut B-O-O from black adhesive vinyl and add one letter to each gift tag. You could also paint the letters or use a black paint pen. Then use a fine-tip brush and slightly watered-down black paint to loosely outline the edges of each tag. Thread all three tags onto several strands of burlap string or twine, adjusting them until they're spaced evenly.
- Add the Checkered Ribbon. Cut four pieces of thin black and white check ribbon, about 7 to 8 inches each. Tie them onto the burlap strands with simple knots—one between each tag and one on either end. Pull the ribbon tails downward and trim them if needed.
- Attach the Banner. Position the banner so the BOO tags hang between the ghost's hands. Drape the ends of the burlap strands behind each hand and hot glue them securely to the back.
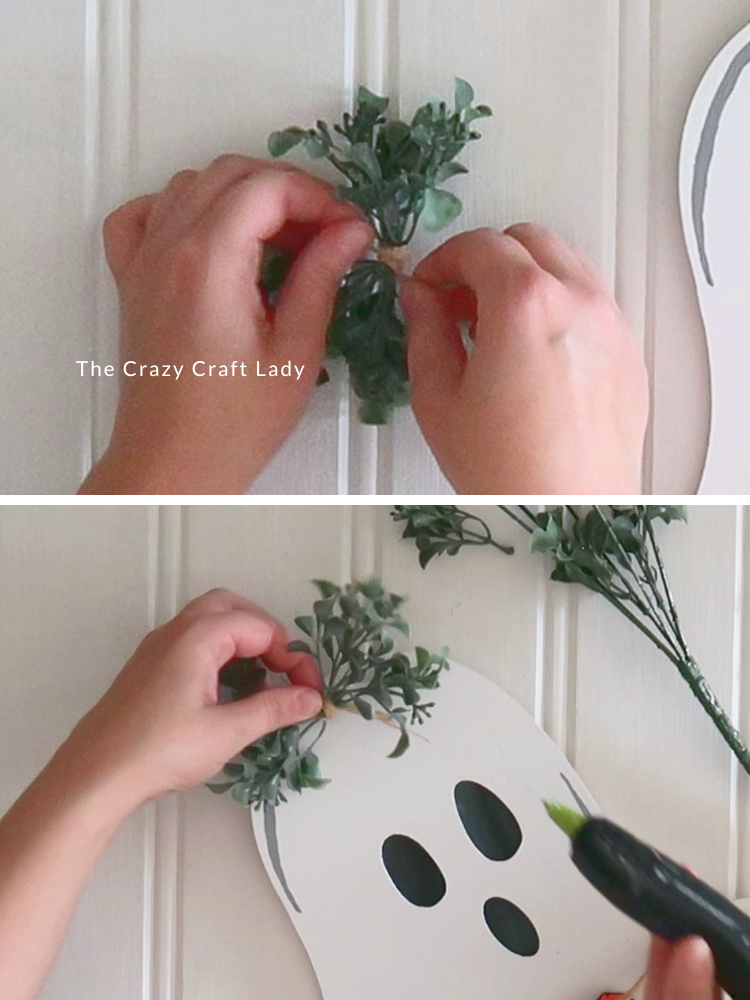
- Add Greenery. Make a small bundle with four sprigs of faux greenery, with two pointing in each direction. Wrap the center tightly with twine and hot glue the bundle to the top of the ghost.
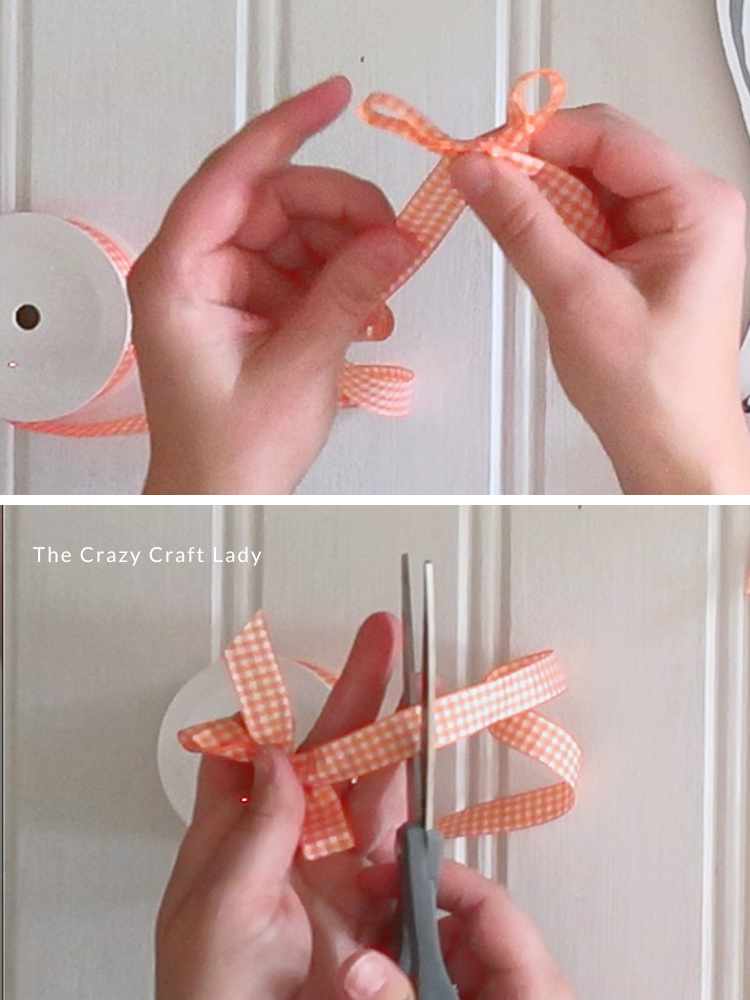
- Add a Bow. Tie orange and white check ribbon into a simple bow using the bunny-ear method. Adjust the loops, trim the tails, and hot glue the bow over the center of the greenery.
A Cute Halloween Ghost Door Decoration
I love how this Dollar Store ghost door hanger turned out. The colorful BOO tags add just enough traditional Halloween color, while the black and white check ribbon and greenery give the whole thing a little extra detail.
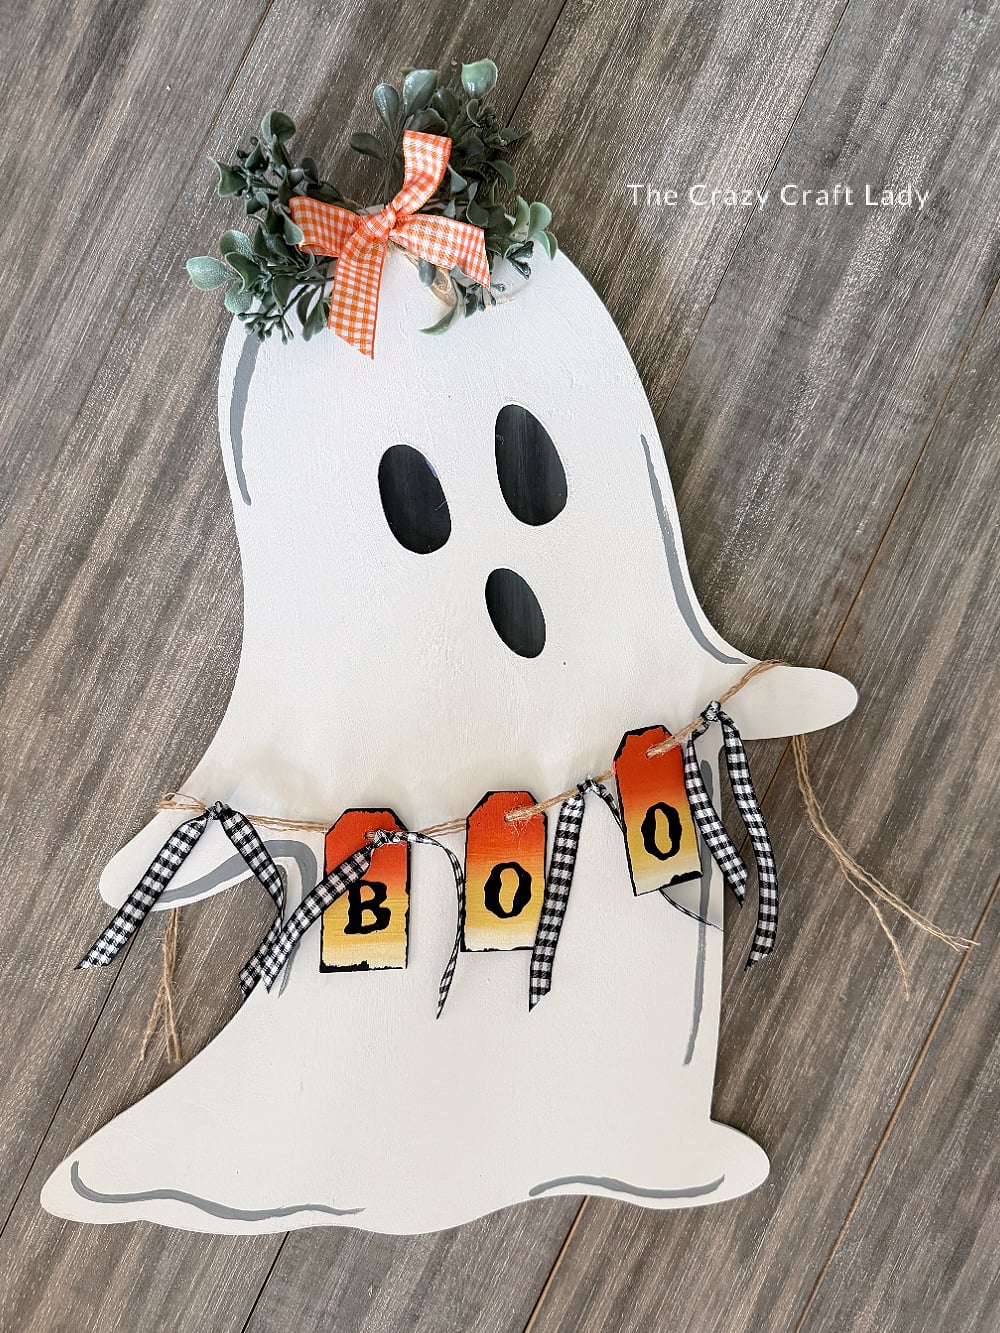
My front door happens to be white, so white ghost on white door isn’t exactly ideal for photographing this one. But hang it on a darker door, against wood, or even on an interior wall, and that little ghost really pops.
Not spooky. Not scary. Just a cute little ghost proudly holding his BOO banner—and that’s exactly my kind of Halloween craft.
PIN this Halloween Ghost Craft for Later: