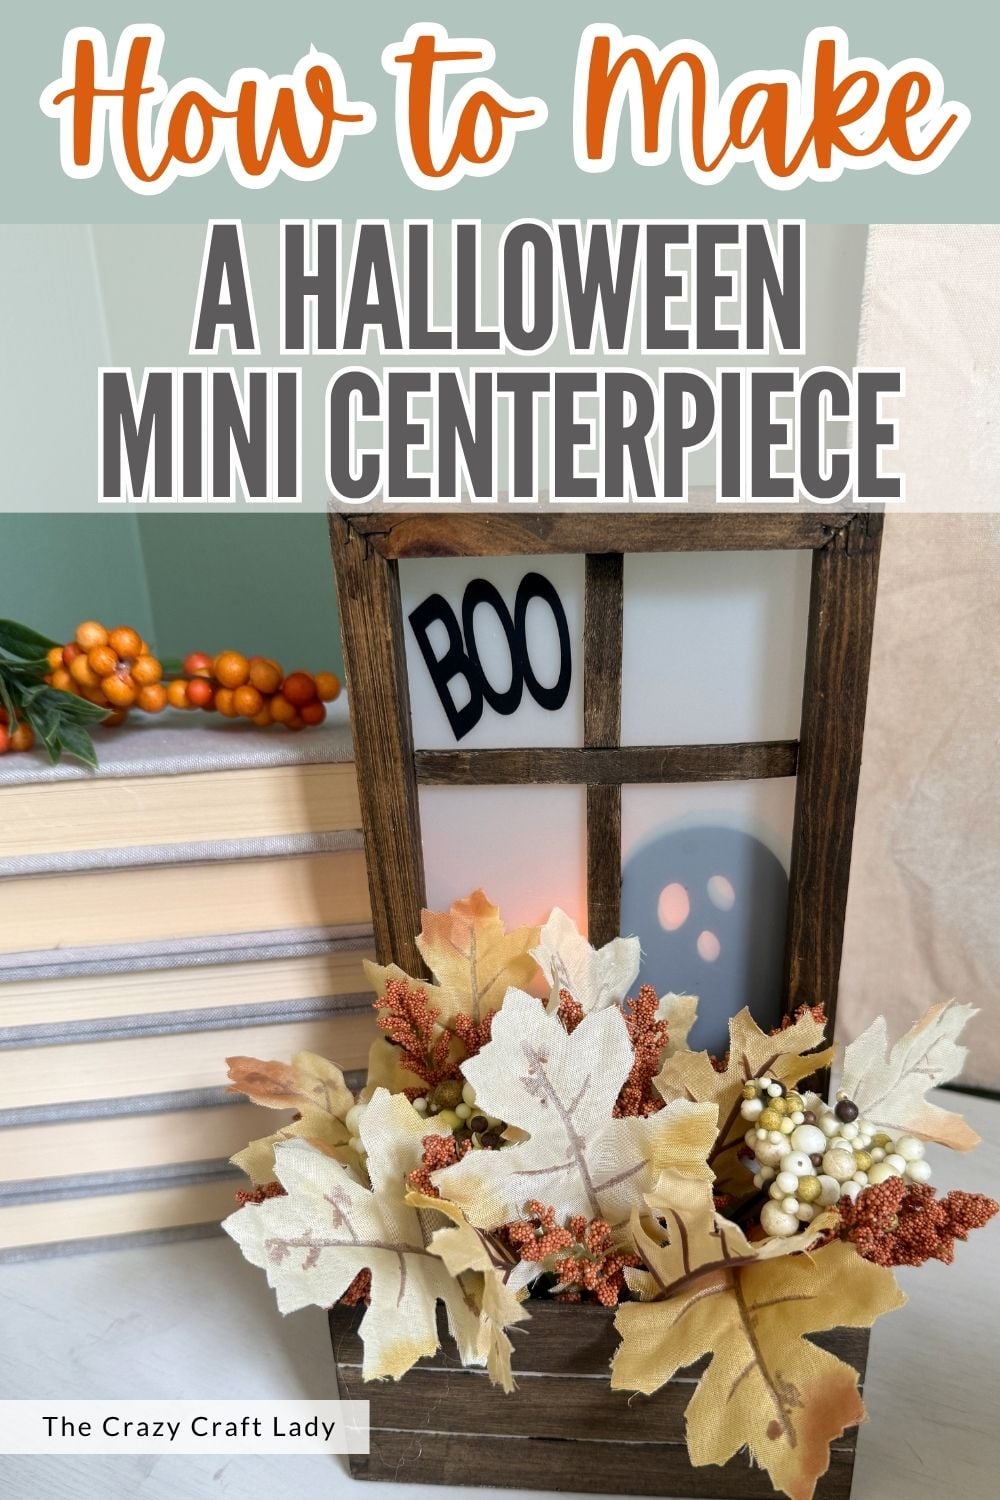
Make a Halloween Ghost Window Mini Centerpiece with Dollar Tree supplies, a glowing faux window, spooky ghost, and fall florals.
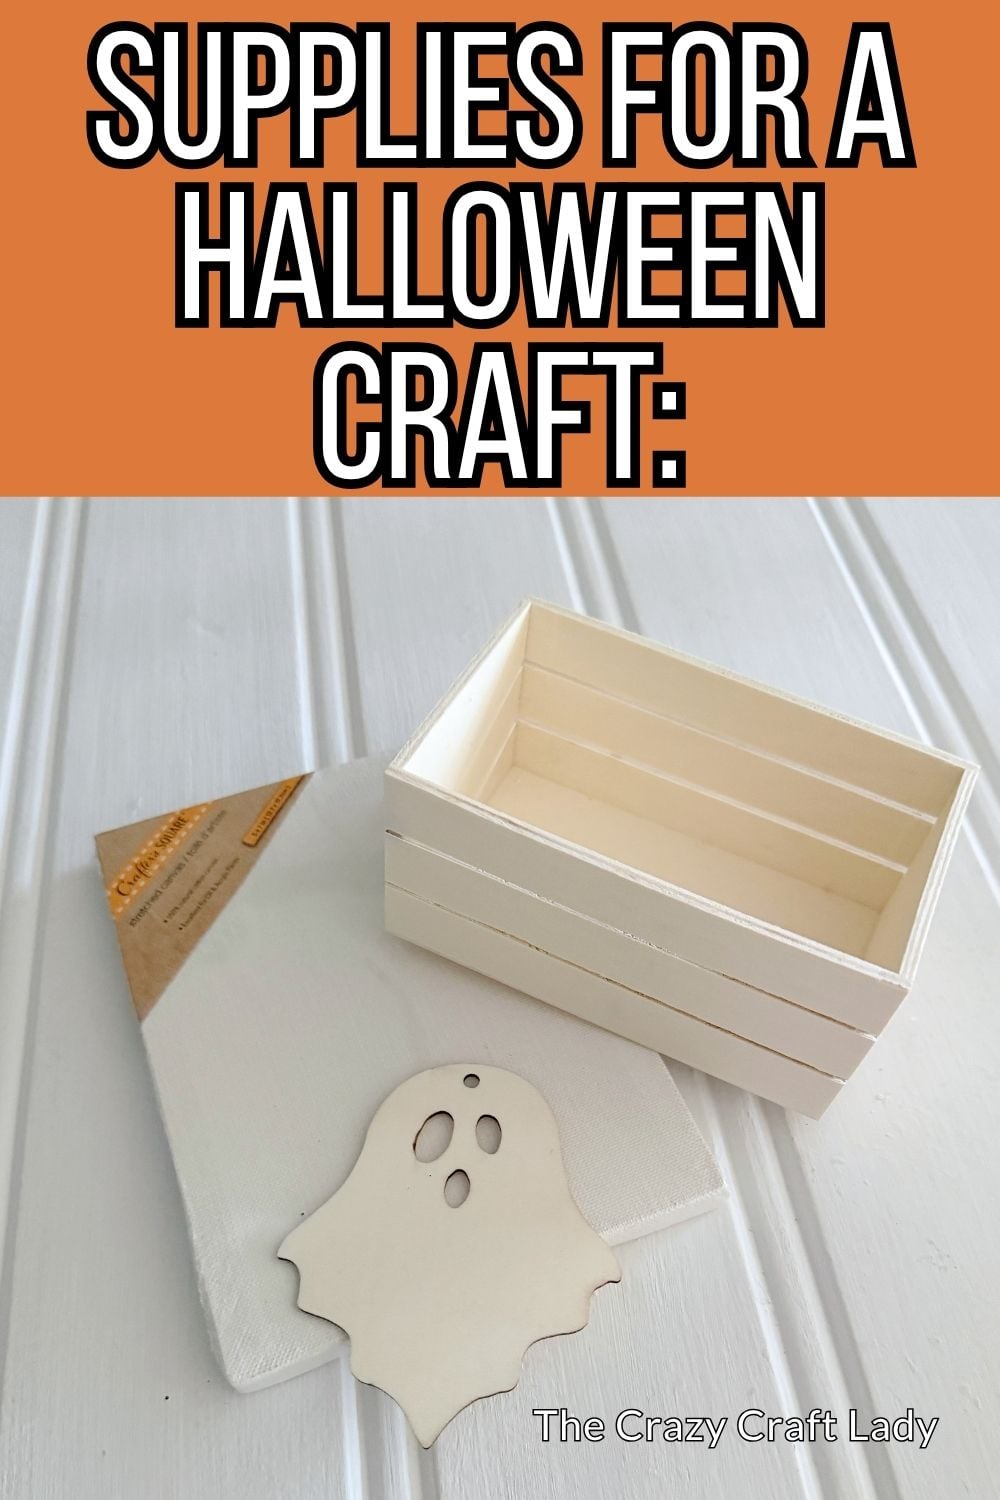
How to make a Halloween Ghost Window Mini Centerpiece from dollar store supplies.
This post contains some affiliate links for your convenience. Click here to read my full disclosure policy.
Halloween Ghost Window Mini Centerpiece
Okay, this little ghost peeking through the window might be one of my favorite kinds of Halloween decorations: a little spooky, but mostly just really cute.
This Halloween Ghost Window Mini Centerpiece starts with some of my favorite Dollar Tree craft supplies: a stretched canvas, mini wood crate, wooden ghost cutout, and one of those plastic chopping mats I’ve apparently decided need to be turned into all the things.
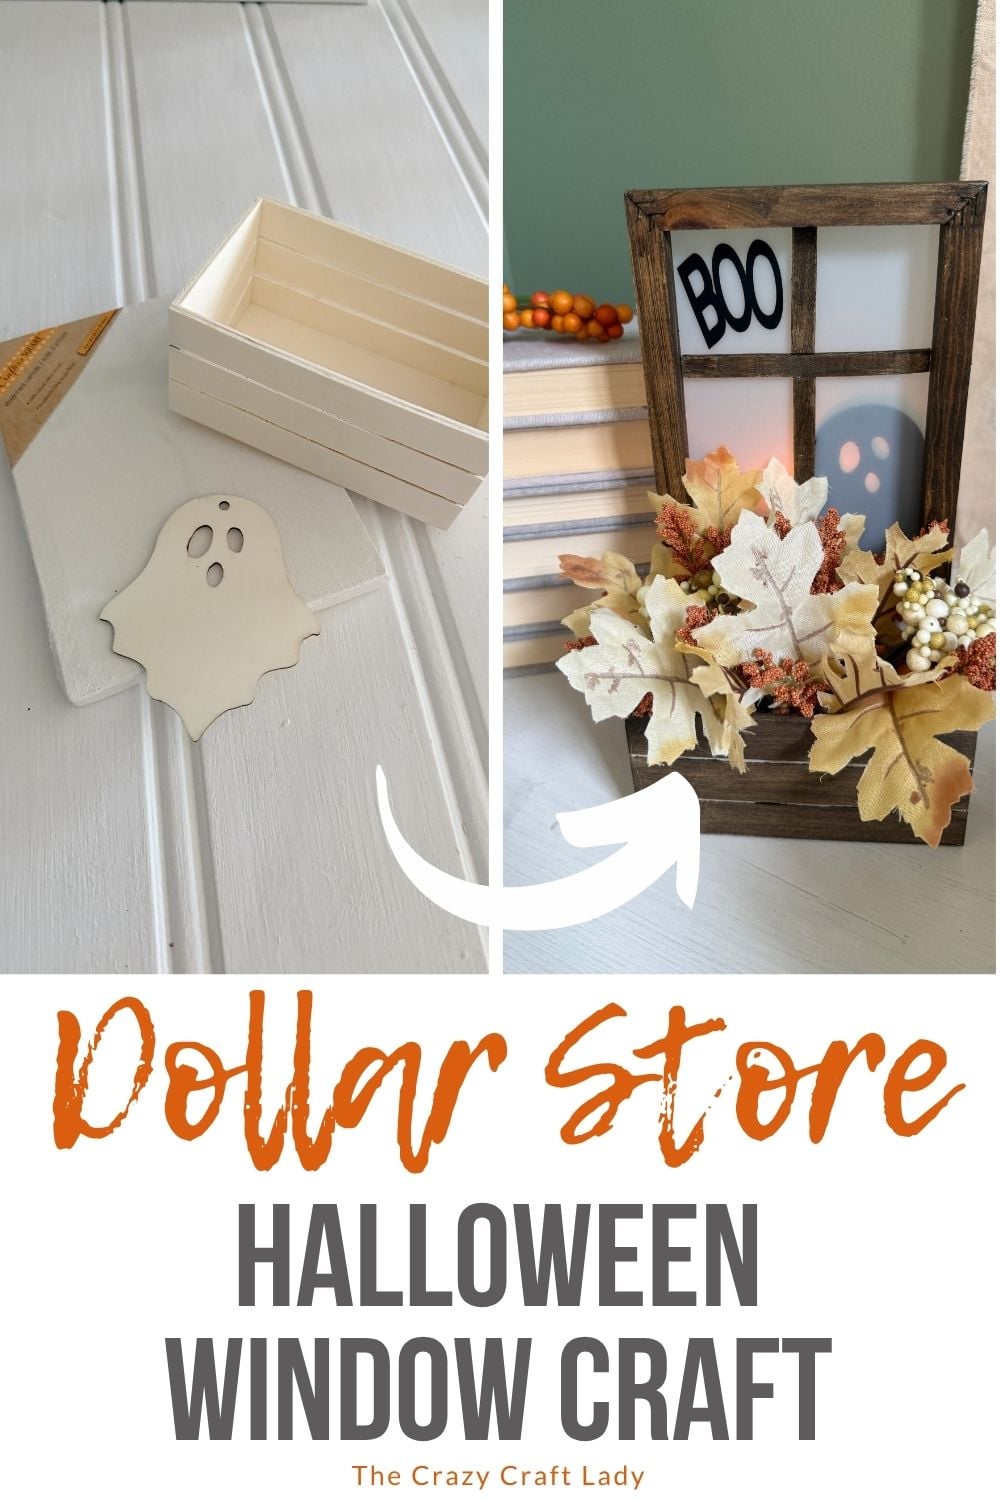
We’re going to turn the canvas frame into a little faux window, add a ghost peeking through from behind, fill the crate with fall florals, and then pop a battery-operated candle behind the whole thing so the window actually glows.
Cute during the day. Even better at night.
Video Tutorial: Halloween Ghost Window Mini Centerpiece
Watch this quick video to see how this craft came together:
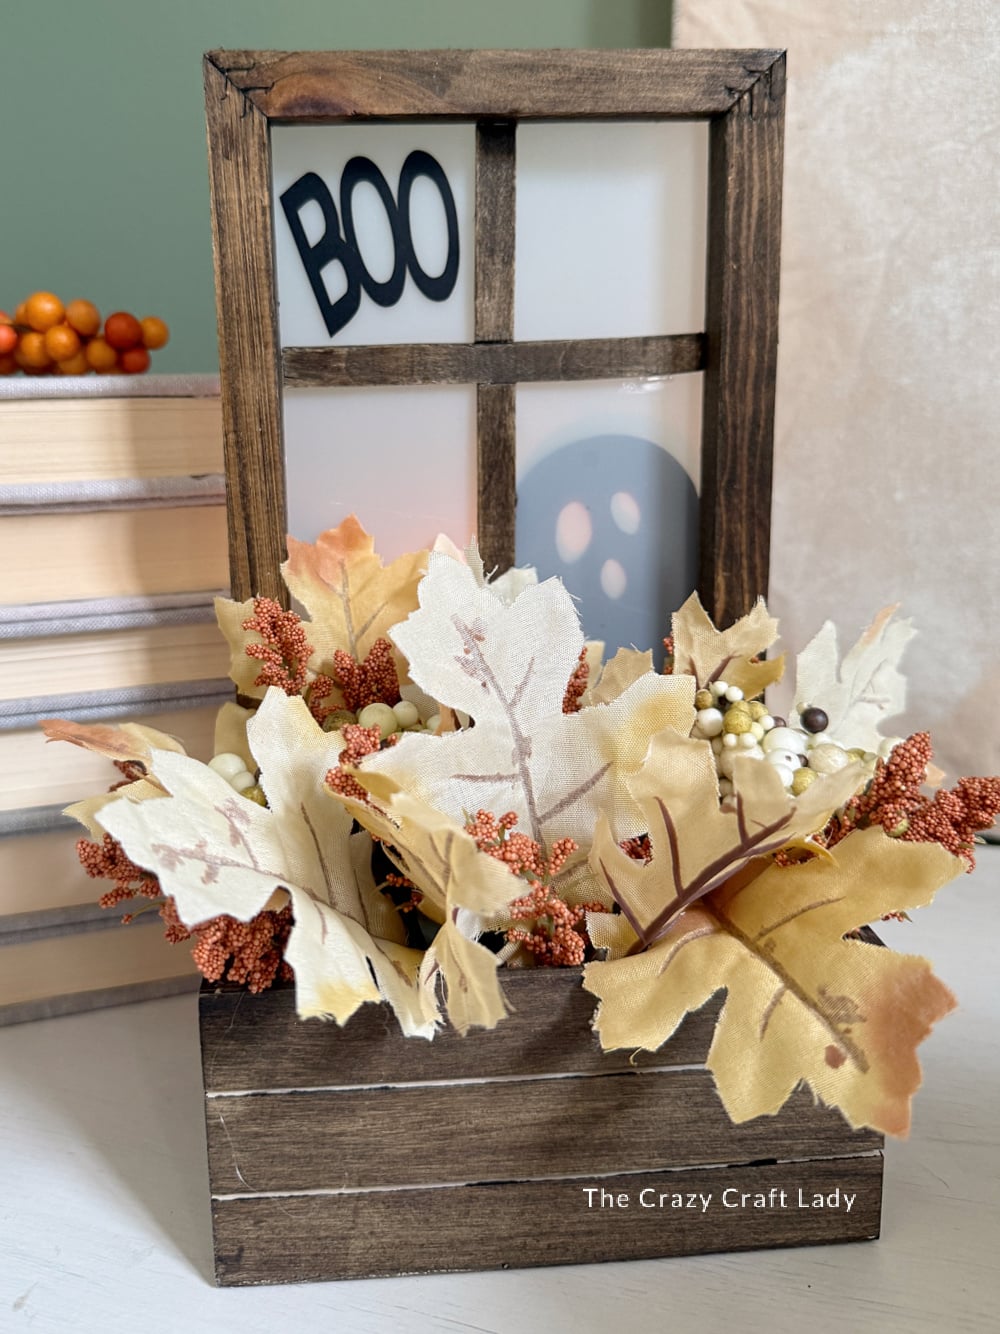
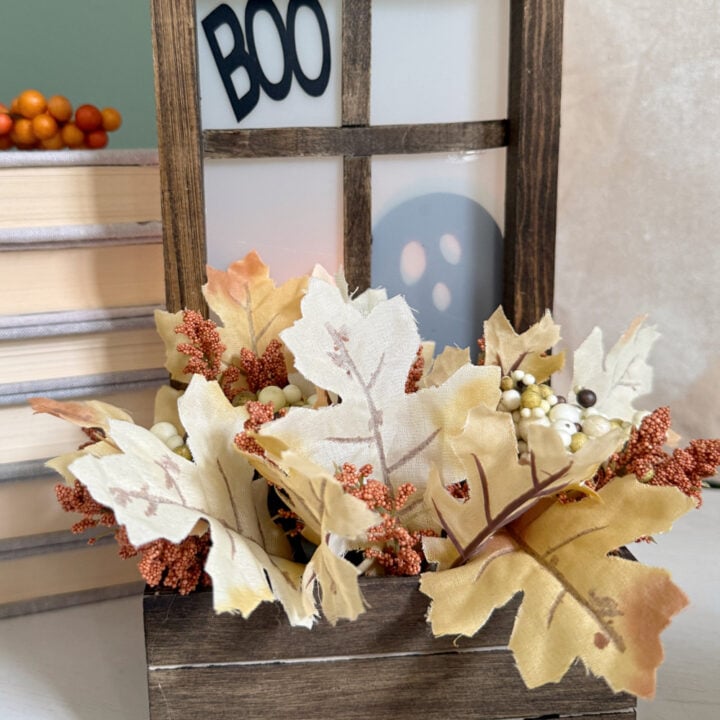
Halloween Ghost Window Mini Centerpiece
Create a cute Halloween Ghost Window Mini Centerpiece using a mini wood crate, canvas frame, ghost cutout, and Dollar Tree supplies.
Materials
- 5x7-inch Dollar Tree stretched canvas
- Dollar Tree mini wooden crate
- Dollar Tree wooden ghost cutout
- Dollar Tree plastic chopping mat
- Popsicle sticks
- Paint stir stick
- Walnut wood stain
- Black craft or chalk paint
- Small piece of masking tape
- E6000
- Wood glue
- Hot glue gun and glue sticks
- Black adhesive vinyl
- Floral foam
- Faux fall or Halloween florals
- Battery-operated candle
Tools
- Miter shears
- Cutting machine, optional
- Paintbrush
- Paper towels
- Sharpie
- Scissors
Instructions
- Watch the Video Tutorial. Watch the video tutorial above, and then follow the step-by-step directions below to make your own Halloween window craft.
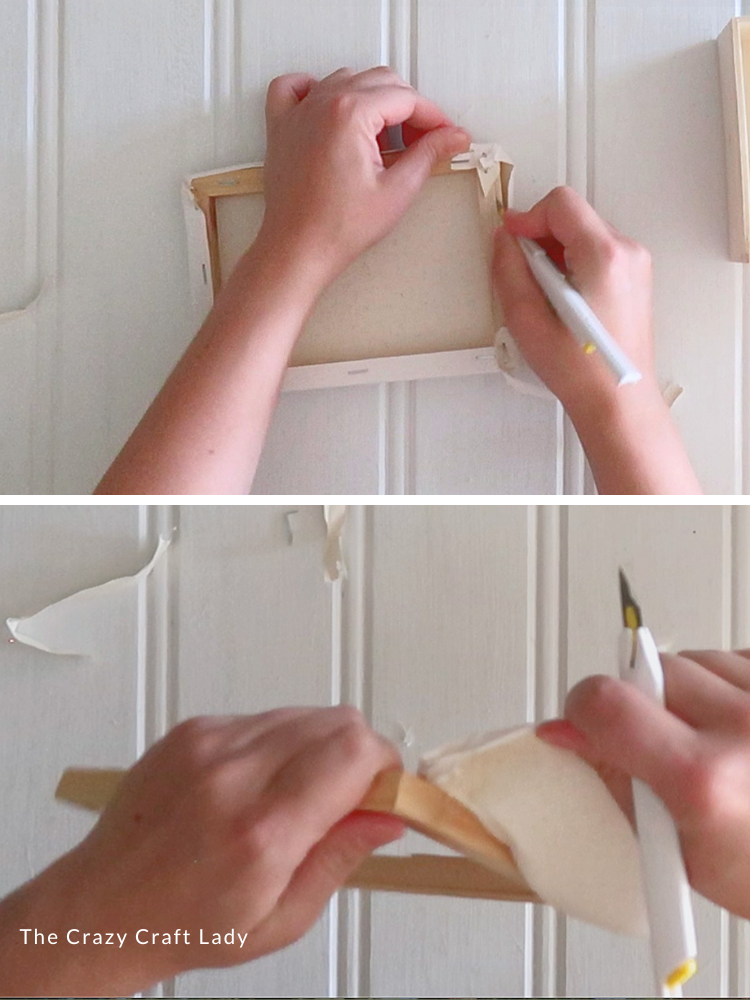
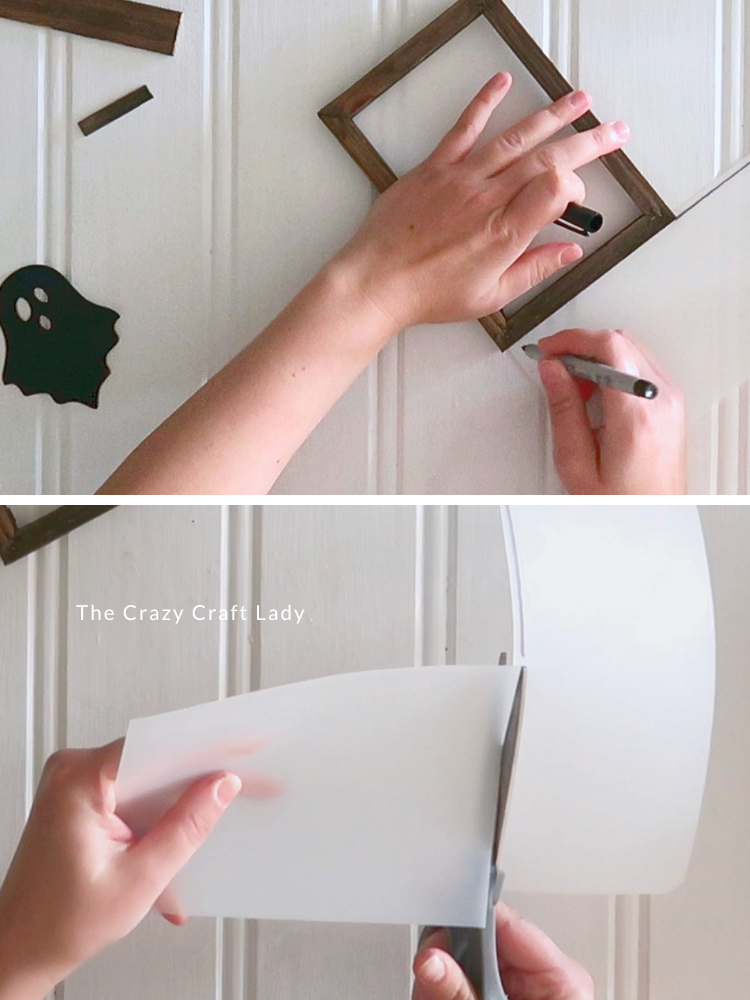
- Disassemble the Stretched Canvas. Remove the canvas from a 5x7-inch stretched canvas, leaving just the wooden frame.

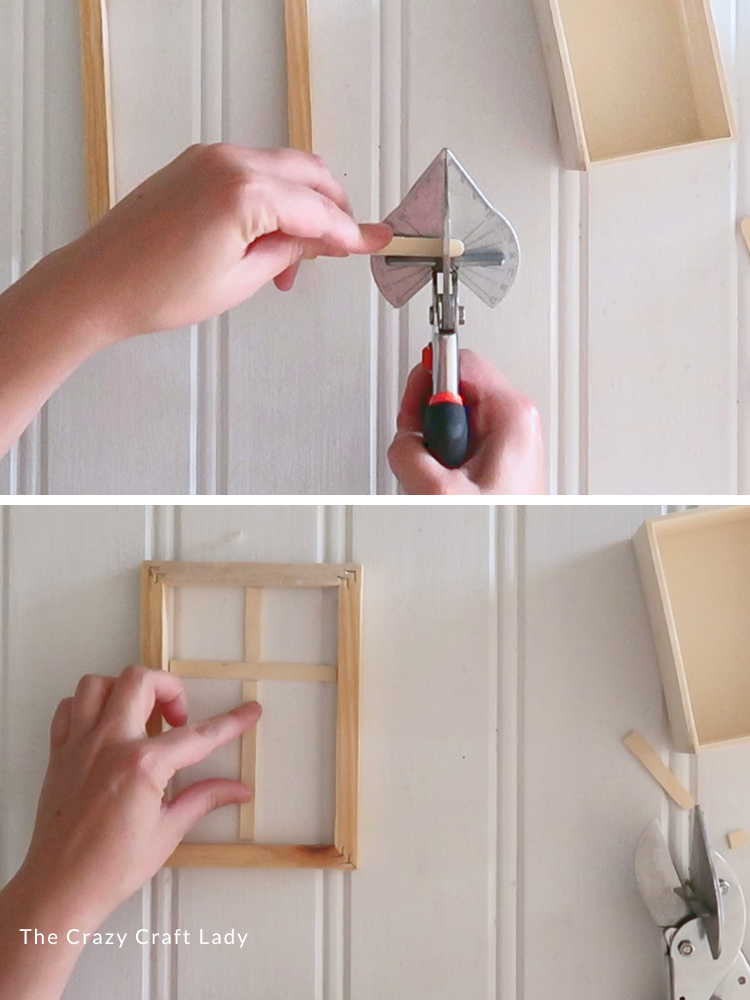
- Make the Window Frame. Cut three popsicle-stick pieces to fit inside the frame and create four window panes.
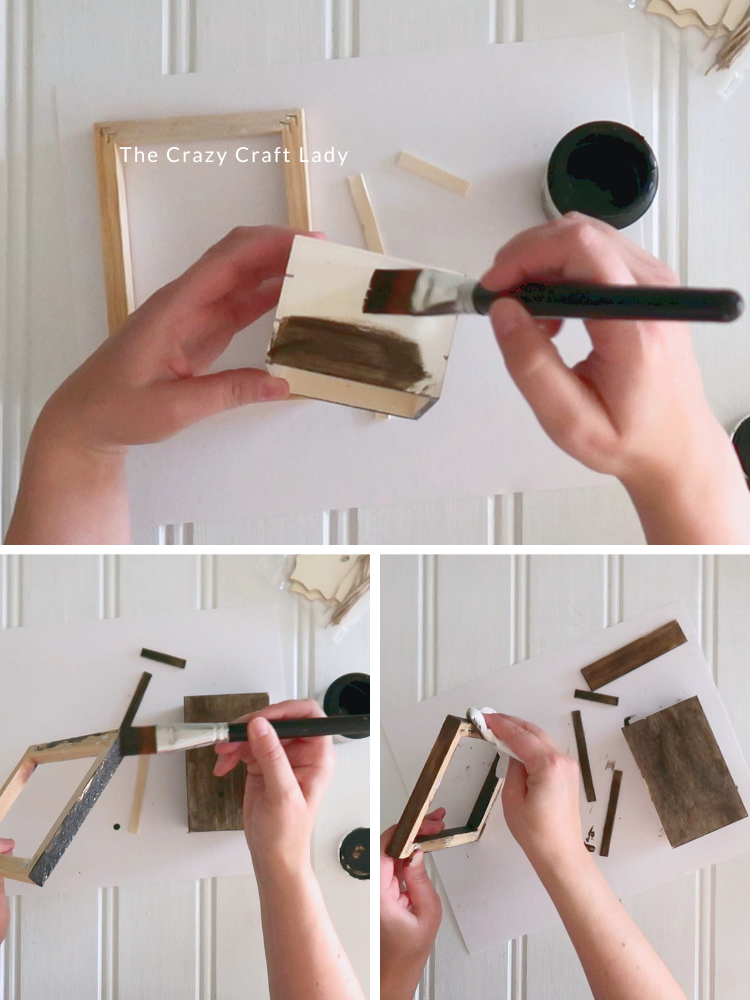
- Stain the Wood. Stain the canvas frame, popsicle sticks, mini wood crate, and a short piece of paint stir stick with walnut stain. Wipe away the excess and let everything dry completely.
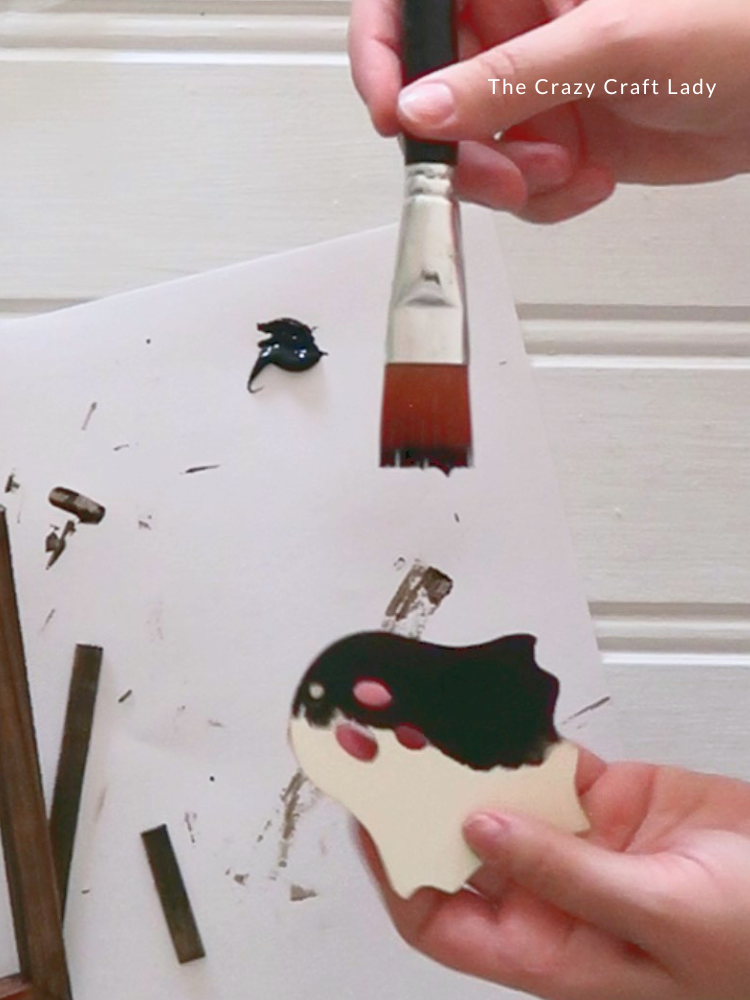
- Paint the Ghost. Cover the hanger hole at the top of the wooden ghost with a small piece of masking tape on the back, leaving the eyes and mouth open. Paint the entire ghost black and let dry.
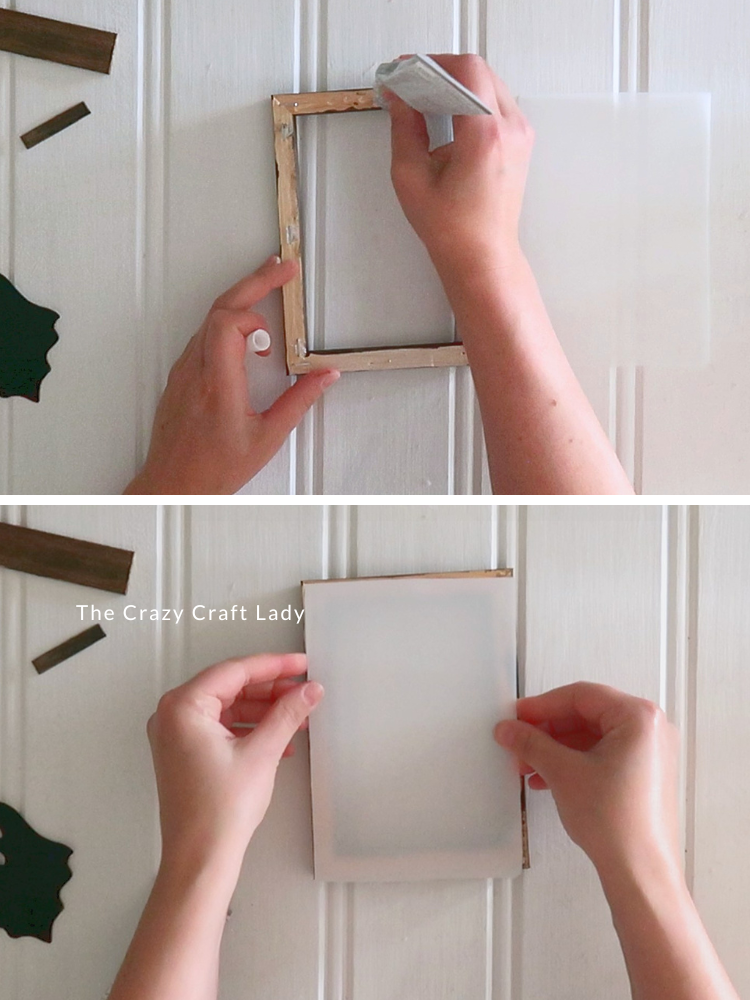
- Add the Chopping Mat. Trace the wooden frame onto a plastic Dollar Tree chopping mat and cut it about 1/8 inch smaller on all sides. Use E6000 to glue the plastic to the back of the frame.
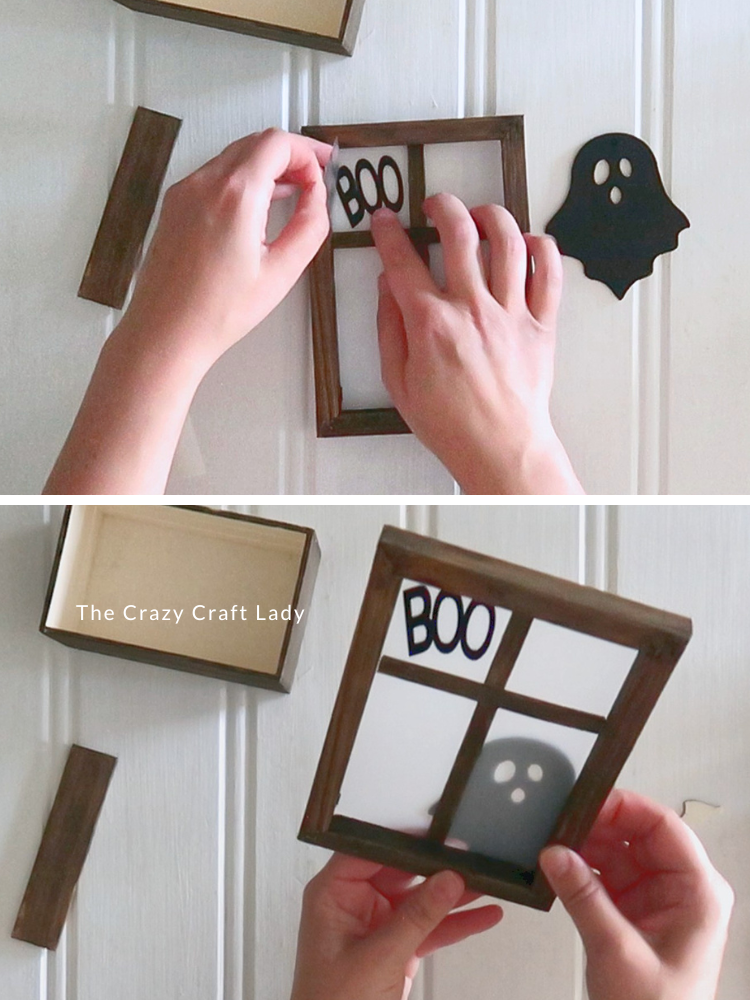
- Create the Window Panes. Use E6000 to glue the stained popsicle sticks onto the front of the chopping mat, dividing the window into four panes. Once dry, add a small BOO cut from black adhesive vinyl to one corner.
- Add the Ghost. Position the ghost behind the window so it looks like he's peeking inside. Trim the bottom if necessary, then hot glue the ghost to the wooden portions of the frame.
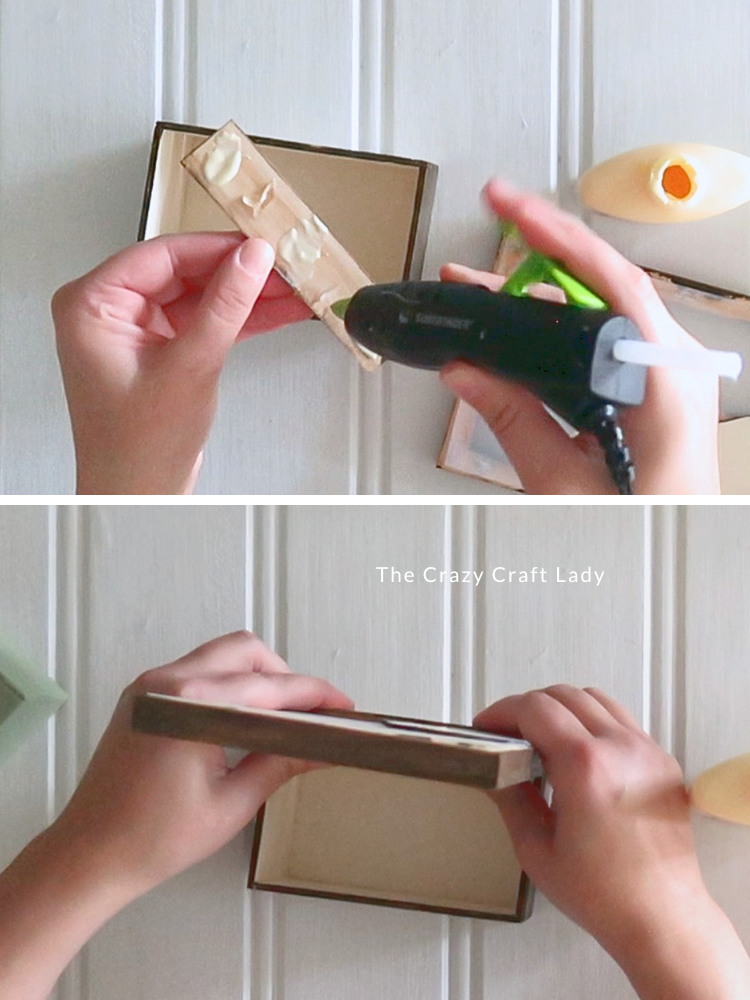
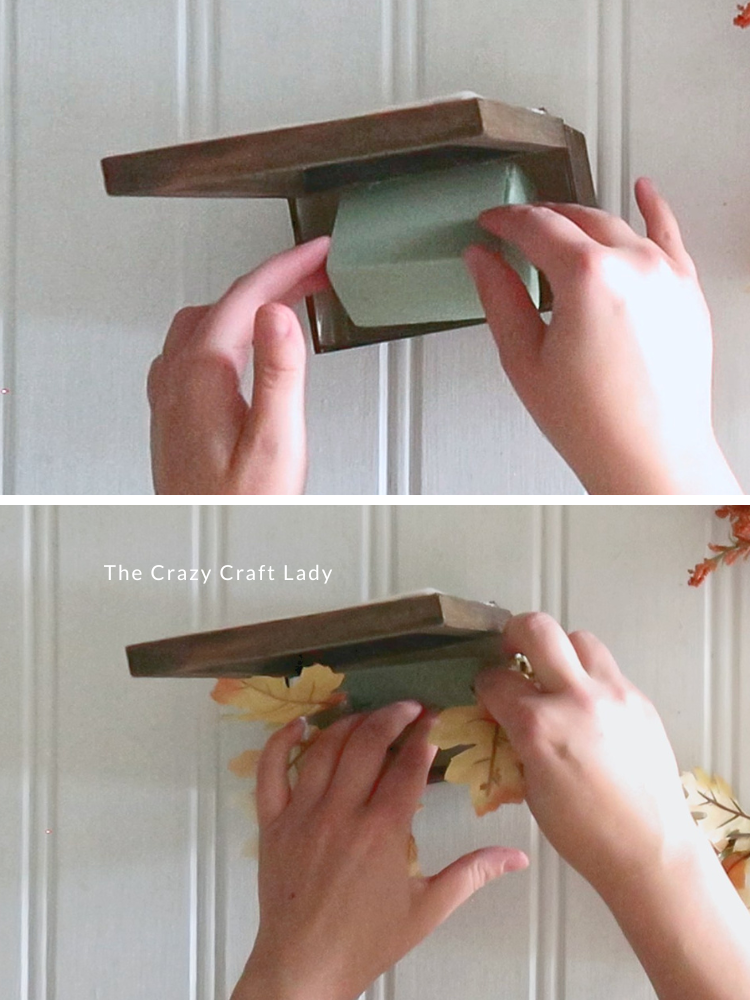
- Attach the Mini Crate. Glue the short paint-stir-stick piece to the back of the mini crate using wood glue for a permanent bond and hot glue for an instant hold. Attach the window frame to this support, adding extra hot glue if needed.
- Add the Florals. Hot glue a piece of floral foam inside the crate. Fill it with faux fall or Halloween florals from your craft stash until you're happy with the arrangement.
- Make the Window Glow. Place a battery-operated candle behind your finished centerpiece. The light will glow through the translucent chopping mat and the ghost's eyes and mouth for the cutest spooky-window effect.
A Cute Dollar Tree Halloween Centerpiece
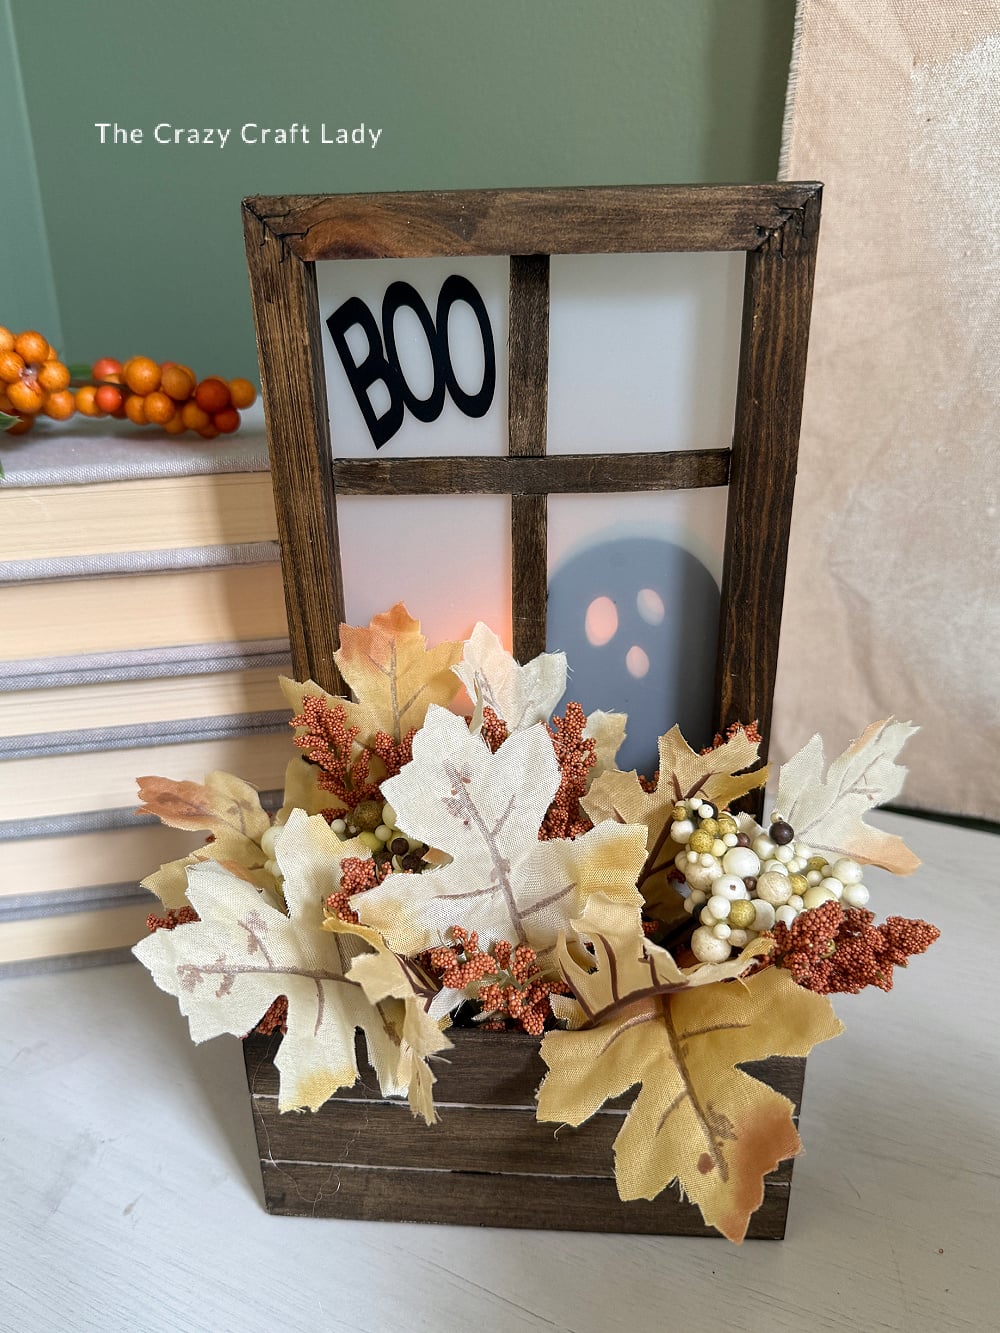
I love how this Halloween Ghost Window Mini Centerpiece turned out. During the day, it’s a cute little wood crate floral arrangement with a ghost peeking through the window. Turn on the candle at night, and the entire window glows.
Plus, it’s another one of those projects that combines a bunch of completely ordinary Dollar Tree supplies in a way that doesn’t really look like Dollar Tree supplies when you’re finished.
PIN this Dollar Store Halloween Craft for Later: