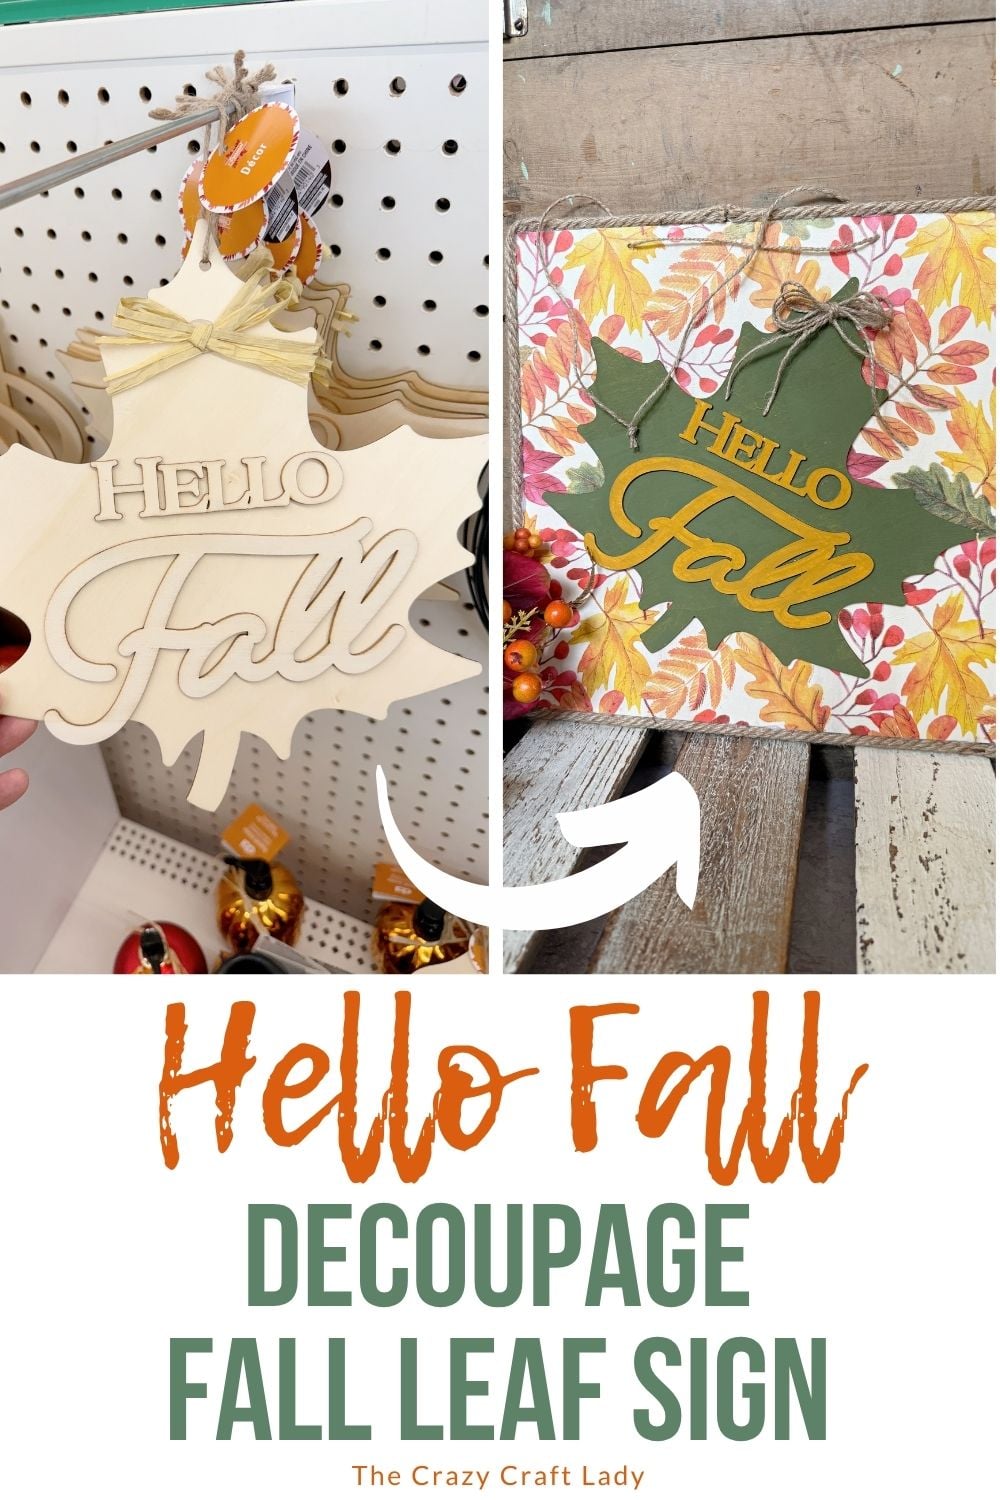
Make a cute hello fall leaf sign with Dollar Tree wood pieces, a fall napkin, paint, jute rope, and this easy decoupage tutorial.
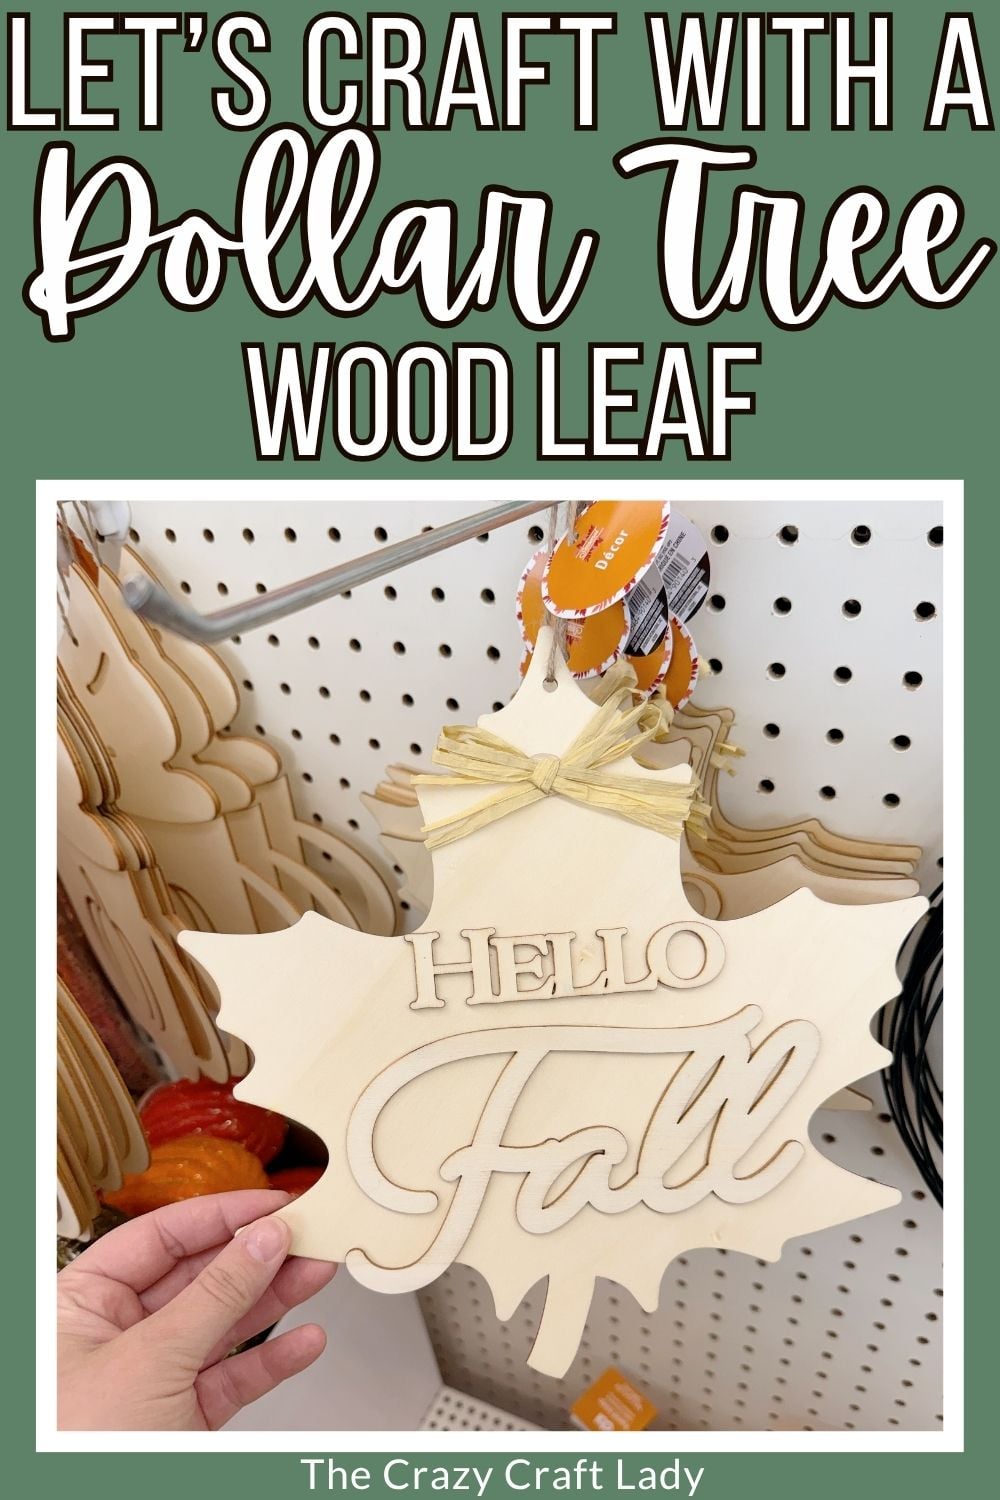
How to make a “Hello Fall” decoupage leaf sign from dollar store supplies.
This post contains some affiliate links for your convenience. Click here to read my full disclosure policy.
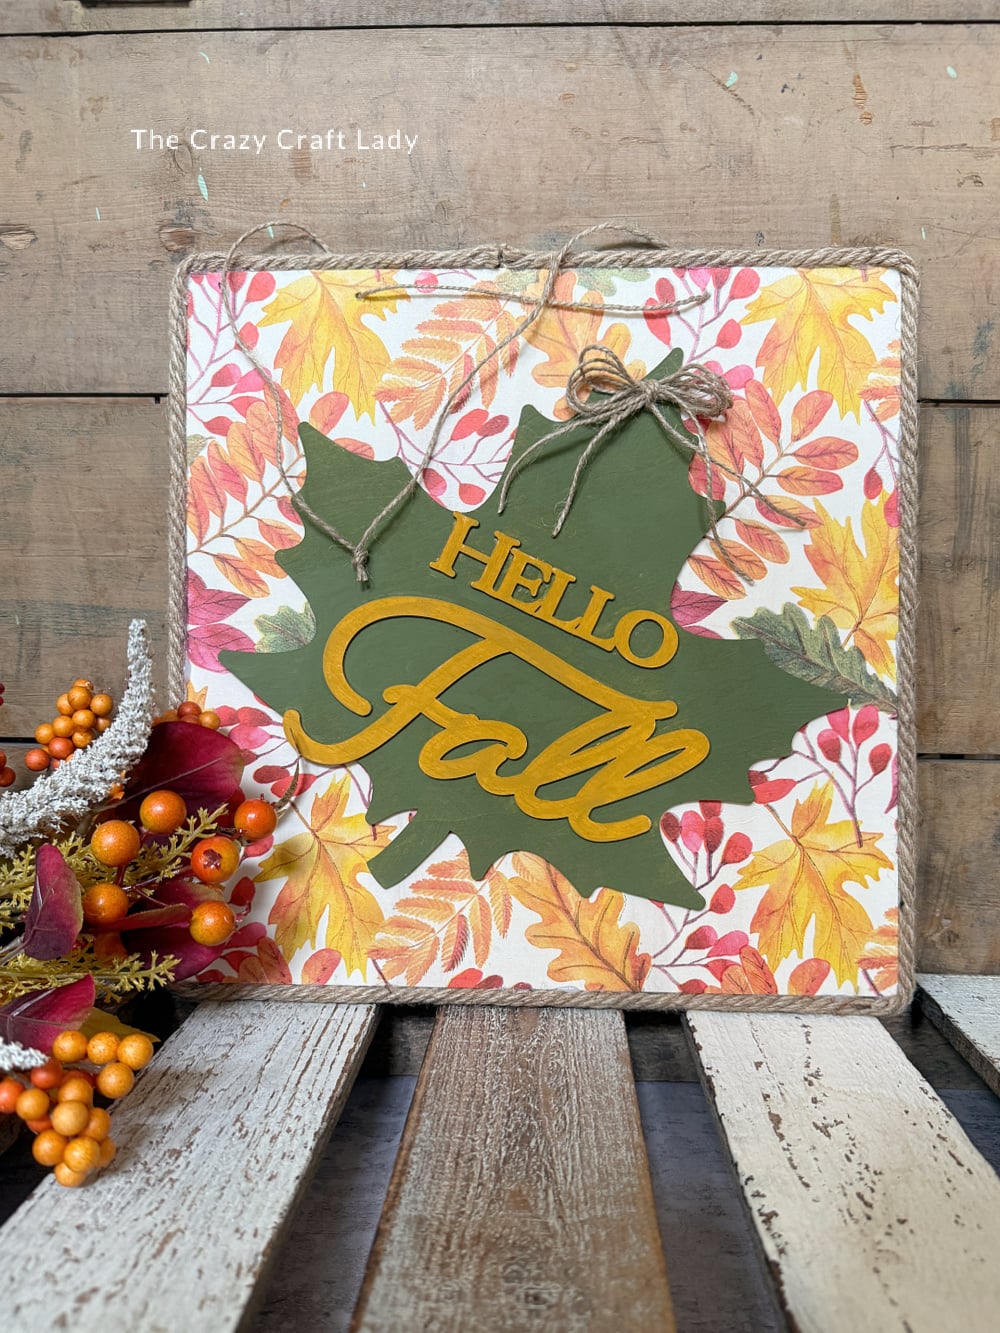
Sometimes Dollar Tree gives you a craft supply that’s almost cute, you just have to give it a little help. That’s exactly what we’re doing with this hello fall leaf sign.
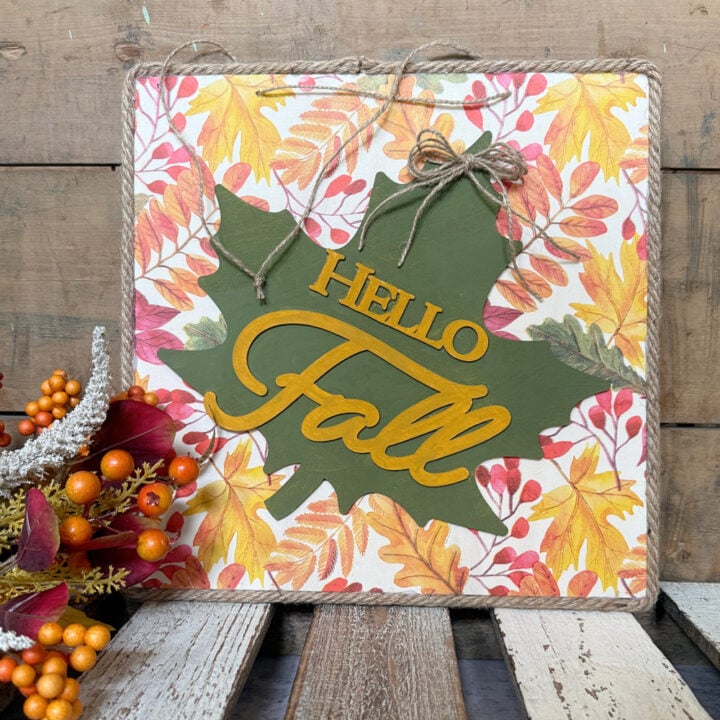
For this easy fall craft, I combined a simple Dollar Tree square wood sign with a wooden leaf cutout, a pretty fall napkin, and a little jute rope. Add some paint and decoupage, and those basic dollar store supplies turn into a colorful fall sign that’s perfect for hanging on a wall, propping on a shelf, or adding to a fall vignette.
And bonus: I actually made it to the bottom of a jar of Mod Podge during this project. Sure, what came out of the bottom was a partially dried, disgusting glob. But finishing an entire jar of Mod Podge still feels like an accomplishment.
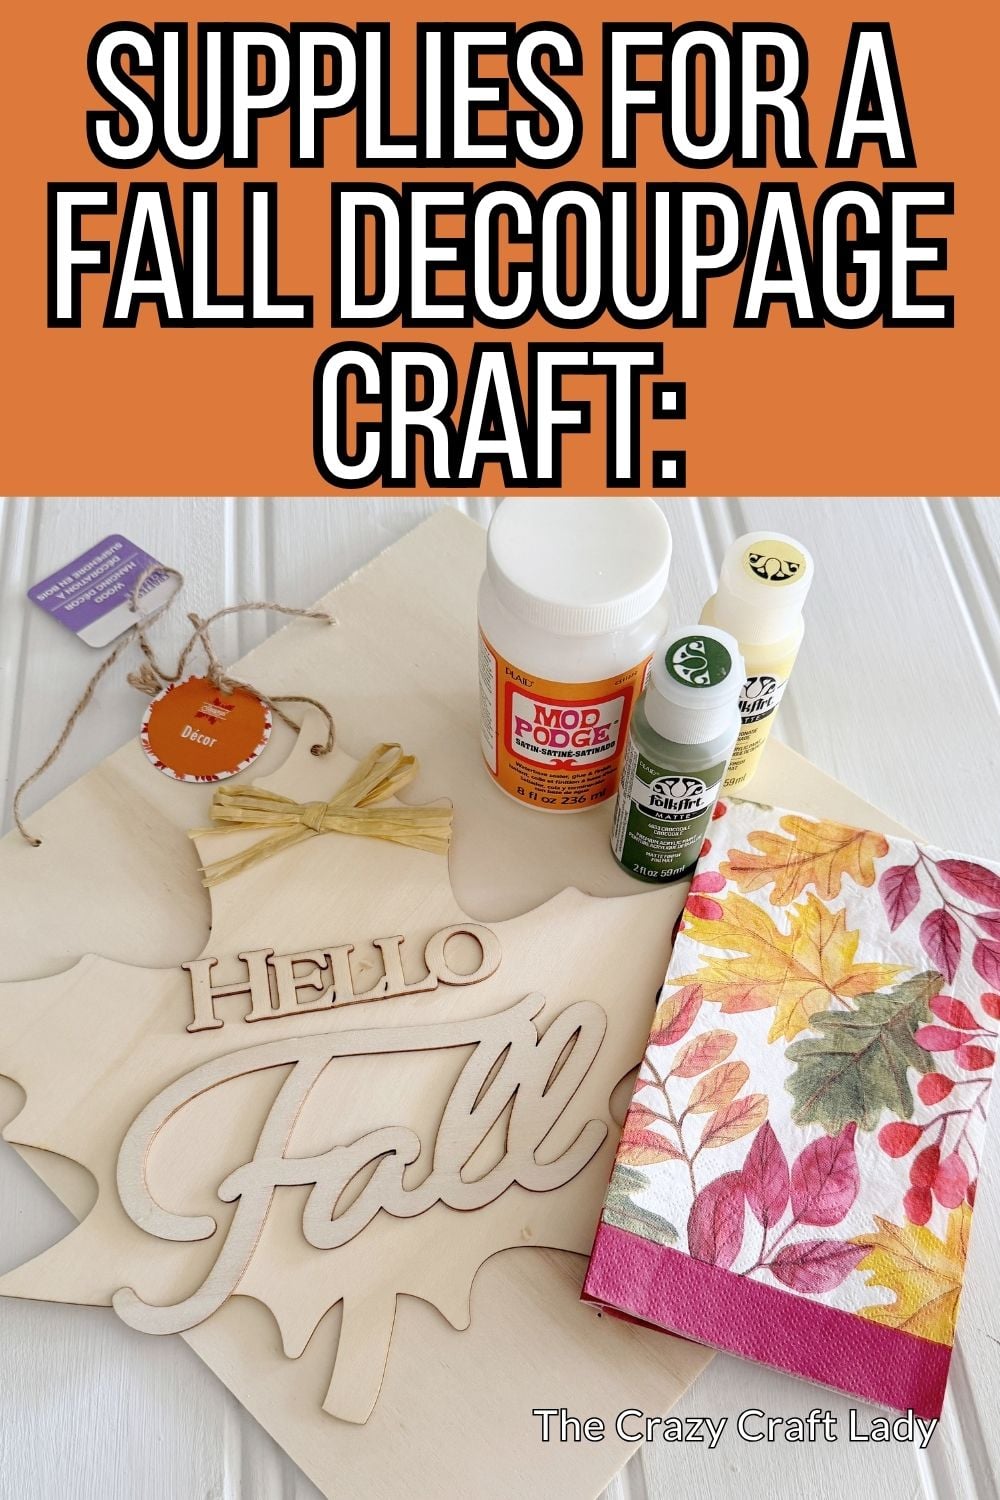
DIY Hello Fall Leaf Sign
I used a fall napkin with a small leaf pattern for the background, but this project is really easy to customize. Use whatever fall napkin you have in your craft stash, or substitute scrapbook paper if that’s what you’ve got.
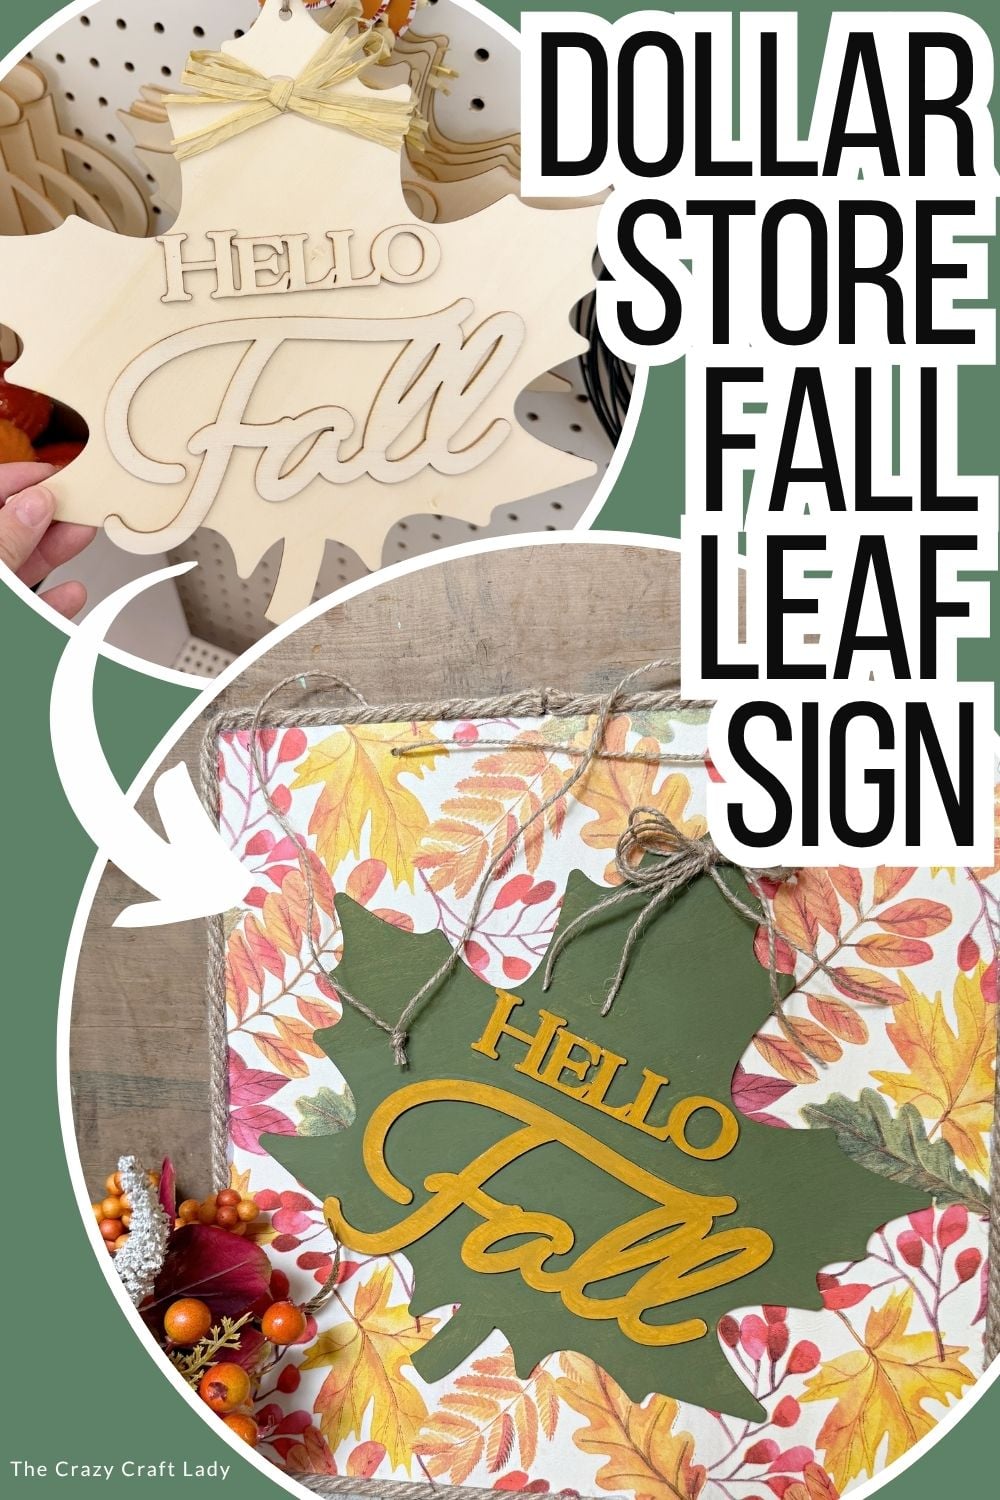
The olive green and golden yellow leaf gives this sign a slightly different look than the traditional orange-everything fall decor, too.
Video Tutorial: Hello Fall Leaf Sign
Watch this quick video to see how this craft came together:
Hello Fall Leaf Sign
Turn Dollar Tree wood blanks into a charming hello fall leaf sign with this easy, budget-friendly fall craft tutorial.
Materials
- Dollar Tree square wooden sign
- Dollar Tree "Hello Fall" wooden leaf cutout
- Fall paper napkin
- Mod Podge - matte, satin, or gloss - whatever you have on hand
- Parchment paper
- Olive green craft paint
- Golden yellow craft paint
- Jute rope
- Twine
- Painter's or masking tape
Tools
Instructions
- Watch the Video Tutorial. Watch the video tutorial before you begin, to see how to make your own DIY fall sign.
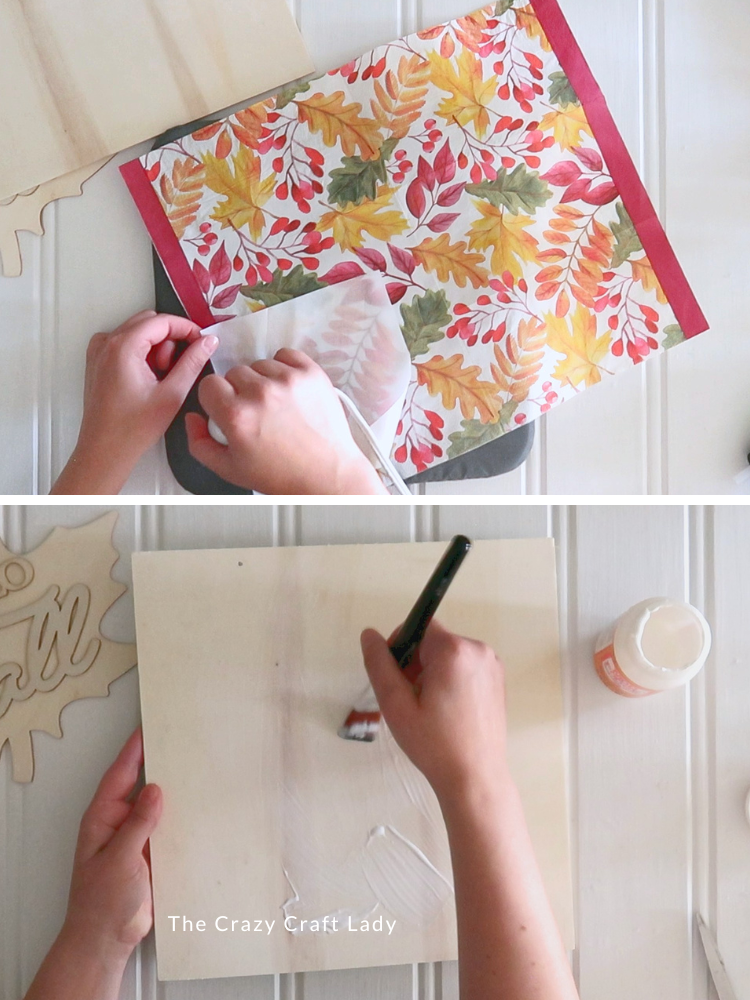
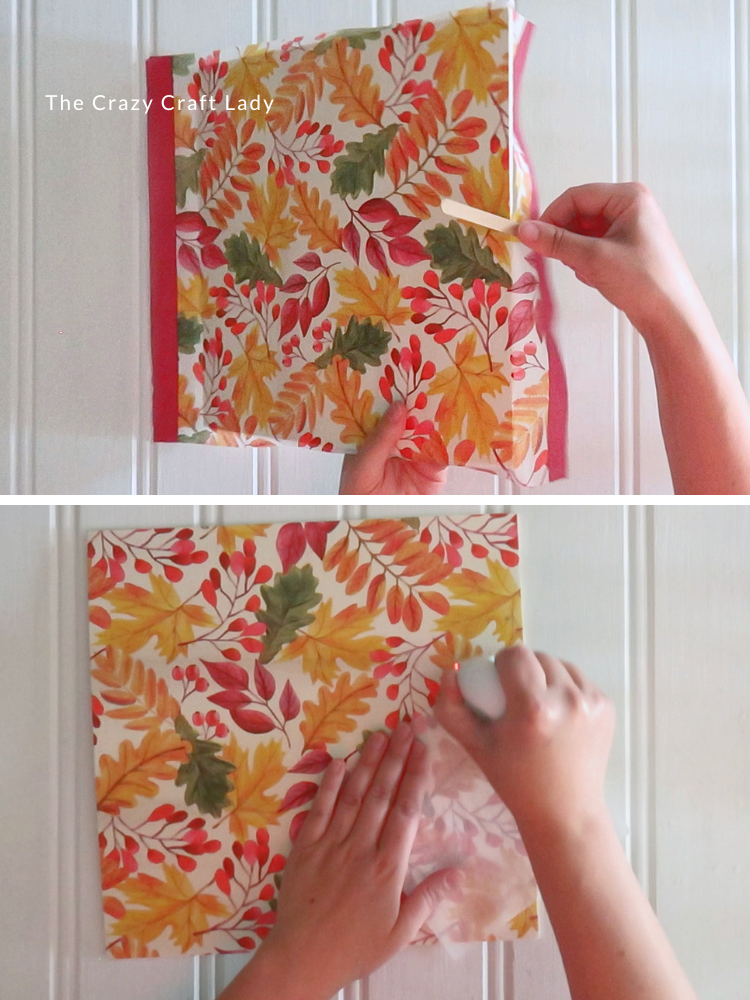
- Prepare the Fall Napkin. Start by unfolding your fall napkin. Place parchment paper over the napkin and use a mini heat press to gently iron out the wrinkles.

- Mod Podge the Wood Sign. Remove the original twine hanger from your square wooden sign. Apply a generous, even coat of Mod Podge over the entire front surface. Then set the sign aside and let the Mod Podge dry completely.
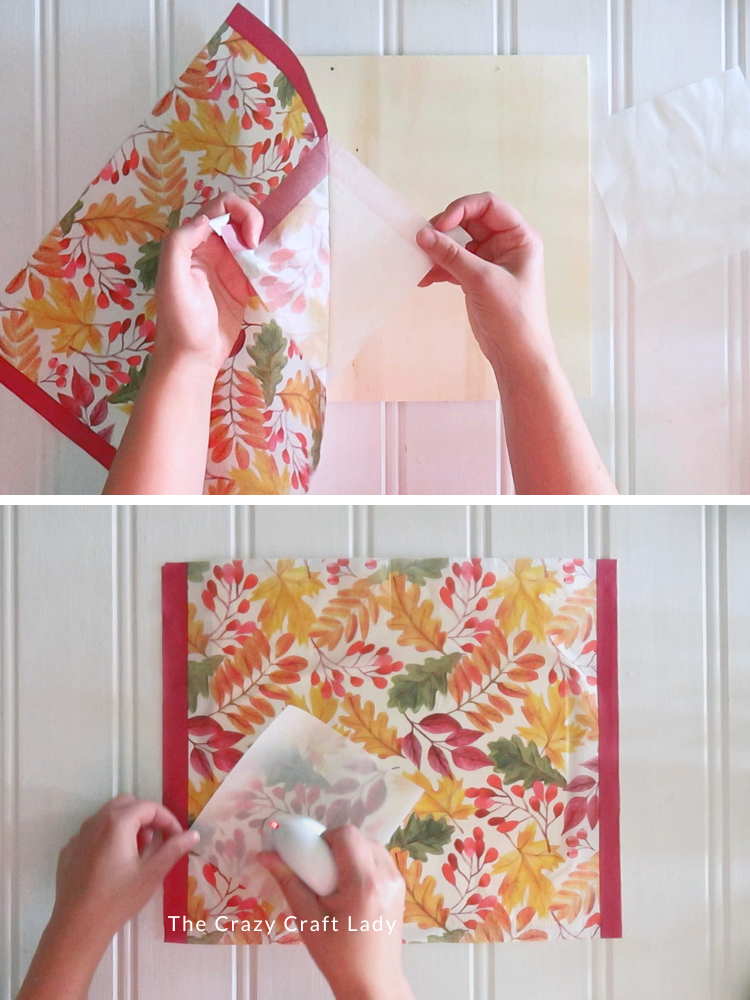
- Separate the Napkin Layers. Separate the layers of your napkin until you have only the thin, printed top layer. If you're struggling to separate them, stick a small piece of masking tape to the front and back at one corner. Gently pull the pieces of tape apart, and the napkin layers should separate with them.
- Heat Press the Napkin. Center the printed napkin over your dried Mod Podge.
Cover it with parchment paper and use your mini heat press or iron, working from the center outward. The heat reactivates the Mod Podge underneath and adheres the napkin without wrinkles or bubbles. - Remove the Excess Napkin. Once the napkin is secured, use a nail file or sanding block to remove the excess from around the edges. Always file downward and away from the project. Don't saw the file back and forth, because that can lift the napkin away from the wood. I also like to give the edges one more quick pass with the heat press afterward, just to make sure everything is nice and secure.
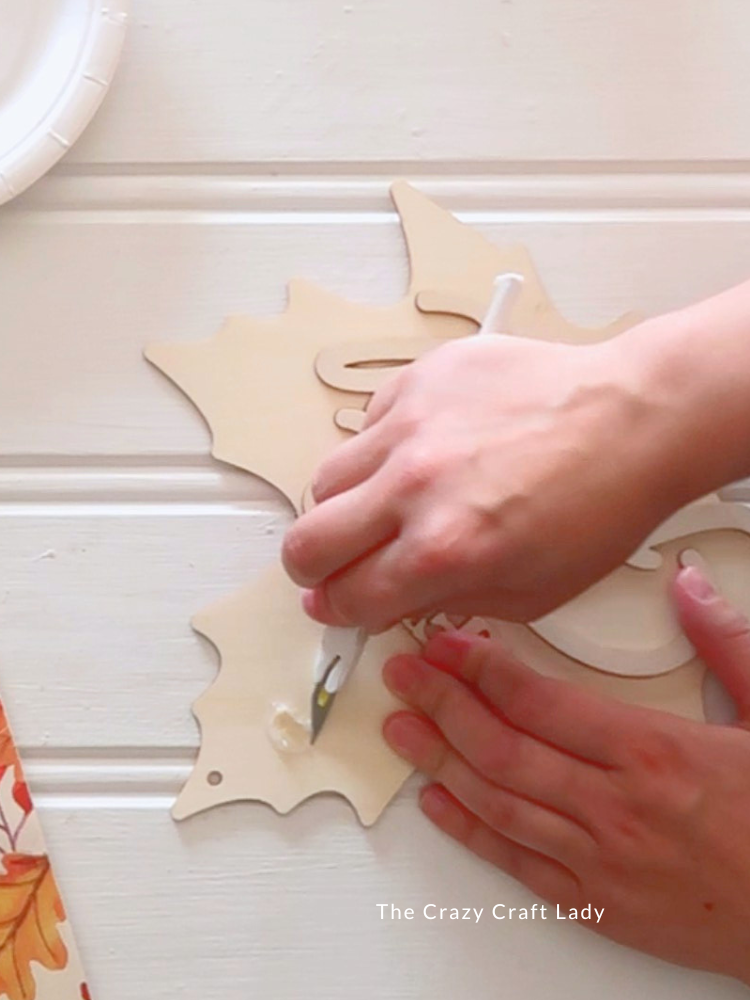
- Prepare the Hello Fall Leaf. My wooden leaf came with an extra embellishment hot glued to it. I initially tried scraping the glue away with my pen blade before realizing a heat gun was much easier. A couple seconds of heat softened the hot glue enough that I could carefully scrape and rub it away.
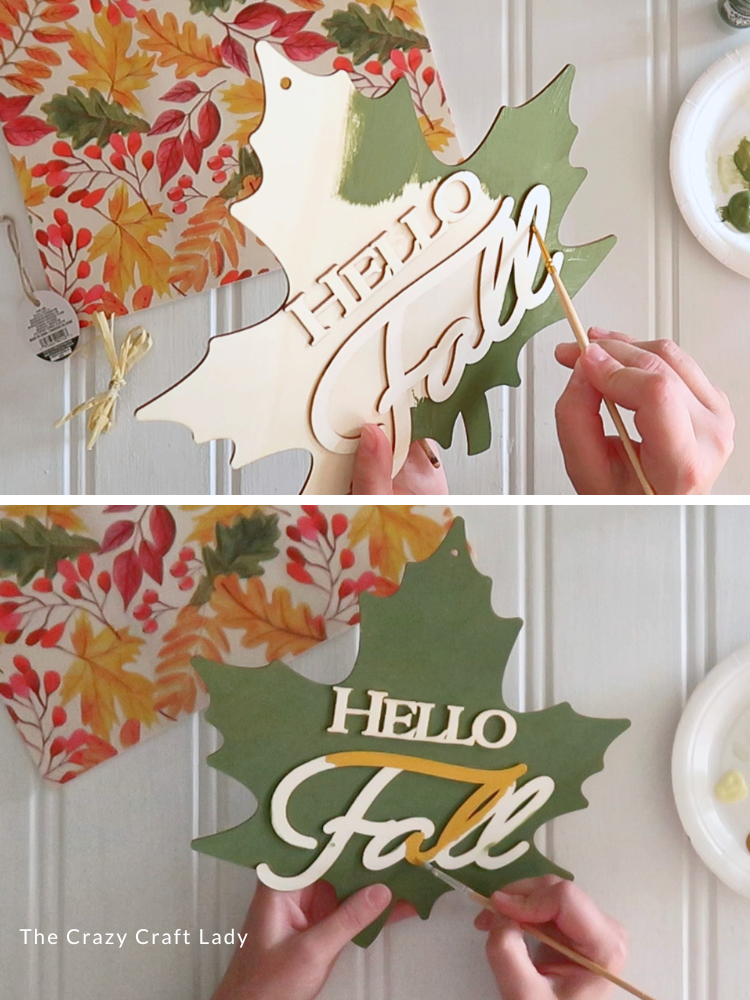
- Paint the Leaf Background. Paint the background of the leaf with olive green craft paint. I used a flat one-inch paintbrush for the larger areas, carefully brushing around the raised "Hello Fall" lettering. For the tiny spaces inside and around the cursive letters, switch to a fine-tip paintbrush. Don't forget to paint the outer edges of the leaf, too. If your chalk paint starts getting thick while you're working, a tiny spritz of water can help loosen it back up.
- Paint the Hello Fall Lettering. Once the green paint is dry, use a fine-tip brush and golden yellow craft paint to paint the raised lettering. Use a light hand and very little paint at a time. Follow the shape of each letter with your brush instead of loading it up with paint and trying to cover everything at once.
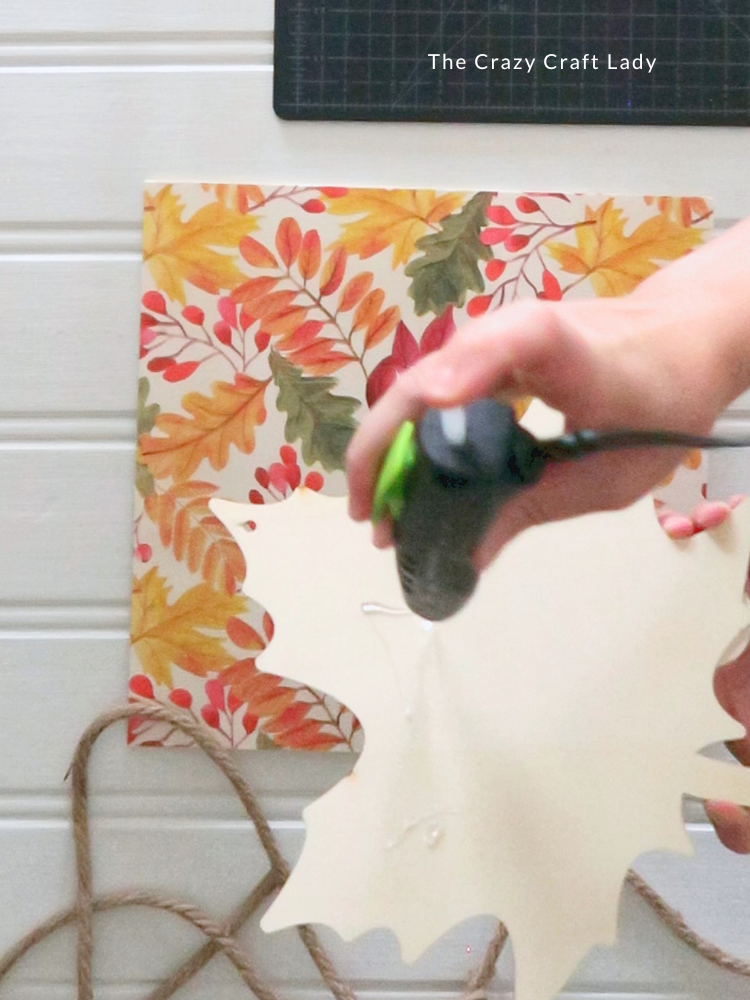
- Assemble the Sign. Hot glue the painted leaf onto the front of your decoupaged sign at a slight angle.
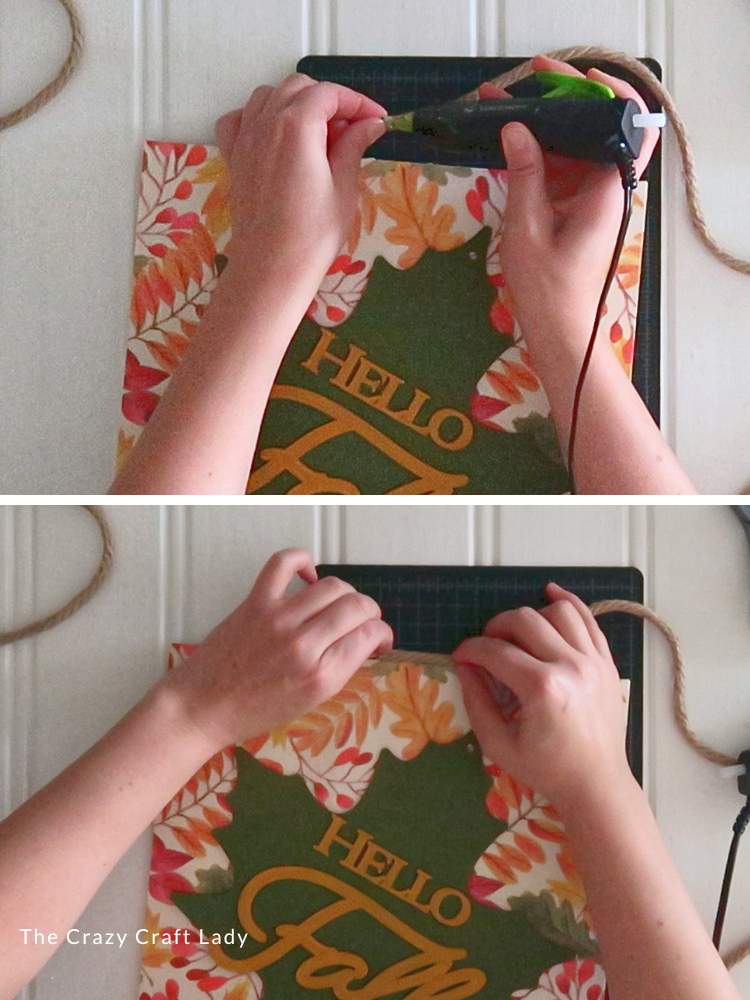
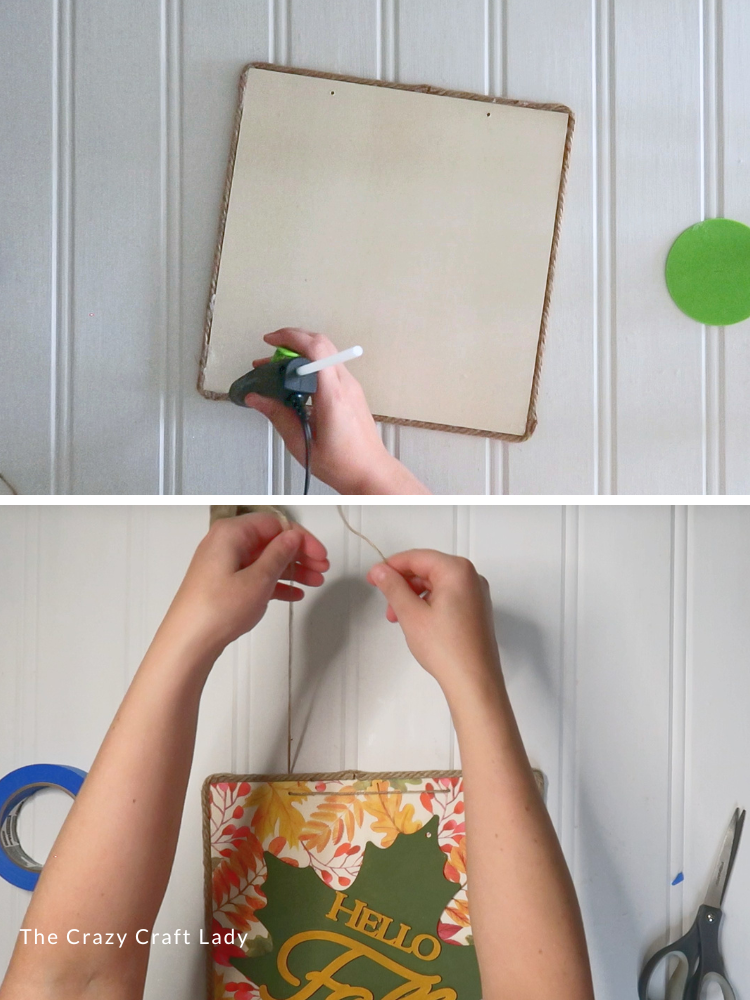
- Add a Jute Rope Border. Hot glue jute rope around the entire perimeter of the wooden sign. Because the sign is thin, I found it easier to apply the glue directly to the rope and then press the glued side against the wood. Try to keep any excess hot glue toward the back of the sign so you don't see globs of glue from the front. For a little extra reinforcement, flip the sign over and add a thin line of hot glue along the back where the rope meets the wood.
- Add a New Hanger. The napkin will cover the original hanger holes, so you'll need to poke them open again. Wrap a small piece of painter's tape around the end of your twine and snip the taped end at an angle. This keeps the twine from fraying and makes it much easier to thread through those little holes. Thread the twine through both holes and tie the ends together to create a simple hanger.
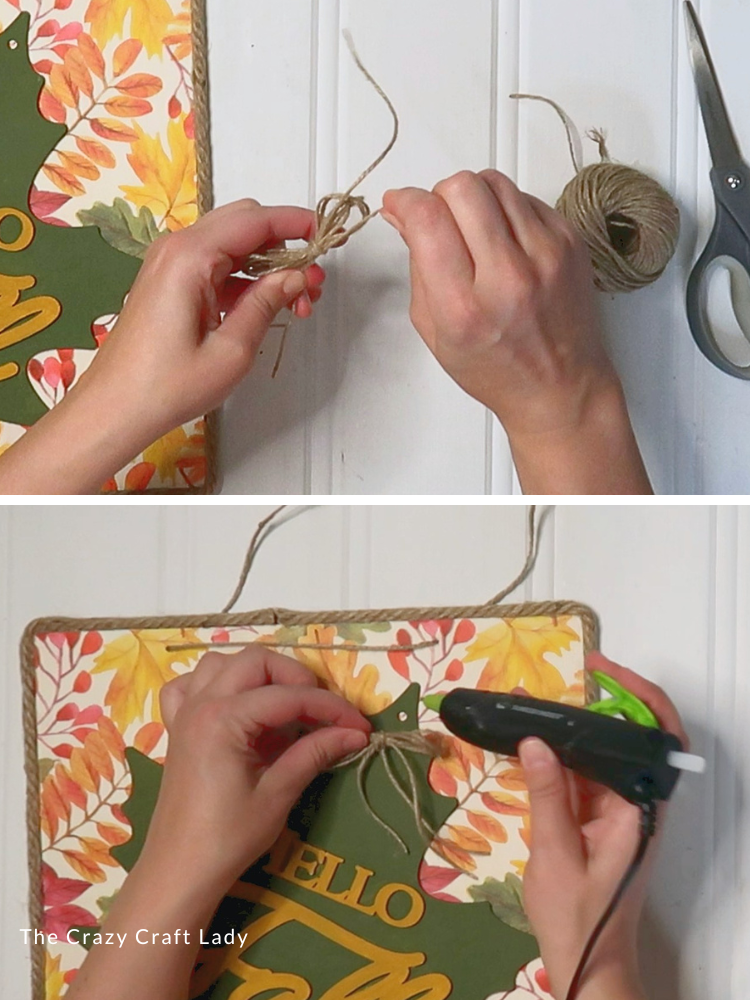
- Finish With a Twine Bow. Wrap twine around your fingers several times to create a loop. Pinch the loop in the center into a figure-eight shape, wrap another piece of twine around the middle, and tie it securely. Trim the ends and hot glue your little twine bow right over the hole at the top of the leaf.
Easy Dollar Store Fall Decor
And that’s it! A simple hello fall leaf sign made with inexpensive Dollar Tree craft supplies.
I especially love the combination of the patterned napkin background, painted wood leaf, and chunky jute border. There are enough different textures and details to make the finished sign interesting without making the project complicated.
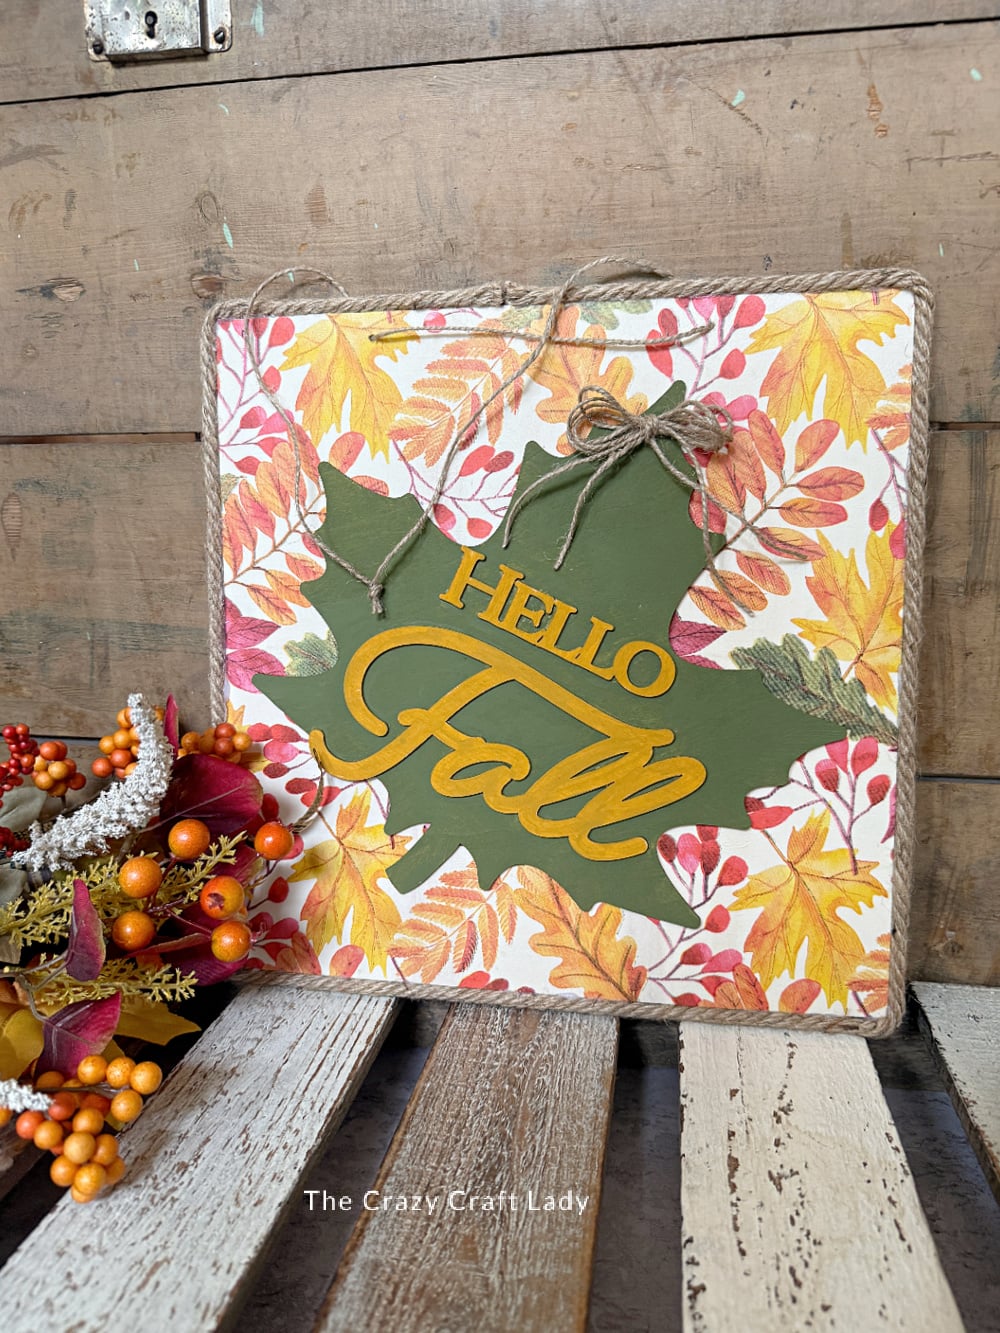
Plus, this is a great one for using whatever you already have. Change the napkin, switch up the paint colors, use ribbon instead of jute—raid that craft stash and make it your own.
Because if your collection of fall napkins is anything like mine, we have some decoupaging to do.
PIN this Dollar Store Fall Craft for Later: