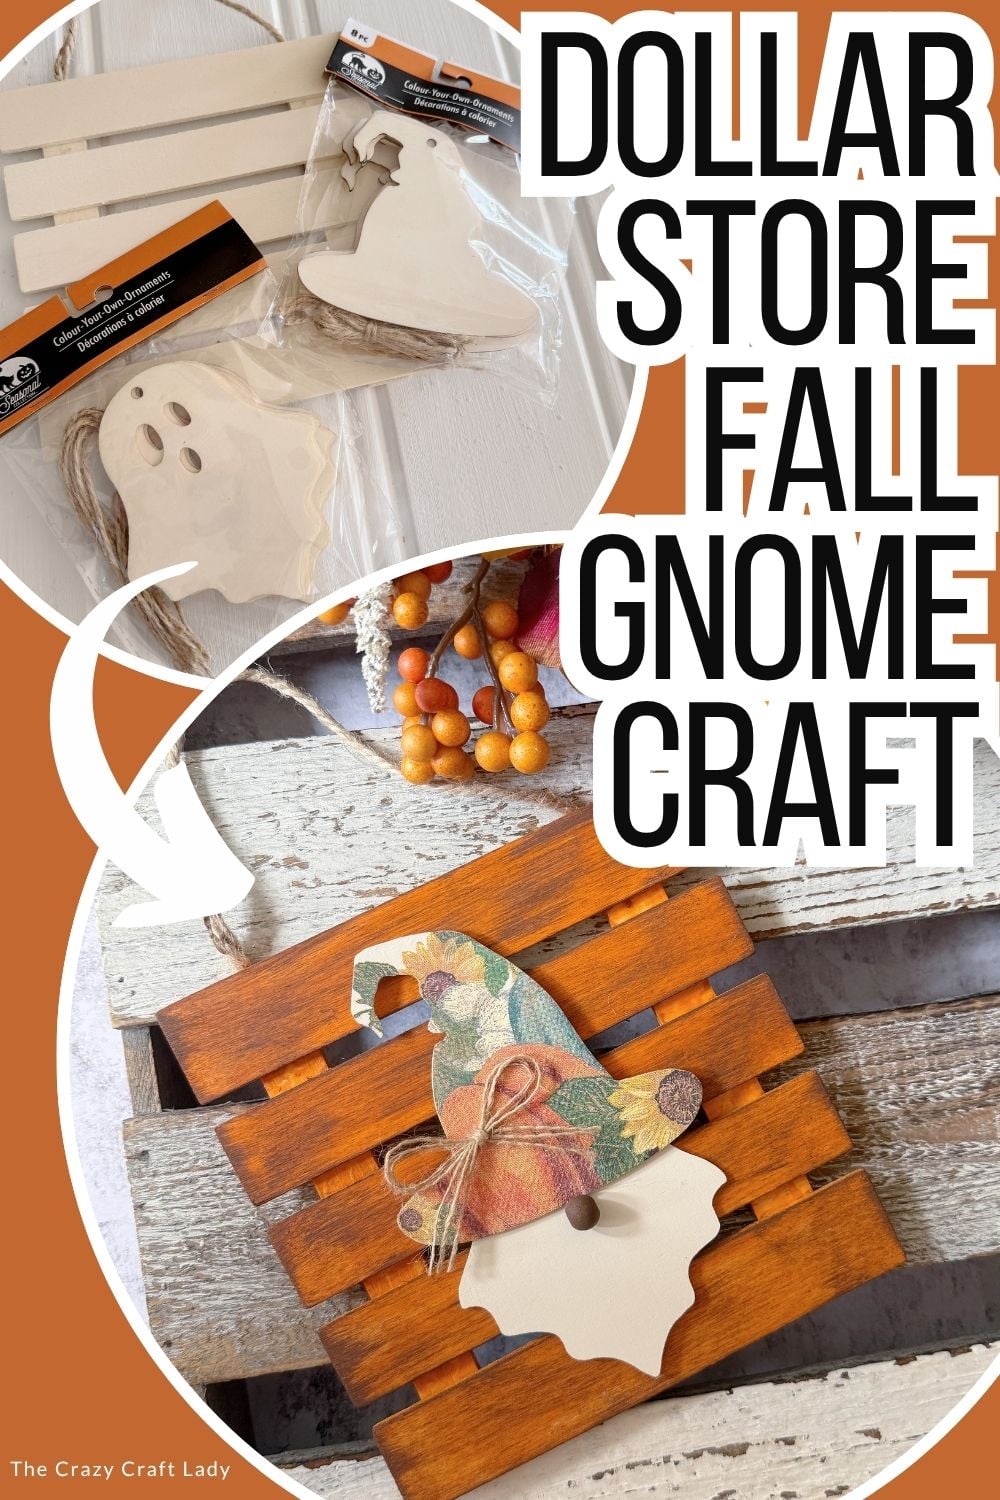
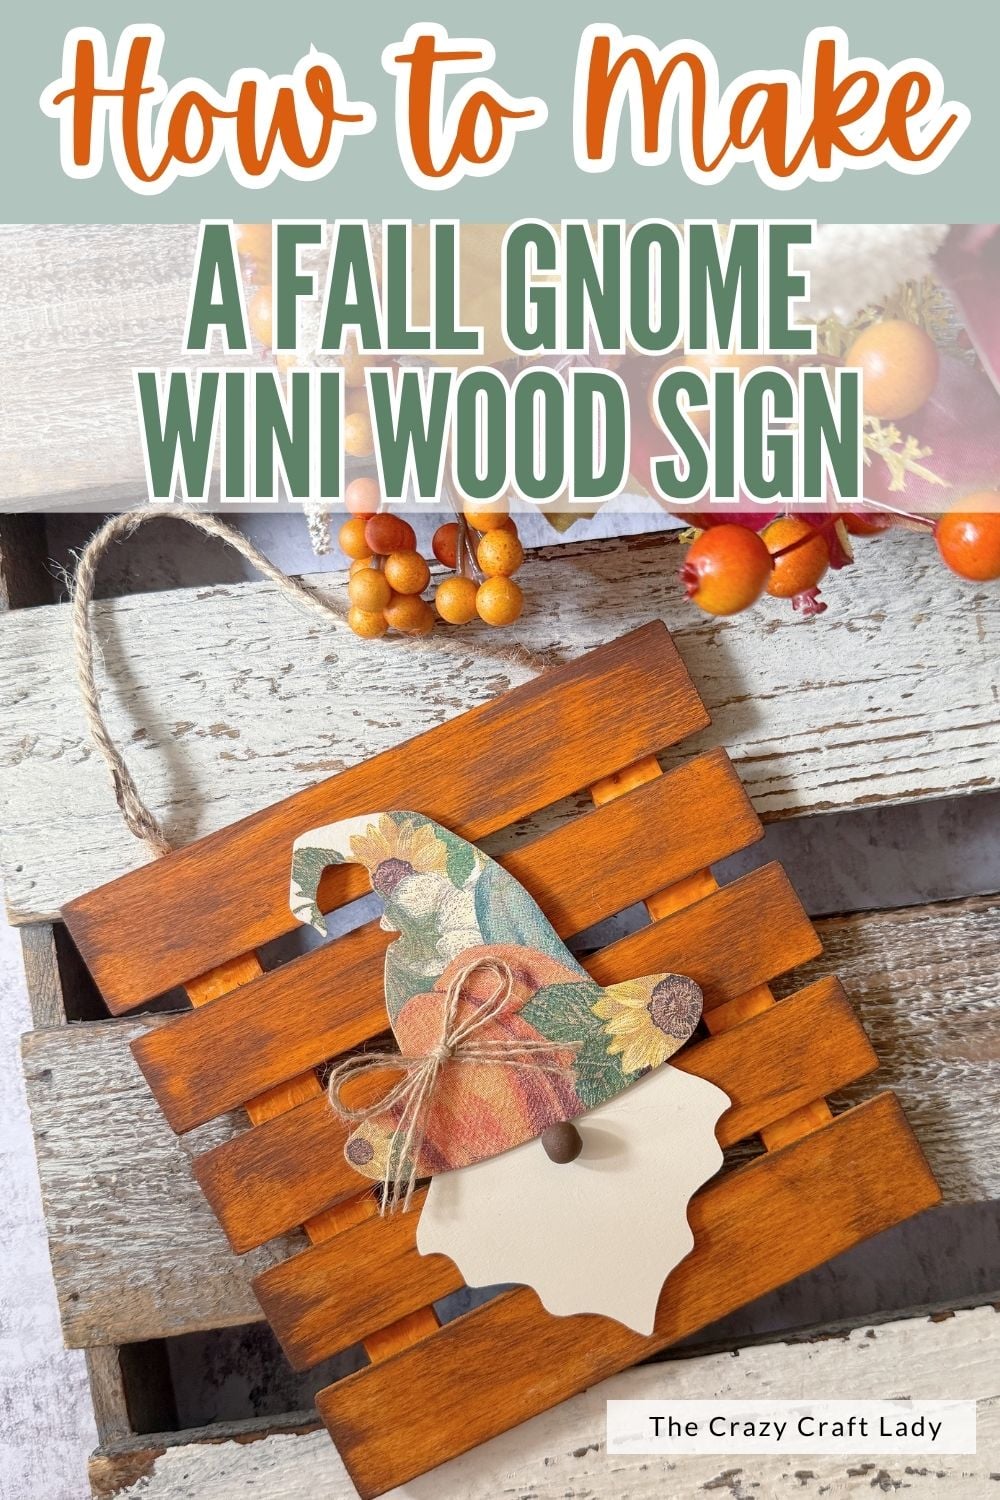
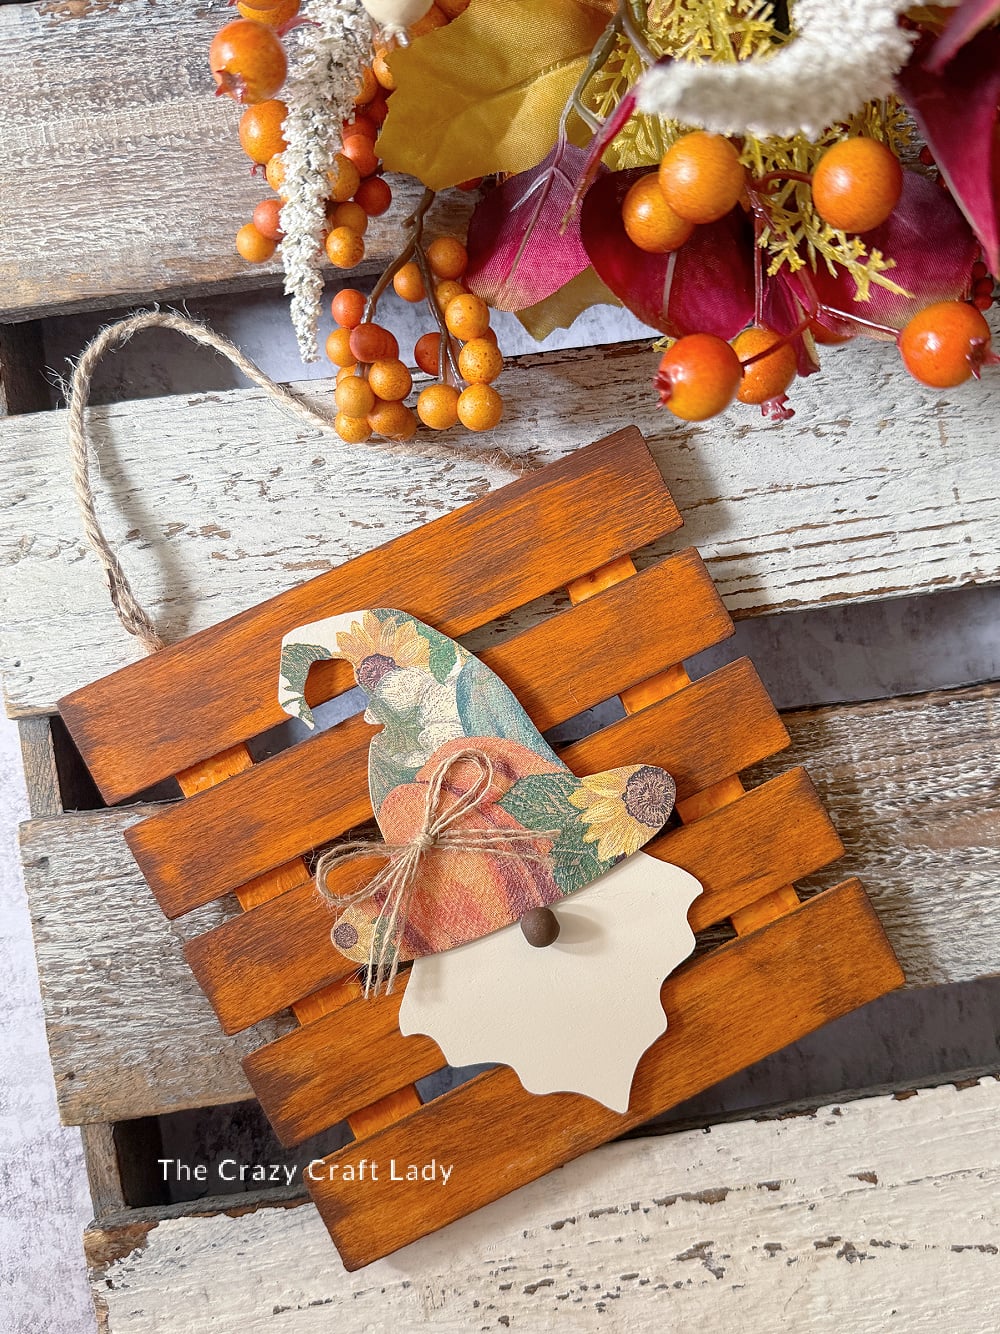
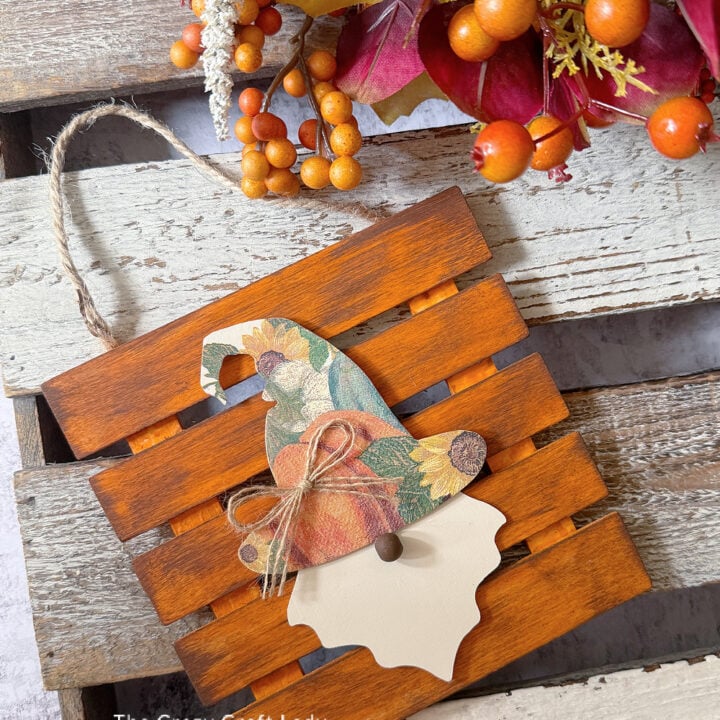
Make a cute dollar store fall gnome sign using Dollar Tree wood cutouts, fall napkins, paint, and a few simple craft supplies.
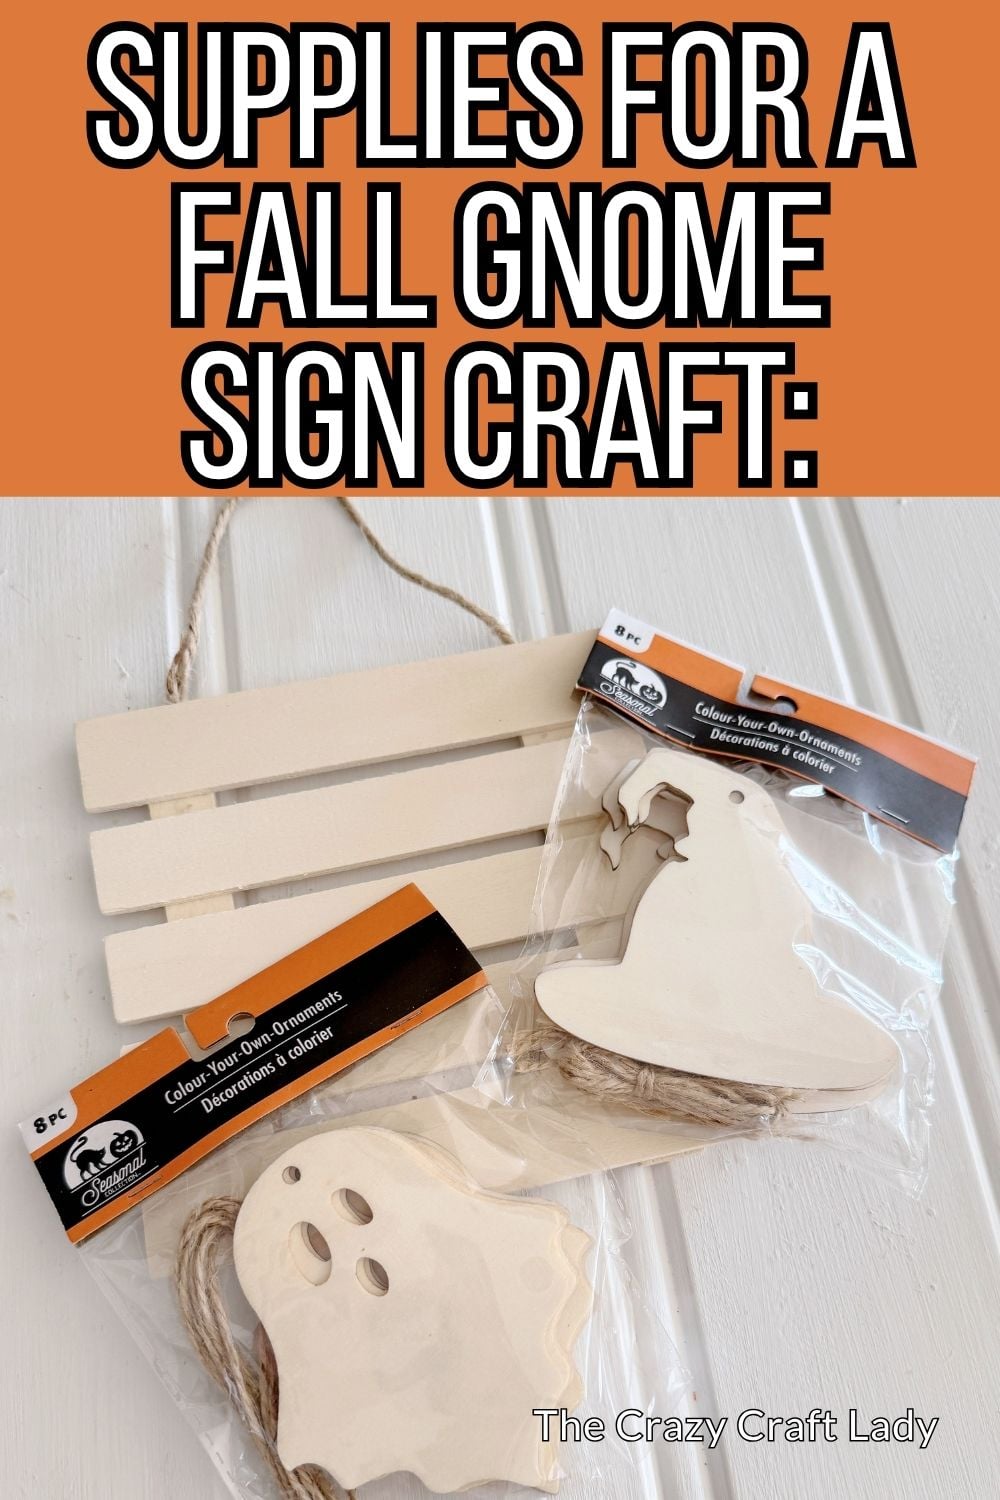
How to make a Fall Gnome Sign from Dollar Store supplies.
This post contains some affiliate links for your convenience. Click here to read my full disclosure policy.
Who knew a Dollar Tree ghost and witch hat could turn into the cutest little fall gnome? This dollar store fall gnome sign is one of those crafts where you grab a few inexpensive wood cutouts, do a little rearranging, and suddenly they look like something completely different.
I originally spotted this idea on Pinterest and immediately loved the clever use of the ghost cutout as a gnome beard. Add a decoupaged fall hat, a tiny wood bead nose, and an orange distressed background, and you’ve got an adorable little sign for your fall decor.
And yes, this project also gave me an excuse to use another napkin from my ever-growing paper napkin collection. At this point, I’m basically obligated to keep decoupaging things.
Dollar Store Fall Gnome Sign
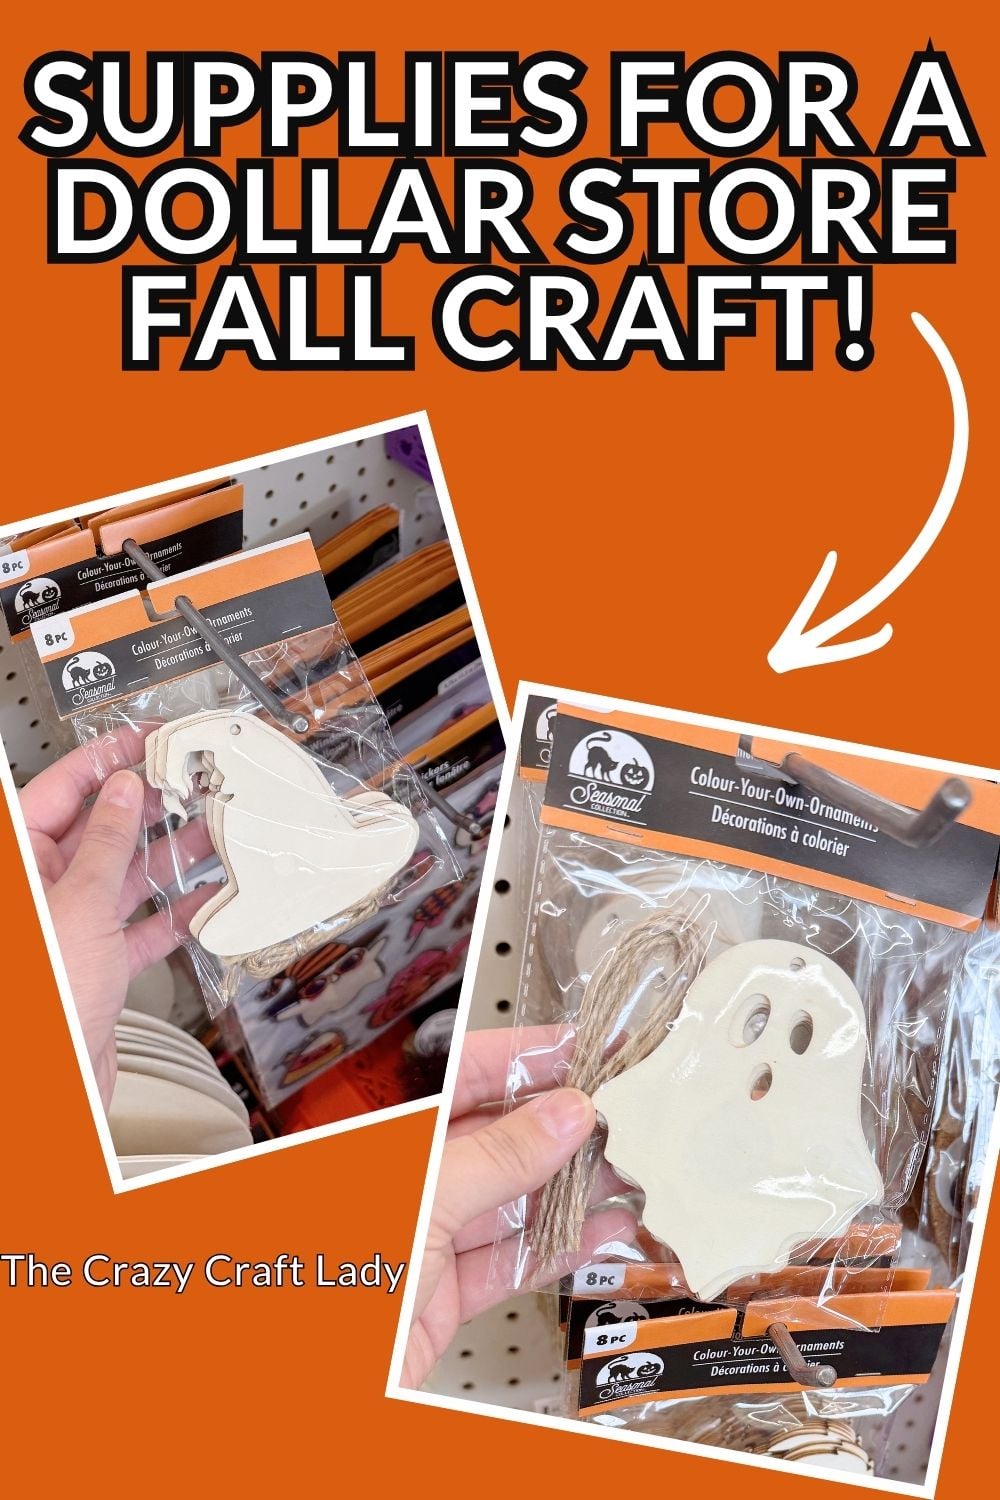
The best part about this craft is that almost everything comes straight from Dollar Tree. You’ll find the unfinished wood pieces in the craft aisle, and you can customize the colors and pattern to work with whatever fall decor you already have.
I went with a pumpkin and sunflower napkin for the hat and classic pumpkin orange for the sign, but don’t feel like you have to copy mine exactly. Scrapbook paper, fabric, paint, or another fall napkin would all work perfectly.
Video Tutorial: Dollar Store Fall Gnome Sign
Watch this quick video to see how this craft came together:
Dollar Store Fall Gnome Sign
Create a charming dollar store fall gnome sign with a ghost cutout, witch hat, fall napkin, and inexpensive Dollar Tree supplies.
Materials
- Dollar Tree wooden ghost cutout
- Dollar Tree wooden witch hat cutout
- Dollar Tree wood slat sign
- Fall paper napkin
- Mod Podge
- White craft paint
- Orange chalk paint (I used Waverly Pumpkin)
- Brown craft paint
- Small piece of a clean dish sponge
- Small wood bead
- Bamboo skewer
- Burlap strands or thin ribbon
Instructions
- Watch the Video Tutorial. Watch the video tutorial above and then follow the step-by-step directions below to make your own fall gnome sign.
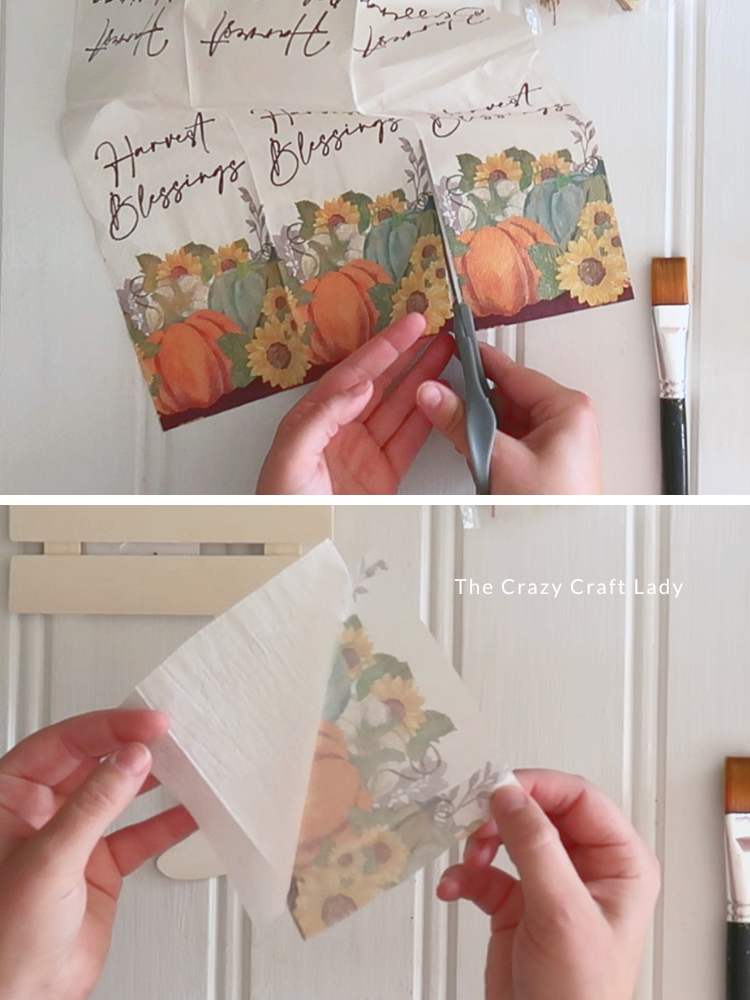
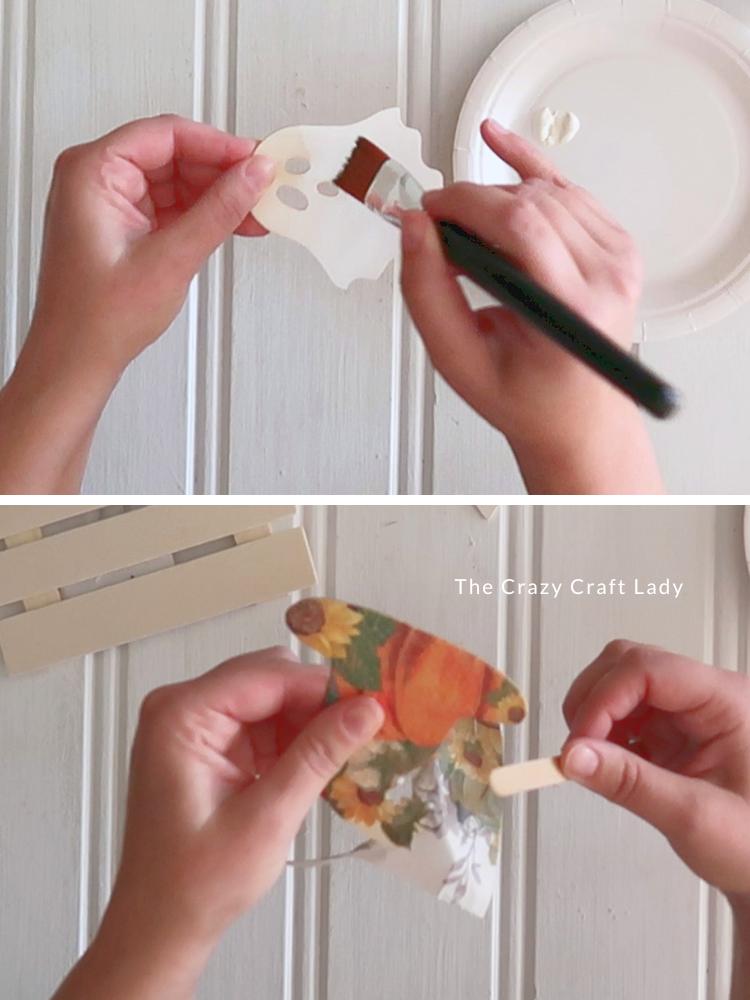
- Prep the Napkin Piece. Start by cutting a section of your fall napkin slightly larger than the wooden witch hat. Separate the napkin layers so you're working with only the top printed ply.

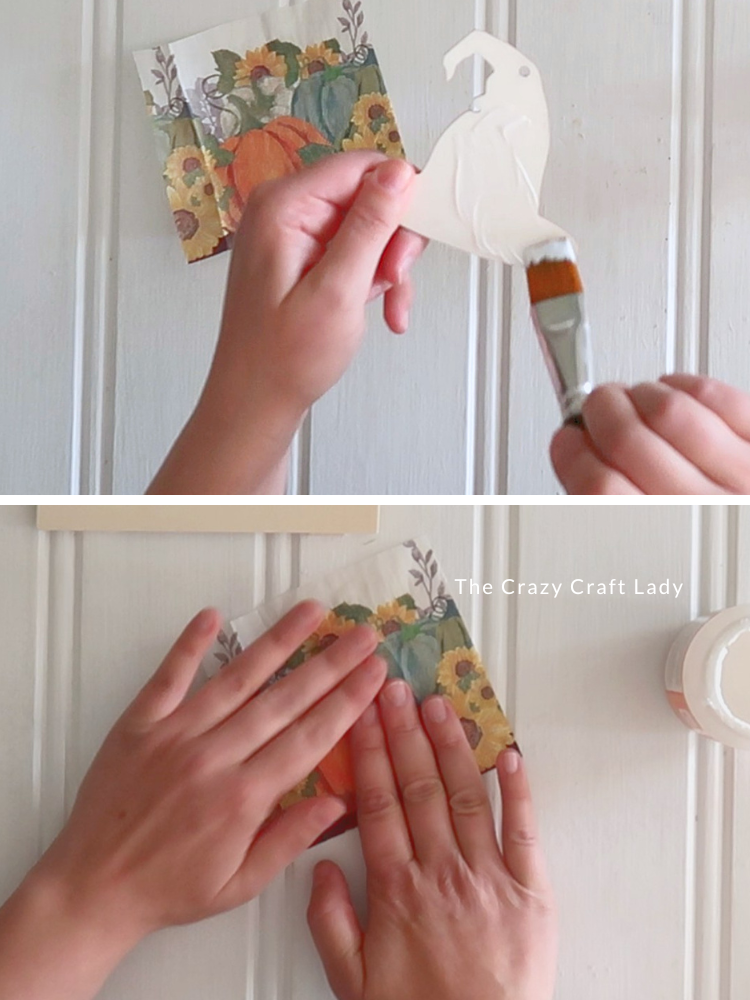
- Decoupage the Witch Hat. Brush a smooth, even layer of Mod Podge over the front of the witch hat. Try not to let it pool around the edges. Carefully smooth the napkin over the hat, working from the center outward. Set the hat aside to dry completely.
- Paint the Ghost. paint the bottom portion of the wooden ghost white.The top of the ghost will eventually be hidden underneath the witch hat, so just make sure you get the bottom portion and all those little wavy edges and crevices.
- Remove Excess Napkin. Once the Mod Podge is completely dry, use a nail file or sanding block to remove the excess napkin from around the witch hat. File downward only along the edges. Filing in one direction helps prevent the napkin from lifting away from the wood.
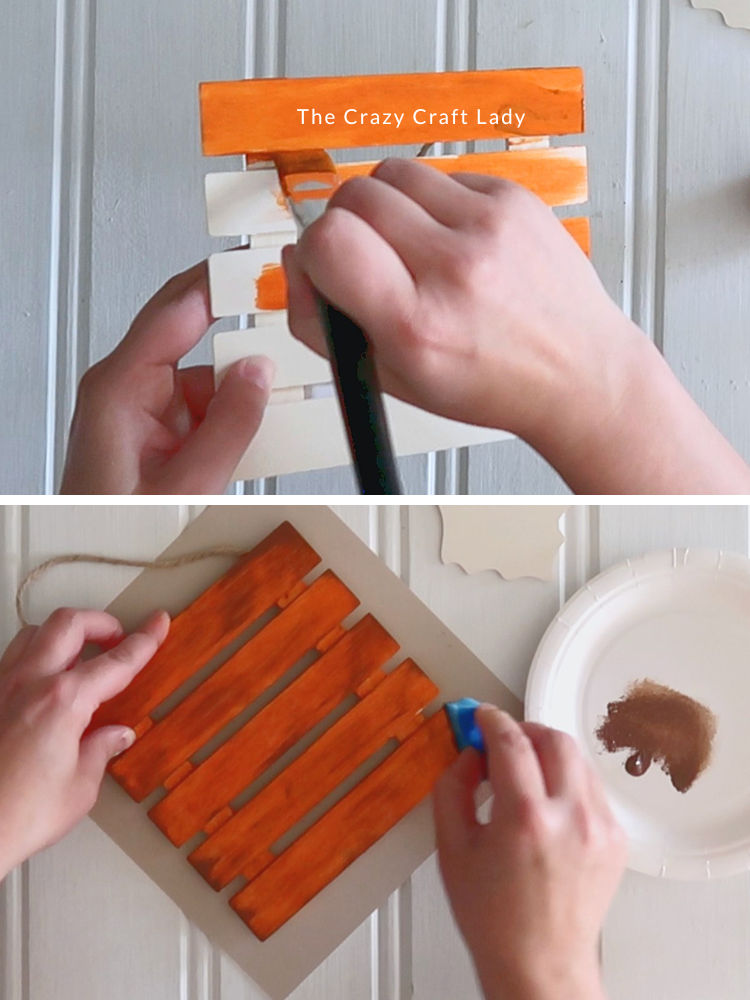
- Paint the Wood Slat Sign. Paint the entire wood slat sign orange. Make sure you get the fronts of the slats, the sides, the spaces between them, and any visible wood on the back.
- Distress the Sign. Once the orange paint is dry, add a tiny amount of brown craft paint to a small piece of clean dish sponge. Lightly drag the sponge left to right across the wood slats. Keep your strokes going with the grain of the wood instead of up and down. Start with barely any paint, and you can always add more. Keep distressing until you're happy with the slightly rustic, aged finish.
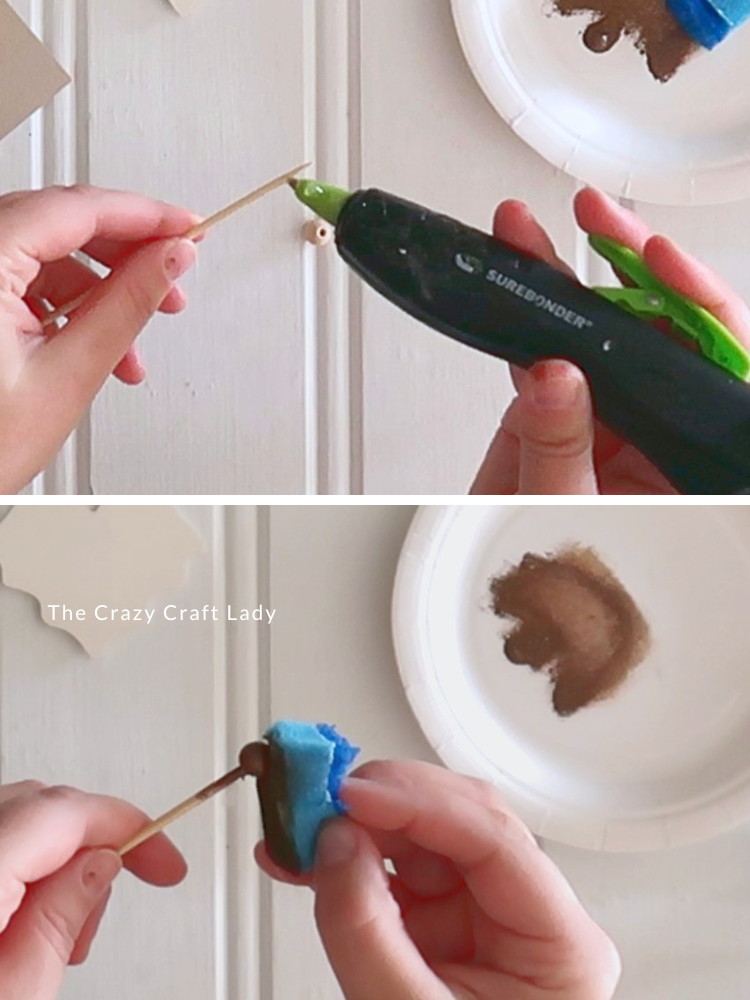
- Paint the Gnome Nose. Hot glue a tiny wood bead to the end of a bamboo skewer. You only need the smallest dab of glue. Use your sponge and brown craft paint to dab paint over the entire bead. Set it aside to dry.
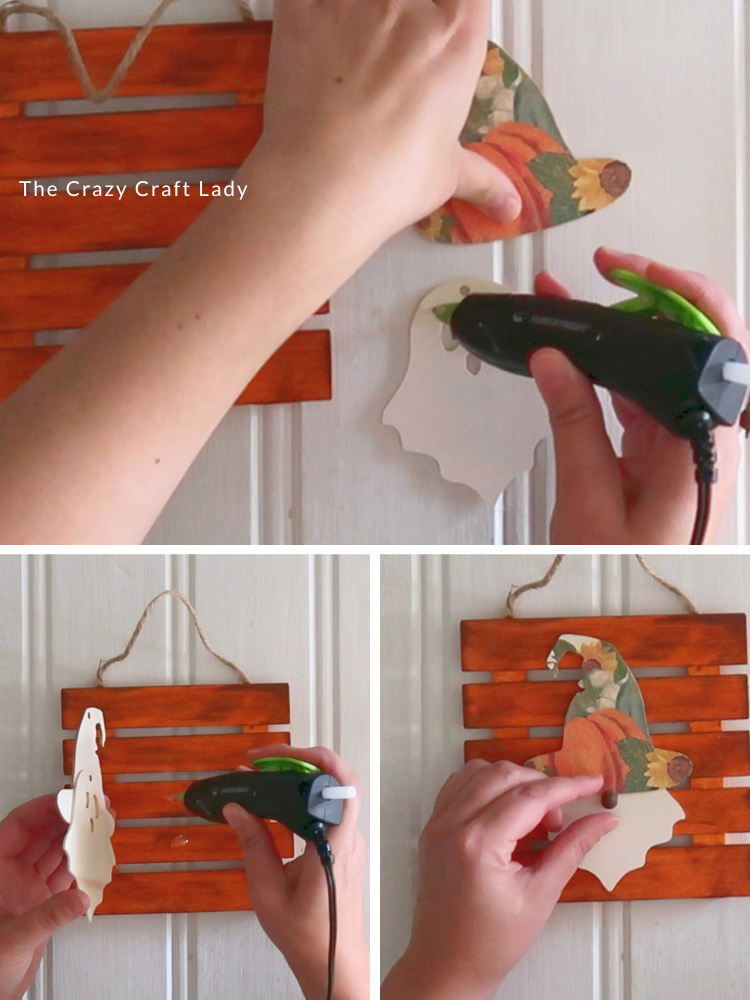
- Assemble the Gnome. Hot glue the witch hat over the top portion of the ghost cutout. The bottom of the ghost becomes the gnome's fluffy white beard. Hot glue your new little gnome to the center of the orange slatted sign. Twist the painted wood bead off the bamboo skewer and hot glue it right underneath the brim of the hat.
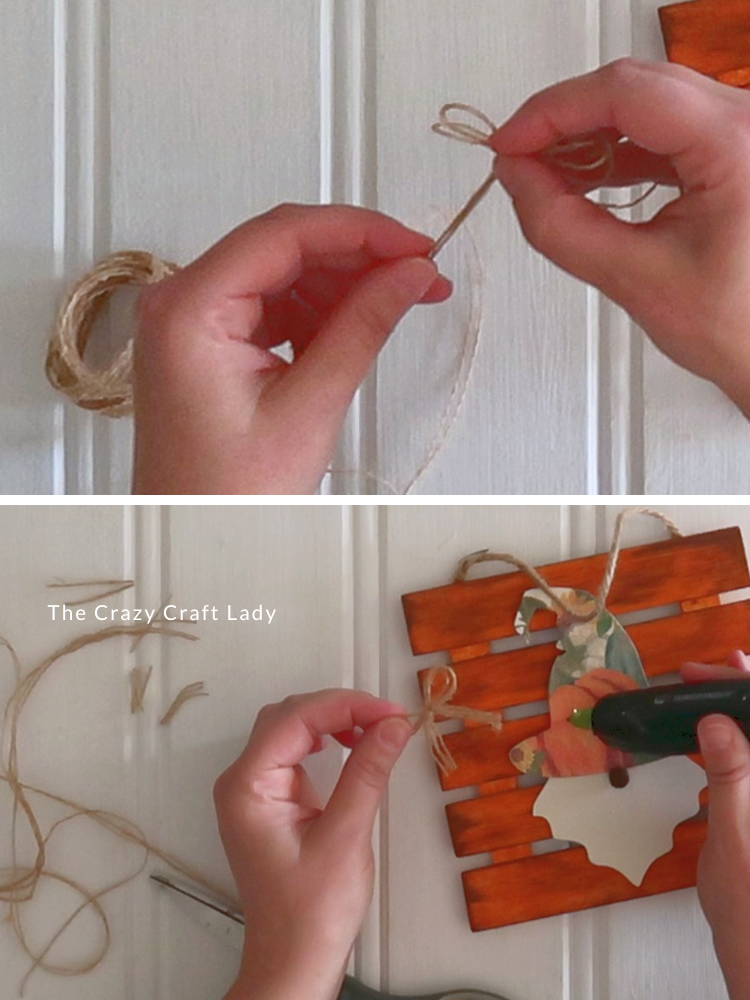
- Add a Burlap String Bow. For one final little detail, I used a few strands of burlap that I had leftover from another project. Tie three strands together into a simple bow using the bunny-ear method. Adjust the loops until you're happy with the size, trim the ends, and hot glue the bow to one corner of the witch hat brim.
An Easy Dollar Tree Gnome for Fall
I love crafts that use seasonal Dollar Tree supplies in unexpected ways, and this dollar store fall gnome sign definitely qualifies. A Halloween ghost becomes a beard, a witch hat gets a fall makeover, and suddenly you’ve got a cute little gnome that can stay out all season long.
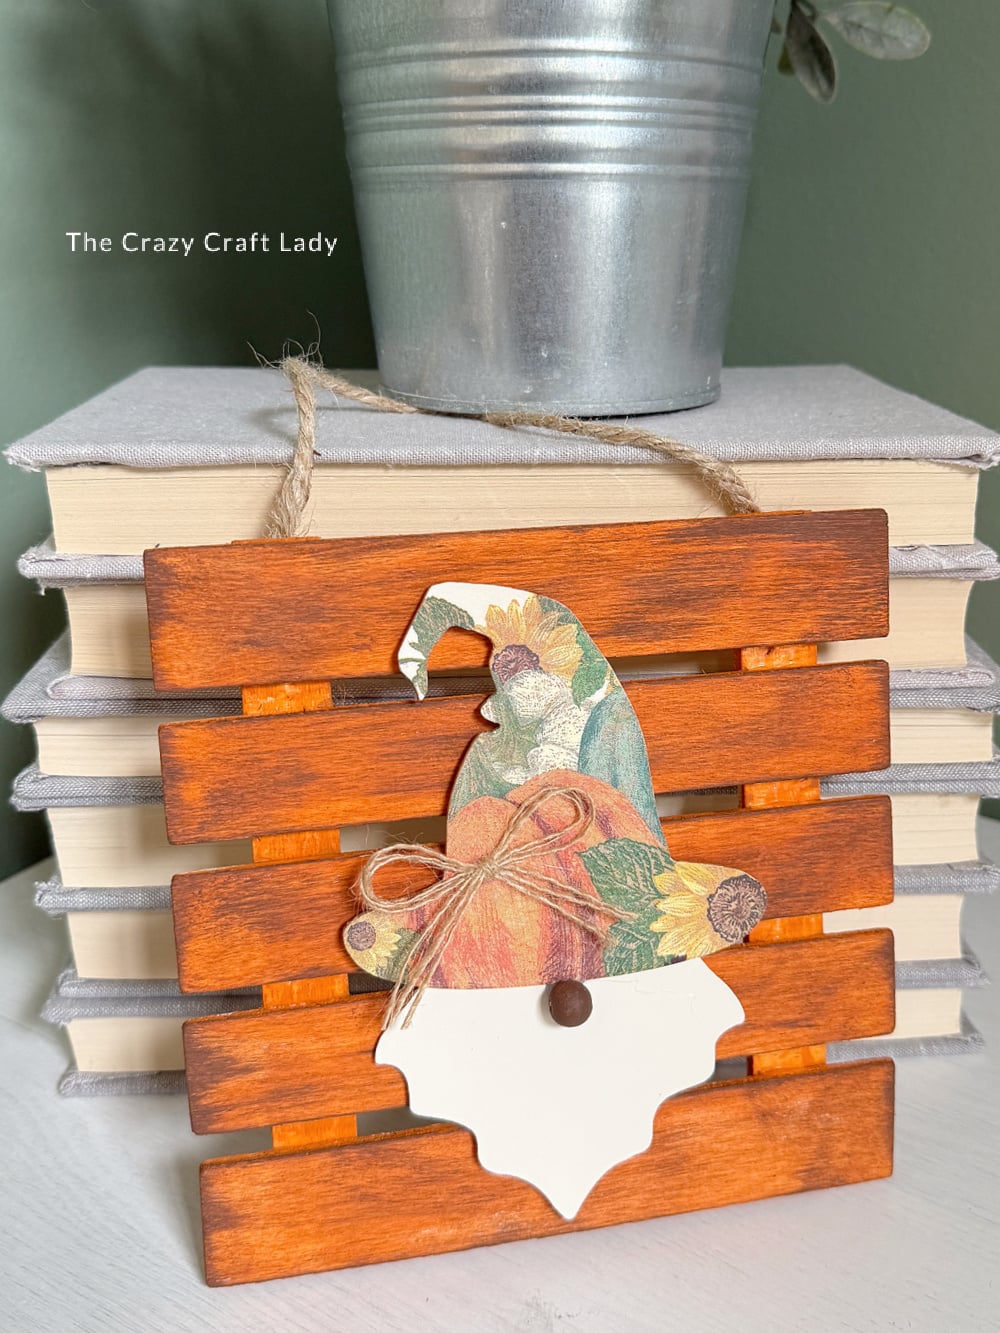
Swap out the napkin pattern and paint colors to make this little guy fit your own fall decor. You could go traditional with oranges and browns, use muted neutrals for a farmhouse look, or give him a colorful sunflower hat like mine.
Cute, inexpensive, and another perfectly good reason to keep buying those pretty napkins I definitely don’t need.
PIN this Fall Gnome Craft for Later: