
Elevate your home decor with a thrifty and creative makeover – use chalk paint to distress a faux tin tile serving tray.

Transform a Thrift Store Wooden Serving Tray with Wood Stain, Chalk Paint, and Faux Tin Tiles from the Dollar Store
This post contains some affiliate links for your convenience. Click here to read my full disclosure policy.
Thrift stores are a goldmine for finding affordable treasures that can be transformed into unique and stylish pieces for your home.
In this step-by-step tutorial, I’ll guide you through the process of updating a thrift store wooden serving tray using wood stain, chalk paint, and faux tin tiles.

Why I love this Thrift Store Flip:
This serving tray is great for hauling items in and out of the house when we eat dinner outside in the summer. It’s just the right size, and it’s sturdy enough to hold plates and drinks. I just don’t love the look of bamboo wood. Nothing against those who do, but it just doesn’t fit with my decor.
So… I turned to two of my favorite craft supplies to give this tray a whole new look: chalk paint and Dollar Tree faux tin tiles.

This is far from my first time crafting with these dollar store adhesive tiles: I’ve made a fall pumpkin door hanger and even a mini Christmas tree base.
Supplies Needed for this DIY Decor Project

- Square or Rectangle Wooden Serving Tray
- Chalk Paint, Stain, and brushes
- Dollar Store Faux Tin Tile Sheets – or you can buy something similar at your local home improvement store, but you many need to use heavy-duty shears to (very carefully!!) cut them
- Adhesive – I like to use a combination of E6000 glue and hot glue on these types of projects. The E6000 provides long-term adhesion, while the hot glue gives me instant hold.
- Mod Podge Hard Coat – perfect for items that will see regular use, like serving trays or small furniture pieces
Video Tutorial: Thrift Store Serving Tray Makeover

DIY Farmhouse Style Faux Tin Tile Serving Tray
Elevate your home decor with a thrifty and creative makeover – use chalk paint to distress a faux tin tile serving tray.
Materials
- Wooden serving tray - check local thrift stores
- Sandpaper (course to medium grit)
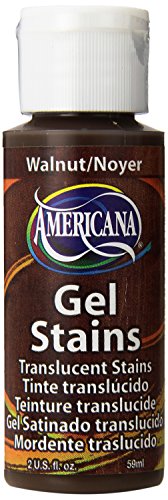
- wood stain, DecoArt wood tint in walnut, or any dark tint
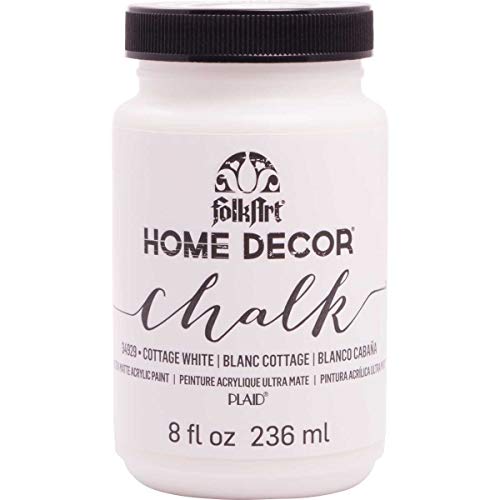
- Chalk paint, white
- Chalk paint, black
- Faux tin tiles, from the dollar store or any home improvement store
- E6000 adhesive
- Small piece of a clean dish sponge
- Mod Podge Hard Coat
Tools
- 2-inch chip brush for staining and painting
- Scissors
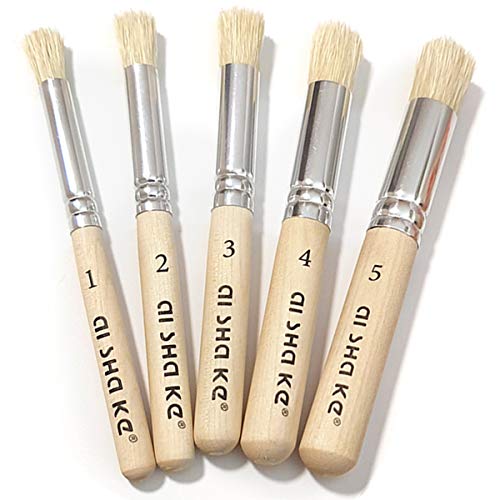
- Pouncer brush
- Penblade
- Ruler and pencil
- Hot glue gun and glue sticks
- 2-inch flat paintbrush
Instructions
- Watch the video tutorial before you begin, and let that be your visual guide for this project.
- Prepare the Tray
Lightly sand down the edges and handles of the tray. Wipe away dust with a clean, slightly-damp cloth. - Apply Wood Stain
Using a 2-inch chip brush, apply wood stain to all of the tray edge surfaces. Let sit for about 10 minutes. The. Wipe away any excess wood stain with a clean cloth or paper towel. - Apply Chalk Paint
Lightly dip a clean chip brush into white chalk paint - only apply a tiny amount of paint. Spray the brush with water. Use light brush strokes to apply the paint to the tray. If there is too much paint coverage, spray on more water. Continue with long brush strokes on all surfaces until the desired weathered look is achieved. Allow the paint to dry completely. - Paint the Faux Tin Tiles
Use a pouncer brush and white chalk paint to paint the tin tiles. Set aside to dry.
NOTE: For this project, I needed 4 12-inch by 12-inch tiles to cover each side of the tray. This was simply because I wanted a full tile centered. Then, I added pieces of tile around the edges. You could easily use fewer tiles if you arranged them differently. - Adhere Center Tile
Apply a generous amount of E6000 adhesive to the back of one tin tile. Center the tile onto the tray and smooth down. Carefully lift up each corner, one at a time, and add hot glue for instant hold. - Trim and Adhere Remaining Tile Pieces
Measure the border around the center tile - from tile edge to tray edge. Use a ruler and pencil to mark the measurements on a tile piece. Use scissors to carefully cut the tiles to fit the measured dimensions. Take your time to ensure precise cuts. Adhere the tile pieces with a combination of E6000 and hot glue. - Distress the Tile Surface
Apply a tiny bit of black chalk paint to a piece of clean dish sponge. Dab off excess paint on a piece of paper. Lightly brush the sponge over the raised surfaces of the tile. This will give it a charming, worn appearance. - Seal the Chalk Paint Finish
Use a 2-inch flat paint brush to apply a coat of Mod Podge Hard Coat to all surfaces. Seal one side of the tray, let dry, flip the tray over, and then seal the other side.


Recommended Products
As an Amazon Associate and member of other affiliate programs, I earn from qualifying purchases.
-
 DecoArt Americana Acrylic Gel Stains Paint, 2-Ounce, Walnut
 -
Mod Podge Hard Coat, 16 Ounce
-
PenBlade - Stainless Steel Craft Knives - 3 Pack
-
5 Pcs Natural Bristle Pouncer Brushes
-
FolkArt Home Decor Chalk Furniture & Craft Acrylic Paint in Assorted Colors, 8 ounce, Cottage White
-
2 Inch Chip Paint Brush - 12 Pack


Use your new serving tray to serve drinks and snacks, display candles and trinkets, or as a centerpiece on your coffee table or dining table.
Updating a thrift store wooden serving tray with wood stain, chalk paint, and faux tin tiles is a rewarding DIY project that breathes new life into an old piece. With just a few materials and a little imagination, you can create a personalized and eye-catching tray that adds style and character to your home. So, head to your nearest thrift store, pick up a wooden serving tray, and let your creativity shine as you give it a stunning makeover!

More Serving Tray Upcycles and DIYs:
- Grab some dollar store supplies to make this DIY cookie sheet serving tray. For just a few dollars, you can make this functional and beautiful farmhouse-style tray.
- Upcycle an old wooden toy box into a fun and functional serving tray with just wood stain and chalk paint.
- Transform an ordinary Dollar Tree serving tray into a blooming work of art with this dollar store flower decal tray embellished with wall stickers.
- Grab a few dollar store serving trays and your craft supplies, because these dollar store tray Ideas and DIYs are absolute crafting genius!
- Easily spruce up your bathroom with this super cute and fun to make DIY Faux Enamelware Sign.
- This DIY faux tin tile Christmas tree collar adds vintage flair on a dollar store budget.