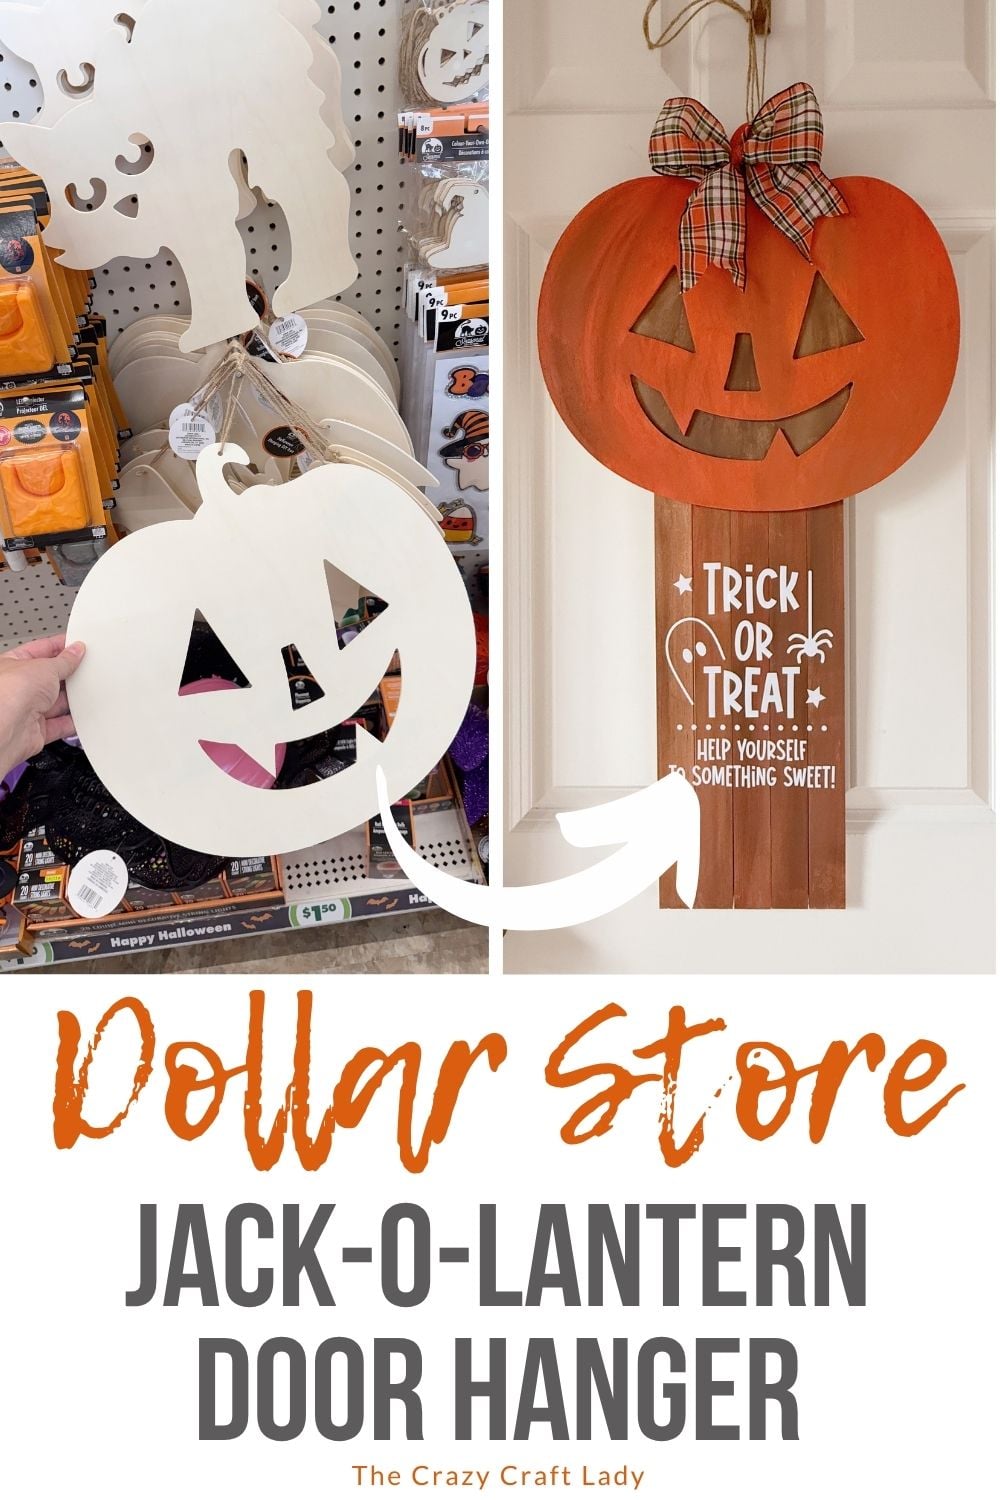
Make a jack-o-lantern Halloween candy door sign with Dollar Tree wood cutouts and paint sticks for a fun trick-or-treat display.
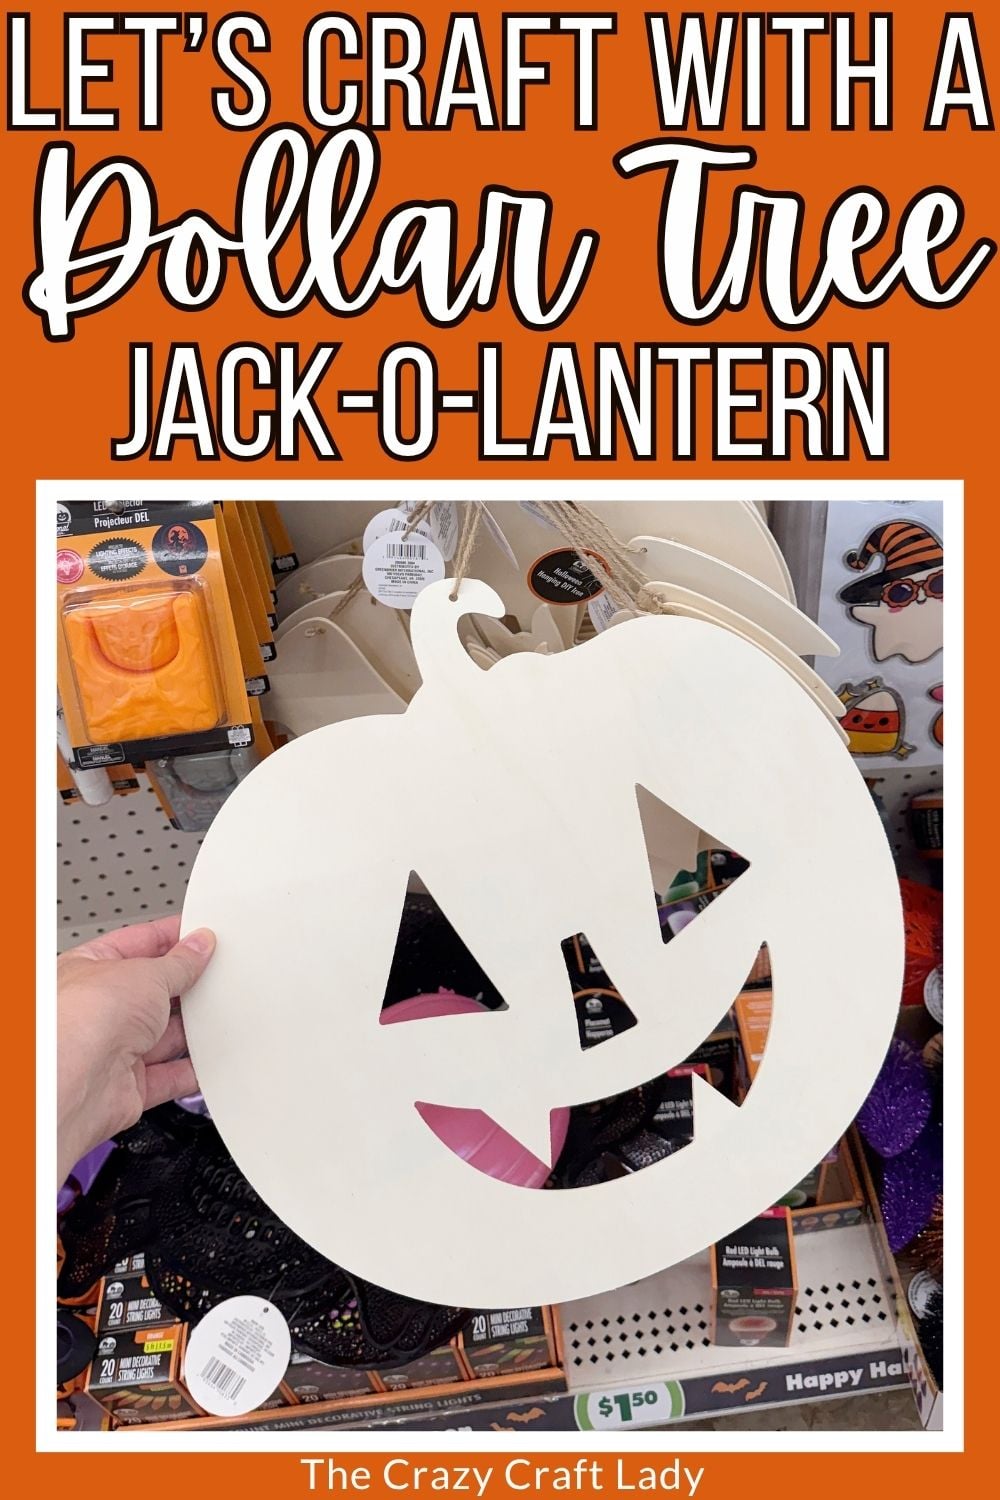
How to make a Jack-O-Lantern Halloween Candy Door Sign.
This post contains some affiliate links for your convenience. Click here to read my full disclosure policy.
If you spot one of those jumbo wooden jack-o-lantern cutouts at Dollar Tree, grab it! We’re turning it into a jack-o-lantern Halloween candy door sign that’s cute, inexpensive, and perfect for trick-or-treat night.
The finished sign says “Trick or Treat! Help Yourself to Something Sweet,” so you can hang it on your front door and put a bowl of candy underneath. Perfect for anyone who wants to participate in Halloween without answering the door approximately 87 times.
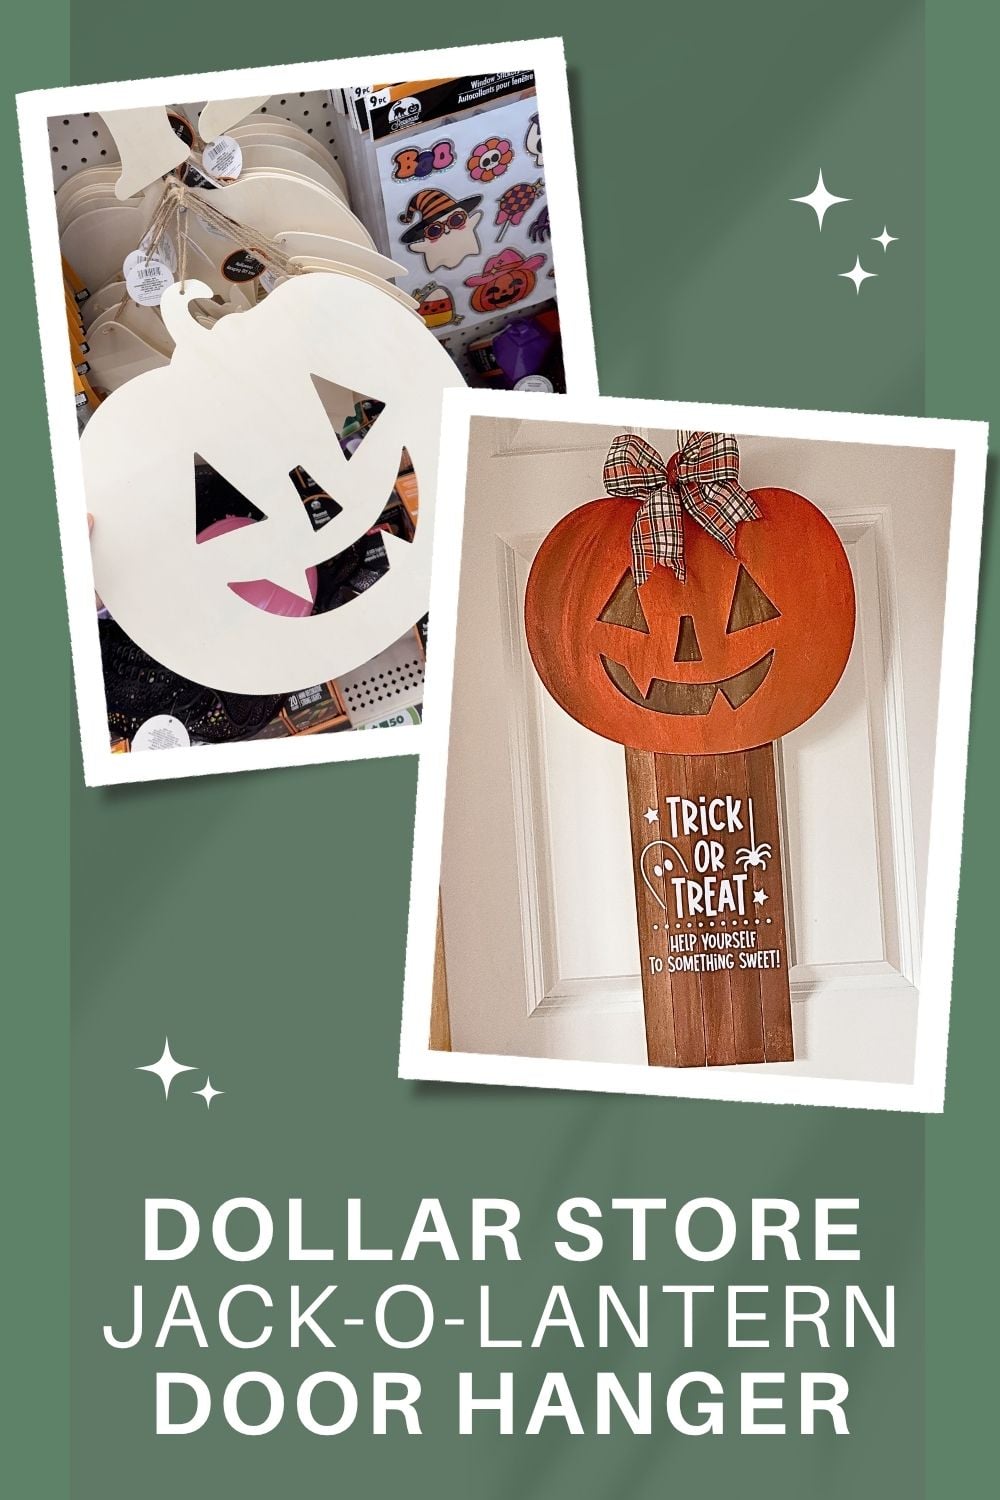
DIY Jack-O-Lantern Halloween Candy Door Sign
One of my favorite things about this project is that you can raid your craft stash for quite a few of the supplies.
I used an old Dollar Tree wood pumpkin behind the jack-o-lantern face, leftover paint for the jumbo paint sticks, and even a plaid bow that I’d apparently made for another project and never used.
Don’t worry about copying mine exactly. You just need something to back the jack-o-lantern face and enough wood pieces to create the hanging sign underneath.
Video Tutorial: Jack-O-Lantern Halloween Candy Door Sign
Watch this quick video to see how this craft came together:
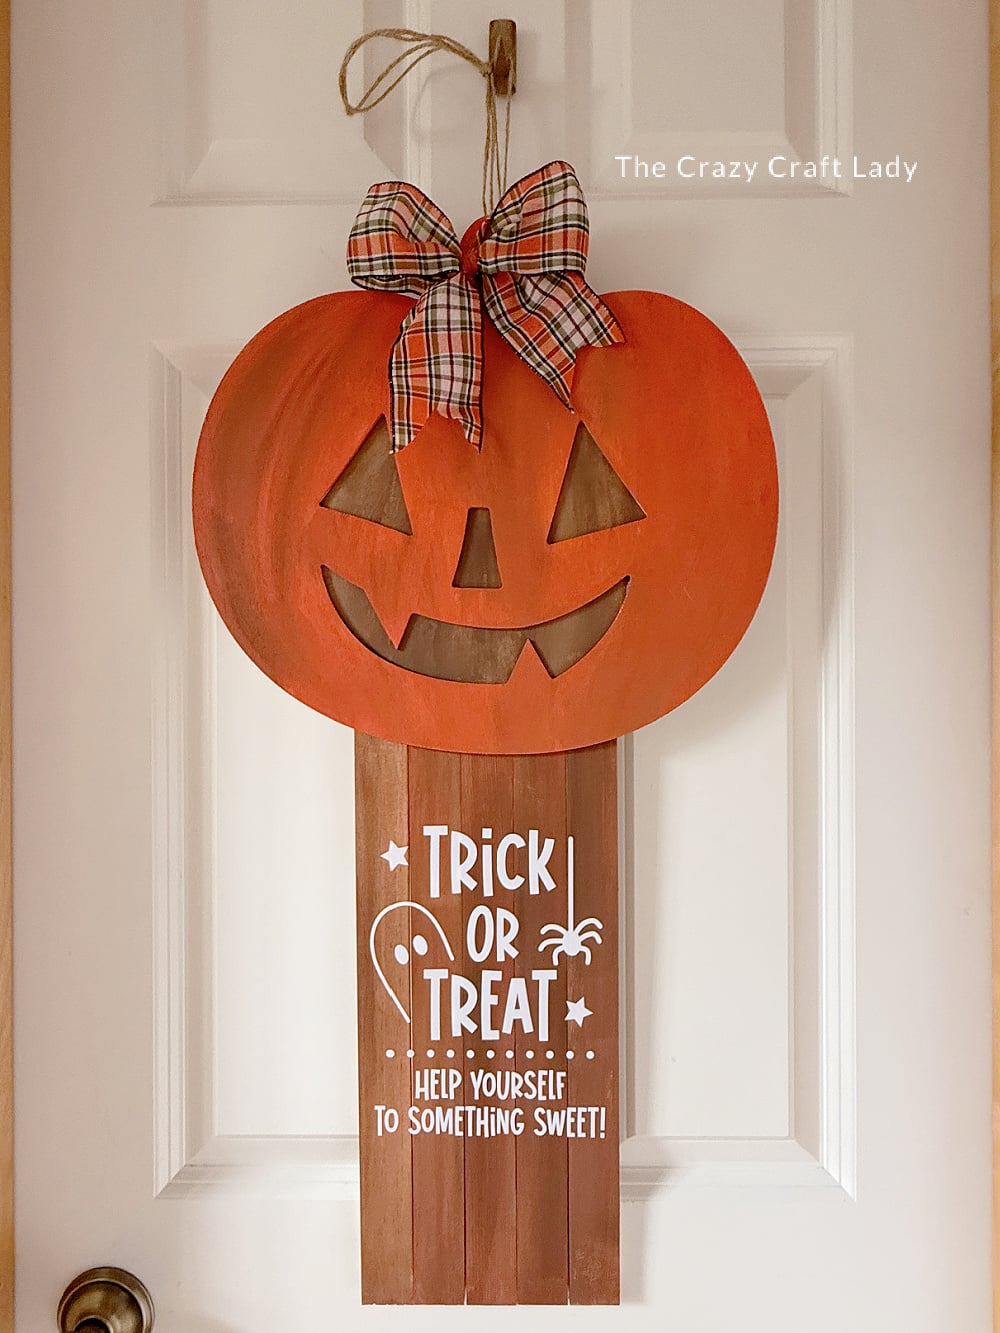
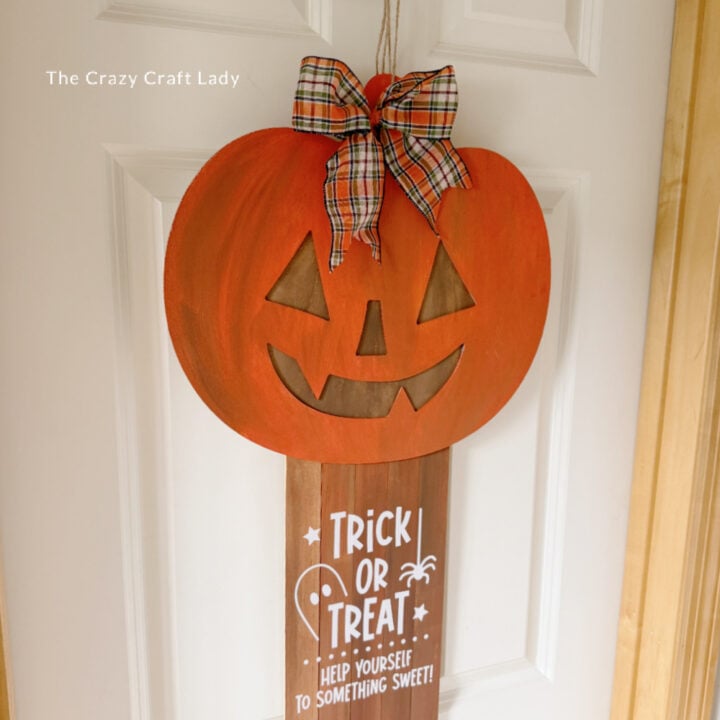
Jack-O-Lantern Halloween Candy Door Sign
Turn Dollar Tree supplies into a jack-o-lantern Halloween candy door sign perfect for displaying above your trick-or-treat candy bowl.
Materials
- Dollar Tree jumbo wooden jack-o-lantern cutout
- Extra flat wood cutout
- 5 jumbo paint stir sticks
- 2 smaller wood pieces for braces
- Orange craft or chalk paint
- Light and dark brown craft paint
- Wood glue
- White adhesive vinyl
- "Trick or Treat! Help Yourself to Something Sweet" design
- Transfer tape
- Plaid fall or Halloween bow
Tools
- Paintbrush
- Hot glue gun and glue sticks
- Cricut or other cutting machine
Instructions
- Watch the Video Tutorial. Watch the video tutorial below before following the step-by-step directions below to make your own Jack-O-Lantern door hanger.
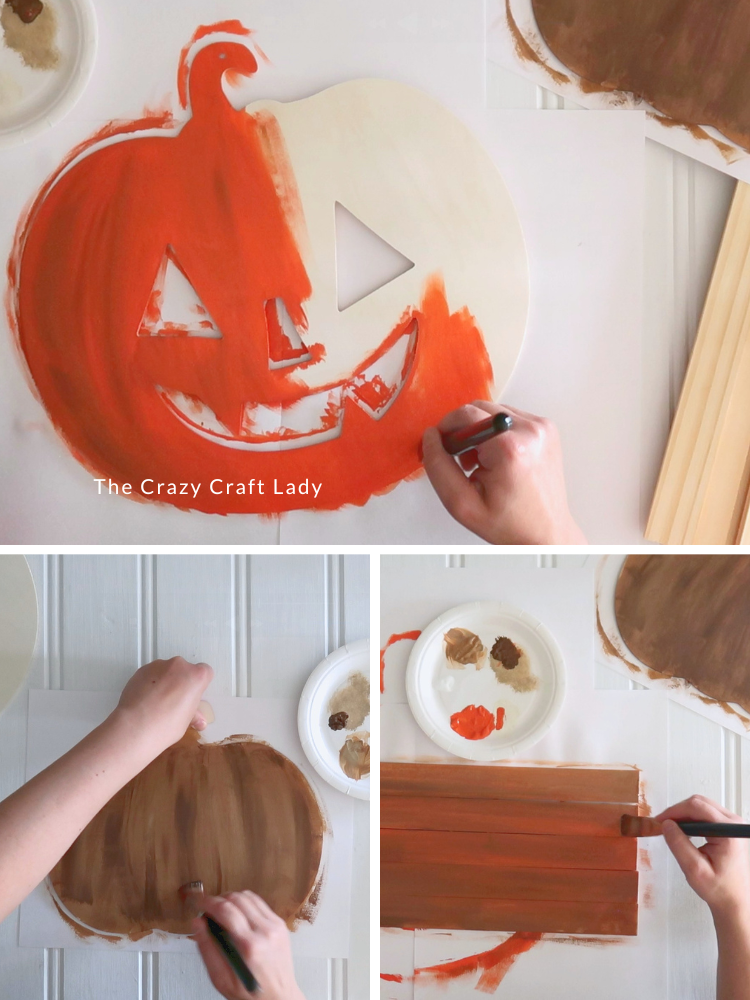
- Back the Jack-O-Lantern. Find a flat wood cutout large enough to cover the eyes and mouth openings in your jack-o-lantern. I used an old Dollar Tree pumpkin cutout I already had. Paint it brown. I mixed light and dark brown paint together for a slightly streaky, textured finish, but it doesn't need to be fancy. We just need a contrasting color to show through the jack-o-lantern face.

- Paint the Pumpkin. Paint the jumbo jack-o-lantern orange. I added some dark brown to the left side and lighter brown to the right to give the pumpkin a little dimension. Follow the curves of the pumpkin with your brushstrokes to help create that rounded look. Or paint it solid orange and call it a day. That works too.
- Paint the Jumbo Paint Sticks. Paint five jumbo paint stir sticks for the lower portion of the sign.
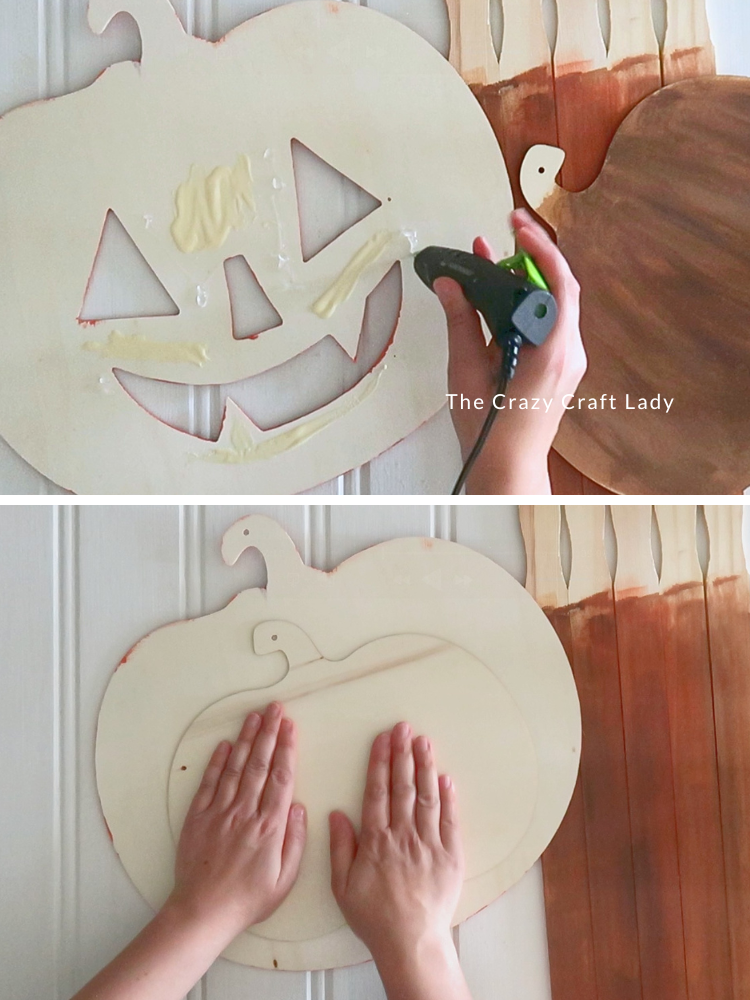
I mixed together all the leftover paint on my palette and ended up with a brown shade that coordinated perfectly. You could also stain them or use spray paint. Use what you've got. - Assemble the Jack-O-Lantern. Attach the brown wood cutout behind the jack-o-lantern using wood glue and hot glue. Remember: put the two glues next to each other, not on top of each other. Hot glue gives you the immediate hold, while wood glue creates a stronger permanent bond. Now that brown background will show through the jack-o-lantern's eyes and mouth and make his face really pop.
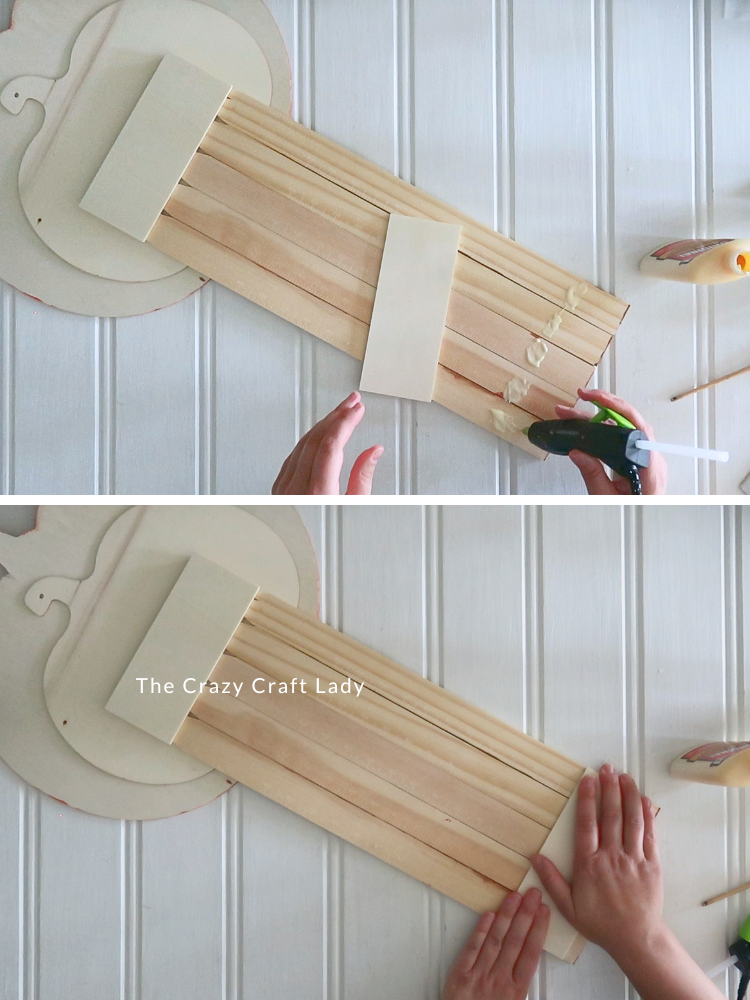
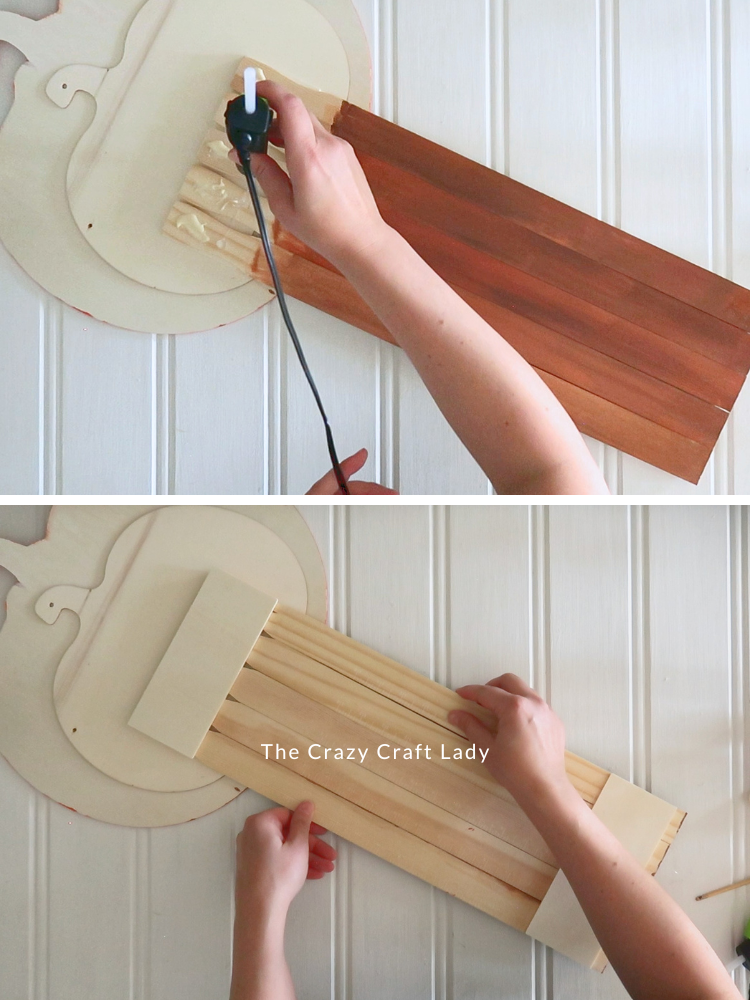
- Make the Candy Sign. Line up all five jumbo paint stir sticks side by side and flip them over.
Glue two small wood pieces horizontally across the back to hold everything together—one toward the top and another toward the bottom. Use the same wood glue and hot glue combination to keep everything nice and secure. - Attach the Sign Position the paint-stick panel behind the bottom of the jack-o-lantern.
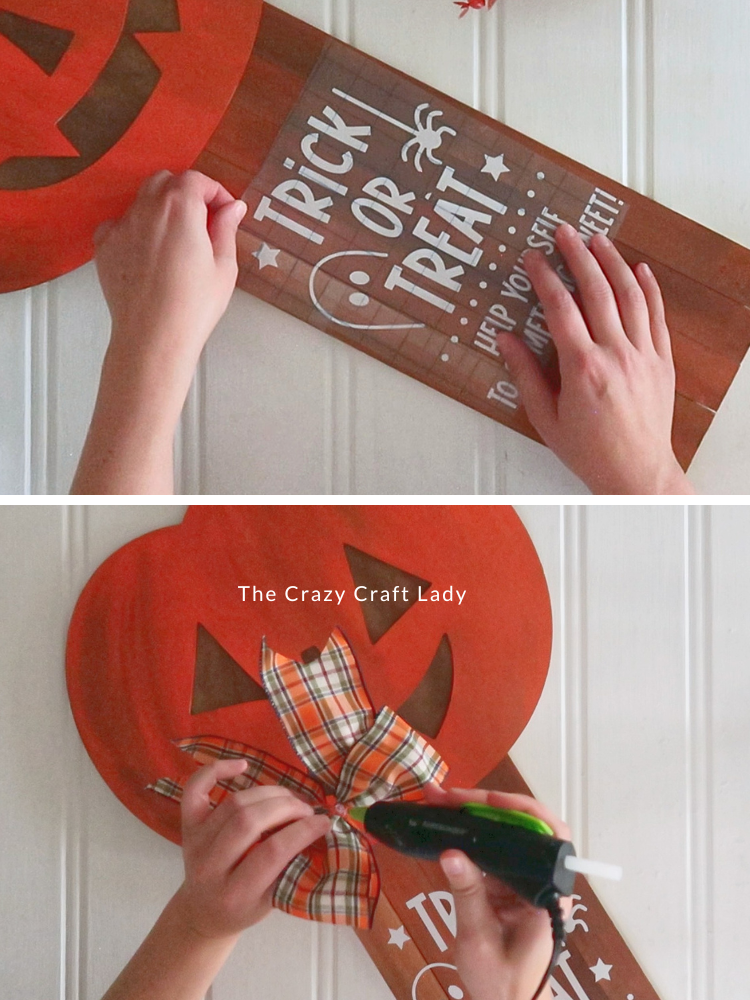
Add wood glue and hot glue to each of the five sticks and attach them securely to the back of the pumpkin. - Add the Halloween Candy Message. Cut "Trick or Treat! Help Yourself to Something Sweet" from white adhesive vinyl. Weed the design, add transfer tape, and apply it to the paint-stick portion of the sign. No cutting machine? Use a stencil, letter stickers, or paint pens instead.
- Finish With a Bow. Add a plaid bow to the top of the pumpkin stem for one final detail. Hot glue it in place, and your sign is finished!
An Easy Halloween Candy Door Sign
This jack-o-lantern Halloween candy door sign is such a fun way to decorate your front porch while also letting trick-or-treaters know they can help themselves.
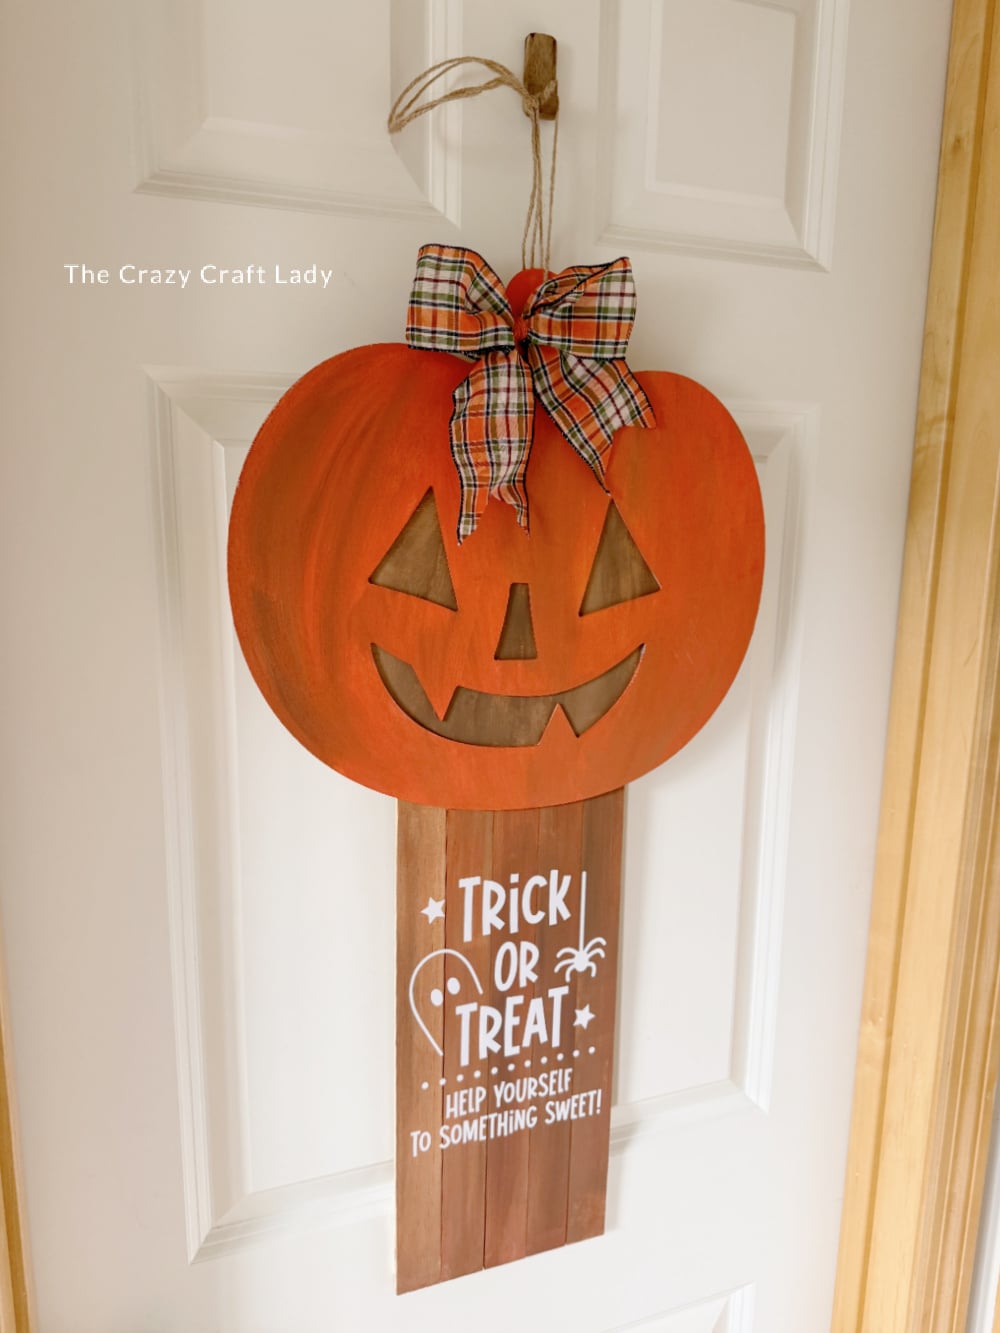
Hang the sign on your front door and place a stool, small table, or chair underneath with your candy bowl. It’s especially handy if you won’t be home for trick-or-treating—or, like me, you’re an introvert and would rather put out the candy than answer the door all night. Now we just have to trust the neighborhood kids not to dump the entire bowl into one pillowcase.
PIN this Halloween door hanger for later: