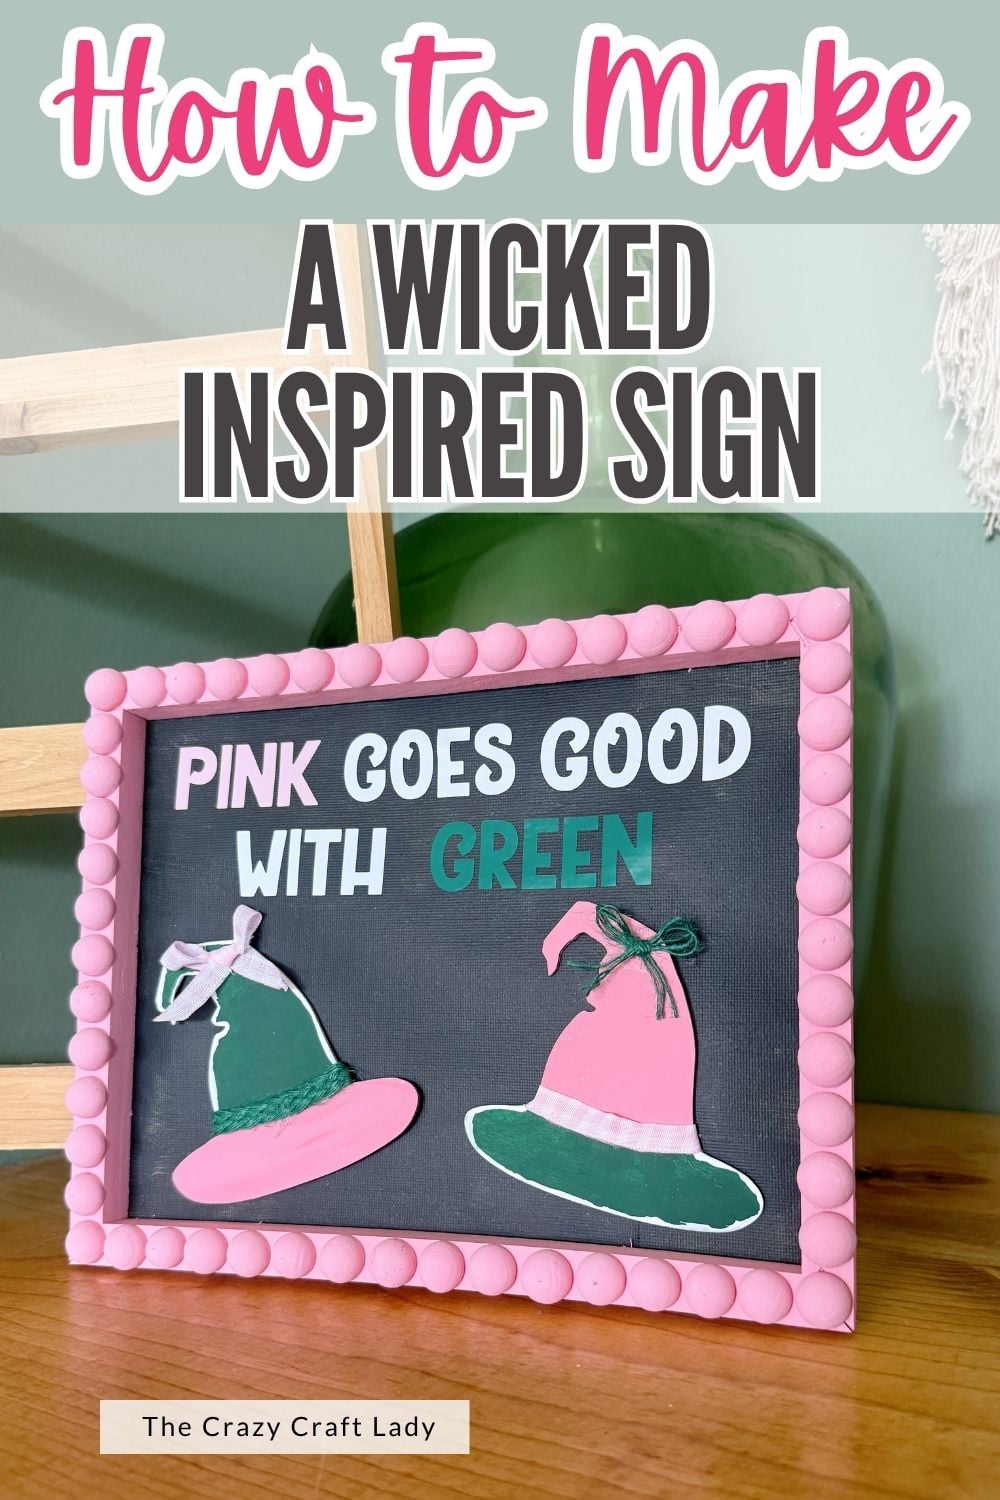
Turn Dollar Tree witch hat cutouts into a colorful Wicked-inspired craft featuring pink, green, ribbon, and a DIY reverse canvas.
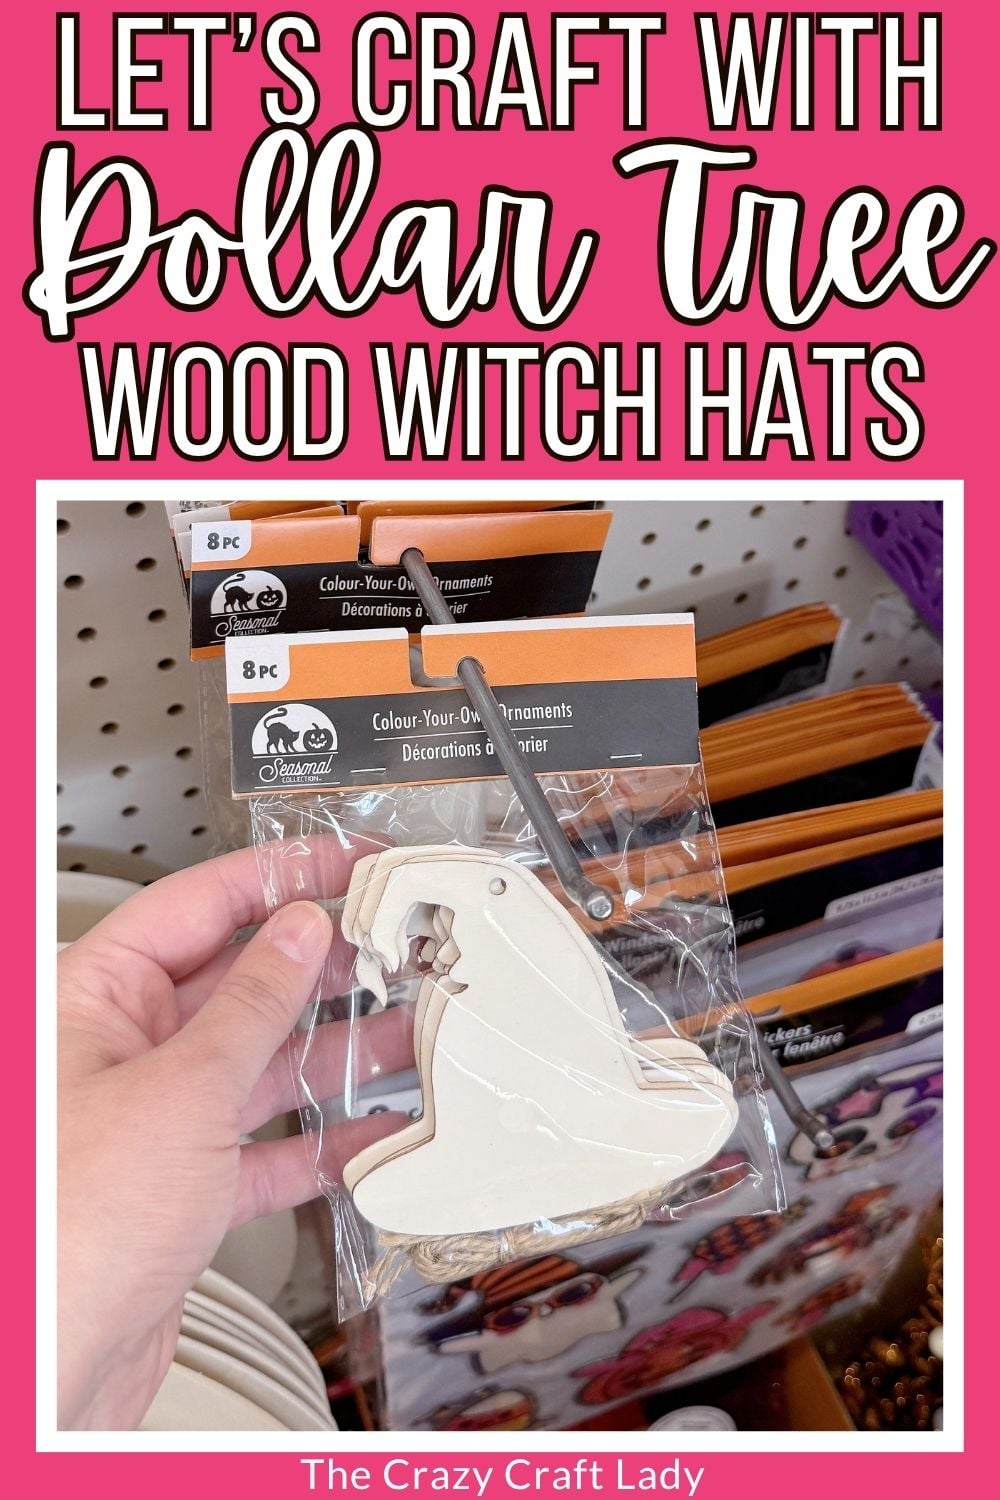
How to make a Wicked-Inspired Reverse Canvas Sign.
This post contains some affiliate links for your convenience. Click here to read my full disclosure policy.
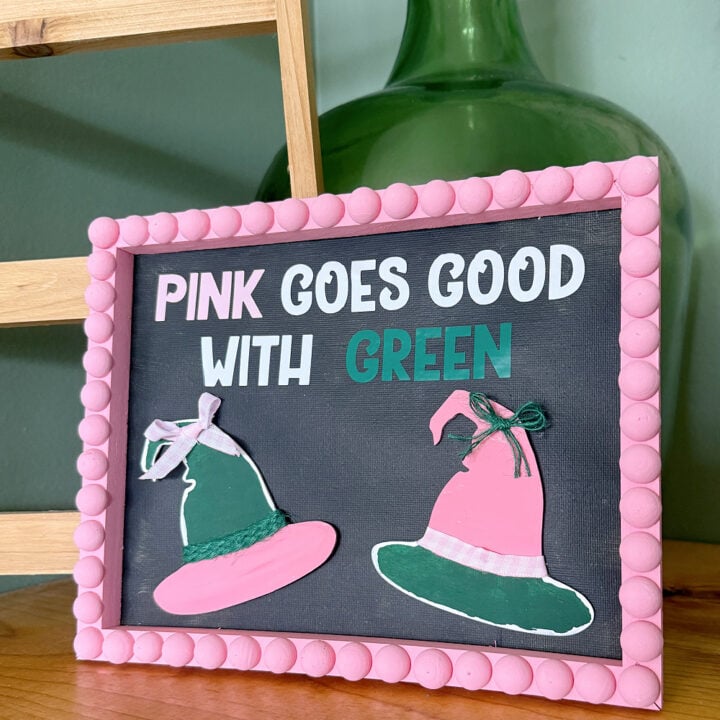
Pink goes good with green, don’t you think?
This might look like a Halloween craft at first glance, we are starting with Dollar Tree wooden witch hat. But we’re going in a completely different direction. Instead, we’re turning those witch hat cutouts into a colorful Wicked-inspired reverse canvas sign with plenty of pink, green, and preppy details.
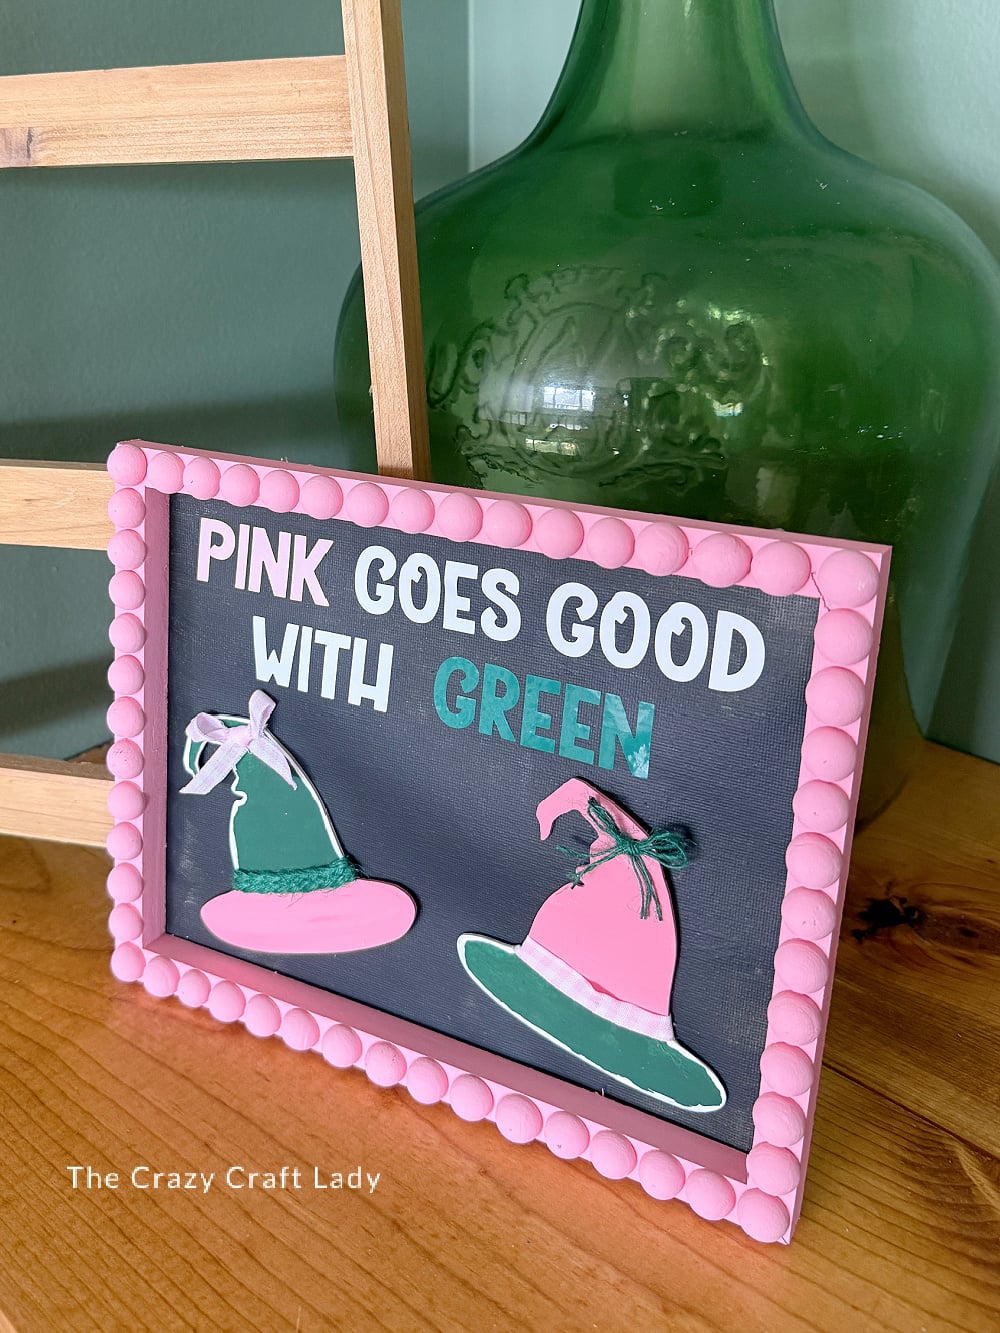
The inspiration actually came from a charcoal gray T-shirt my daughter has with the phrase “Pink Goes Good With Green.” Add in the pink and green witch hats, a bobbin-style frame, and some cute ribbon details, and you have a fun little nod to Wicked without making anything spooky or Halloween-y.
And the ultimate craft test? My daughter immediately called dibs on this one.
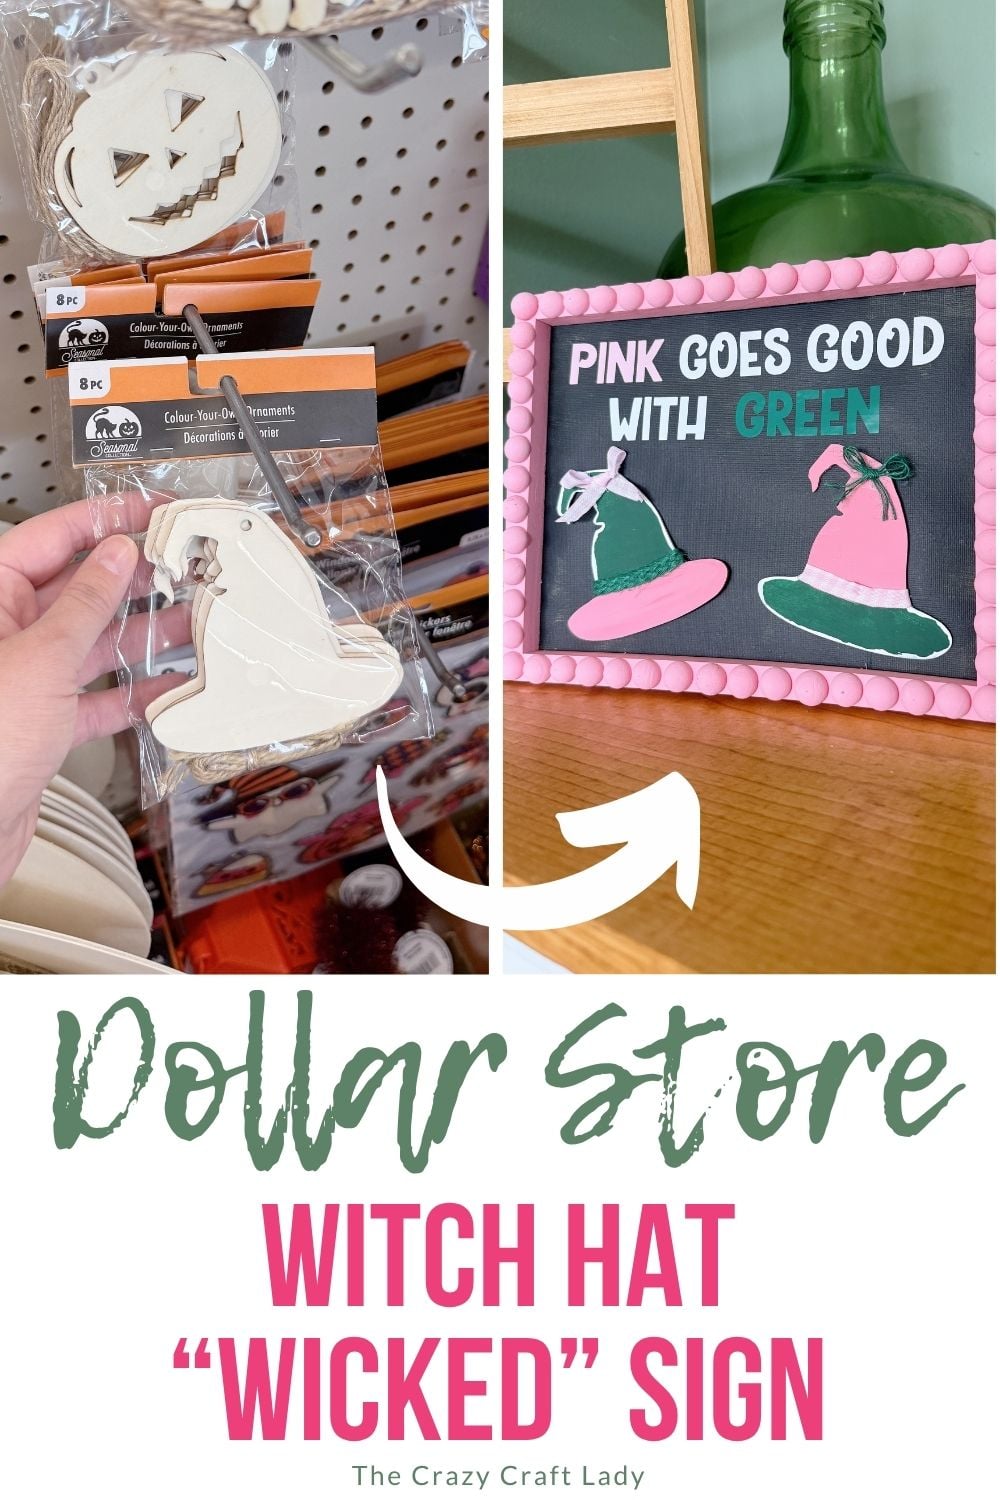
Pink Goes Good With Green Wicked Craft
This project uses a Dollar Tree stretched canvas for the base, but we’re turning it into a reverse canvas so that inexpensive wooden frame becomes part of the finished design.
I also added my favorite 15mm wood half balls around the frame for a bobbin edge. I’ve been adding these things to everything lately, and I’m not sorry about it.
Video Tutorial: Wicked-Inspired Reverse Canvas Sign
Watch this quick video to see how this craft came together:
Wicked-Inspired Reverse Canvas Sign
Pink goes good with green! Create this fun Wicked-inspired Dollar Tree craft using wooden witch hats and a DIY reverse canvas.
Materials
- Dollar Tree wooden witch hat cutouts
- 8x10-inch Dollar Tree stretched canvas
- Pink craft paint
- Green craft paint
- White craft paint
- Charcoal gray craft paint
- 15mm wooden half balls
- Wood glue
- Pink and white ribbon
- Green ribbon or trim
- Pink adhesive vinyl
- Green adhesive vinyl
- White adhesive vinyl
Tools
Instructions
- Watch the Video Tutorial. Watch the video tutorial for a full walkthrough of how this Wicked craft came together.
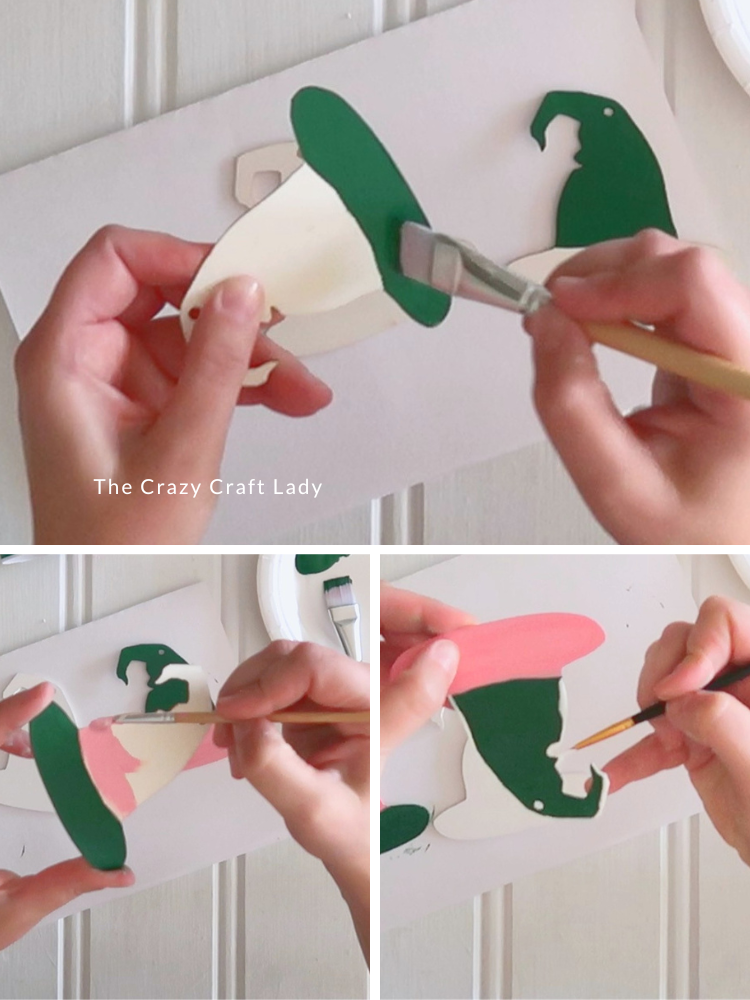
- Paint the Witch Hats. Paint the top of one wooden witch hat green and its brim pink. On the second hat, reverse the colors with a pink top and green brim. Paint the outer edges of the cutouts as you go, and use a fine-tip paintbrush to add a thin white outline around the green sections.

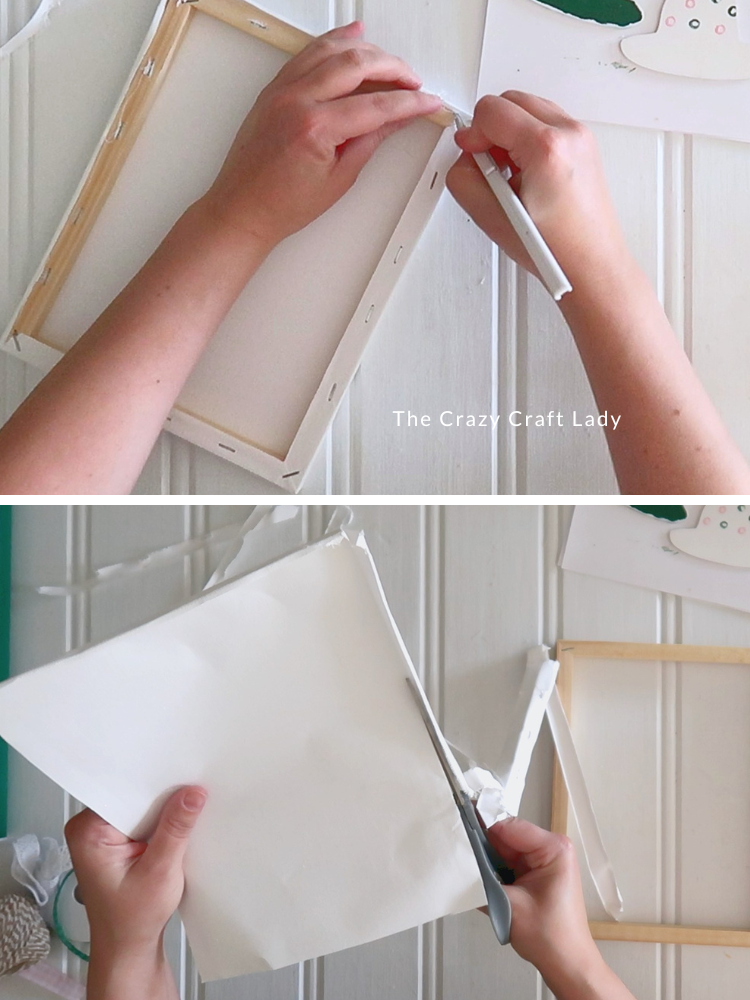
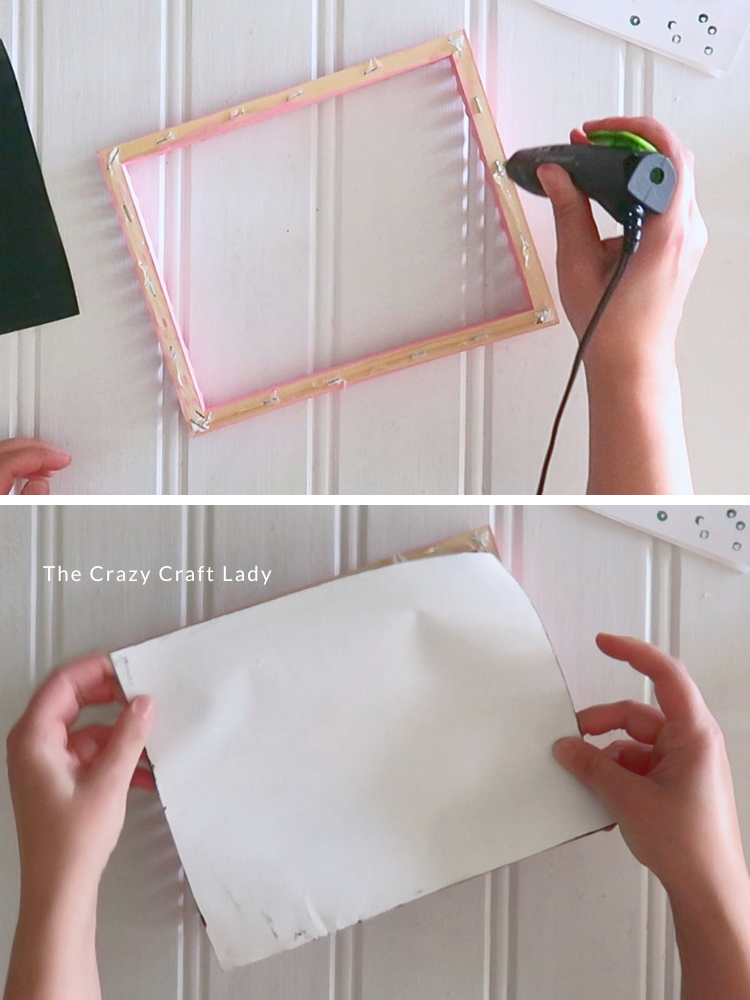
- Make the Reverse Canvas. Carefully cut the canvas away from the back of the stretched canvas frame using a craft knife. Pull away the fabric and remove any loose canvas caught underneath the staples. Use the original fold lines as a guide to trim the canvas down so it's about 1/8 inch smaller than the outside dimensions of the wooden frame.
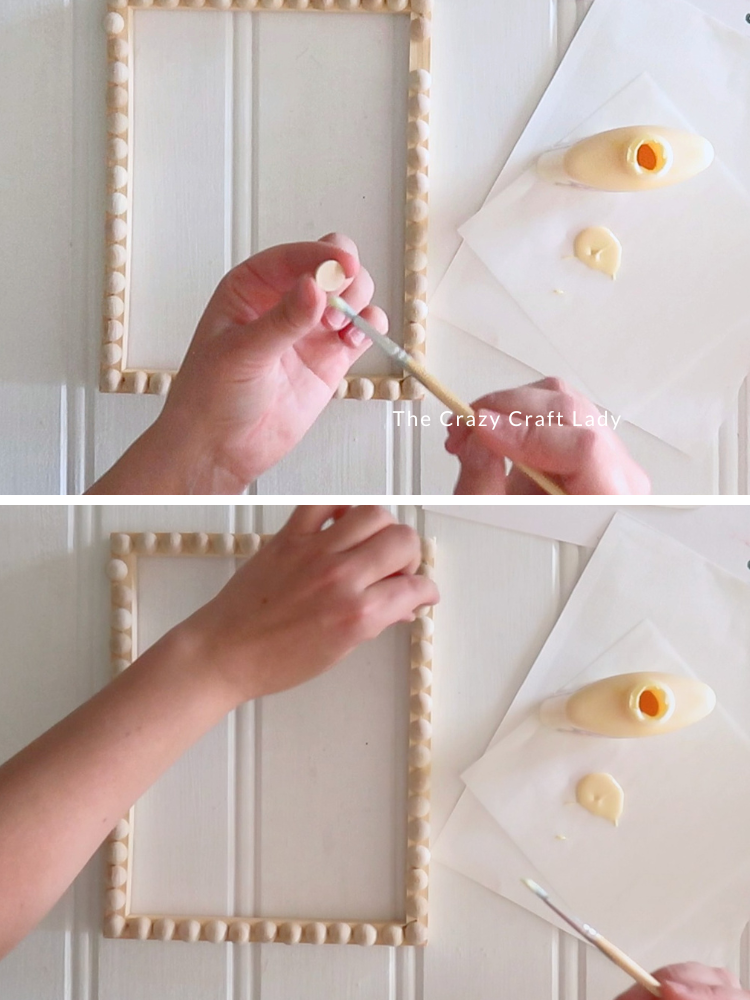
- Add the Bobbin Edge. Dry fit 15mm wooden half balls around the front of the frame, adjusting them until they're evenly spaced. Once you're happy with the placement, use a fine-tip paintbrush to add a tiny dab of wood glue to each half ball and glue them in place. Let the glue dry completely.
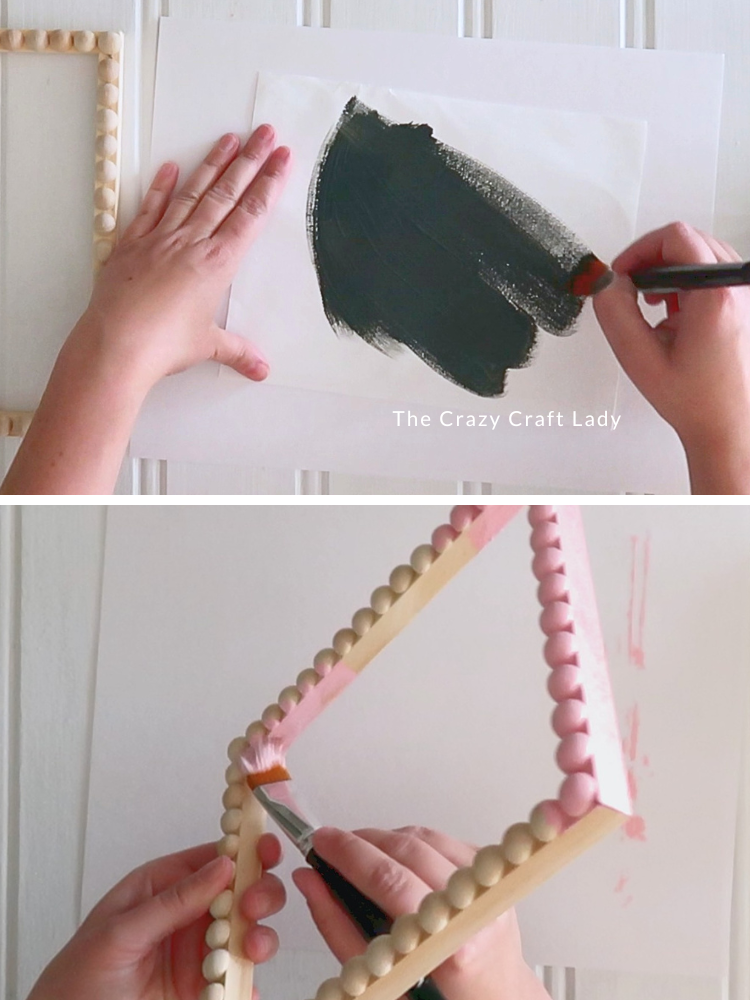
- Paint the Canvas and Frame. Paint the cut canvas fabric a dark charcoal gray and set it aside to dry. Paint the wooden frame and all of the half balls pink. The half balls take a little extra effort to cover, so rotate the frame as you paint. Look at it from every direction to make sure you didn't miss any little spots between the beads.
- Assemble the Reverse Canvas. Run a line of hot glue around the back of the painted wooden frame and quickly press the charcoal canvas into place. If you'd rather have a little more working time, use E6000 instead.
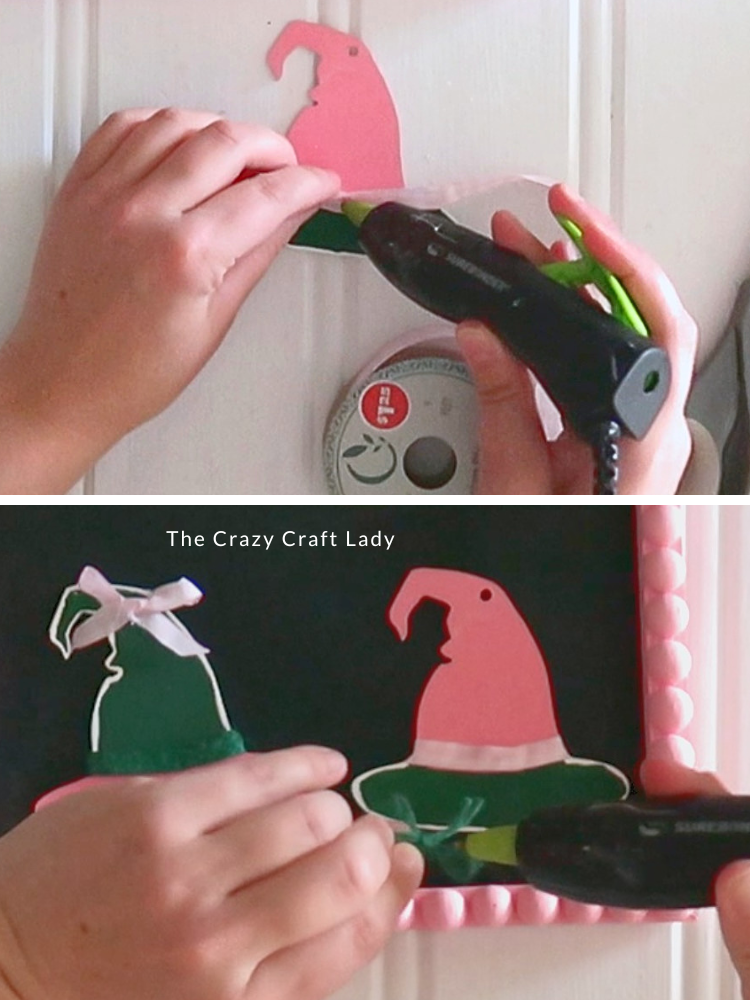
- Embellish the Witch Hats. Add green trim around the brim of the green hat and pink-and-white ribbon around the pink hat. Make a tiny bow for each hat using coordinating ribbon. Hot glue a bow over the hanger hole at the top of each witch hat.
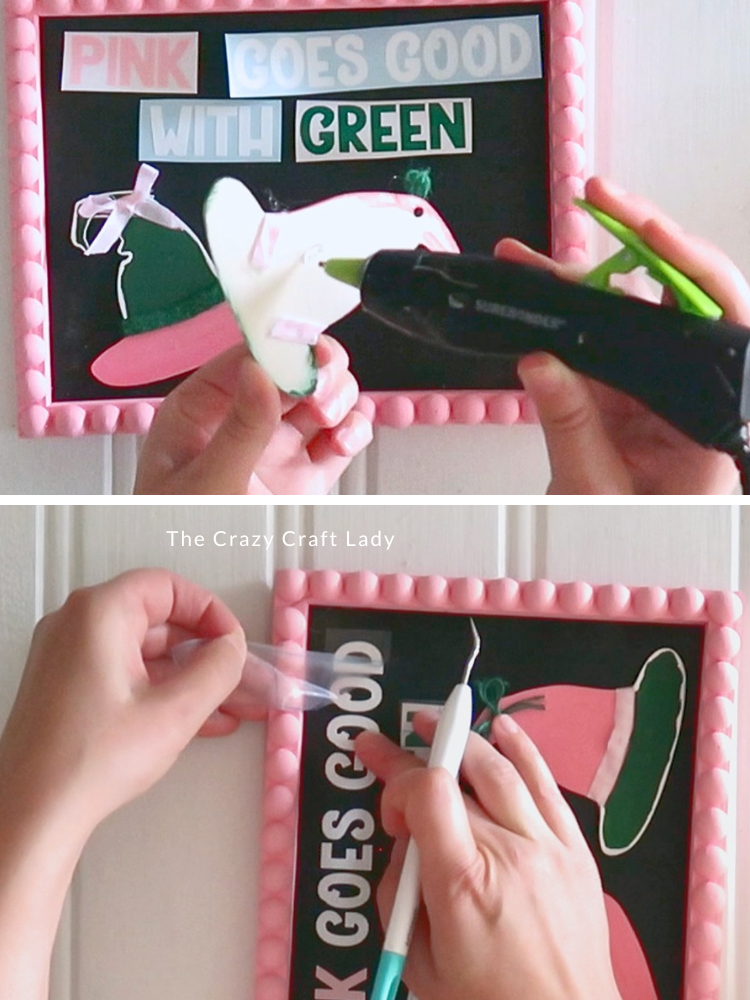
- Attach the Witch Hats and Vinyl. Hot glue both witch hats onto the charcoal canvas. Then cut the phrase Pink Goes Good With Green from adhesive vinyl. I used pink vinyl for "Pink," green vinyl for "Green," and white for "Goes Good With." Use transfer tape to apply the lettering to the canvas, and your Wicked-inspired sign is finished!
A Wicked Craft That’s Not Just for Halloween
I love finding ways to use seasonal Dollar Tree supplies for something completely unexpected. These wooden witch hats might have been designed for Halloween crafting, but a little pink and green paint gives them a totally different personality.
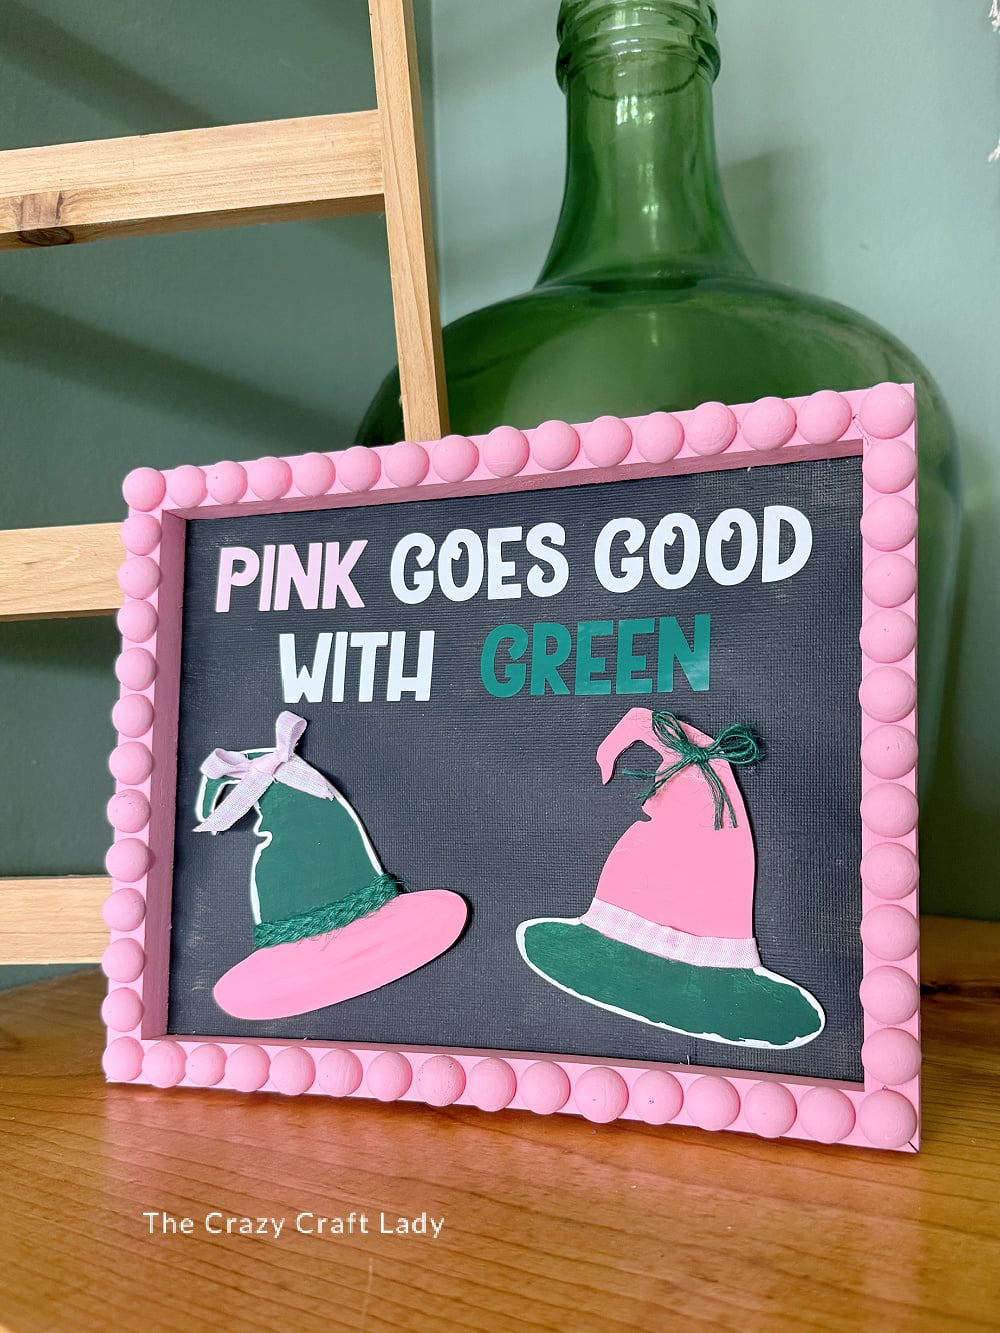
The charcoal background keeps all that pink and green from becoming too sweet, while the bobbin edge and tiny ribbon bows add just enough preppy detail.
And considering I’ve now seen Wicked four times, including on Broadway, it was probably only a matter of time before my craft room got involved.
Apparently my daughter agrees, because this one isn’t staying in my craft stash for long.
PIN this Wicked craft for later: